HOBBY: Quick and Dirty: Wet Palette

One of the most important tools (second to functional hands) in the miniature painter’s arsenal is a Wet Palette. This post will teach you about it’s greatness, and how to whip one up with stuff you probably have kicking around the house.
A guest post by Paintraina
What is a Wet Palette besides a lifestyle? well, it is a palette that allows the gentleman (or lady) acrylic artist to take paint out of the pot and put it on the palette without the paint drying out. Yes. I’ll give you a moment to wipe the tea off the computer screen and put your monocle back in.
Think of the advantages:
Save money!
Easy to blend!
Save Time!
Less paint used which means less trips to the FLGS to buy more which results in less carbon emission!
Alright. You are probably all champing at the bit (grammar police bait). Lets get down to business.
You will need:
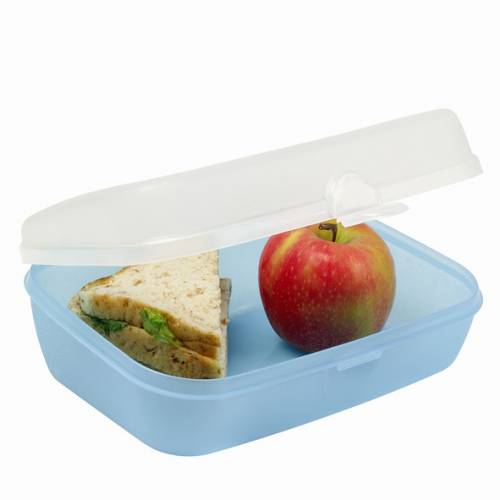
1 Tupperware container. Flatter and wider is preferable. Lids are cool too. Sandwich unnecessary.
1-2 Sponges. A flat surface is important.
1 Roll of Parchment Paper. You will probably need to go out and buy this, unless you are Cake Boss.
Water. You’ve heard about it, it’s wet, heavy, and if science is to be believed: The Universal Solvent. Even though we all know that the real universal solvent is Alien Blood.
Here’s how to put it all together:
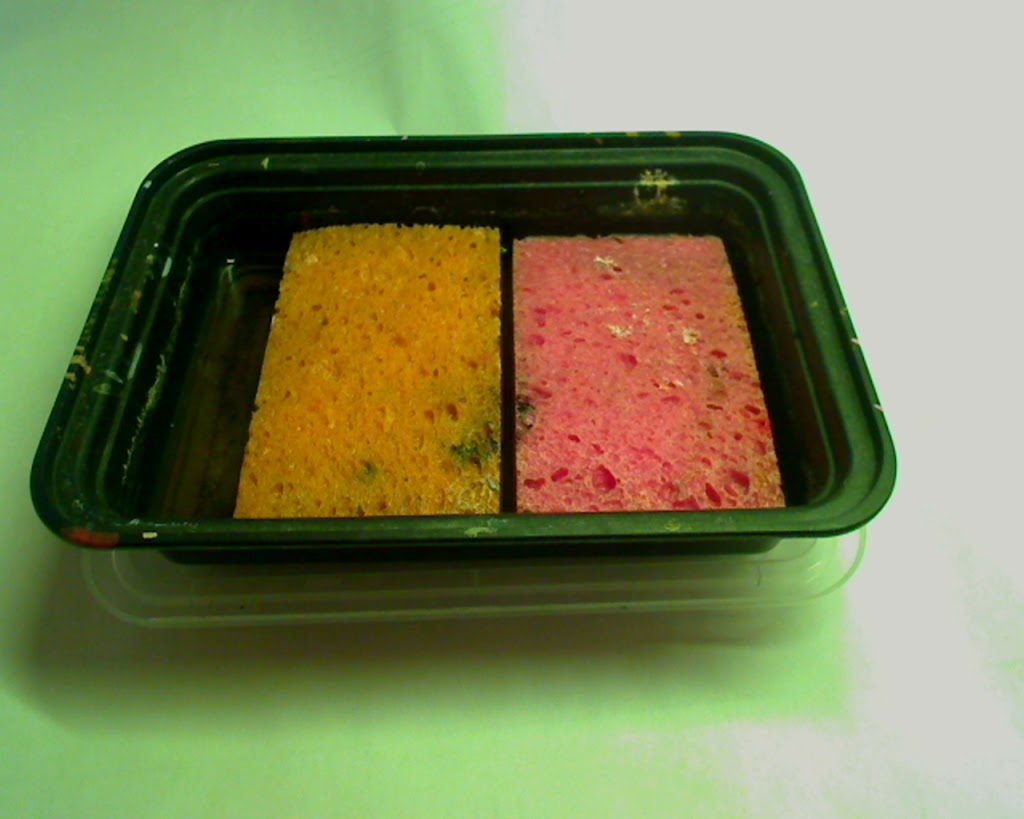
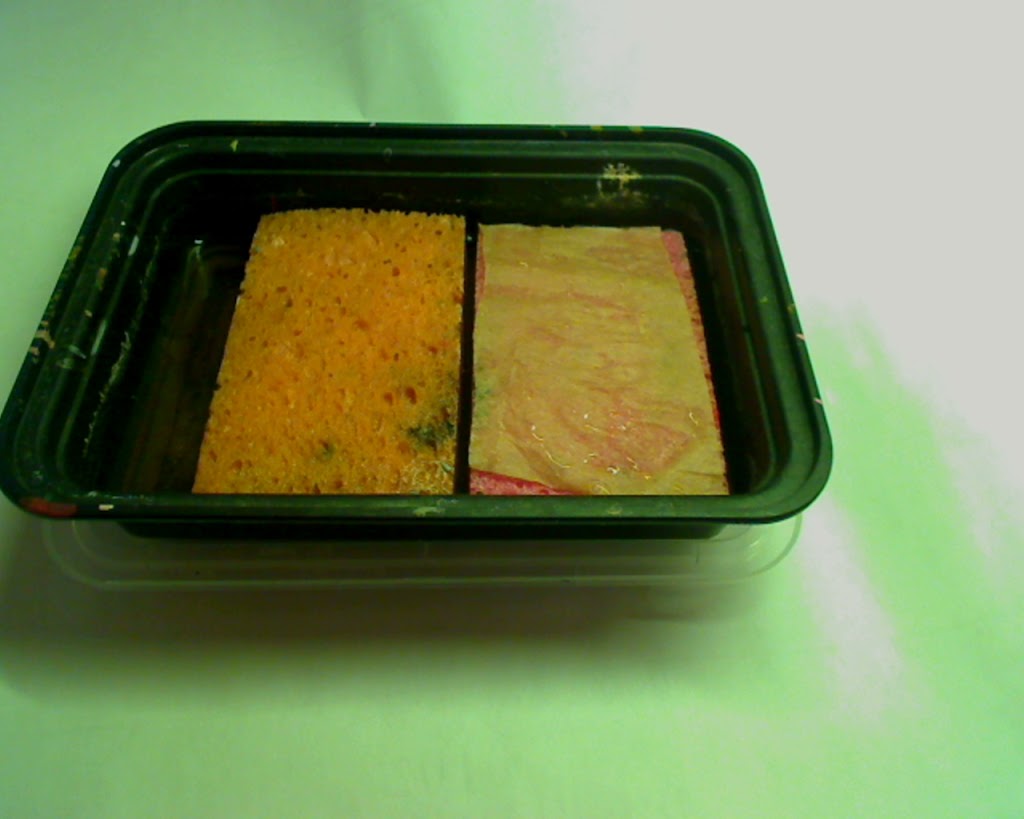
Open up your Tupperware. Pop the sponges inside so they lay flat. Pour some water into the container so that it gets the sponges nice and wet, but you don’t want the sponges floating around. This can also be effected by your choice of Tupperware. A tight fit for the sponge is ideal as it will prevent the sponges from floating.
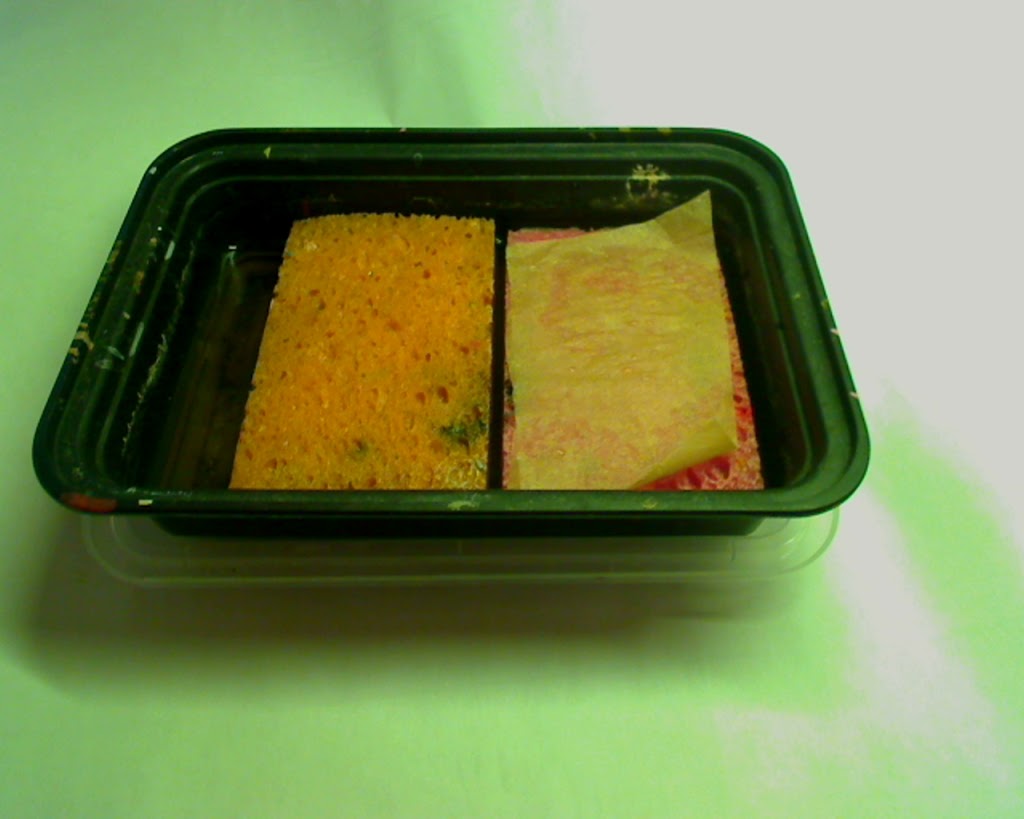
The final step is to cut out a rectangle of parchment paper in the shape of your sponge. Place this paper on top of the sponge.
It will probably curl a little bit. If that happens just flip the paper over.
Now you can use the parchment paper as a palette which will keep your paint hydrated. If your Tupperware has a lid, the whole rig is even transportable.

