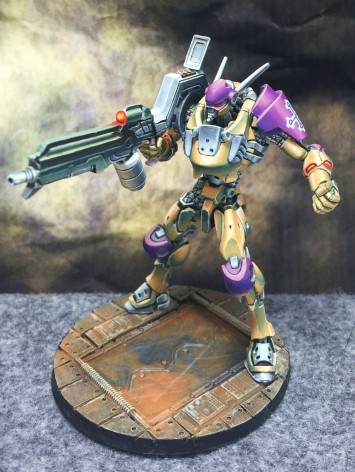
Infinity: Painting the Squalo


I’ll try not to get tool emotional but this is such a special article for me because I’m painting my very first TAG.
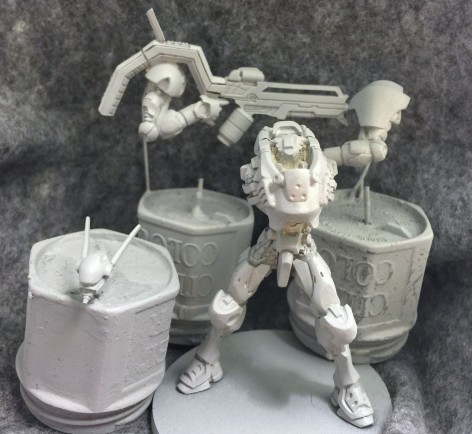
That’s Tactical Armored Gear for anyone who isn’t up on their Infinity terminology. As with any large model it’s best to separate it into easier to paint parts.
I start with all the inner workings with a basecoat of Underbelly Blue. This is a Formula p3 color, like all the ones I use. When it comes to inks though I prefer GW. I use Nuln Oil to wash all these areas and define all the thin lines and crevices.
 I go back in and highlight with more Underbelly Blue. Where I need it brighter I use Menoth White Highlight. The grooves on all the cables are actually thick enough that if you’re careful and use a light touch, you can paint them without having to go back later and blackline.
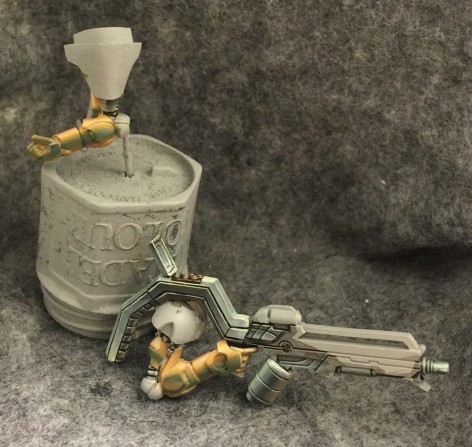
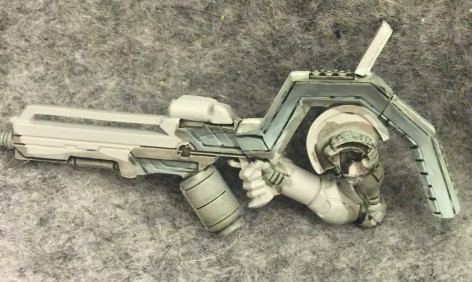 Really the gun is probably the better place to get pics for the metal tutorial. For flat surfaces, always go darker at the top, and get lighter as you go down. For any surfaces that point straight up, use a stark contrasting highlight. The darkest shade color I use here is actually a mix of three colors: Thornwood Green (almost a gray really), Exile Blue, and Umbral Umber. These three colors create a nice cool gray.
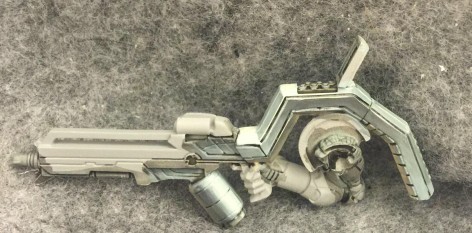 Now I’ve gone over that base coat from the last shot and gotten it all blended together better. I’ve also started on the ammo cylinder.
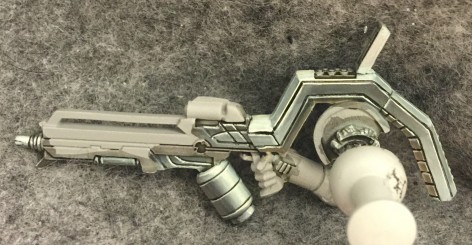 To finish it off, I add a thin line of Menoth White Highlight along the top of every ridge. Then I go back in and black line as necessary. I mix the black with some of the cool gray mix I use as my dark metal color. Pure black can add too much contrast.
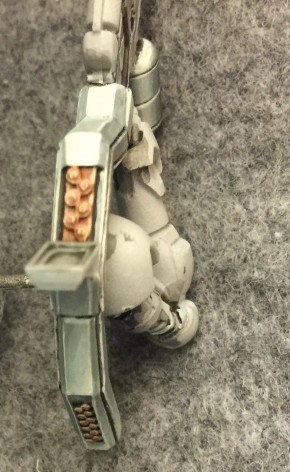 I want to do kind of a copper color for whatever these things are. I’m pretty sure they are little grenades to represent the Heavy Grenade Launcher variant you can take with this guy, but maybe they’re other ammo types for the Multi-HMG. My Infinity Artbook does not have the answer I need. Anyway, P3’s Bloodstone makes a great copper color. Highlight with Frostbite and shade with Coal Black. Just make sure you leave enough of that basecoat showing through.
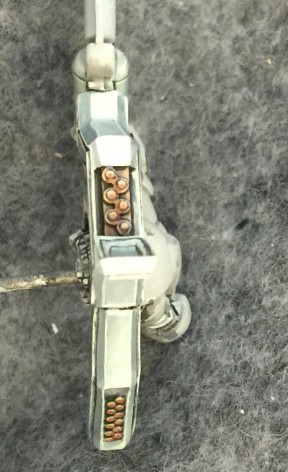 And here it is a little more cleaned up.
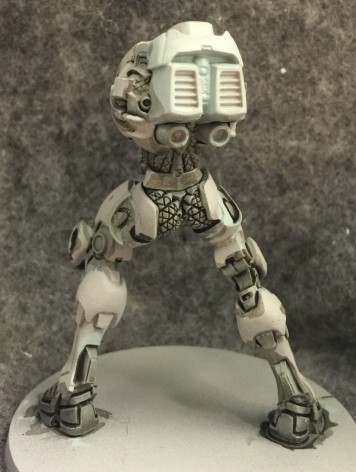
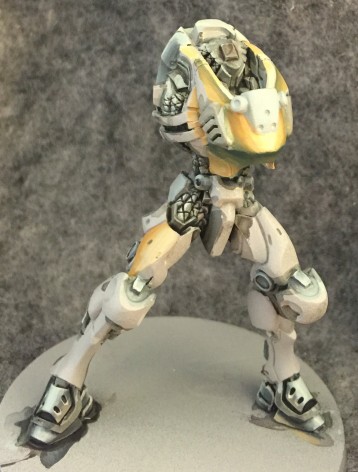
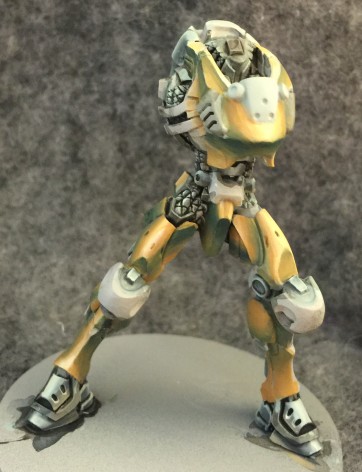
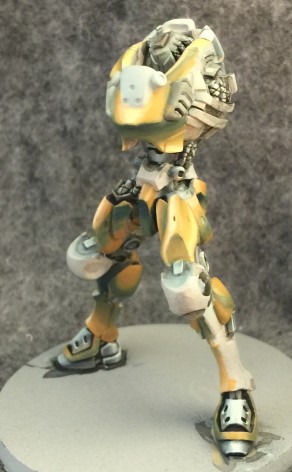
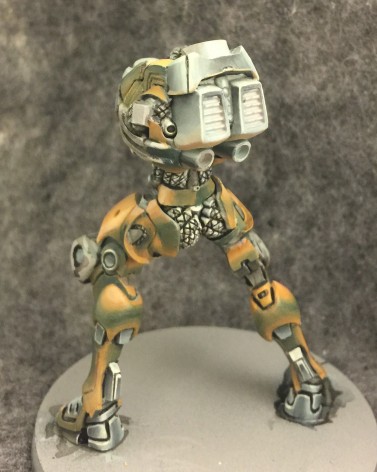
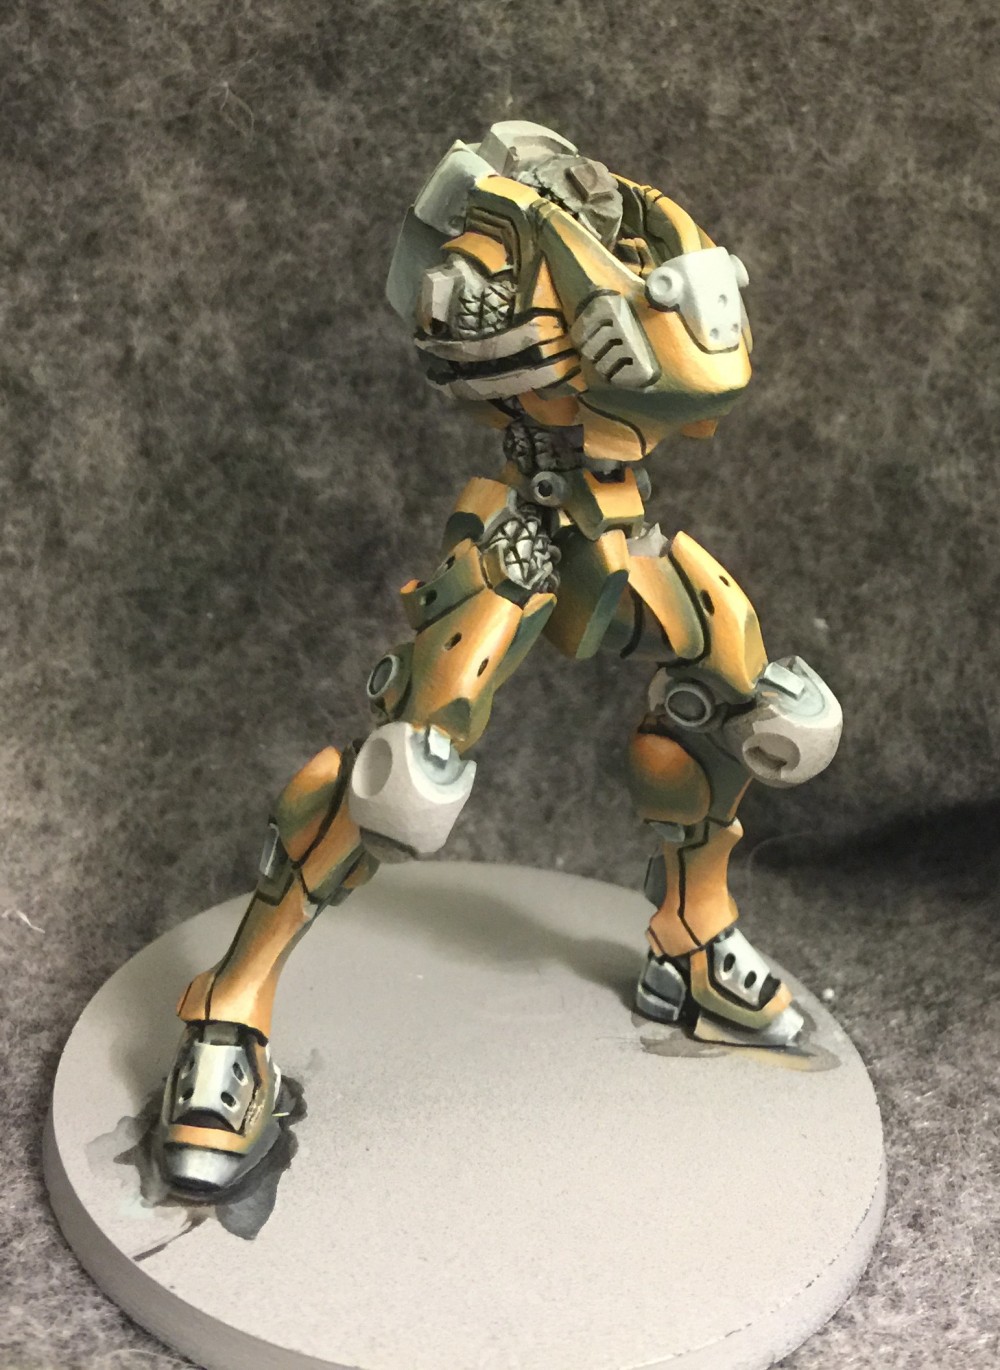
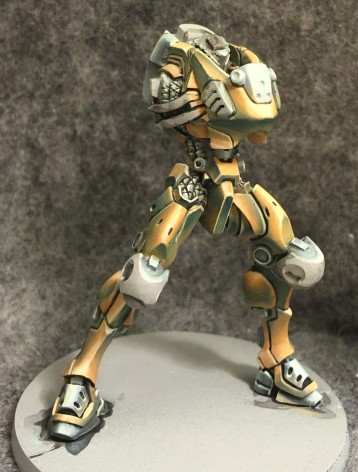
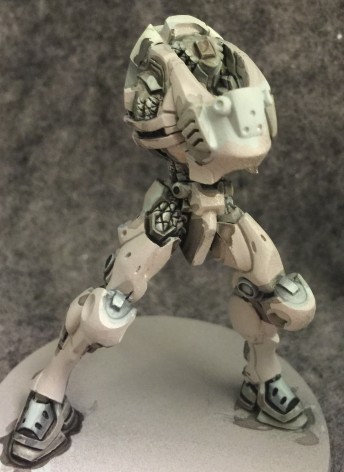
Next I’m going to move on to that armored body. I’m only using three colors here: a Rucksack Tan midtone shaded with Coal Black (it’s not so much a black as it is a dark turquoise) and highlighted with Menoth White Highlight. The Squalo’s body is made up of a wide array of different geometric shapes. Even for someone like myself who paints a lot of non-metallic metal, trying to figure out how to best define all this geometry can be a real challenge. But it also makes for a really rewarding experience.
I probably should have taken another shot in between these two to give a better idea of the process but… well sometimes you just get in the zone.
Here’s another angle.
And now let’s have a look at the back
The arms are undergoing the same process.
After that it’s time to blackline all the crevices. This time I use a mix of pure black mixed with Coal Black for my blacklining color. I promise you can tell the difference.
Then I go along each upward-facing edge with Menoth White Highlight in much the same way as I did with the metal on the gun.
~Thanks for reading. Part 2 should follow shortly.

