X-Wing: Swarm Theory Part 2 (& Bonus Battle Report)
For Part 2 of Swarm Theory we have a more in depth look at Deployment for an 8 TIE Swarm and cover the opening moves in a Battle Report showcasing some of the principles we spoke about in Part 1.
Last time on Swarm Theory we spoke about the principles behind an 8 TIE swarm, what Build options were open to still allow all 8 TIE’s and some basic stuff to think about during battle, if you missed it you can check back here to get caught up.
This time we are going to put some of that waffling in to practice and show how things go down on the table top. The tactics and deployments I will be talking about very much reflect my play style and are in no way the only way to fly an 8 TIE swarm but this is how I like to do it.
Meet the Pinwheel
For an 8 TIE Swarm I like to fly in two separate Pin Wheel formations that will interact only when it is time to do some shooting. This is also the main reason that I am a fan of 4 Academy Pilots and 4 Obsidian Squadron Pilots as both of the formations will share the same Pilot Skill, giving you more versatility in moving them.
For those of you not familiar with a Pin Wheel this is an excellent explanation of how/why it works taken Team Covenant’s website and put together by KLUTZ.
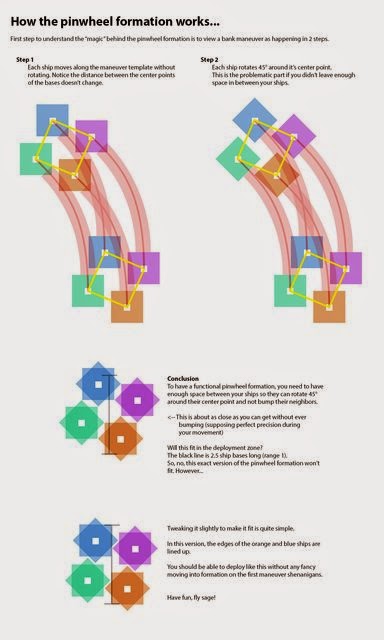
As you can hopefully see this formation gives you a very large option of maneuvers whilst maintaining a tight group.
I would really recommend you spend some time one the Dining Room table and see for yourself how you can set them up and how they will shift when each move is carried out just so that you are confidant going in to the first 3 or 4 turns of movement.
The opening pass is very important to this type of list as if you take too much punishment without downing something, your individually weaker TIE’s will start to suffer. So I will say again make sure you practice some opening moves to see where your formations can get to from different starting positions.
Now in my games I like to fly both Pin Wheels as if I were just Flying 2 Large ships. In my head they are each a single entity and I want to position them to support each other.
Deploying the Swarm
This process starts with Asteroid Placement. There are two real options to go for here. You can either try to develop channels to fly through or try to create a large open space to try to drag the battle in to. If you are going to go for channels than you want to try to match your asteroids with your opponents at about 1.5 Range bands ( Just under 4 ship lengths) and then create as straight a line as possible This works well if they place the first asteroid as close to a table edge as possible as that will mean that they can only off set other asteroids in one direction (back in to the table)
If an asteroid is placed nearer to the center of the table than I like to try to go for a much tighter group all in one quarter of the table. It will not take long for your opponent to see what you are doing but it if they place first there is very little reaction they can do as one lone asteroid should not be a problem for our two independent groups to handle. This will give you a large field to move in to and operate in with little fear of obstacles.
Now it is very rare for Academy Pilots to not be placed First in Deployment so this is where the planning of your opening moves comes in as you need to asses the table and pick where you want the opening engagement to take place, this may seem difficult at first especially as your opponent has not placed anything but most deployments for X-Wing revolve around one of the open channels on the Flanks and as you had a hand in creating the battlefield I normally place my Academies on the worse of the two flanks facing the enemy table edge. I then either place the Obsidian Squadron facing along my table edge or directly in support depending on if the enemy has placed anything or the available space. It is important to remember that if you think you may be force in to deploying all on one flank facing the enemy table edge than I would aim to have the Pilot Skill 3 obsidian Squadron on the outside of the Pilot Skill 1 Academies to allow them to cut in to the table once they have moved out of the way.
Swarming Into Battle!
So enough Chatting about it and lets See it in action!
I was going to use the Same 4 Academy/4 Obsidian List I have been talking about and I managed to get a game against Greg Jackson, who used the same BY BY list that he recently won the Regional Championship with in Alberta.
Greg’s list was as follows;
2 x Gold Squadron with Ion Turrets
2 x Dagger Squadron with Advanced Sensors
My read of his list was that there was a lot of potential fire from the B-Wings and the Y-Wings add a nice control element to Greg’s list with the Ion Turrets 360 fire arch and controlling my movement if I’m Ion’ed. The Ions don’t worry this type of swarm as much as a Howlrunner swarm though as each ship is capable of acting independently after the initial pass anyway.
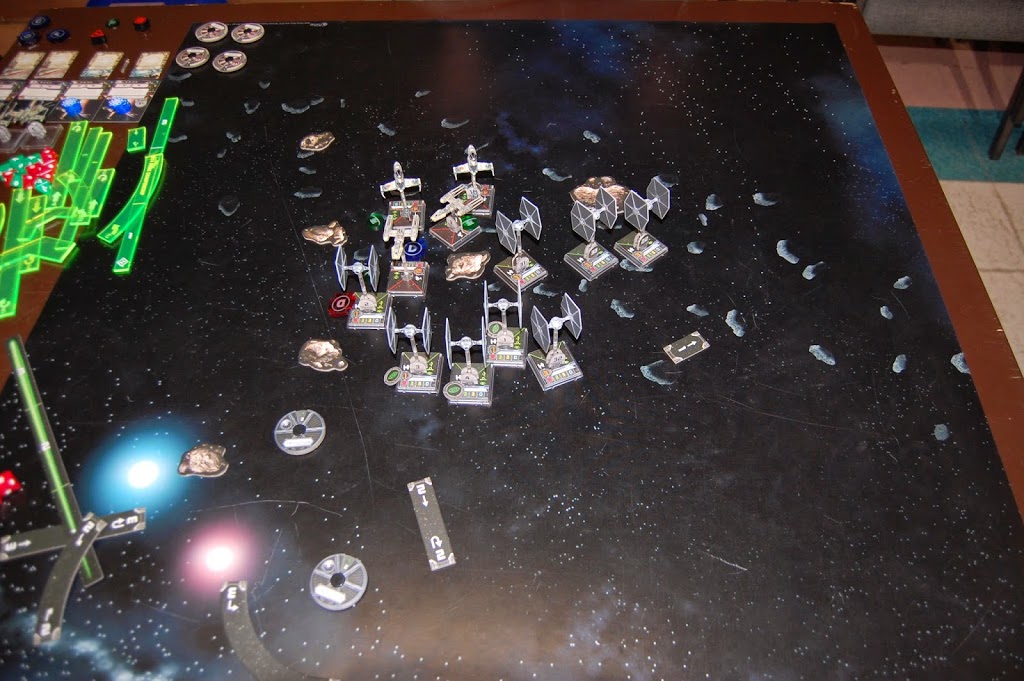
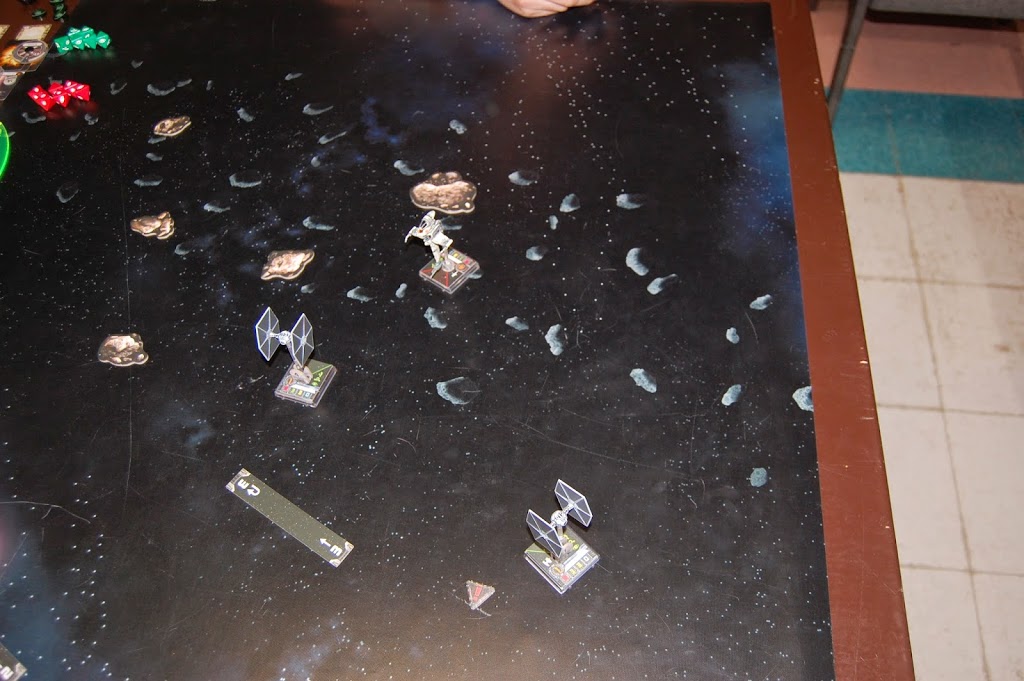
Turn 1
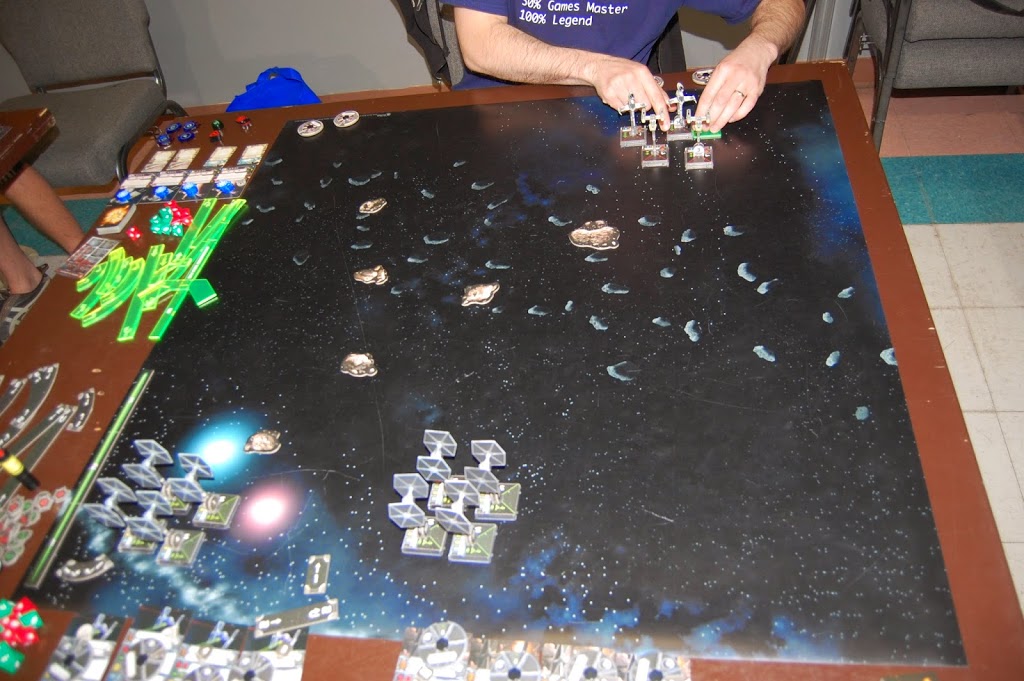
As you can see, for Asteroid placement in this game I concentrated on opening up space in my Right Flank as this is where I wanted the majority of the flying to take place.
I deployed the Academies on to my Left Flank despite the host of Asteroids knowing that Greg would be foolish to set up for a joust in that area he obliged and placed his Pilot Skill 2 Y-Wings on my Right Flank, and so the trap was coming together. The Obsidian then set up approximately two ship lengths away from the Academies facing along the table towards my Right. The Photo shows my opening moves of a Hard 1 Right for the Academies and a 2 Ahead with a Barrel Roll in to the table for the Obsidian Squadron, opening up room for the Academies to join them if Greg continued a charge down that flank. (He only did a 1 forwards to bait out my first move)
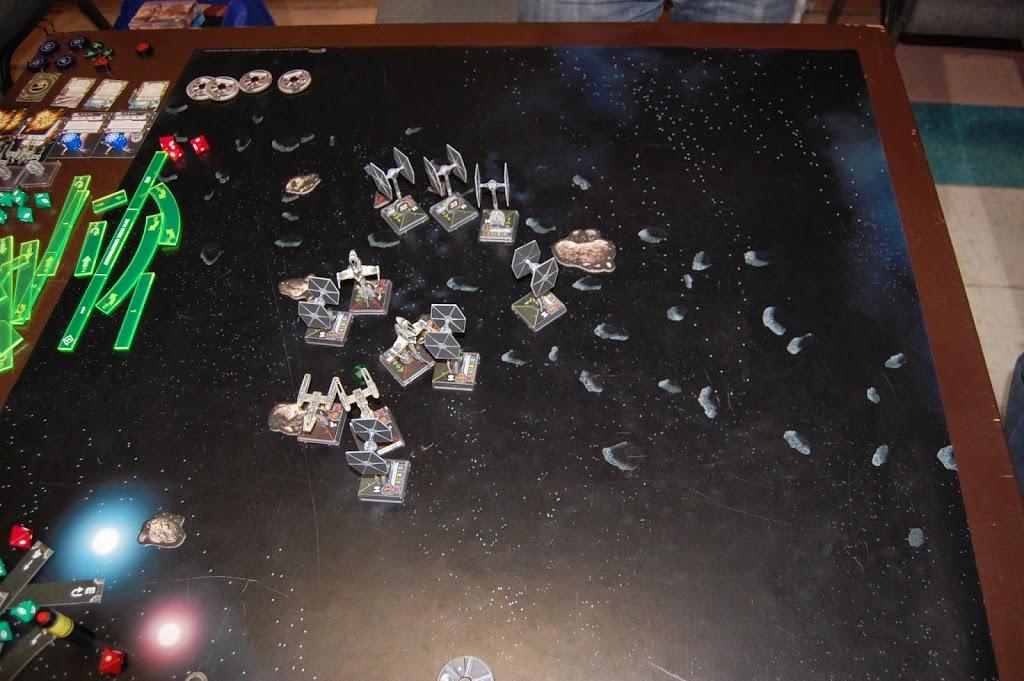
Turn 2
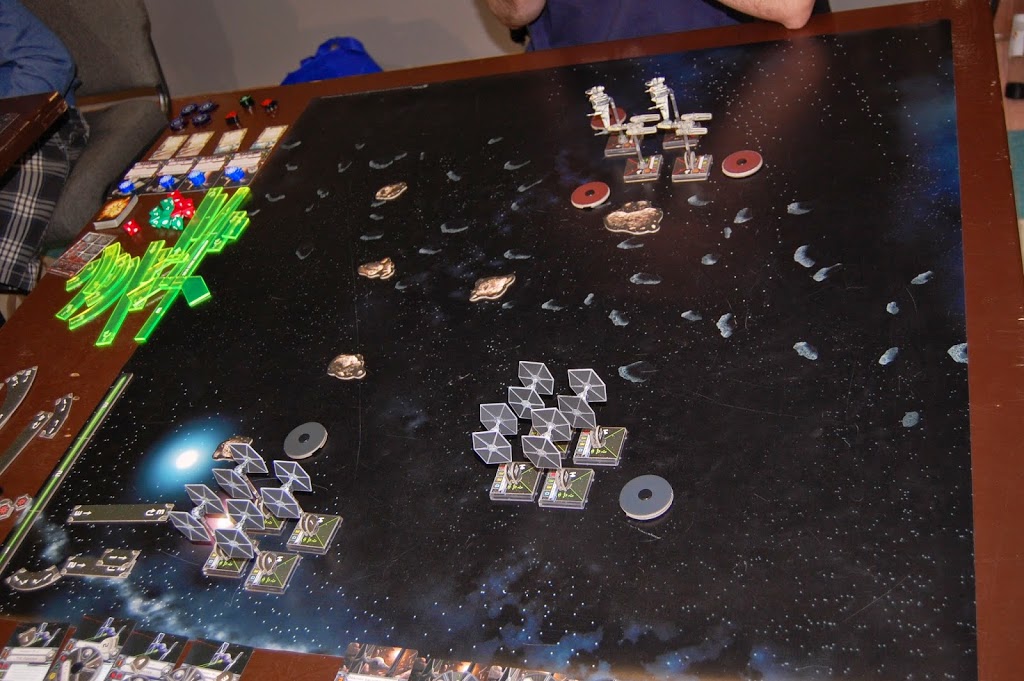
I picked up the pace a little with the Academies moving 3 Forwards (remember I said that I had deployed more than 2 Ship lengths to the right so I knew that there was going to be room before the Obsidian Squadron moved as I had moved 2 the turn before and had the extra half base length from the Barrel Roll forwards.) Speaking of the Obsidian Squadron they maintained course with another 2 ahead and Barrel Rolled in again to make even more room in case the academies needed to speed in behind them.
Greg made the sensible choice of doing a hard Right in behind the asteroids but I knew that he would have to turn towards me next turn as the time it would take him to maneuver around the tight formations would allow me in behind him or to sweep back around and hover in my open bit of table.
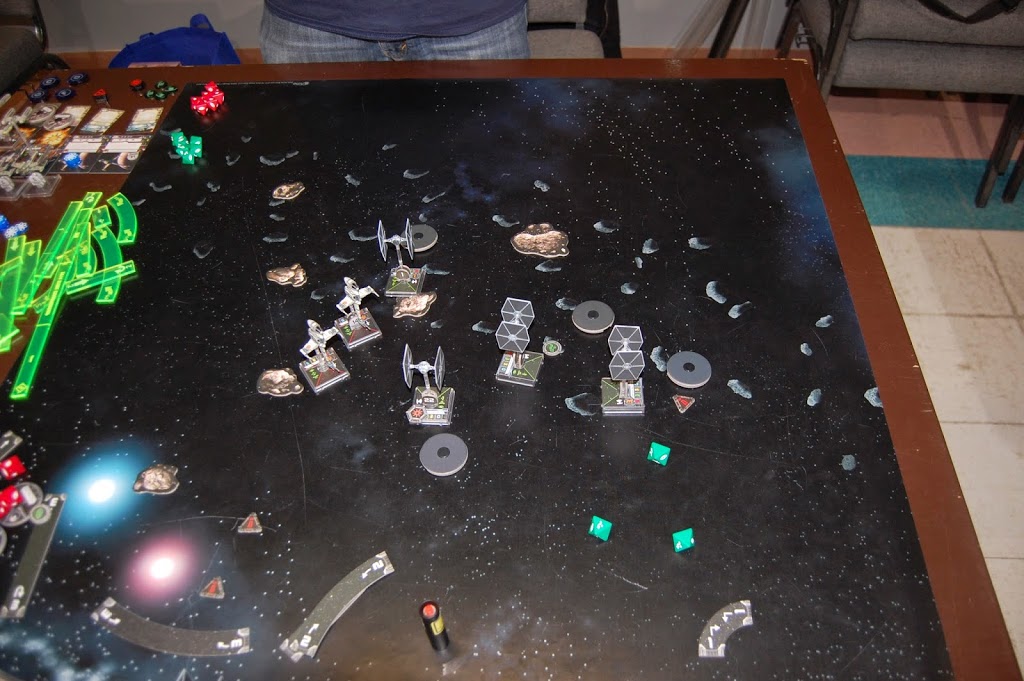
Turn 3
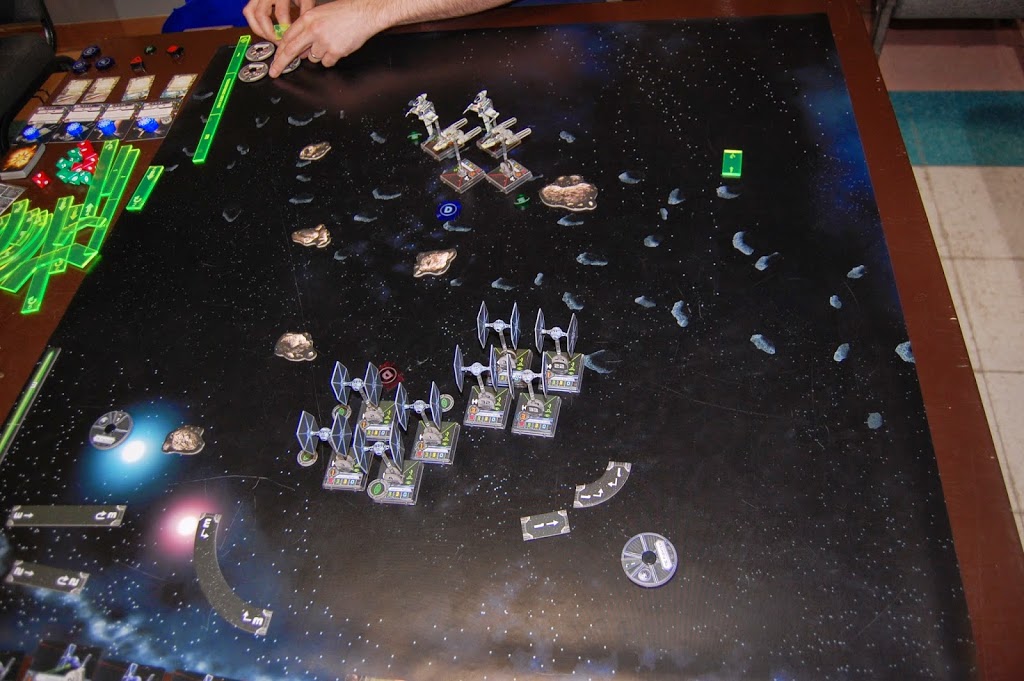
This is the turn that really shows the strength of the 8 TIE 2 Pin Wheel set up. I took the chance that Greg would chose this turn to cut in to the table and sprang in to action the Academies did a hard 3 to the left bringing them in to a dominating position over the center of the board whilst the Obsidian Squadron did a Hard 1 and Barrel Rolled to the Left to make a tight group matching the line of asteroids meaning that if Greg wanted to move in to the open space he was going to have to fight through the entire Swarm!
Greg did surprise me a little going slow on his bank as I had expected him to power forwards this round to try to isolate one group. This did mean however that his B-Wings were out of range and arch. In the opening exchange the 5 TIE Fighters I had in range all Shot the same Y-Wing Stripping its shields for no return damage.
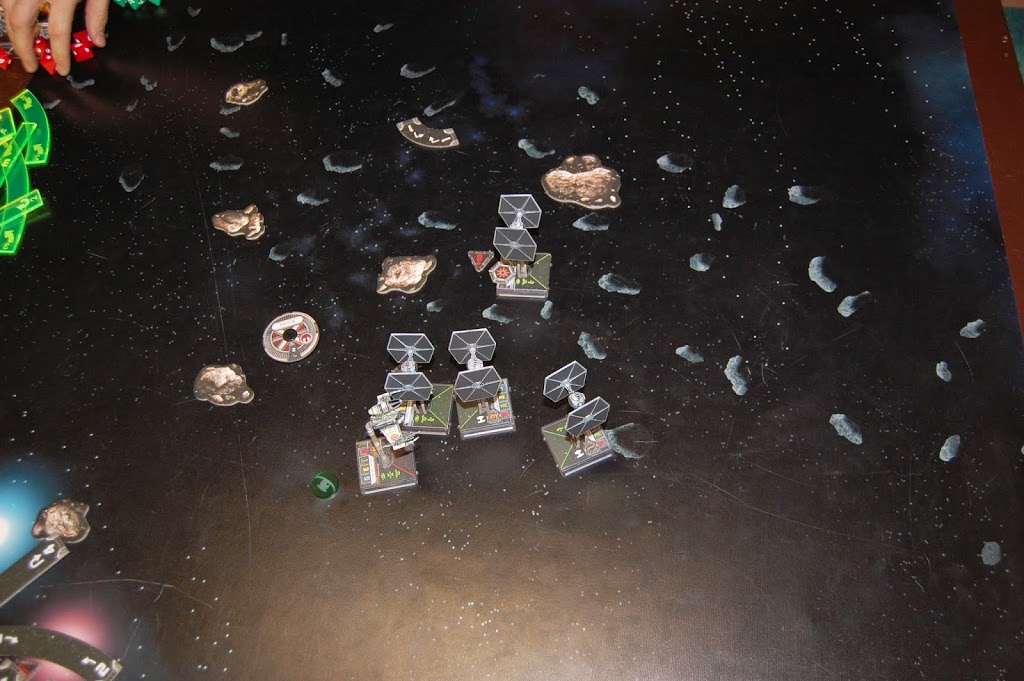
Turn 4