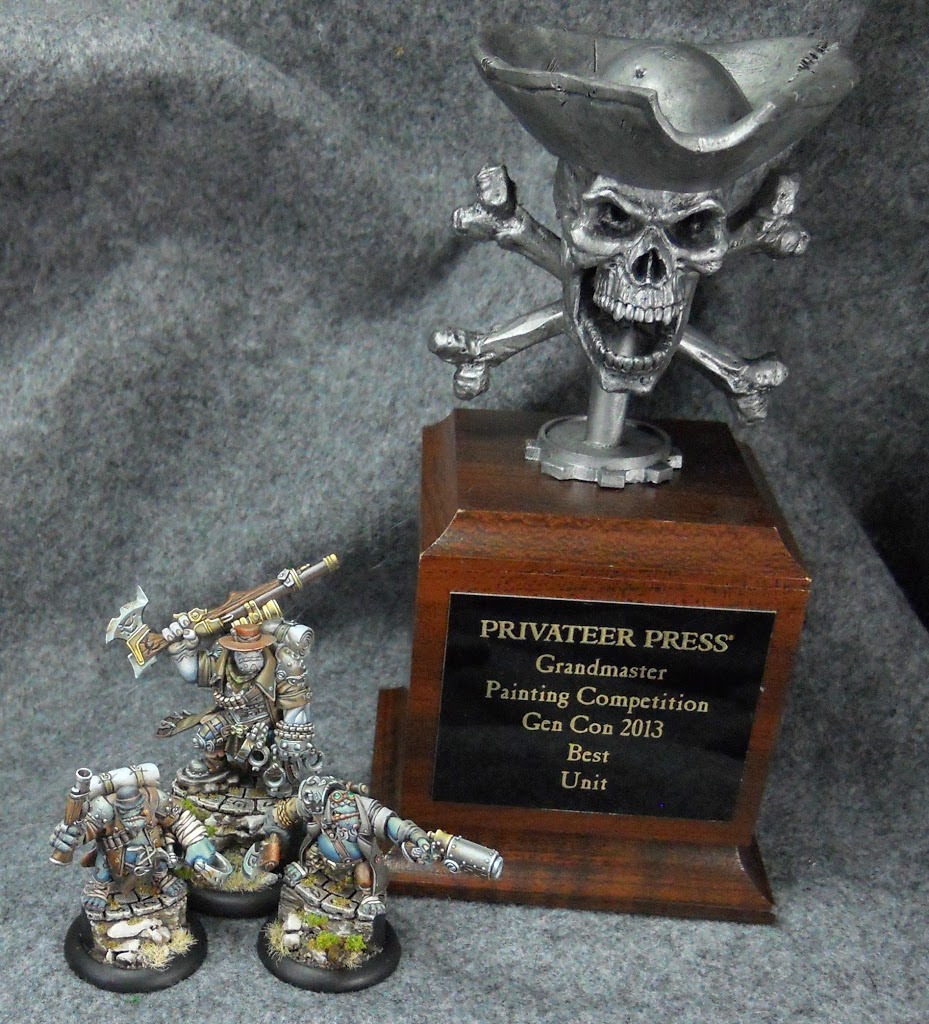
SHOWCASE: Painting The Award-Winning Hunters Grim Pt. 2

Time for part 2 of painting The Hunters Grim. Get your brushes ready everybody – let’s get started!
Last time I covered painting Grim himself. This time I’ll be going over his two pals Mugs and Krump. I’ll be skipping any techniques already covered in the first article, so be sure to check it out here.
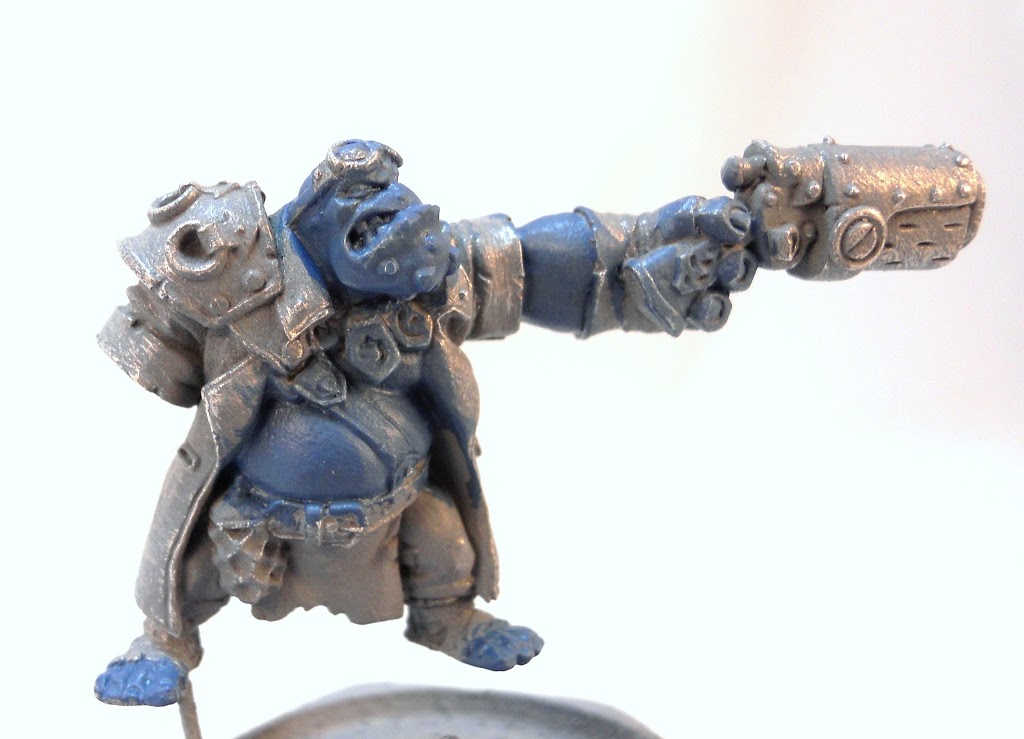
I start with a basecoat mixed from P3’s exile Blue with a bit of Umbral Umber, Beaten Purple, and Frostbite mixed in. Its the same color I mixed up for my Mountain King when I was painting him last year.
I highlight the basecoat by blending in some Thrall Flesh.
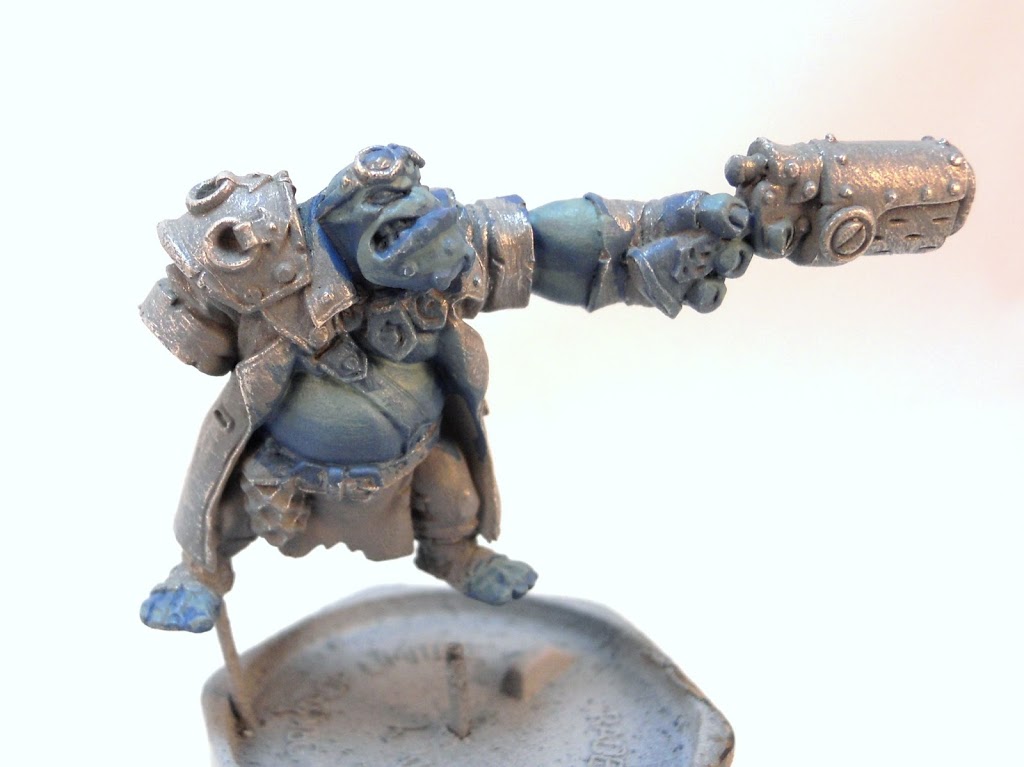
I increase the intensity of the highlights by adding more Thrall Flesh. In a few places I lighten the highlights even further by adding in some Menoth White Highlight.

To shade the flesh I gradually blend a mix of Umbral Umber and Beaten Purple into the blue basecoat.
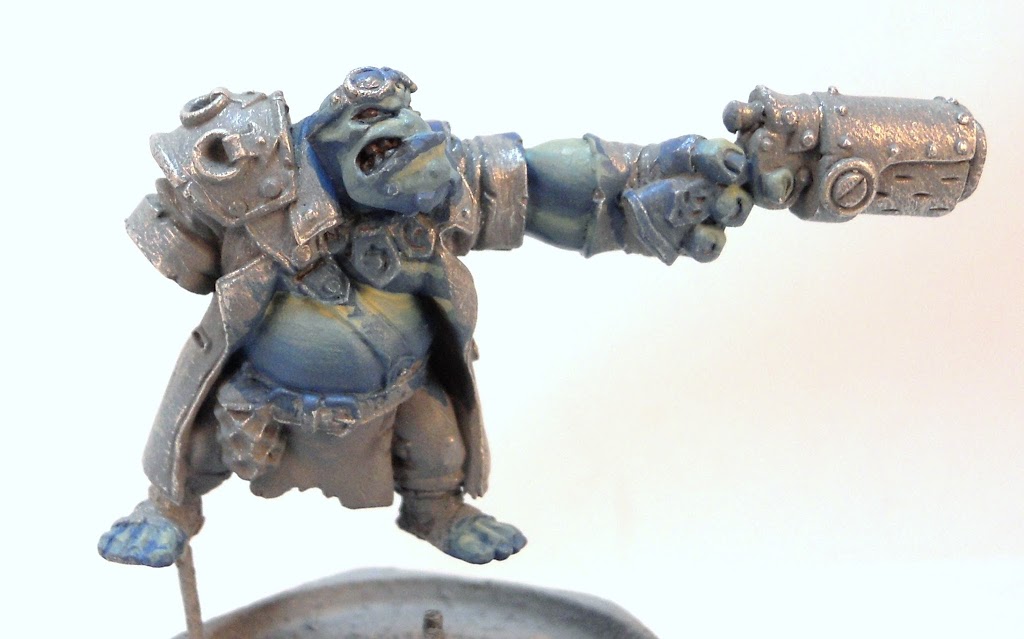
For the lips, scales and fingernails, I begin with a basecoat of Bootstrap Leather. This is highlighted with a mix of Ryn Flesh and Menoth White Highlight. The same Umbral Umber/ Beaten Purple mix is used for shading these areas as well. With the flesh complete, I begin working on the trench coat which gets a basecoat of Thornwood Green.
I begin adding highlights by blending some Frostbite in to the Thornwood basecoat. Shading is added with Deep Red mix.
A few highlights of pure Frostbite are added before everything is carefully blended together.
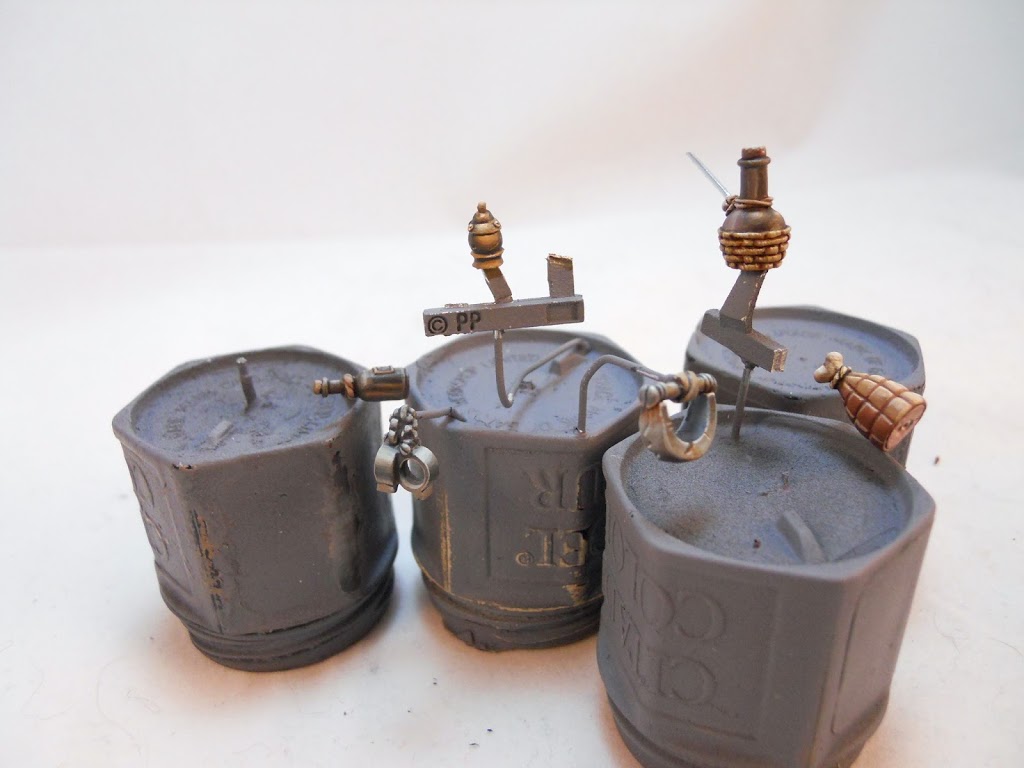
So yeah, I used this picture in the last article. It’s here again since most of these bits are used on the pygs rather than Grim himself. Lets go over some of the pieces I didn’t go into before.
Lets talk ham. Meats like the ham use very similar colors as fleshtones. That’s why I started the ham with a basecoat of Bootstrap Leather. It’s my favorite color to use for tanned skin. This was highlighted with a mix of Rucksack tan and Ryn Flesh with final highlights of Menoth White Highlight. The intention here was to give it a warm tone like a nice caramelized glaze. To shade the ham I used some more of that Umbral Umber/Beaten Purple mix.
The little urn in the middle was basecoated with Thornwood Green and highlighted with Rucksack tan and of course – Menoth White Highlight.
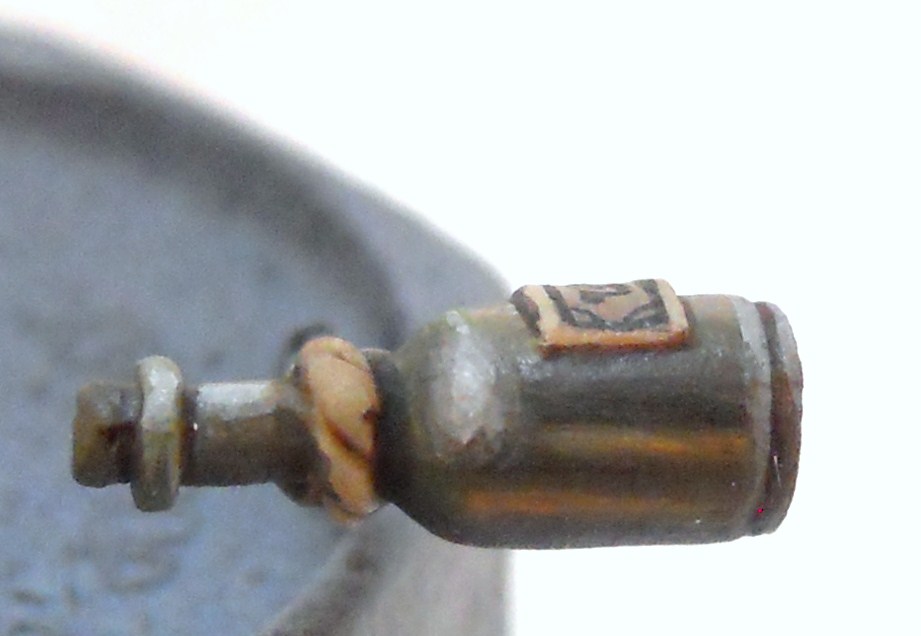
Here’s a close-up of the wine bottle. While I already covered bottles with Grim’s in the last article, I think this one ended up better.
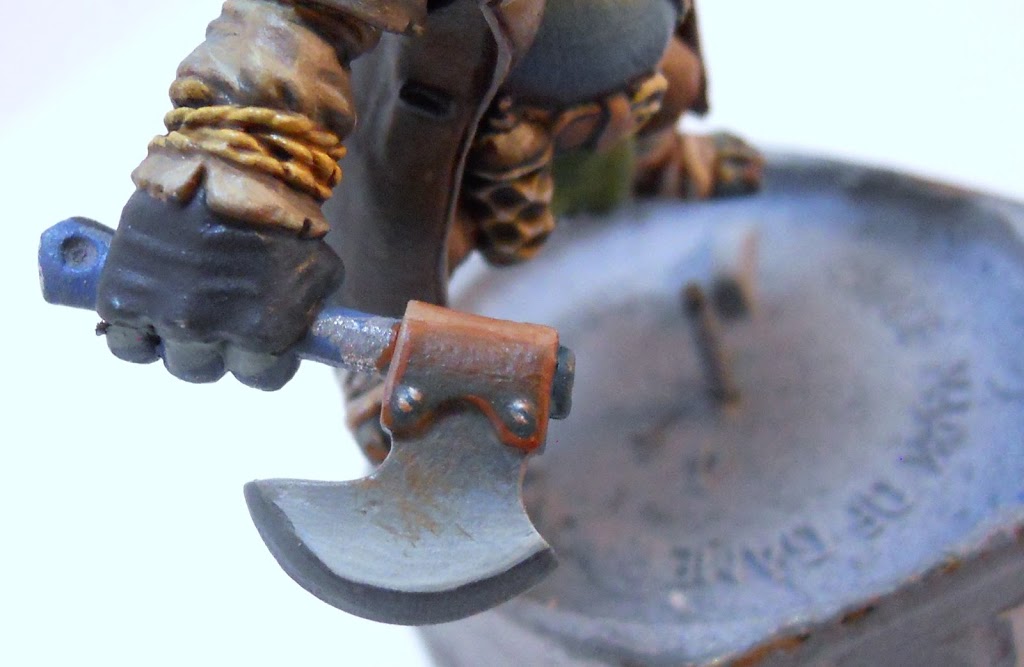
While I already covered a technique for NMM steel in the last article, I only showed a little bit of copper. Here’s a good look at a larger area of copper on this axe. My favorite palette for copper is a basecoat of Bloodstone Highlighted with Frostbite, and shaded with Coal Black.
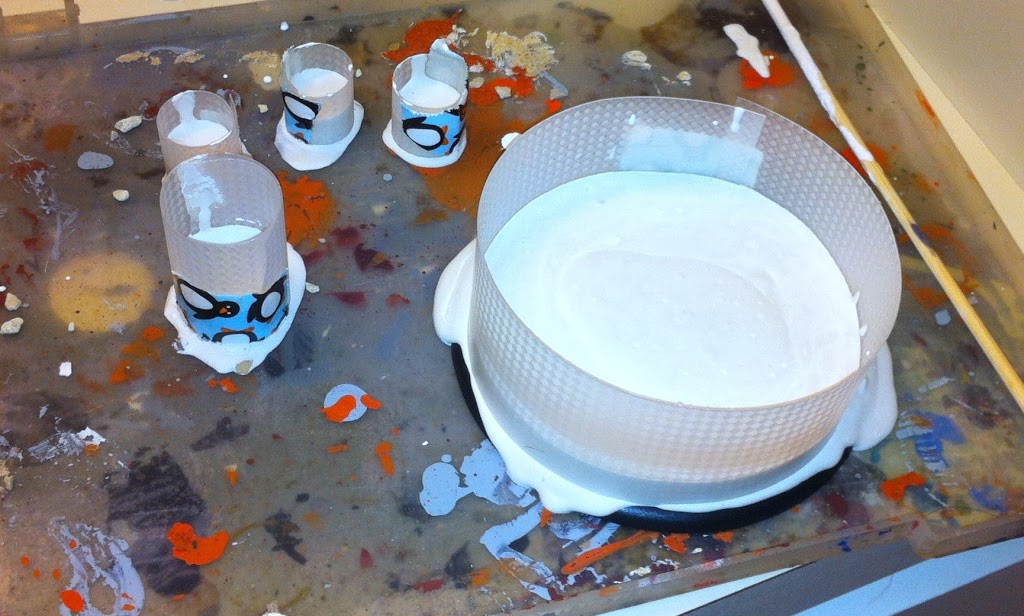
Alright lets sidestep the painting for a little while and go over the bases. The P3 masters have a rule that all entries must fit on bases appropriate for the model type. No ridiculously elaborate display plinths – unless you’re entering the diorama category. In order to create something nice and elaborate that still fits within these restrictions, I’m going to make some basing inserts from casting plaster. The first step is to create tubes to cast inserts that are the right size to fit snugly in the 30 and 40mm bases. I used some plastic sheeting designed to coat shelves. The specific material isn’t really important. It just needs to be stiff enough to hold the plaster, and pliable enough to curve into a tube shape. Before pouring the plaster I throw some gravel in the bottom of the tubes. You’ll see what that’s for in a second. As you can see, a lot of plaster oozes out from around the bottom after it’s poured, so make sure you do this on something that can be cleaned easily. Finally, if you’re wondering what that 120mm base is for, I also made a nice base for my Mountain King for the competition. While the big guy didn’t win the best huge based model category, he was the only huge based model other than the winner to receive a gold coin.
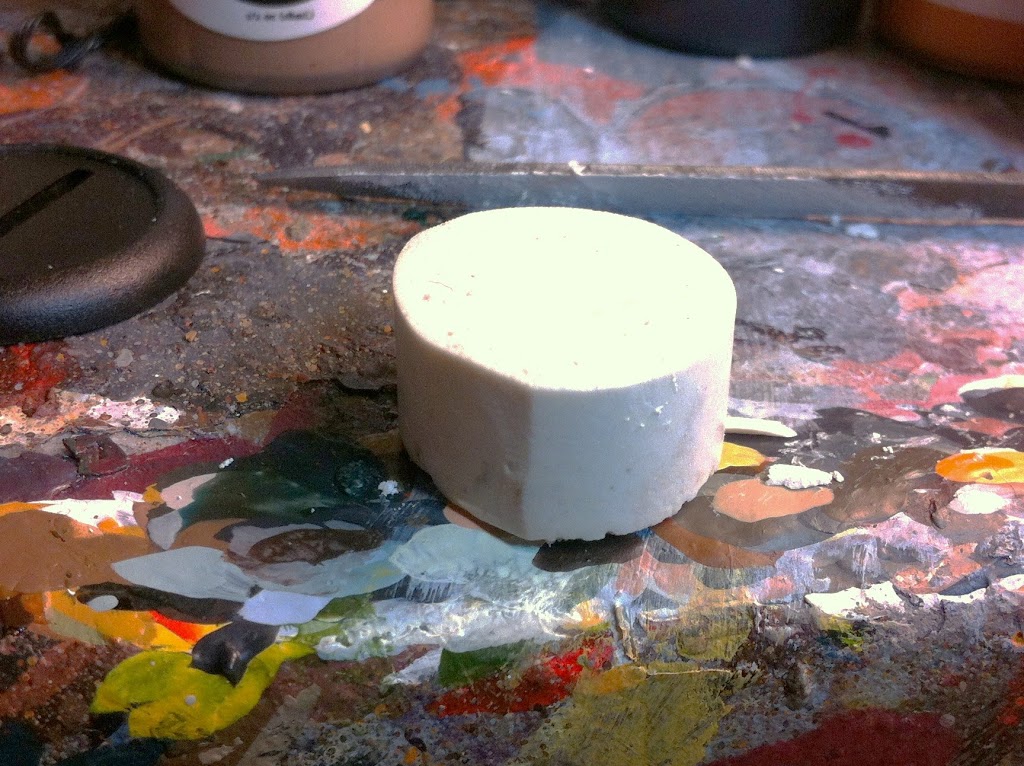
After the plaster sets, but before it’s hardened completely, it’s removed from the tubes. The top is filed down to get a flat even surface.
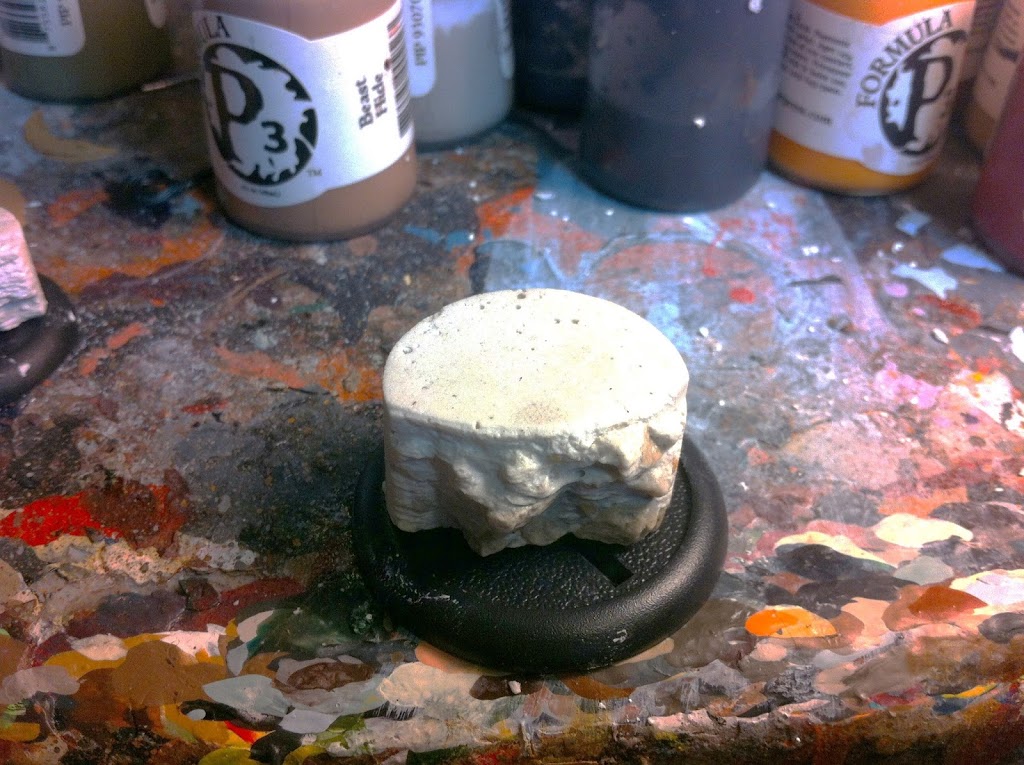
Next I draw an arc into the top with a metal sculpting tool, then chip away the unwanted shape, revealing the stones I put in before pouring the plaster. After that I go at the side with a wire brush. This cleans off the stones, while the resulting scratches in the plaster create the appearance of layers of strata in the soil.
The final step before painting is to carve some stones into the surface. To make things even more fancy, the outer ring of stones get some runes scratched into them.
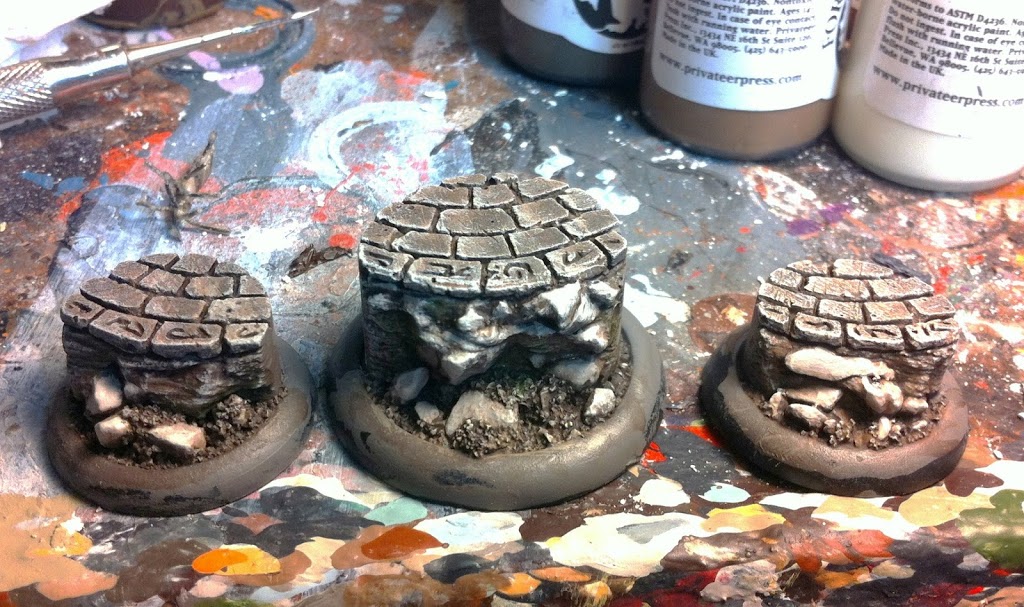
When it comes to painting stone it’s important to never settle with just gray. For these, I began with a basecoat of Bloodtracker Brown which I stippled all over with Ordic Olive while it was still wet. After it had dried, everything was drybrushed with Frostbite before getting a wash of Agrax Earth. After the wash had dried It was time for another drybrush of Frostbite followed by a very light drybrush of Menoth White Highlight. The chunks of gravel were painted manually; also with Frostbite
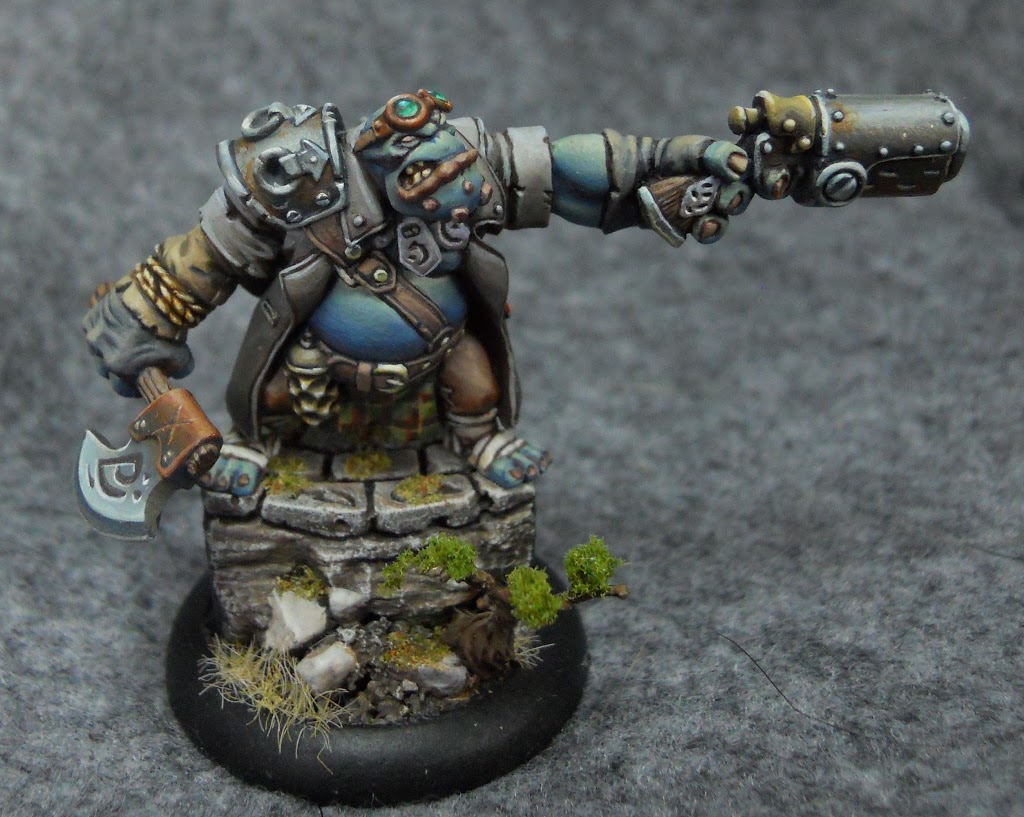
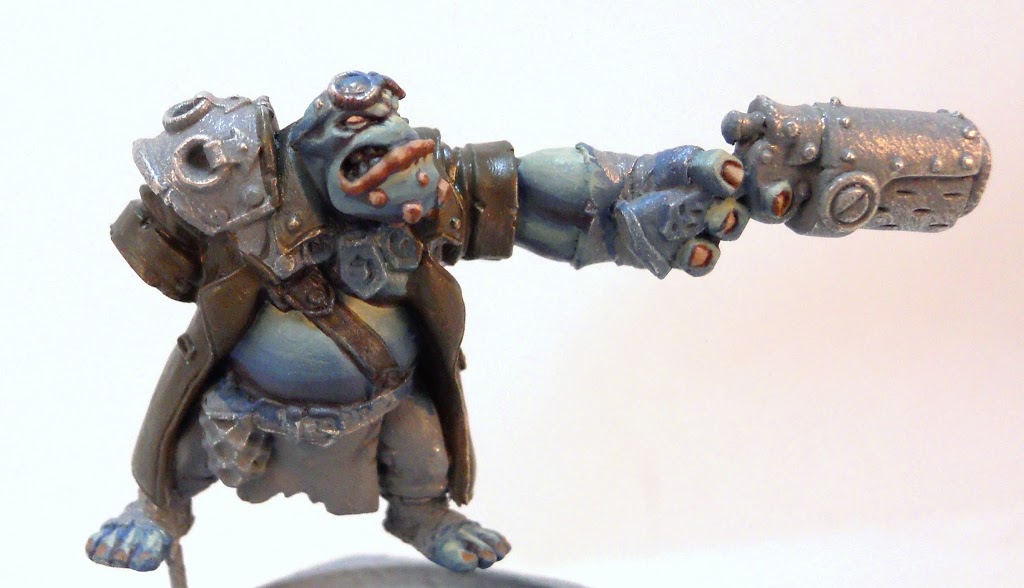
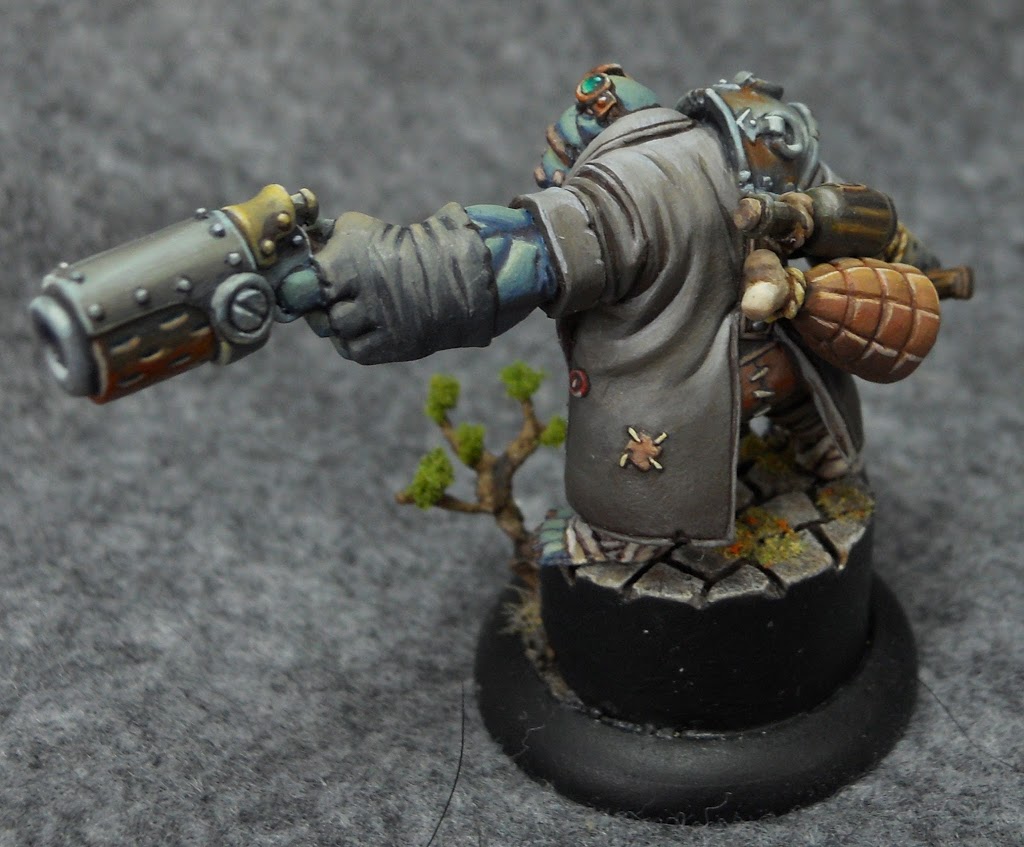
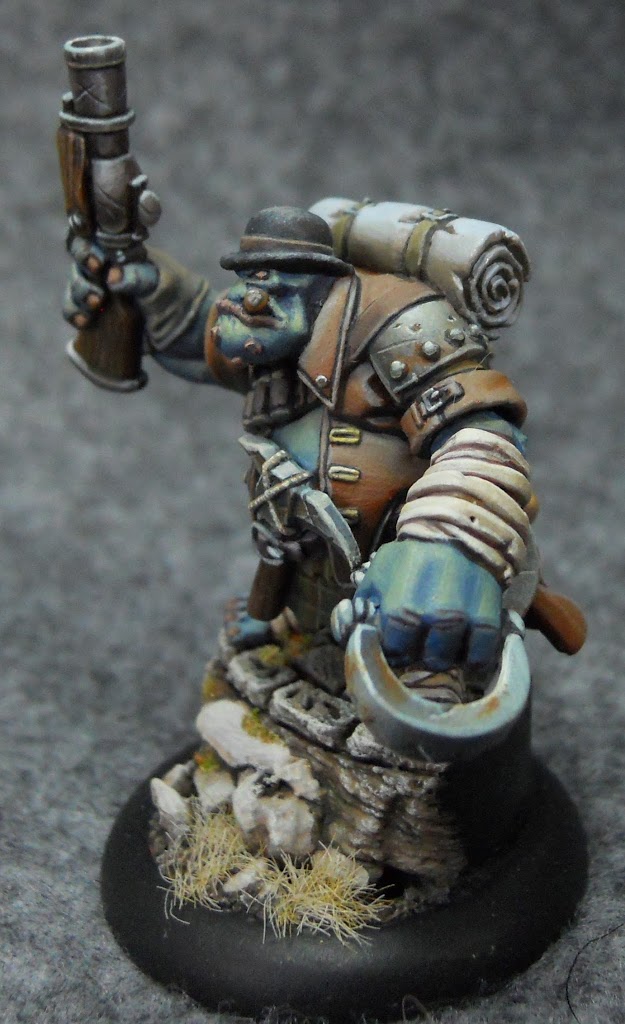
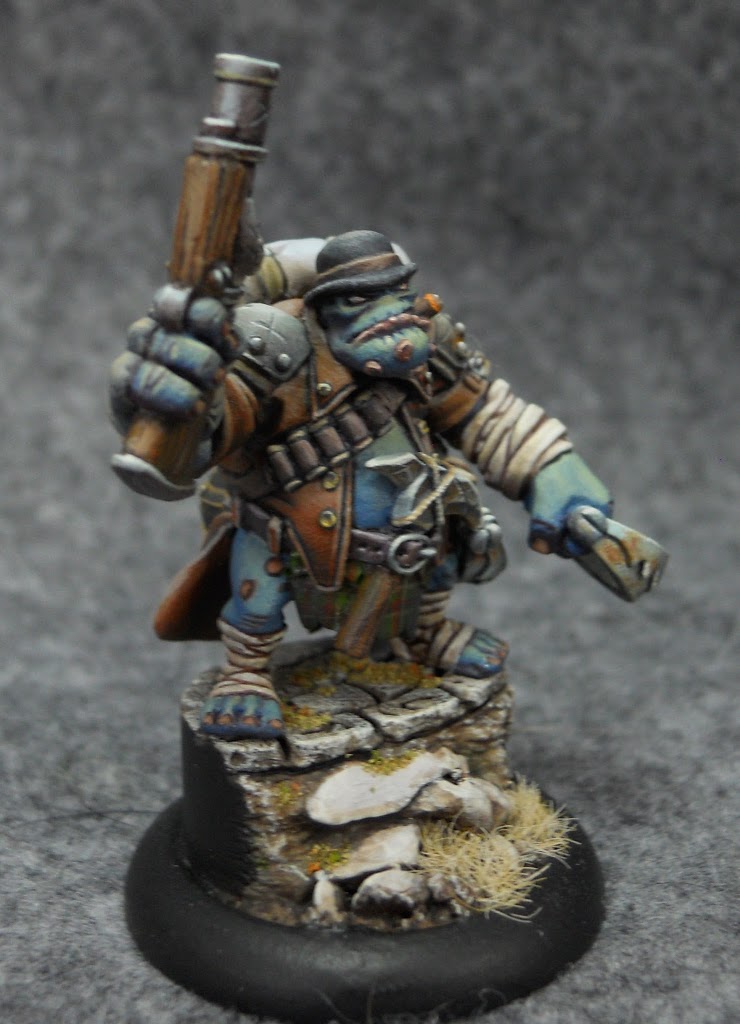
And here he is all finished up. I added some moss and grass to the base after the pyg was attached. I even sculpted a little tree out of wire and white glue. Remember, you can go back and check out pt. 1 again for all the techniques for the missing steps.
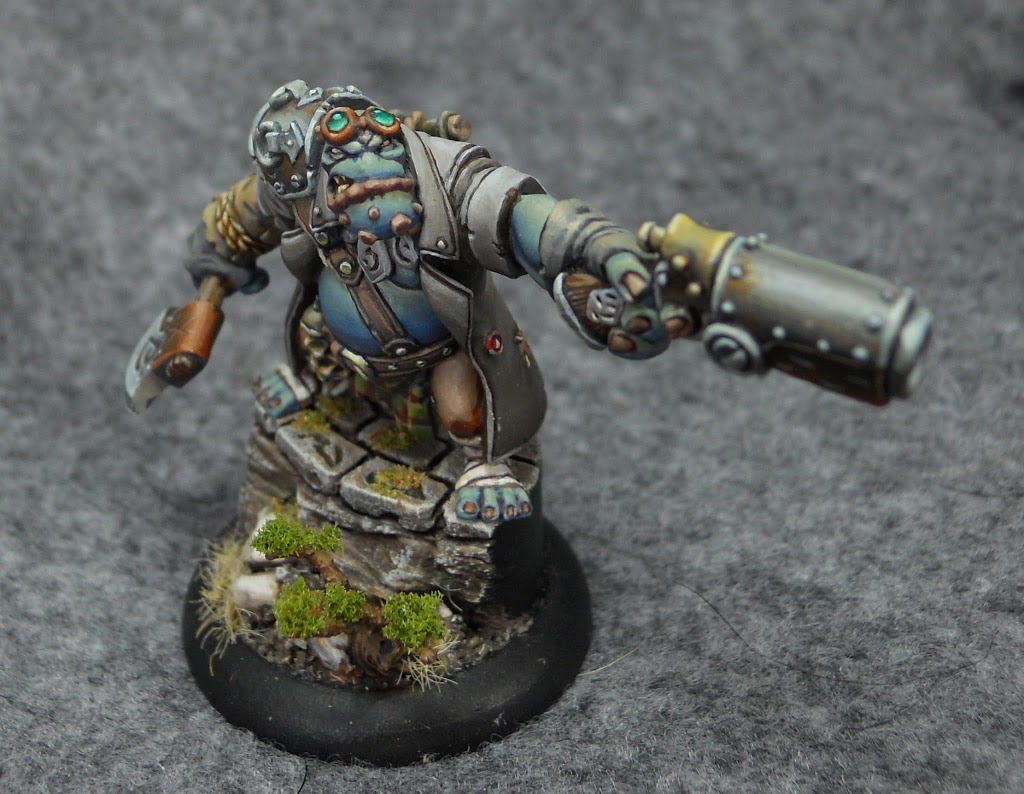
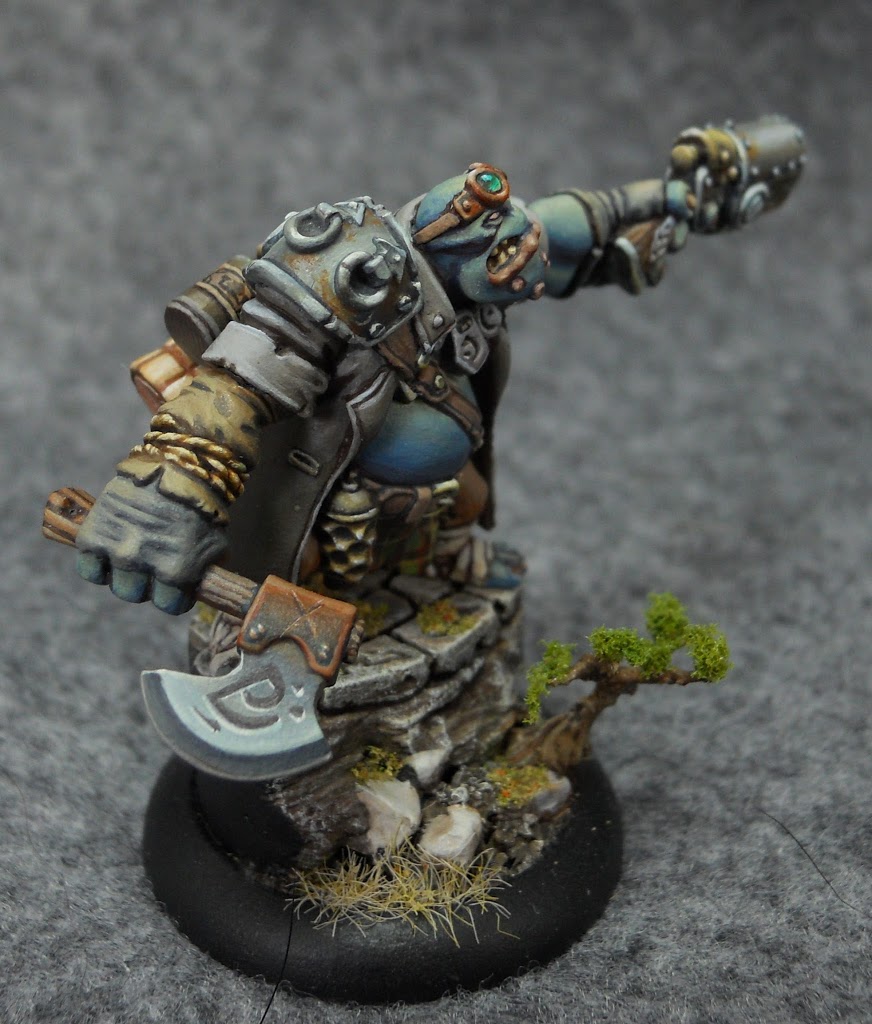
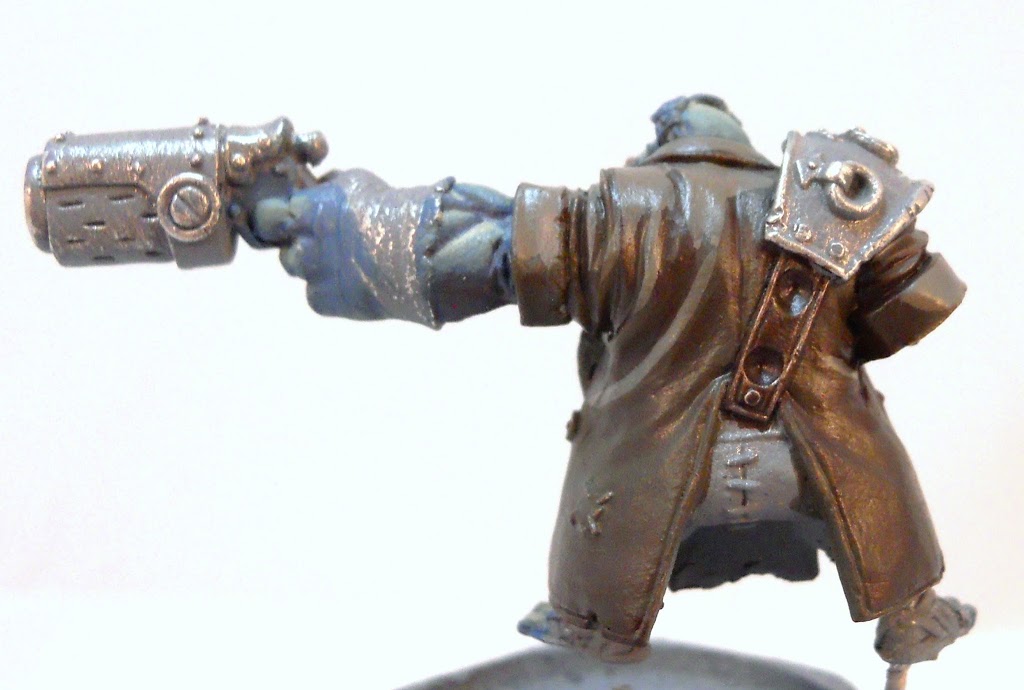
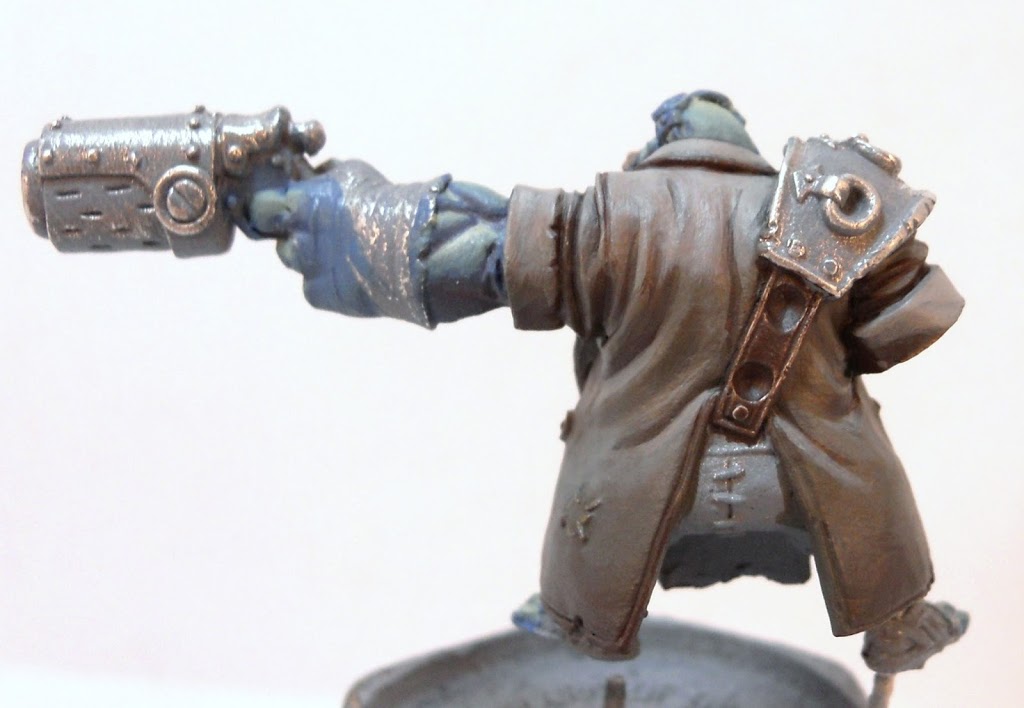
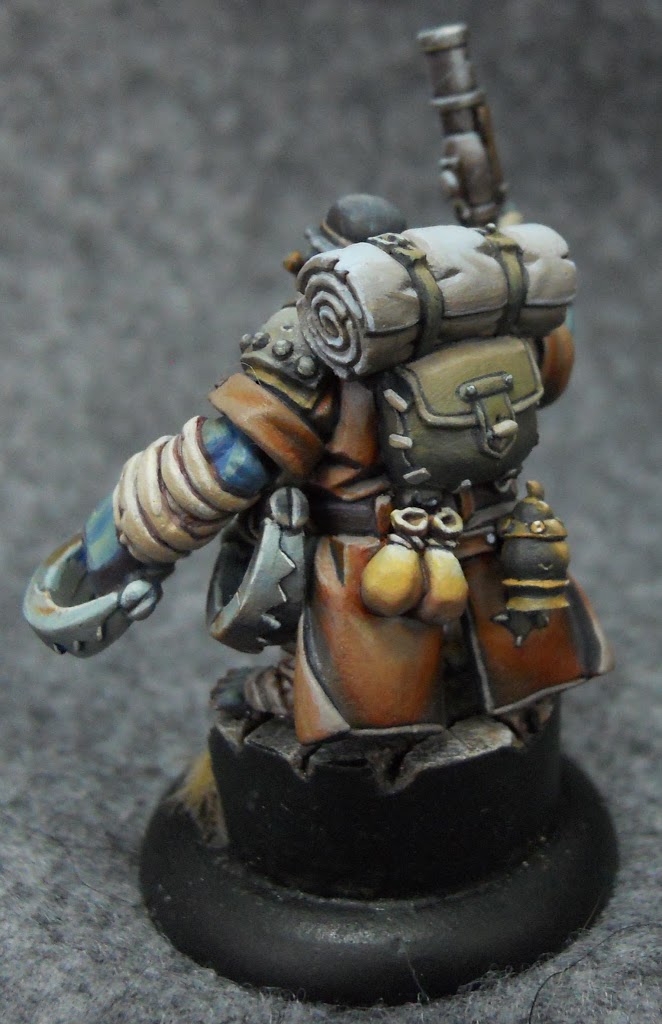
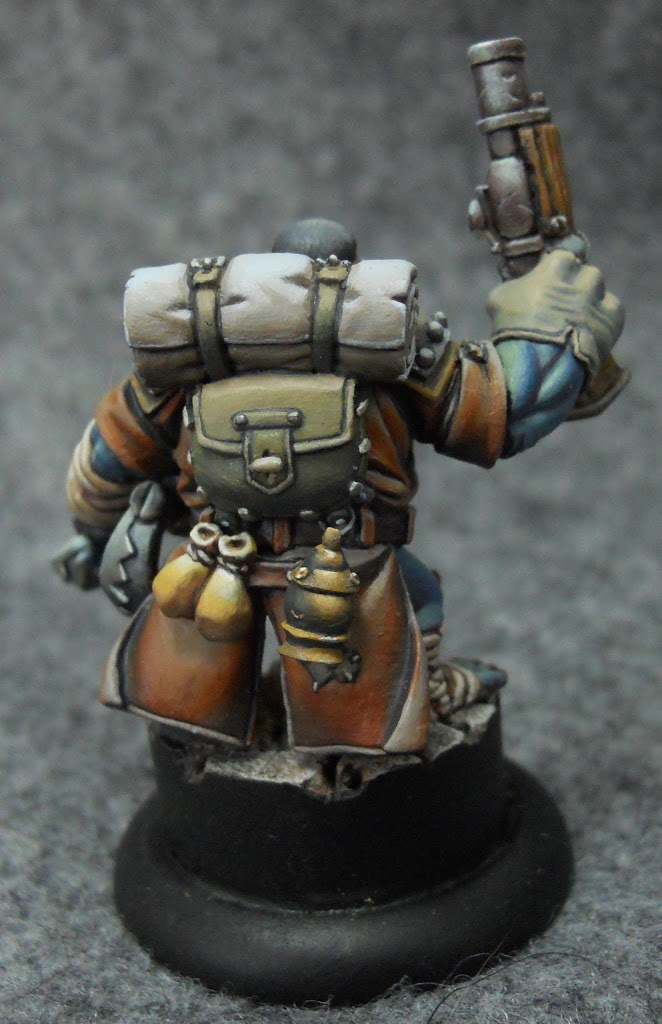
And here’s the last member of the unit.
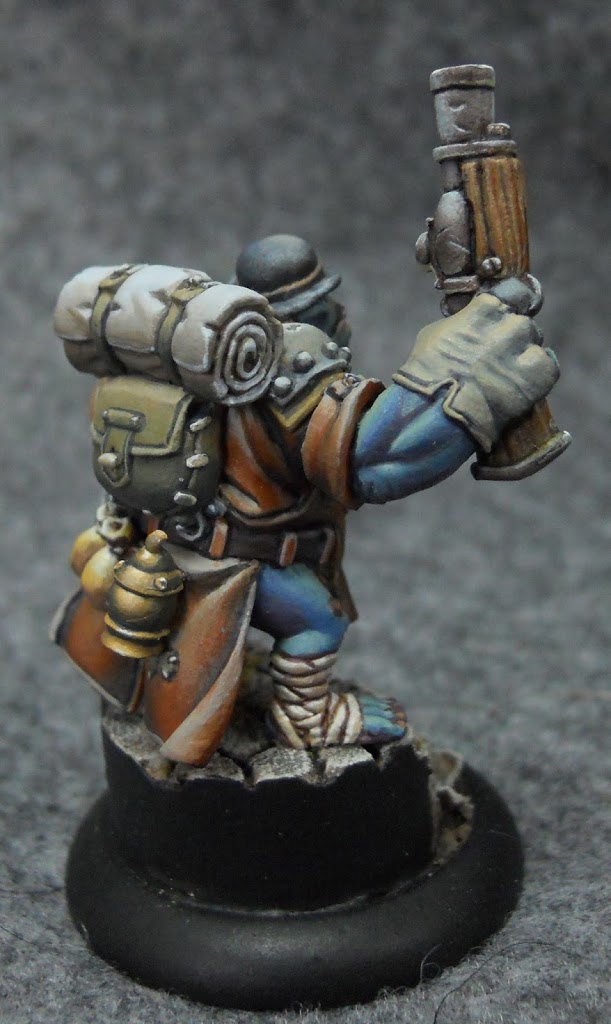
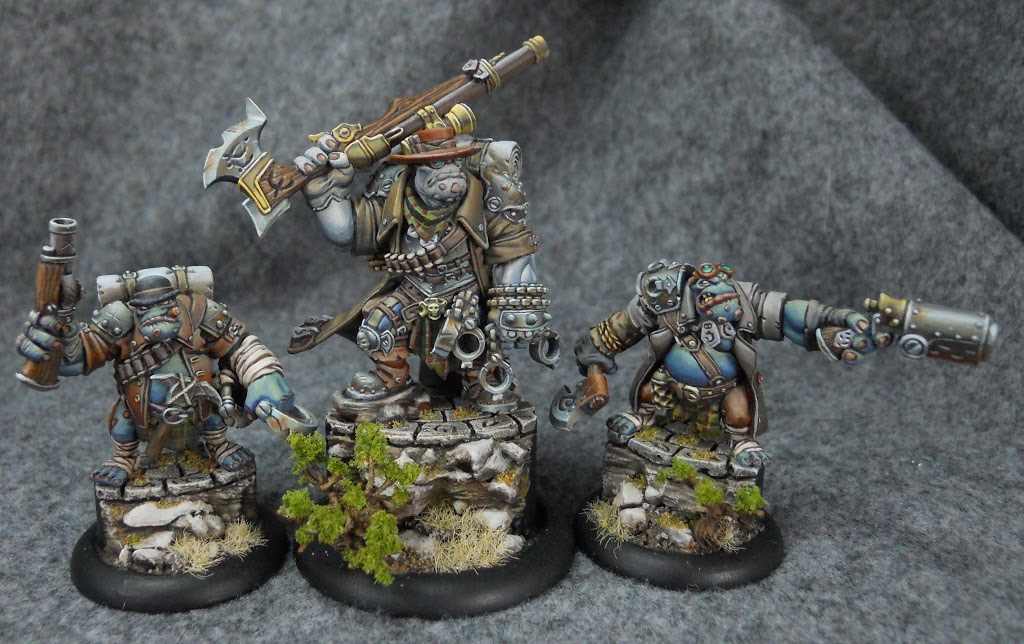
~ And I’ll leave you with a close-up of the group. Feel free to leave any comments or questions.
