Hordes: Painting Circle Orboros Skinwalkers

This next step you can actually skip if you like. If I had it to do over again I would. But I took all these pictures along the way so I’m going to go ahead and use them. I started by following my typical metallics protocol here. That is to drybrush my metal areas with Radiant Platinum…
And wash them with Agrax Earth. This is one of GW’s washes if you somehow didn’t already know about it (it’s the new Devlan Mud). Personally I think I’m moving past the point of using such a mechanical approach to metallics. Later on I ended up covering essentially all of the metal areas painted in this way (more on that later). Except the chainmail skirt – that can definitely be drybrushed and washed.
And because of all that sloppy drybrushing I had to go back in and hit those blue areas again. This is the sort of thing I’m perfectly used to, but wouldn’t have been necessary if I’d known how I’d end up painting this thing from the start. I also began to highlight the blue by adding some Frostbite to the initial mix.
A little more Frostbite is added and the highlighting continues. As I add more layers I increasingly restrict their application to the zenith of the shoulderpad in an attempt to create a strong highlight point. I also add a little shading with Umbral Umber.
In addition to doing one last Highlight layer, I also do something a little out of the ordinary. I add just a little bit of contrasting color in the shadow. This mix of Bloodstone, Sanguine Highlight and Umbral Umber has a reddish-orange tone and should really make the blue armor pop and give it a little something extra to create visual interest.
Now for one of those un-fun steps. I went in and outlined the armor accents with Umbral Umber to prep them for the next step.
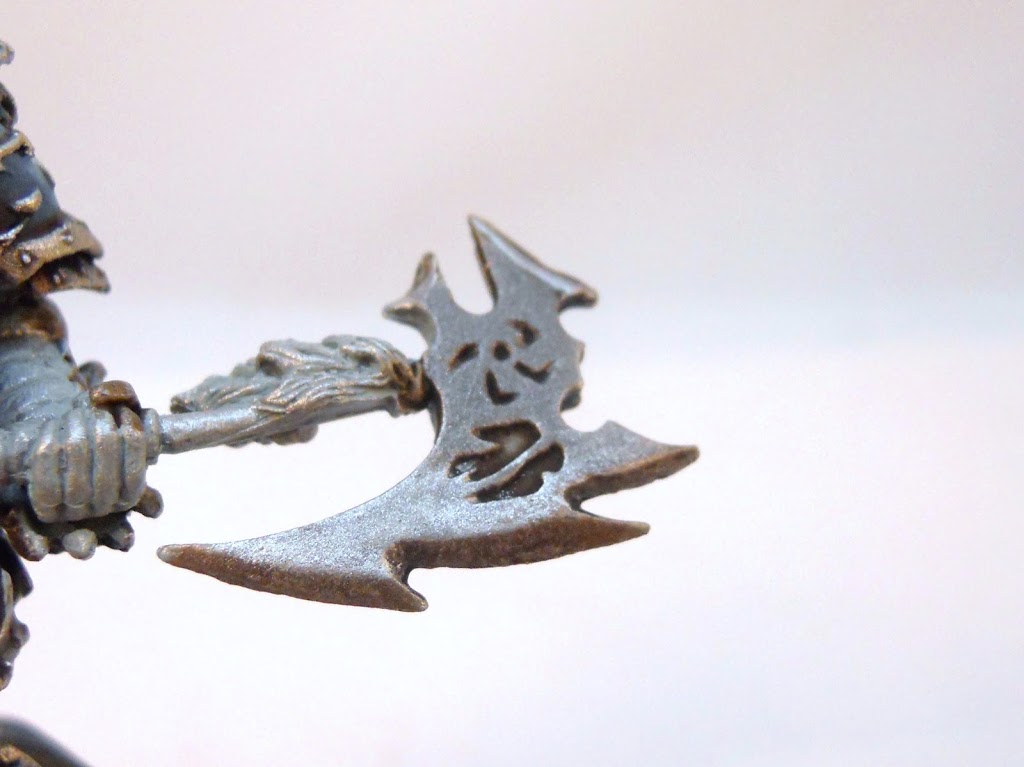
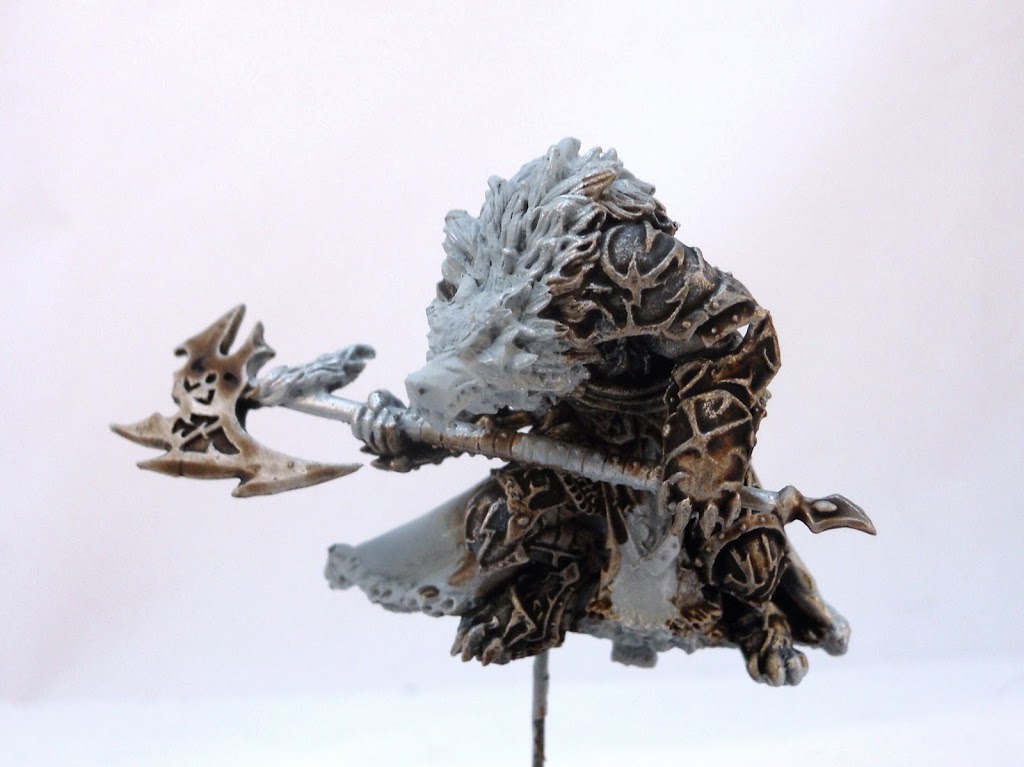
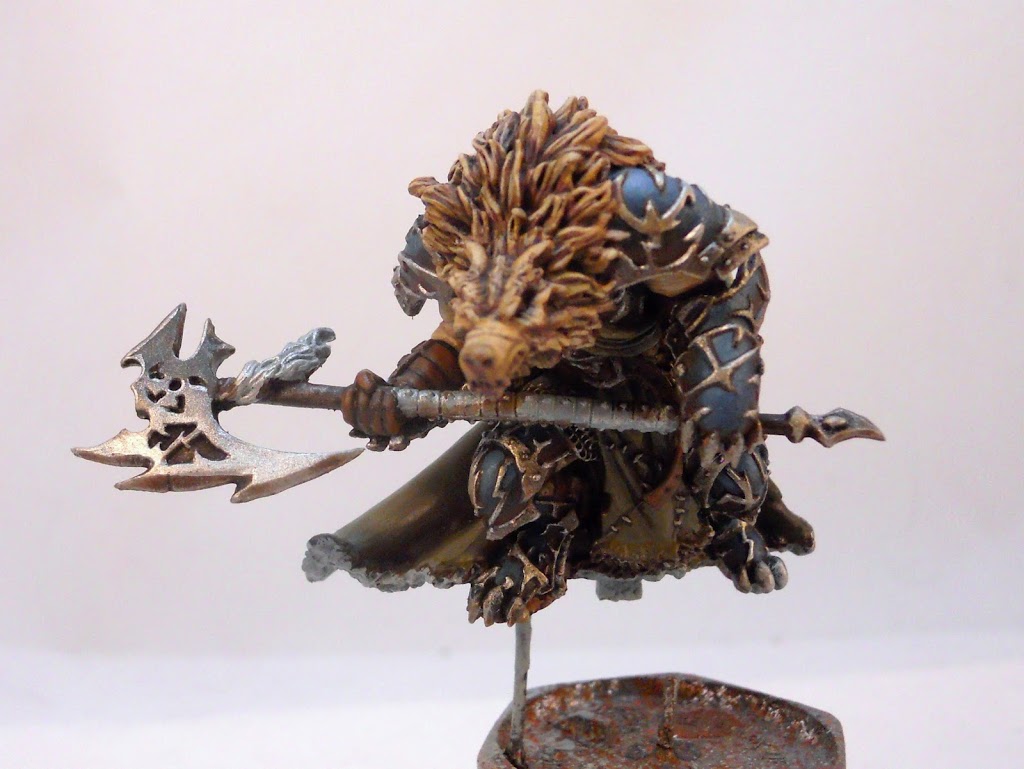
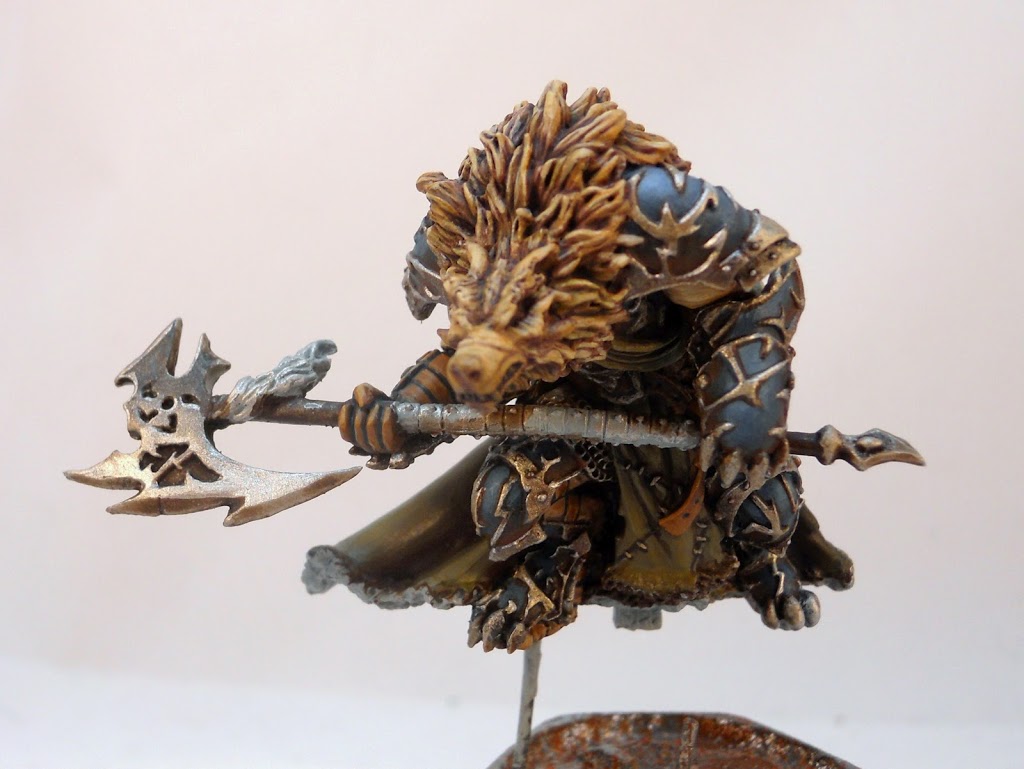
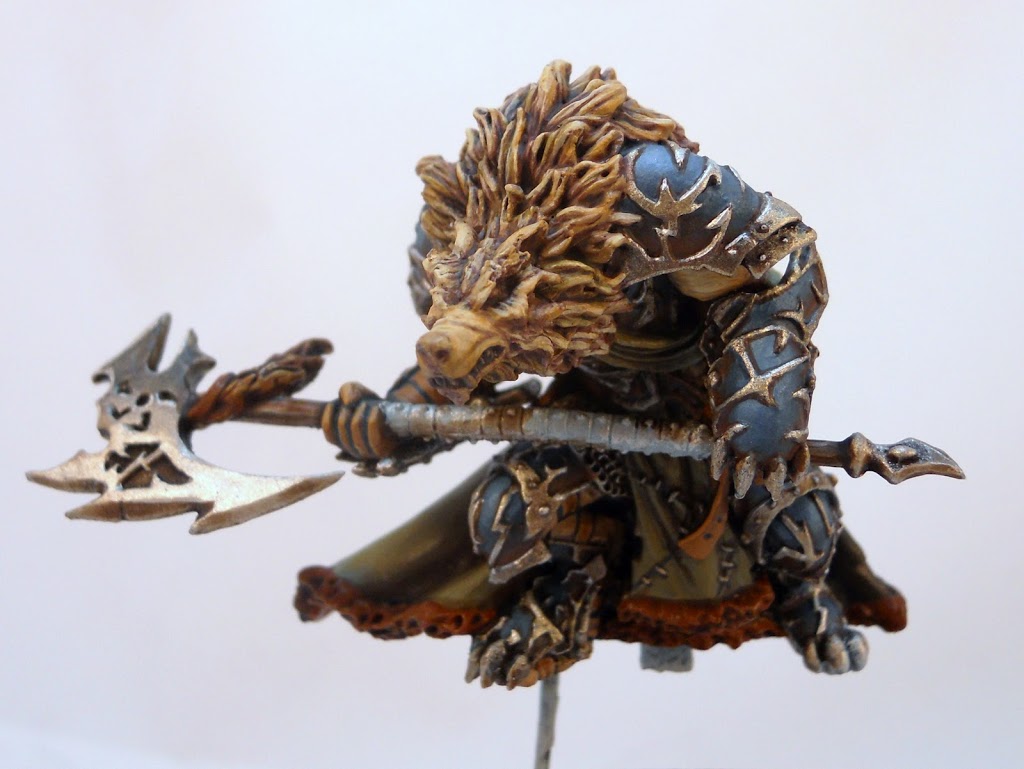
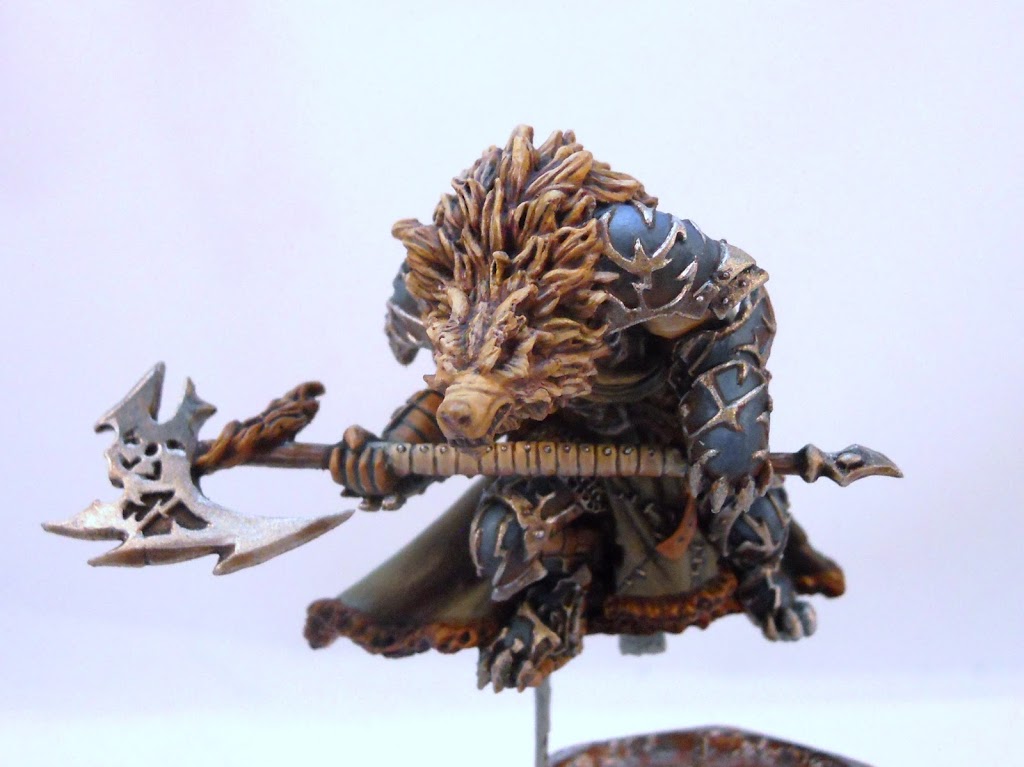
Now I’m at a step where I can expand a little more on the hands on metallics I brought up earlier. “True Metallics” as they’re often called are done by painting metals in the same way as you would any other surfaces. The metal is your most extreme highlight and you simply add darker colors to shade it. The axe seemed like the easiest place to show what I was doing. I find it particularly difficult to get WiP shots of these techniques. That being said what you’re looking at here is the first step. I’ve applied pure Radiant Platinum towards the blade, then Radiant Platinum mixed with Umbral Umber is happening higher up on the blade. When it comes to metals, flat surfaces like this axe end up looking best when you reverse the standard highlight to shadow gradient. That means lighter at the bottom blending darker as you move upward. Or you could try applying the pure metal to the middle and shading outward in either direction. Conversely, in the case of a rounded surface like this guy’s shoulderpads, you keep the lighter regions towards the top, and shade darker as you go down.
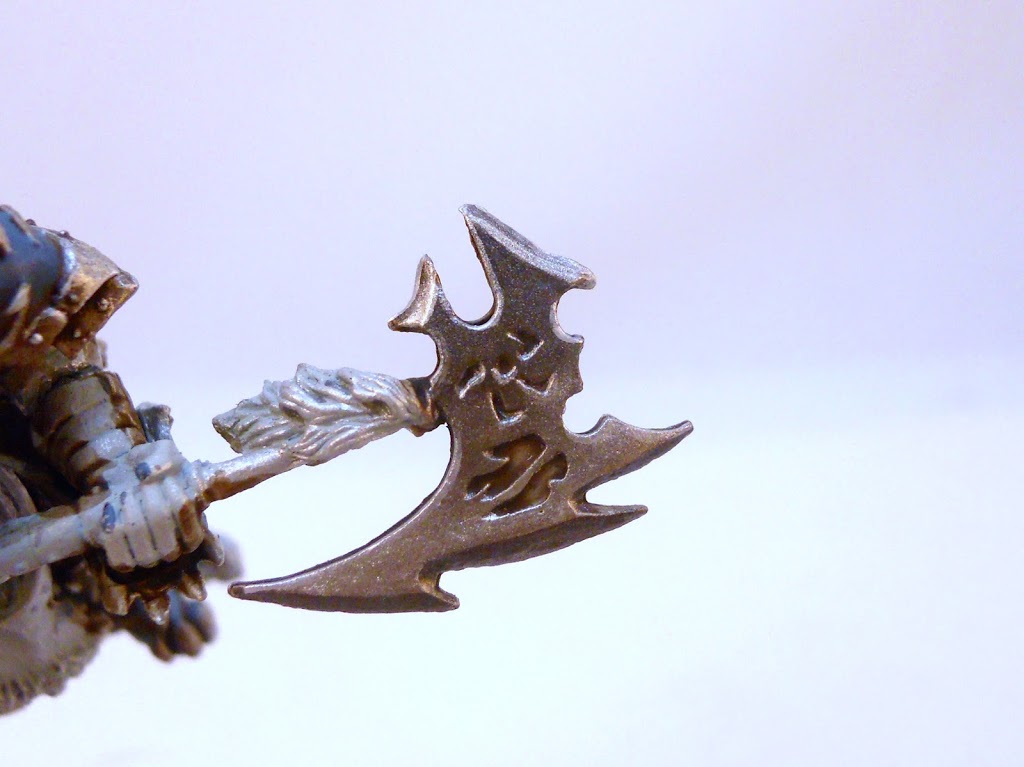
Then I smooth out the transition by varying the ratios of metal to shade tone. Metallics actually respond really well to simple layering techniques when it comes to blending. There was no wet blending used here, just thin layers built up. You don’t actually need that much metal mixed with your shade for its (for lack of a better word) metalliness to be noticeable. The darkest area at the top is only about 1/10th Radiant Platinum. The rest is black with a little bit of Umbral Umber added for color. Once I have a nice smooth gradient I like all the ridges and surfaces facing up get a nice little thin highlight line of pure Platinum.
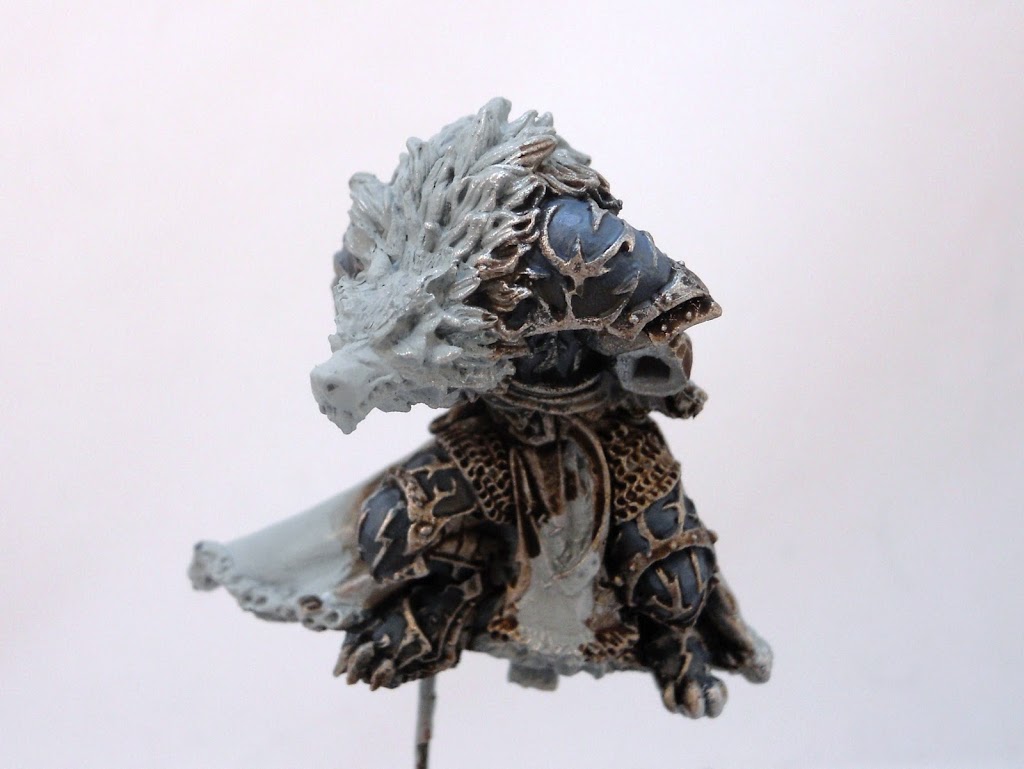
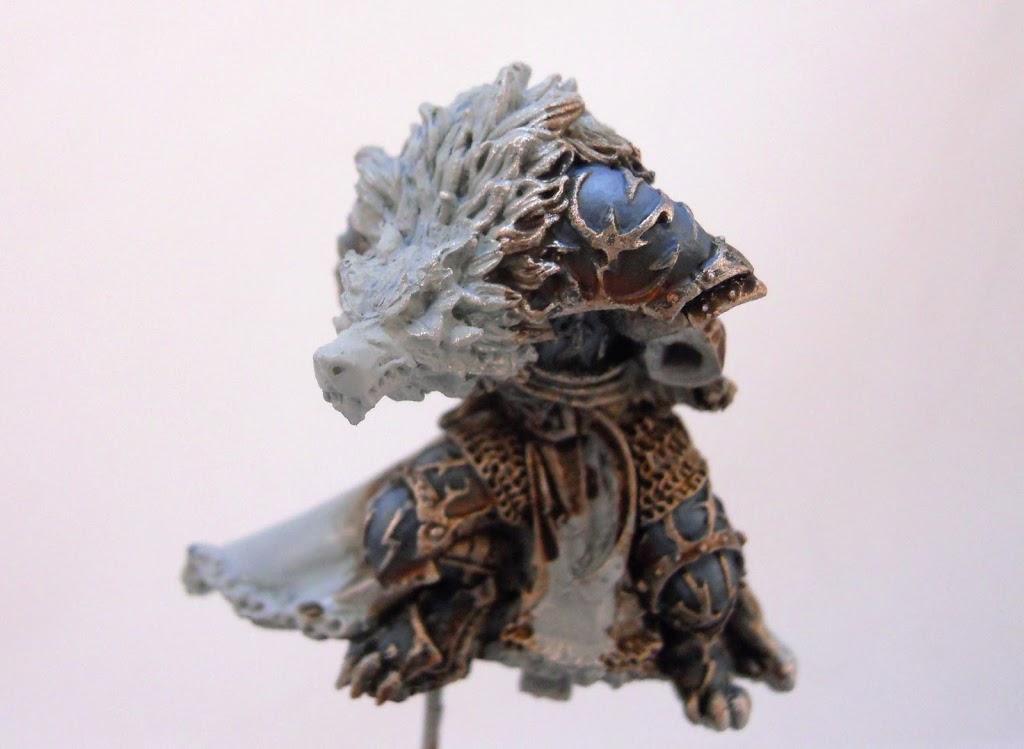
I used the same techniques for the rest of the armor, but added a very small amount of Bloodstone to the Radiant Platinum highlights. I think this tiny hint of orange plays off the blue nicely. And with the metals applied, its time to move on. I used Beast Hide to base all the fur areas.
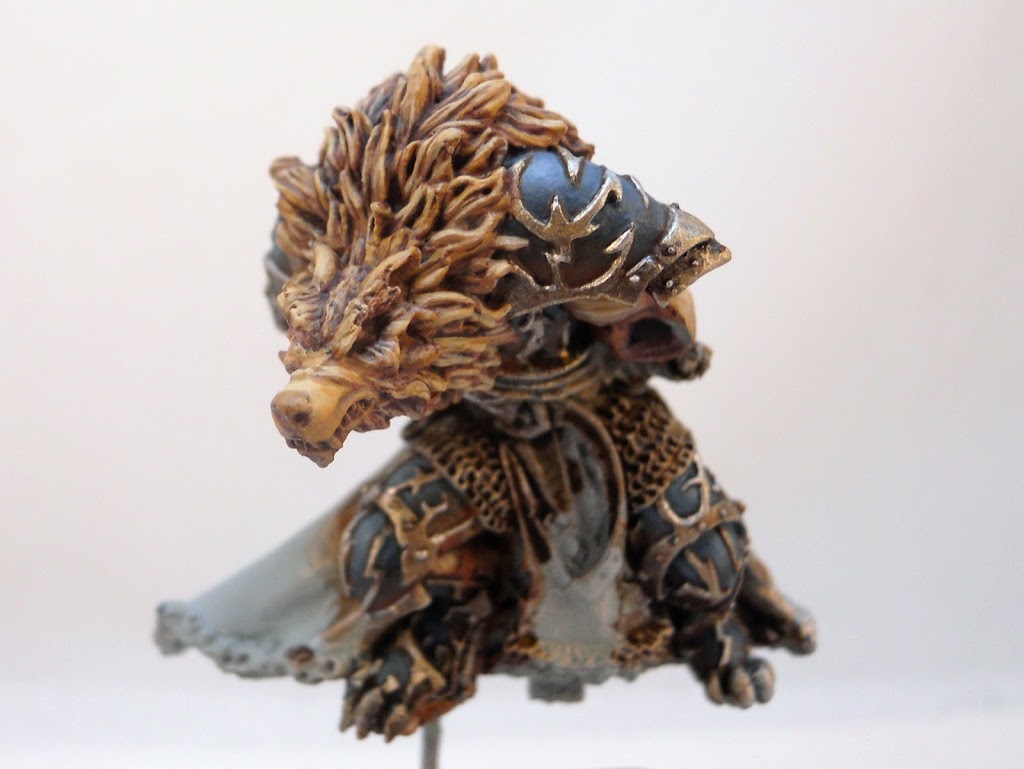
Next I manually add some Rucksack Tan highlights. Then some Menoth White is added to the Rucksack Tan to bring it up even further.
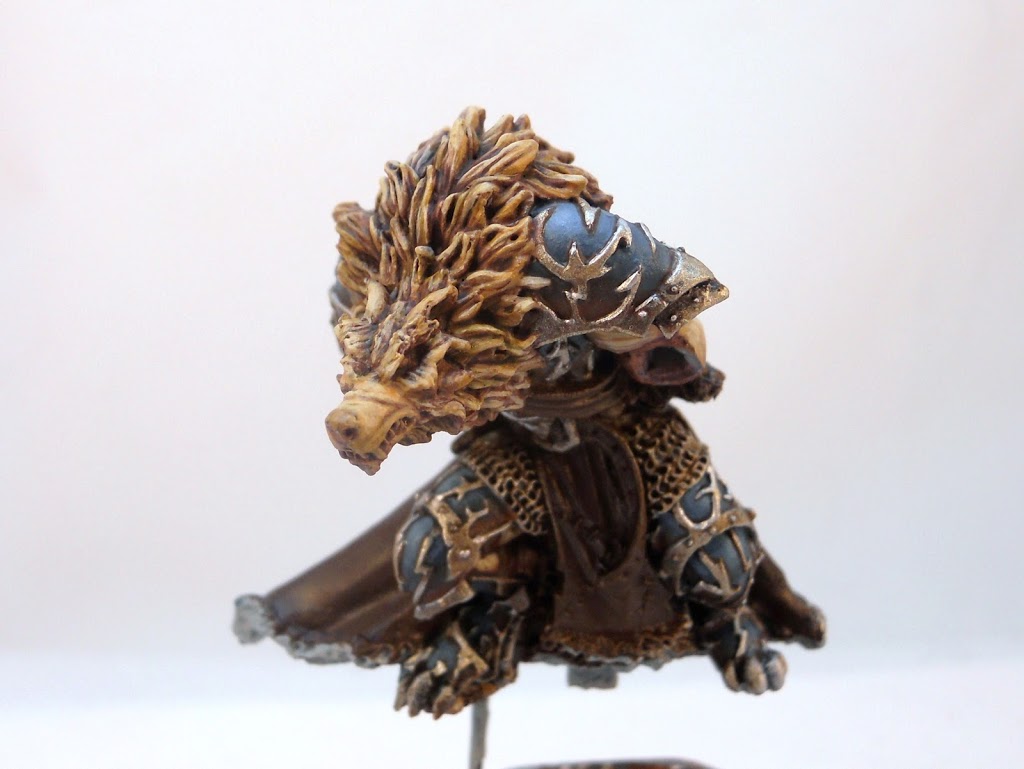
Finally a few highlights of pure Menoth White are added. I also define some of the darker areas by carefully adding a bit more of the Agrax/Purple wash to a few of the recesses in the fur. I would end up coming back to these areas a lot as I continued this project, tweaking and refining them with more precise highlights and shadows. At the time though I felt like I was ready to call it done so I started with my browns. That meant giving all the straps and leather as well as the cloak a coat of Umbral Umber.
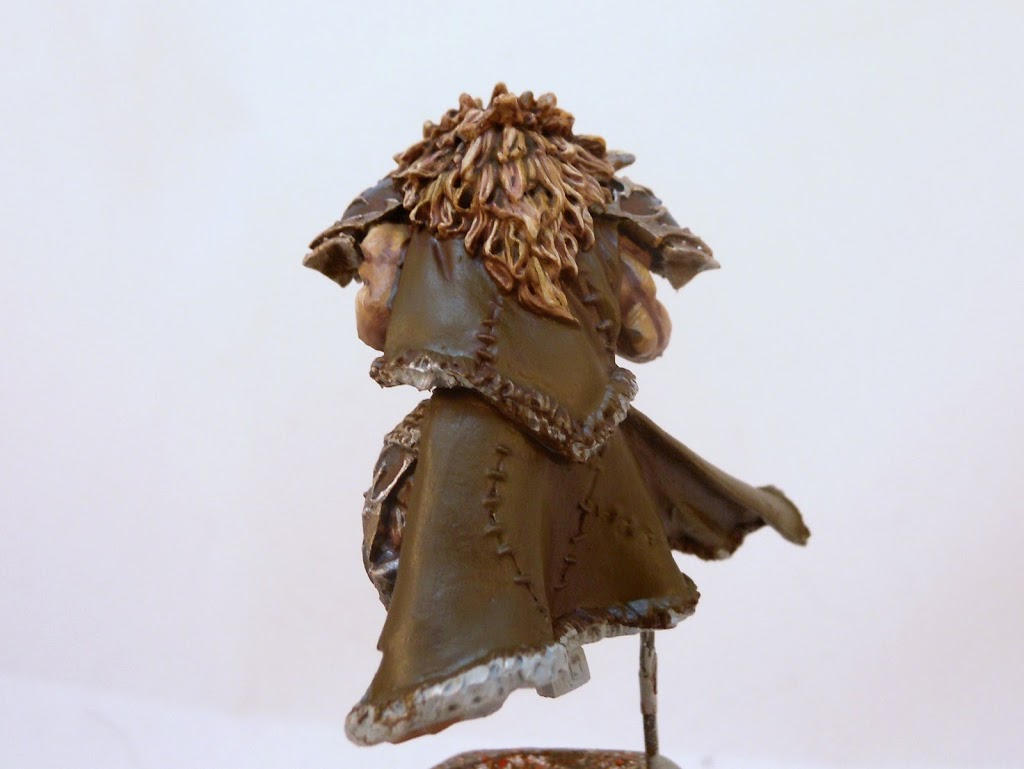
I decided to go with a green cloak just so this guy so he could show a little of his Circle ties. I’m going for a real olive tone here though so I’m not going with any out of the pot greens. I start with a mix of Umbral Umber and Cygnus Yellow. Just mix in yellow until the Umber begins to take on a green appearance.
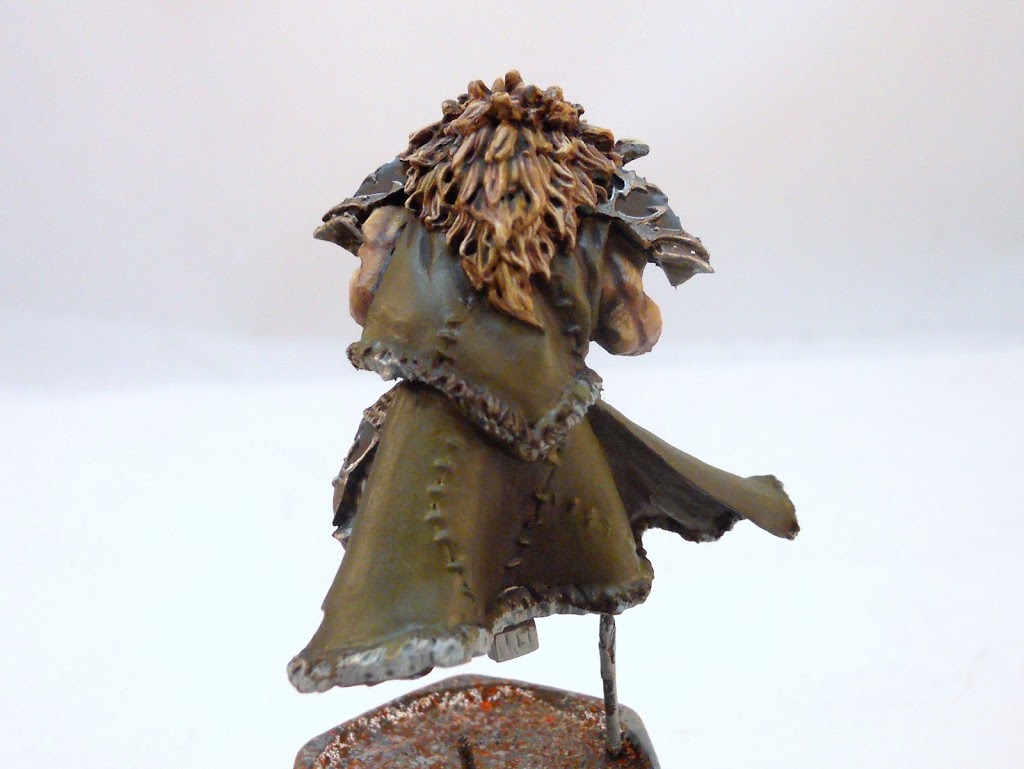
Highlight tones are created by adding more yellow and also some Cryx Bane Highlight.
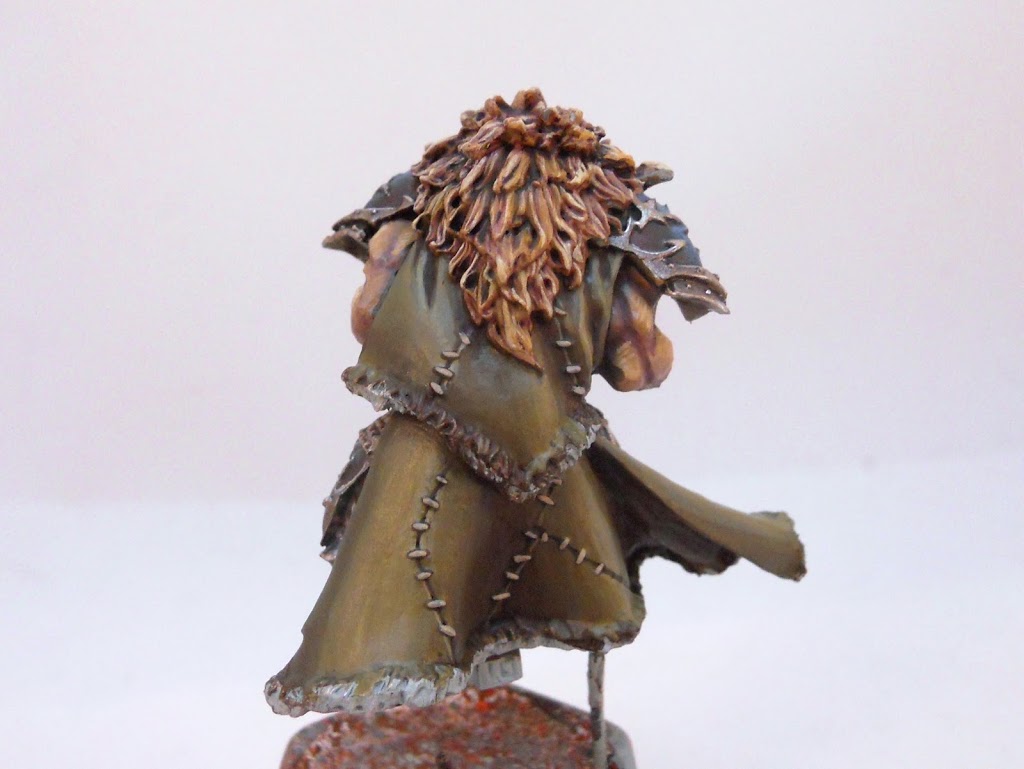
More Bane Highlight is added to create the final highlight. Then the stitching has to be done. Each one is painted with Umbral Umber, then picked out with Hammerfall Khaki.
With the cloak completed I move on to the gloves and straps, highlighting them with Bootstrap Leather.
I add some Rucksack Tan to the Bootstrap Leather to increase the highlights further. A few areas on the straps get a very thin line of pure Rucksack tan along the edge to really define them. I also line some of the recesses such as the areas between the fingers and straps with Coal Black. This color is actually a very dark turquoise tone rather than a real black. This cool color serves to balance the warm orange tone of the leather nicely.
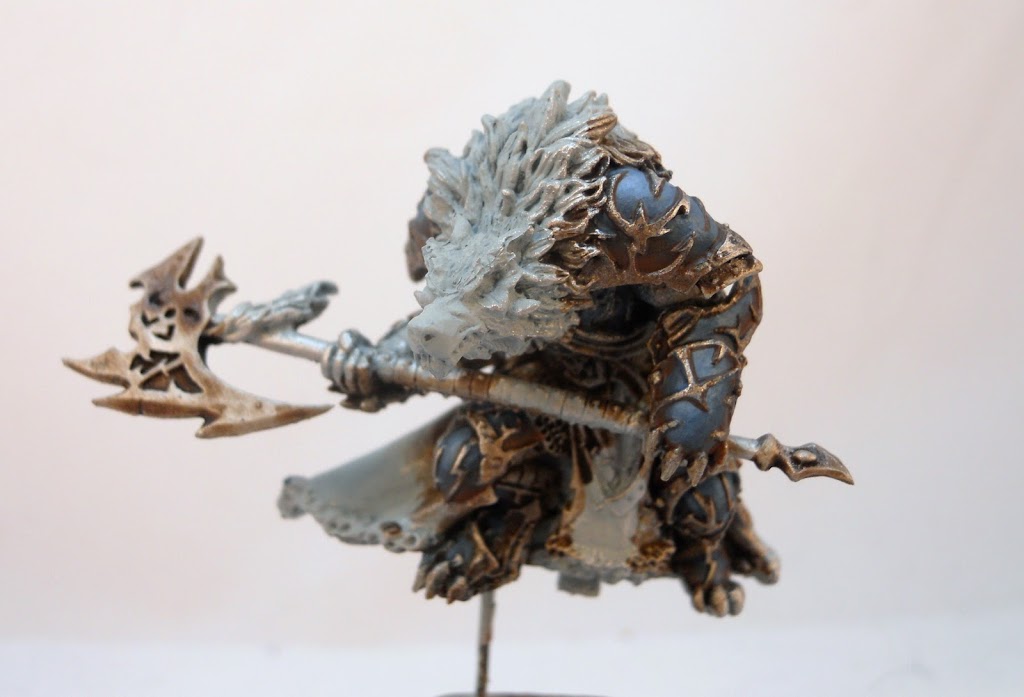
Now it’s on to the rest of the fur. This time I’m referring to the fur trim rather than the wolf man’s own fur. I paint it with Bloodstone and then wash it with Agrax Earth.
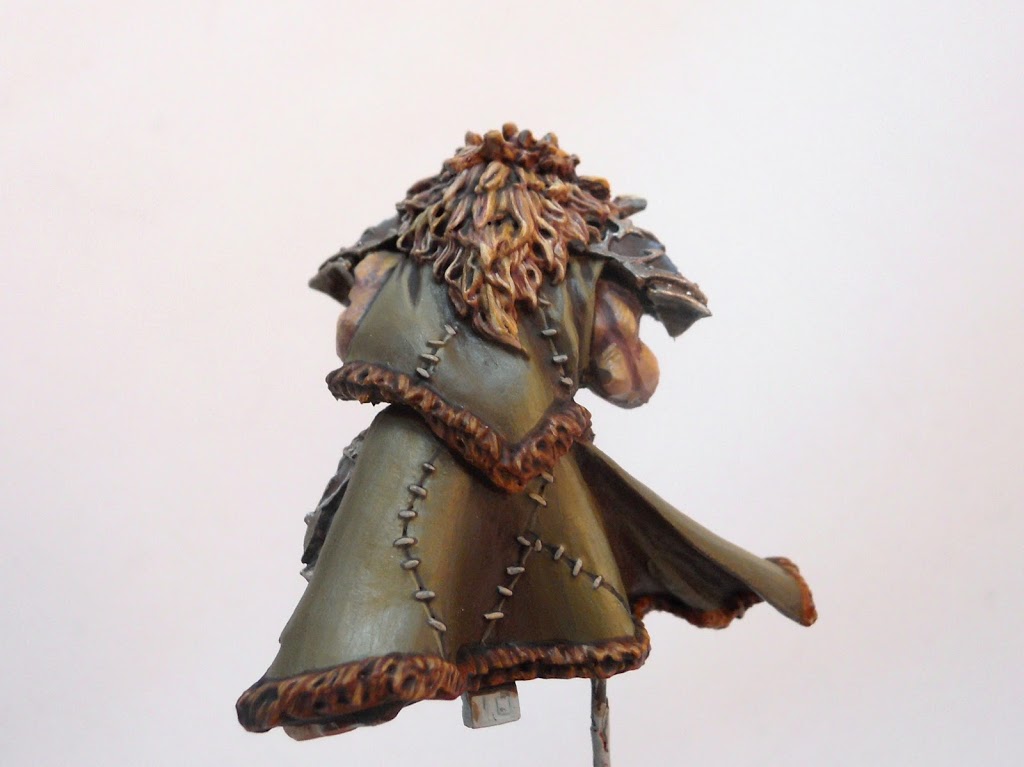
Once the ink is dry I carefully drybrush it with more Bloodstone. This gets highlighted with Bloodstone mixed with some Rucksack Tan.
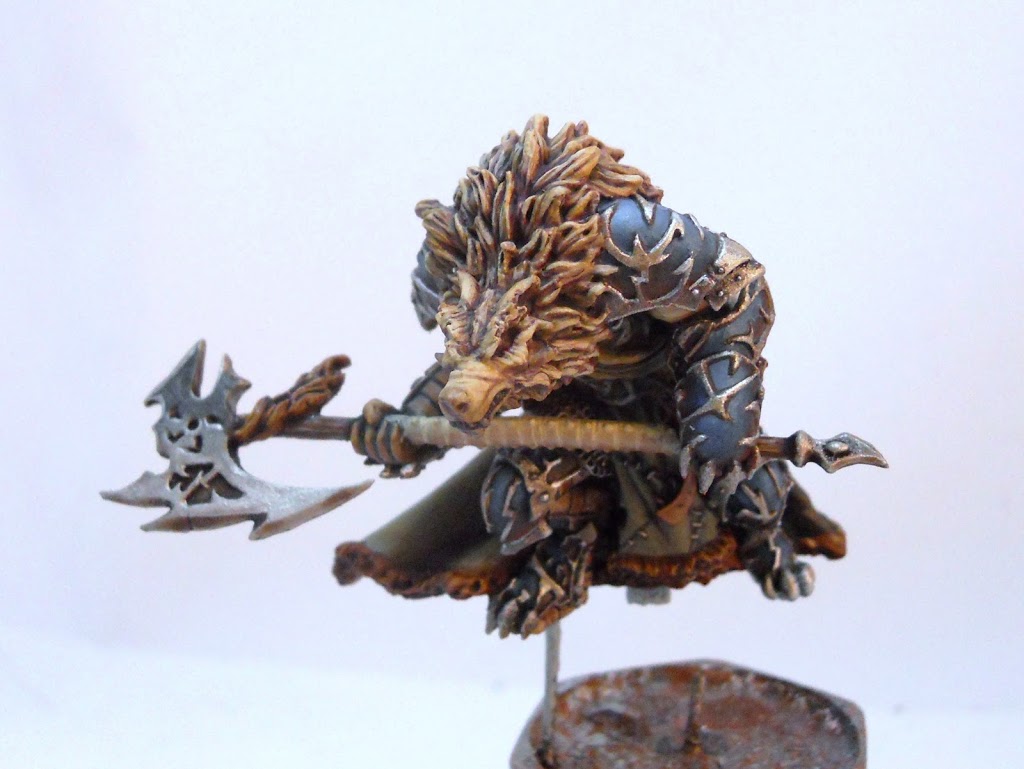
We’re getting really close now. The next step is the wrapping on the axe. I start it off with Hammerfall Khaki. This is shaded along the bottom with Beast Hide, and Highlighted with Menoth White. I also add a streak of Menoth White down the middle of all the gaps between the straps. The reason for this is because if you’re really careful…
You can paint a darker color in a very thin line down the middle of those streaks giving all the ridges their own highlight along the edge. I also had to pick out the rivets. Like the stitching from before, I started by painting them in a darker color before giving them all a little spot of Radiant Platinum. I have to admit it was incredibly tempting to just slice them all off. Especially since there was a mold line really close to them. But that always feels like cheating to me.
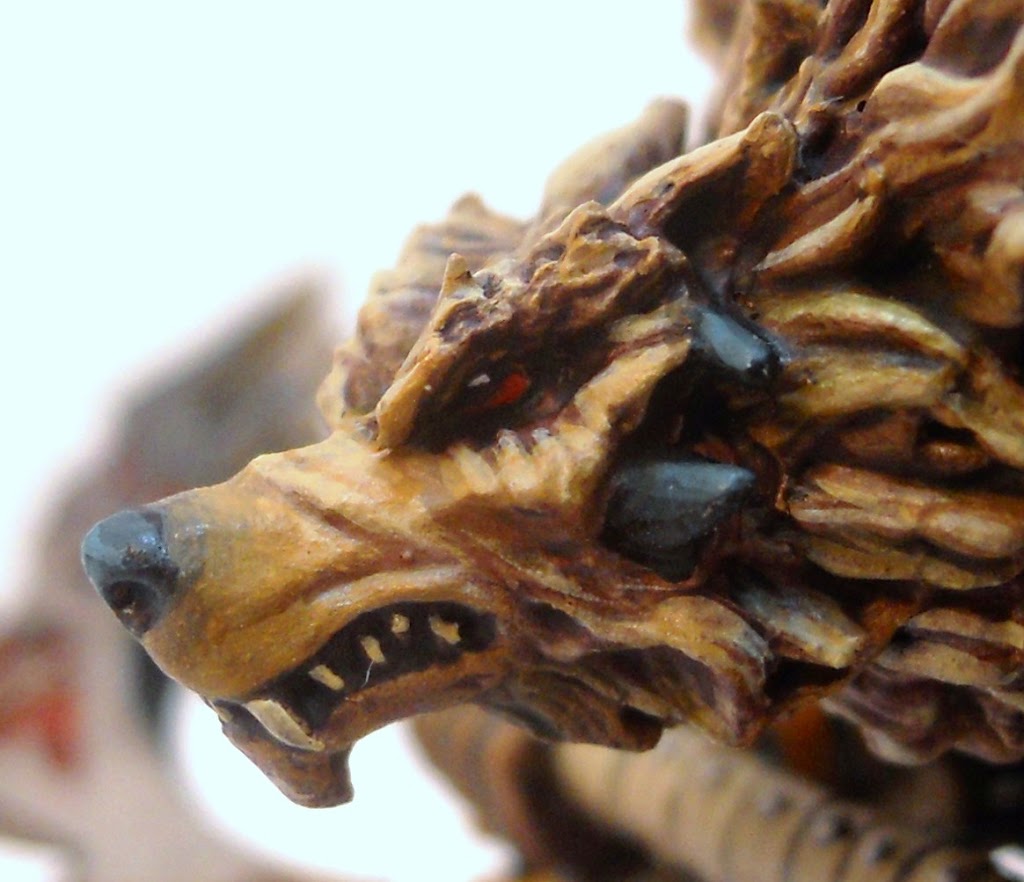
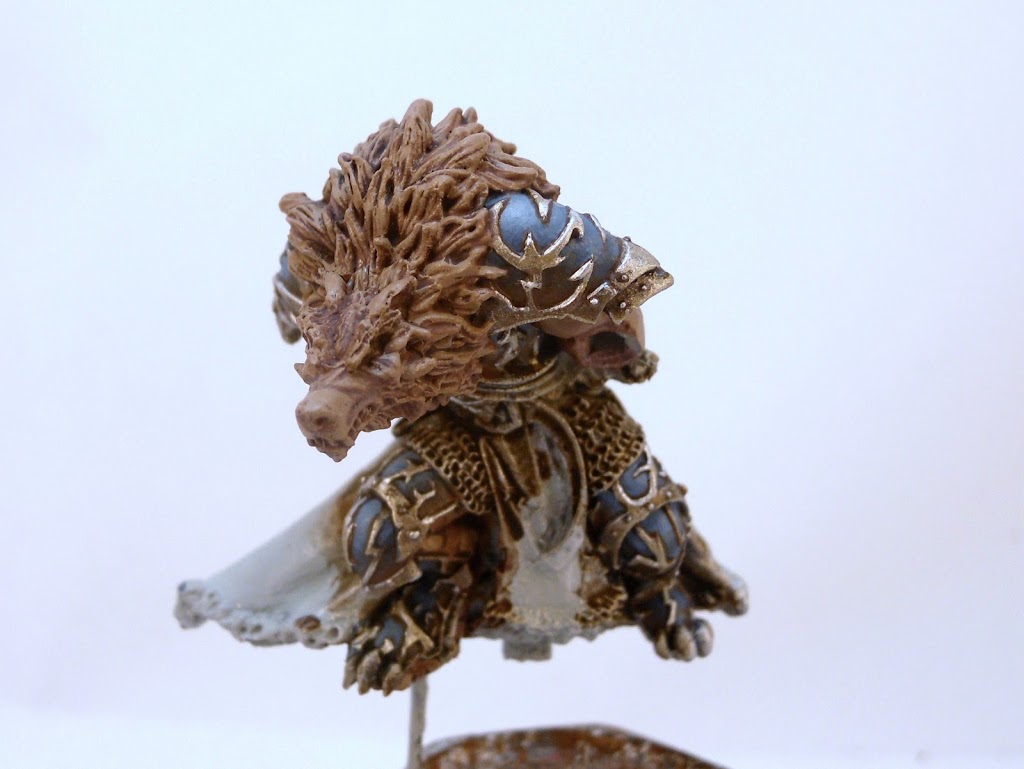
Time for the final details. The eyes say so much about a mini’s character don’t they? Well I decided to go for some nice simmering pools of red-tinged evil for this guy. I just used your typical gem technique here blending from black, to Sanguine Highlight, to Khador Red Base. The nose and spines were done with black highlighted with Coal Black and then Trollblood Highlight. I tried to blend the black nose into the rest of the snout for a more natural appearance.
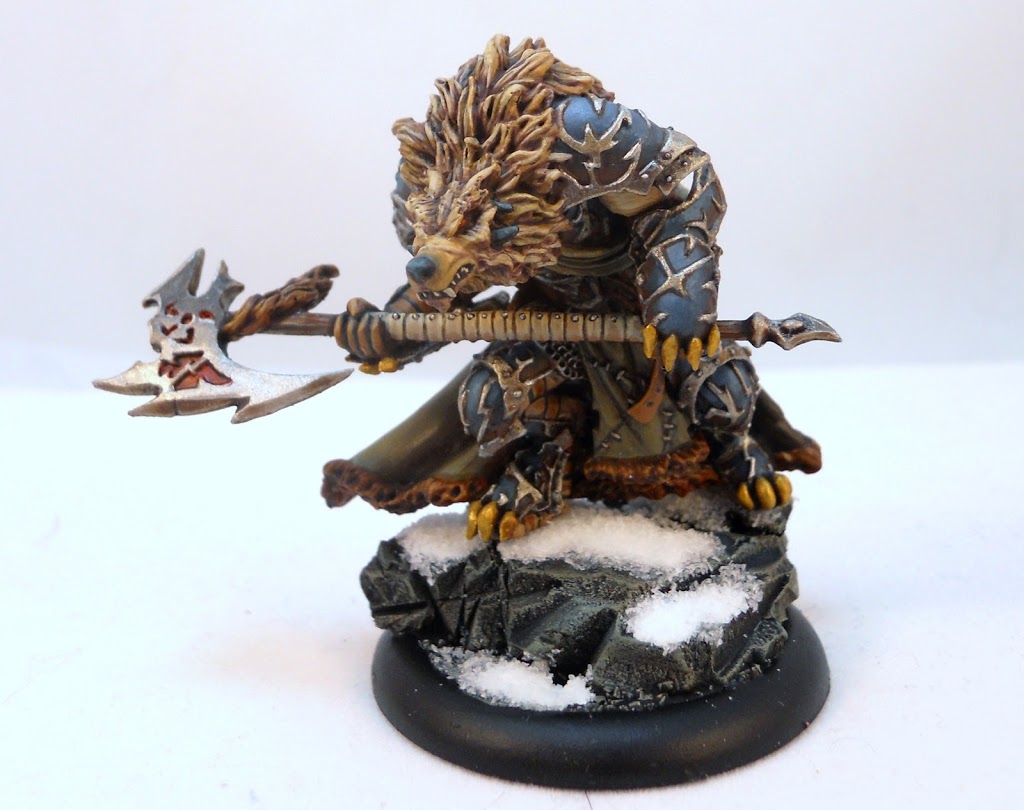
There wasn’t too much left at this point. I wanted to add a little more red, and the recessed part of the axe blade seemed like the right place for that to go. And to add just a little bit more variation, I painted his armored claws in Burnished Gold (yes I still have some of that defunct GW color left over) and washed them with Agrax Earth.

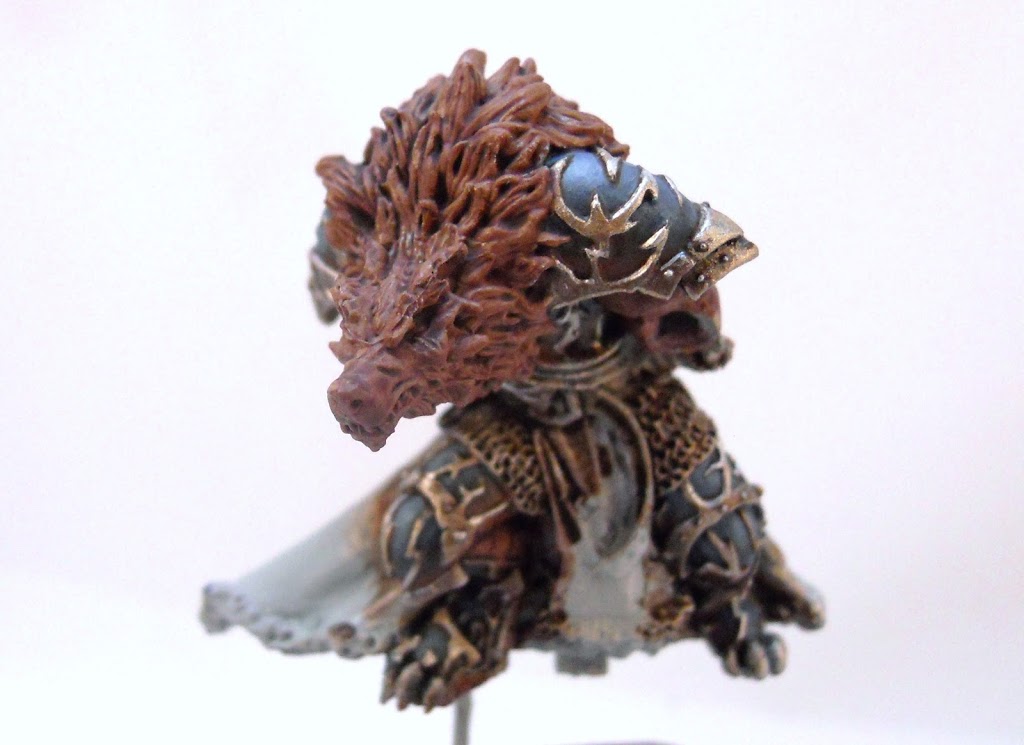
Here’s the family photo.
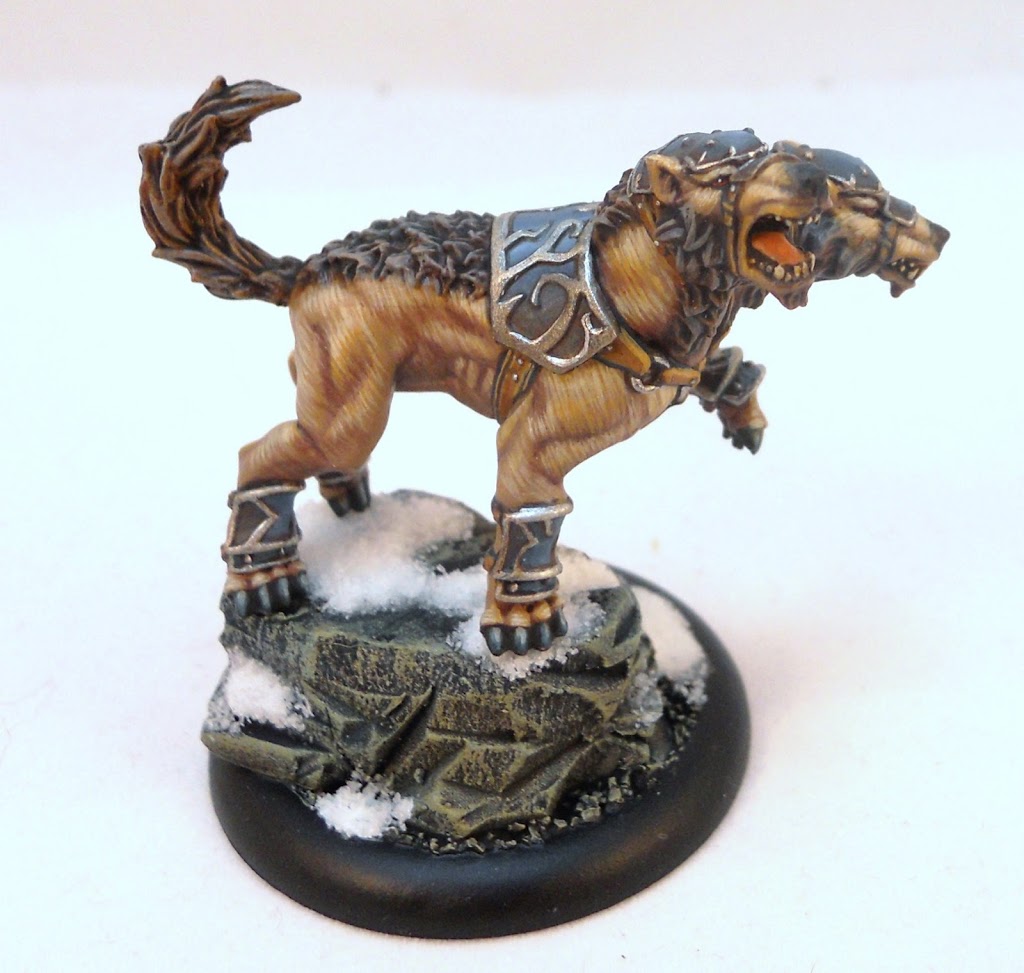
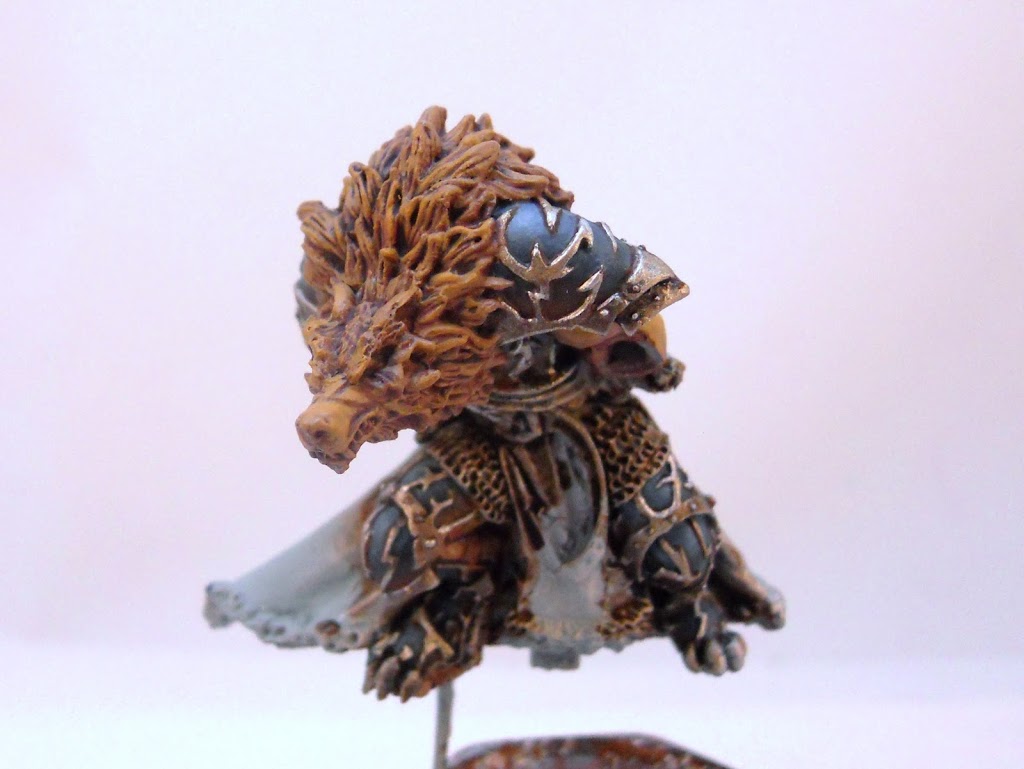
And I guess we can call this guy a… distant cousin? He’s here to show a different mini painted with the same palette. I really tried to go to town with my fur technique here.
~ Those last two pictures show the entirety of my current painted Circle Army. And as much as I want to move on to the rest of it, a different project is pulling me back to one of my older armies. That’s right… for my next painting article it’s Mountain King time!

