Brent: Terrain on the Cheap

Okay young whipper-snappers, back in my day we had to make our own terrain – and there wasn’t anyone around to show us how. And, we all had to walk to school – both ways. In the snow! And we were glad for it… or isn’t that how the cliché goes?
We (ahem) older gamers didn’t have the benefit of all this easy terrain, easily found. We had to make do, and do it ourselves. But this isn’t a ‘good ol’ days’ article; trust me, the old days suck.
Frankly, tables are just much nicer these days.
Hello folks, Brent here, fresh after a week’s hiatus from blogging, both here and on Strictly Average. Coming back, I thought to make it easy on myself by knocking out a terrain article. Turns out, it wasn’t really that simple – talking about something is much easier than doing it.
Okay, we’ve established that purchasing terrain off the shelf is great, but knowing how to knock out budget terrain isn’t a bad skill to learn.

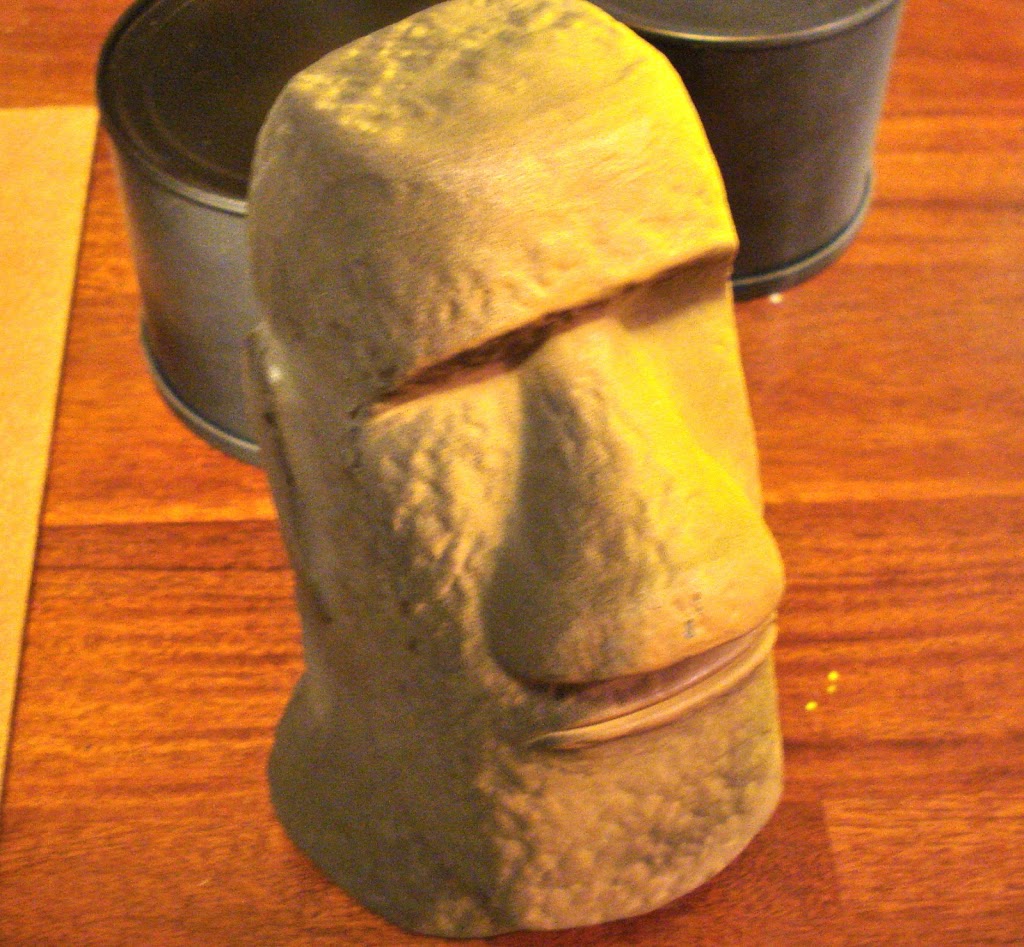
Cans of all sorts make perfect, cheap terrain – especially good for those just starting out. Typically, there isn’t a lot of extra money for terrain off the shelf when there’s a new army to buy!
A bit more expensive is aquarium pieces; I like to find them on clearance and the local big box stores, then I’ll base and spray with various spray paints from different directions.
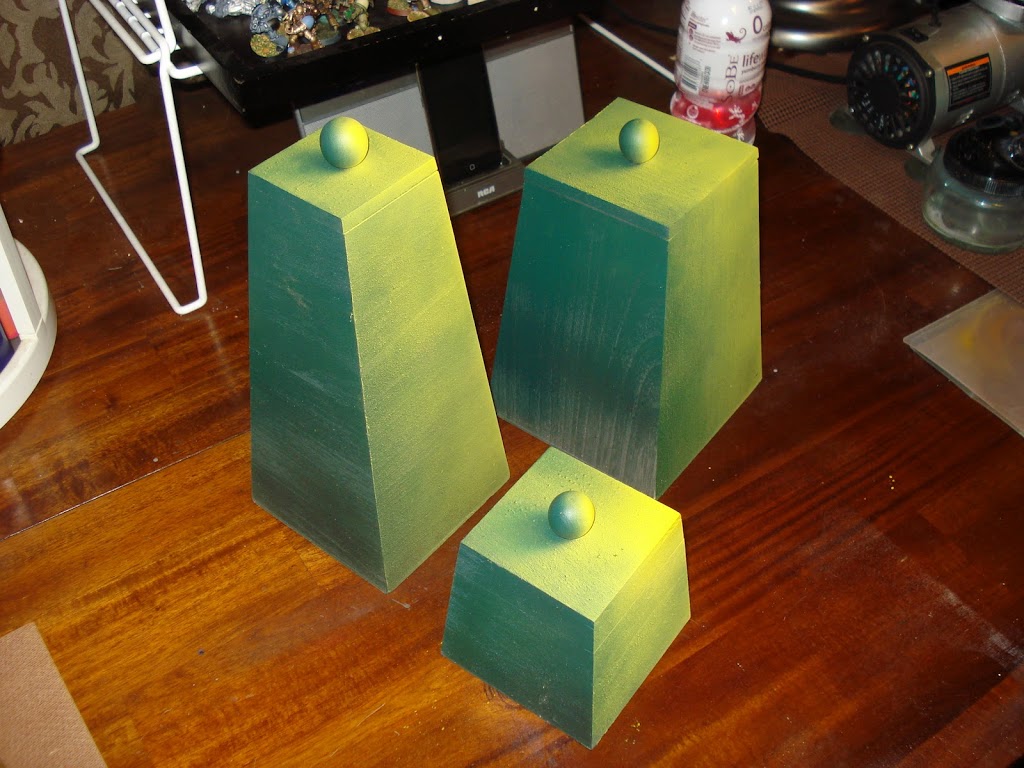
Hobby stores usually have a ‘wood’ section; again, I found these on clearance for a few bucks a piece. Base with black, spray with dark green, then hit two sides – at the corner – with yellow, from a 45 degree angle. Yes, I do want to spruce these up a bit one day, but the colors should evoke Necrons.
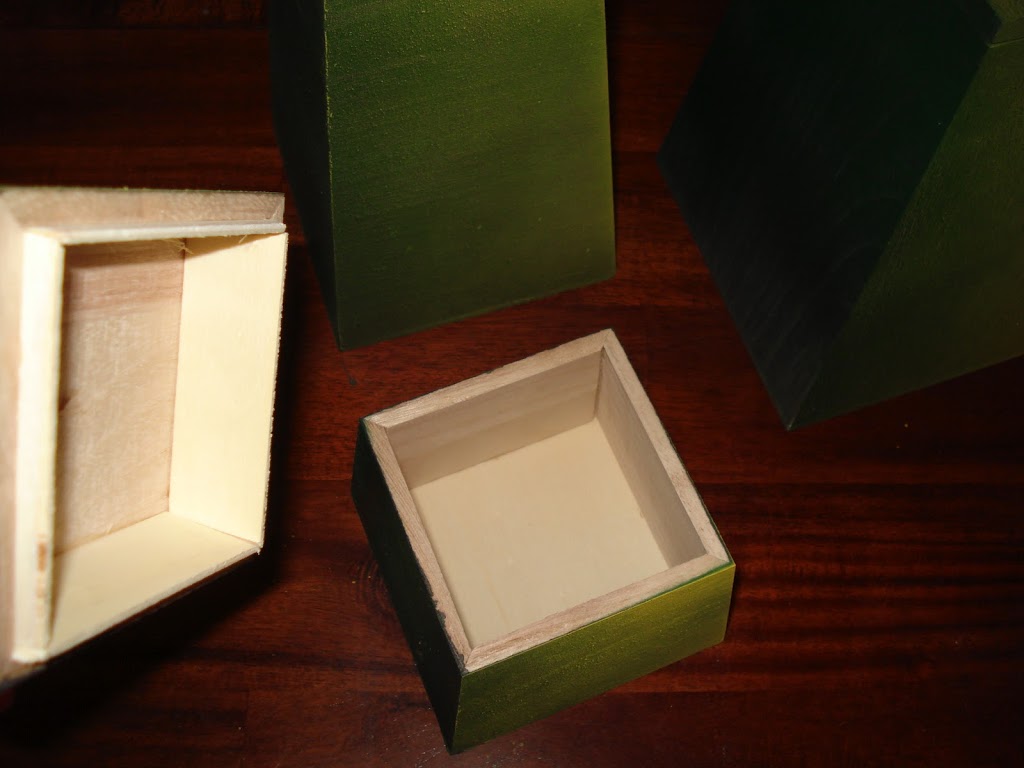
Plus, you can store your… smaller terrain… in it.
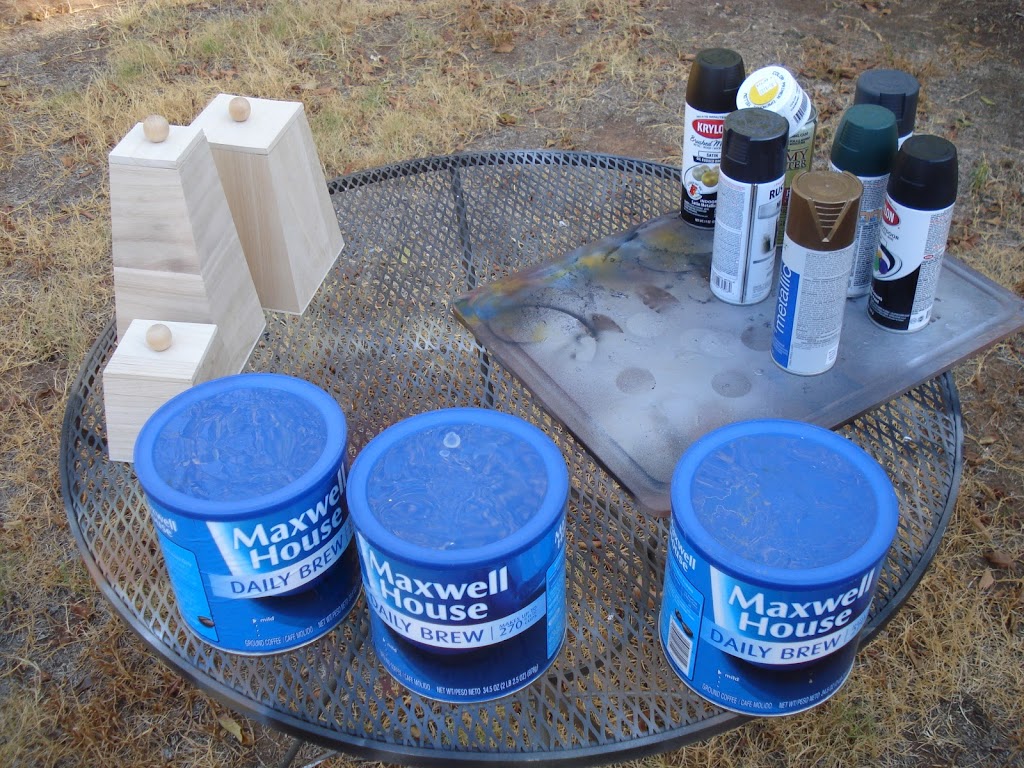
Obviously I sprayed outside. And no, this isn’t the wife’s table! I have my own that’s just for this purpose.
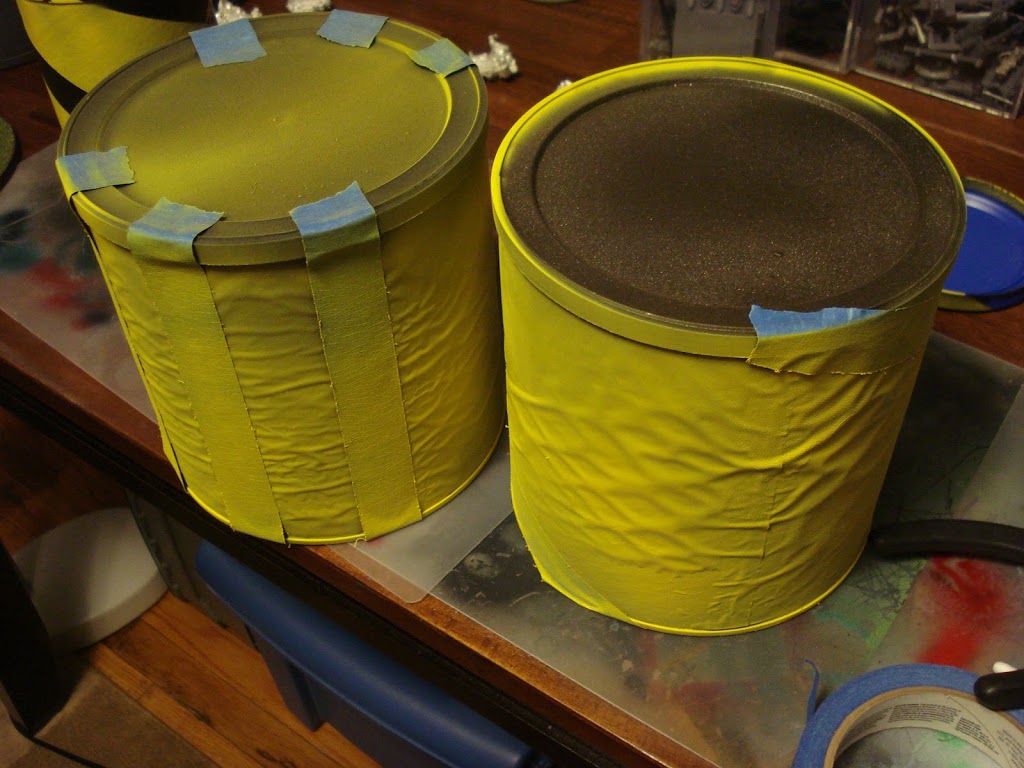
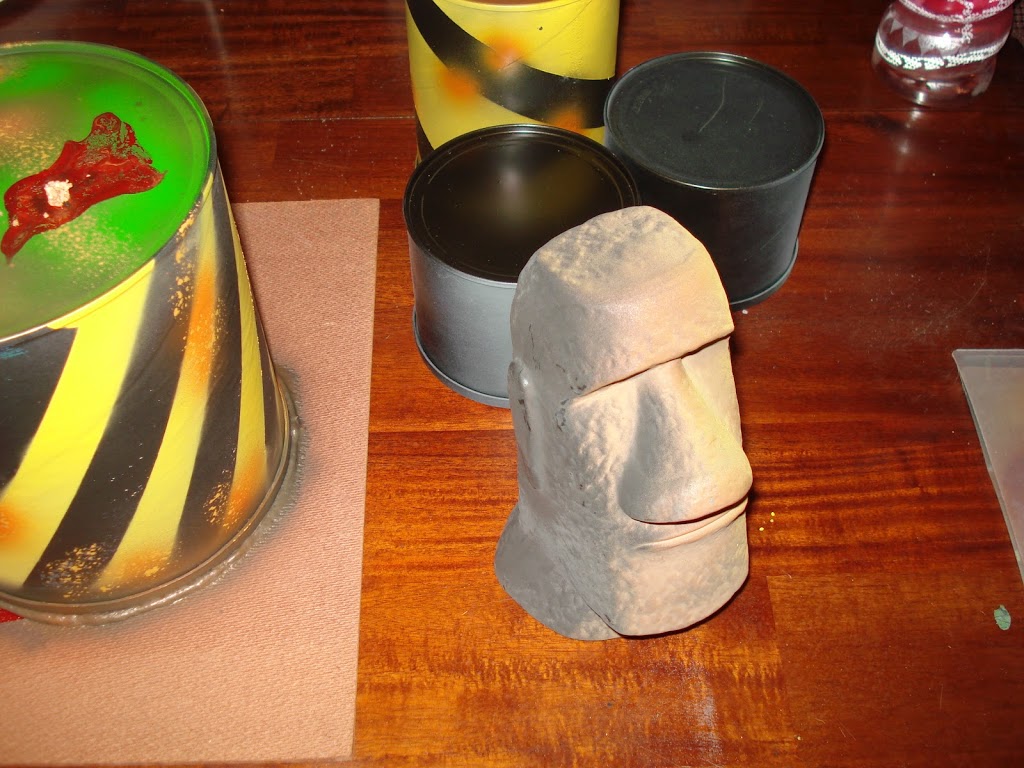
The ‘industrial hash’ is easy, though note these two pieces actually went in the garbage. I should have cut off the covering, leaving just the tin.
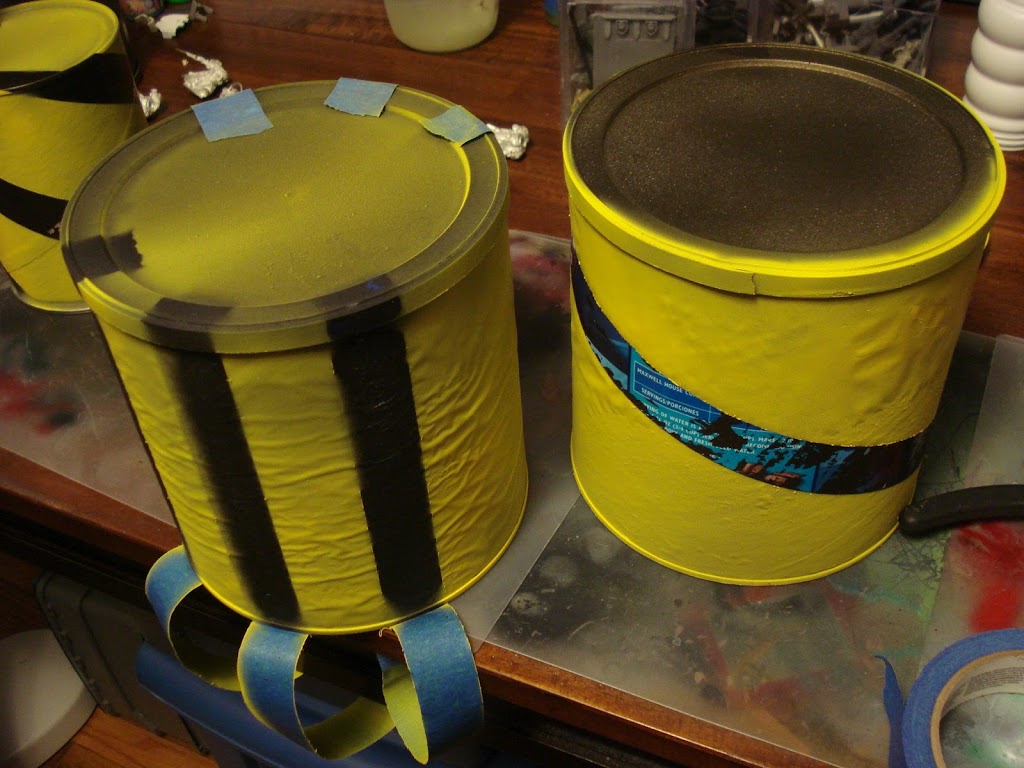
Still, base, mask, spray yellow, remove masking tape. Add details, no problem!
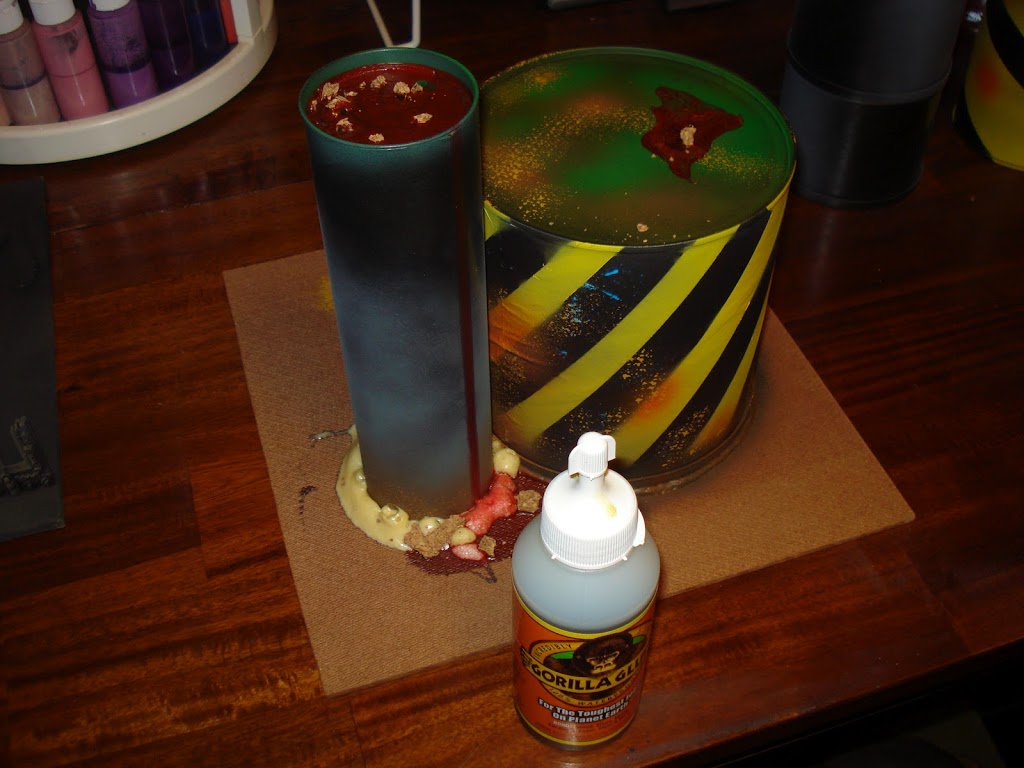
Here, we’re combining a number of techniques for a terrain piece. The glue I used expands for a great grip – use too much, and it’ll expand out from whatever you’re gluing. Of course, that’s what I wanted here. We’re looking for ‘industrial waste.’
Detailing the tins; granted, and airbrush makes this easy but I did this forever with just spray paints. Also note the stippling – a great tool for terrain projects. Foundation paints like orange and yellow – I forget the names – work well for this.
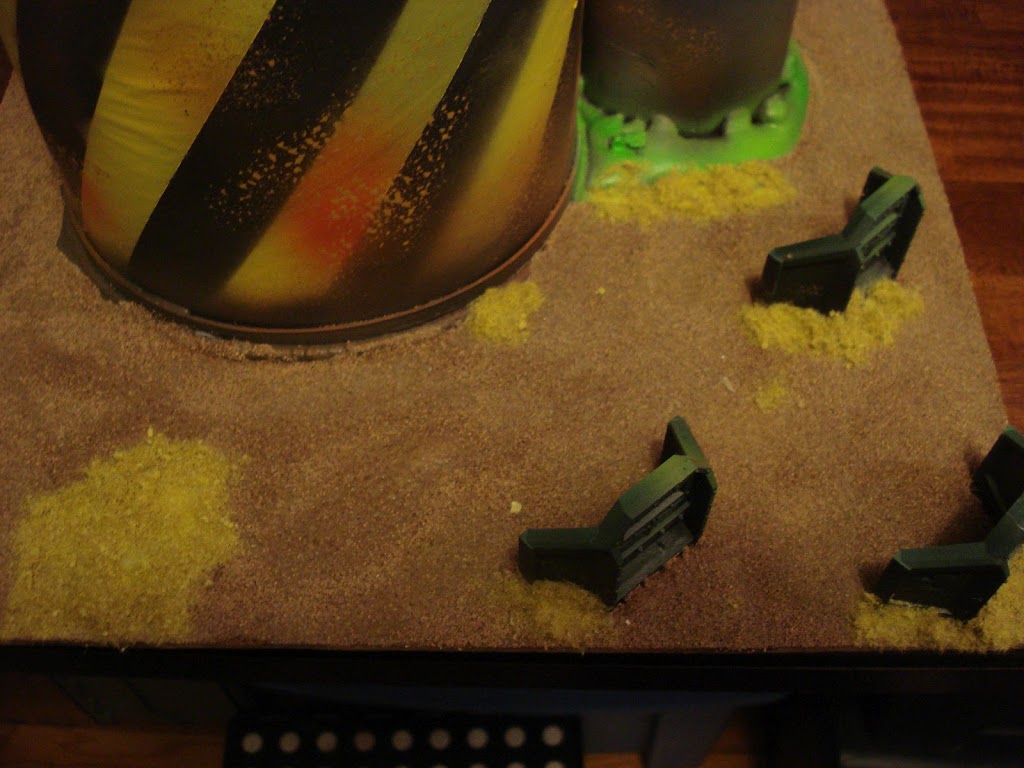
And so on… I’m adding some bastion pieces to fill the empty space.
The ooze needs to pop, so a bit of white…
…then green! I’ll also highlight with yellow.
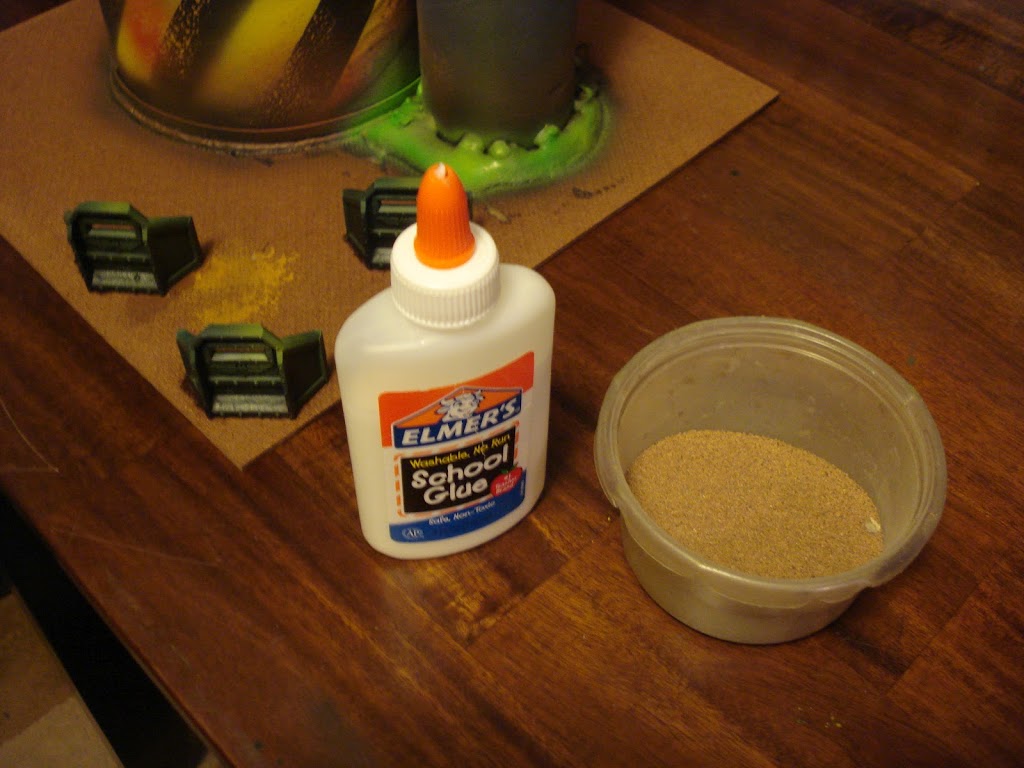
Basing. White glue is best…

…and spreading it with water makes it much easier. The bastion pieces I used superglue, though.
Needs contrast, so on goes some mix.
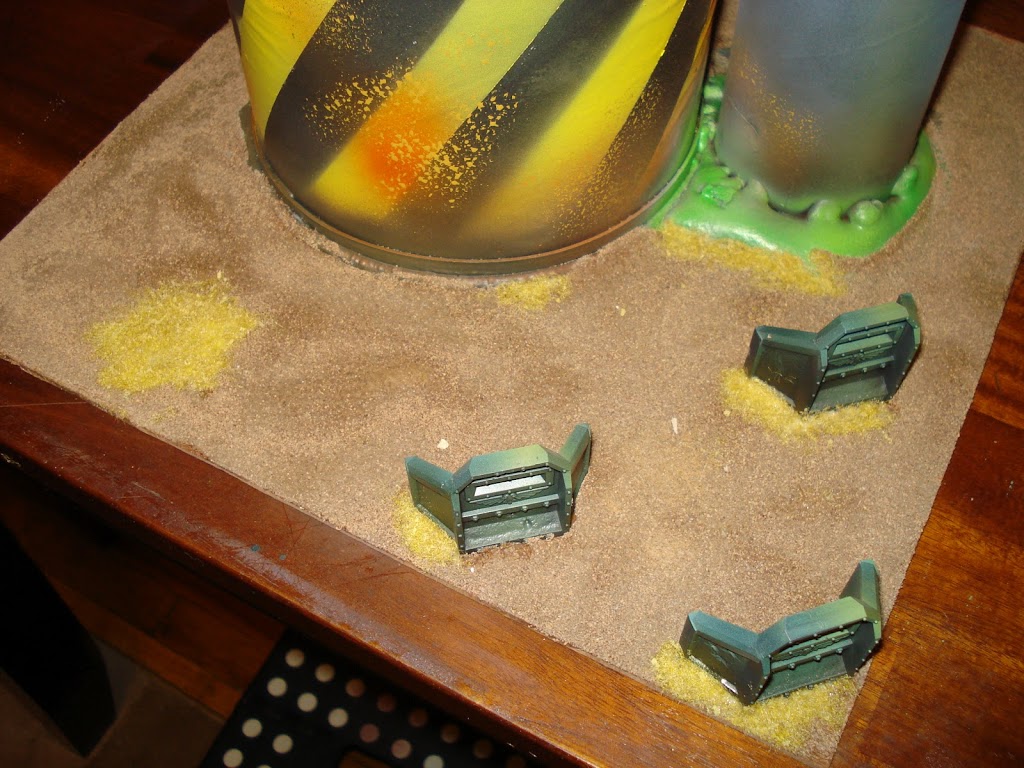
There’s still some things I want to do with the base, but for now it’s time to let it dry.
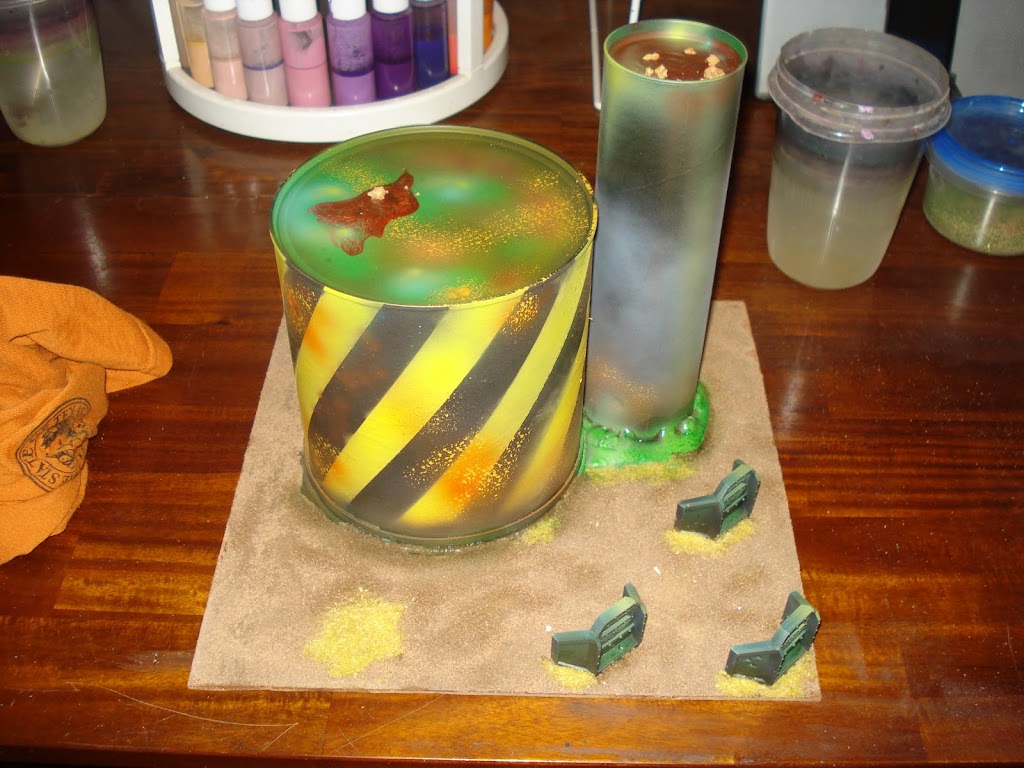
And that’s about that! I’ll revisit this project in a few days – I want to try a water effect – but it’s done for the purpose of this article.
That’s that, then. So, thoughts? Comments? Hugs and gropings?
Maybe even some terrain ideas of your own to share..?

