HOBBY: A Bit of Nothing, Too: October Terrain

There was a small but vocal positive feedback for my last article, A Bit of Nothing: Terrain on the Cheap, so here’s a fairly easy followup.
Wasn’t so easy to put together. Sometimes Terrible Tuesday is.
Let me share a Behind the Music secret: I had a really great article in the works for you but bungled it. I was at the annual conference for my professional organization – yea, that’s as fun as it sounds – all weekend, so I sent my interview questions off earlier today…
…and missed the mark entirely! I’ll bring you that article later, but forgive the unfinished scenery in this one; time didn’t allow for fine details.
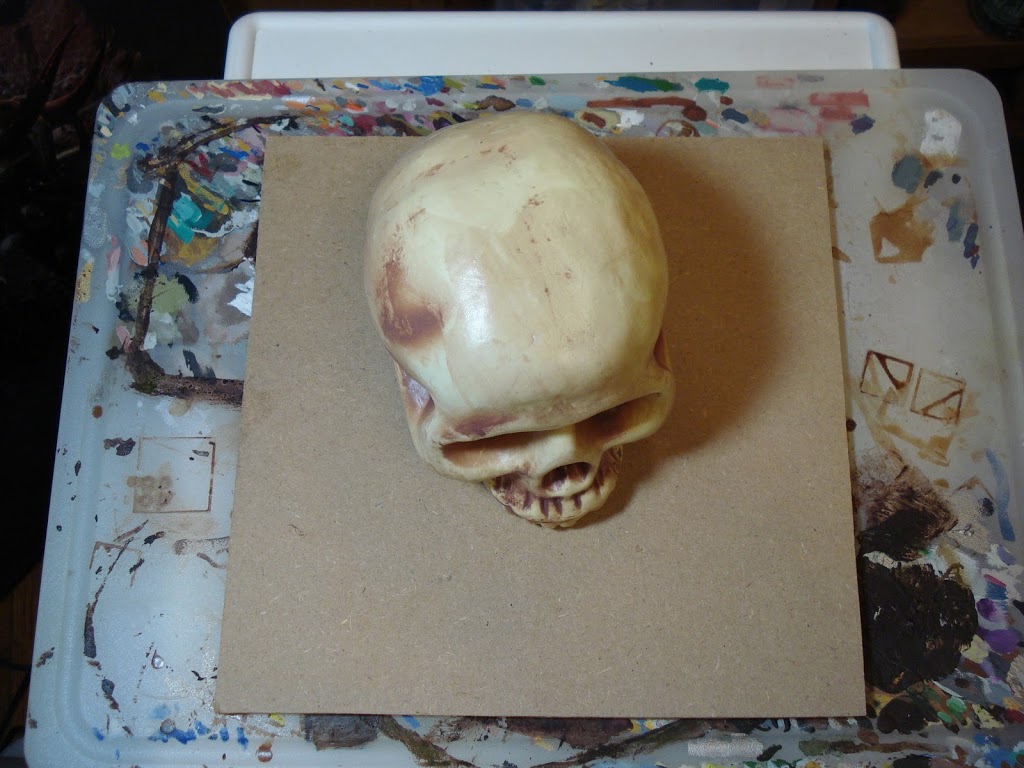
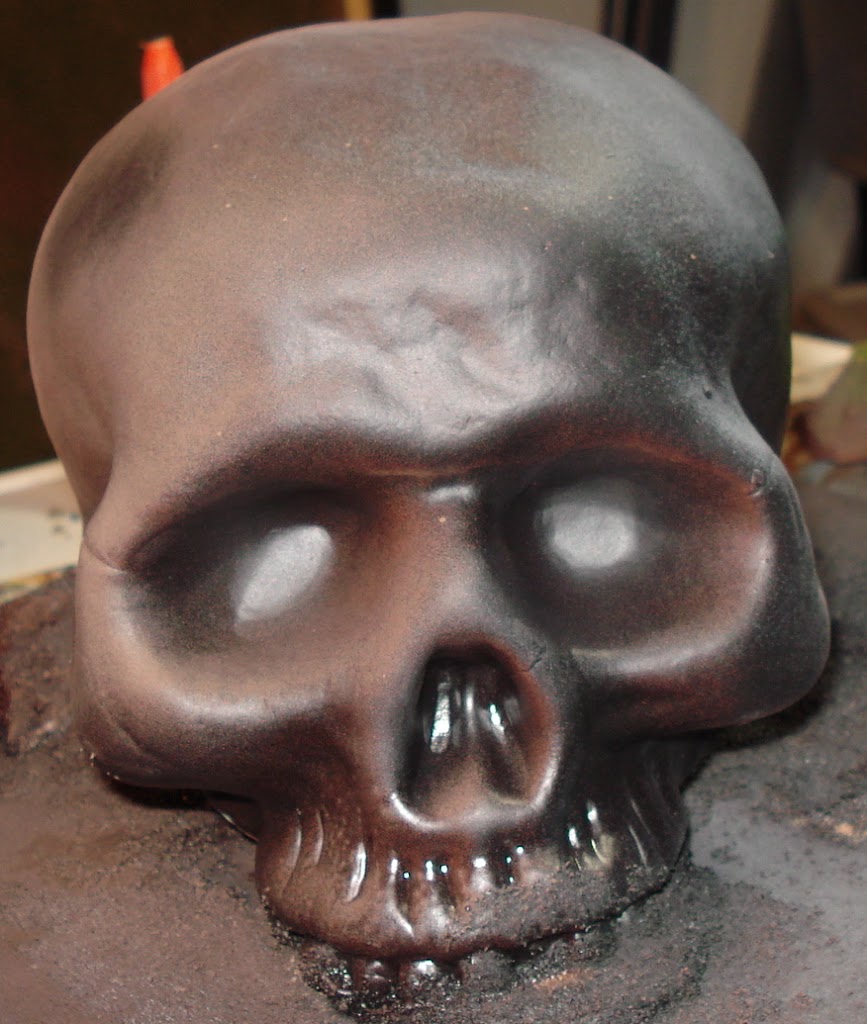
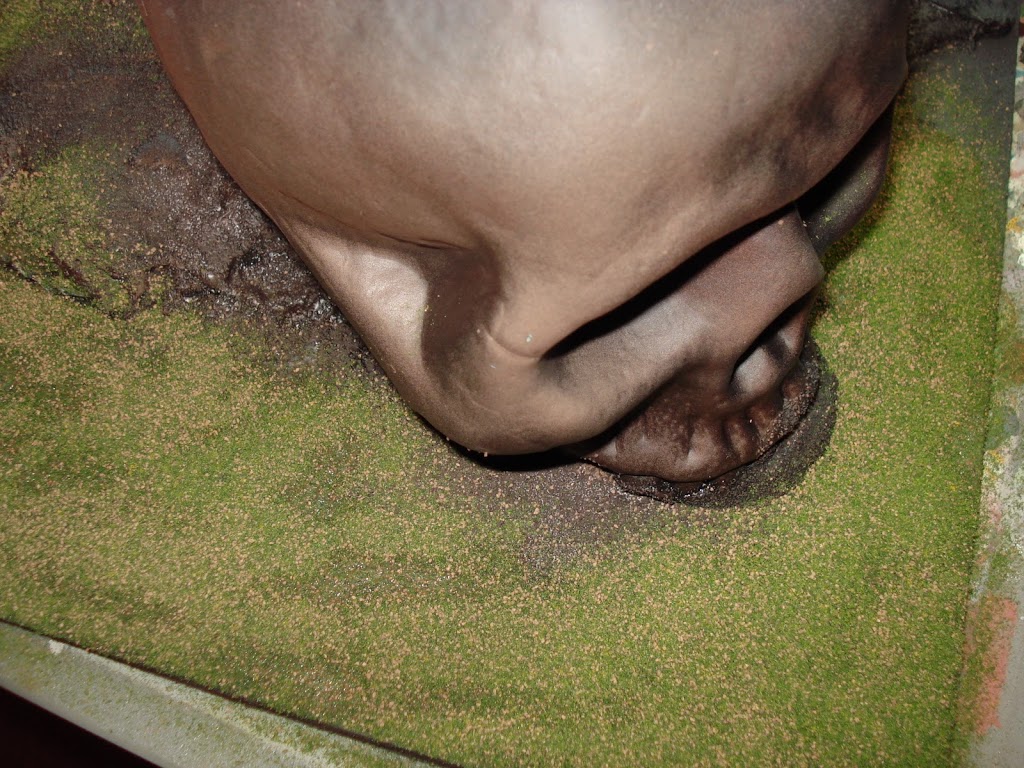
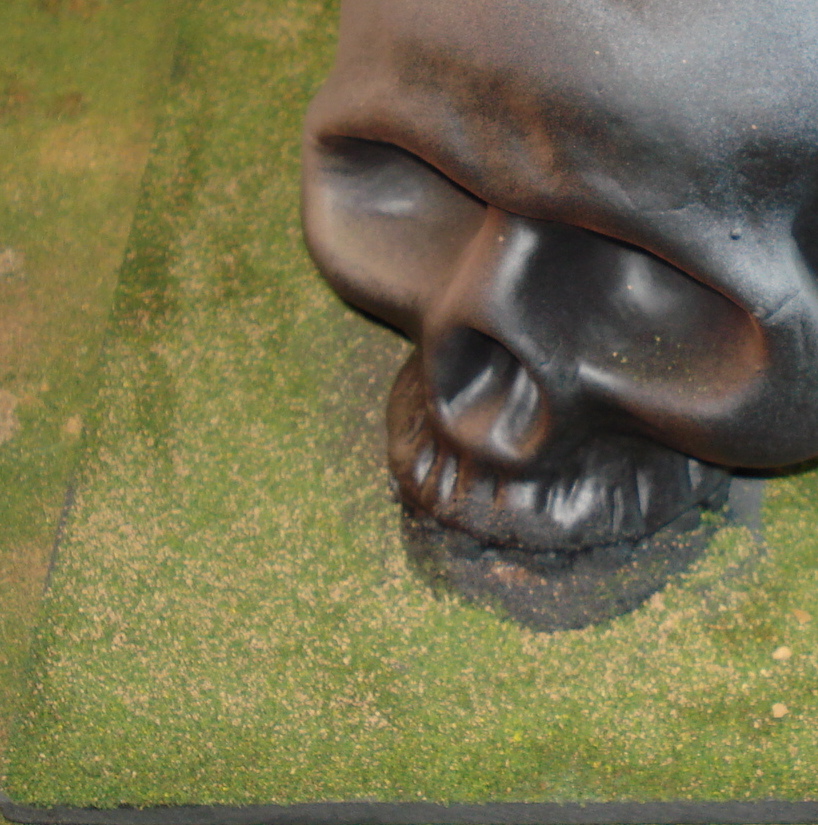
Halloween gave me the idea for this one. This inexpensive plastic skull sat at a drug store, all set out for Halloween – forget the kids, I scooped this up for myself!
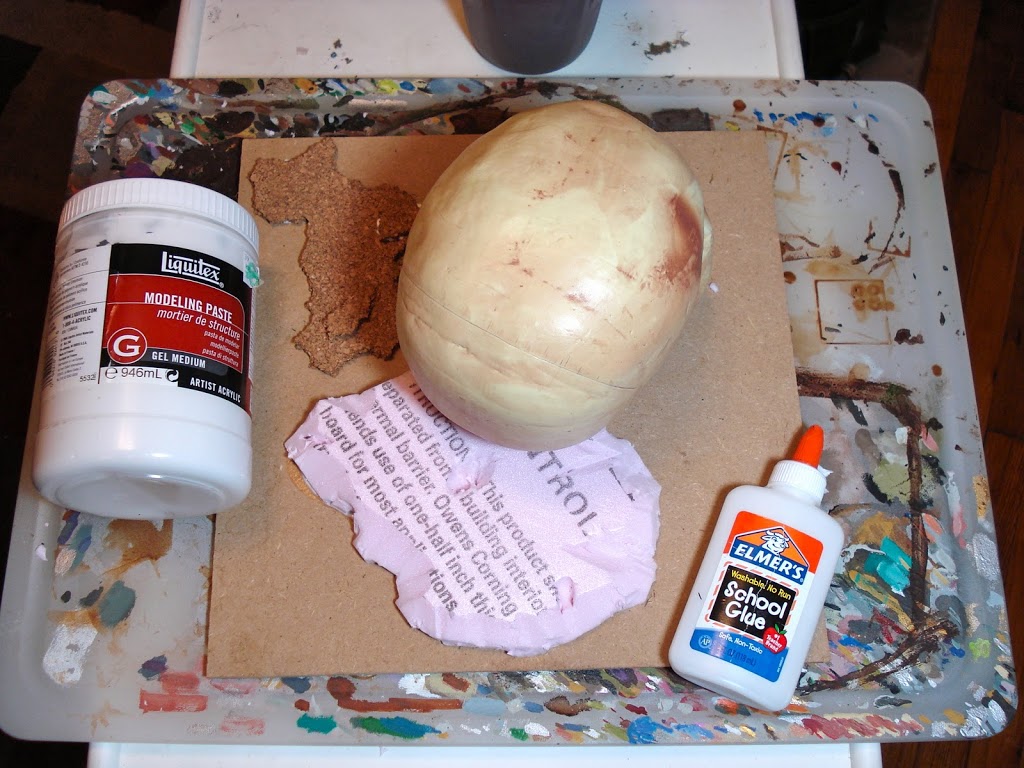
Honestly, the base of any terrain is most important. In the past I skimped; no longer. This is heavy duty board. The foam board was cut out in the shape I needed. The skull would sit on the hill.
The board isn’t too heavily built up, as it’s intended as Warhammer Fantasy terrain.
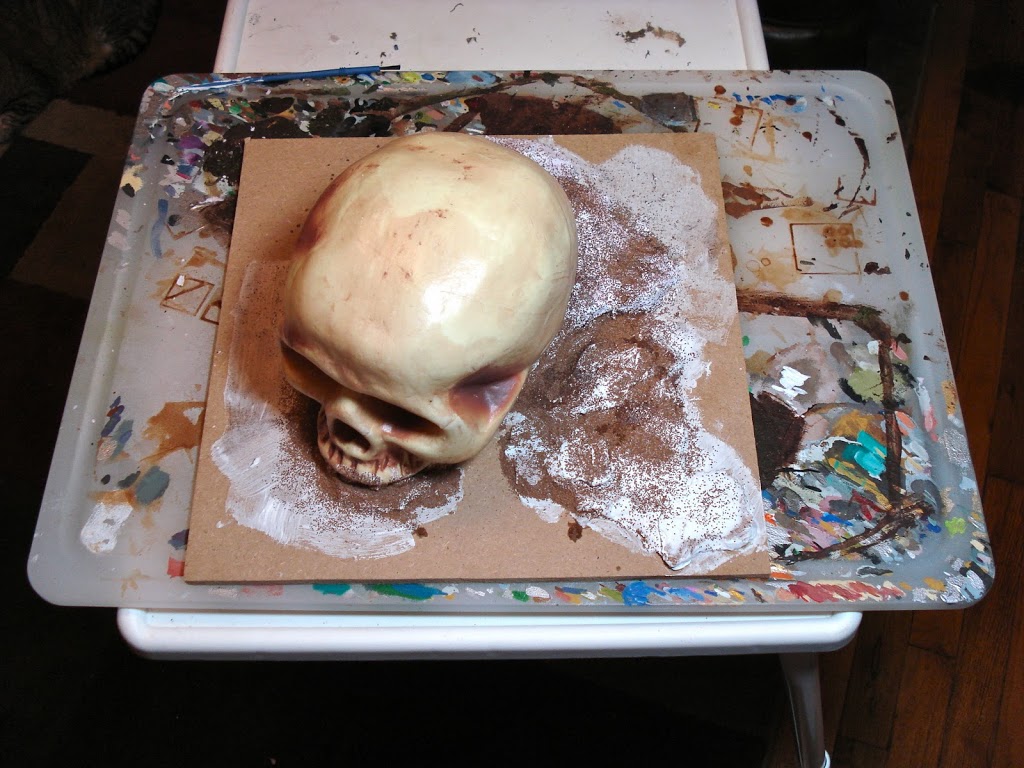
You can’t spray foam directly. An easy trick is Elmer’s glue, as even a thin layer will protect the foam from reacting to the spray paint, but in this case I textured the hills with paste. While it was still sticky I sprinkled sand on it. Again, for texture.
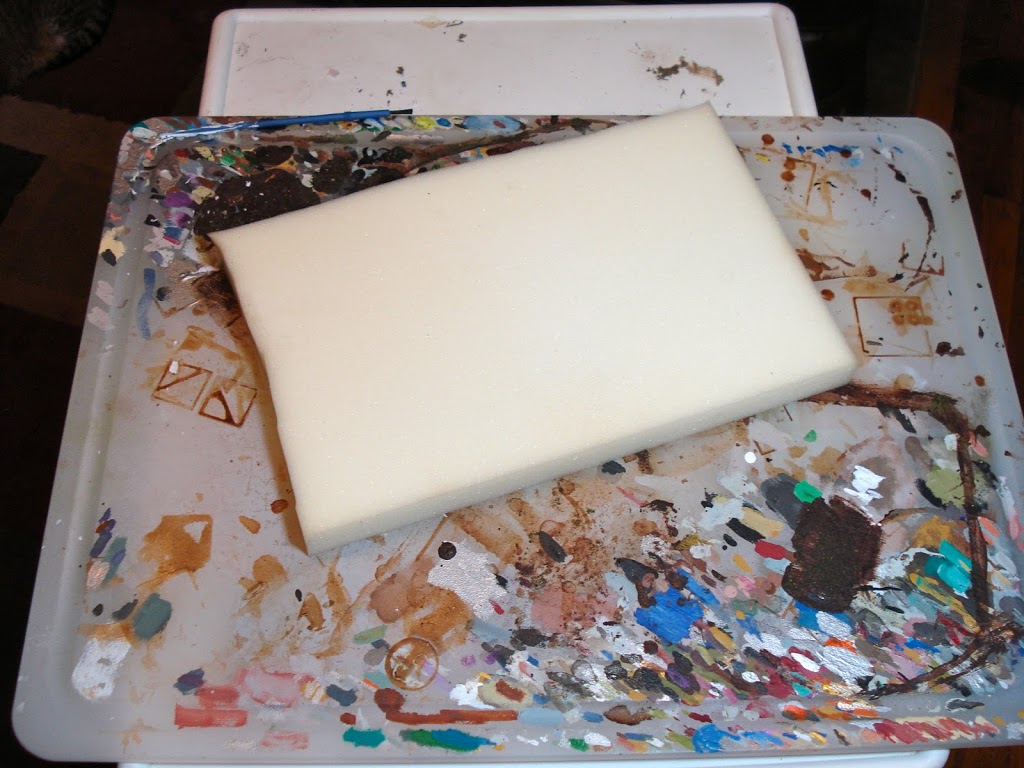
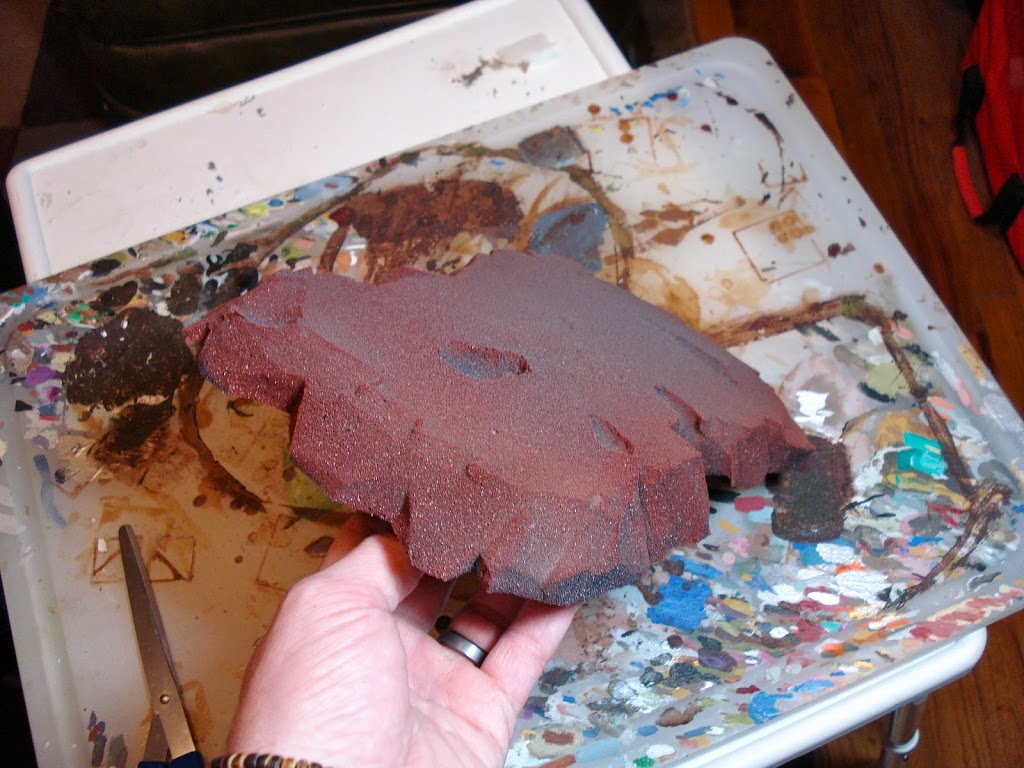
While that dries a bit, consider this trick. Take a piece of soft foam, like one would use for a pillow…
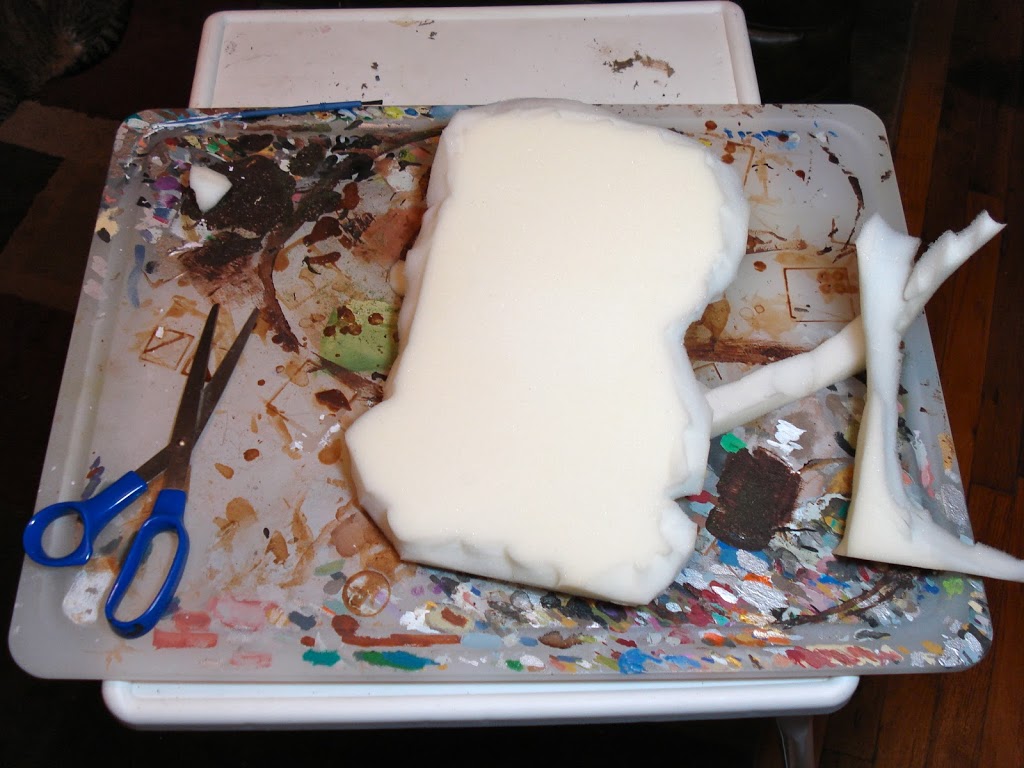
…and cut out a hill shape. The hill should slope on all the edges. Keep cutting until it looks suitably hilly. Hill-like. Whatever.
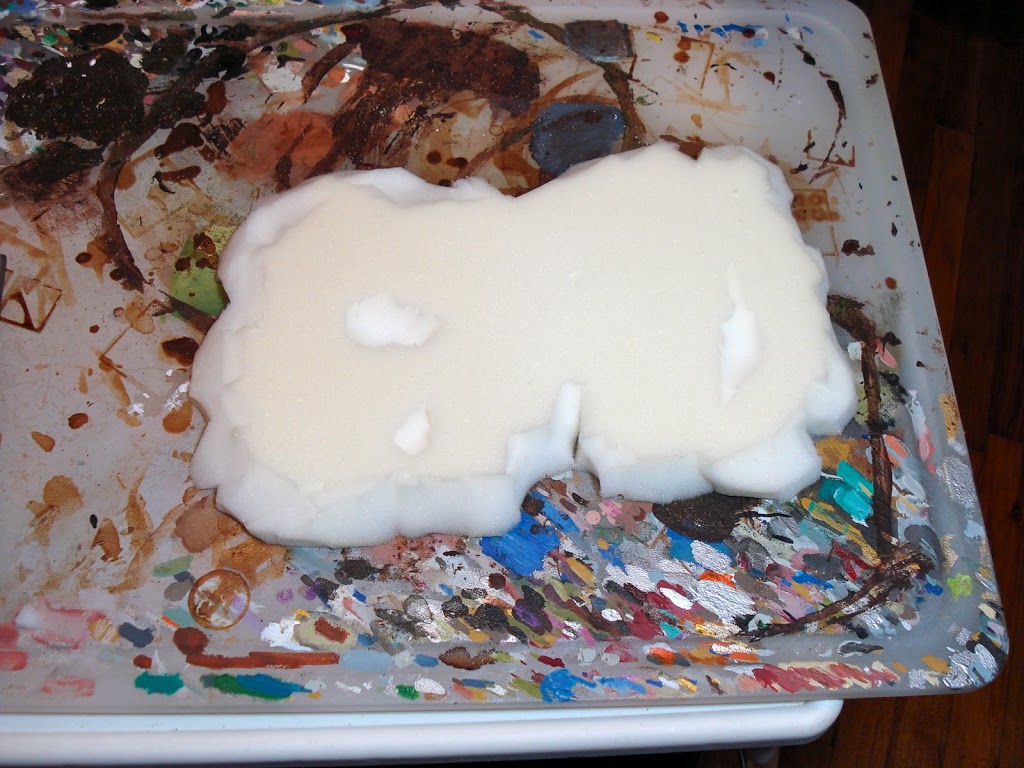
Here we go. Hilly.
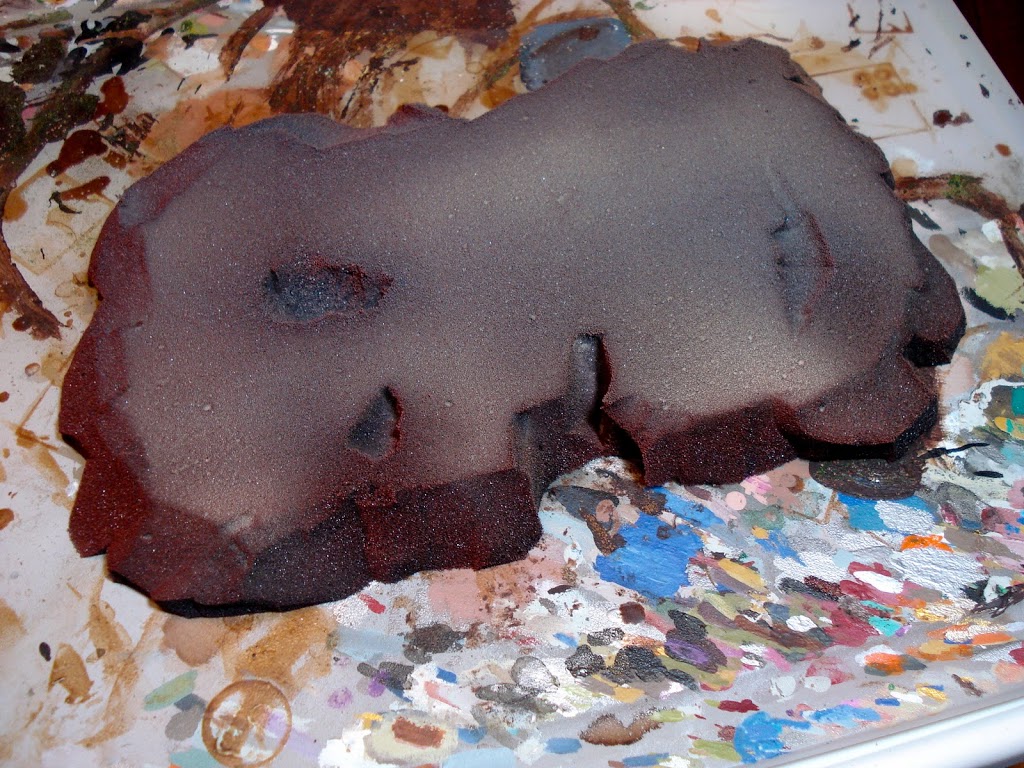
Gotta love spray paints! Black first, then gray and terracotta then brown, all from different angles.
I’m fond of spraying the contrasting colors from different sides. Here you can see the red…
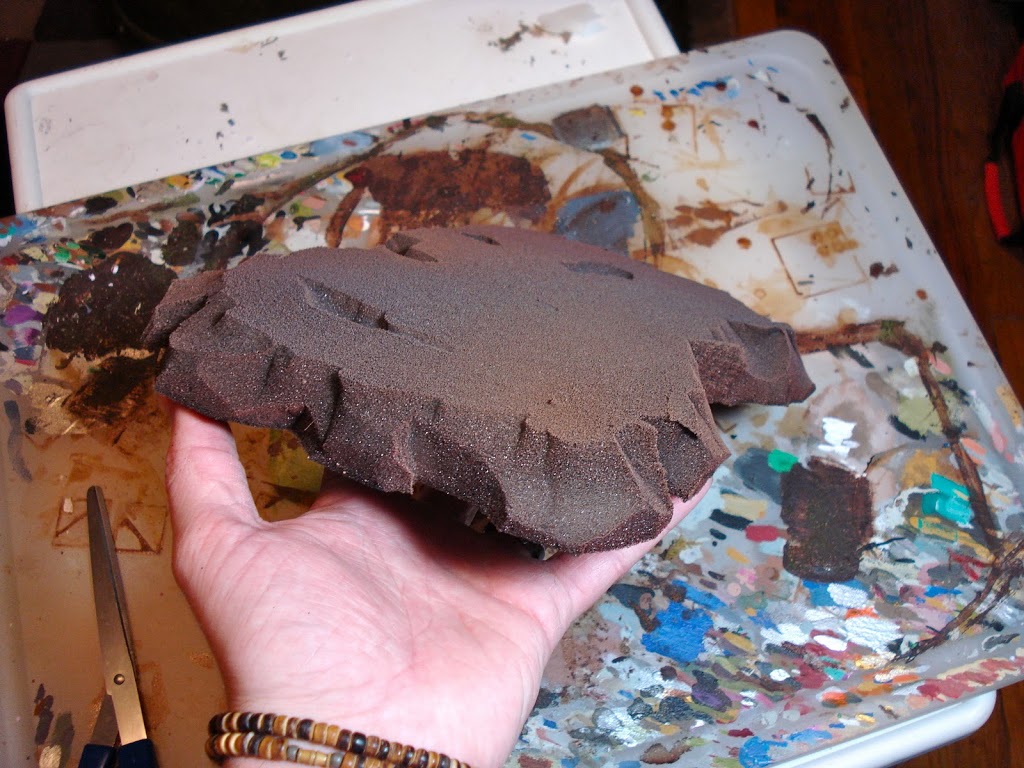
…and here the brown.
And we’re flocking..!
Okay, I guess we’re back to the hill. Flock the top using white glue.
Seriously, this is the cheapest possible piece of terrain you can get. Soft foam is cheap; so is spray paint, glue, and flock. If you don’t have the talent or the time to build more complicated terrain, build a bunch of these of different sizes.
Then stack them for taller, line-of-sight blocking terrain! It’s great for a beginner’s table!
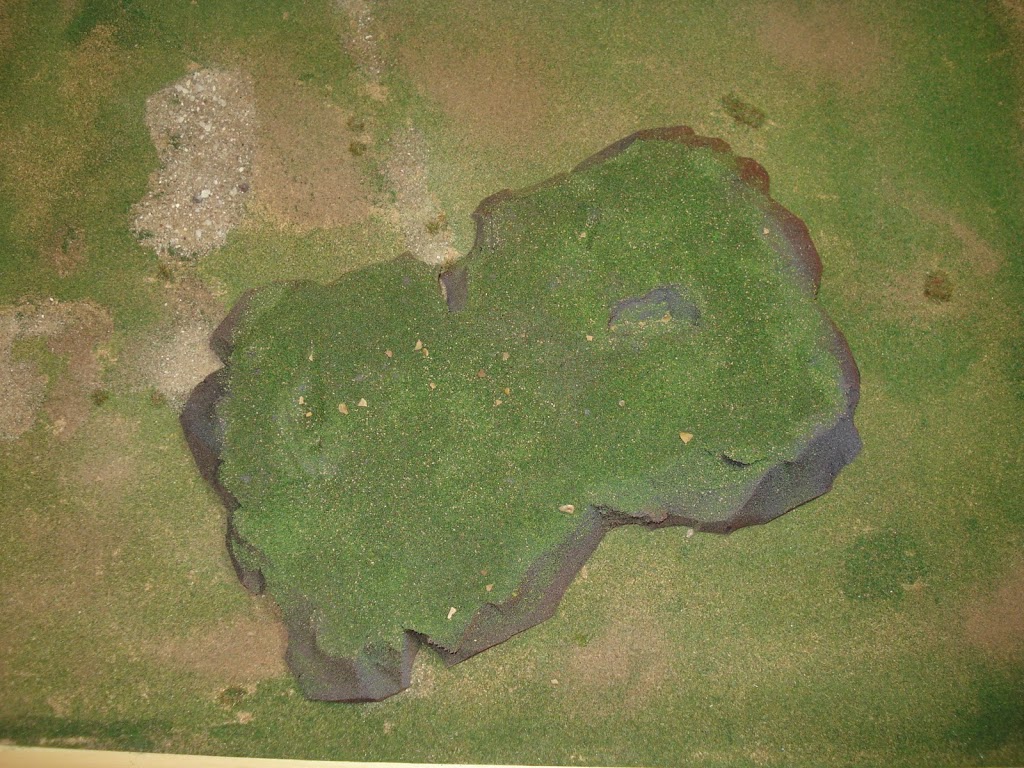
Here’s the more complicated terrain piece, flocked and drying. Once the flock has set I’ll hit the spots that were missed and add finishing details such as foliage and creeping greenery.
That’s it! Terrain on the cheap!
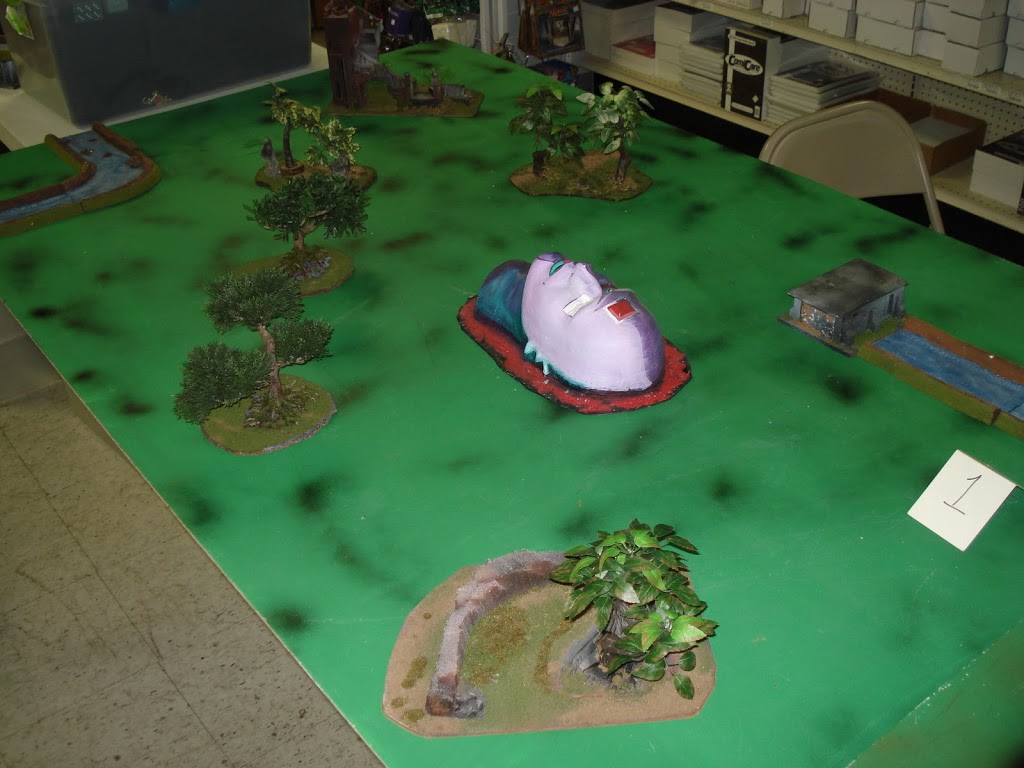
Here are a couple of finished tables from the tournament I ran last weekend. All the terrain you see is mine, using the basic techniques I’ve been outlining in these articles.
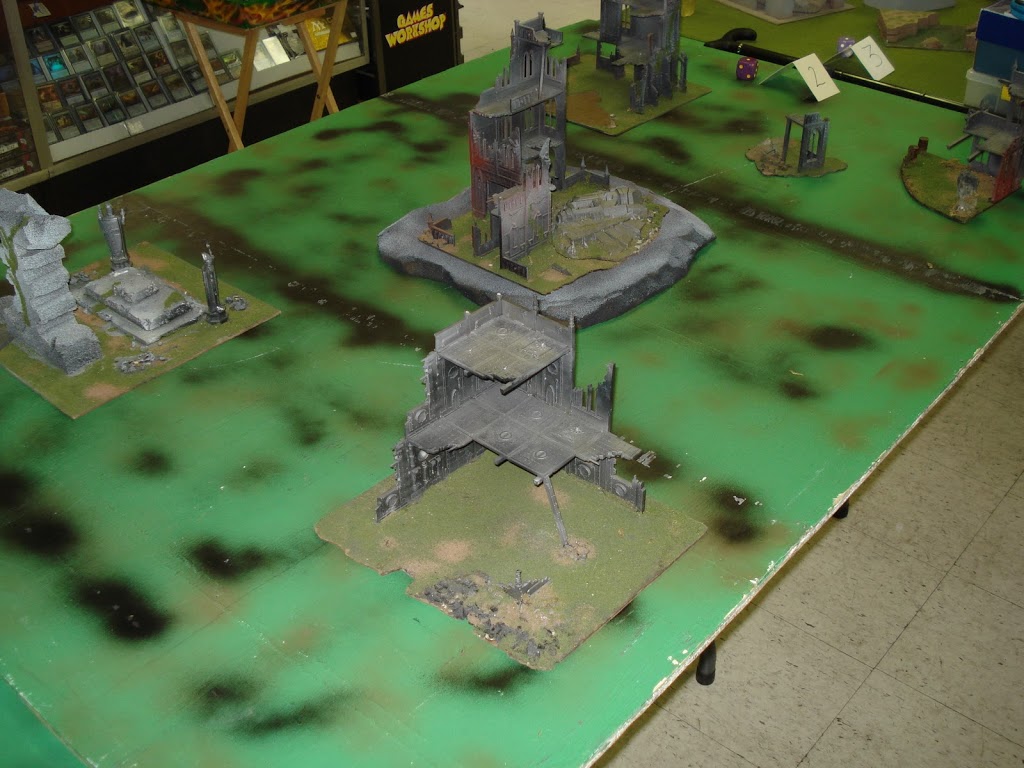
Note the central ruin? It’s resting on a large soft foam hill I built almost ten years ago. That piece on the left is an Inquisitor symbol… cut from the same soft foam!
Give it a go, especially if you’ve never built terrain before. Shoot me an email over at Strictly Average if you actually try it out – I’d love to hear about it!
So thoughts? Comments? Hugs and gropings?
