A Bit of Nothing: Terrain on the Cheap

So you’ve spent a lot of money on miniatures, a fair amount on paints, and now, after several abortive attempts, there’s an actual finished army on the table! So why have you spent almost no time working on terrain?
We all need a place for our little plastic toys to wage their little grim-dark battles, right?
Welcome to a Terrible Tuesday Somewhat Late Wednesday post. My name is Brent and I am, as always, happy to waste a bit of your time. If you’re bored at work, check out Strictly Average.
Your boss wants you to.
I’ve been thinking about terrain lately, but let’s not get too complicated for our first outing on this, okay?
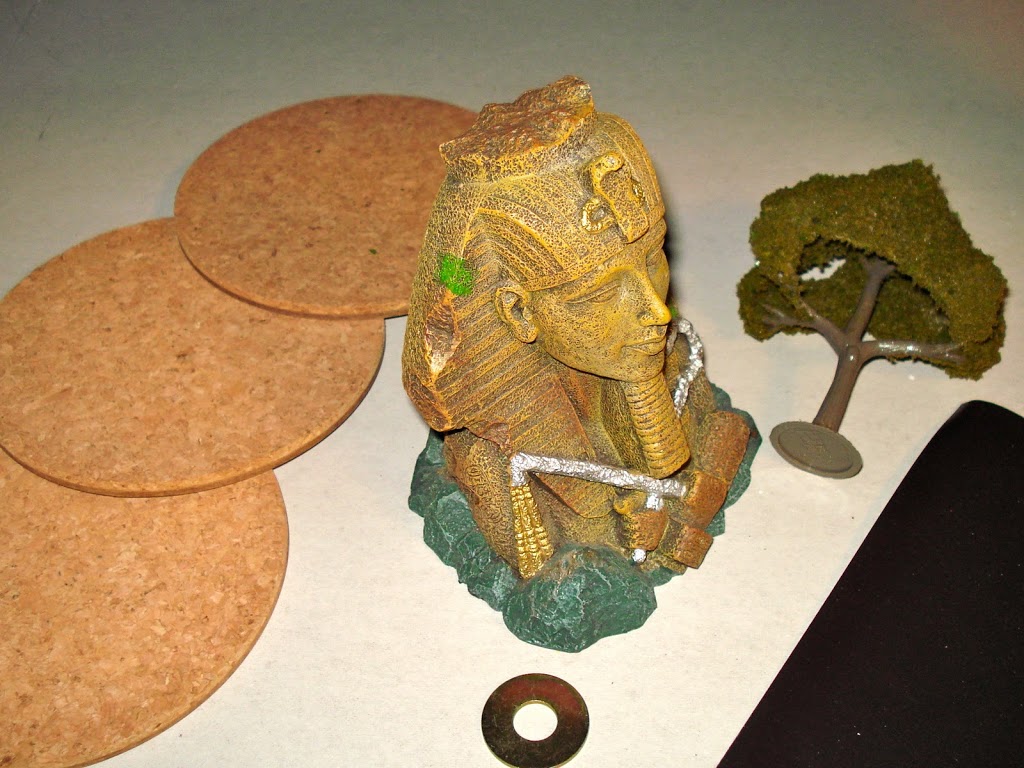
Yea, I raided Wal-Mart. I have washers, an aquarium toy – which was on clearance – a few cork and board bases, and a sticky-sided magnet sheet. The only item I didn’t get from the Mecca of Cheap was the model tree, which you can purchase at Hobby Lobby.
The real coup here is the cork board, which will obviously be the base of the terrain piece. It’s from the garden section, comes in difference sizes, and has the advantage of being light but sturdy. As long as it isn’t stored with weight on it, it won’t warp on you.
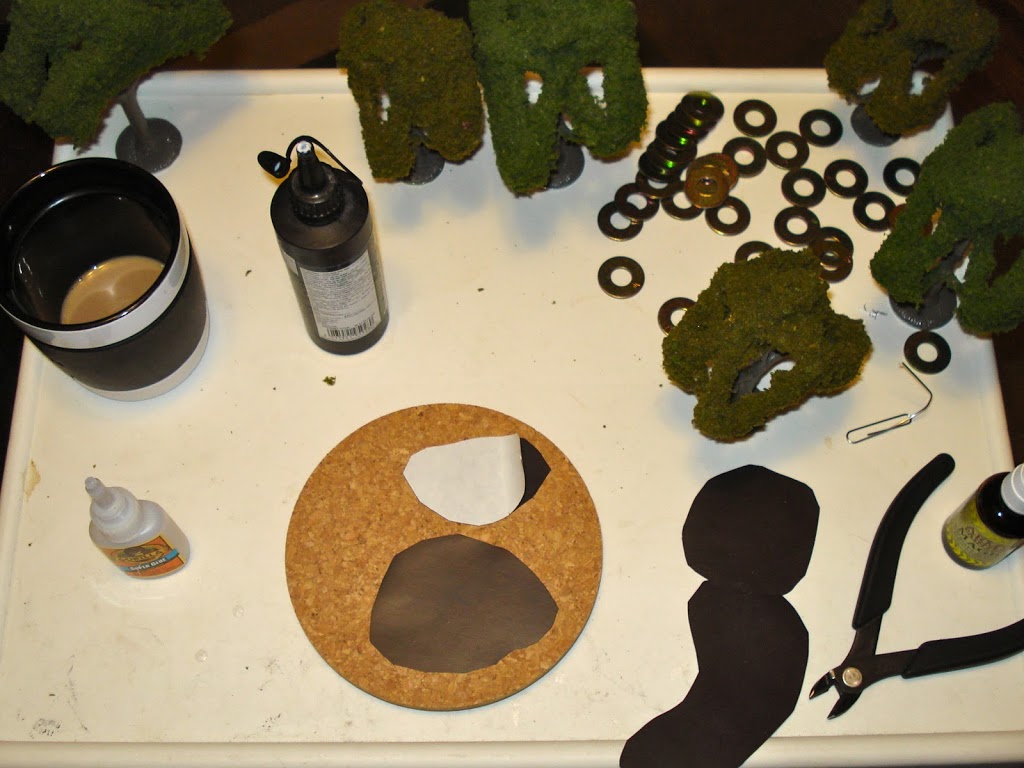
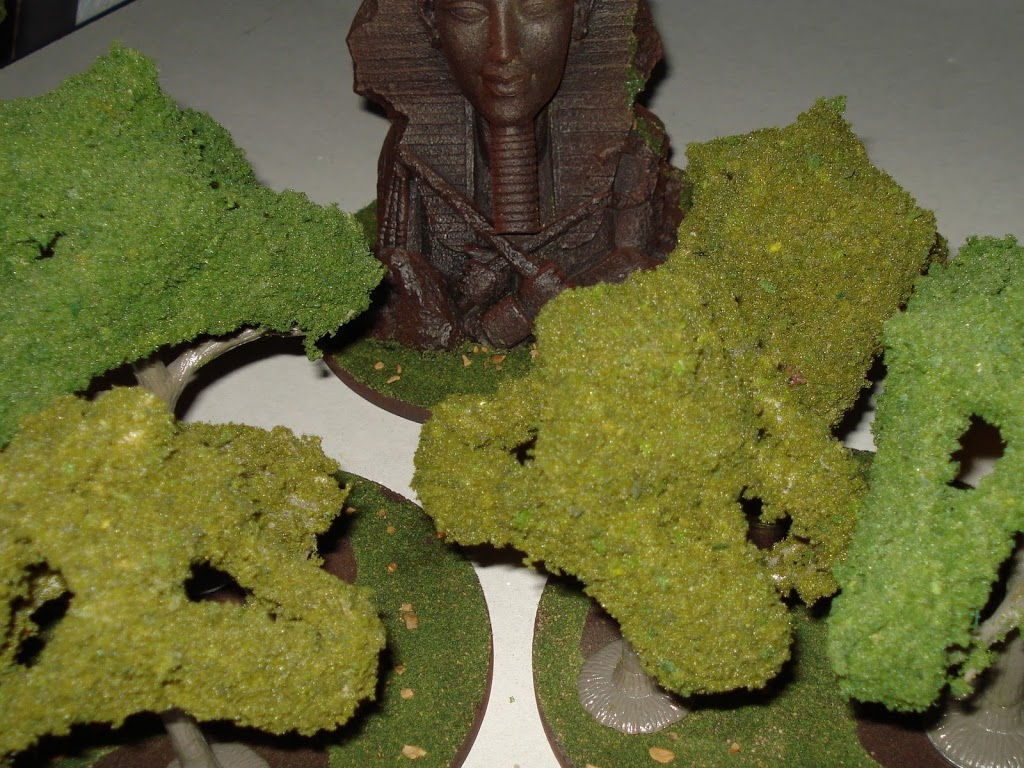
This couldn’t be easier. I cut a circular shape and stuck it to the base. The washer was glued to the bottom of the tree… are you beginning to see the picture here?
Metal + magnet – yea, you saw it coming!
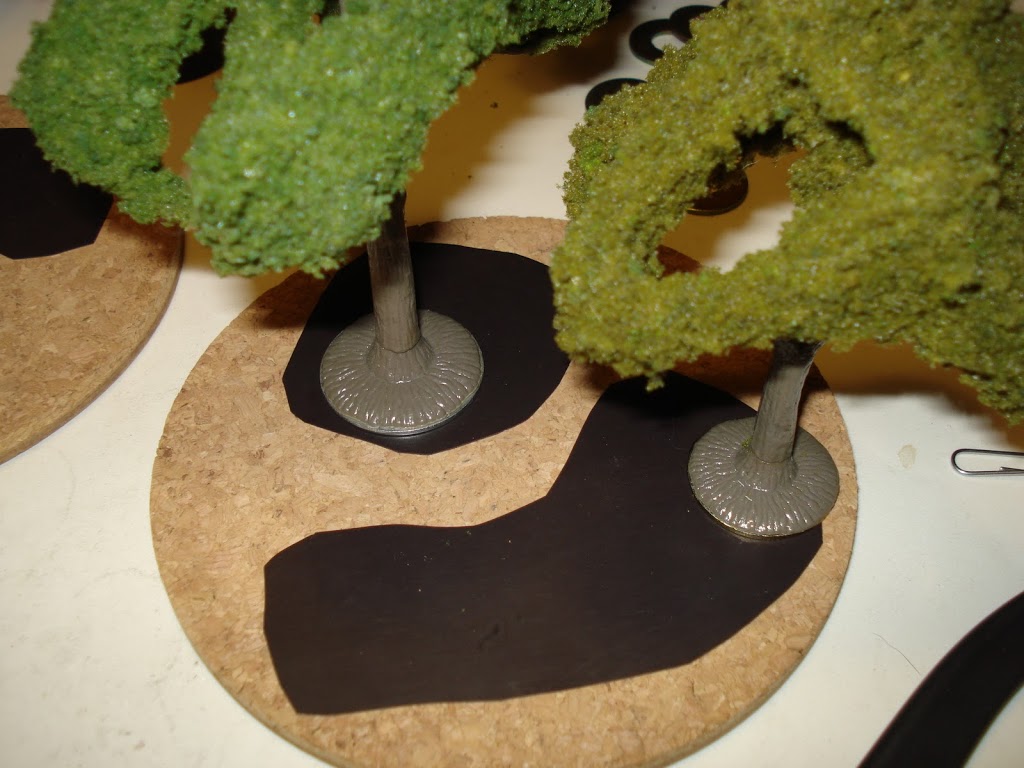
Trees make for great wargaming terrain… and an alternative to the ever-present City Fight terrain. Practically speaking, it’s hard to set models in a copse of trees, so it helps if they’re removable. This is an easy solution.
Step Obvious: glue one bit to the other bit. I used a combination of super glue and white glue, just to save on the former.
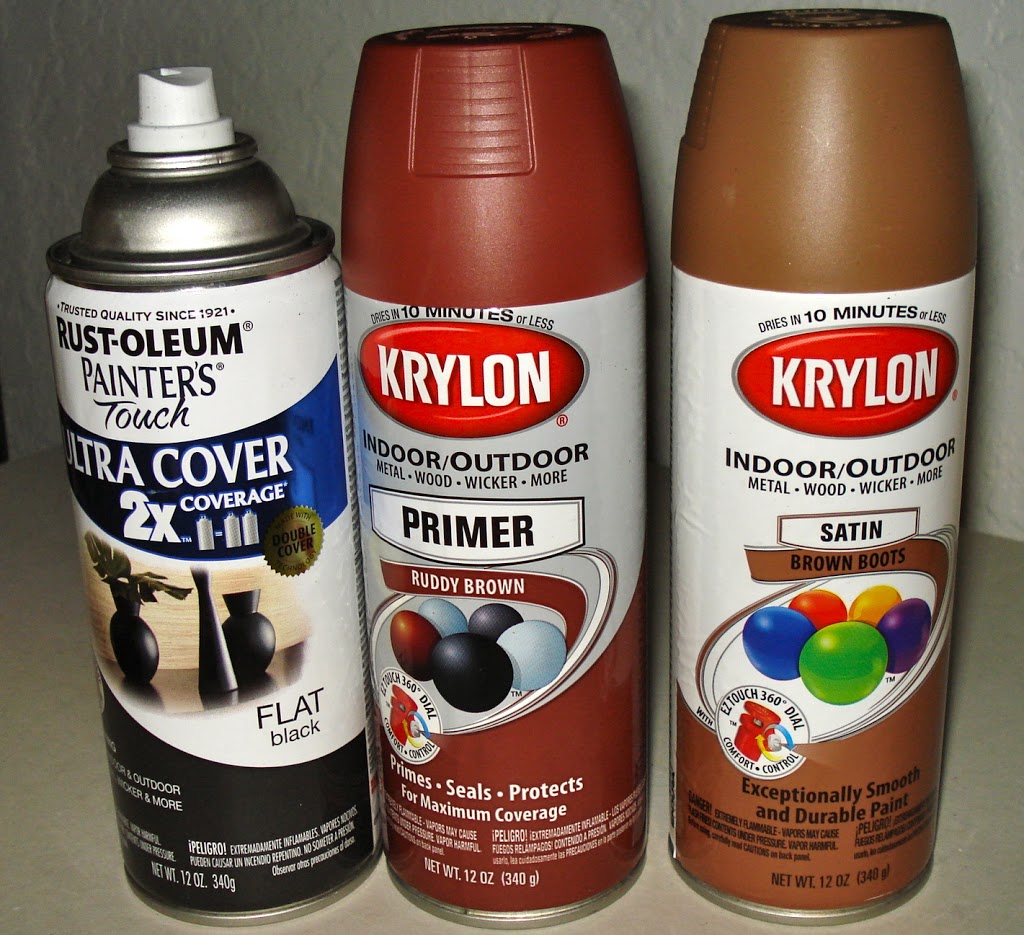
I ain’t painting terrain by hand. This method works regardless of what you’re working on… pay attention, this is tough!
Spray it black then dust it from a distance with the colors of your choice, dark to light. I think it works best from limited angles, but knock yourself out – it’s your stuff.
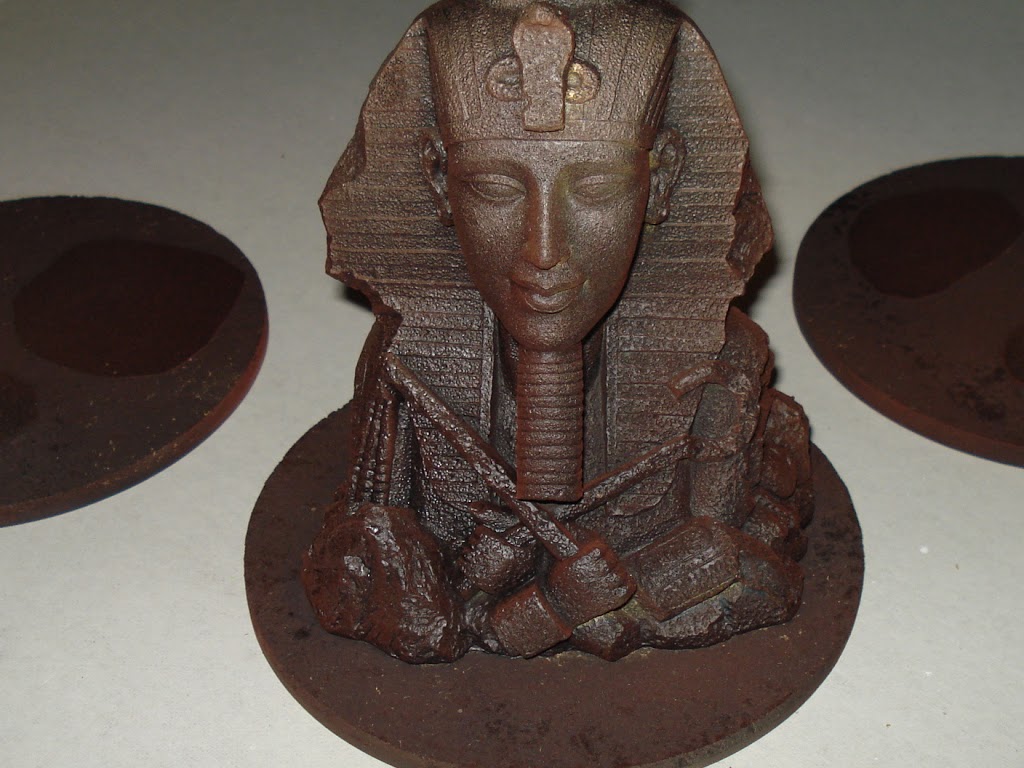
Voila.
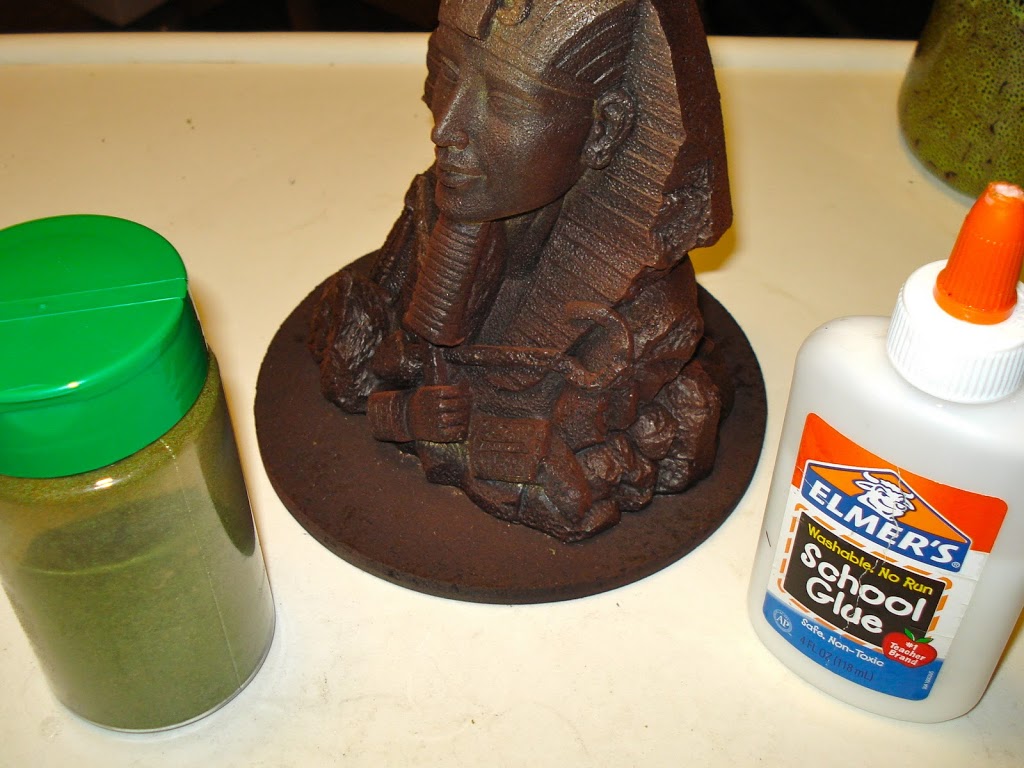
Time to flock. I purchase flock in the ridiculously large containers, then pour a workable amount into a parmesan cheese container. The white glue is cut 50/50 glue to water, primarily because it’s easier to spread out that way.
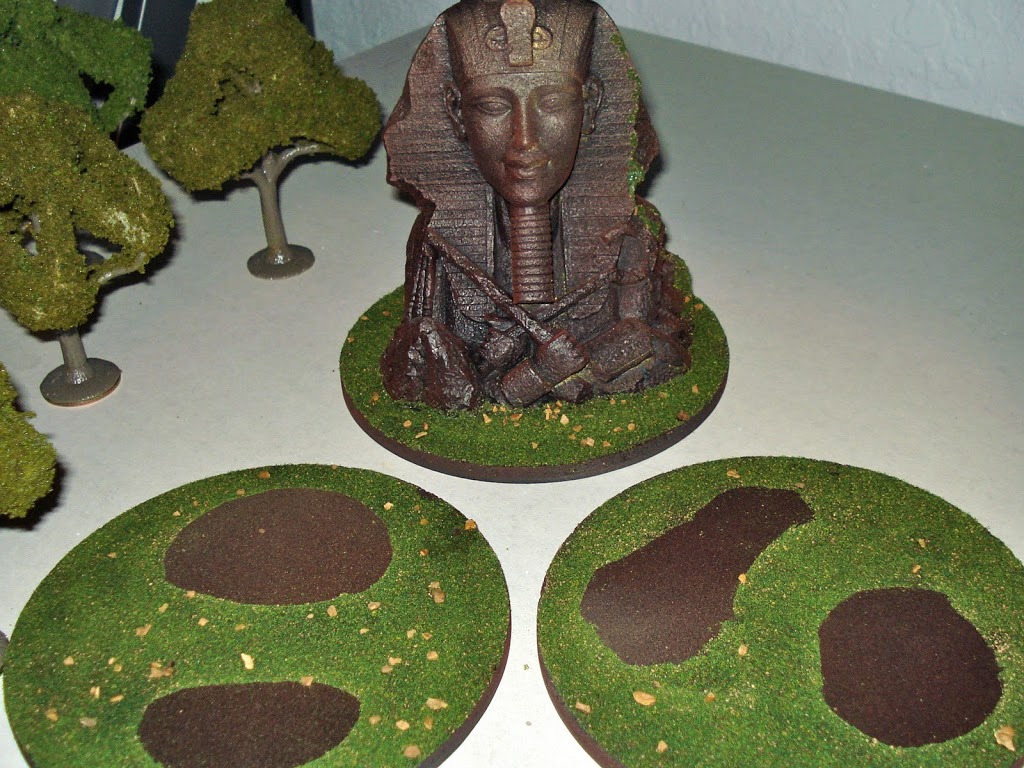
When it dries completely I’m going to add some clumps of static grass here and there, just for contrast. I didn’t flock over the magnets completely for what I hope is an obvious reason. Note: the extra space is to accommodate different numbers and sizes of trees.
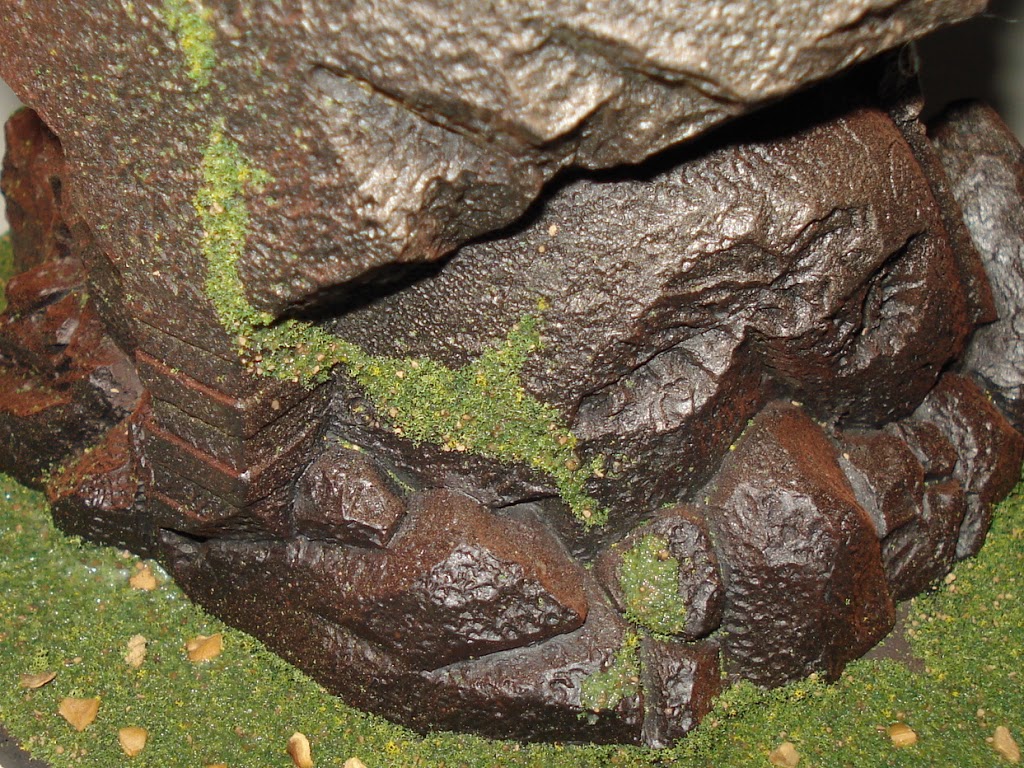
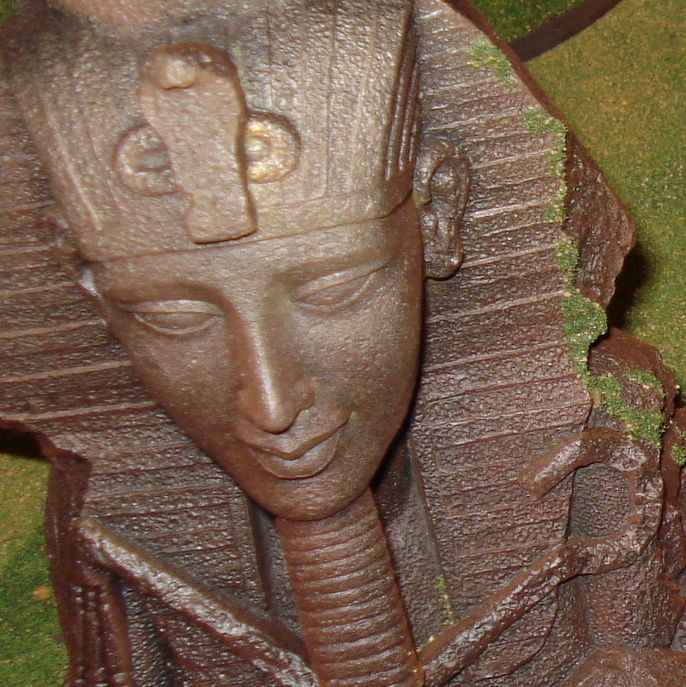
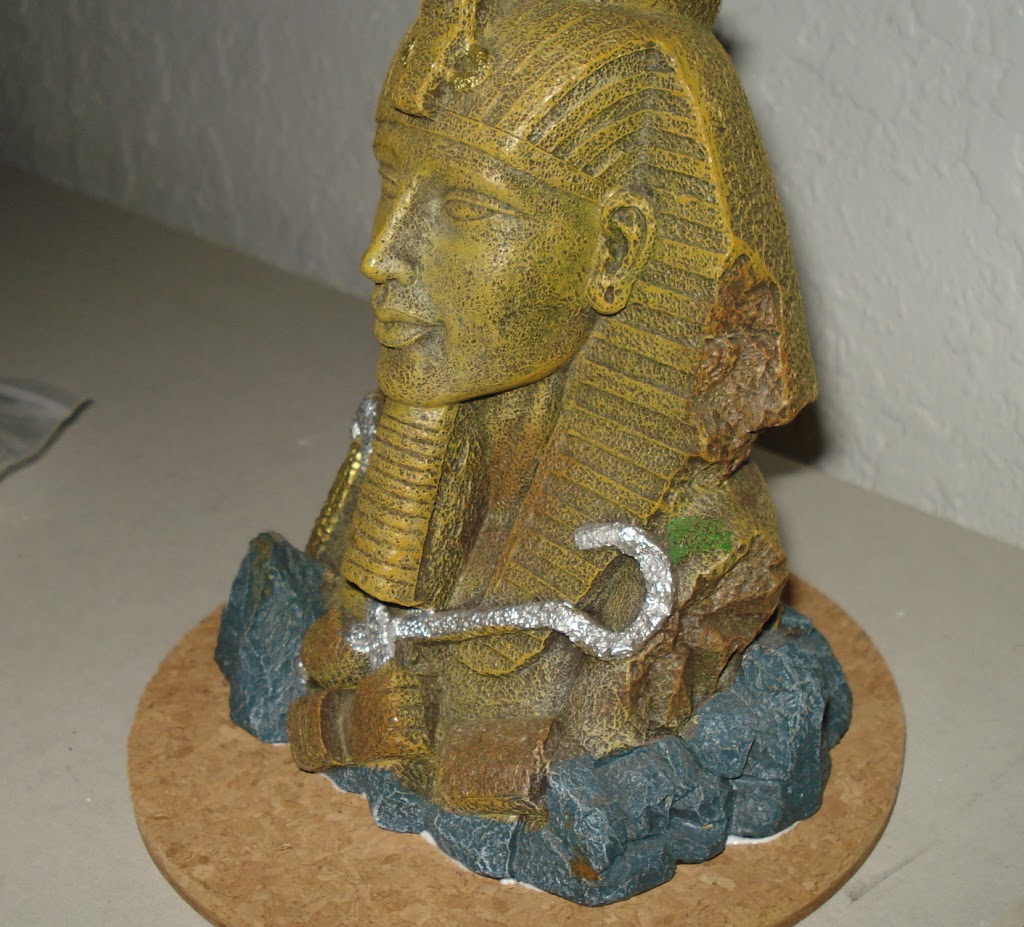
I used a bit of flocking on the statue to represent creeping greenery. It’s easy and offers a good contrast, but the trick is to avoid overdoing it.
There you go, easy and inexpensive terrain! Keep in mind, since the trees aren’t attached it makes for better storage and transportation; just stack and go.
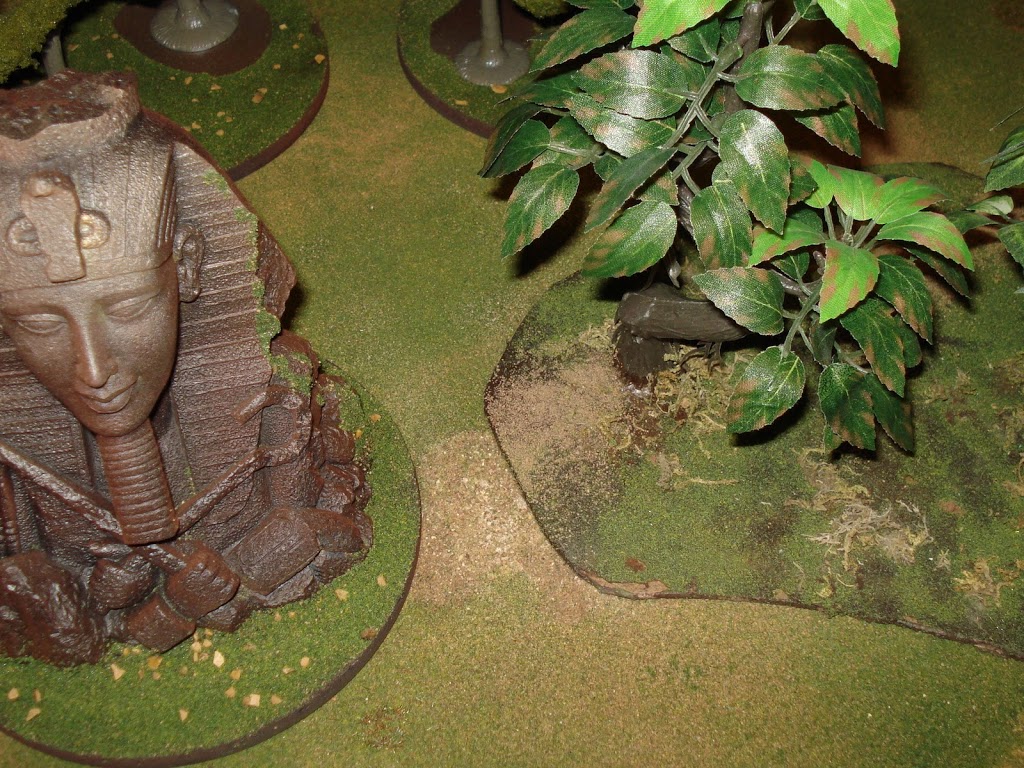
Here’s a side by side comparison of the terrain I did tonight and a piece I did about two years ago. It’s okay, but I took too many shortcuts and it aged poorly. The pure-cork base is warping a bit, the flocking is a bit too busy, and the cork is showing through in places.
Eventually it’ll drive me nuts enough that I’ll pull the tree off and start over.
That’s about it for this first stab at terrain. Next time I tackle this theme – and if there is a next time depends on you fine folks – I’ll demonstrate more complicated (but still easy) do-it-yourself terrain ideas.
So ladies and gentlemen, Unicorns and children of all ages, did this article pass muster? Was it worth the wait? Was it a waste of your valuable time?
Or alternatively, want to share some terrain ideas of your own? Feel free to drop a link!
Thoughts? Comments? Hugs and gropings?

