Ork Battlefortress, Part 4


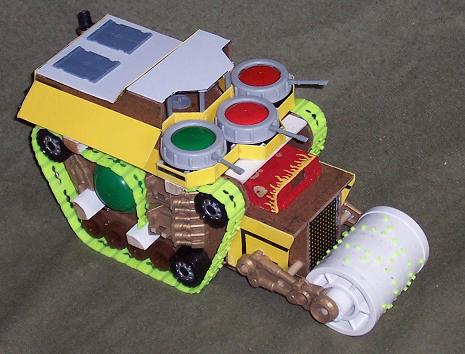
I had a productive weekend. My wife and son were out of town, so I had a lot of time to work on the battle fortress. I got the engine, cab and roller done as well as trimming down the top and putting in the ‘observation deck’.
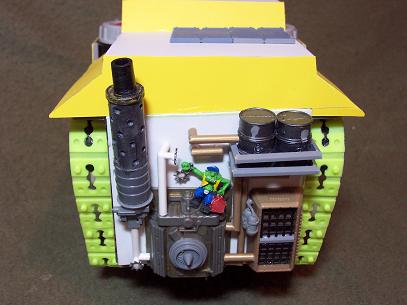 I was very pleased with how well the engine turned out. The grot rigger is not glued in yet, but that is approximately where he will be. I picked up some #6 lock washers and used them as valves on some of the pipes. It was a quick and easy way to add a little bit of character back there.
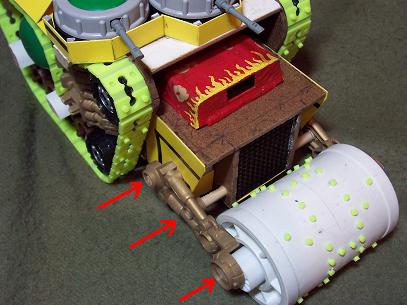 I was concerned about the weight of the roller. The PVC fittings look very nice, but are also very heavy, nearly half the weight of the whole project. I didn’t think the arms would be able to hold the roller up with glue alone, so I picked up a 1/4 “ oak dowel. I drilled 2 holes through the cab and ran the rods through them. This kept the arms secure to the cab. Another rod through the center of the roller made sure that it stayed attached to the arms. The bonus is the roller was then free to rotate.
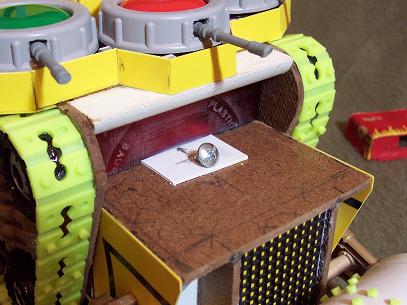 Now that the roller was secured to the cab, I had to make sure the cab wouldn’t get ripped off the front of the battle fortress when it was picked up. This time I predrilled a hole at the top and bottom of the cab into the frame, then took some large threaded wood screws and screwed the cab right into the central plastic box. Very secure.
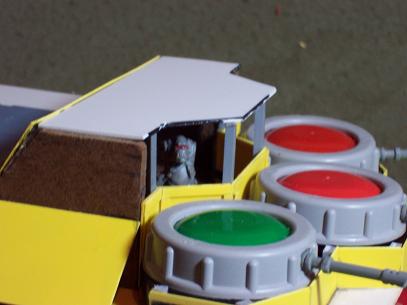 I put in the supports and walls on the observation deck. I also did my first section of trim here. About half way through I realized that this project is going to take a very long time to detail. And don’t even get me started on gluing on rivets!
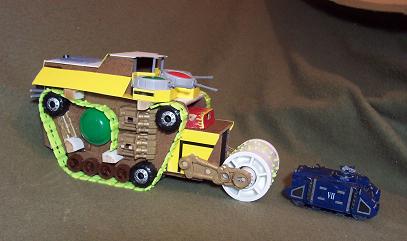 All things considered, its looking good…and big. I took a picture of it next to a rhino for comparison. I wouldn’t want to be in the rhino.
Assembling the cab on front, and cutting ½” off the top definitely helps with the “skyscraper on treads” feel it was having earlier. Next step is to assemble the side armor skirts around the tracks and start putting the armor plates on the flat surfaces.

