Terrain Workshop: Roads


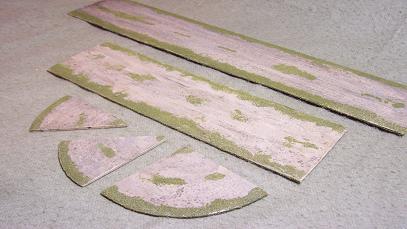
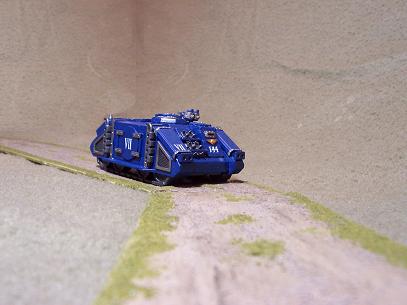
One of the terrain features that is often overlooked and underused is roads. Building sectional roads is not as hard as it may seem, but it is a little more involved that the other terrain pieces I have written about. It takes several steps to make a road, but it is hard to make them look bad. This is by no means the best way to make them, but it did work for me.
1) Planning. The first thing to do is to pick a base material. I use the standard hardboard (similar to MDF). It is important to figure out the scale of your roads. I went with single lane roads 3” across. In hindsight, it may have been better to go with 4” wide roads.
2) More Planning. The next choice is the length and type of pieces. I recommend several 12″ and 18″ straight pieces, some 90 and 45 degree turns, and various intersections.
3) Cutting. Cut the base pieces out of the hardboard; I use a jigsaw. It is also a good idea to sand down the long edges of the boards.
4) Texture. I use Elmer’s Wood filler. It is relatively inexpensive and gives a good look. I find it is much easier if you get the surface damp first. You don’t want to overdo it, as too much water will cause the board to warp and even breakdown the wood’s bond. You don’t need an even coat, but it should be completely covered. You will want to rub the surface along the road in the direction of traffic. Don’t make the lines too straight.
5) Paint. After the texture dries, it is time to paint. I picked a light brown, about the color of cardboard. Pick a color that matches the rest of your terrain. Again, paint in long strokes to match the flow of traffic across the road.
6) Wash. I use a black “magic wash”. If you don’t know what magic wash is, do a search. It is easy to make and works very well.
7) Wash #2. This is not so much to give the road color as to give something for the gravel in the next step to adhere to. Make sure your first application of wash is completely dry before you do this step. You can also use various adhesives (watered down PVA glue, spray adhesive, etc). Do a very light coat in this step.
8) Gravel. Lightly sprinkle woodland scenic gravel over the road. If your wash was too thick, the gravel (which I believe is made of cork) will absorb the wash and make your road look like it is covered in strange black acne. Remember, sprinkle very lightly. You don’t need very much to give it the right effect.
9) Flock prep. Run a light bead of PVS glue (Elmer’s) down the outside edge of the road section, and then run your finger along it. Take your index finger and ‘tap’ the glue, running all along the edge. This will give it a bit of randomness. Take a few dabs of glue and put splotches along the center of the road.
10) Flocking. I use woodland scenic burt grass, but make sure you get something that matches the color of your gaming table to help the edges blend in.
11) Sealing. Use standard sealing techniques. Gloss coat followed by a dull coat.
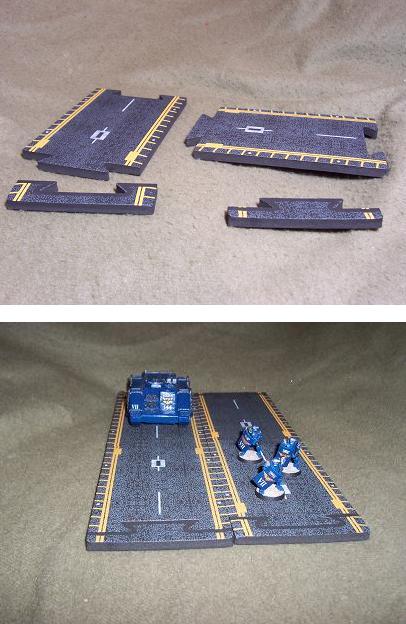
 If this all sounds like a lot of work, there is an alternative. Last week I was taking my son to the local toy store and noticed they had a series of airplanes called ‘HotWings’ on sale. They also had runway sections to go with the planes. For about $1.50, they were selling 2 feet of runway sections. The sections were interconnecting, and made of durable ¼ inch foam.


