PAINTING: Washing and Tinting

A wash is a mixture of paint and/or ink and water, thinned down and applied to a model or miniature. Washes are meant to accentuate lower areas of the model in a darker color to represent natural shadows and thus making your model look more realistic.
There are a variety of inks and washes available today; personally, I prefer to use Vallejo game ink; it doesn’t have a particularly glossy finish and I’ve had fewer problems with the ringing effect (see below, I promise I’ll get to it). I also prefer to use the Citadael pre-mixed washes, as it saves me the time of mixing up my own. If you do mix your own washes, I’d suggest adding the water in with an eyedropper. It will allow you fairly good control of how much water you are adding, and do remember to write it down in case you need to mix more. I would suggest a lot of empty paint bottles for mixing, especially if you’re painting large groups of models, or just large models. It takes a lot to wash a land raider or a titan! I usually start with a 2:1 or 3:1 ratio for washes if I’m mixing my own, but it does tend to vary by brand. How thick or how thin you want your wash is also going to be determined by the effect you want the wash to have. It won’t take long to get the hang of it, and if you get stuck, visit your FLGS and (this is the best method) talk to a more experienced painter who may be willing to show you how.
But I digress. Back to the subject at hand…
There are differing schools of thought on how to apply washes: apply it all over and let it flow into the low areas, or simply apply it to only the lower areas. Like most things that have to do with painting, I will cop out and say there is no right or wrong answer. I will say there are considerations you need to be aware of either way.
The “all over” method will require a thinner mix, meaning less paint or ink and more water. The paint won’t “flow” into the low areas if it is too thick. Some folks will do this (apply a very “thick” wash) on purpose – and end up with a very transparent coat which is fairly uniform over the entire model. Many people refer to this method as tinting; it’s particularly common with ink washes and is a great way to “tune up” a color.
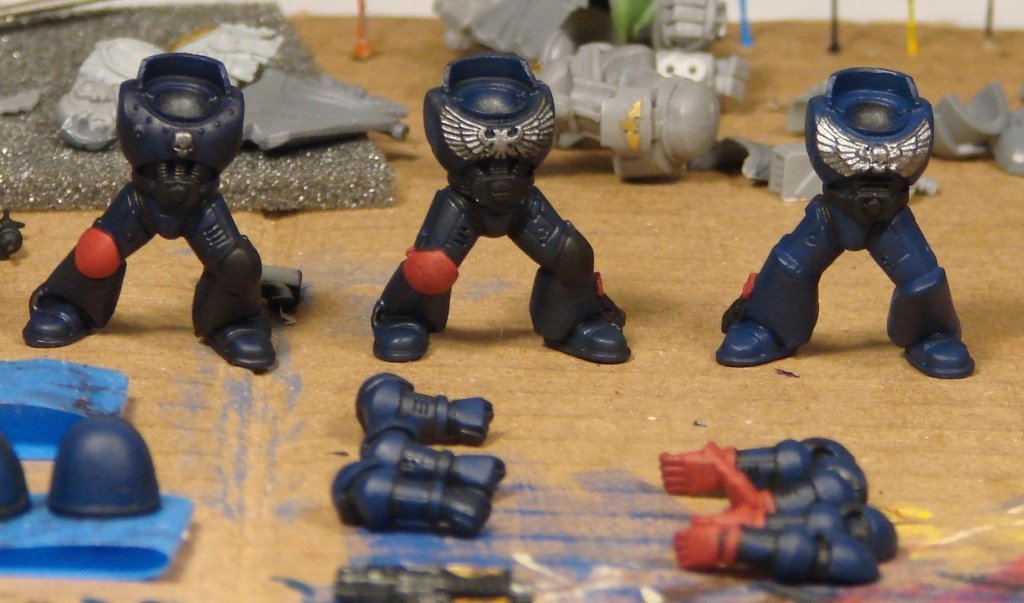
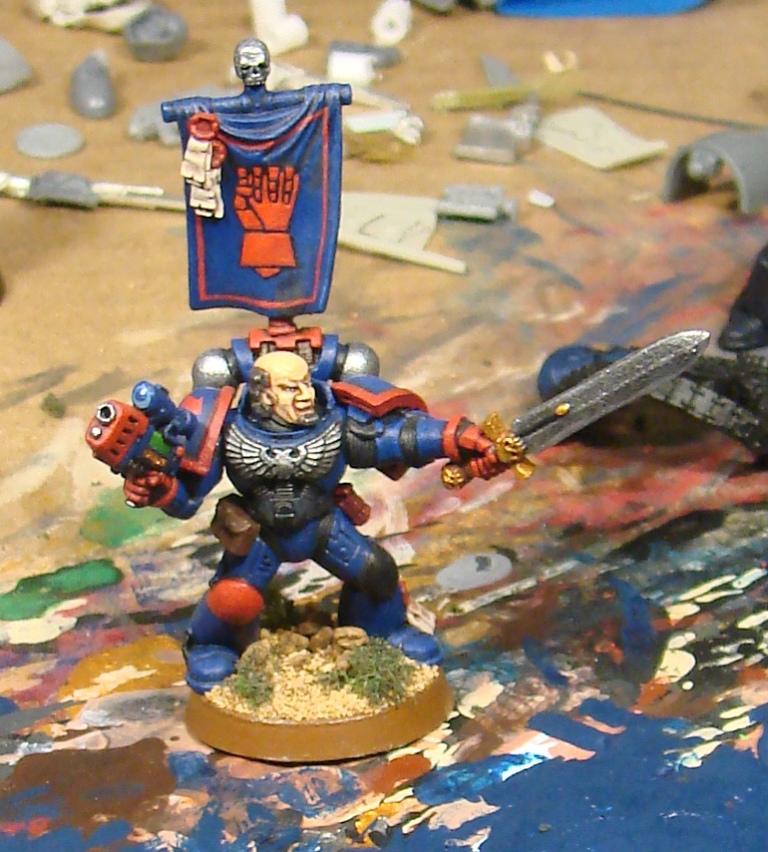
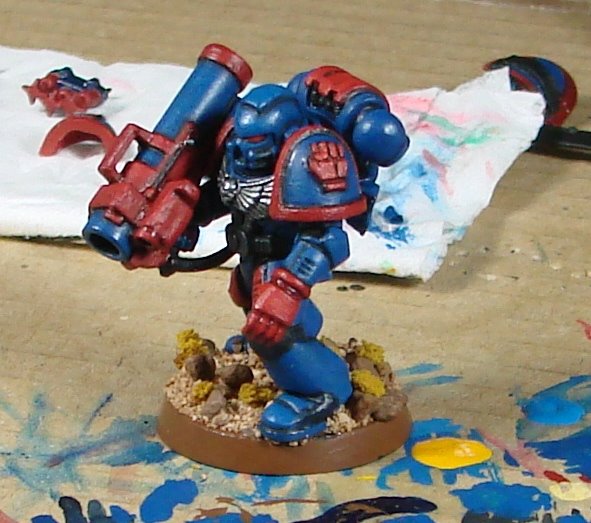
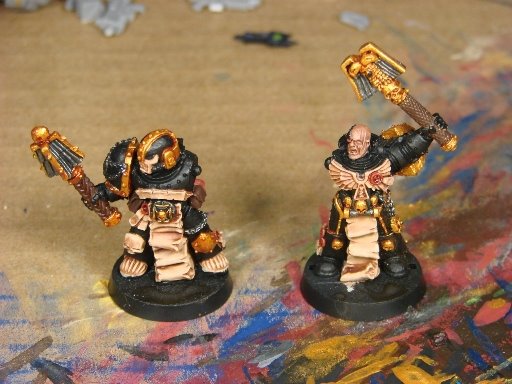
I use a purple tinting coat on the Crimson fists I have been painting for months now. The blue I mixed up just didn’t look right, so I ended up tinting them with a straight Leviathan Purple wash. Have a look at the three torsos below – on the right, basecoat only (Necron Abyss). In the middle, base coat plus an undiluted Badab Black. On the left, basecoat, plus wash, plus the tint of Leviathan Purple (thickened just a tad with some matt medium).
It is probably hard to tell the difference at this point; I’ll blame my camera. Have a look at the marine with the missile launcher, who didn’t get the tint, and the sergeant who did. Tinting is probably easier than you think it is; it’s just a thinner wash applied all over your mini or model. In a recent White Dwarf, one of the staff painters tinted some pipes on a Stompa with a black wash to tone down the rust effects. I’ve used that one myself, and it works well for me. Tinting can be done before or after highlighting; most painters that tint to get a specific color apply the tint just after the basic wash, and most that are trying to “tone down” something, like the rust effect example, will often do so after highlighting.
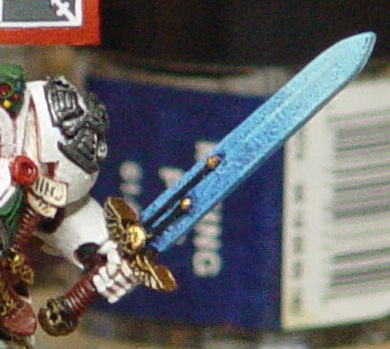
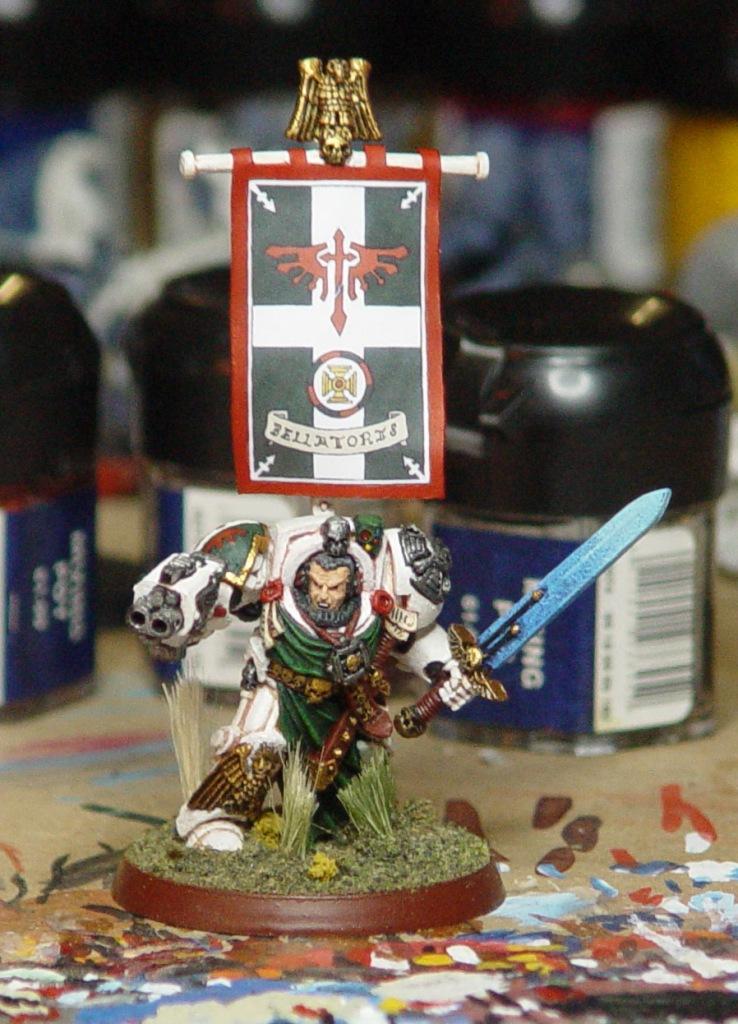
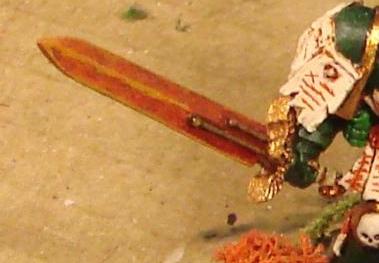
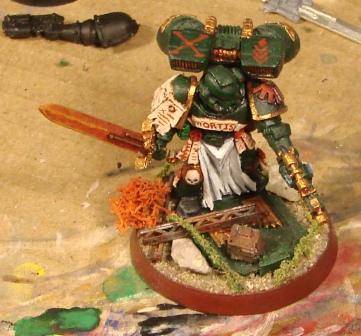
Tinting is different from glazing, which is adjusting the color by applying undiluted or very slightly diluted inks on top of a coat of paint to get a more intense color. I used glaze quite a bit; when inks were new, it was a great way to get really intense colors. Hobby paints are better now (read: colors are more intense than they were fifteen years ago), so I don’t have to use glazes as often. I frequently use glazing on gems, vision ports, power weapons, and such like. Here are a Deathwing Captain and a Dark Angels sergeant with glazed power swords.
If you want some practice with glazing, take an old or cheap mini (one you don’t care much about) and paint it entirely black. Then dry brush some highlights on to it with a few coats of gray. Once the dry brushing is done, paint the thing “normally” with undiluted ink. This will give you a good feel for it, and also demonstrate the glossiness that glazing sometimes causes. To fix the glossiness, I’d suggest re-doing the highlights with another light dry brush coats, or some dull coat lacquer. Of course, if you want the glossy effect, it’s perfectly okay to leave it that way. Incidentally, the Deathwing Captain’s power sword was “dulled” with a few dry brushed coats of blue and white.
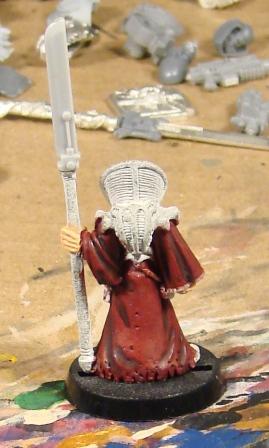
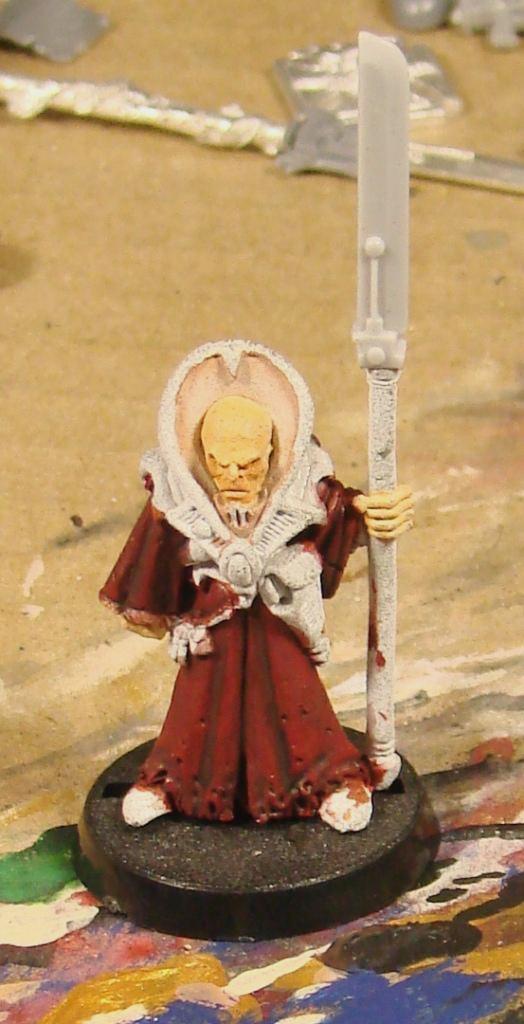
Okay, back to washes. The other school of thought; to “paint” your wash only in the low areas. This is going to require a thicker mix, in order to get the wash to stay in the low areas and not simply flow off the model. The genestealer magus (wow, I’m dating myself) below has been washed with this method.
Plusses and minuses, you ask? The “all over” method requires you to go back over some parts of the model, as the whole thing is going to get darker (see the space marine torso photo). This is going to add time, something you don’t want to do if you’ve got a tournament coming up or a looming commission deadline. On the other hand, if you go over the wash in thinned-out layers, some areas of the model will look slightly darker, and some will look slightly lighter. I like to do this because it leads to a “rougher” finish, where things look a little beaten or worn.
The “just in the low parts” method will save you the pain of repainting a lot of the model, and is popular in a lot of circles for that reason. It’s also going to give you a “cleaner” look, which a lot of painters really like. Predictably, I’m going to waffle and say that I use both methods, sometimes on the same miniature, because I do.
I promised I would get to the puddle effect… and here is where I will. If you dilute a wash too much, the binder will fail; it won’t be able to hold the pigment together as it should. This results in something commonly called ringing, which I usually call the “puddle effect:” the wash will stick to the raised areas of your model and puddle on the flat areas, creating a really ugly effect that looks a little like oil spilled on your garage floor. If you’re doing a nice scene of a mad ork Mek shop, you might want the oil stain effect, but I digress again. For some reason, ringing seems to be tougher to avoid with inks. Though I don’t know for sure, I’d suspect inks have a slightly different binder than most acrylic paints. Whatever the case, you can avoid ringing in a variety of ways. The ‘Eavy Metal crew suggests adding a little PVA glue (also called white glue or Elmer’s Glue here in the USA) to avoid ringing. I’ve usually used a drop or two of matte medium to a wash and found it to work okay as well. I’ve even heard of people adding future floor wax to their washes to avoid ringing, though I’ve never tried that one myself.
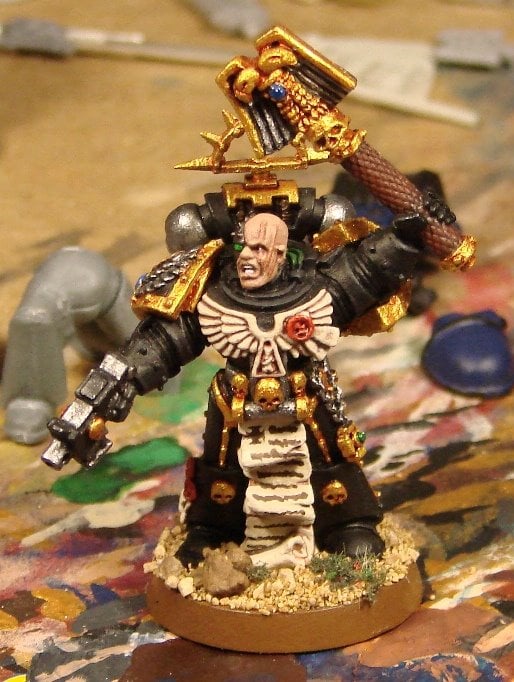
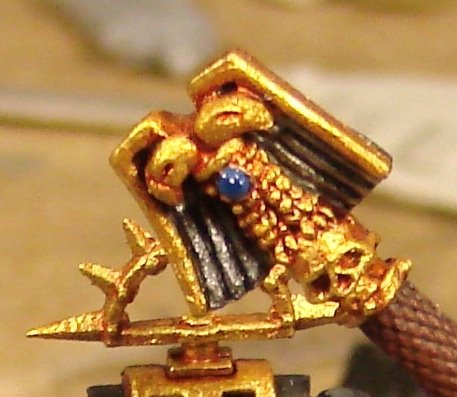
Washes can be very useful for many other things as well. To get better contrast between two colors, a dark brown or black ink wash (on the thick side here) can really help separate colors or items on your miniature. I used black ink on this chaplain’s crozuis (his big beat-ey stick) to help out the contrast between the silver and gold metal. I also touched it up with some pigment markers, which I bought a few weeks ago after some very good advice from a friend.
Even after all this time, I still learn things every day. I haven’t used the markers much, but I’m beginning to like them. Check out BigRed’s Deathguard Fellblade for some really “wow” pigment marker results.
Unlike layering your highlights, washes use comparatively little paint (or ink), so repeated coats won’t obscure nearly as much detail as those multiple highlight layers will. I know several painters who do multiple washes of different “thicknesses” to get some pretty striking shading effects. The general idea is to use a fairly thick wash for the deepest shadows and successively thinner coats applied to more of the area to be covered. It’s the same principle as layering your highlights, but you’re working with the shaded areas (or shadows, if it helps to think that way) instead.
To use inks or paint-based washes. Hmm. I’ll give my friend the lawyer’s favorite answer… it depends. I prefer paint-based washes myself, though I do find tinting easier to do with inks. Inks in general, I’ve found, give more intense colors and provide greater contrast than most paint-based washes, or so it seems to me. Another area where I use inks almost exclusively is in washing metallic colors. I tend to use a red-brown ink wash on gold as it gives a nice “bronze” appearance – see the two chaplains below. The scrolls were washed with Citadel Ogryn Flesh over Vallejo Bonewhite. The chaplain on the right may appear in his own article in the future. Yes, it’s the same miniature in the photo above.
Time for a few closing notes… If you’re just getting the hang of washes, I’d suggest starting with paint-based washes. You may want to stick with some pre-mixed ones until you get the general feel for things. After you’re satisfied you’ve got the hang of things, move on up to mixing some of your own, and then give inks a try. Don’t be afraid to give tinting and glazing a try, either. As I’ve said, there’s no wrong way to do things unless you don’t do them at all, so go get some practice, and by all means discuss!
~Gunnery chief, load torpedo tubes three and four! Comments away!

