Hobby: Vallejo Course Pumice

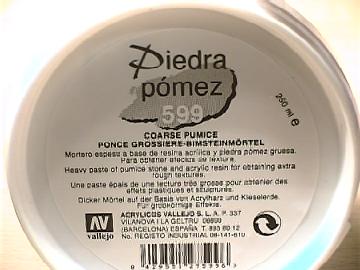
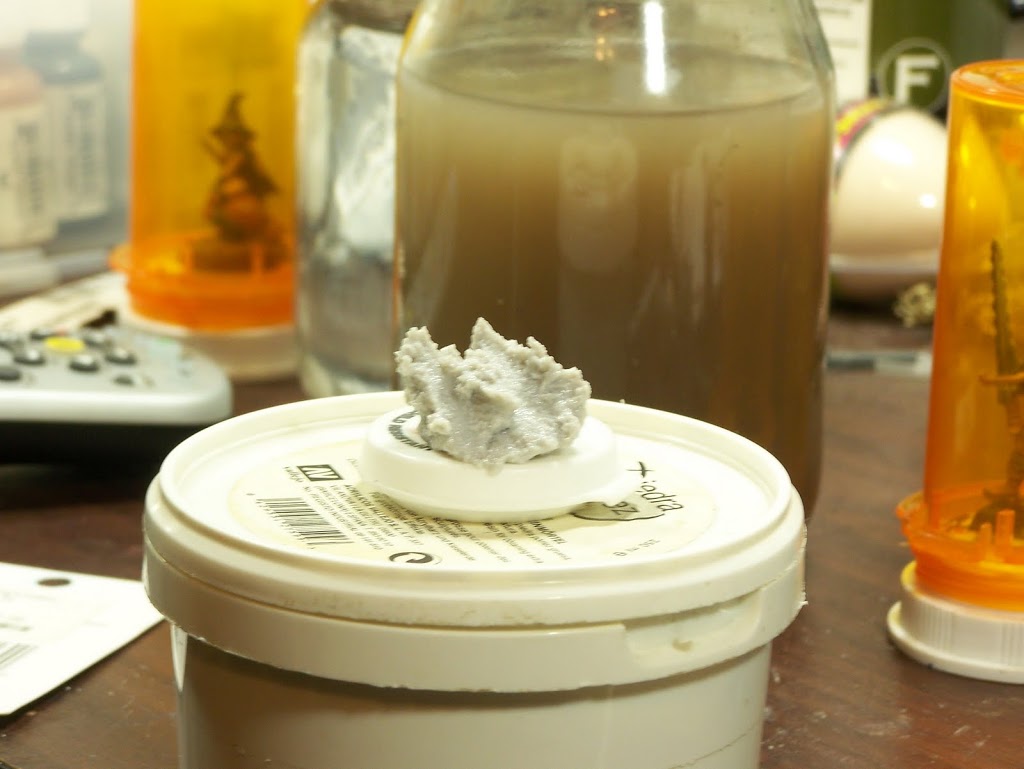
 One of my favorite mediums for applying to the base of a figure is Vallejo Course Pumice. This stuff is pumice sand in a suspension of acrylic resin, which looks like a sandy paste. When it is dry it has a rough sandy texture to it. This stuff has some utility beyond basing, which is why I love using it so much.
 When I use the Vallejo Pumice I start by guessing at a portion I will need, and I will take out that portion from the tub and place on an old bottle cap or jar lid. I transfer what I need out of the tub so I do not prematurely dry out what is left in the tub, which is also a useful tip when working with premixed spackle.
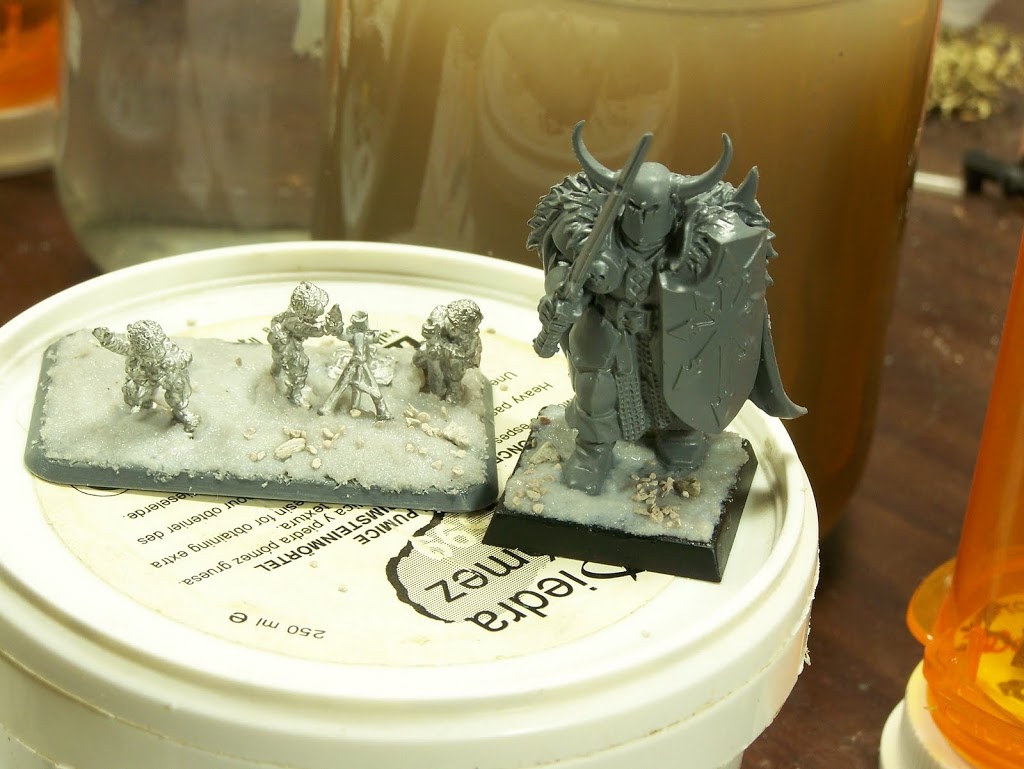
Once I have my working stock, I begin applying the pumice to the base with an old #11 X-Acto blade. (Important safety tip: when using old hobby blades for non-cutting projects be careful because they are dull the cuts they can make to you are worse.) I start working from the inside of the base outwards, and I work with a wet blade. A wet blade is a blade that has been dipped in water, and is useful because it will smooth the surface of the pumice.
Once the pumice is applied to the entire base there are a few directions to go. The most obvious is to let the pumice dry and treat it like sand on a base. This works just fine and is most useful when painting armies. However, I like getting outside of the box and found that this pumice will hold bits on to the base like glue. What I have done is applied bits from my bits box, talus, or ballast to bases to add some visual interest.
At the beginning of this article, I wrote about the utility of this product. One of my favorite aspects about the Vallejo pumice is that it adds some actual weight to a base. It doesn’t add enough weight to counter balance off center metal models, but it works perfect for plastic figures. My other use for this product is on vehicles. I have found it works great for modeling mud build up on tracks, track guards, and tires.
There are some who will argue that sand works just as well, or that the $12(US) price tag is a bit much. However, I have based close to 4 dozen figures and still have more than half a tub left. Also when you are spending $15-$60(US) for single models the price consideration becomes negligible. Overall I like this stuff and recommend that everyone give it a try.


