Painting Leopard Spots/Scales

 ++Leopard Spots/Scales++
Written by: RealGenius
RealGenius here to give you a step by step guide to adding scales/Leopard spots to your minis to really pump up your paintjobs. Lets dive in!
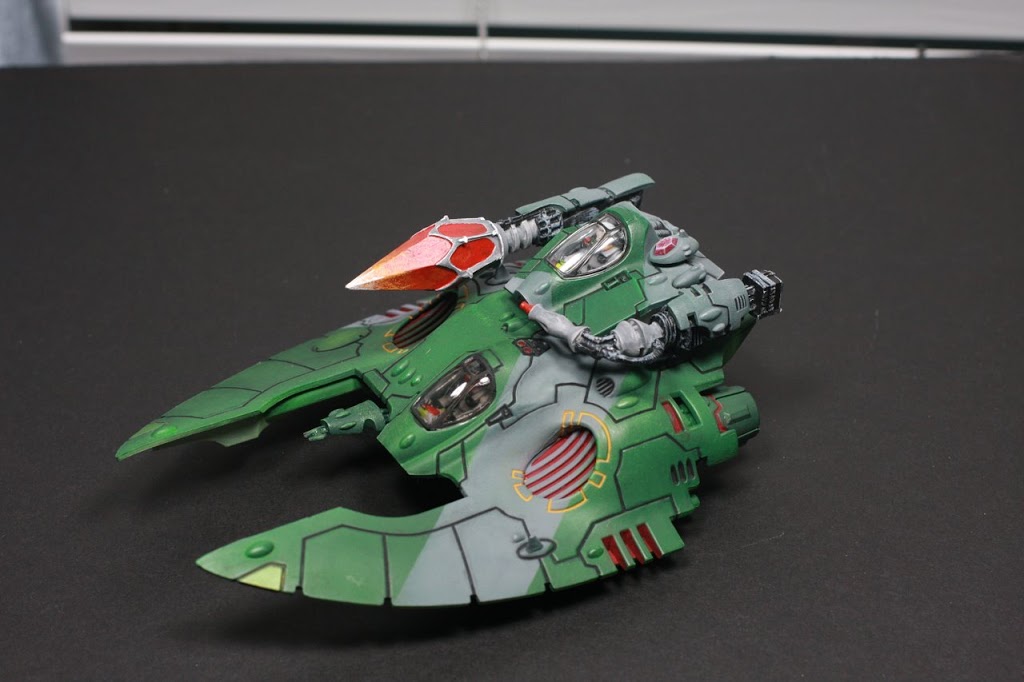
Lately I’ve been going back to my Eldar tanks and adding additional detail. They were originally painted with a straight stripe, but now I’d like to soften the stripes with a more organic look. I’ve painted one with a vine pattern and wanted to experiment with another technique. Since my army is led by Fuegan, Phoenix Lord of the Fire Dragons, I figured reptilian scales would fit right in with the theme. I call it scales, but it could be described as a leopard spot-type pattern as well. It works great as a camouflage pattern. Here’s how I went about creating the scales effect.
This technique really only requires two colors, but we will mix the two colors for an in-between shade. The colors selected in this case are a shade darker and a shade lighter than the base color already on the tank. Orkhide Shade is the darker base color and Goblin Green will be the lighter highlight. If you are starting with a dark base color, like black or dark blue, then you can pick two colors lighter than the base and build the scales up from a dark background instead of putting a dark scale on a lighter background. Select different colors for a dramatic scale effect or more similar colors for a subtle scale pattern.
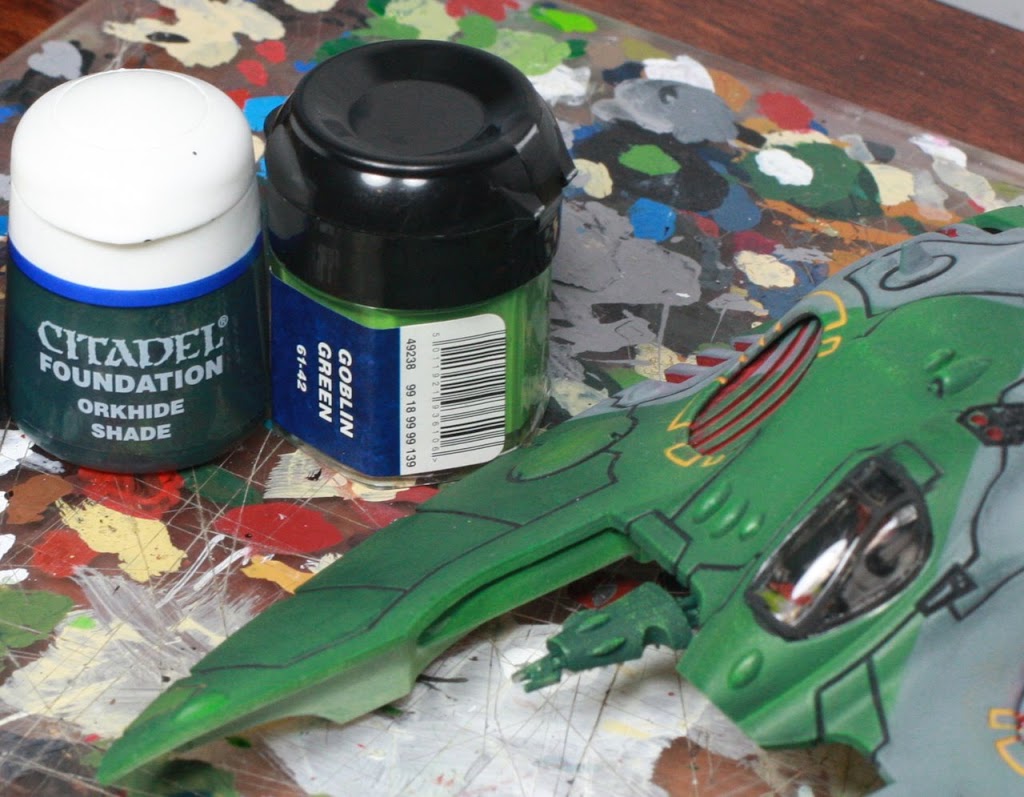
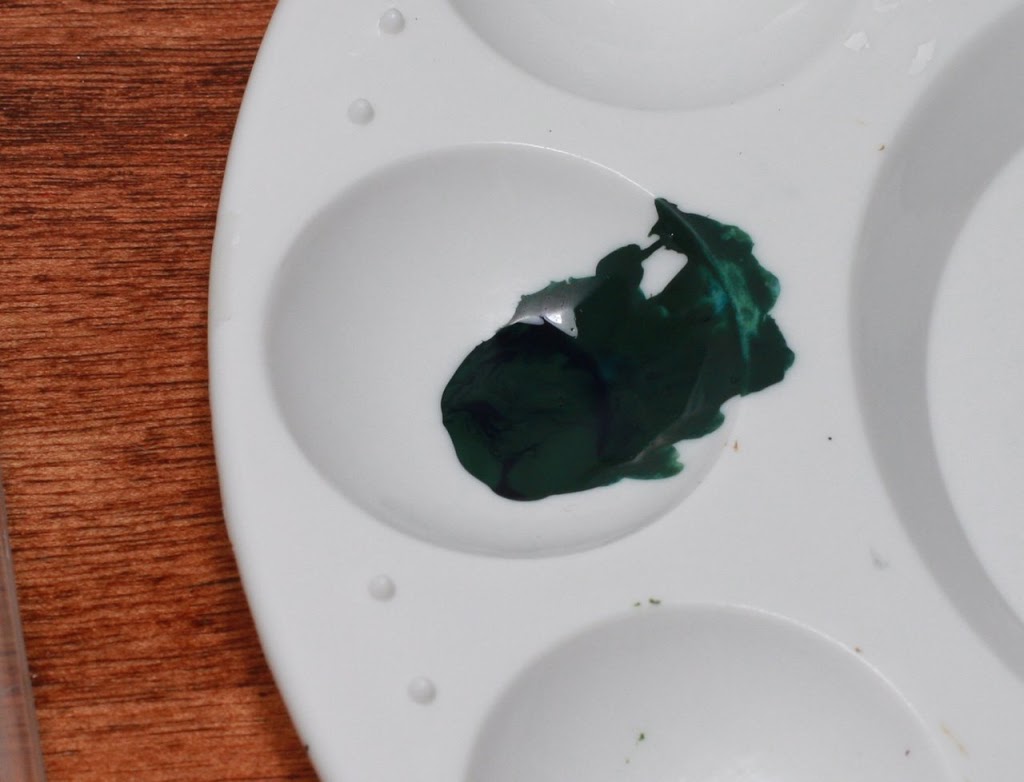
Throw some Orkhide Shade down on your palette and mix in a generous amount of water. You want the paint runny enough so that you can quickly touch the brush to the model and get a nice, rounded shape. But don’t make it so runny that the paint is dripping down the angles surfaces of the tank. Start with 1 water : 2 paint and thin more if needed. The Foundation colors especially might need a little more thinning than the normal Citadel Colour paints.
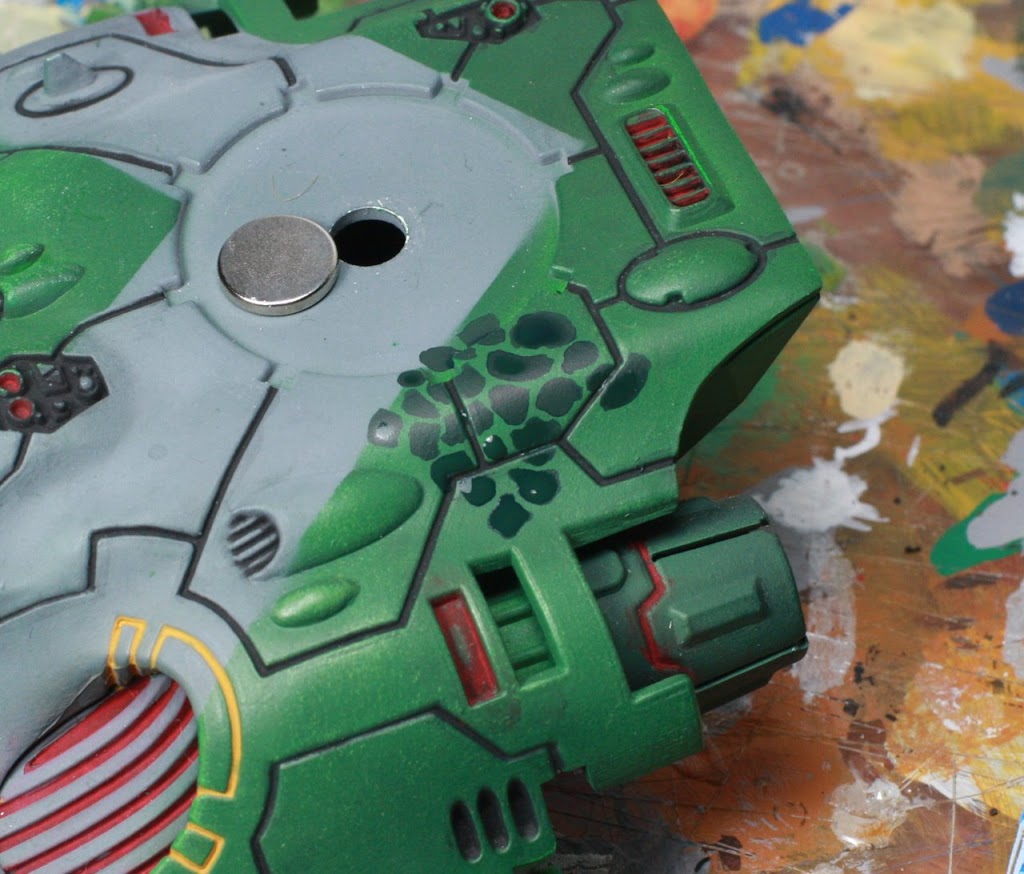
The key to good scales is patience and getting the right pattern. Your scales should be close together, but not touching and should vary in size and shape. Start by painting two scales next to each other. Not to obtain the best looking pattern add the third scale so that you’ve made a triangular pattern with the three scales. You want to avoid putting scales in straight lines, so when ever you add another scale make sure it forms a triangle with two existing scales. Another way to think about it is like a brick pattern. Bricks aren’t laid in columns, they are laid so that half of the brick overlaps the brick above and below. The base coat “line” that forms between two scales should “point” to the middle of an adjacent scale, not to another gap between scales. Enough words, here’s what it looks like:
Now it isn’t going to be perfect every time and occasionally you’re going to run two scales together or find yourself painting them in a nice row. Don’t worry! This technique is something you can do while drinking beer or watching TV; the coolness of it isn’t in the small details of each scale but the overall effect that it brings to the tank. After a bit of work, you’ll get something like this:
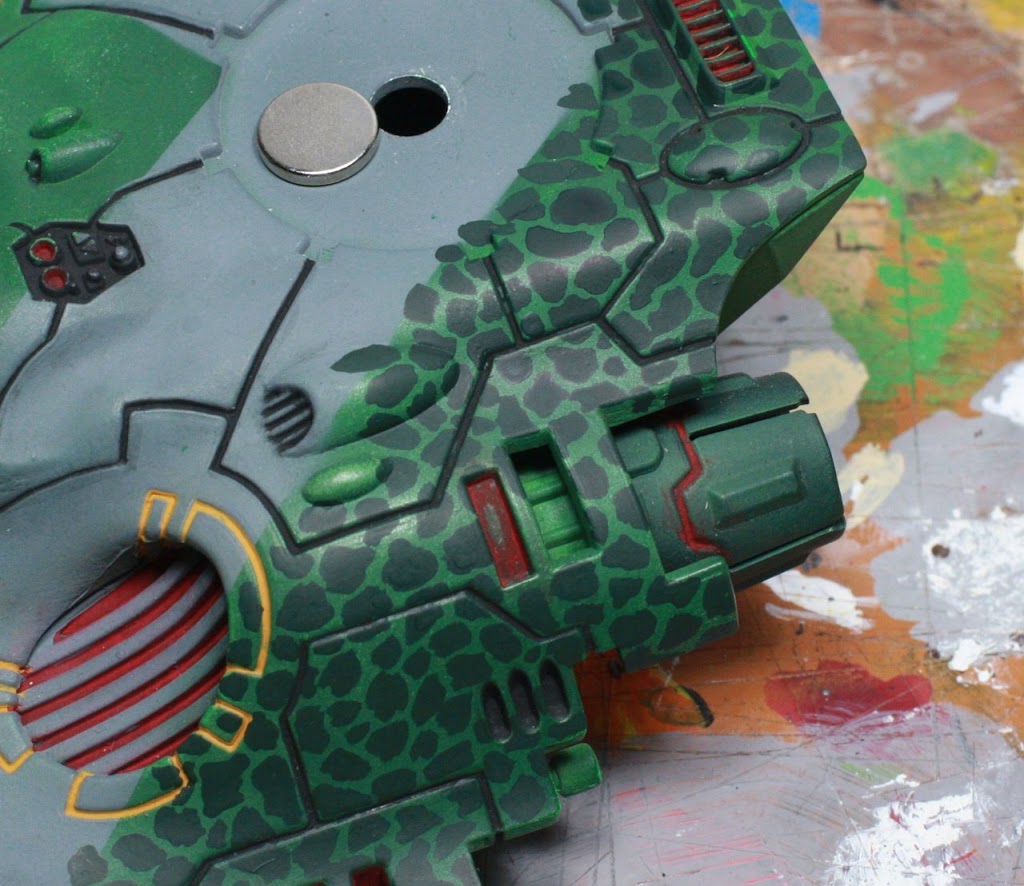
I didn’t want to strictly follow the grey line, so I left some space for grey scales merging into the green background and placed some green scales overlapping onto the grey. I think it looks more natural when the scales don’t strictly follow any lines, so I have a tendency to wrap them even onto the bottom of the tank.
Now grab an equal portion of the Goblin Green and add it to the Orkhide Shade. You’ll probably want to add more water at this point to maintain your consistency. If you are working on a whole tank at a time, I recommend that you take breaks during painting each color to wash out your brush and make sure the paint on your palette stays the same watery consistency. If you notice it starting to thicken up or start to dry up on your brush, take a break and add water to the paint and rinse out your brush. If the mixed color you end up with is similar to the base color you started with before painting scales, then you probably picked a nice coordinating pair of colors.
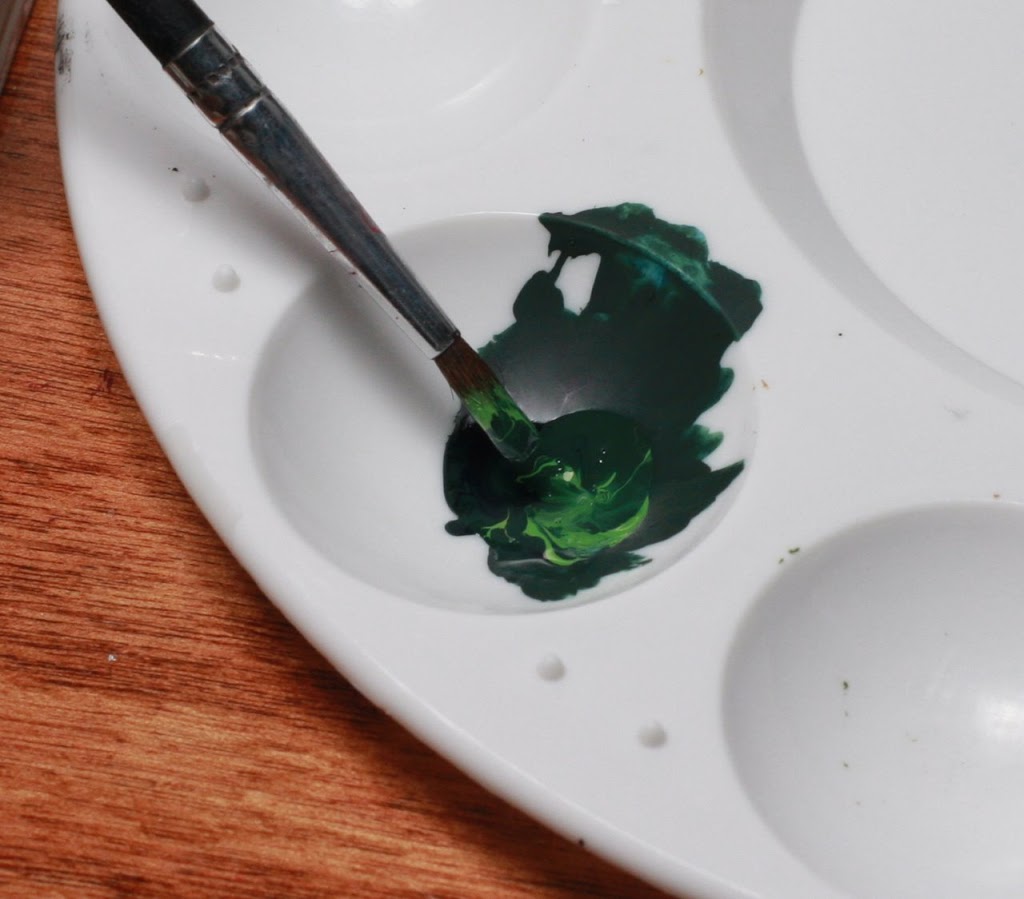
When painting the intermediate color, make sure that you vary the placement on the existing scale and try to always leave a dark edge showing all the way around the new color. You can put just a dot in smaller scales, fill the middle on some or even just make small curves with the mid-highlight. Varying the shape gives a more varied pattern while highlighting everyone the same can give a regimented, consistent look. Do whatever works for you. This step will go faster than the base scale color, since laying down the base pattern probably takes about half the total time of painting this effect.
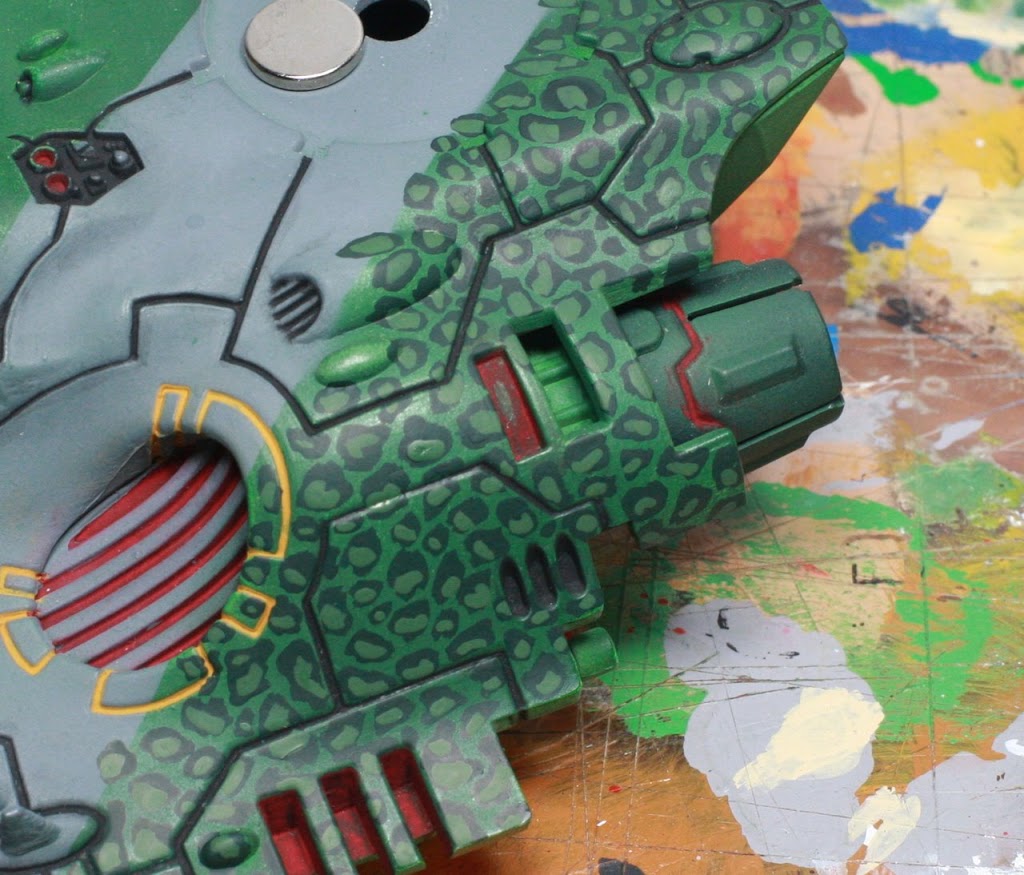
Now you need to paint straight Goblin Green as a very small highlight on each scale. Keep the paint watery like before for smooth shapes, but make sure that you don’t have too much paint loaded on your brush or it will be difficult to control and make small highlights. This stage goes pretty quickly, as you’re just touching a small bit of color to each scale. Try to make small curves instead of dots or straight highlight lines.
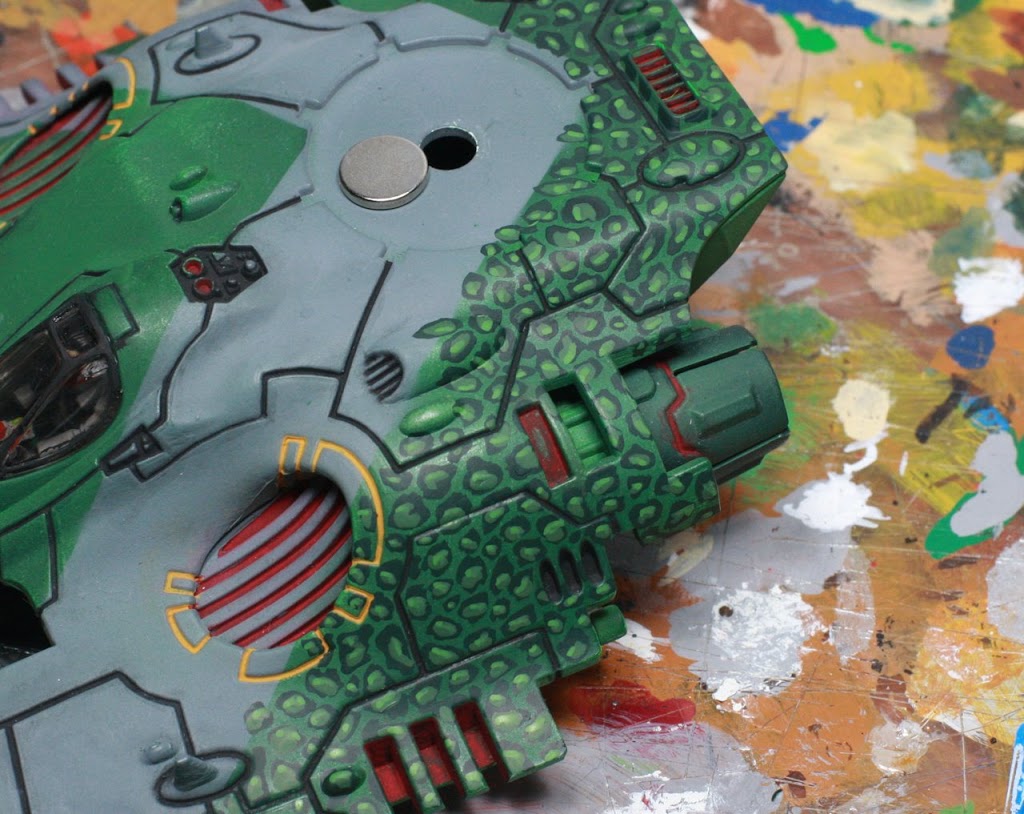
This last step is optional, but I like to add a little more highlight to scales that are on prominent ridges or edges of the tank. Mix about 1 Goblin Green: 1 Bleached Bone and a liberal amount of water and then just highlight the scales on edges and ridges. It takes just a small amount of time to do this and really adds a lot of depth in person. I highlighted the scales on the ridge above the engine, a few on the edges of the tank and on the bulging vents.
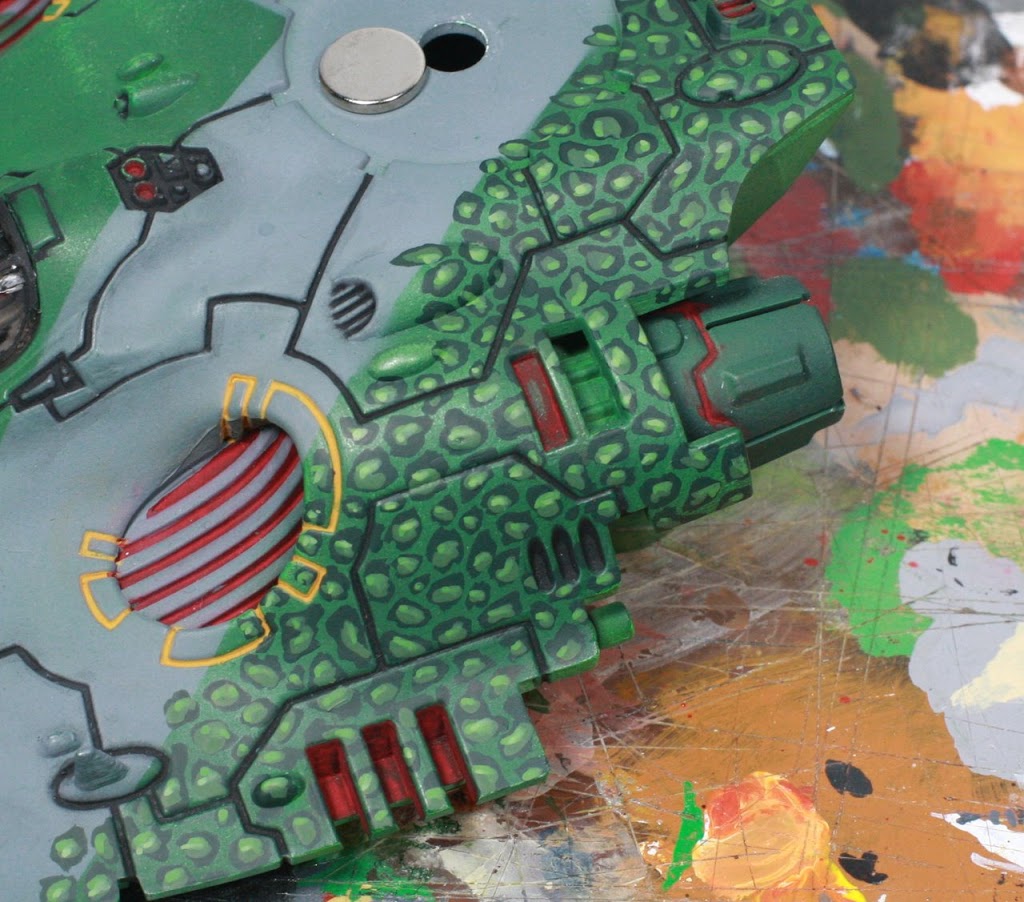
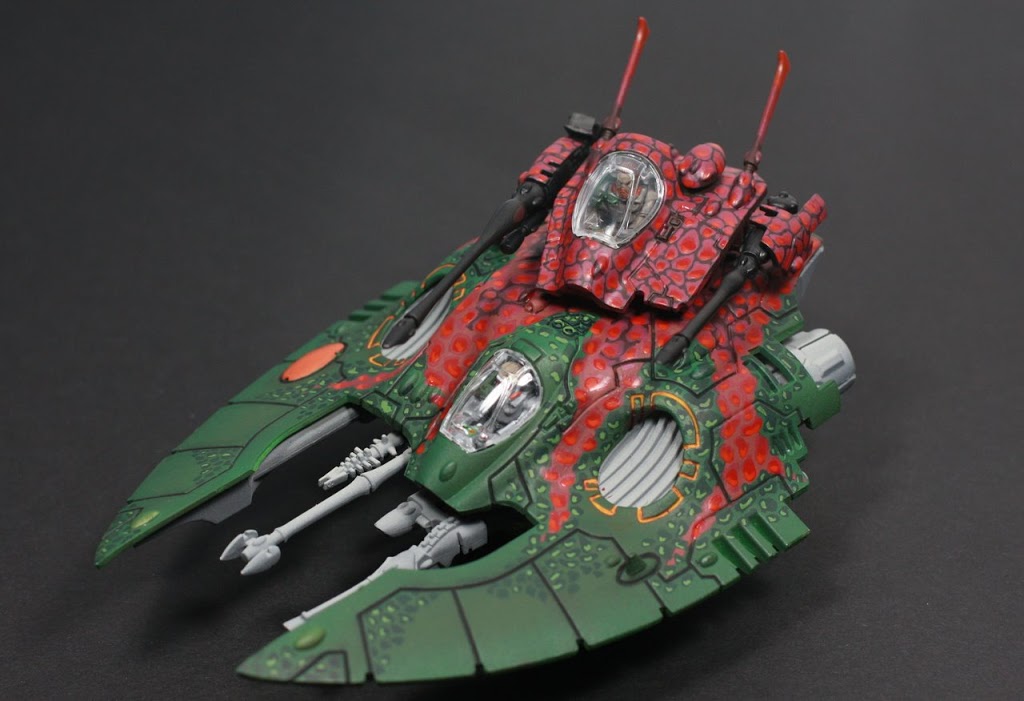
That’s all there is to it. This section of the tank probably took about an hour to do, including arranging photos, but after you get the hang of the scale pattern, it really is pretty mindless work. You can even save your time and putting down the scale pattern over select portions of the tank, instead of covering the whole thing. Sometimes less is more and less is certainly less time spent. Here’s another tank I am working on with red scales built up from a dark red-black and green scales with the lighter plus darker technique explained above.
This technique also works on a smaller scale, like on a capes, robes and cloaks. Each step is the same, just with smaller scales and a tinier pattern.
What other organic patterns do you use in your armies?Want more? Then don’t forget to visit The Painting Corps for regular updates with tips for the newest wargamer to the most grizzled veterans. There’s something for everyone. Head over and join the conversation!


