Hobby: In the Flesh

Step 2: Washing
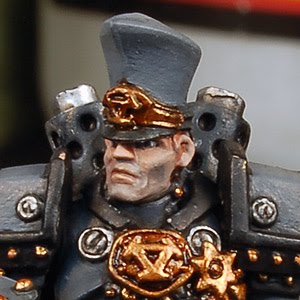
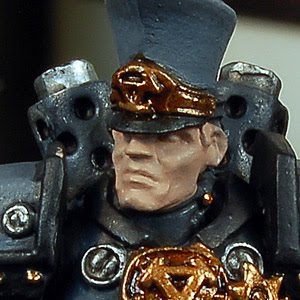
Next using the same thinning medium I give the whole face a heavy wash of Ogryn Flesh. Make sure you dab up any excess. At this point the face will start to take on some character.
Step 3: 1st Highlights
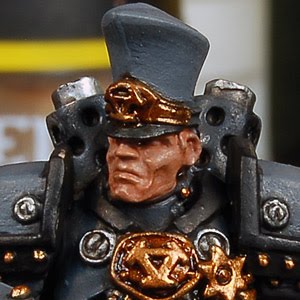
Next up we add the eyes. I personally paint a black oval and then dot the corners with skull white. Everyone seems to have a different method, but lately this has been my go to technique for eyes. Once the eyes are done I start with the first highlights. I simply used a watered down Tallarn Flesh and go over all the raised areas resulting in the following.
Step 4: 2nd Highlights
At this point I will use a thinned 1:2 mix of Skull White to Tallarn Flesh. I will go over extreme raised areas such as cheek bones, noses, ears, chins and lips. Make sure to thin your paints or else you run the risk of the paint starting to chunk up on you. At this point your model is complete. Read on for an optional step to add a bit more depth and character to your models.
Step 5: Five O`clock Shadow (optional)
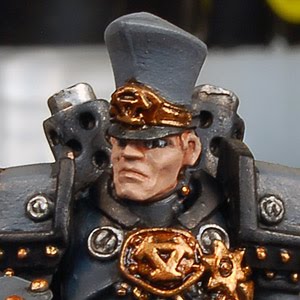
The 5 o`clock shadow can be a great technique and is fairly easy to use. Simply take some of your final highlight mix and add in a little bit of Adeptus Battle Grey. Add it to the entire area where you would like the stubble to be. Once this is dry add a bit of Tallarn Flesh to your stubble mix and highlight the grey. Your result should look something like this.
~ So that’s it! I hope you enjoyed the technique and give it a try! If you have any questions on how to paint something feel free to email me at [email protected]. For other painting techniques and tutorials check out my blog First Rank, Second Rank! `Til next time folks…


