Warmchine Hobby: Custom Cryx Helljacks
A couple months ago I promised I’d post an article about how I painted the Protectorate Warjacks I had converted. But attention spans wane, new Force Books come out, and allegiances shift. Before I had finished painting my custom Crusaders, I decided to switch factions and do some work on the Cryx army I’d been neglecting these past 4 years or so. It wasn’t long before I decided this army also needed some warjack reinforcement.
The background is pretty clear about the methods of Cryx Warjack construction. There are numerous factories on the various islands that constitute the Cryx nation as well as a few underneath the Thornwood thanks to the ongoing efforts of Lich Lord Asphyxious. Each of these factories are run by necrotechs, undead engineers who, thanks to centuries of immortality and exposure to dragonblight have inevitably been driven somewhat insane. The necrotechs view every new warjack they build as their own work of art and a new opportunity to try something new. They are smart enough to stick to ideas that work, and thus their morbid creativity hasn’t interfered too much with the production of ‘jacks of fairly uniform design. Still it seems to me that the Helljacks currently unleashed upon mainland Imorren shouldn’t be of quite so uniform appearance as the kits on store shelves. So when I decided it was time to expand my Cryx army with a couple of new Slayers, it just didn’t seem right to put em together straight from the box.
Necrotechs are fond of recycling or so we are told. They incorporate the bones, teeth, and horns of the various beasts of Imorren into their designs whenever able. We see that idea a lot on the various bonejacks, and the stock slayer seems to have scavenged tusks. But why not a Slayer with a whole scavenged skull for a head? Inspired by the Deathjack’s horns, I figured a necrotech stumbling across a Satyr skeleton wouldn’t be able to resist the temptation to incorporate it into his next creation.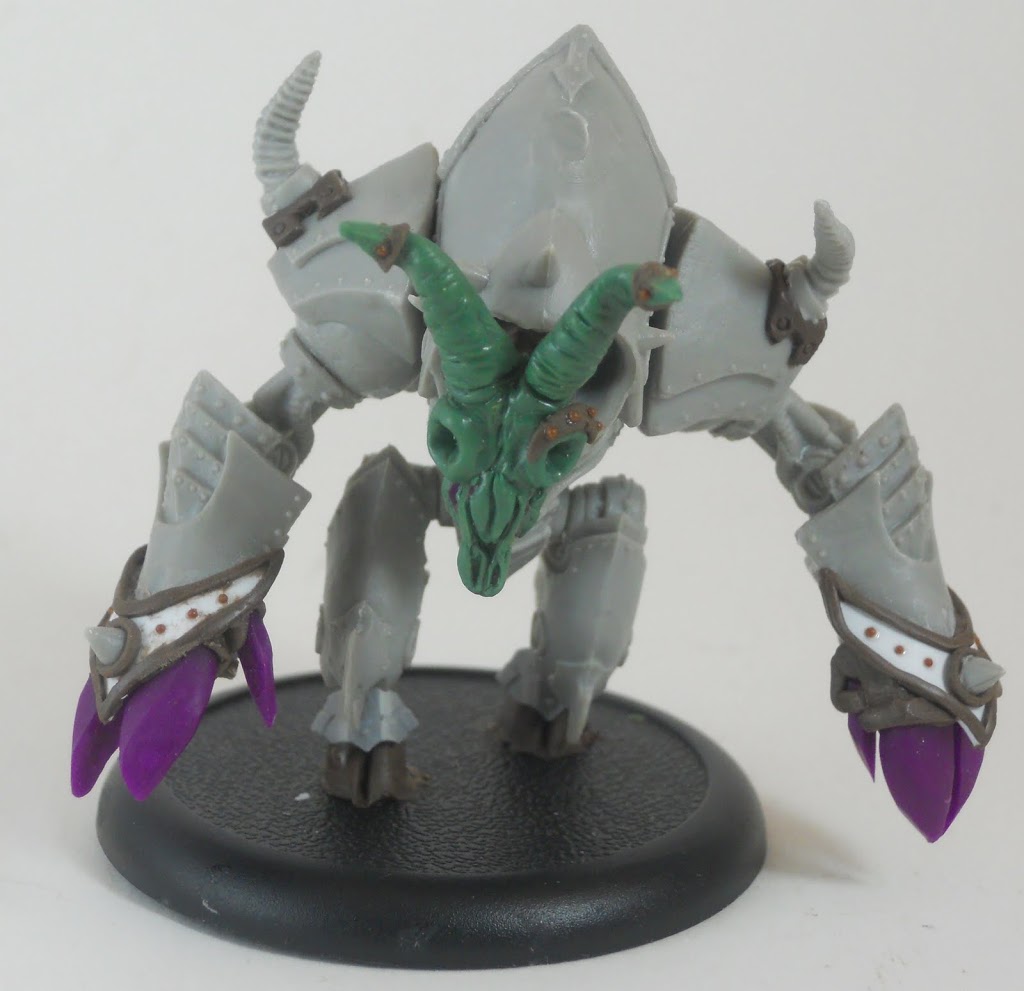
I didn’t just want to give it ordinary Slayer hands either, so I thought I would try something really unusual and give it sharp menacing hoof hands in an effort to push the theme. The slung back “dinosaur’ feet of the slayer made it easy to give it convincing hooves for its feet as well. Since it still didn’t look quite different enough I took the tusks from the actual slayer head, and with some brown stuff made new mounts for them on the shoulders.
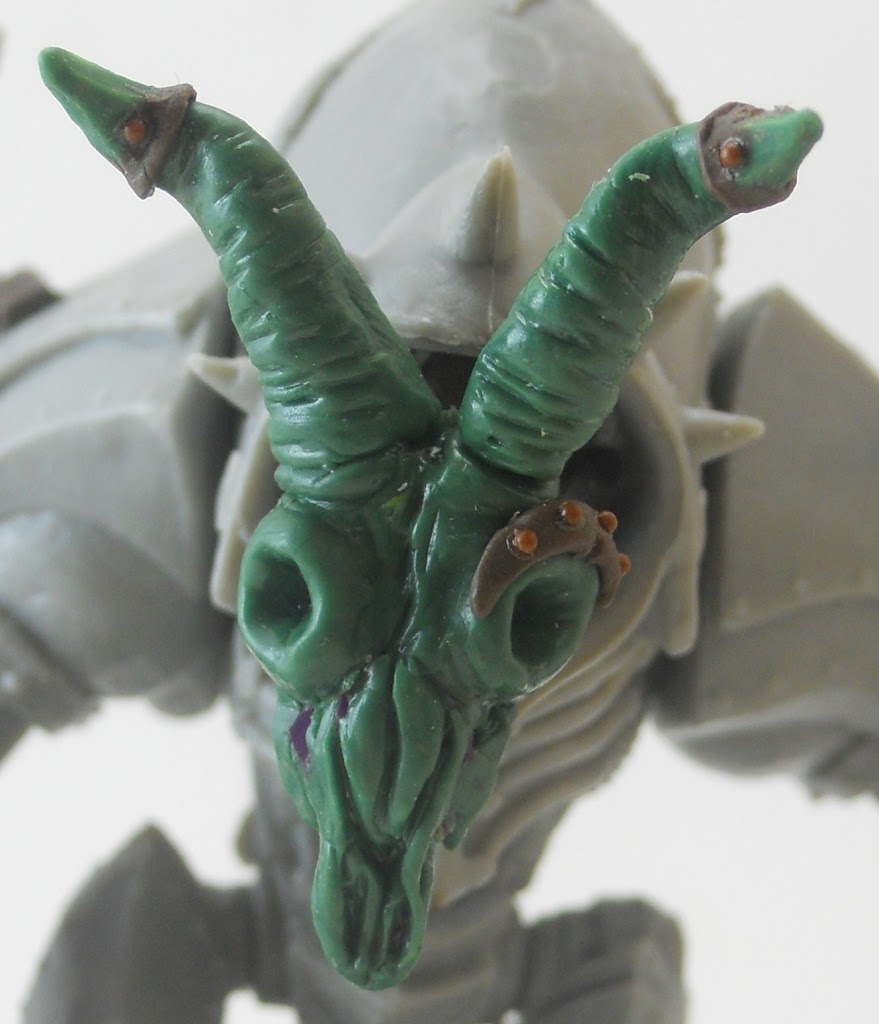
The head is definitely one of my better sculpting jobs. While I would like to write a whole article about greenstuff eventually I’m still not sure if I’m entirely qualified. Here are a few pointers for now. The most important thing is to be patient. The head was made in 4 sections, starting with a foundation of that purple oven-hardening clay. This was followed by the nose, then the upper head, then finally the horns which were sculpted over a wire armature. The teeth were done at the same time as the horns. Next tip, greenstuff has a working life of about an hour. You can speed up its drying time and make it a little stiffer by adding just a little bit more blue. But too much extra yellow and it will never harden. The greenstuff will be better for sculpting different things depending on the time elapsed. When its newly mixed it should only be used for really detailed things like the nose area here. Let it set for at least half an hour before you try to sculpt anything smooth like muscle or cloth. If you want something like leather straps, roll it flat and let it set an hour or so then cut it into strips. If you are serious about trying to sculpt anything invest in a good tool set. I used 5 different tools on the sculpting for this project. Finally sculpting takes practice just like anything else, so don’t be afraid to screw some things up before you do anything good.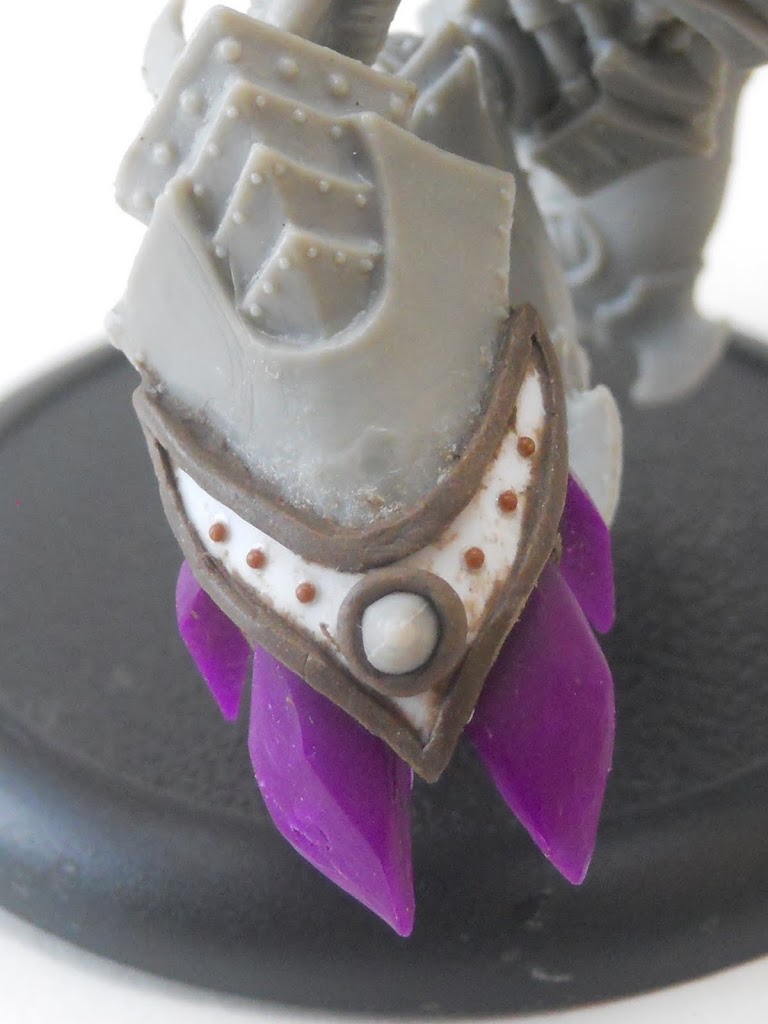
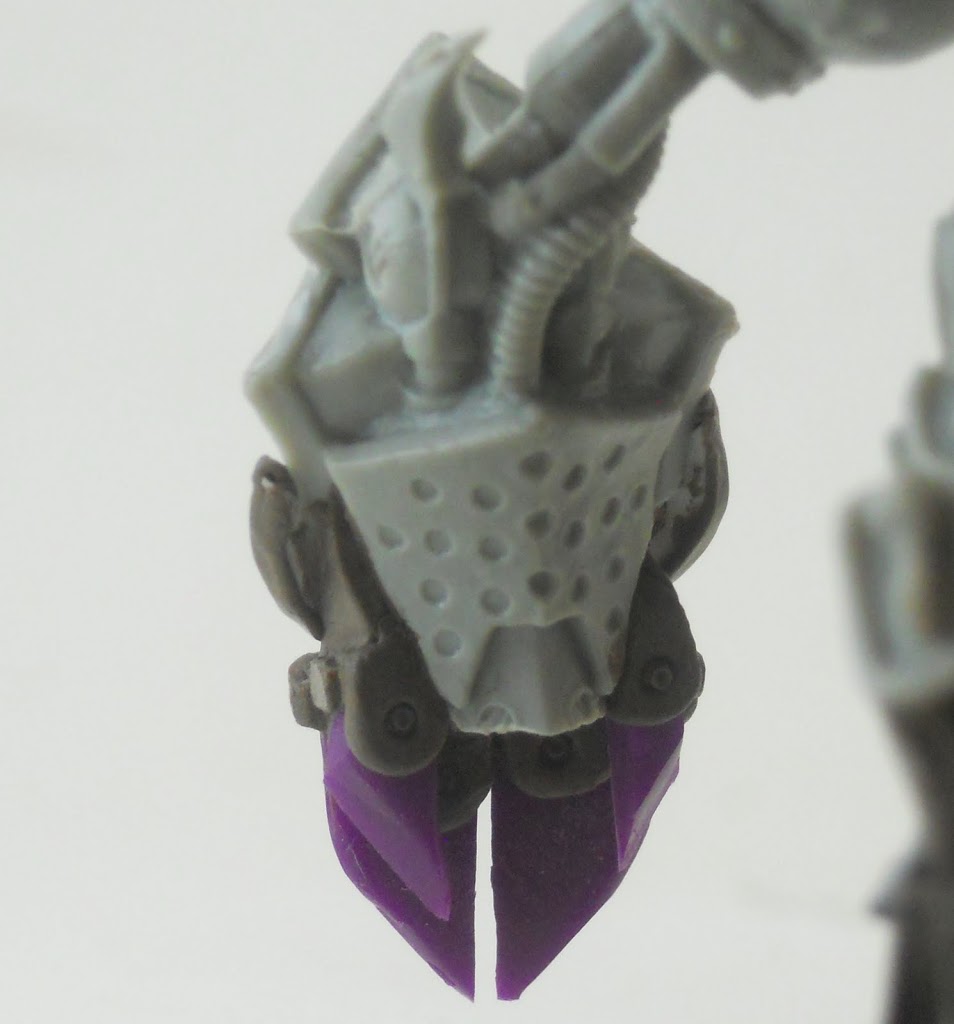
The hands were a good bit of work too. The claws were made of the same oven hardening clay I use to sculpt the mushrooms on all my Cryx bases hence the weird purple color. I chose the material because it’s rather stiff and I thought it would be best for the precise shape I had in mind. The mechanical housings were made of brownstuff which I was using for the first time. It works better for stiff edges and sharp corners. I used the empty metal tip of a mechanical pencil to make the rivet hole. The knuckle guard is plasticard with a brownstuff ridge. You might recognize the rivets from my last article.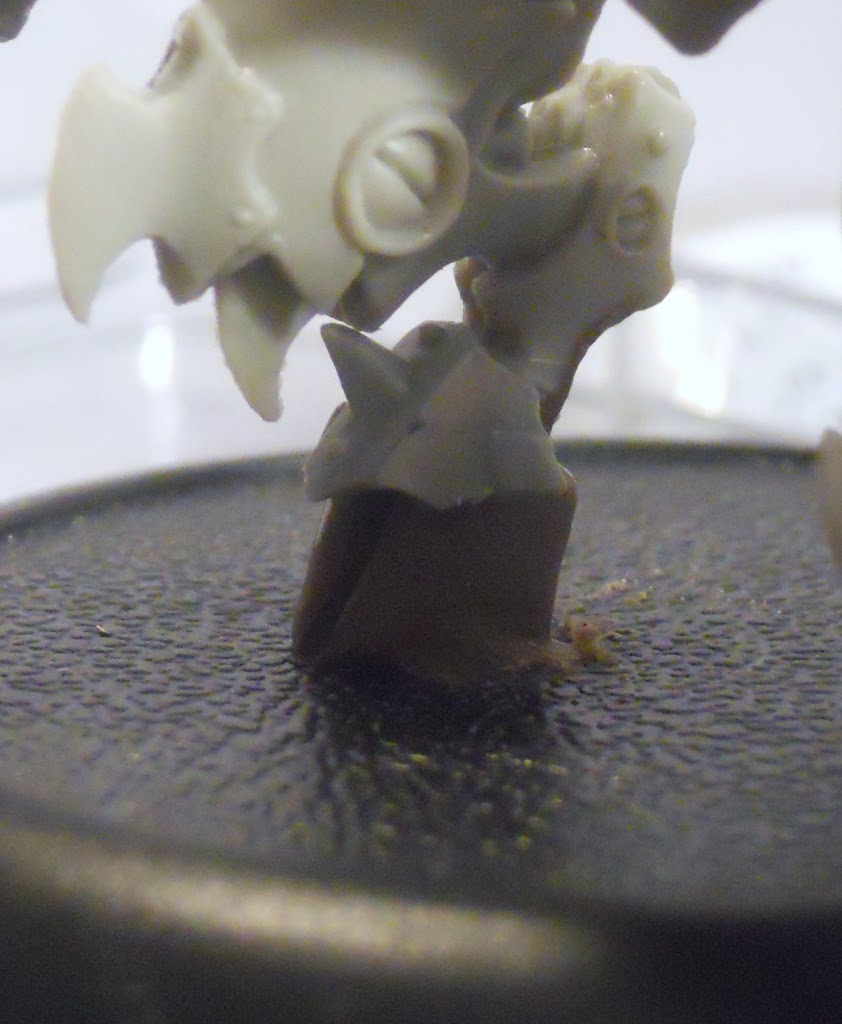
The hooves were more brownstuff and easy enough to sculpt. I had some Lizardman shoulderpads around from ages ago that made the perfect hoof guards.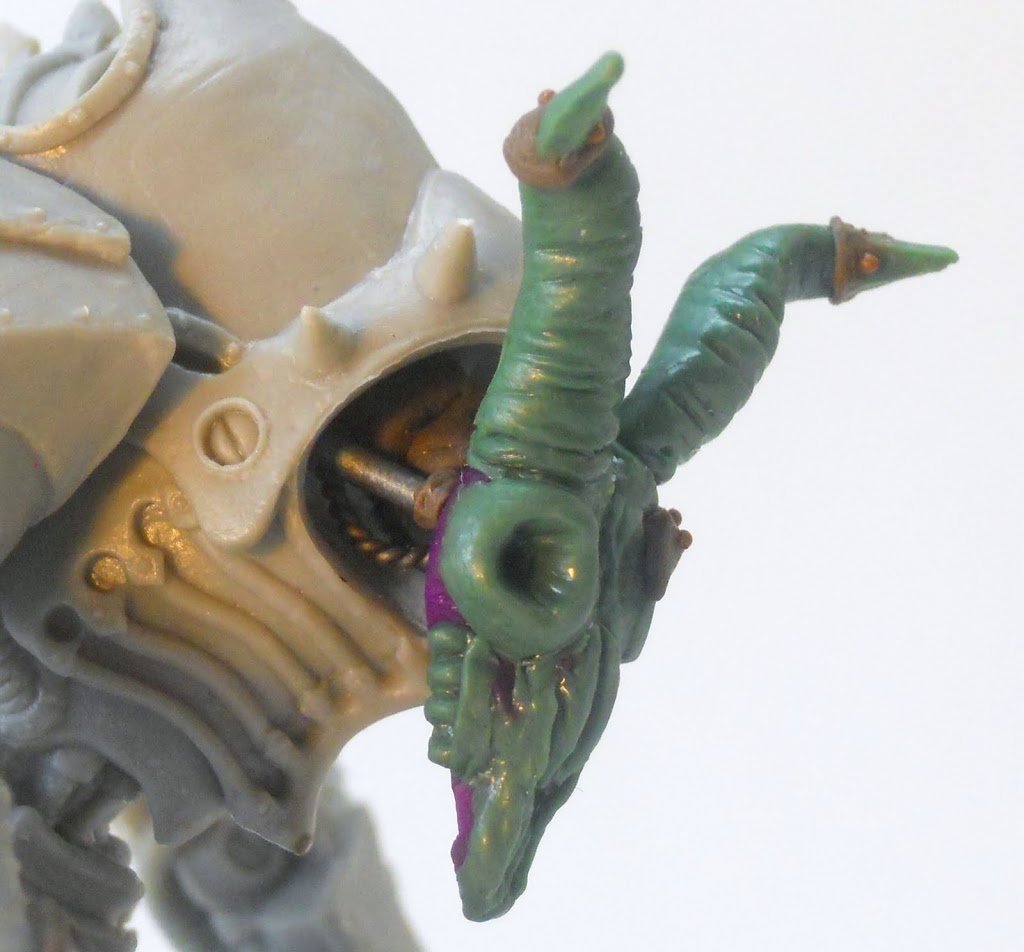
Goat ‘Jack still needed a neck, so after sculpting some simple vertebrae, I added some coiled wire as well as some thicker wire I use for pinning to give it more of a mechanika vibe.
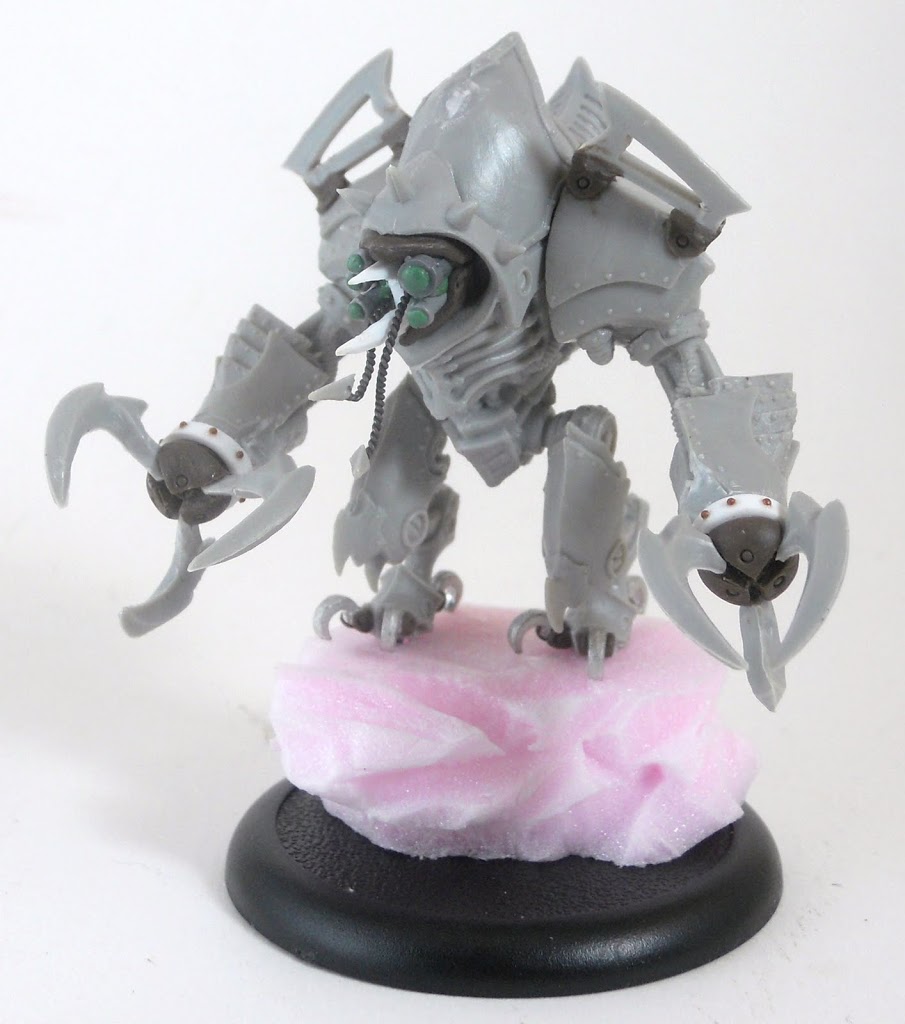
My next conversion wasn’t quite so focused, and I just aimed for making something creepy and alien looking.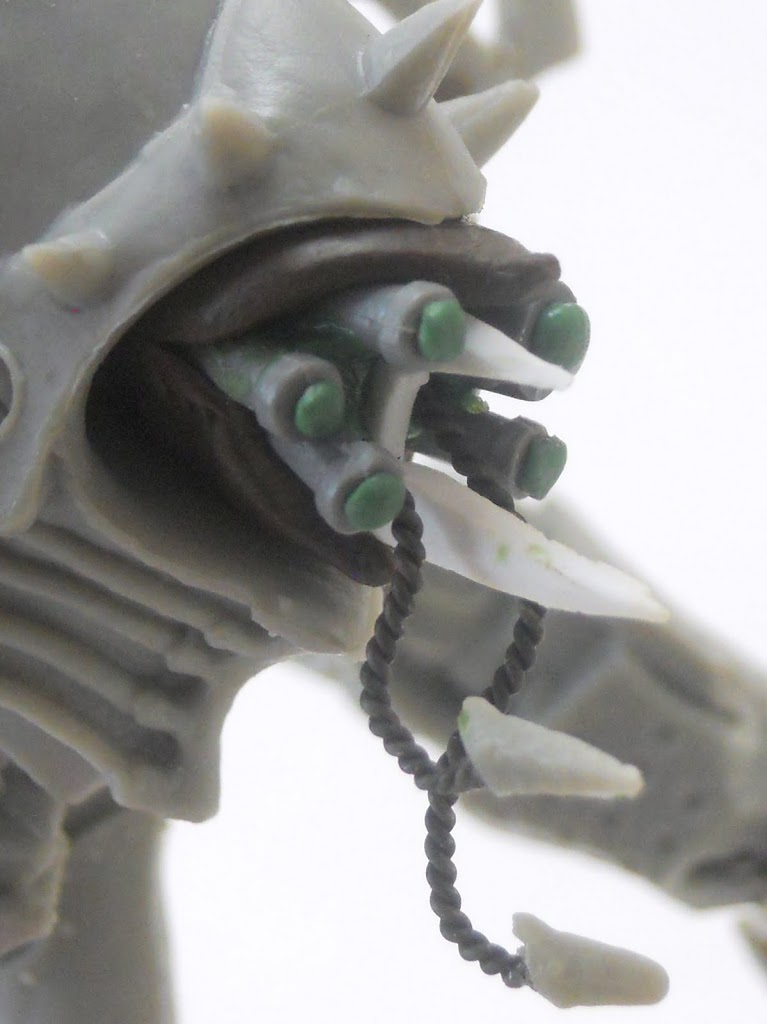 I’m not really sure what inspired the face. It was really just something creepy lurking in the back of my mind. The eyestalks started with banner poles of different sizes from 40k and fantasy since they already had the capped ends built in and I wouldn’t have to sculpt them. The nose is plasticard. The tentacles are coiled wire tipped with the ends of the claws from the slayer hands I didn’t use. I had to drill some pretty tiny holes in them to make it work.
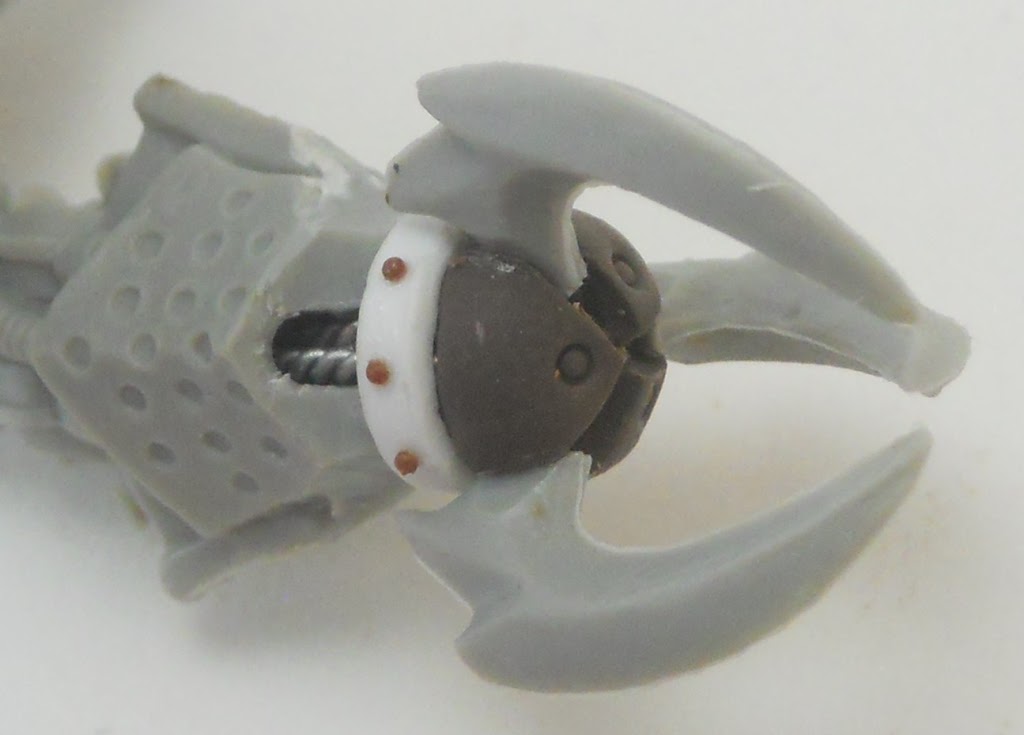 To make the hands I needed the tusks from three different Reaper heads for the claws. The housing for them started as a half sphere that I allowed to harden before I sliced into it to make a place for the claws. I have 4 different widths of plastic tubing and one of them was an almost perfect fit for the hands. I had to trim some of the arm off to make it work. I drilled a hole in the wrist and put in some coiled wire to add a little extra detail to the area I cut away.
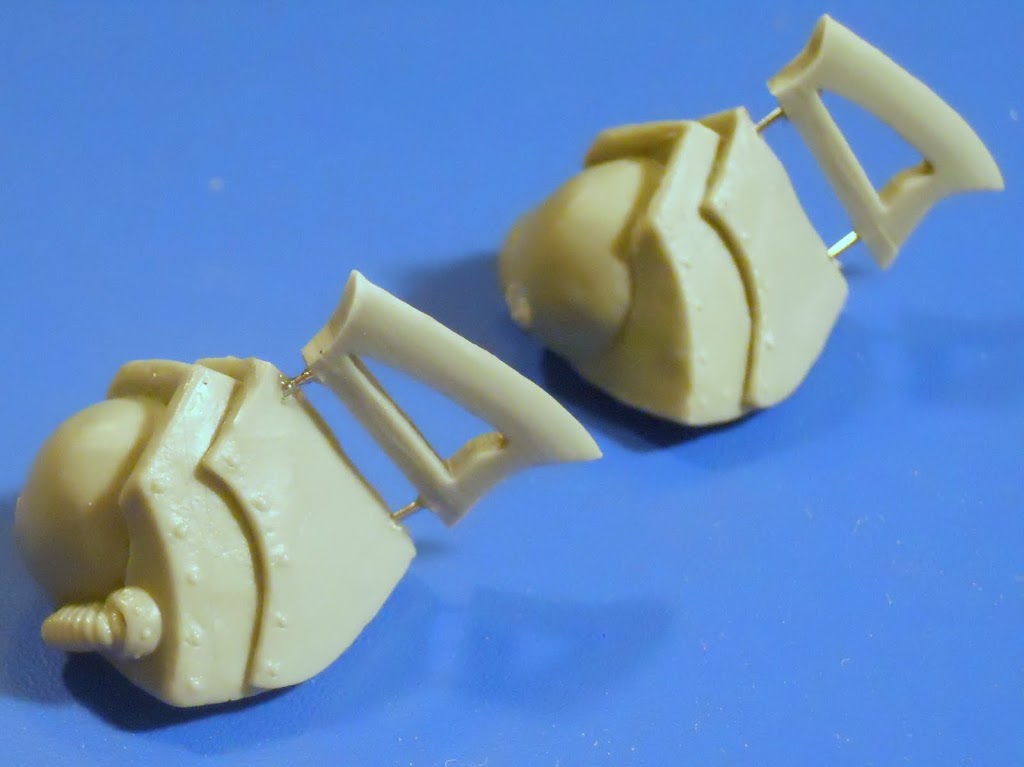 More Reaper parts were used for the shoulders. Two different harpoons had the tips cut off at a careful contour to make them the right width. Once the glue had dried I used brownstuff to sculpt a better looking join.
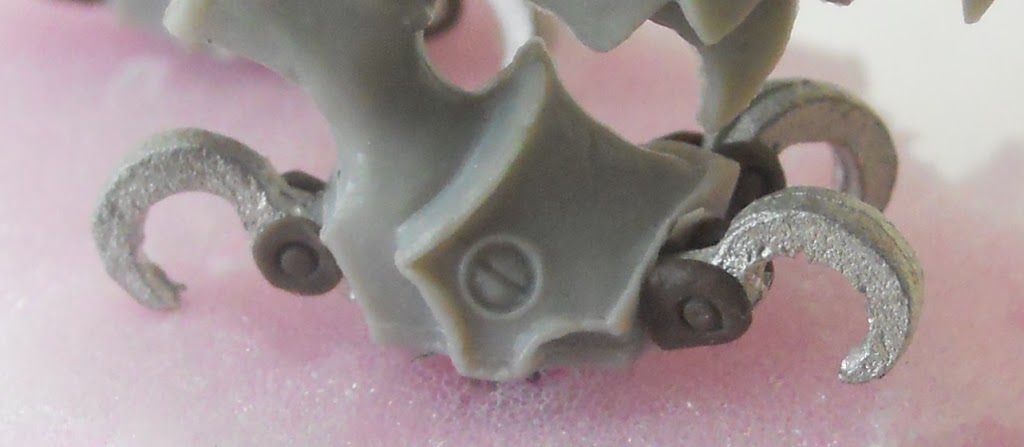 Some old Dark Eldar bits were perfect for making the hooked claws I wanted for its toes. Which was great because it would have been a pain to cut the shape out of plasticard or sculpt it some other way.
~ So once again, its time to paint my conversions. Hopefully in the process I can show off some of my techniques for getting glow effects and doing freehand work. But I’ve got another project to work on too. The Farrow of the Thornfall Alliance. Check back soon, either way there’s bound to be some cool eye candy for you.


