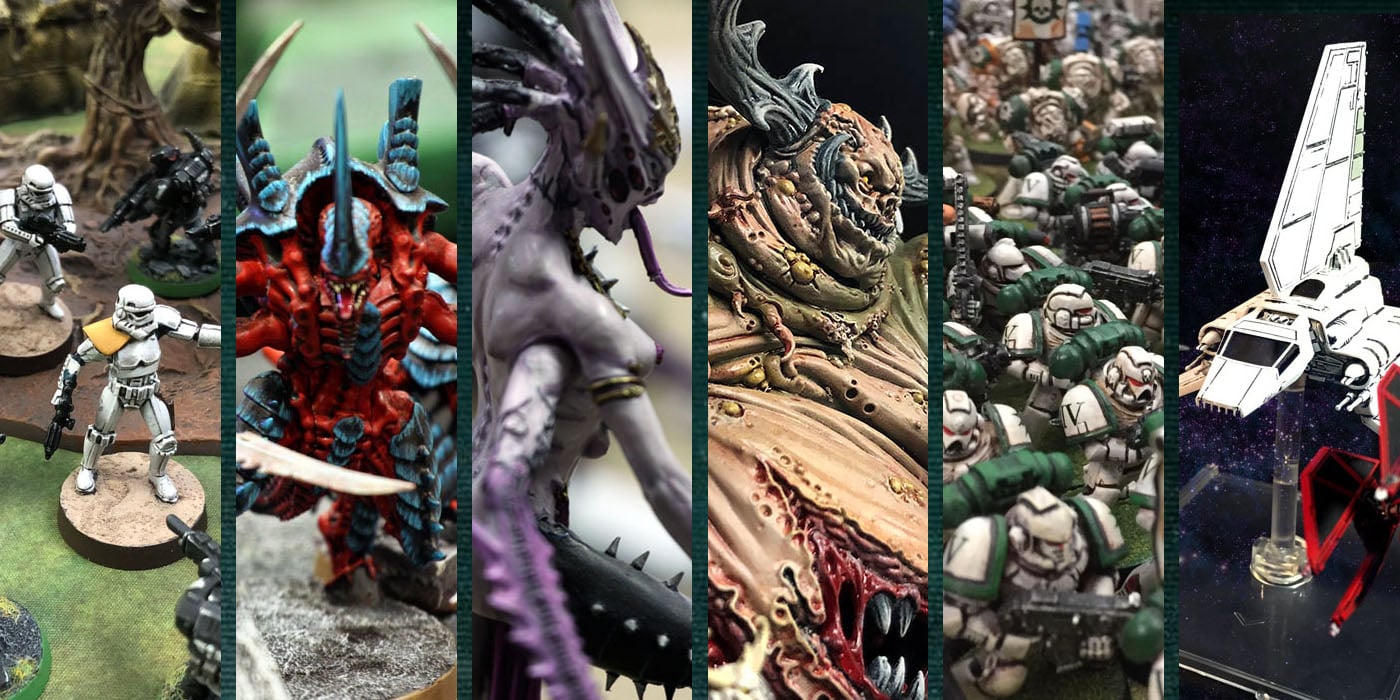
HOBBY: Painted Cryx Jacks

 As you can see I recently completed painting my Cryx Jack conversions. While I’m more than proud to just show them off, I took the opportunity to snap a few WiP shots of some of the effects I was working on while painting these guys.
First up is the necrotite furnace glow.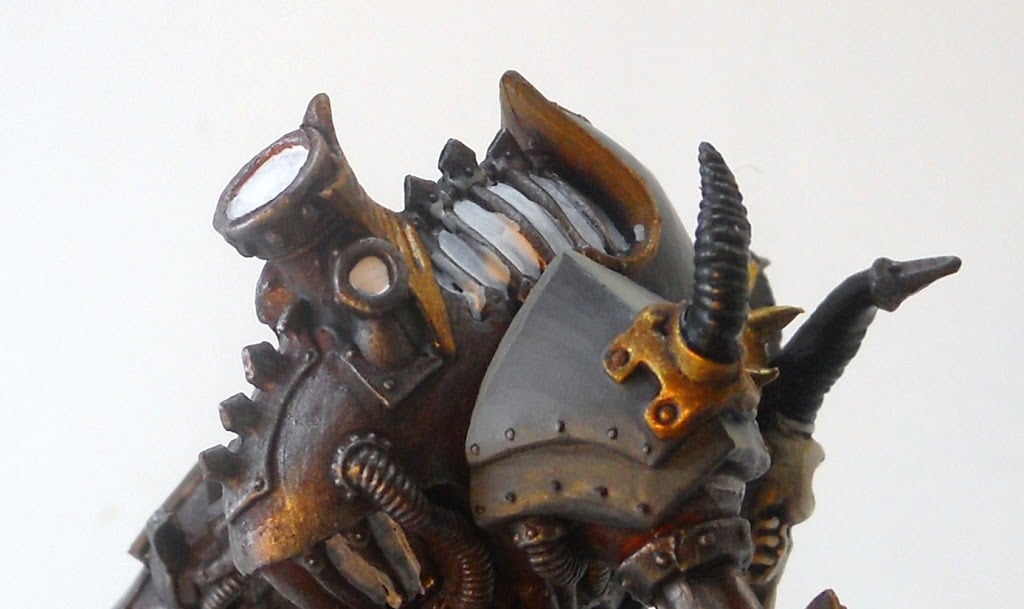 Start off by painting your glow areas with a white underbase. Its ok to get it a little messy, those areas will get painted over.
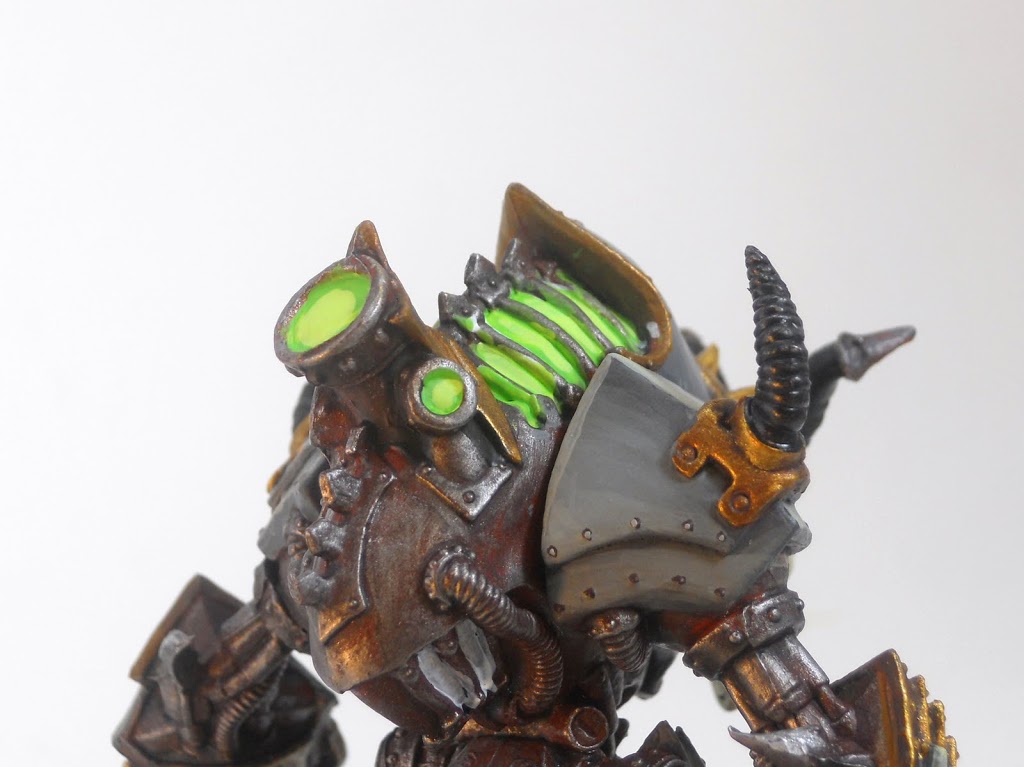
Next is a layer of Scorpion green over the white. In the center of the green areas put a mix of scorpion green, white, and yellow. Use a thin glaze of Scorpion green to blend the two areas together.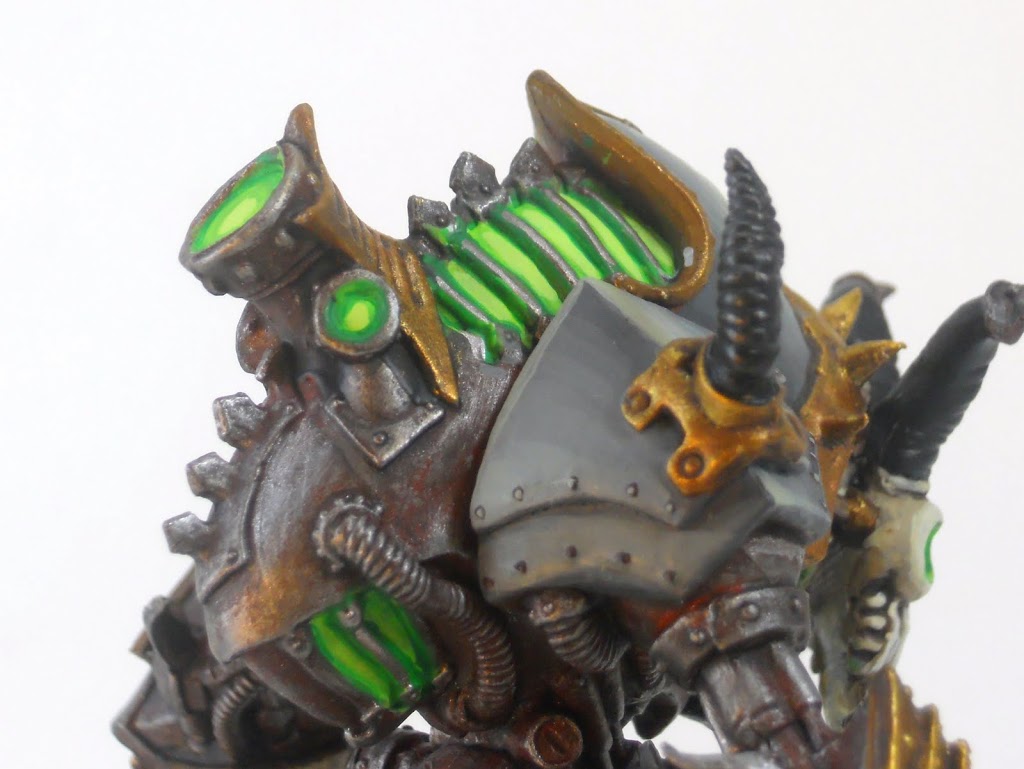 Snot green was then applied to the inner edges of the bars encasing the furnace. A final touch of chainmail mixed with just a bit of Scorched brown (to help keep the rusty feel) was used to highlight the tops of the bars, cleaning up any rough edges.
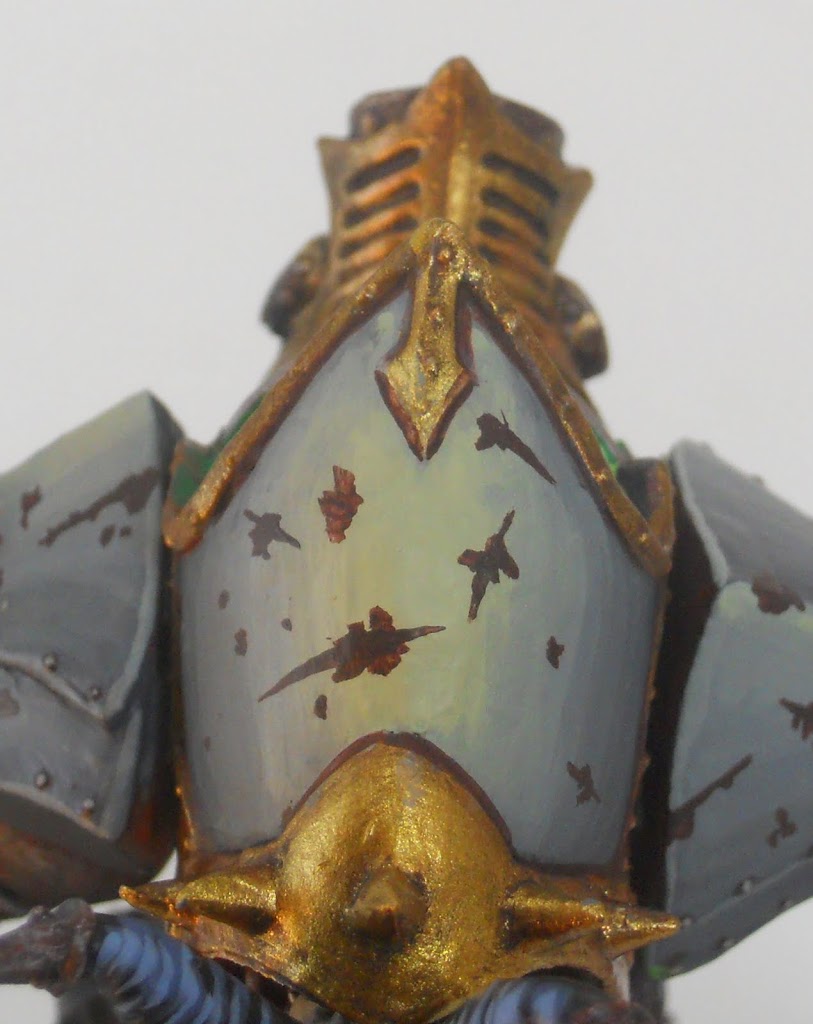 I start by making some marks with scorched brown that attempt to give the feel of actual scratches or impacts. Its very easy to make them too big so keep that in mind as you proceed.
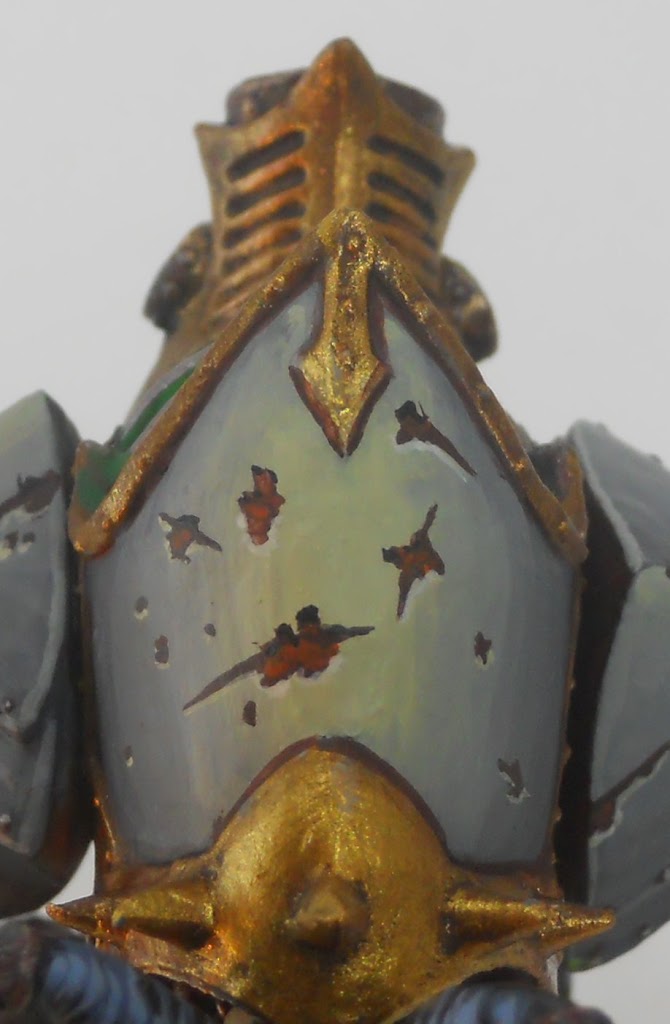 Carefully line the tops of your dents and scratches with black. Along the bottom edge, line a stark highlight color directly beneath your damaged patches. Since this is going to be rusty battle damage, the next step is to carefully stiple some blazing orange in the lower parts of your dents. This will add a sense of depth as well as an aged appearance.
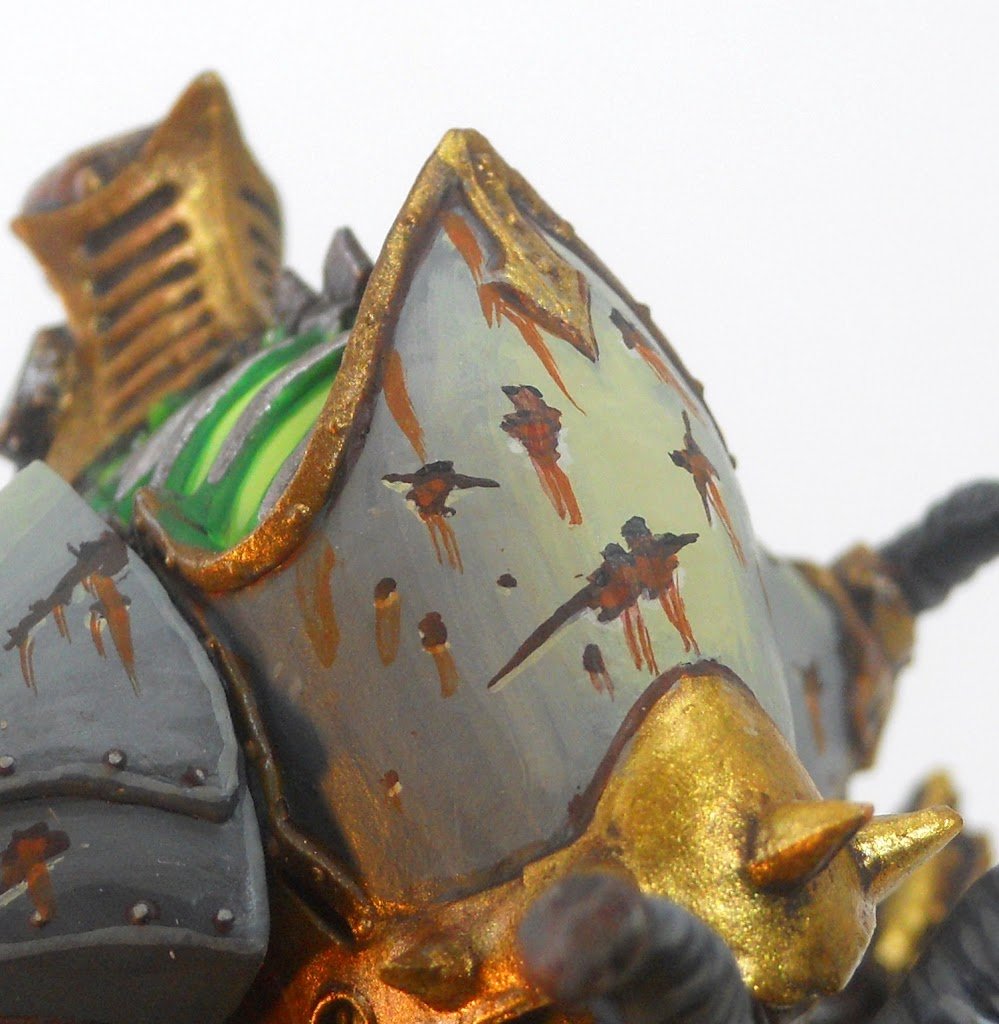
The final step is to take some watered down bestial brown, and carefully streak it down from the dents or any other areas where it would look natural. Note that this extreme close up makes the effect look a bit intense, but when seen from a foot or so away I feel it works rather well. You can always add a little more water and/or matte medium to your “rust” to thin it down a bit.
So all that’s left now is to show the finished pair in all their unholy glory.
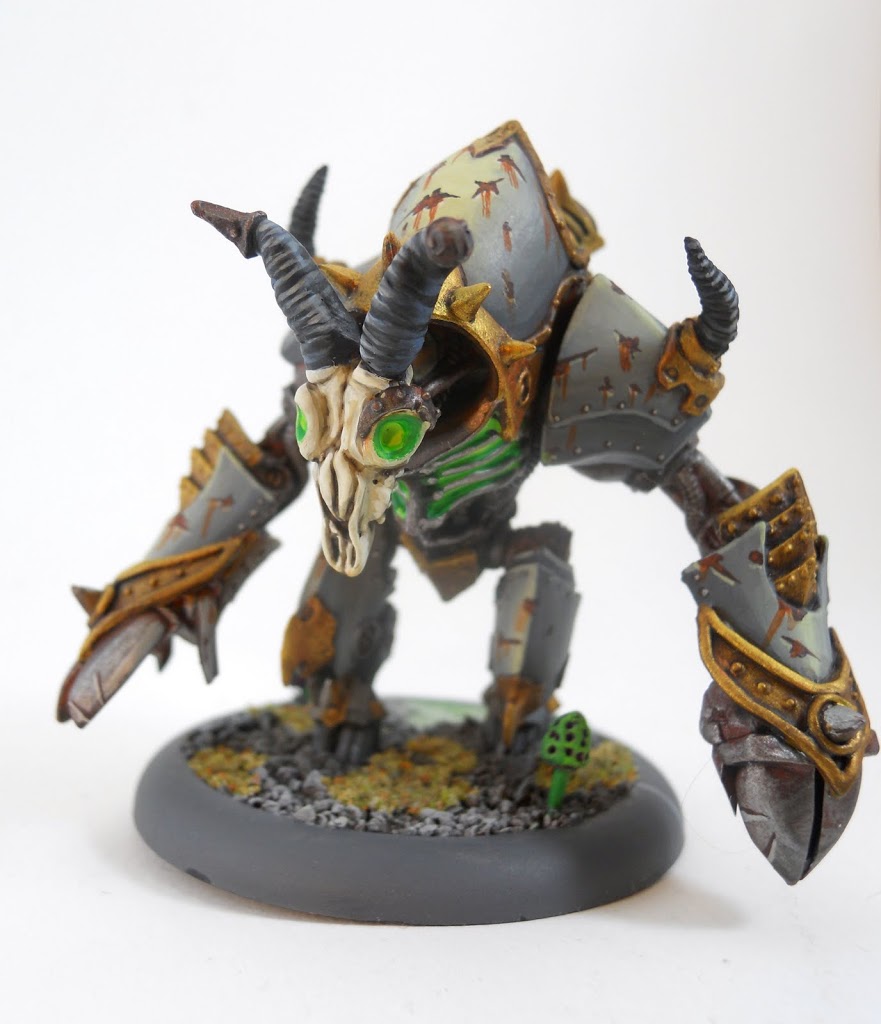
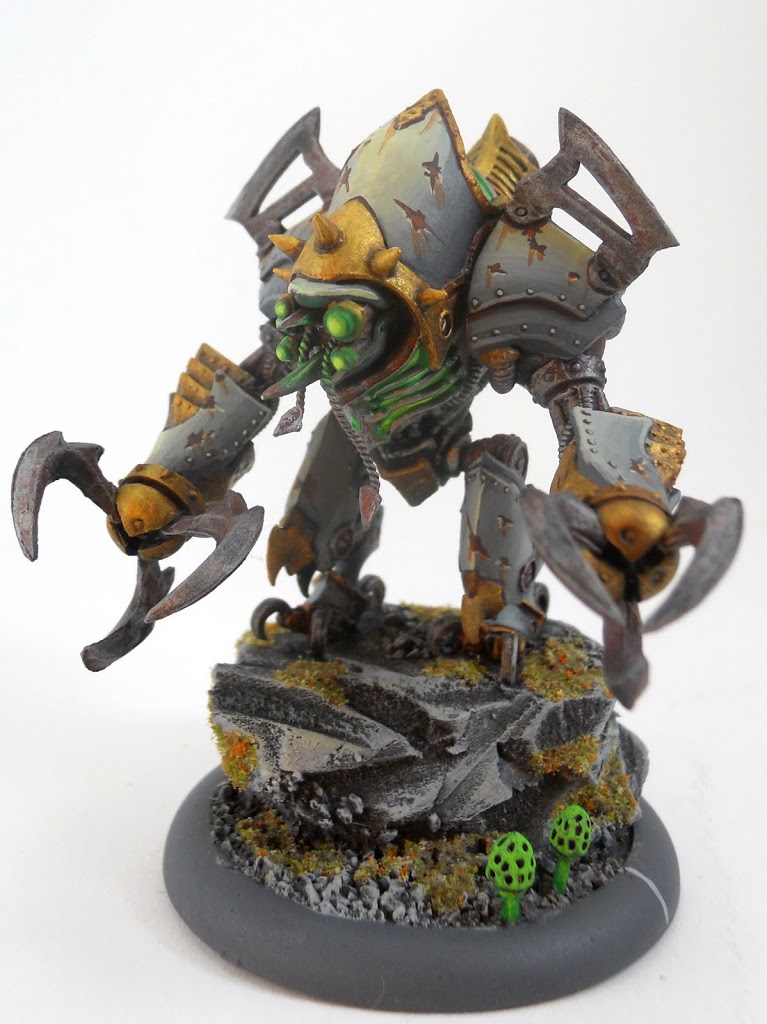 ~ I hope you’ve enjoyed my custom Slayers. I’ve still got plenty of Cryx models left to paint, but I’m taking a break from the nightmare empire for now to work on my new Thornfall Alliance army. Check back soon for Lord Carver painting article, which will hopefully be followed by a Warhog conversion to rival these mostrosities. Until then…


