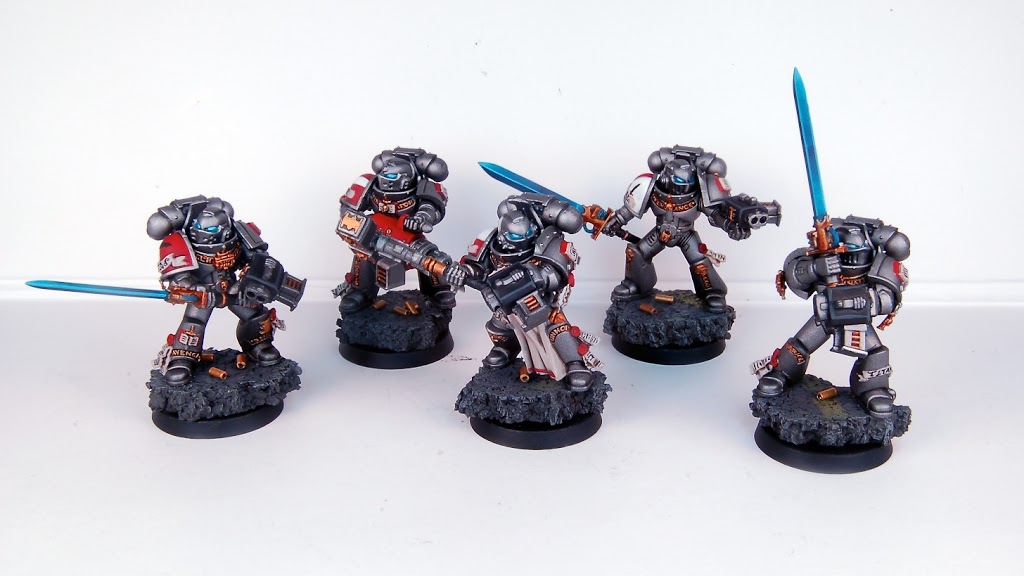
40k Hobby: The Colonel Paints Some Grey Knights

The Colonel here again with another hobby article for you! This time is revolves around the new kids on the block, the Grey Knights.
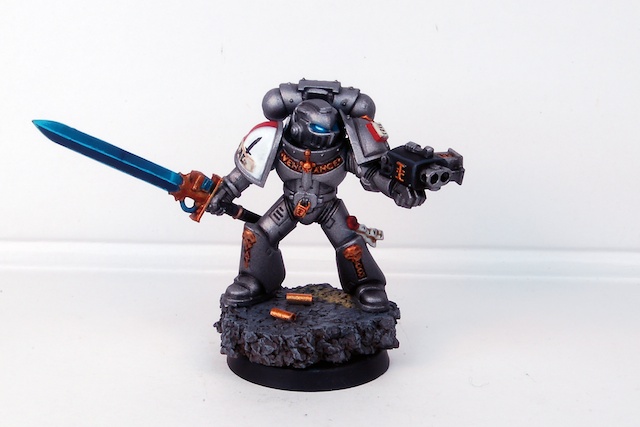
Hey guys, gals, and Brents of all ages! With the release of the new plastic Grey Knight kits I couldn’t resist the urge to check them out. First off let me say these kits are actually very nice. Games Workshop’s photos of them doesn’t do them justice. The conversion possibilities, and bits are endless. They even provide plenty of gribblies to convert up Inquisitors galore. That’s not what I want to talk about however! I know metallics can be tricky for some people to work with and I wanted to detail how I went about painting some Grey Knights for anyone out there looking to start them up.
So initially I was planning on using a brush to apply Boltgun Metal to a black undercoated miniature. I know that Boltgun can get a bit clumpy and wanted to avoid this at all costs. In the end I decided to use my airbrush. I was a bit hesitant as I’ve never used metallics in my airbrush and I wasn’t sure what the results would be. After about 10 seconds of spraying I realized they go on just like any other paint, and breathed a big sigh of relief knowing this army would go much faster doing it this way.
So I applied a base coat of Boltgun metal thinned 1:4 with what I call magic water (1:10 dilution of Liquitex Flow aid to distilled water) all over the miniature. When that was dry I went back and repeated the process but only from the top of the miniature making sure to never bring my airbrush tip lower than the miniatures head. I repeated this once again with chainmail and was quite satisfied with the results.
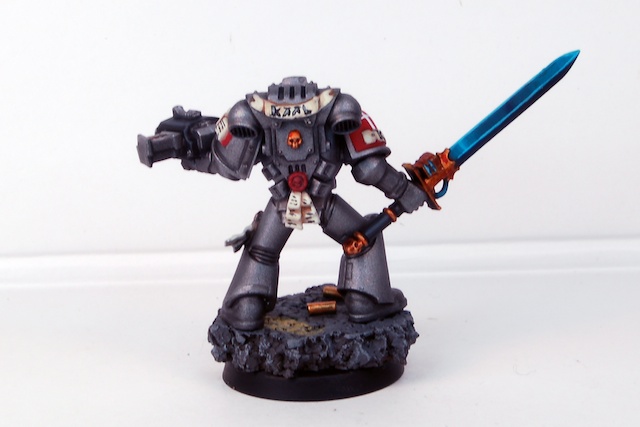
I then took a 1:2 dilution of Boltgun to Chaos Black and proceeded to black line the entire miniature. This ended up working perfectly for what I was after and with about 15 minutes of work under my belt, the silver work on the entire miniature was done. Not to bad and extremely smooth! I’ll be revisiting this technique whenever Necrons drop 😉 I finished up the metallic work with an application of Shinning Gold followed by GW’s old Flesh Wash slightly watered down.
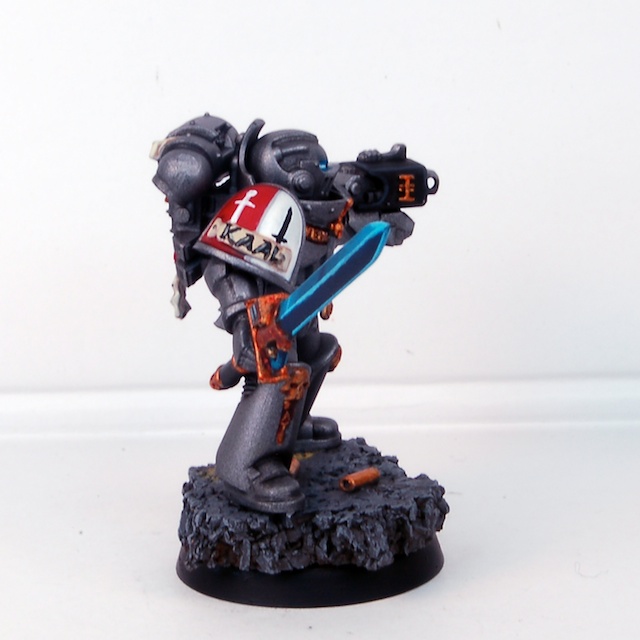
Now that the silvers were done I wanted to go back and finish off all the details of the miniature starting with the force sword and object light sourcing (OSL) around the eyes. I initially tried using Enchanted Blue and Frost Blue to get the effect I was after. It was a bit too chalky for me and reminded me a lot of the terrible power weapons of 2nd edition. Nostalgia aside I went for something a bit more modern. I reached into my paint box and pulled out Necron Abyss and Hawk Turquoise. I ended up blending the swords from Necron Abyss to Hawk Turquoise, and highlighted them with 1:1 Hawk Turquoise and Marrow White. The same process was used on the eyes of the miniature.
All the reds on the model were done using Skorne Red followed by a Devlan Mud wash and then highlighted with Skorne Red again. All purity seals received the same treatment. Parchment was a simply application of Dheneb Stone followed by Devlan Mud and highlighted again with Dheneb stone. I took this highlight a bit further on the white parts of the shoulder pad and highlighted it with Marrow White to help it pop and stand out from the parchments. A custom heraldry and name was then applied and the miniature was sprayed with Testor’s Dullcote.
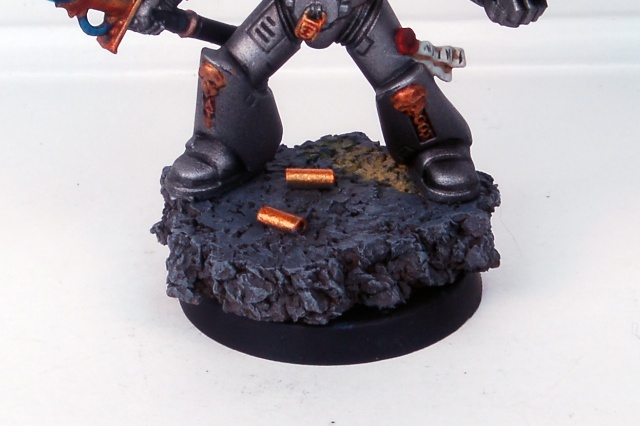
The bases received a base coat of Charadon Granite followed by a dusting of Adeptis Battle Grey from my airbrush and finally finished with a drybrush of codex grey. I then taped off lines on the base and stenciled on some road lines with Iyandan Darksun. I then sealed the base with Dullcote and glued the marine on once he was dry.
~So there you have it! That’s how I’ll be painting up my Grey Knights over the new few months along side the Cadian 501st. Keep an eye on the progress over at First Rank, Second Rank!

