40K Hobby: Scratch Building a Counts as Chimera

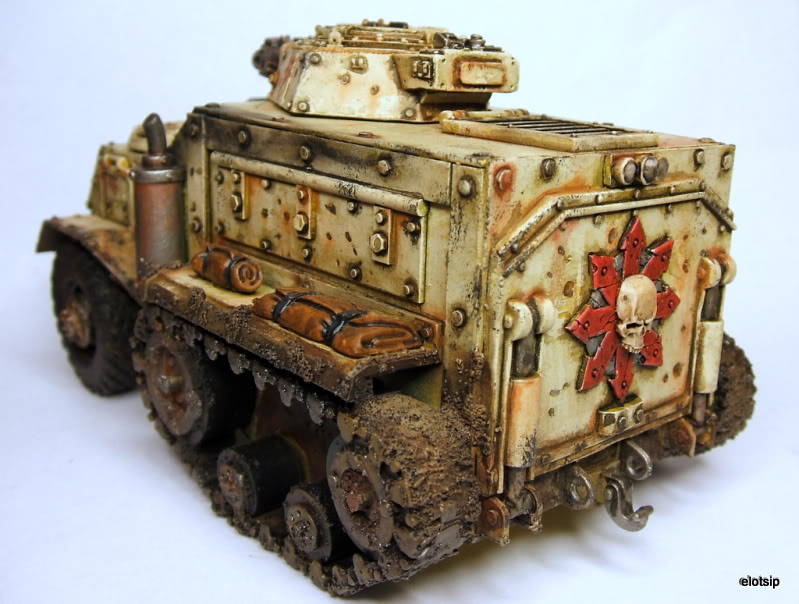
I’ve got a number of scratch built tanks I’ve cobbled together for my Chaos Renegade Militia army. I thought I would walk through the process I followed for building this half track that I use for a Chimera.
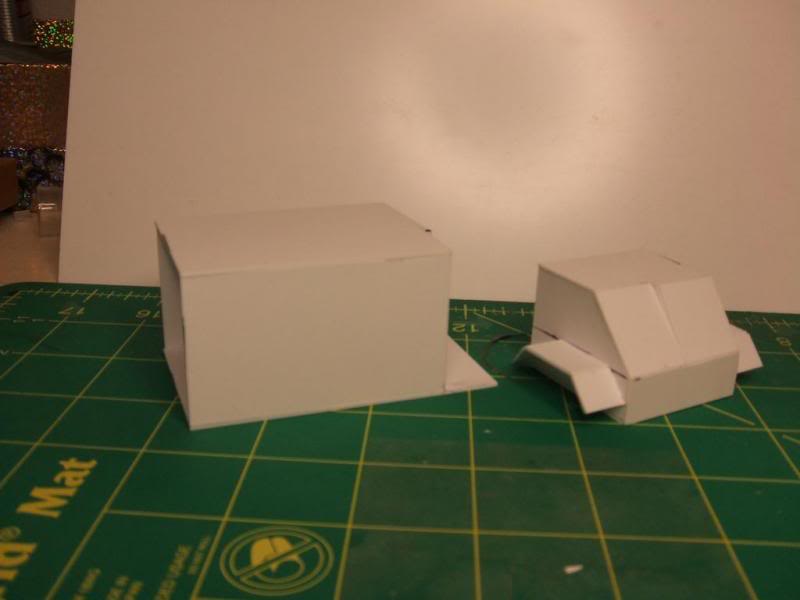
The first step is to buy a load of plasticard. It’s not cheap, but generally goes a long way. I personally prefer Evergreen to Plastruct. Plastruct is cheaper but it doesn’t snap on the scores as well as Evergreen, so you end up having to do a lot more clean up work. For builds like this I like to use 0.8mm thickness. 1mm is okay, too – but I find it a little too thick. You can make your life easier by buying some packs of precut strips – I like to get these about 0.5mm thick. The first thing to learn when starting out is to build a cube. If you can build a nice cube you should be good to go.
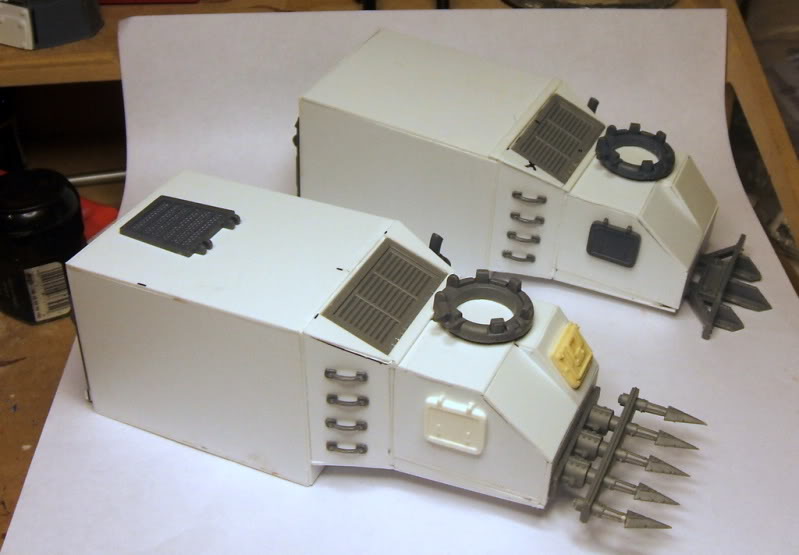
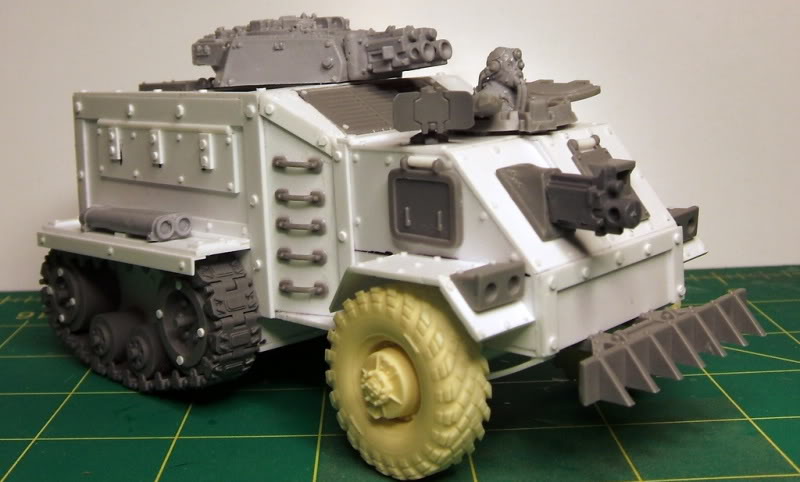
With the front cab and bank cabin boxed out I connect them with some plasticard and a vent cut down from a rhino.
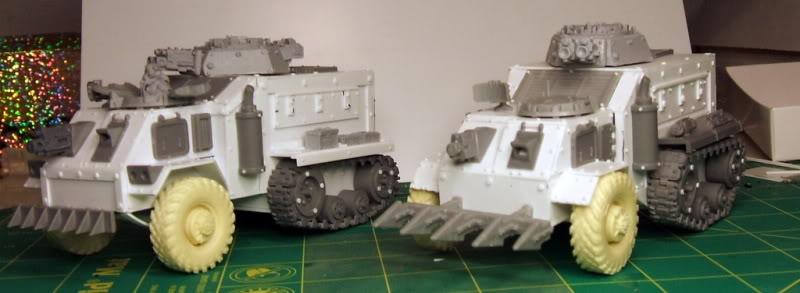
You can see I already started adding some details on these such as hatches, vents, steps etc. You can do this as you go along or once the full design is built up. I’ve built this same vehicle 4 times, so each time I do it slightly different. In this pic you can see I have not attached the fenders yet like I did in the pic above.
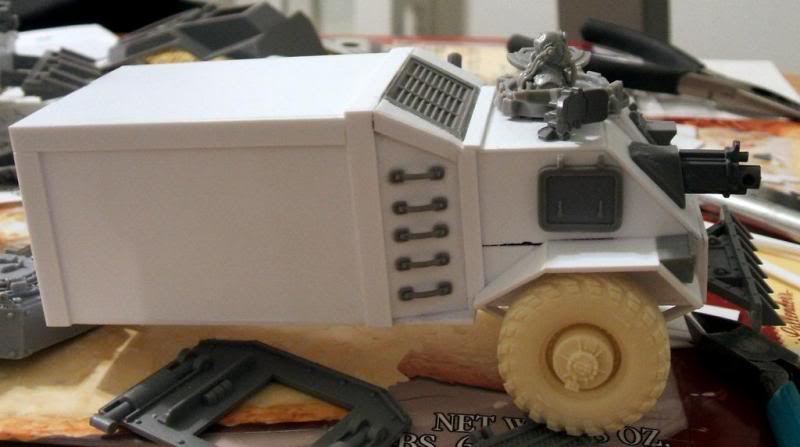
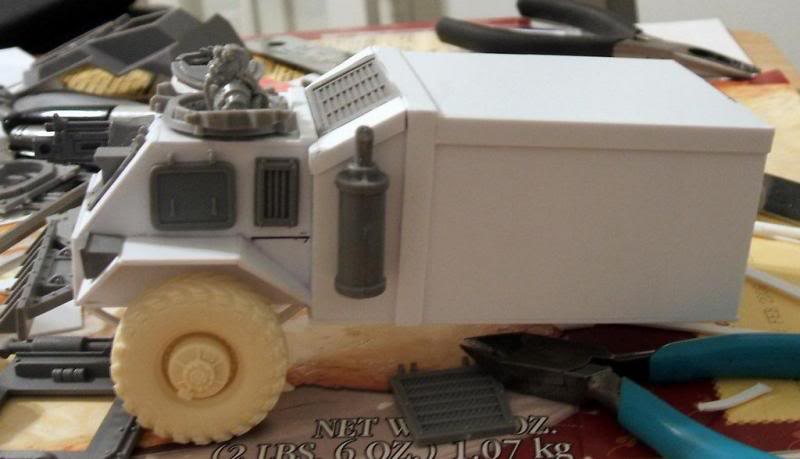
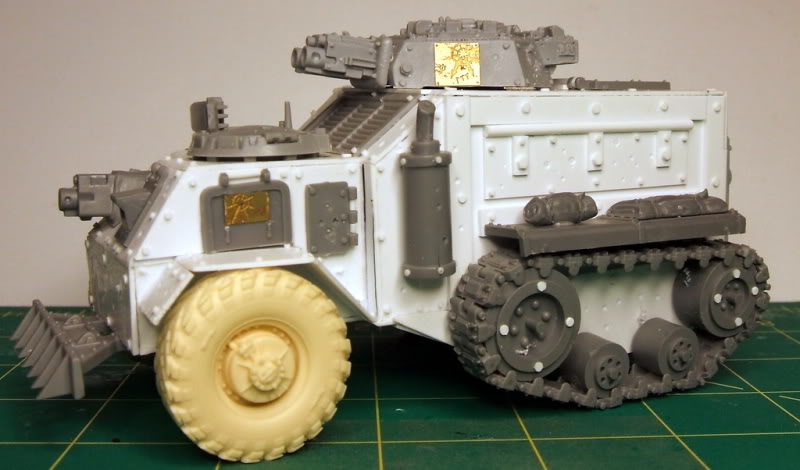
I’ve added more details here, as well as the front wheels. I picked up the front wheels from AirConnections – they have a great selection of resin model bits.
Next step is to finish up the rear tracks, and finish off the details and start riveting. Riveting is not a lot of fun to do, but it does add a lot of detail and ends up looking pretty good in the end.
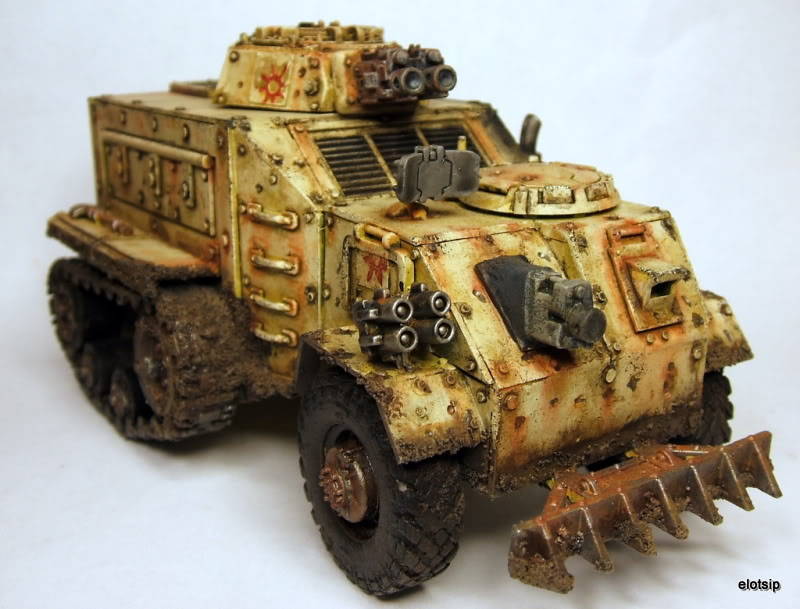
Next step was to paint it up. I painted this one before I had an airbrush, so it looks a bit different than my other Chaos Renegade Militia vehicles, but still looks close enough for me.
Would it be worth while to write an article on the tools used in scratch building? If so, chime in and I will see what I can do.
Questions, Comments? What do you think?


