Hobby: Painting the Scrap Tank

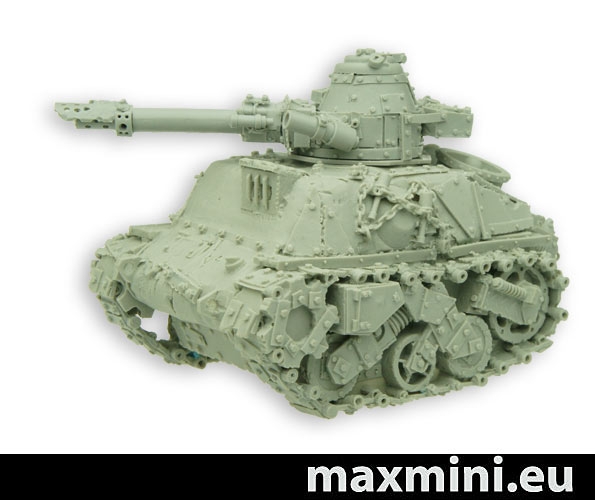
I recently did a model review on the Maxmini Scrap Tank. I thought I’d follow it up with an article on painting it. I will try to go over the process I followed and show a few of the different tools and products I used.
After cleaning up the kit I assembled it as normal. It went together very easily and everything fit nicely. Once it was full assembled I primed it white. I have been using the Krylon Painters Touch X2 coverage spray which has worked pretty well. I used to use armory but its so sensitive to weather that its just not worth the risk of screwing up the model and having to clean the primer off.
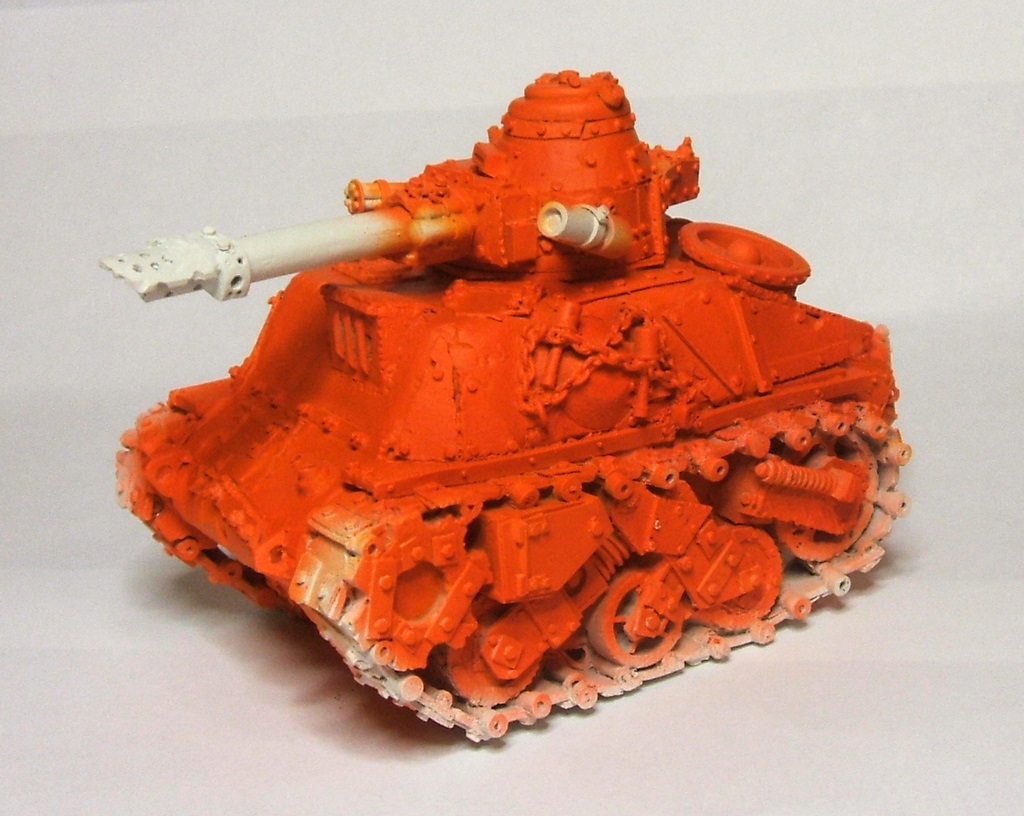
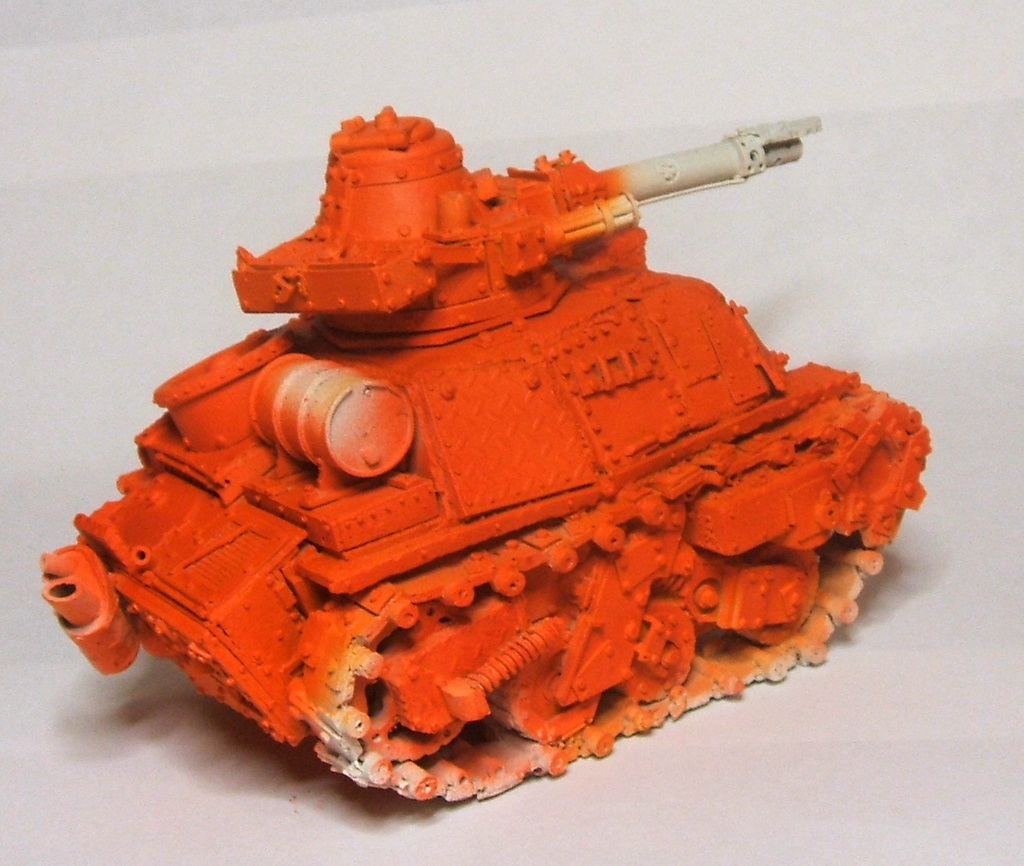
Once the primer was set I started with the base coating. I airbrushed it with a medium shade red to act as the base coat for the final color.
Then I went in and did the preshading with the airbrush. This is essentially just spraying a darker red or burnt umber into all the recess and cracks. Anywhere you want the paint to be darker in the final model. Once that is done I go back and spray a lighter red/orange on the wide open spaces to get a nice flow from a darker red to a red orange as you go from crevasses to top surfaces. I painted thi over several weeks so I failed to take pictures of every stage. I will rectify that for future painting articles though, hopefully.
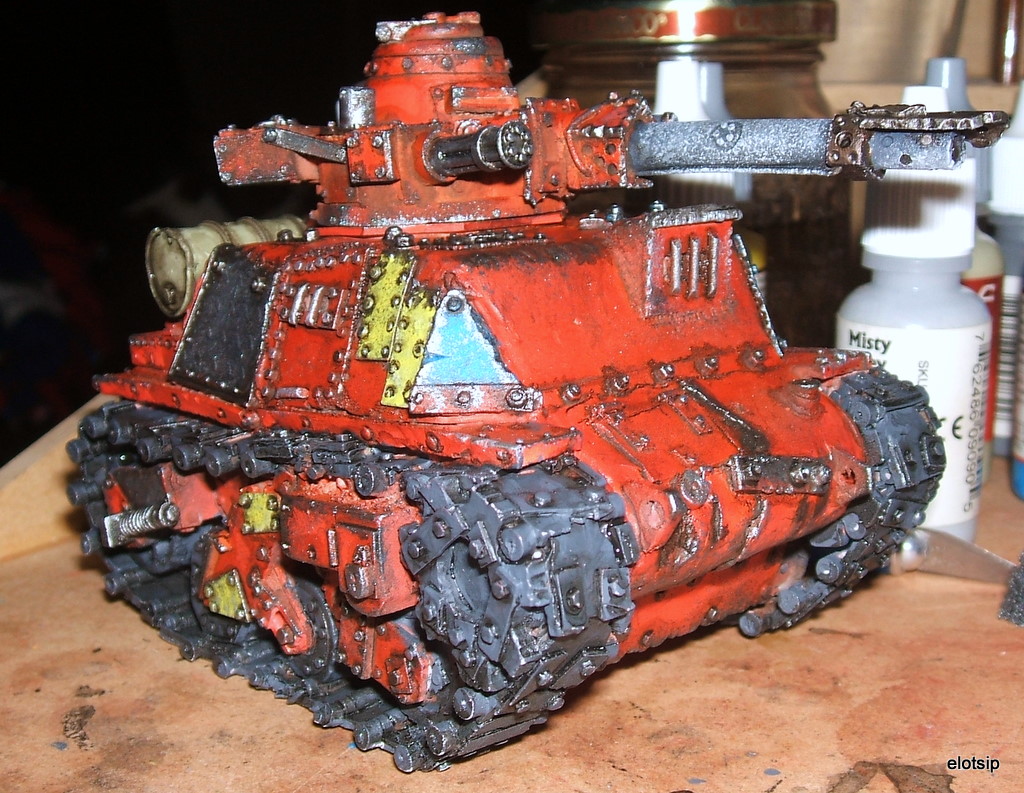
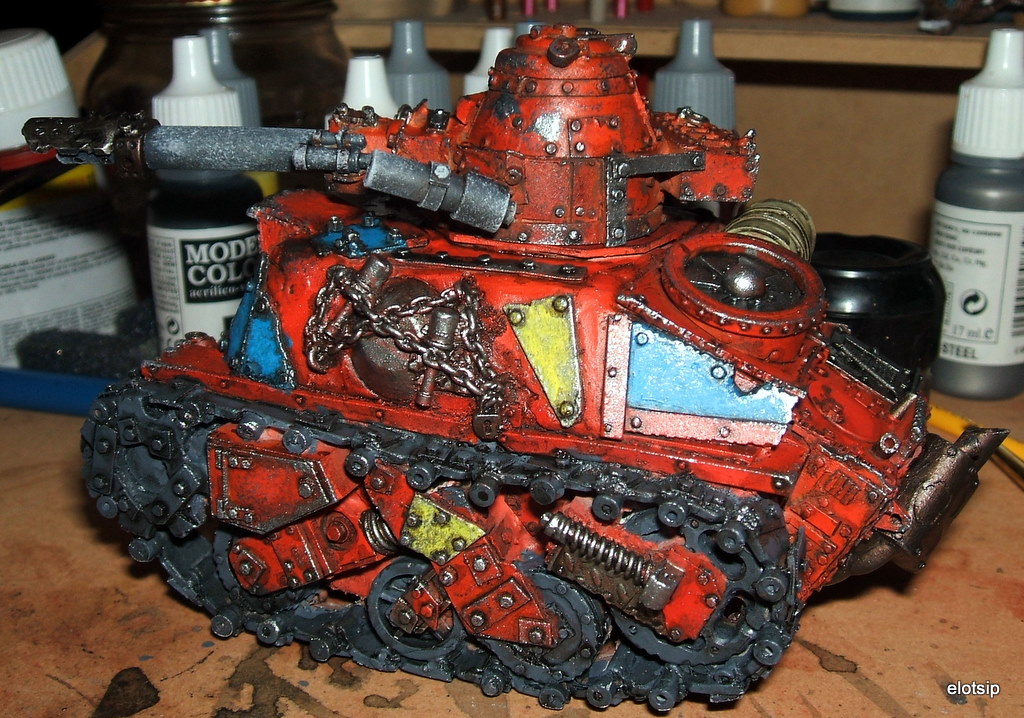
Next I started picking out different details that I wanted to stand out, like the armor plating. I also went in and painted the tracks a dark grey to cover the red and white of the primer and base coat. After that I went back with a sponge and dig the chipping effects with a dark grey, followed by boltgun and finally chainmail. Its important to focus the chips on places that will receive the most wear and tear. Once I was done with this I went back with an dark brown enamel wash and accented each rivet, crevas, seam, etc. That gets you to this point…
Now it actually is starting to look pretty decent and some people might want to stop with the weathering at this stage which would be fine. However, this being an Orky contraption I feel it should beat on even more. However, before you start the weathering in earnest you need to decide if you want to use any decals. I used to really dislike them but as I’ve experimented with them I now enjoy using them. So at this time I applied various decals. I can go over the best way to apply decals in a separate article if there is interest. Once they are dry I went back over them with some chainmail sponging to make them looked chipped along with the rest of the tank.
So the next stage is the rust and mud effects. Using Mig Productions pigments I went back and added rust effects to the areas where the bare metal was showing through and around rivets and places that would accumulate moisture and most likely rust first. To get nice rust streaks I use a rust colored oil paint. Put a small dab where you want the rust to start. Then with a dry clean brush pull the paint down to create a streak that starts wide and grows narrower as it goes down.
Next I started on the tracks. You can’t really tell what I did there because it covered in mud. 🙂 The mud is made using arcylic resin with dark mud pigments mixed in. This gives it a nice down color and makes it chunky and very hard once it dries.
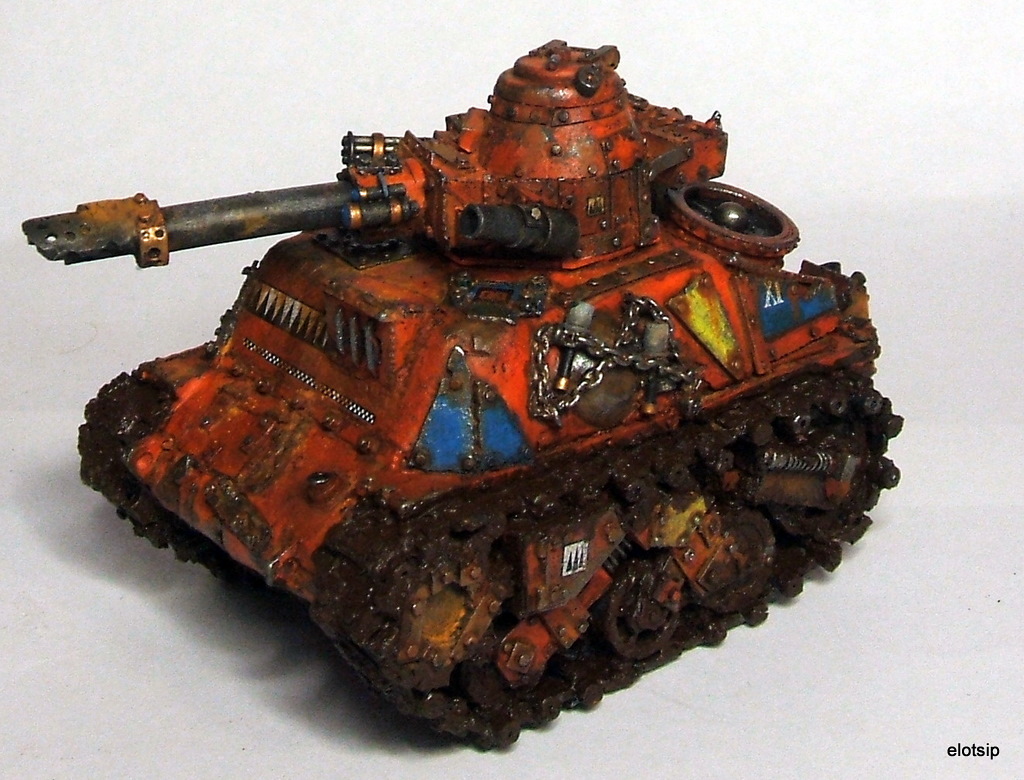
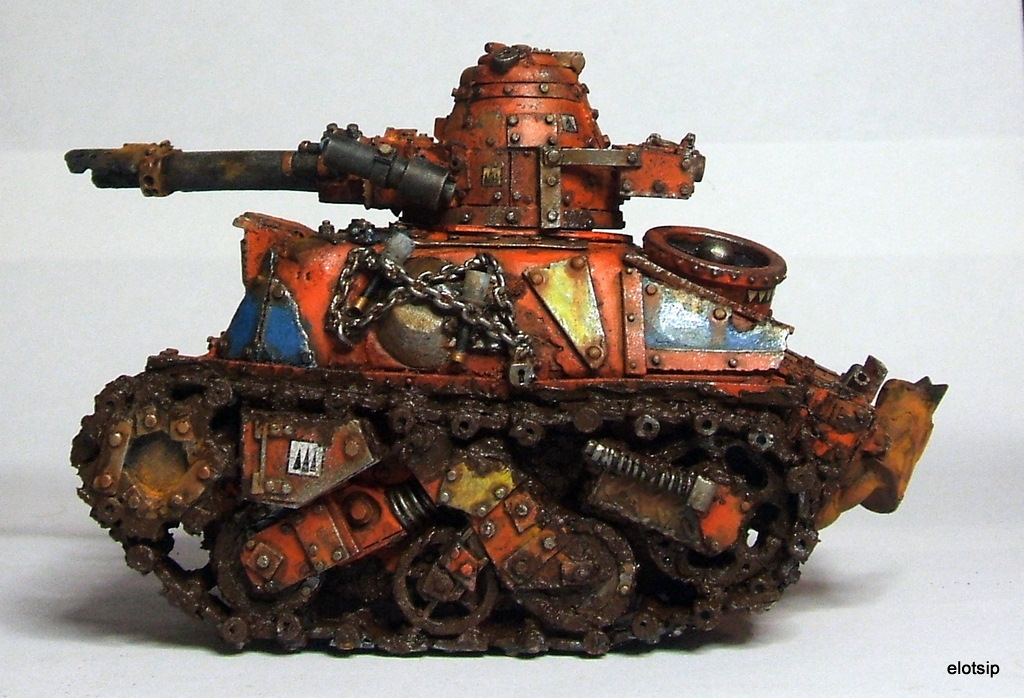
Now the tank is really starting to look sufficiently neglected. This is how the tank stands at this point.
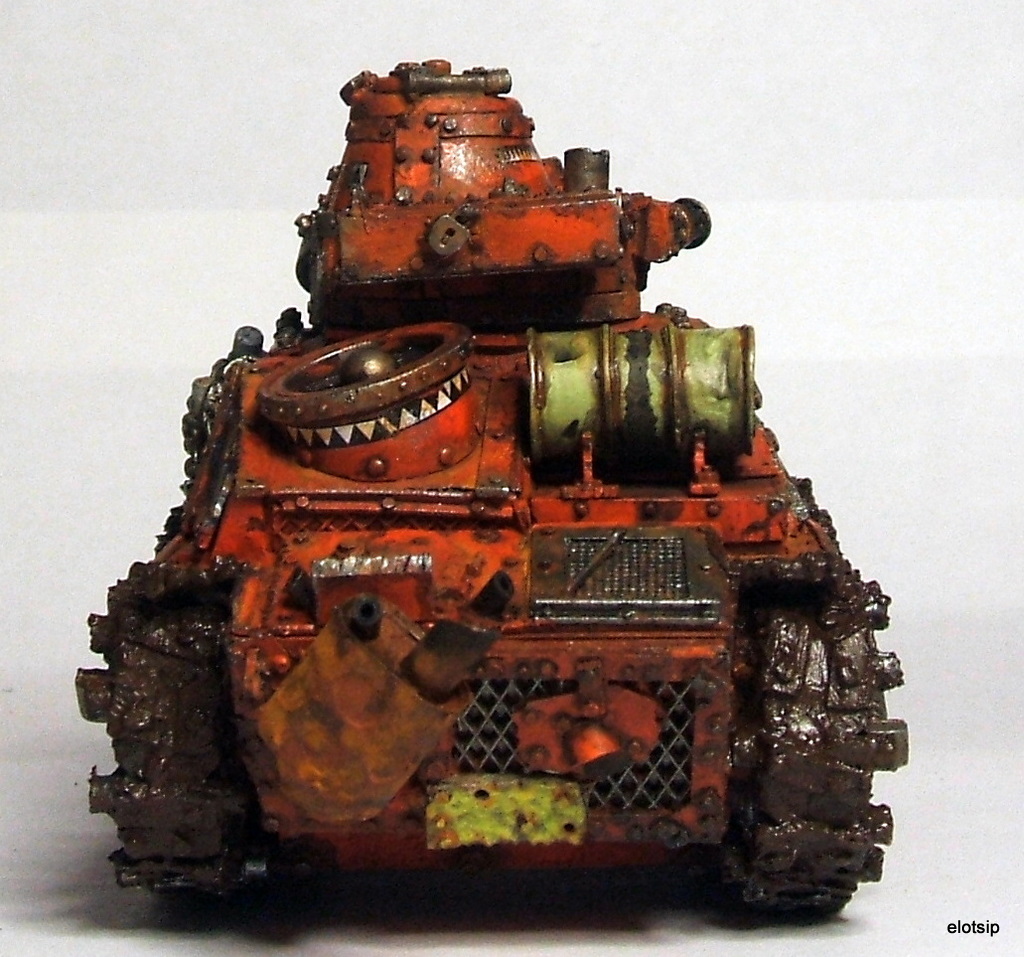
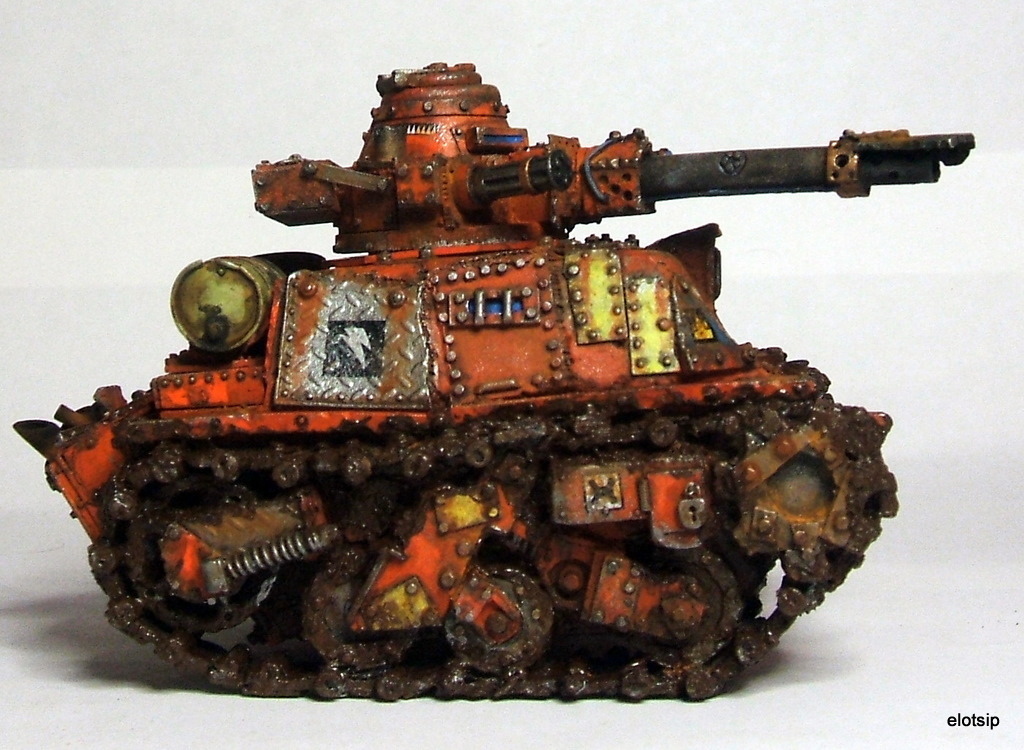
We are almost done! However, there are still a few little details to pick out, like cables, lenses, the exhaust needs some work, etc. So now we need to go back and start looking for the details. We may want to go back and touch up the rust, chipping or mud at this point as well. Its important to make sure the decals are weathered to the same degree as the rest of the tank so that they mesh with the vehicle and don’t look out of place.
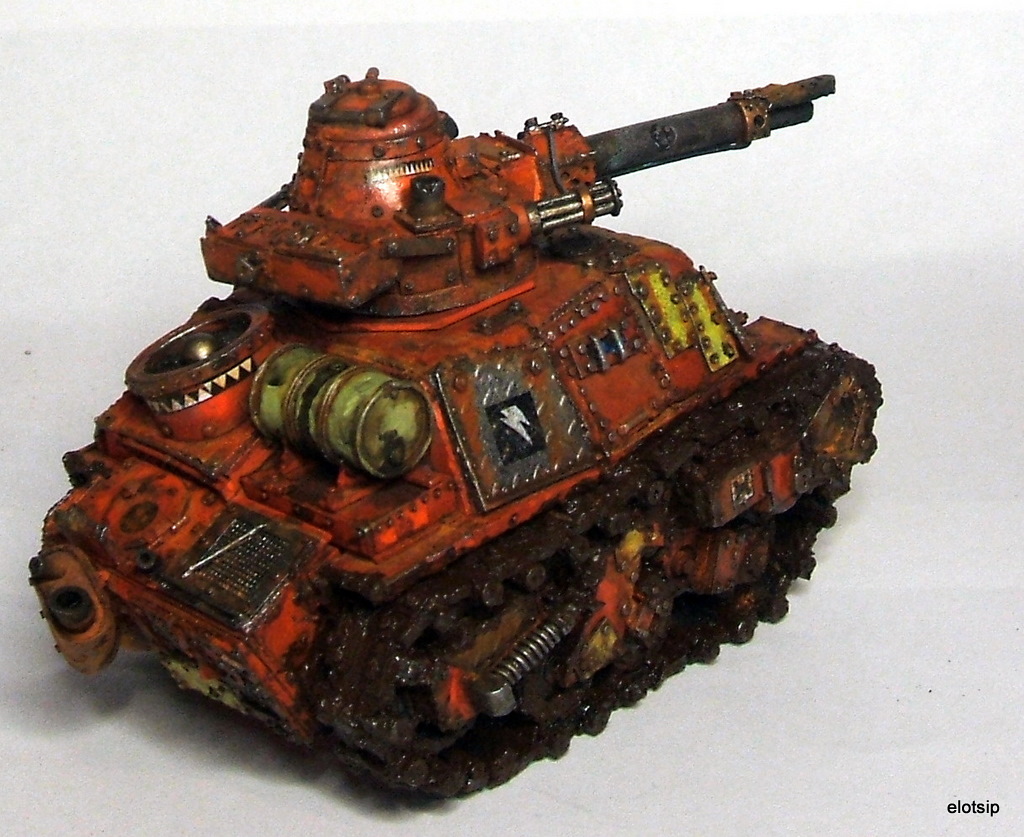
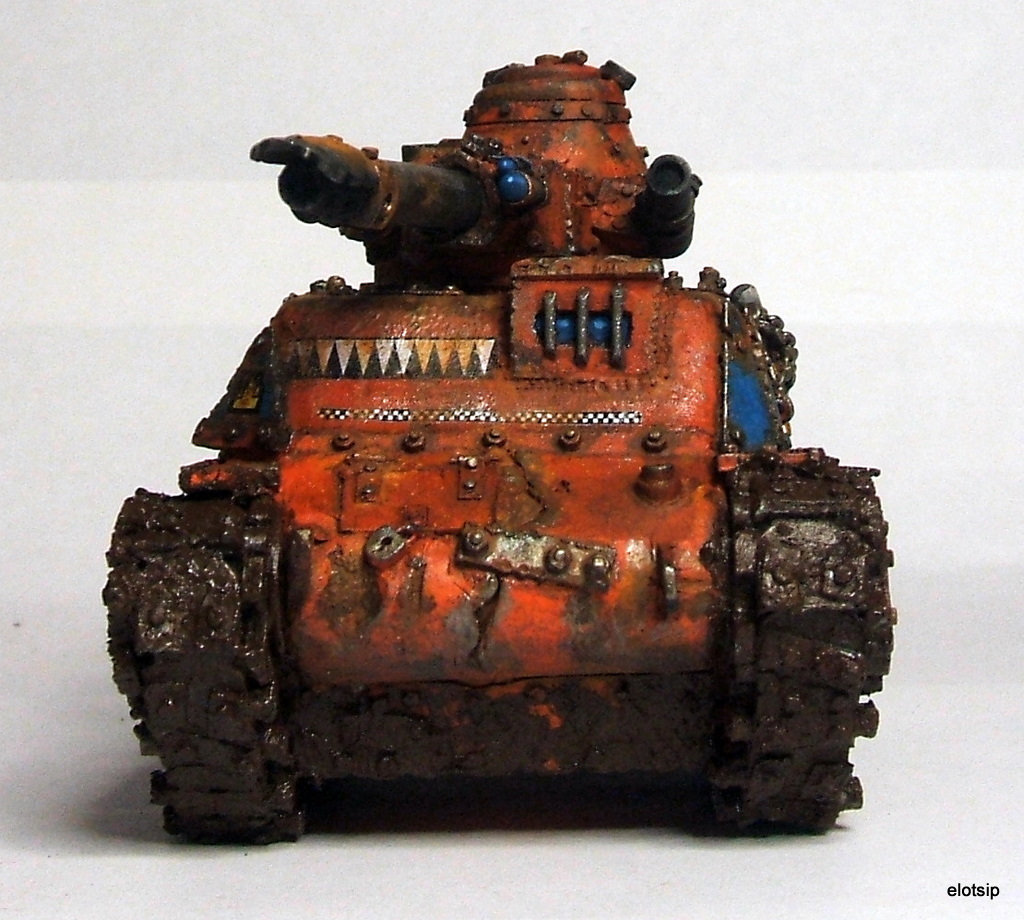
Here’s the final version.
Questions, comments?

