Trollkin War Wagon: Painting the Thing

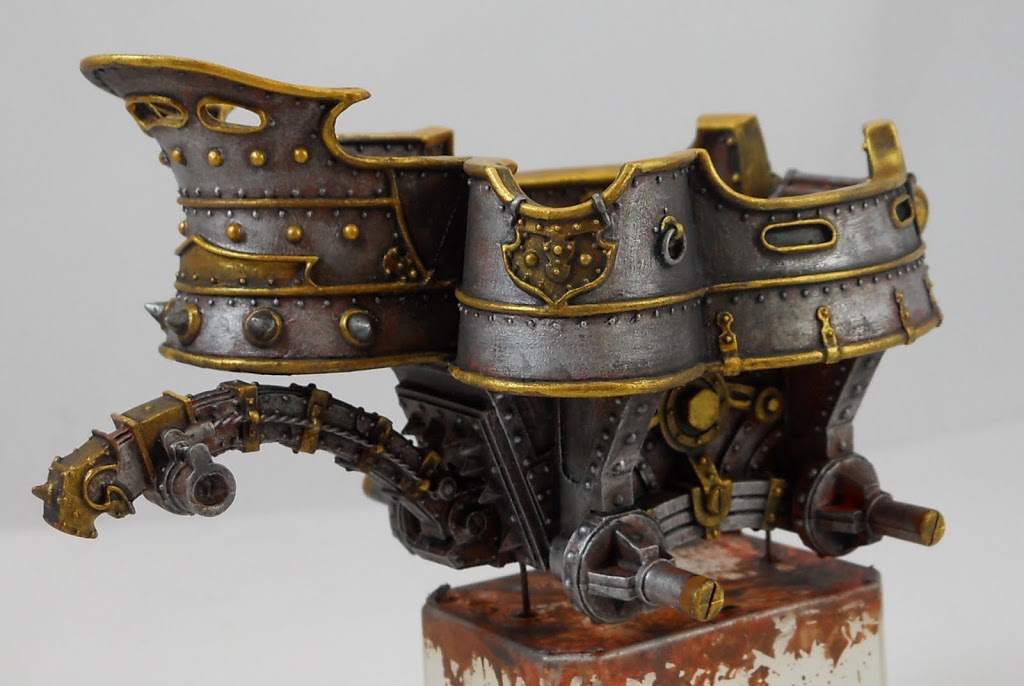
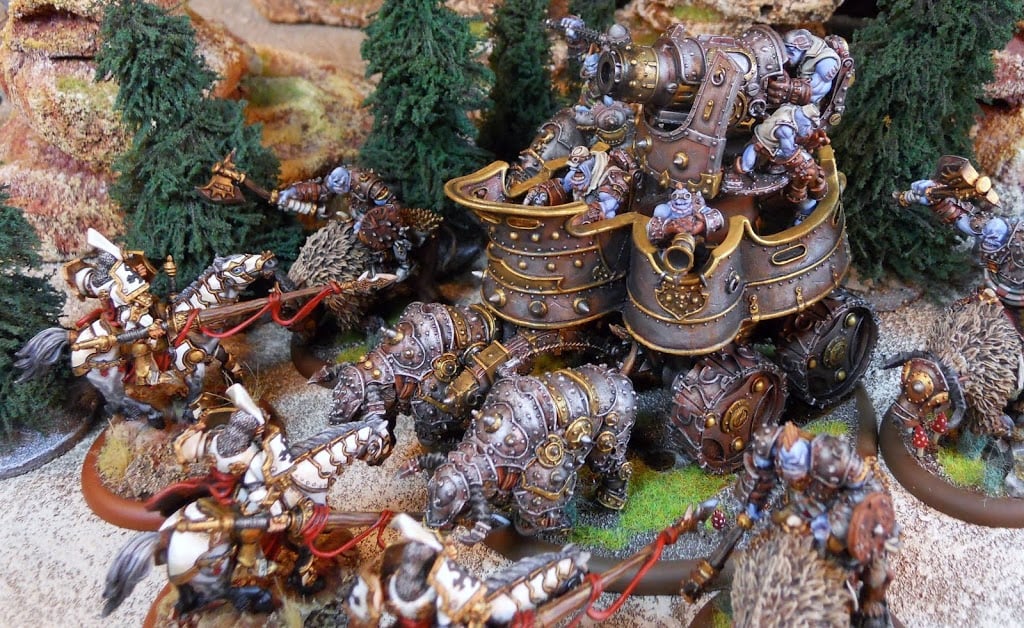 I’ve finally gotten my War Wagon ready for the table. It was quite a project to say the least, but I’m really satisfied with the results.
This piece represented a very specific challenge. While the model itself is mostly made of resin, as a concept its just one big piece of metal. With such a homogeneous surface any painter is going to be challenged to make the it look more engaging than say… just one big piece of metal. I guess you could always paint it a color, but visually, raw metal surfaces go a long way to defining Trollbloods as a faction to me. Fortunately I’ve painted a lot of warjacks and trollblood armor at this point, and its given me a lot of experience at metallics. In the end I think it helped me paint a War Wagon I can be proud of.
But before I could even start painting there was the task of just readying everything for the process. Despite trying to prepare with the least number of pieces possible I was still left with 14 individual parts that I felt needed to be painted separately.
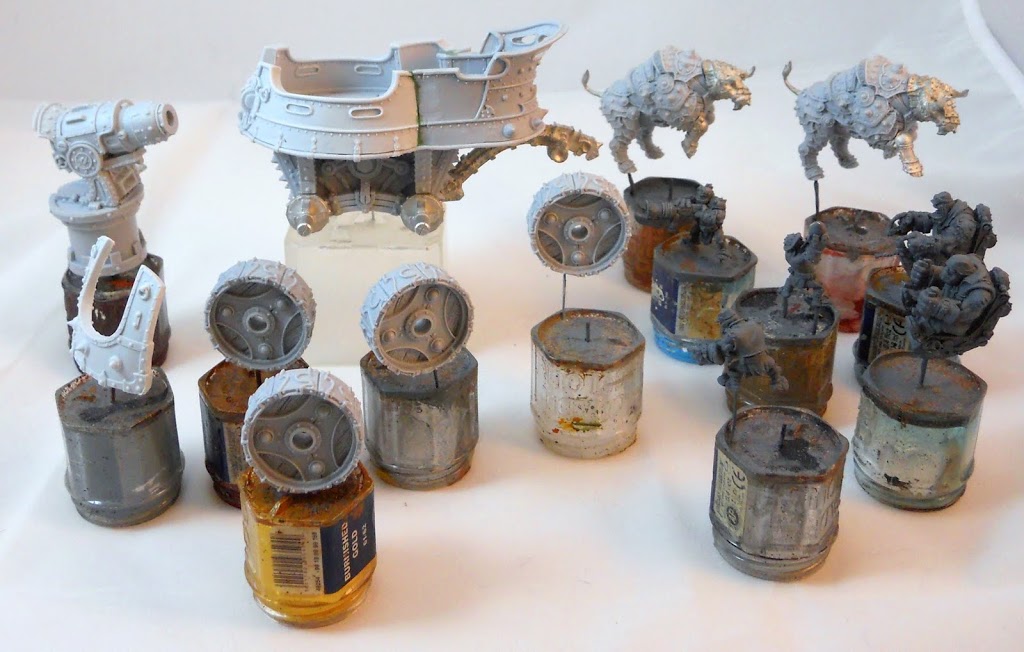 For the step by step though, I’ll just focus on the main carriage. The techniques I’ll be using there will be mirrored on the rest of the pieces. The crew will be painted separately using this technique. To start, I base-coated everything using GW’s Calthan Brown. This nice earthy tone will impart the rusted and weathered look I want. After I’ve got a nice even coat I wash everything with thinned down Blazing Orange.
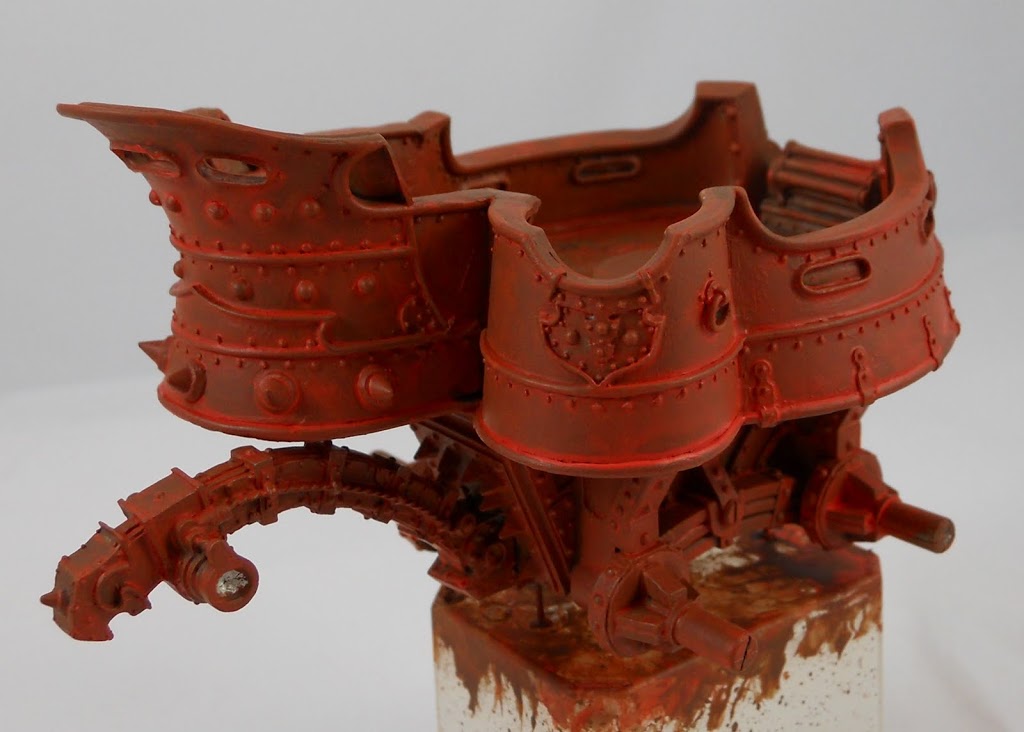 Then I drybrush it all with Chainmail. Just a note… when I Drybrush on this scale, I use the same brush I do for all my basecoating. It’s big and old and the bristles stick out every which way. Somehow it still manages to give really even coverage. When drybrushing anything, patience is key. Its easy to think you can just get away with slopping paint on everything. But or best results, take your time and do a lot of passes without too much paint on your brush. The nice even coverage you’ll get with this technique makes it all look much more natural.
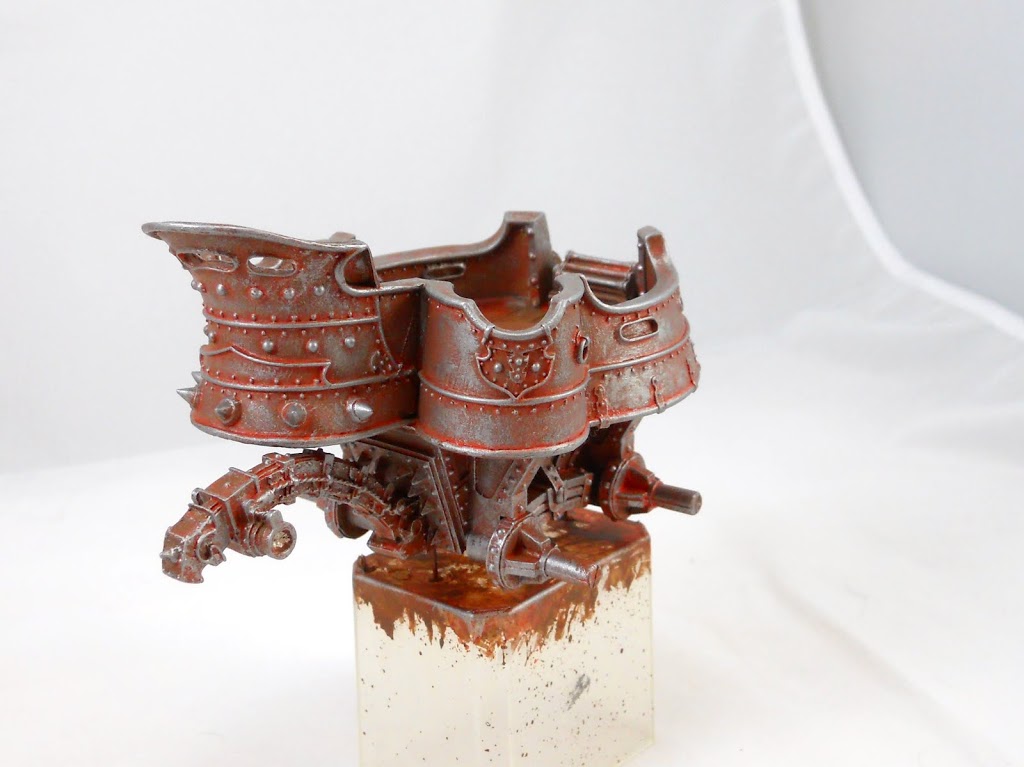 After I’m satisfied with my drybrushing, I wash everything with an ink mix I use on all my metals: 2 parts Badab Black with 1 part each Devlan Mud, and Asurmen Blue. I thin the mix with a little water to keep it from being too dark, and also add a few drops of matte medium to make sure it binds properly. Why all the different colors? Well, you’ll just have to trust me that it looks more natural that way.
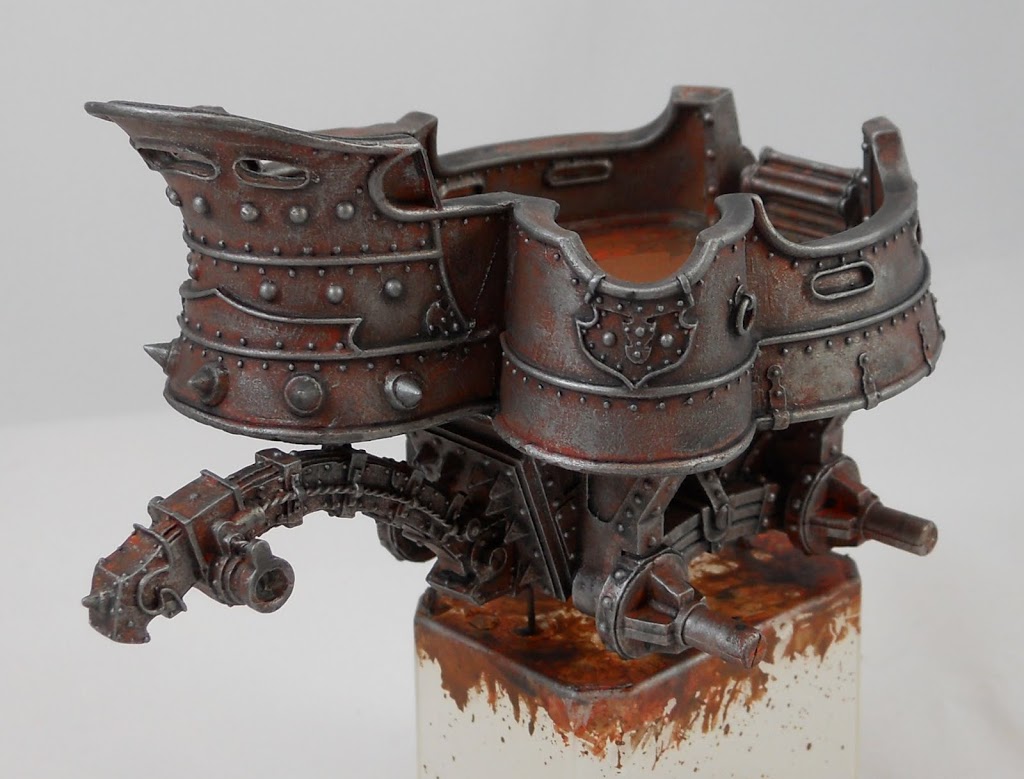 To make it look a bit more interesting I’m going to give it some gold highlights. If just you use metallic paint right over the top of what you’ve got here it will turn out badly. So first I paint all my gold areas with snakebite leather.
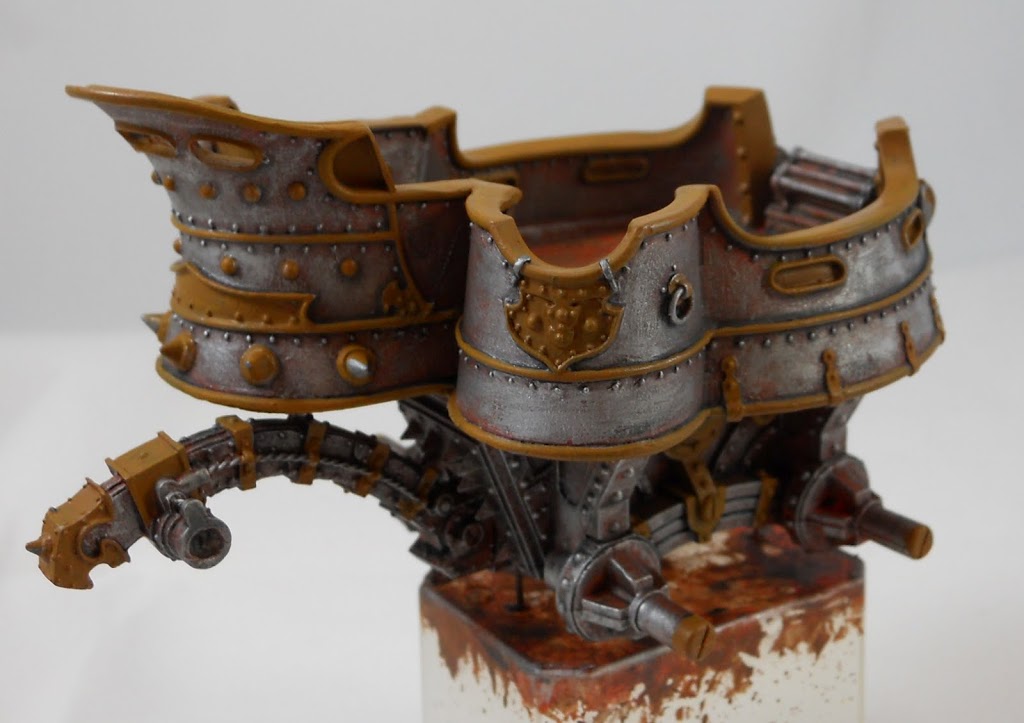 Then I add shining gold. With the Snakebite underbase it doesn’t need to be that thick.
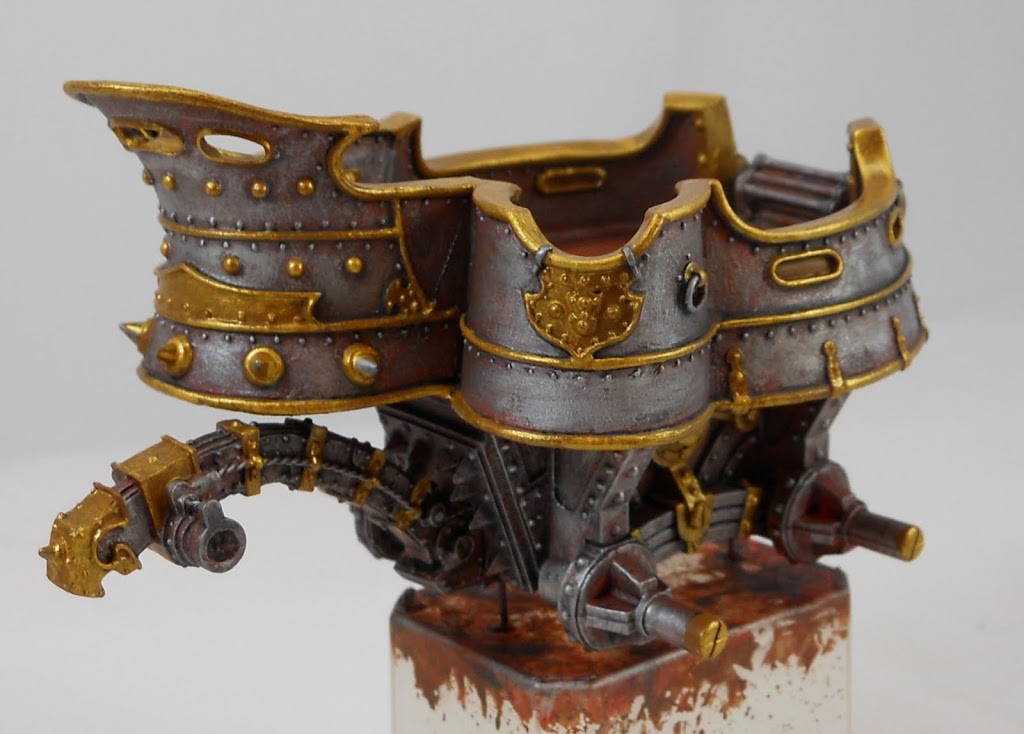 Then I wash the gold with the same ink wash I used on the rusty metal earlier. I also start building up multiple thin layers of that ink in the recesses of the curves that define this chassis. The deeper I get the more layers I use. If you compare the above and below pics you should notice it is beginning to appear more defined.
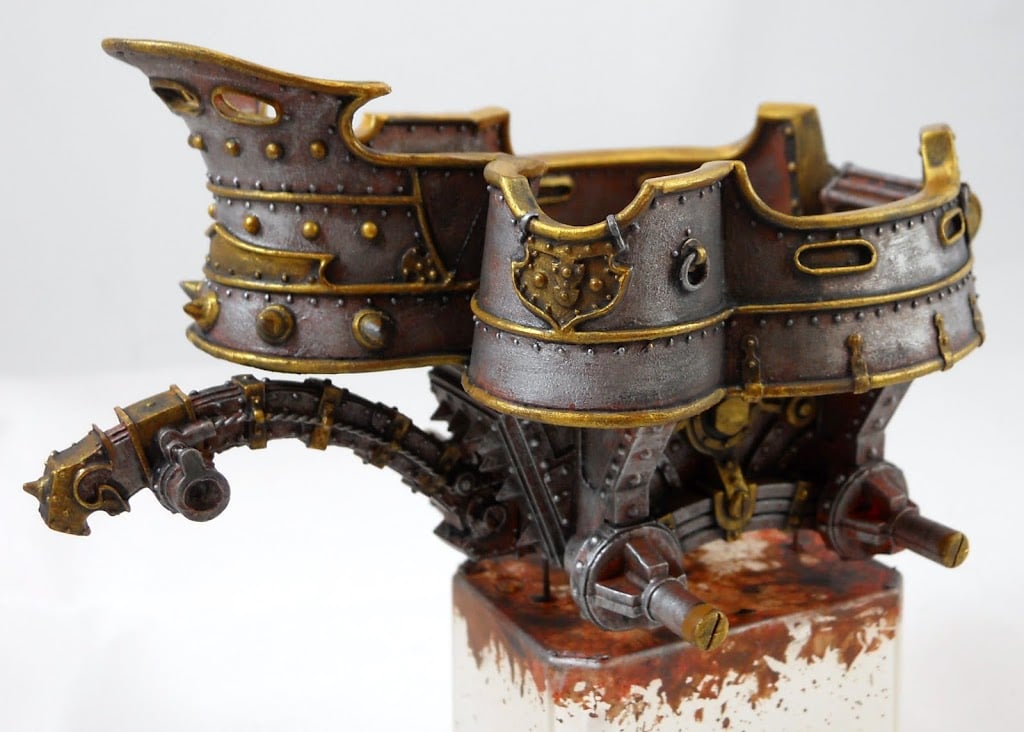 I retouch the gold to define it more. You can drybrush some areas with a medium brush if you are very careful, but a lot of it will probably need to be done manually.
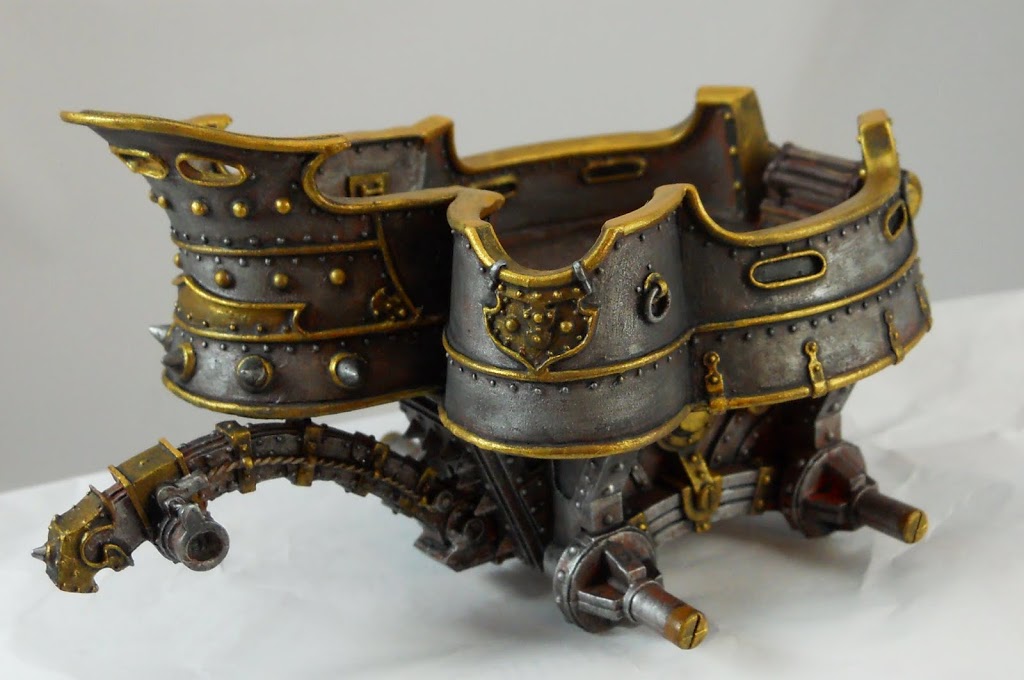 I decided to go ahead and give all the steel/iron areas one more ink wash to darken it up a bit more.
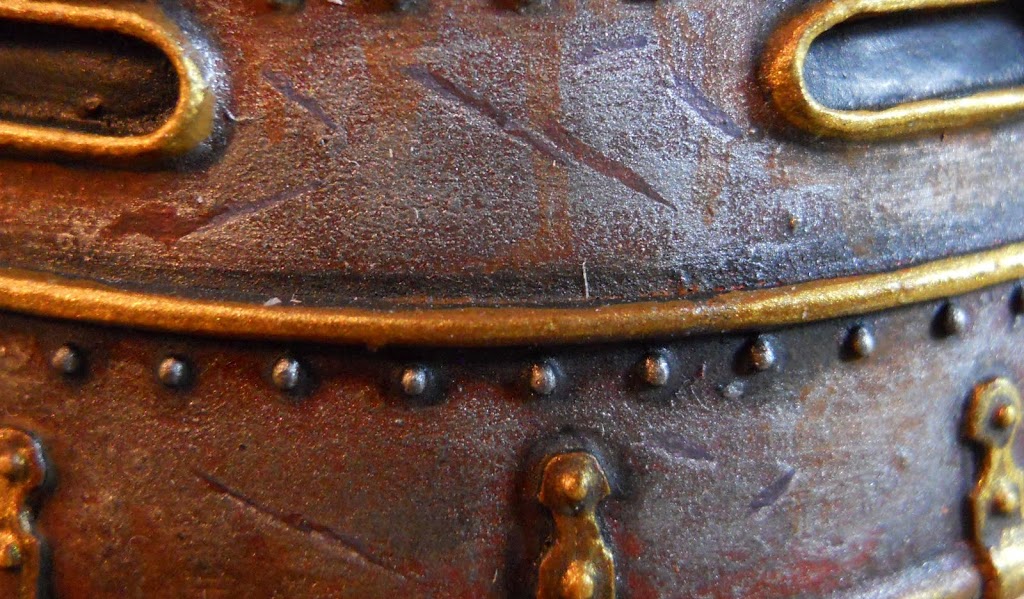
 Next its time to add some distress. I add some very subtle rust by painting on streaks of very thinned out Bestial Brown mixed with Blazing Orange. To make the dings and dents, I start by adding streaks of chainmail. I paint the shadows in next. These create the illusion of physical depressions. I cover most of the silver streaks with a mix of Shadow Gray and Scorched Brown leaving only a thin sliver at the bottom to represent light reflecting off the depression. I add a darker shadow of pure Scorched Brown in a few of these dings to enhance the feeling of depth.
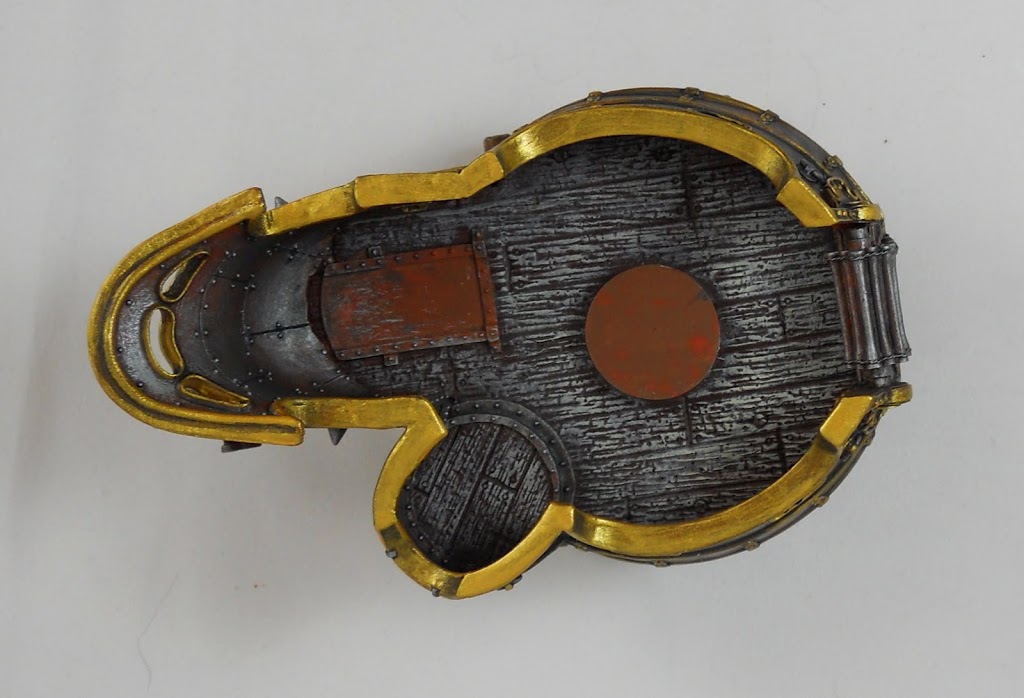
 There’s not much left to do now but paint the floorboards inside the chassis. The details are pronounced enough that it takes really well to drybrushing. I used Bleached bone over Scorched Brown. I had to use a medium brush for this in order to keep the Bleached Bone off the interior walls since I didn’t want to ruin that nice patina I’d been working so hard on.
The wheels have wood on them too, and its easy enough to use the same technique there. After the drybrushing all the wood was washed first with Ogryn Flesh, then with Devlan Mud. If you wanted to get extra fancy you could try different wash mixtures on different planks to give it a more rag-tag look.
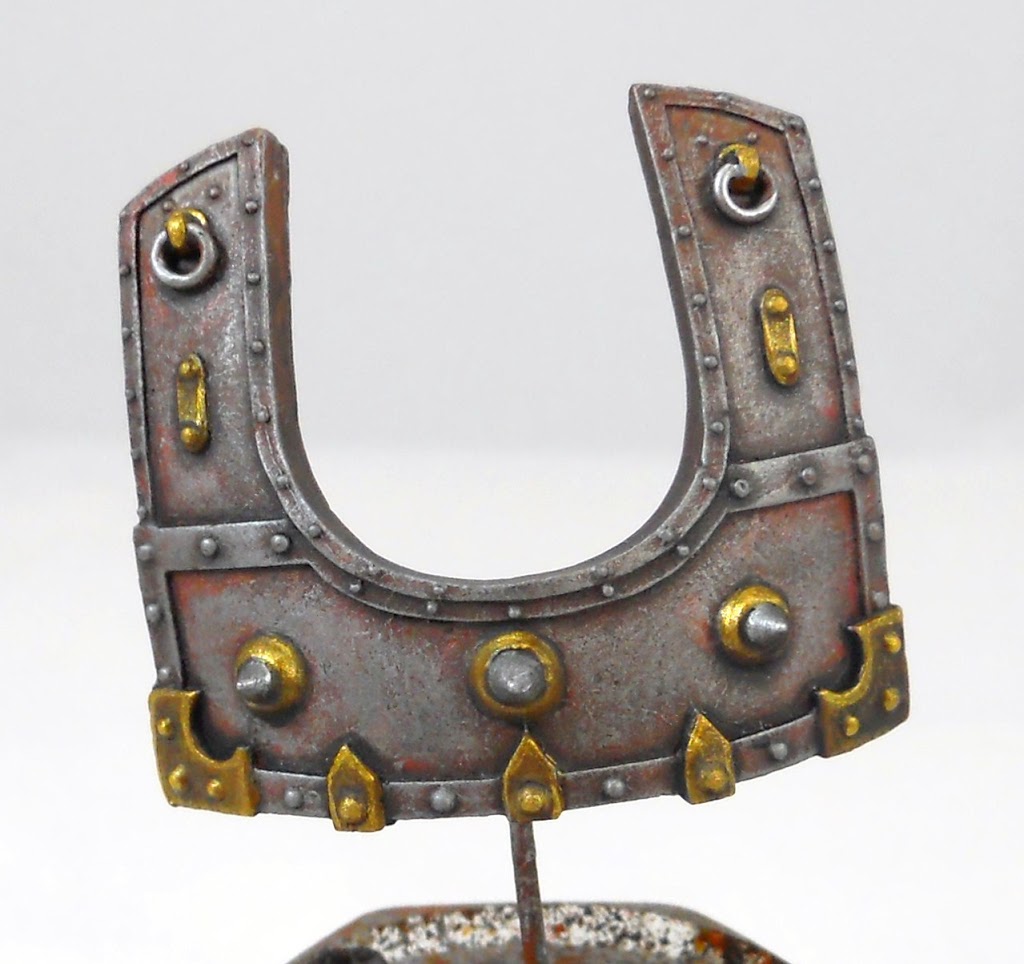
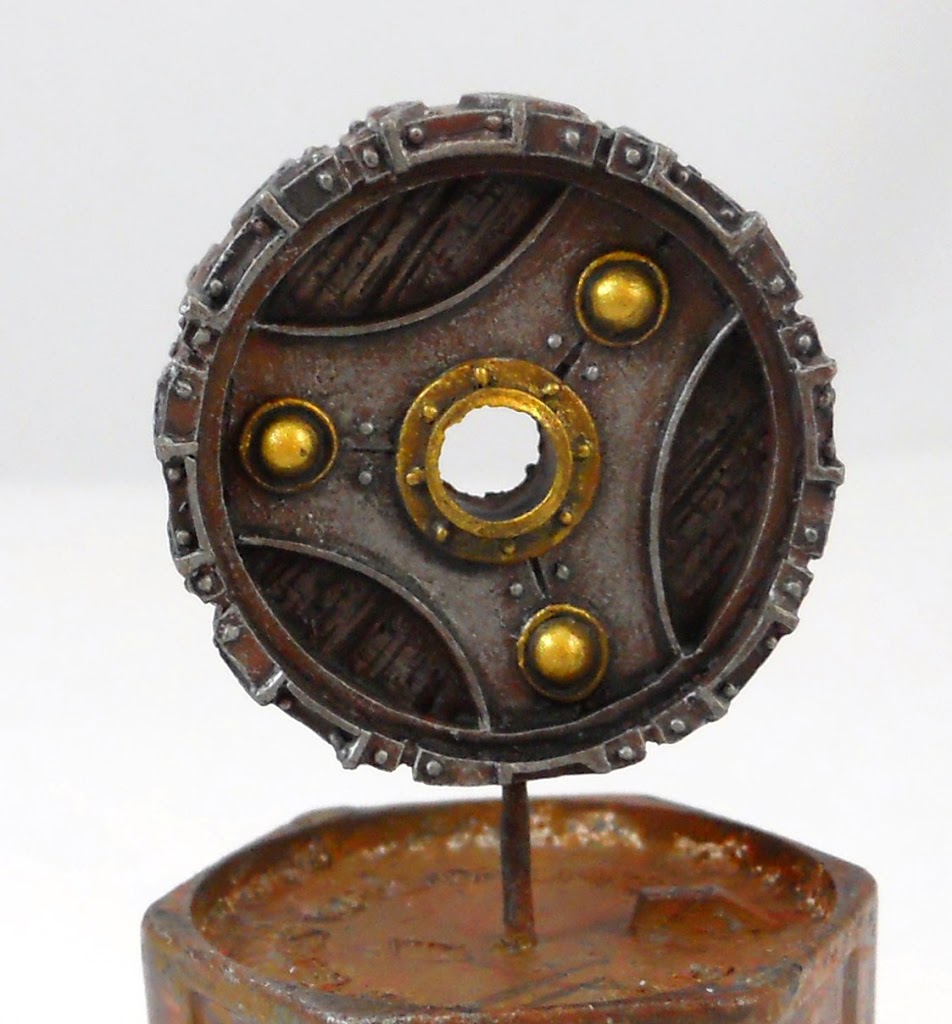 The other pieces of the Wagon are all pretty much done at this point – barring the distressing which was done after the thing was assembled. Here they are.
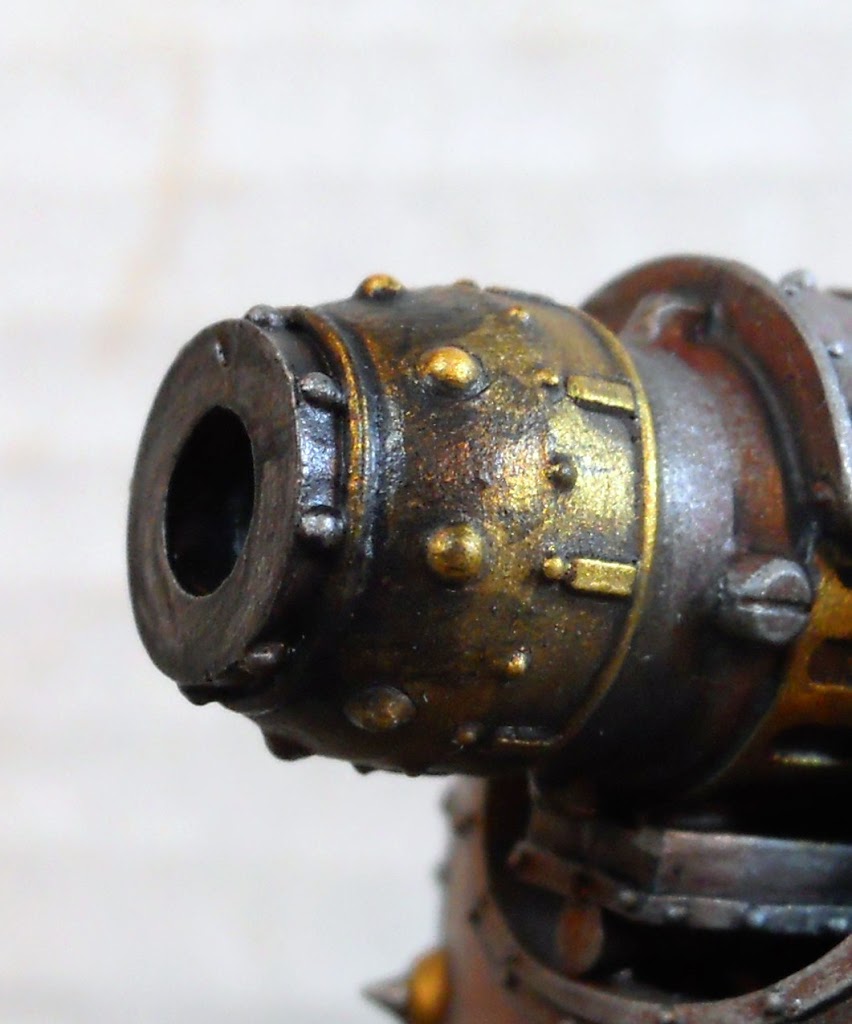
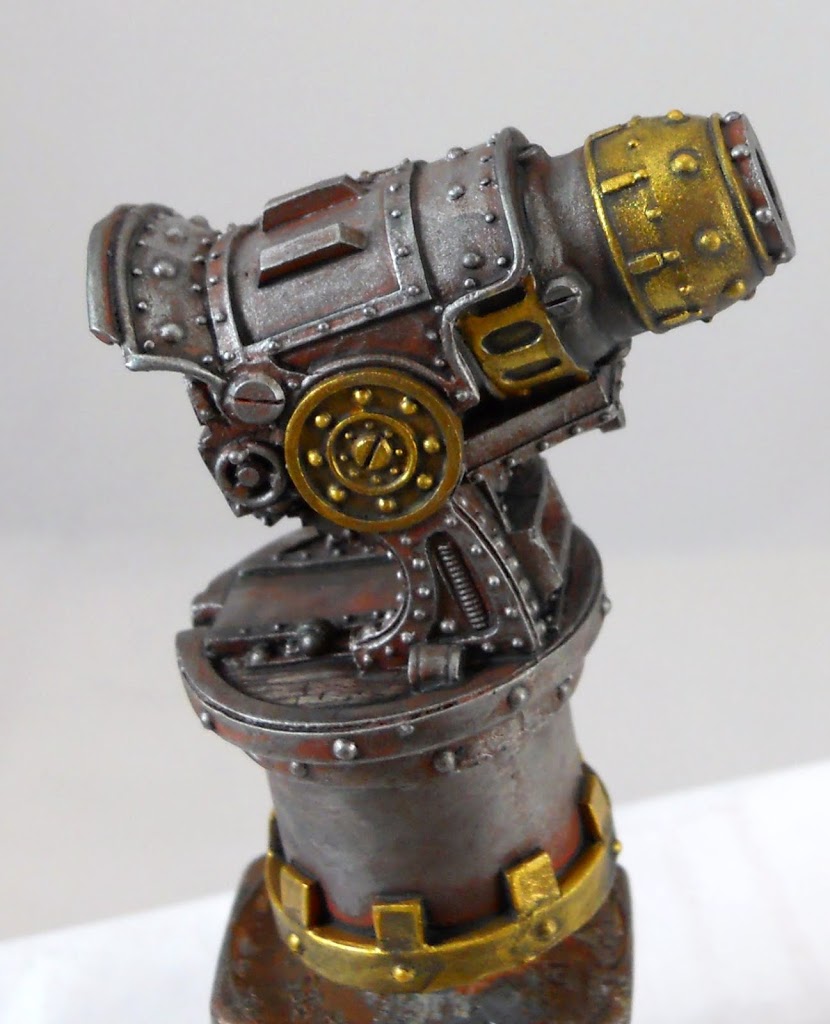 and the gun itself. Of course… after I had the Wagon assembled, I realized the gun barrel would look nice with some oily soot on it. I mixed some Chaos Black and Scorched Brown with a fairly generous amount of matte medium and painted it on.
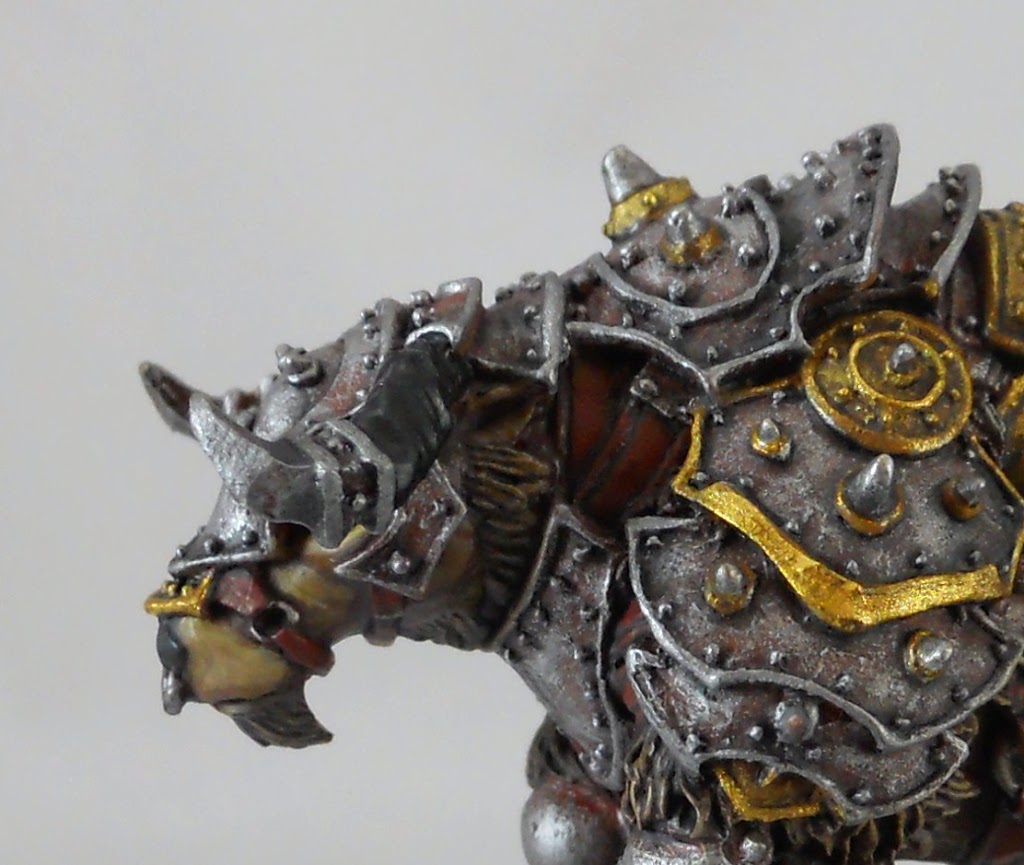
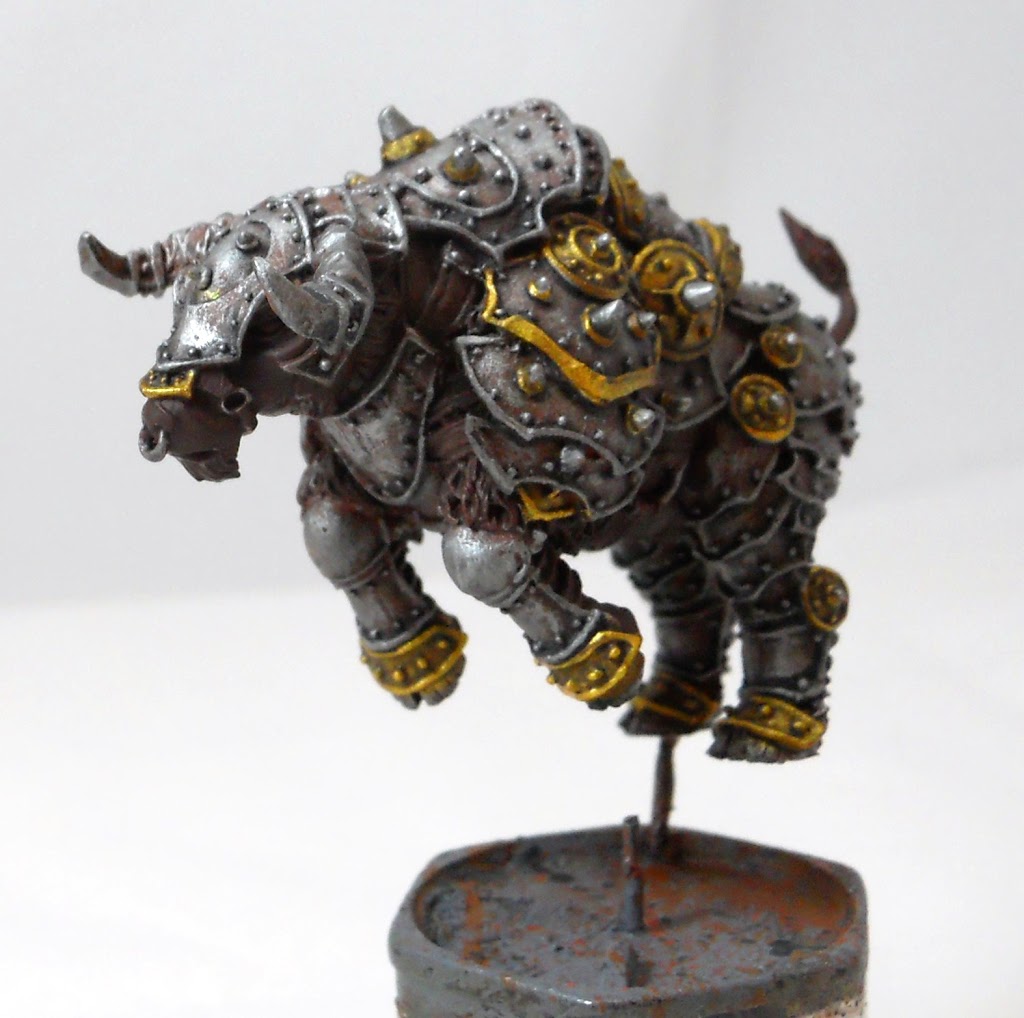
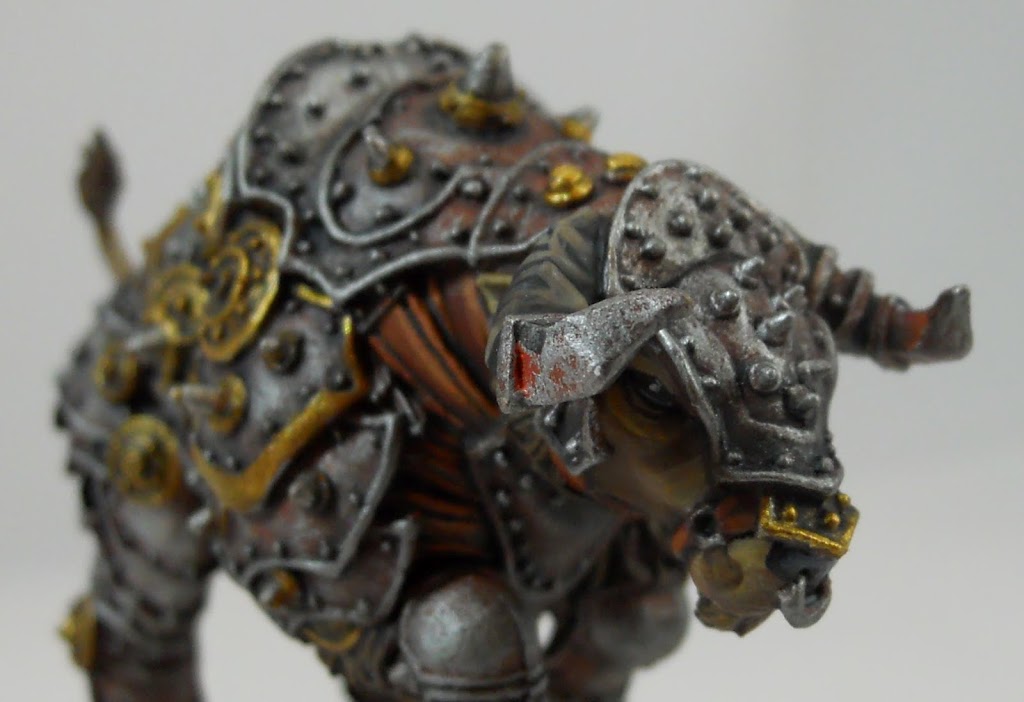
Of course, the Bison still need to be finished up. Like the rest of the carriage they are mostly metal. But there is still some fur, leather, hooves and horns in there that need to get worked on. The Leather and fur areas are painted Scorched Brown, then washed with Devlan Mud.
 I start to define the fur by highlighting it up with Scorched Brown with a little Snakebite Leather and Graveyard Earth mixed in to begin to lighten it up.
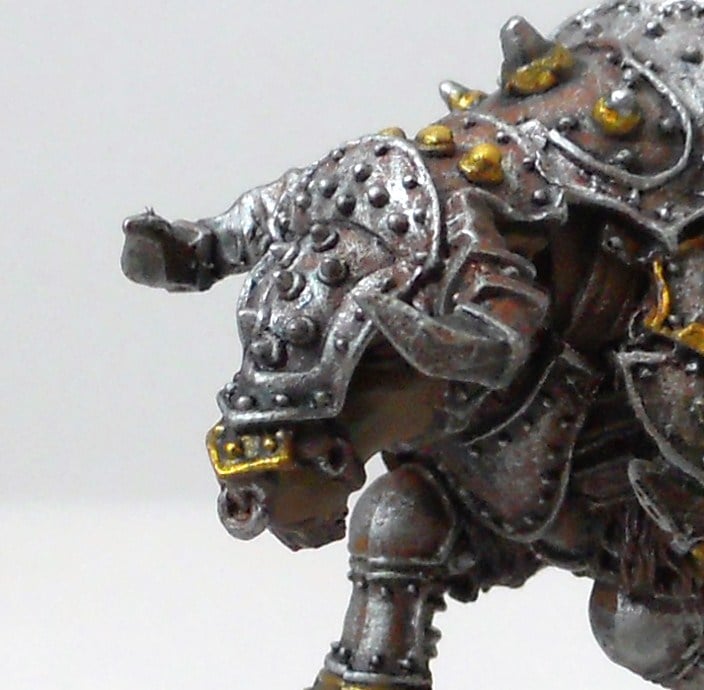
Then its pure Graveyard Earth for the next highlight. The areas of coarse fur are well defined and easy to drybrush.
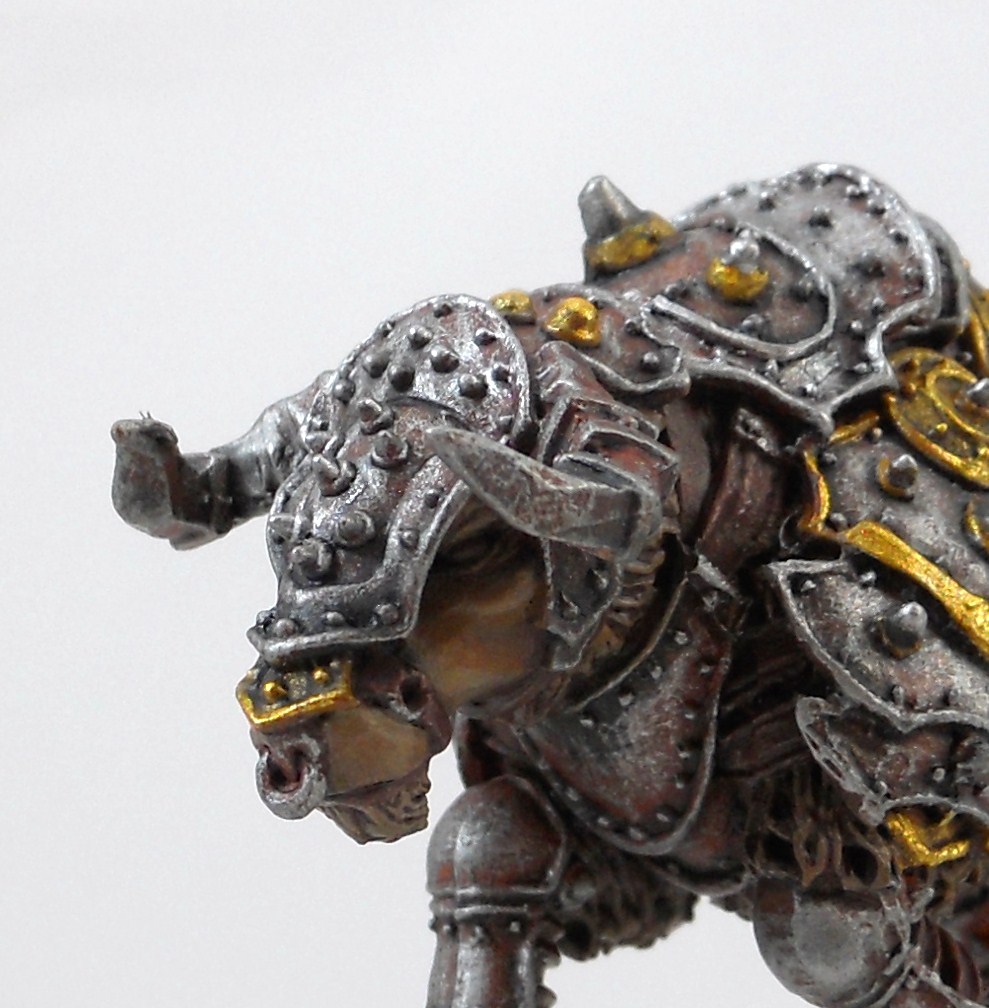 Then pure Desert Yellow is added for the final highlight.
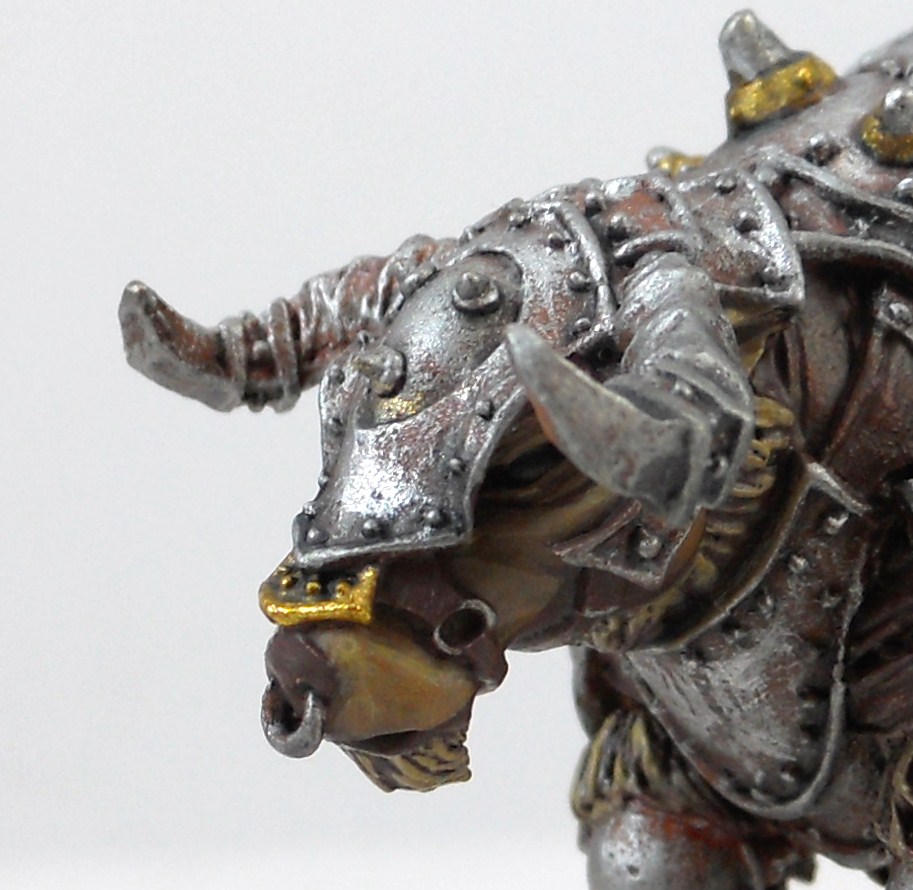 The Leather is done the same way it is on the rest of the trollkin. I start by defining it with Dark Flesh…
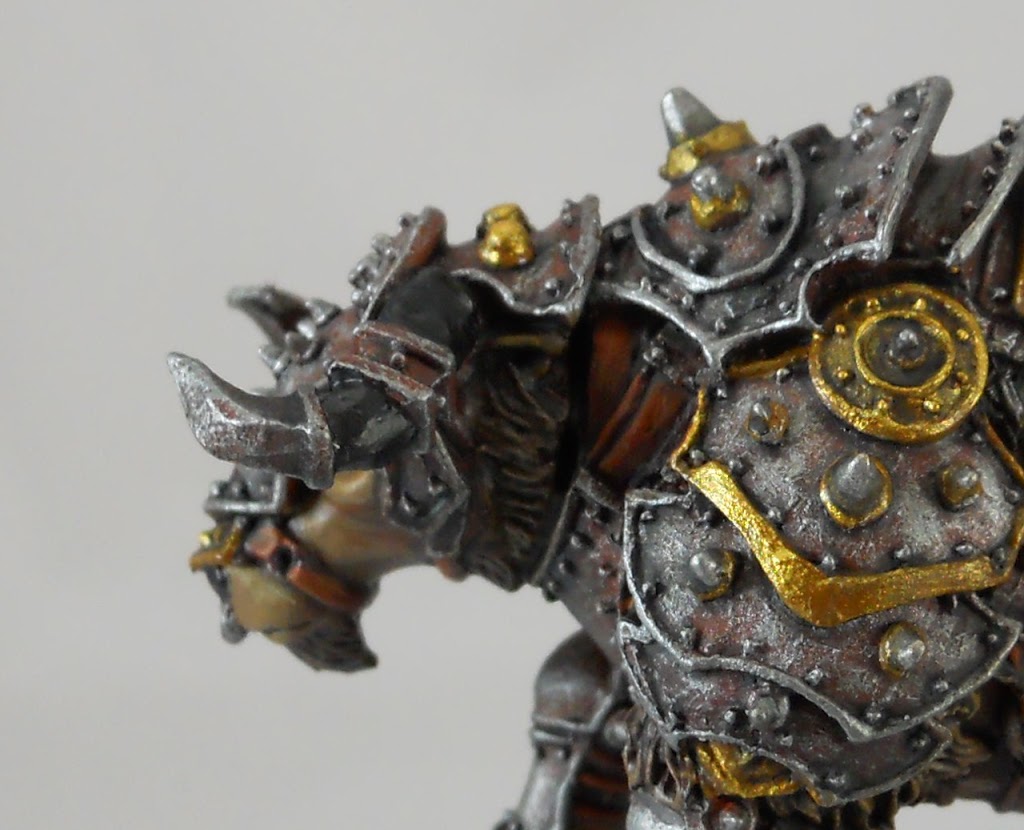 Then Vermin Brown mixed with Vomit Brown as a final highlight. The horns and hooves start as Chaos Black. Then they are highlighted with Codex Gray, then Kommando Khaki. Then they get a wash of Devlan Mud to give them a nice organic gray appearance. The eyes are defined by painting a thin strip of Codex Gray on the underside of them. Then they get a tiny dot of Fortress gray to represent light reflected off of them.
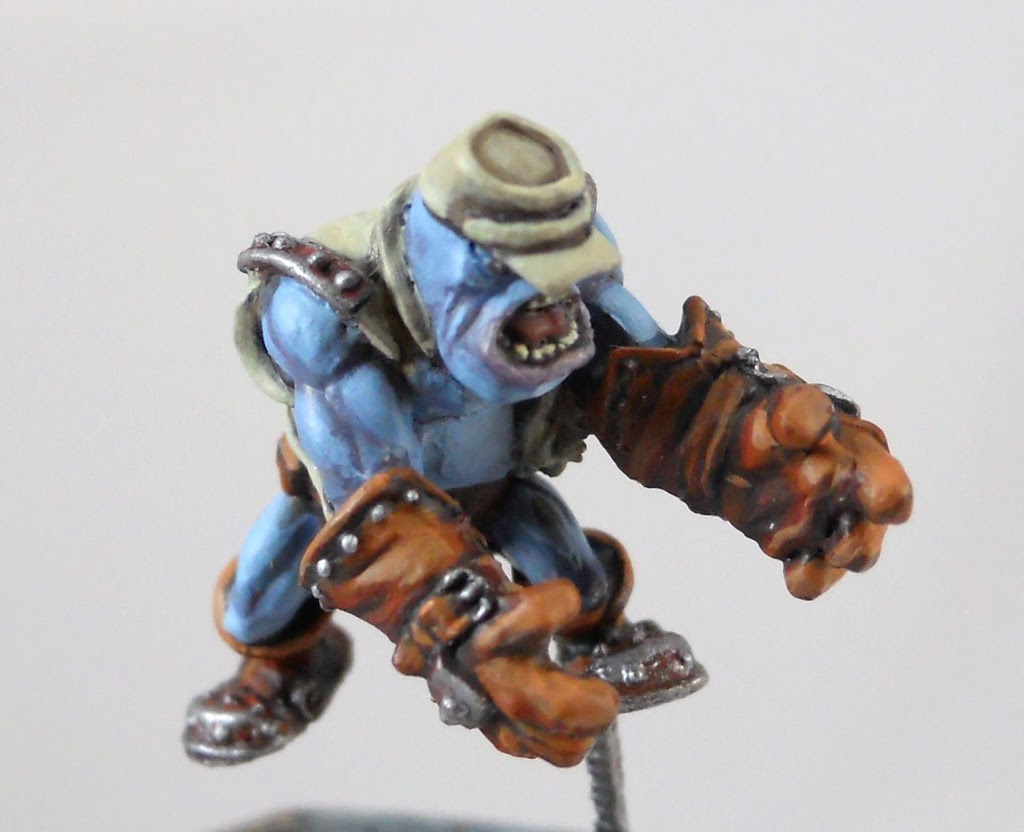
And here are some close ups of the crew before the War Wagon was assembled.
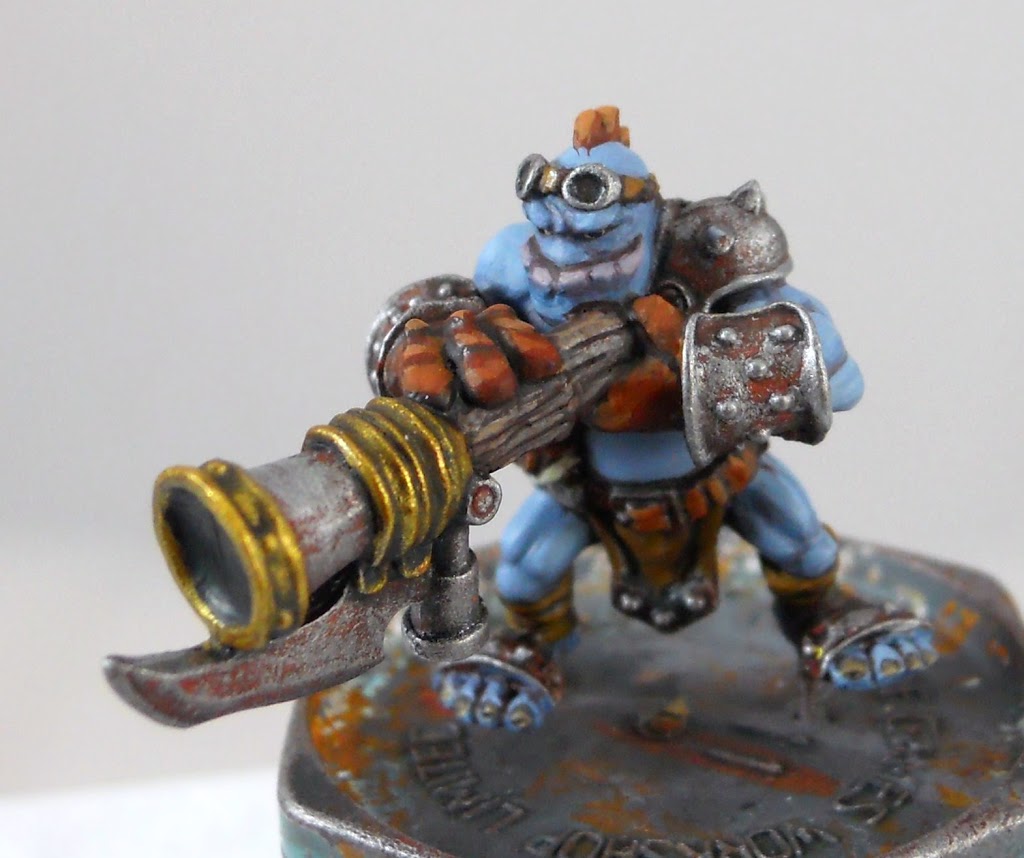
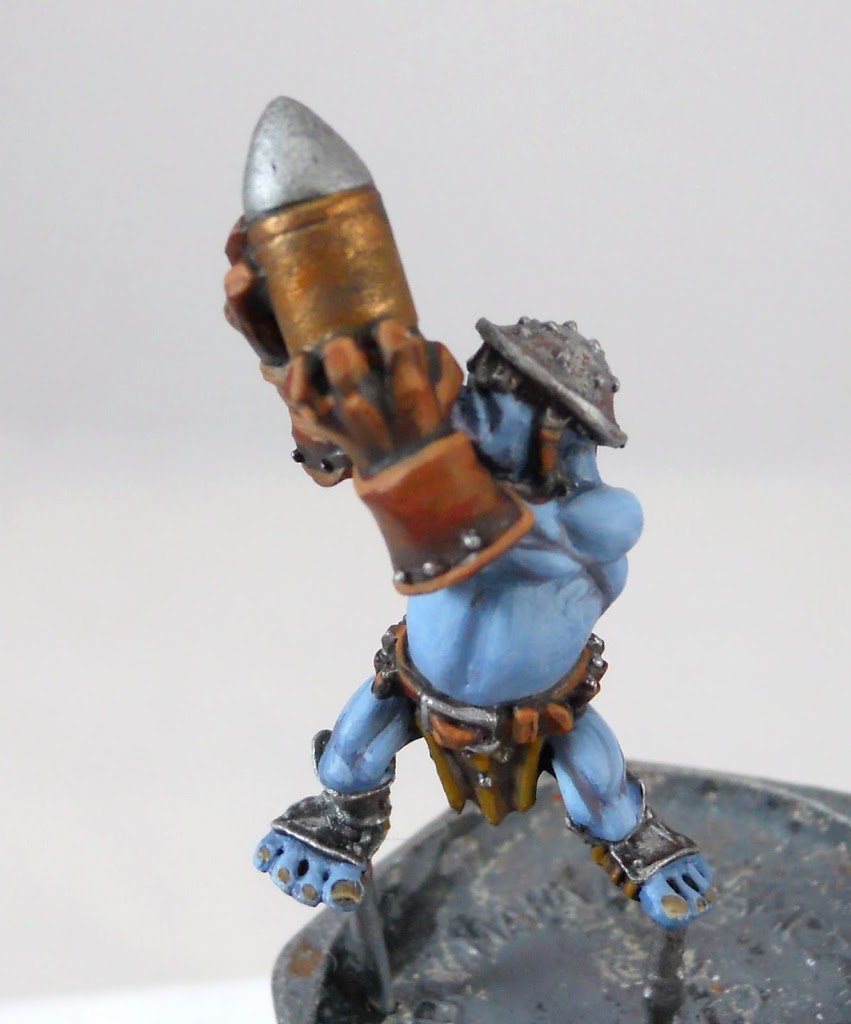
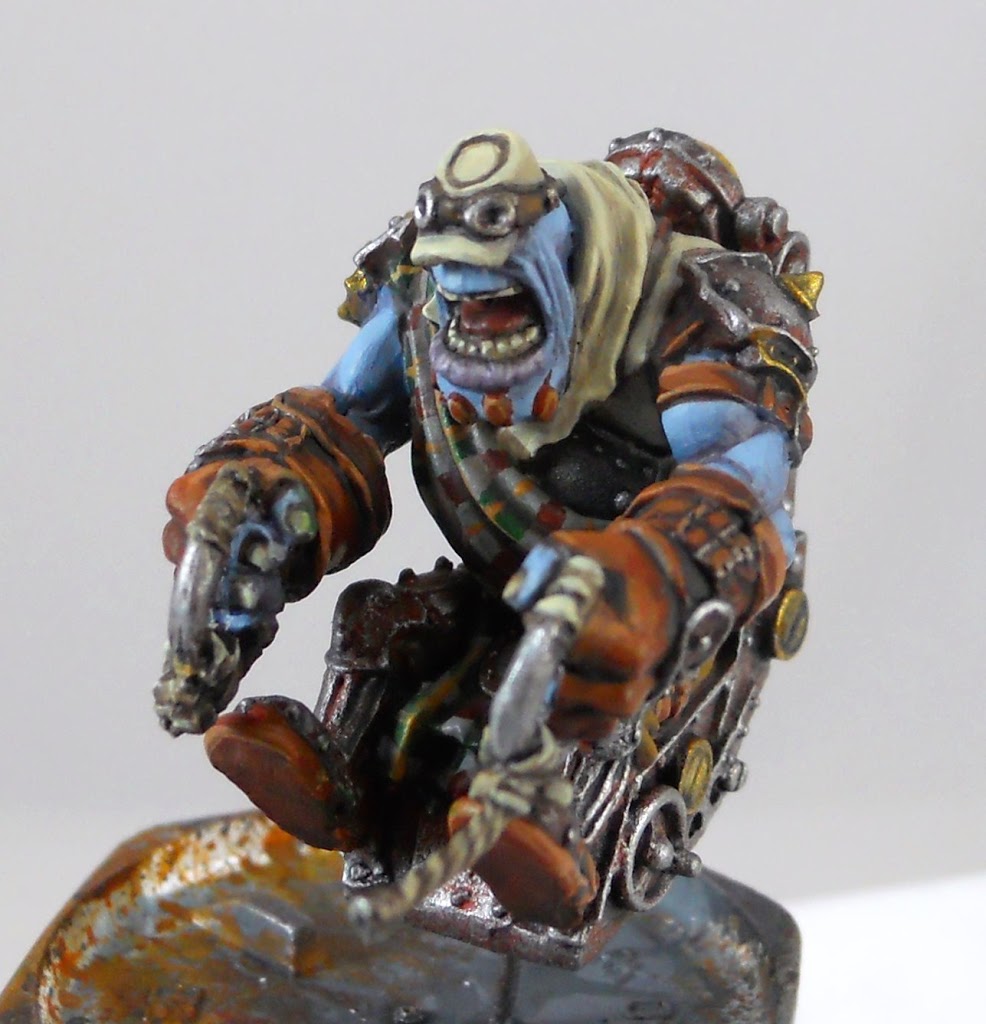
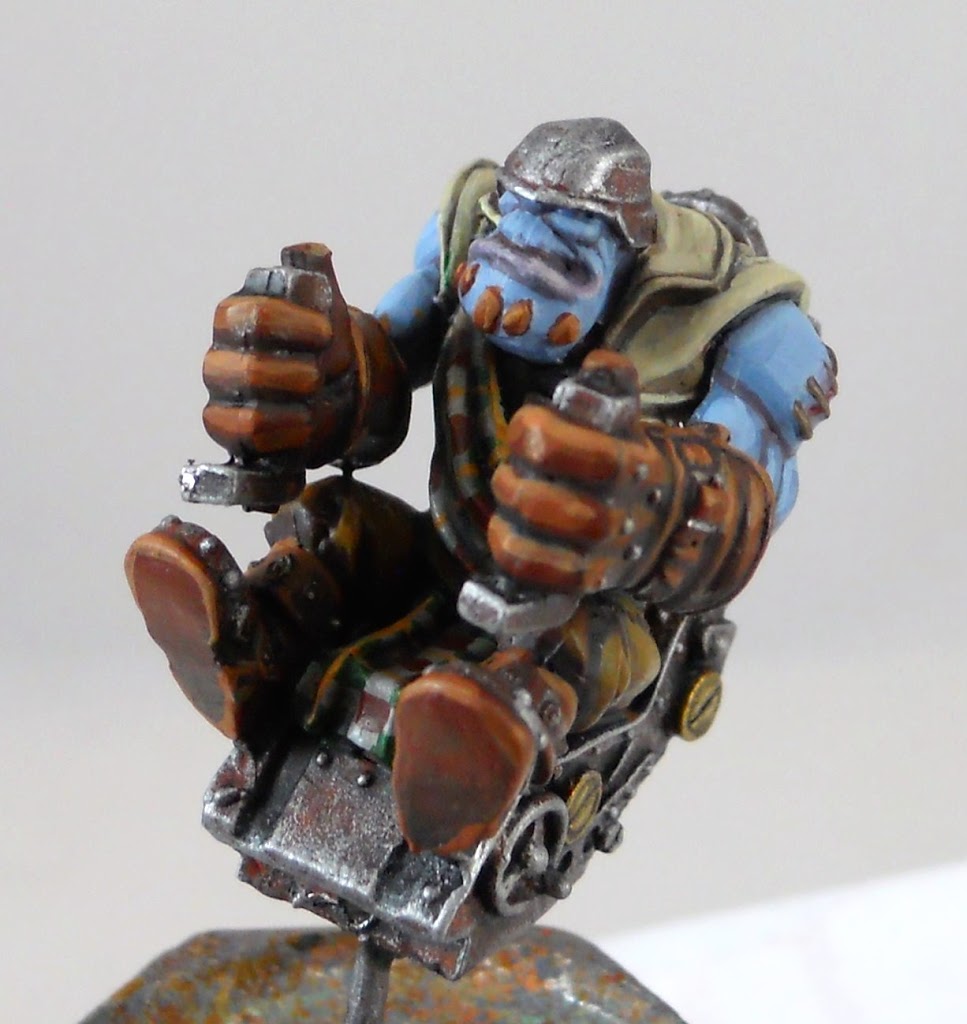 ~ It was a lengthy project but I’m stoked to have it ready for a game. Does anyone have any War Wagon experience under the belt to share yet?

