HOBBY: Magnetizing Demolisher / Devastator / Spriggan
7 Minute Read
Nov 13 2012

Advertisement
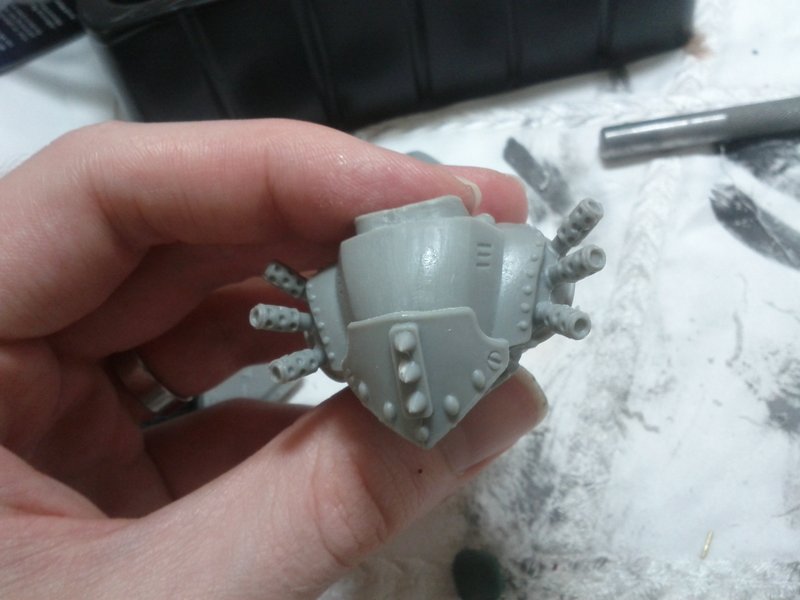
Thinking about getting a Devastator / Demolisher / Spriggan plastic kit? Can’t decide which one to build? I’ll show you how to magnetize it to switch between all three.
Difficulty:
Easy (Devastator / Demolisher only) to Moderate (Devastator / Demolisher / Spriggan). If you don’t already own a Spriggan, you want to take the time to build one… you’ll thank me later.
Materials Needed:
3/32″ x 1/16″ rare earth magnets. 9 magnets for Devastator / Demolisher only, a total of at least 21 to add Spriggan.
1/16″ and 1/32″ brass rod
Pin Vise with appropriate drill bits (3/32″, 1/16″, 1/32″)
Hobby knife
Clippers
Superglue (preferably of the slow-drying variety)
Greenstuff (to fix drilling mistakes)
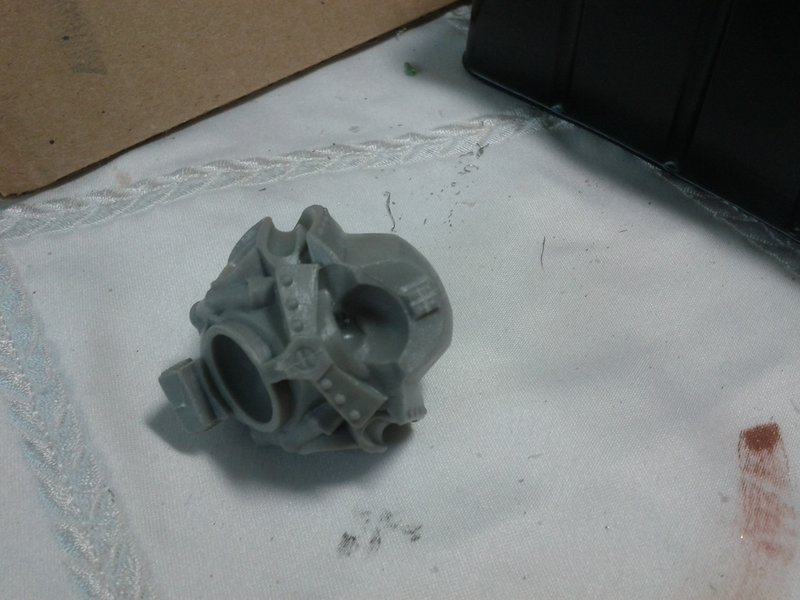
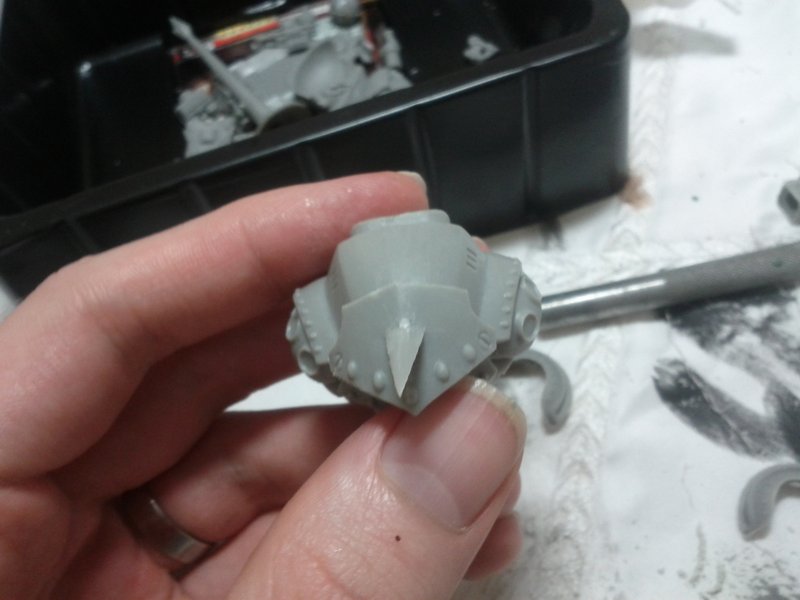
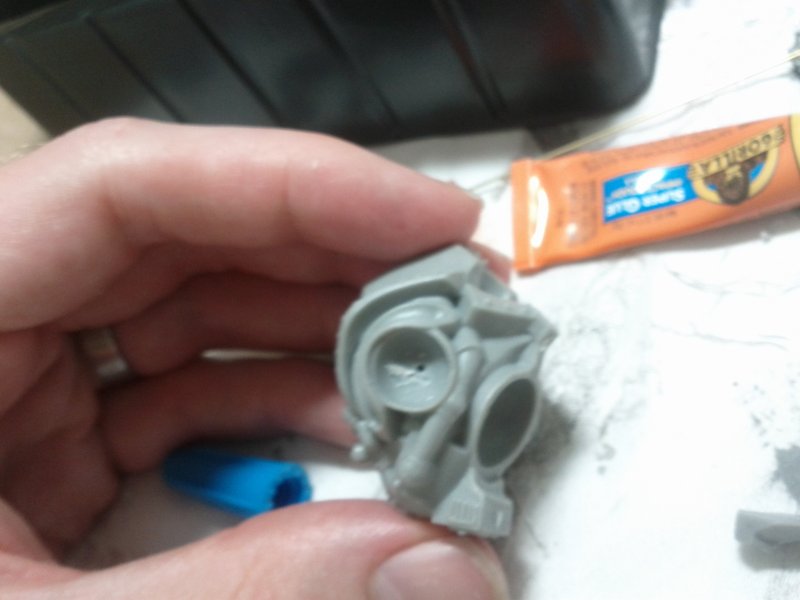
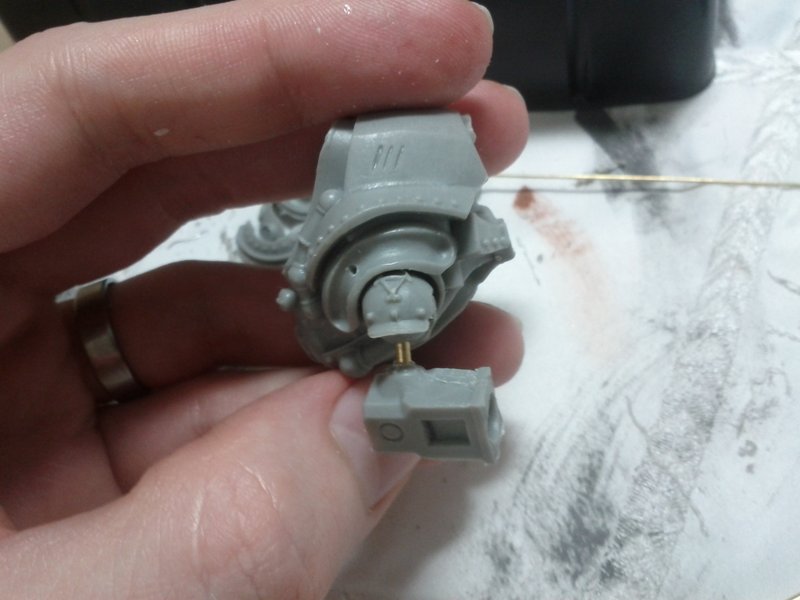
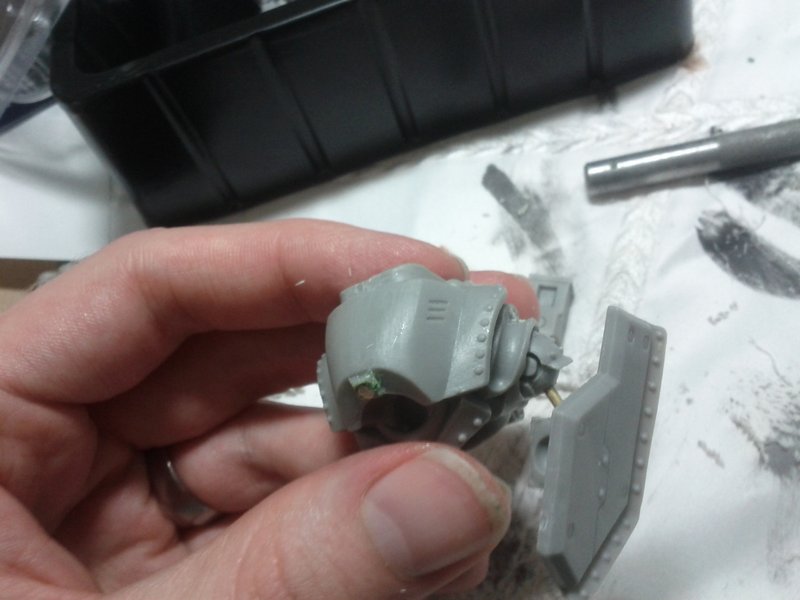
Before drilling a hole, use the hobby knife to mark a cross pattern on the part you’re working on (here, the body of the jack where the helmet attaches).
Use a smaller bit to drill a pilot hole…
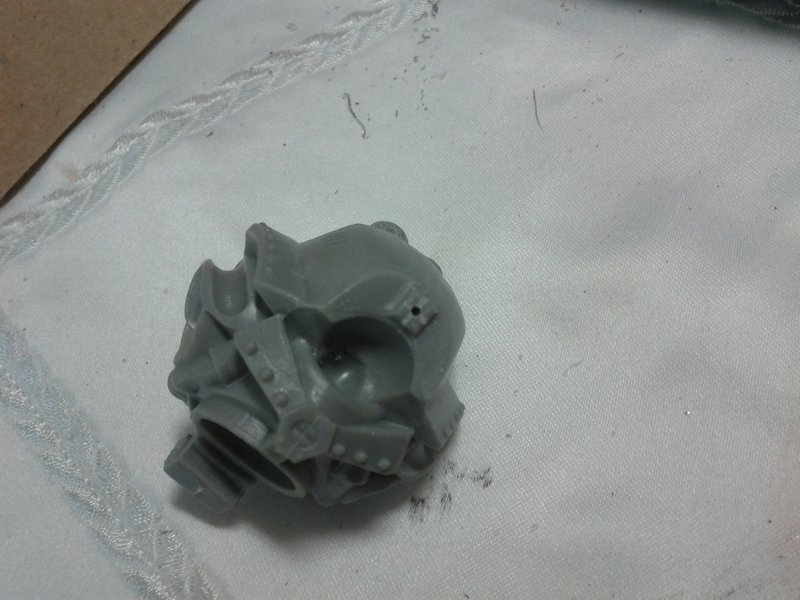
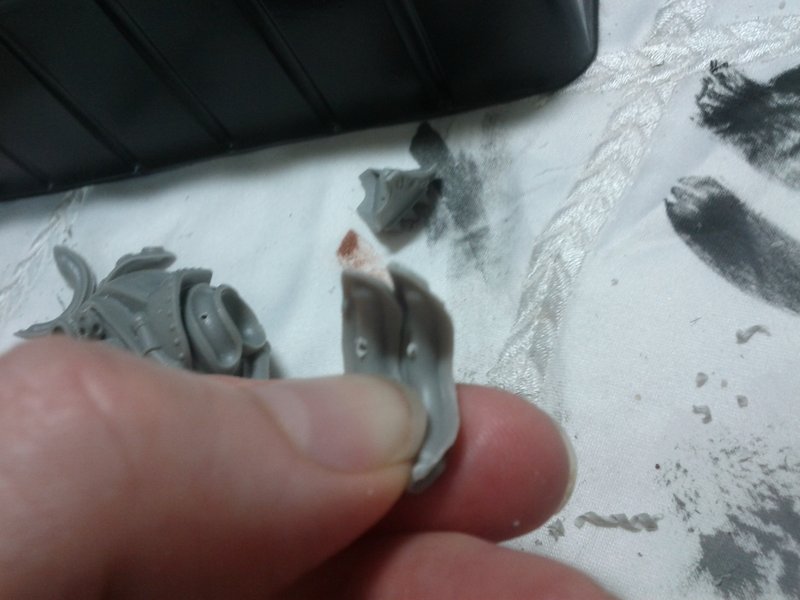
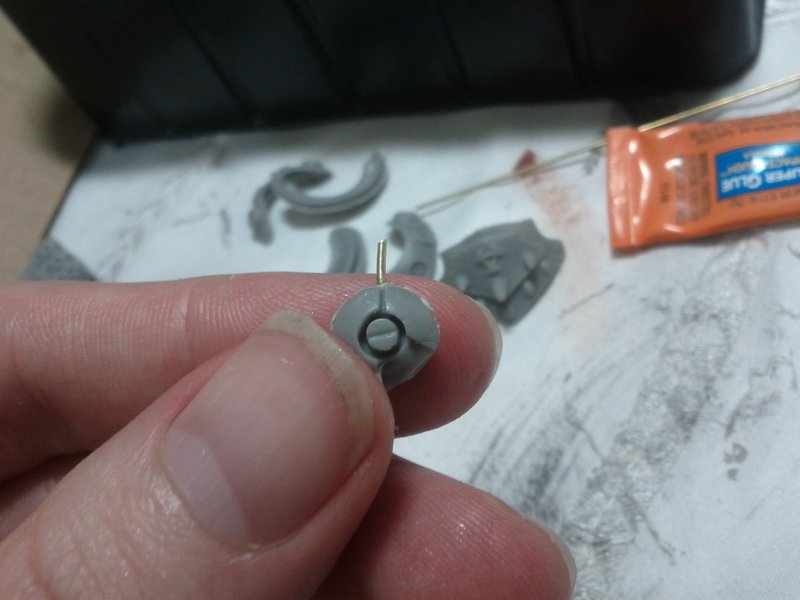
…then widen it using the final bit size. The part here is the helmet; there’s not much material there, so go slowly and check frequently. You can tell if you’re close to breaking through the surface by holding the part up to a bright light and seeing how much light leaks through. If you accidentally drill through, that’s what the greenstuff is for.
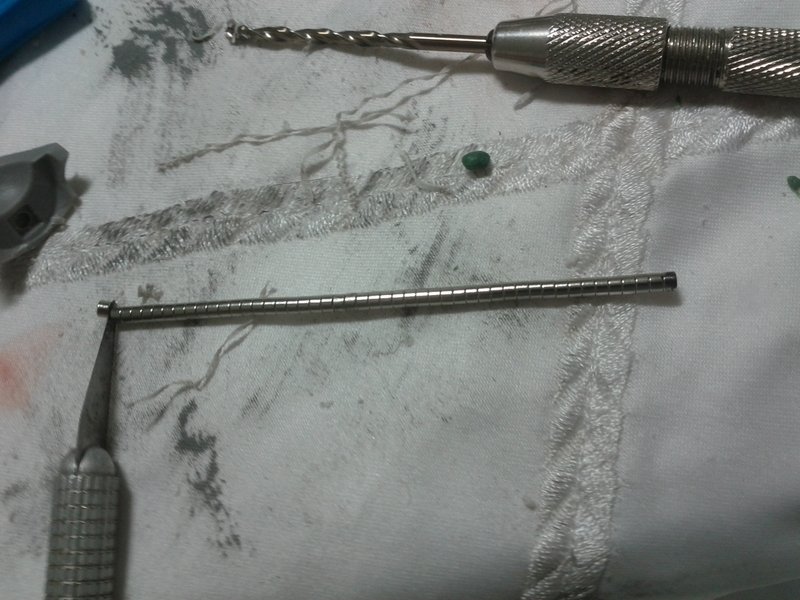
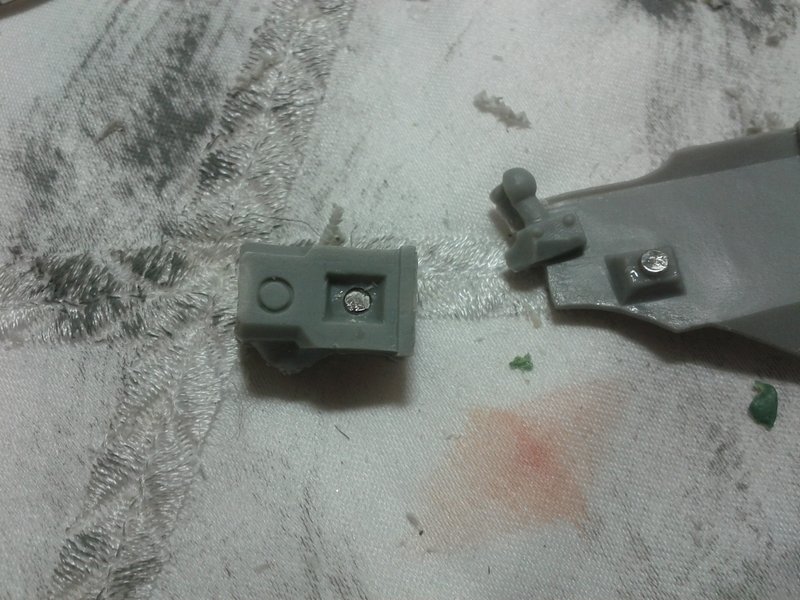
The easiest thing to screw up when magnetizing kits is getting the polarity of the magnets wrong. Before you do anything else, take all your magnets, put them in a straight line, and mark one end of the line with a permanent marker so you have a consistent point of reference. The first magnet you install can be in any orientation, but after that you need to make sure matching parts have the correct polarity. When you need another magnet, use the blunt edge of your hobby knife to separate one off of the stack. Hold the knife side near the existing part that already has a magnet (e.g. the warjack body); if you have the polarity correct, the knife will be attracted.
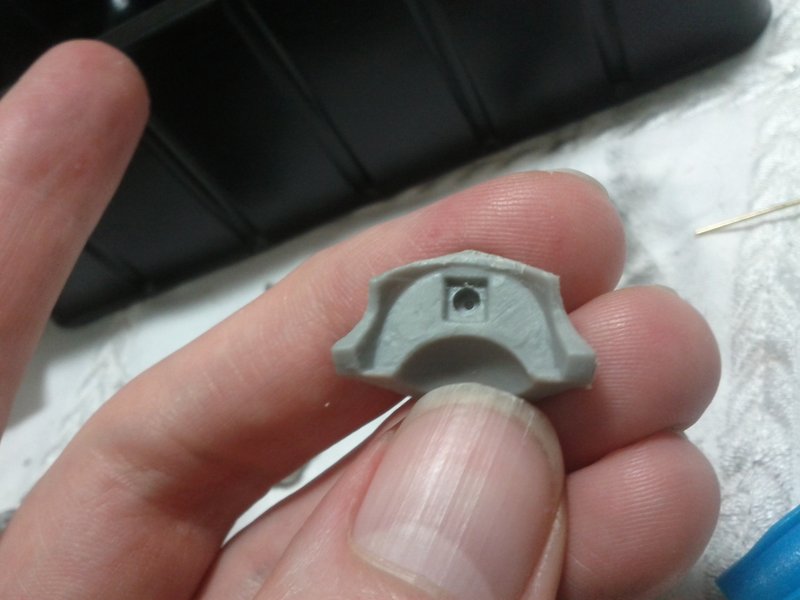
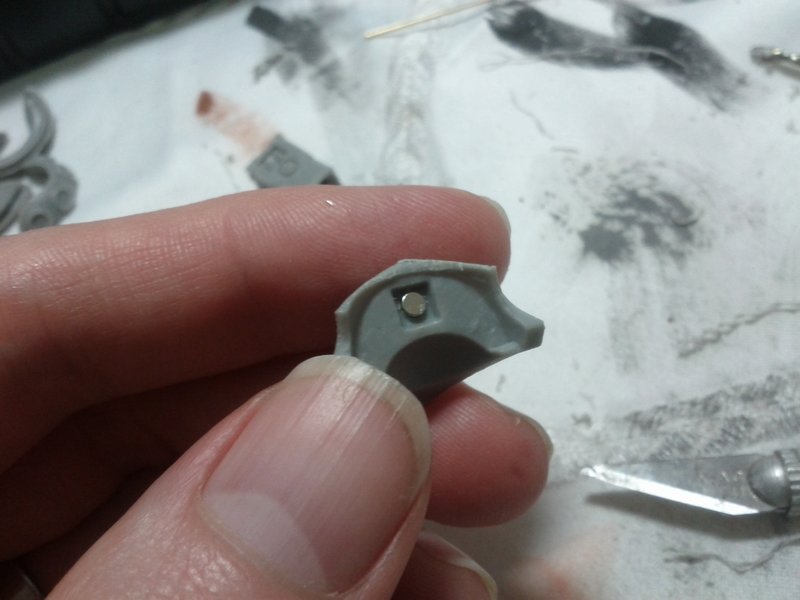
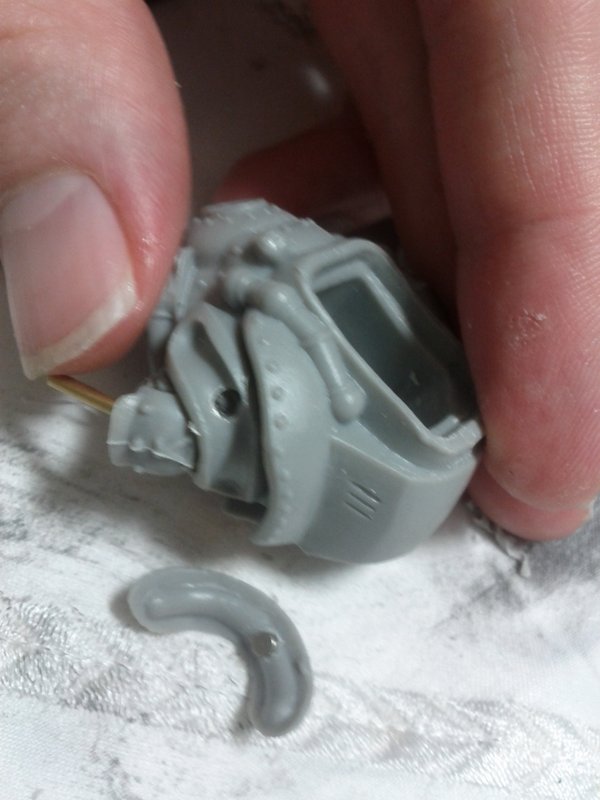
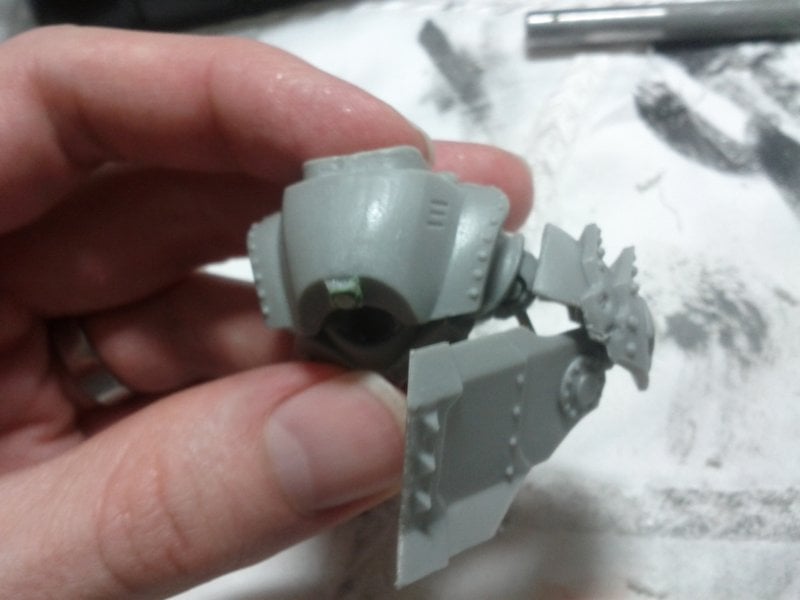
Once you’ve checked the polarity, you can pull the knife away from the existing part with the new magnet still attached. Put a drop of superglue in the socket of the new part, and use the knife to push the magnet in. Scrape the knife sideways to detach it. You want to get the magnet as flush as possible; for the helmet pieces, the pic shown above may be as deep as you can safely get it, which should still work fine. Repeat this for as many of the helmets as you’re planning on using.
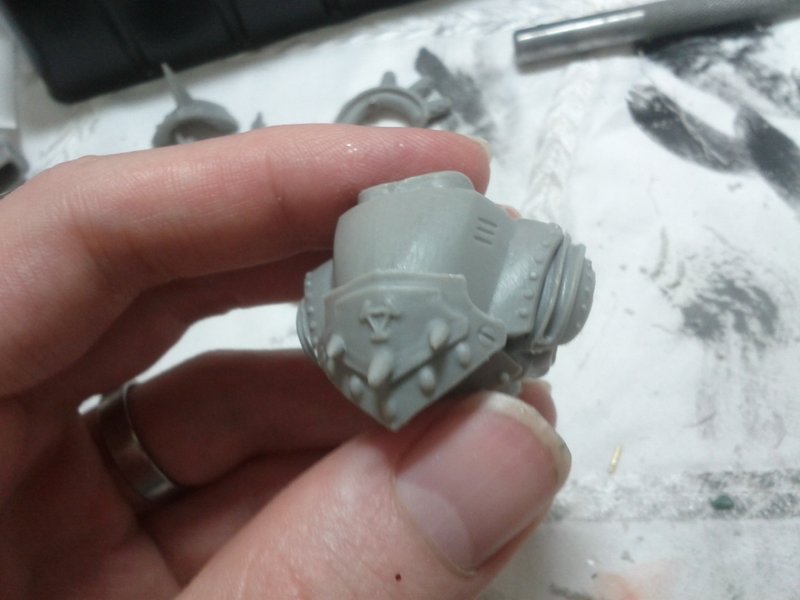
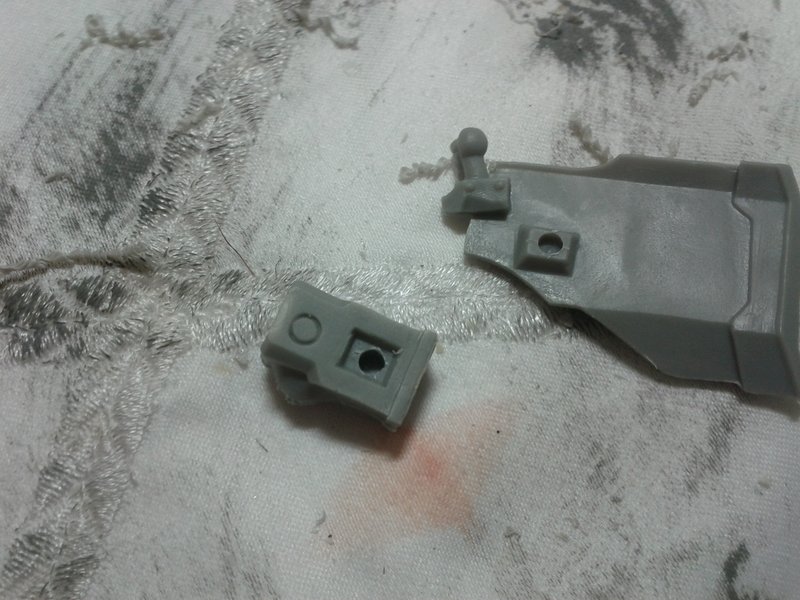
Moving on to the shoulder mounts, find the demolisher shoulder (the one with the rail) and hold it in place. Using your smaller pilot bit, drill through the middle of the rail slot, down into the body of the jack.
This should give you a nice pilot hole in the shoulder piece…
… and a pilot hole in the body, in the correct place.
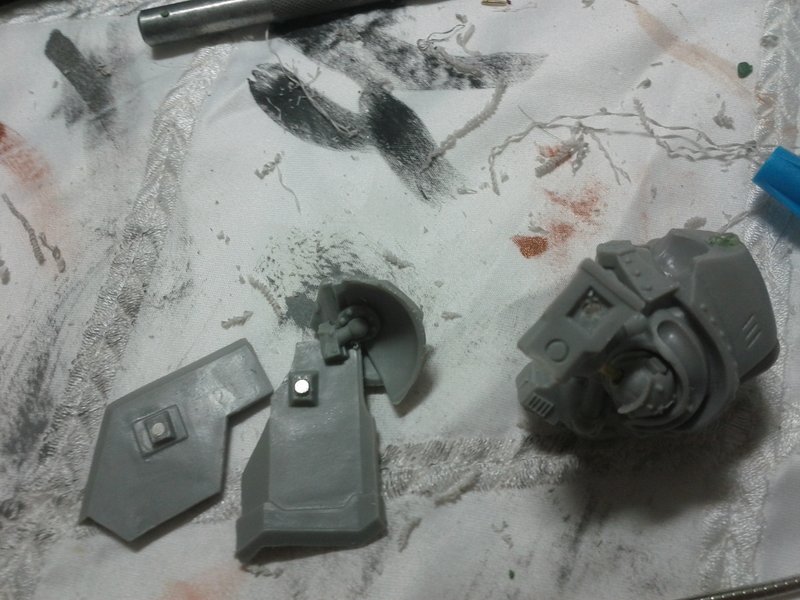
After that, you can visually line up the remaining shoulder pieces on that side to locate the pilot holes.
Drill out the pilot holes to full size, and glue in the magnets. Like the helmets, there’s not much material to work with, so if magnets aren’t flush, that’s fine. Sink the magnet in the body a little deeper to compensate. Repeat for the other shoulder of the jack.
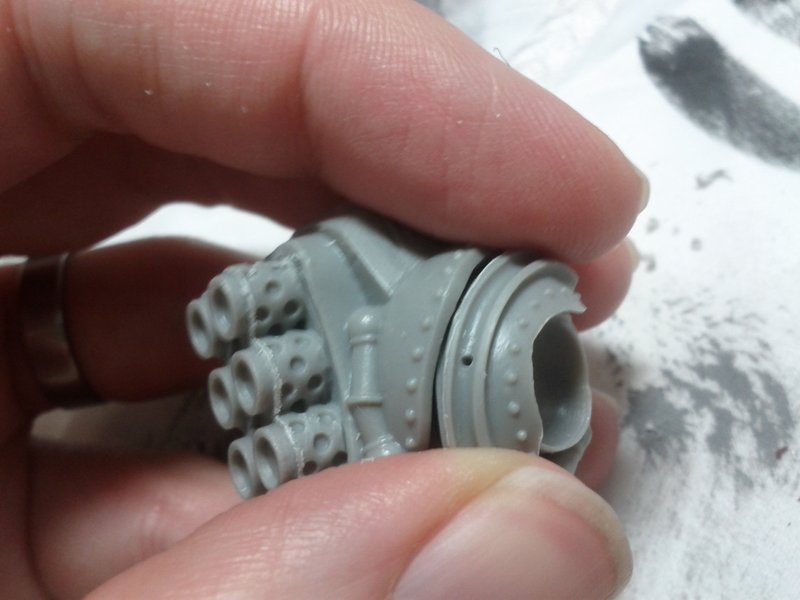
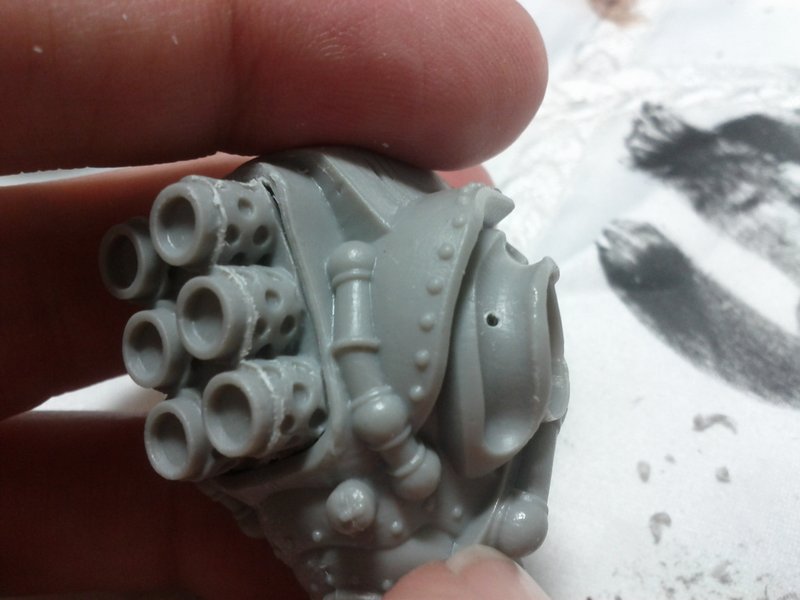
Check the fit of the helmet and shoulder mounts for each of the jacks you’re building.
If you’re just doing the Devastator / Demolisher, you’re done magnetizing. Build the remainder of the kit as you wish. Technically speaking you should magnetize the head in order for it to be tournament-legal, but given that it’s fully hidden underneath the helmet, the chances of running into “that guy” who complains about a Spriggan head with Devastator arms are minimal. I just picked one and glued it in place.
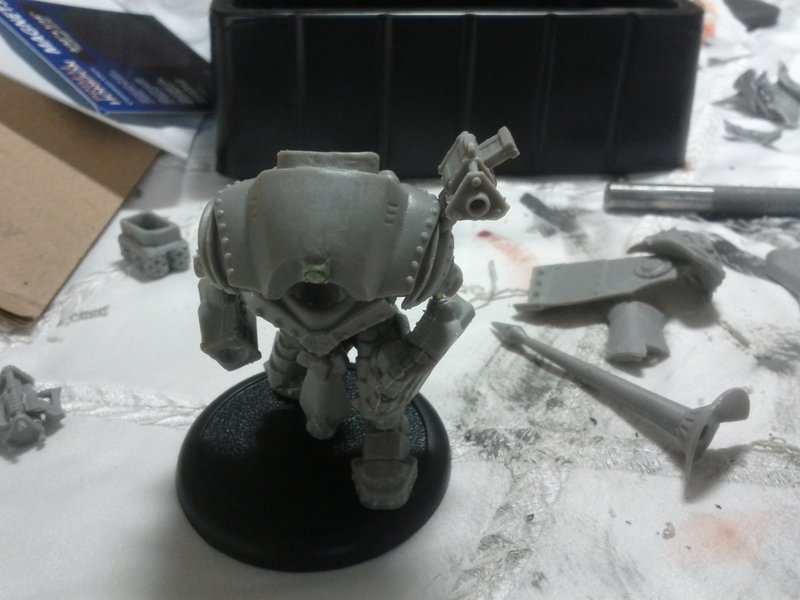
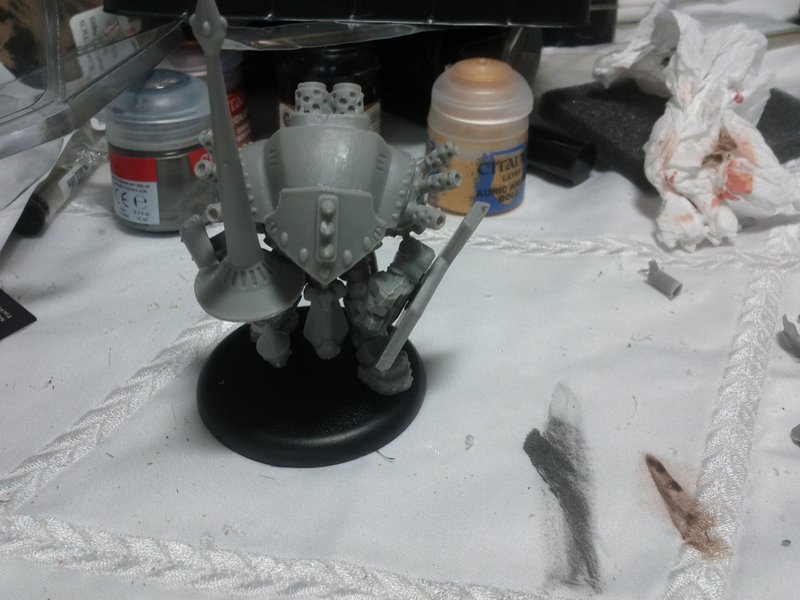
If you’re doing the Spriggan as well, the main challenges are the tiny plastic upper arm extension, and the fact that in spear-down position the shoulder on the Spriggan is rotated completely differently. We’re going to solve the first problem by replacing the extension with a brass rod, and the second problem by cheating and assembling it in a spear-up “at ease” position.
Drill a 1/32″ hole in the middle of the shoulder socket.
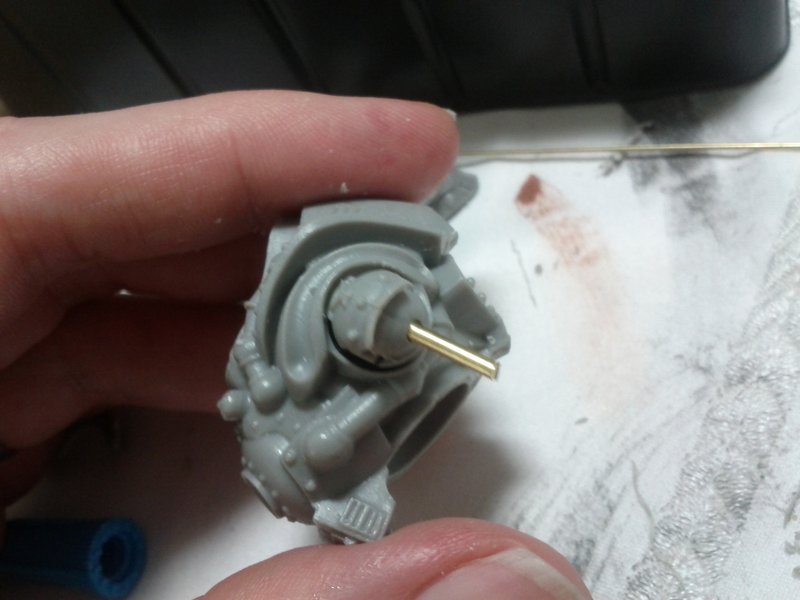
Drill and pin a 1/32″ rod in the ball of the shoulder. There’s a nice groove you can use to locate the bit. Leave the rod long, at least 1/4″ or more. Glue the pin into the shoulder ball, but do NOT glue it into the shoulder socket at this point.
Drill and pin a 1/16″ rod into the upper arm socket. Leave the rod long, at least 1/2″ or so. Glue the 1/16″ rod into the shoulder ball.
Clip off the tiny plastic pin from the forearm, then drill a 1/16″ hole in the forearm. Drill all the way through into the forearm cavity. This way you can adjust the forearm for distance in and out along the rod, as well as rotation. Do NOT glue the forearm at this point. Repeat for the other side of the jack. At this point it’s safe to assemble the legs / pelvis / base, but do not glue the body to the pelvis (pinning it will make it easy to dry-fit and adjust).
Now you’re ready to magnetize the shields and hands. Pull the forearm off the rod, drill pilot holes in the forearm socket, drill out to final magnet size. Ditto for the shield.
Install the magnets in the forearm and shield, check fit.
Repeat for the Spriggan shield. It’s safe to glue on the shoulder armor to the Devastator / Demolisher shield at this point.
Test fit in Spriggan configuration…
… as well as Devastator / Demolisher. You can get an idea of rotation / distance of the forearm at this point, but do NOT glue it yet. Repeat these steps for the other side of the jack. The right side spear hand and empty fist should be magnetized at the wrist. Do NOT glue the spear to the pole yet. It’s your choice whether to magnetize the left wrist; there aren’t any alternate parts for it currently, but there’s always a chance Privateer will put out a character clamjack upgrade kit.
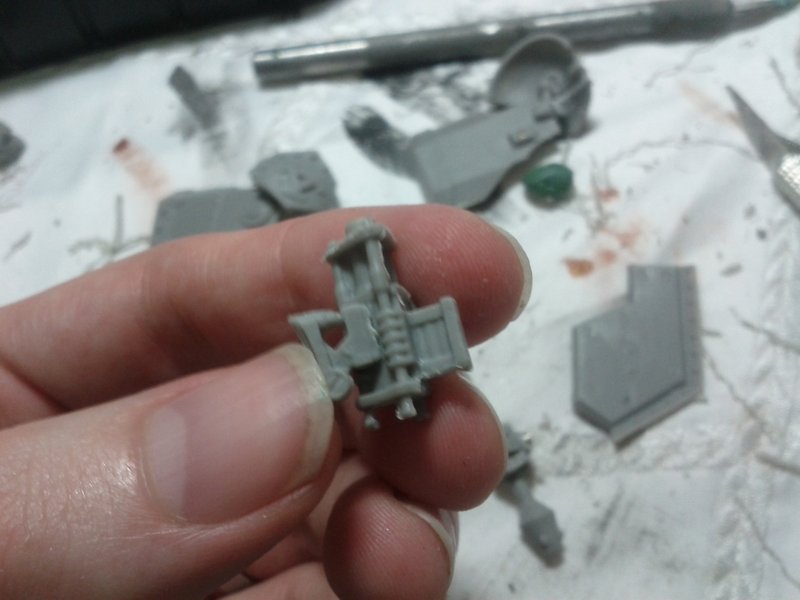
Before gluing things into their final configuration, you need to glue the demolisher cannons to their rails, since they’re the part most likely to interfere with the upper shoulder armor. Glue the rail mount to the cannon first.
Then glue the rail mount to the rail.
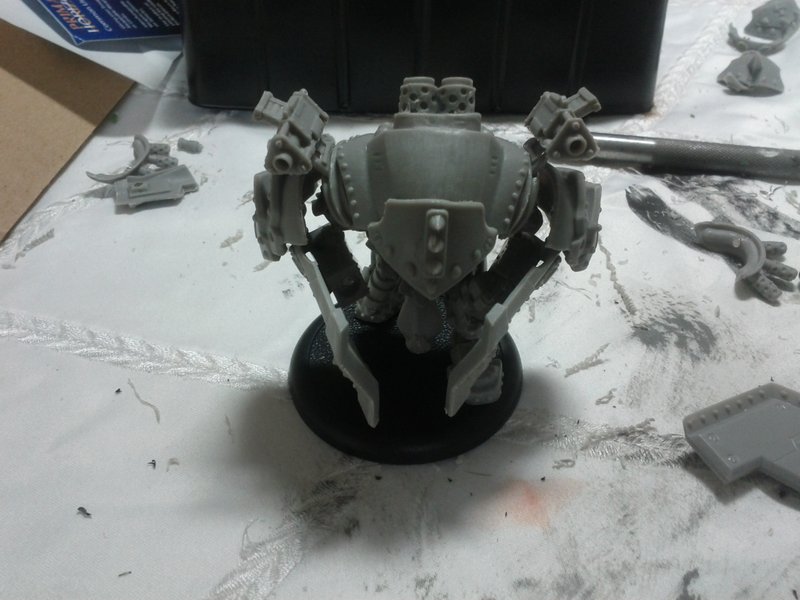
Check clearances and adjust forearm / shoulder rotation until you’re happy with it in Demolisher configuration. Devastator is so similar, just without the cannons, that you don’t need to worry about it much.
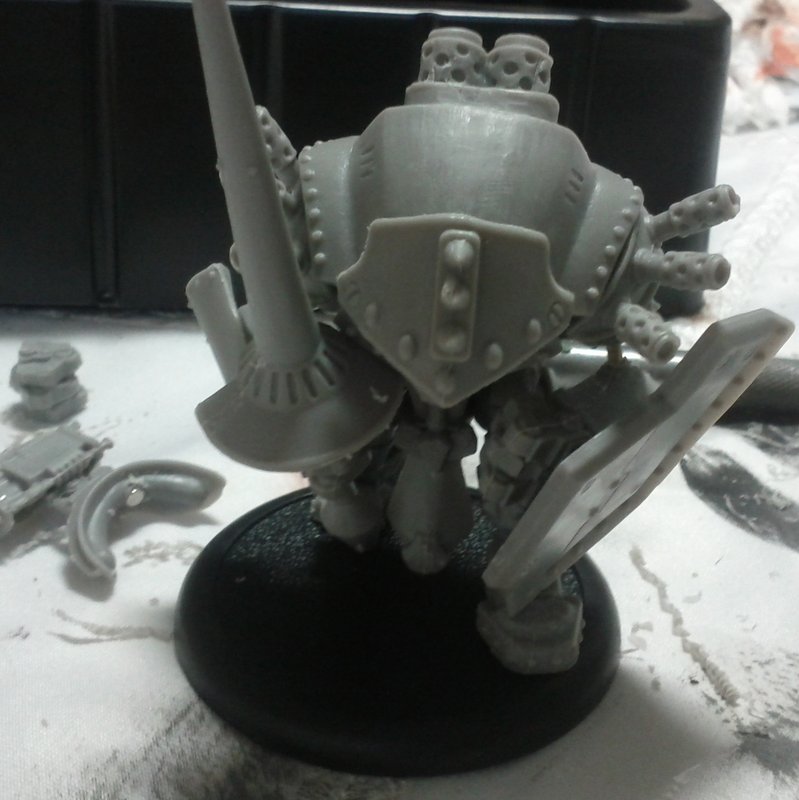
Check in Spriggan configuration as well. I trimmed about 1/8″ off of the spear pole to help get the spear tucked up under the grenade mounts. Once you’re happy with the position of everything in both configurations, use a marker to mark the height / rotation of the forearms and shoulder, pull them out, and glue everything back in place.
Honestly the shoulder and forearm pins are strong enough that you could probably get away with not gluing them and just relying on friction. You might even be able to get a spear-down position Spriggan that way.
Hope that helps… now go bulldoze your way to victory!
Author: Larry Vela
Advertisement

