The Airbrush Assembly Line- Painting Made Easy

Hobbying is what I like to call “an enjoyable chore”. While I hate all the work that goes into prepping, base-coating, and painting my models, nothing beats the sense of satisfaction of seeing a good looking project completed from beginning to end.
I really do enjoy the actual act of painting itself, as it’s very calming to me. Plus if there is a great music playlist or a tv show playing in the background, it helps the hobby session fly by!
Recently I completed my Chaos Daemon army- probably just in time to see it nerfed, but c’est la vie I suppose. I had been working on it since early August, and I just had to fit the hobby sessions in where I could.
What would take someone like Kenny from Next Level Painting a week to paint, takes someone like me, that treats it as hobby, sometimes months or more.
 A great time saving technique when you are airbrushing is to use a “jig” to help hold the pieces you’ll be working on.
For painting these bases I used packing tape stuck together in loops to hold the Chaos Bases for my Daemon army firm to an old shipping box I had received. This way I could hold them easy, and paint them en masse.
The first trick to airbrushing is don’t aerosol primer models you’ll be airbrushing very heavy at all- you just need a dusting of paint for the airbrush paint to stick to, nothing thick or through is needed. The real prime job can be done with either black, white or grey from the airbrush itself.
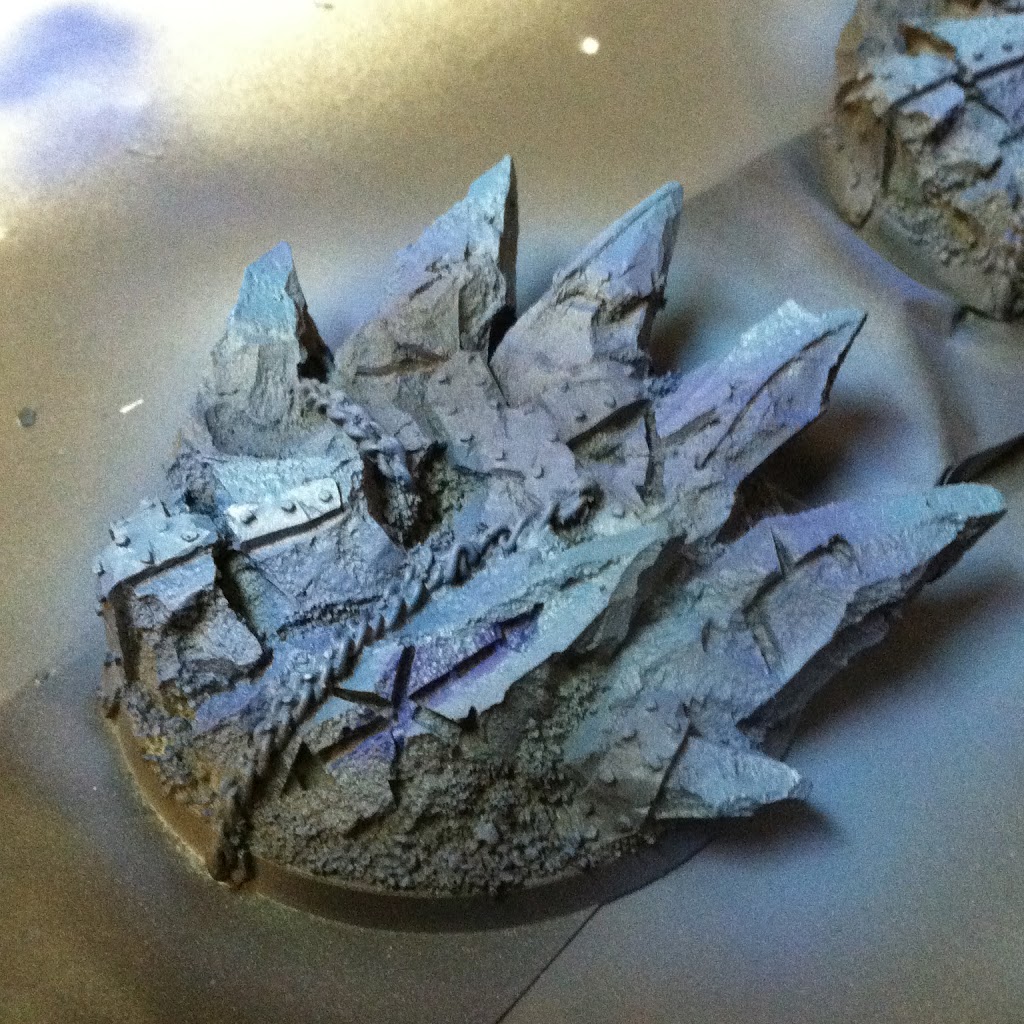
For this project I think it’s better to use black undercoat to keep the bases relatively dark compared to the almost cartoony brightness of the Daemons themselves.
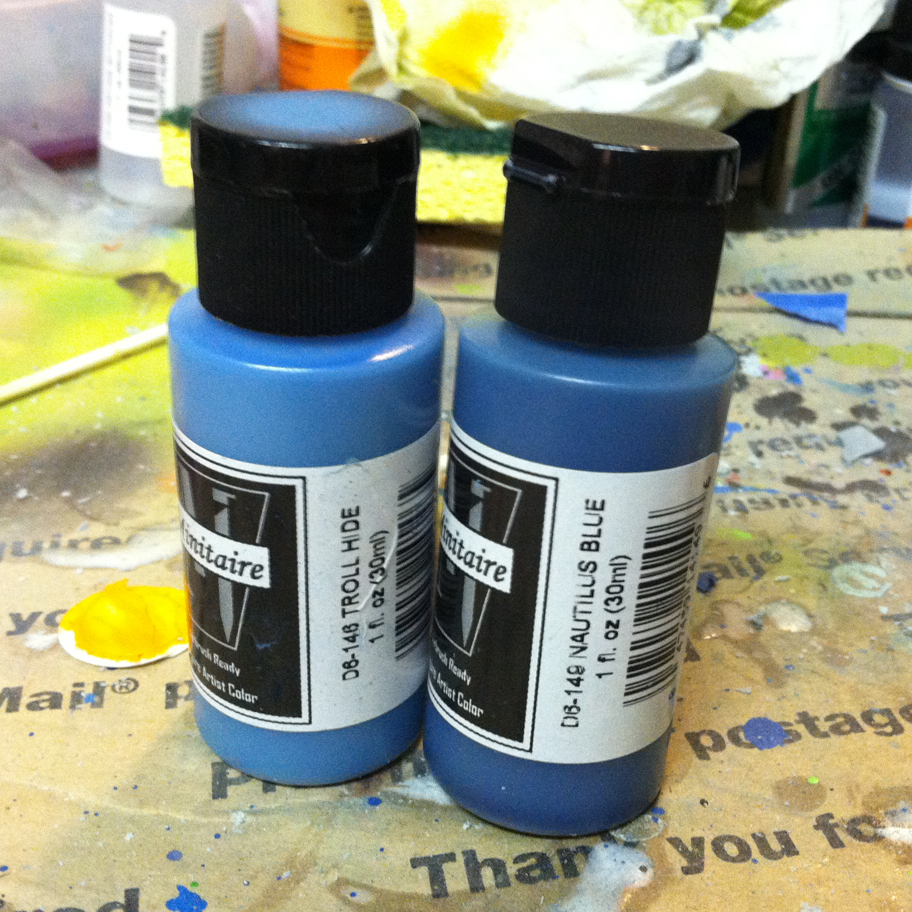
I wanted the bases to be a blueish grey, so selected some of the new airbrushing Minitaire Paint we’ve talked about earlier (Nautilus Blue, and Troll Hide) to use that I thought would produce a nice complementary color to each other, and the models themselves.
From there use white to highlight the areas that would be brighter, so that the blue greys would not get drowned out by the black undercoat.
So first step is to carefully spray the tops of the chaos stars white, or any other place that would naturally receive a highlight.
For this step just blast paint at about 40psi to get nice quick basecoat of white down. You can pull the airbrush needle slightly back to get a wider spray pattern to help cover the larger surface areas of the bases.
When it comes to the actually blending of the blues turn down the pressure to around 20psi to get a better fade (and push the needle back fully forward to get back the smaller spray stream).
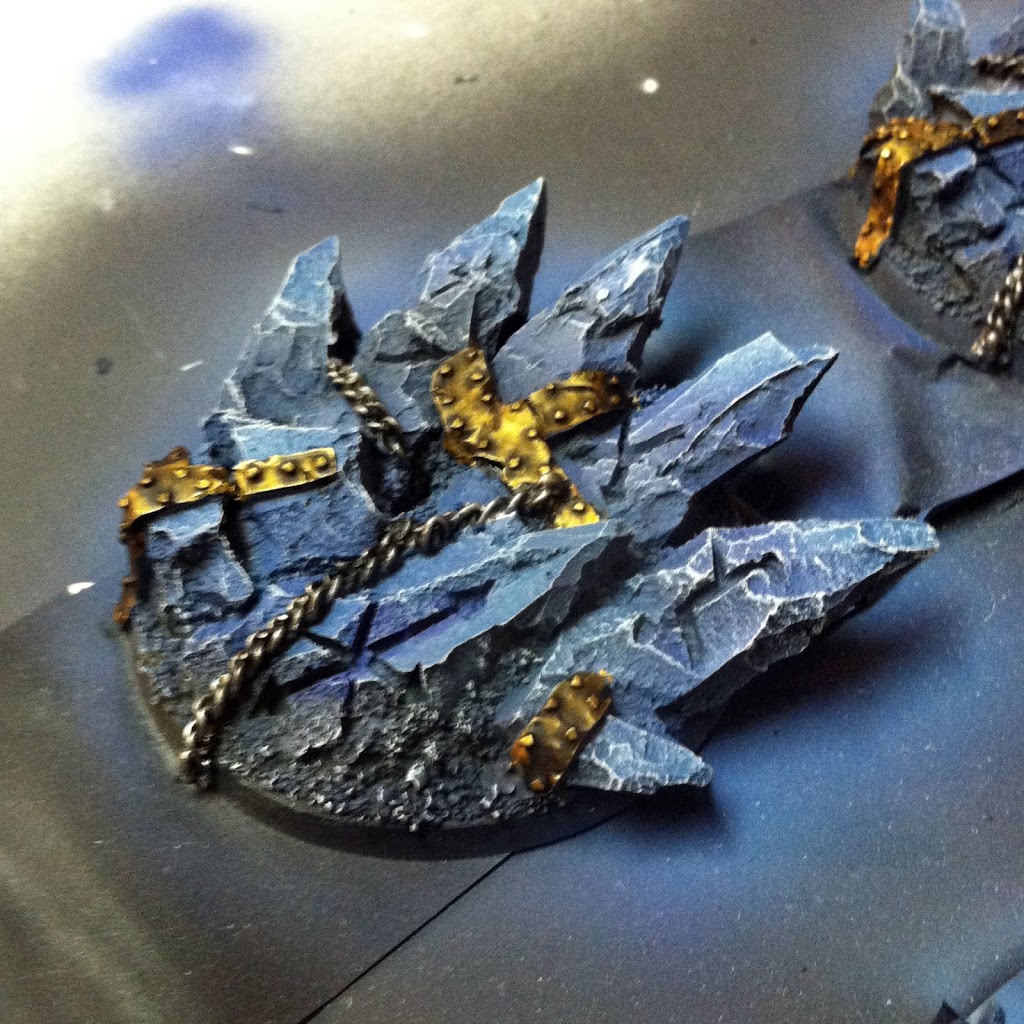
Next up is the first basecoat, which was Nautilus blue. Just applied it all over, as it “shaded” the black areas, and looked normal on the areas that were painted white.
This set up the next color of highlights, as now you can see where the blue grey would need to be lighter.
Some of the deeper recesses would stay black regardless because the spray just couldn’t reach down to them- it’s not a wash after all!
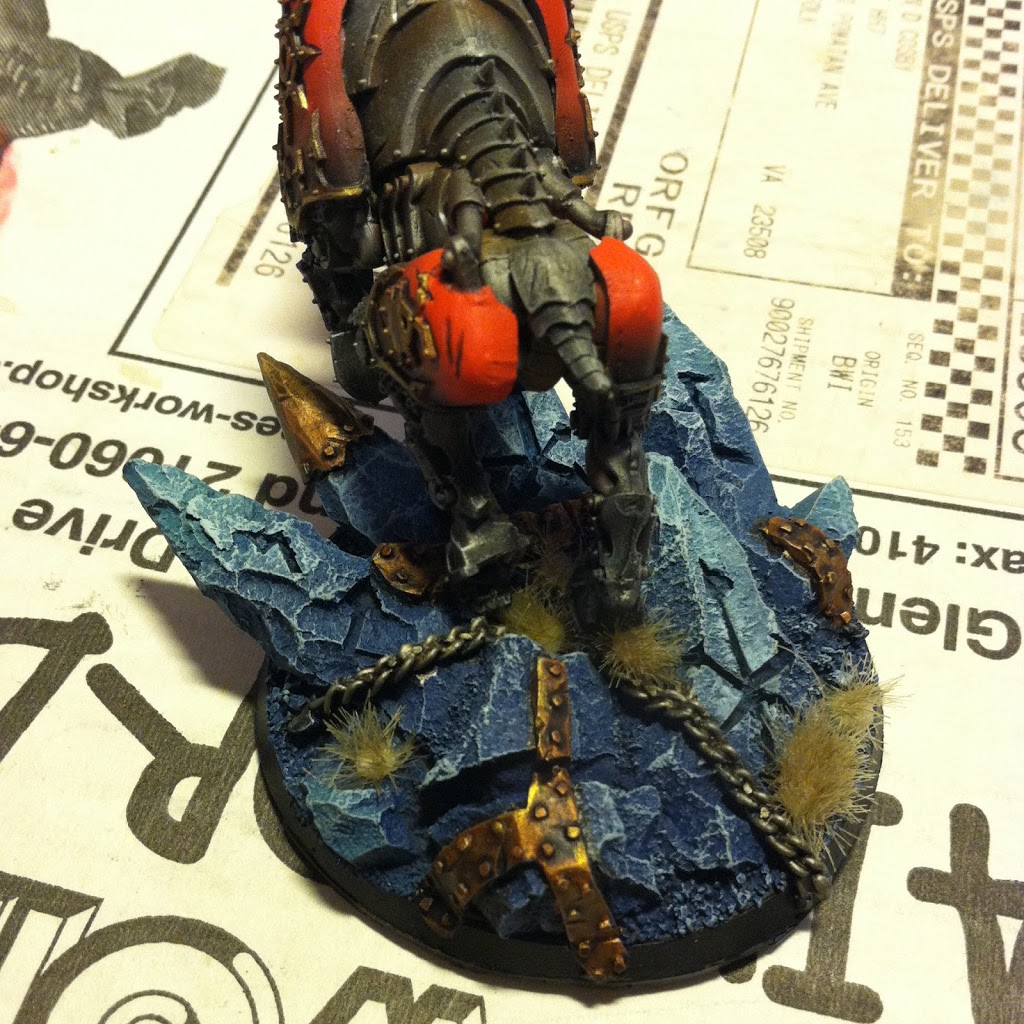
From there I used Troll Hide to highlight the work I just did with Nautilus blue, again at about 20psi being careful to blend in the right direction and minimize overspray.


