Brent Cheats at Painting; a Pictorial

Sadly, sometimes I spend more time trying to work out a good title for a Terrible Tuesday article than I do coming up with the idea for one.
Sadly, sometimes that’s probably pretty obvious.
Let’s just assume you’re here and at least interested enough to scroll to the bottom. Already we’re doing better than last week, when Monday rolled around and Google had shut down Bell of Lost Souls because Games Workshop was worried about what I had to say the next day.
Or you can believe the completely fabricated ‘company line’ Big Red is selling you.
Moving on.
This article is a pictorial, meaning picture-intensive and word-lacking, or basically the opposite of my normal approach.
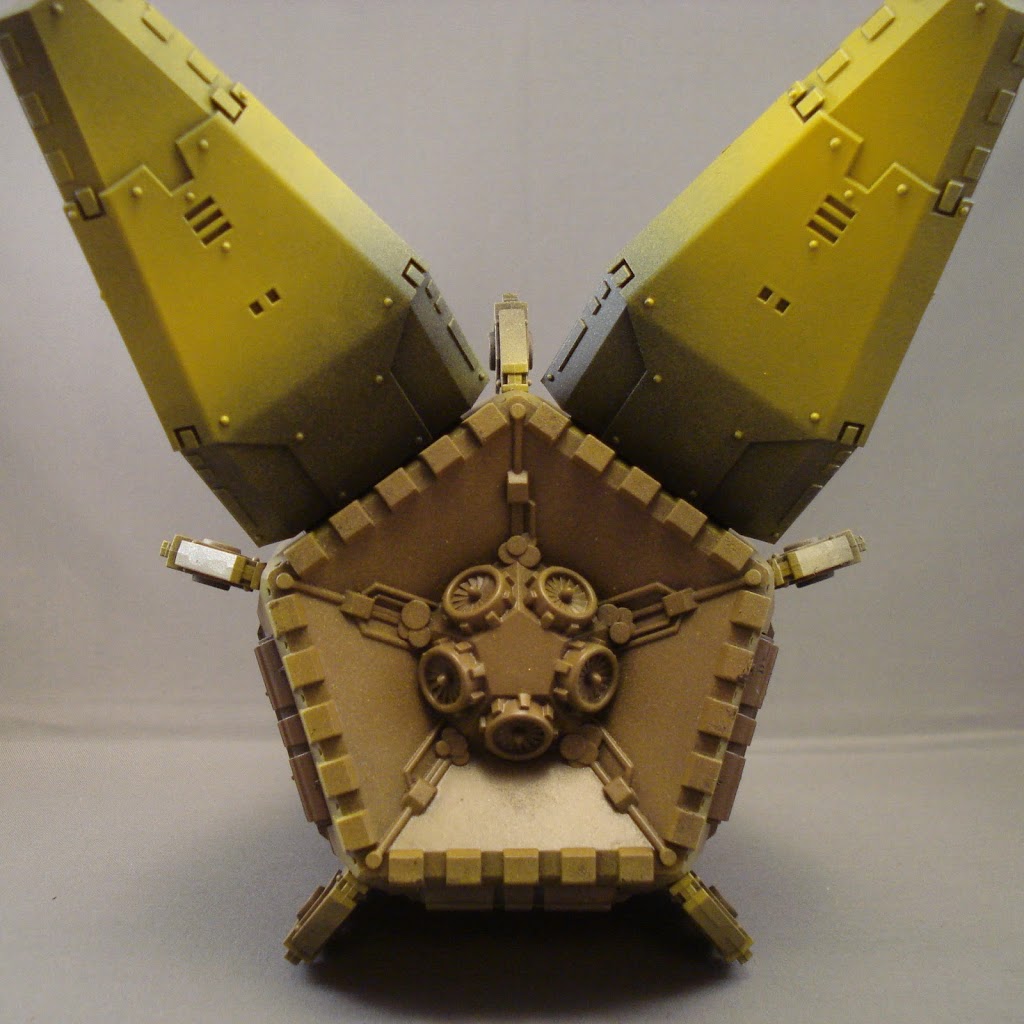
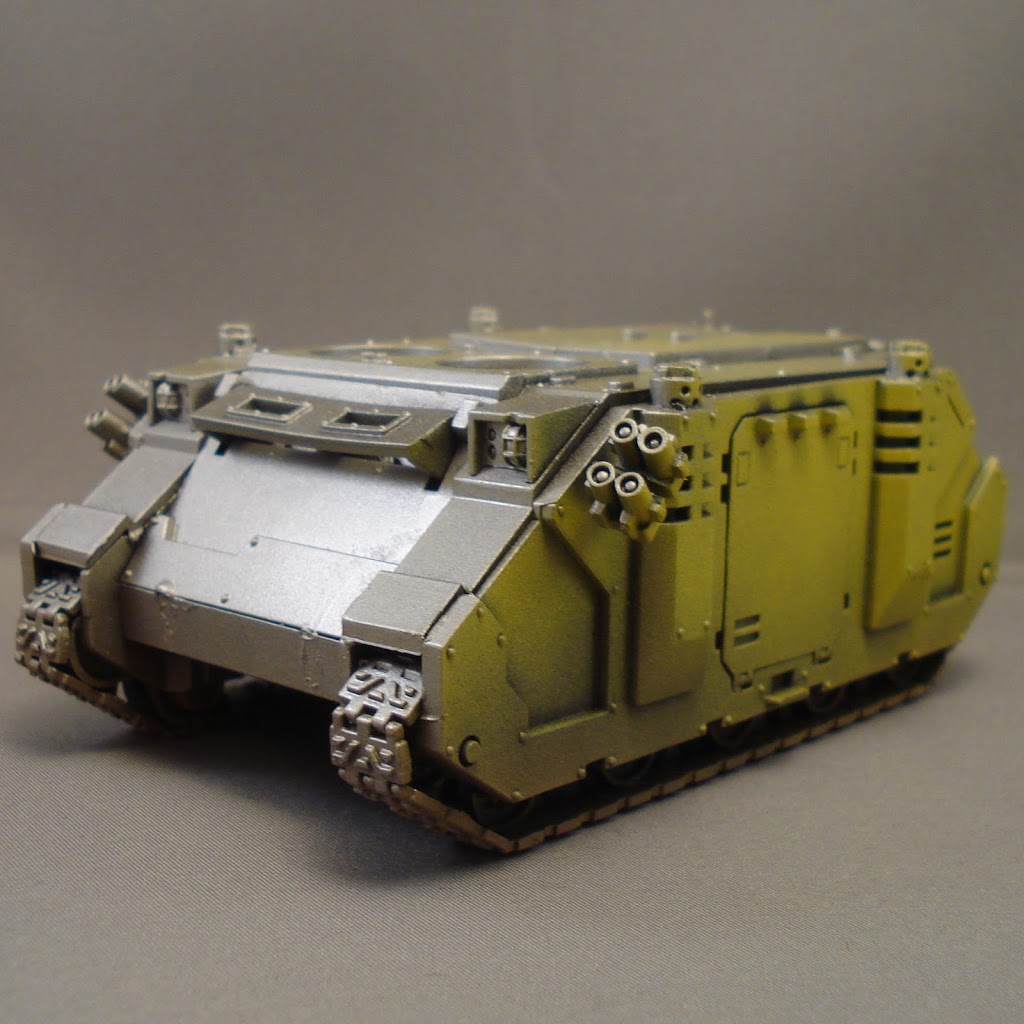
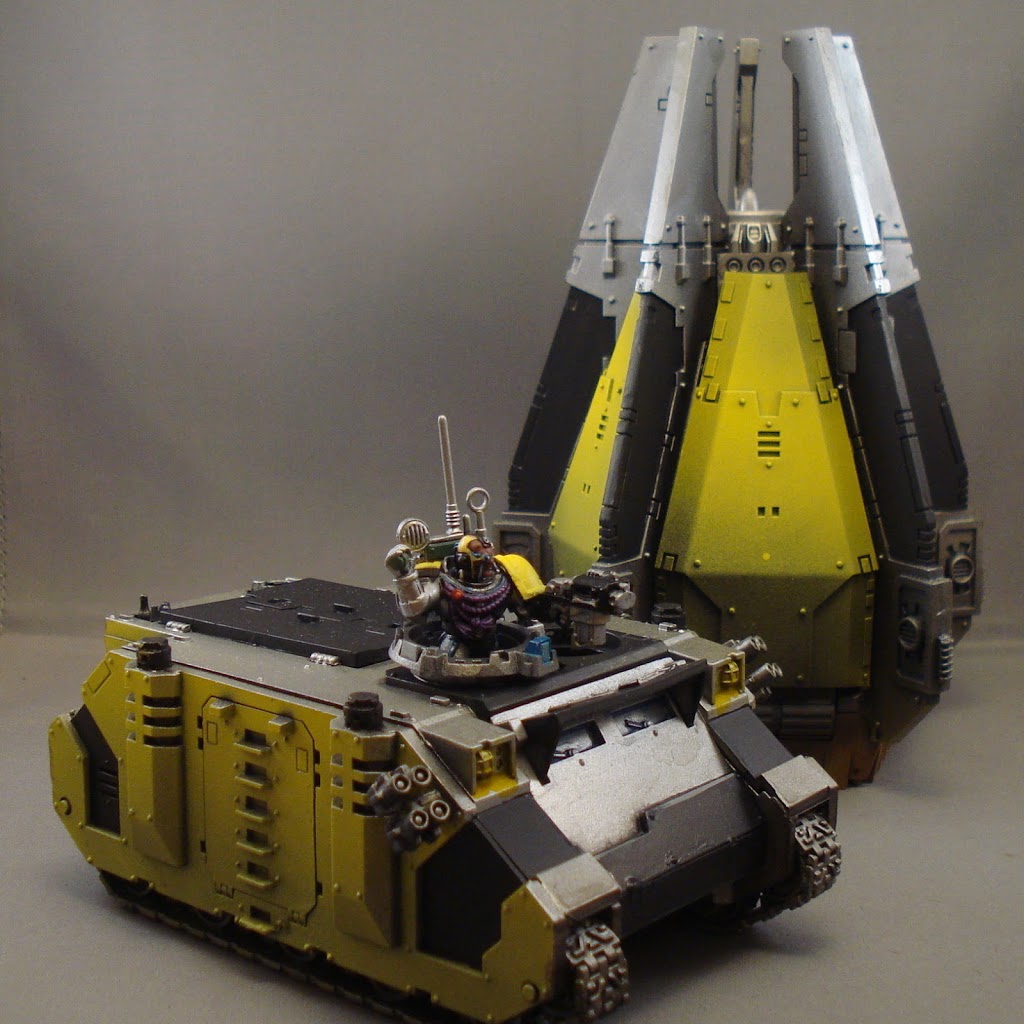
I’ve covered part of this material in a previous article on Strictly Average called Quickly Painting to a 3-Color Minimum… but yeah, I’m aware you haven’t seen it! No worries; the general idea is using spray paints from various angles to do the heavy lifting of painting models. In the picture above, a Drop Pod, and the picture below…
…a Rhino, I used Army Painter sprays over a black base coat to quickly block out sections of color. I didn’t mask anything, nor did I paint anything prior to putting it together; it’s all about the angles – if it is sharp enough and you’re at the right distance, there won’t be any edge-bleed.
Then I used a traditional brush to finish up the models. I spent more time on the driver than the Rhino and Drop Pod combined. Spray painting is fast.
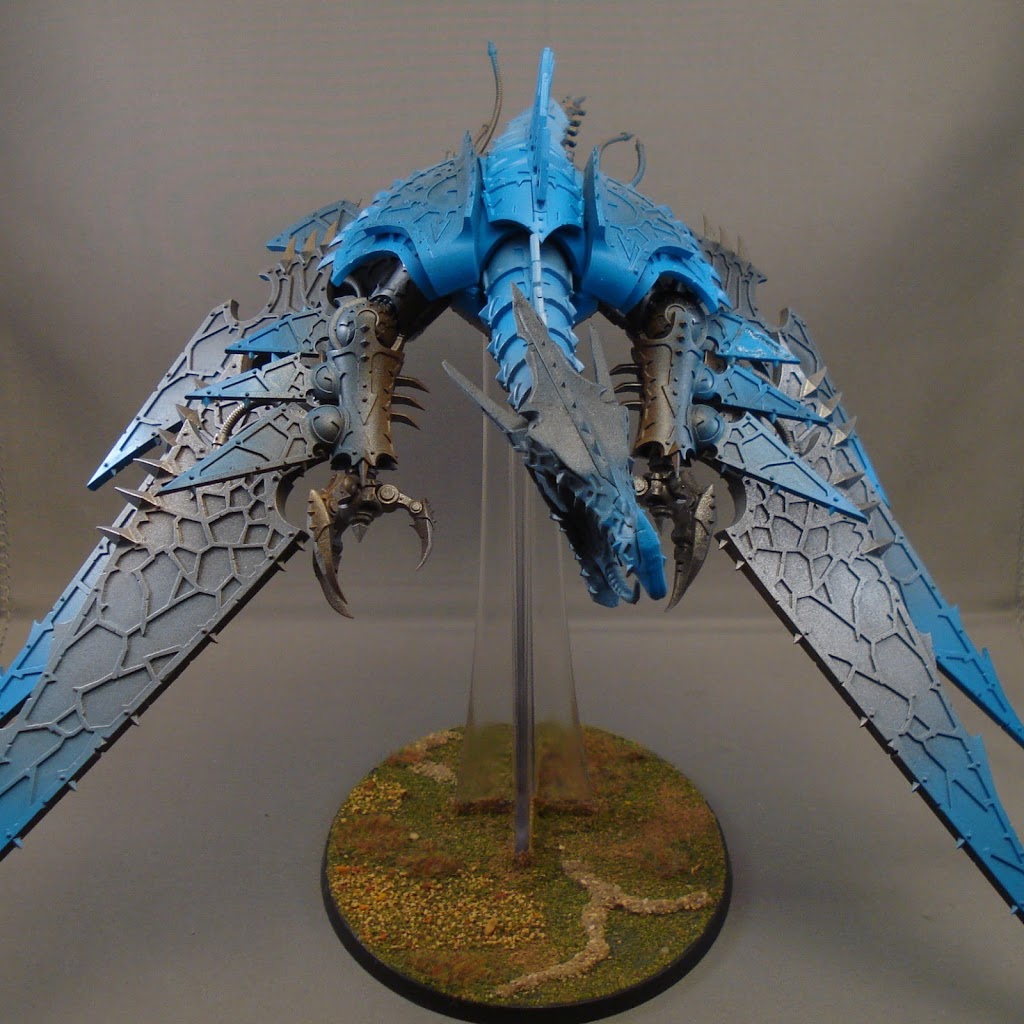
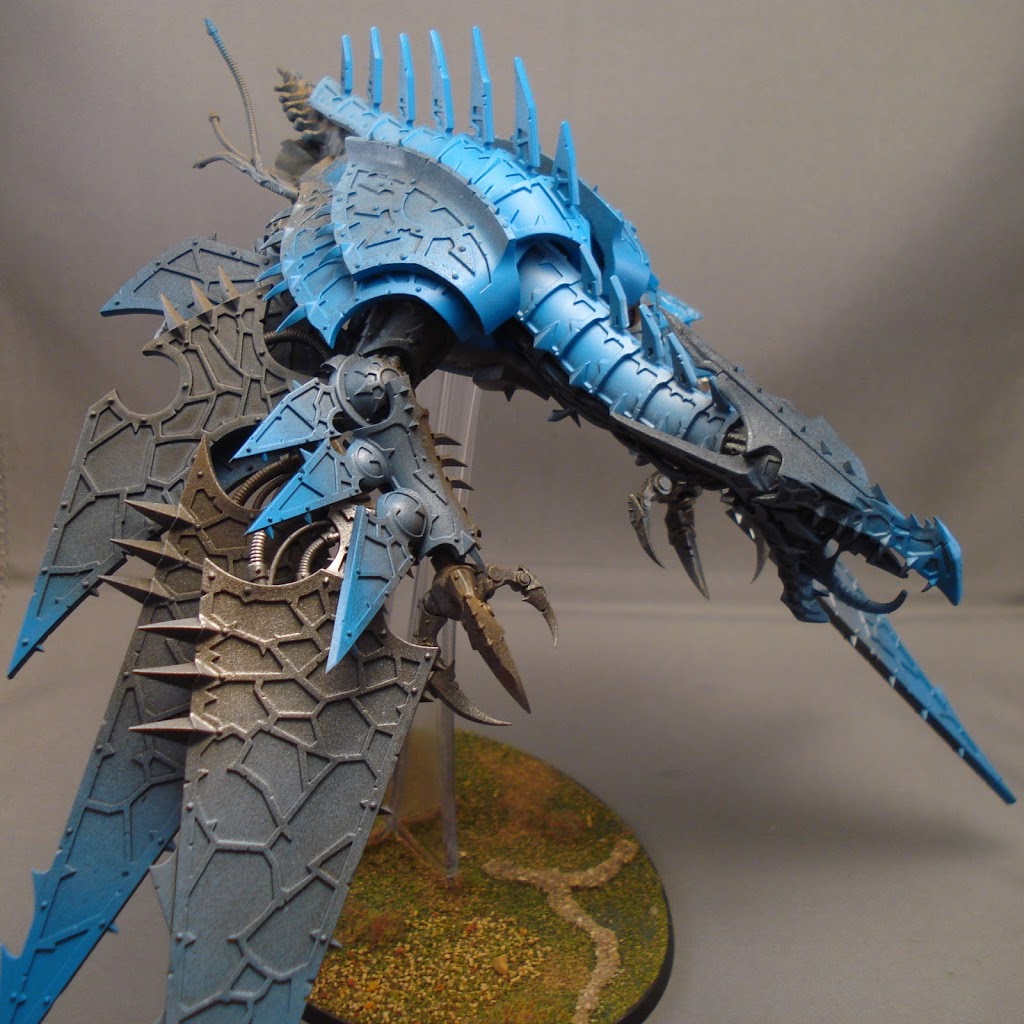
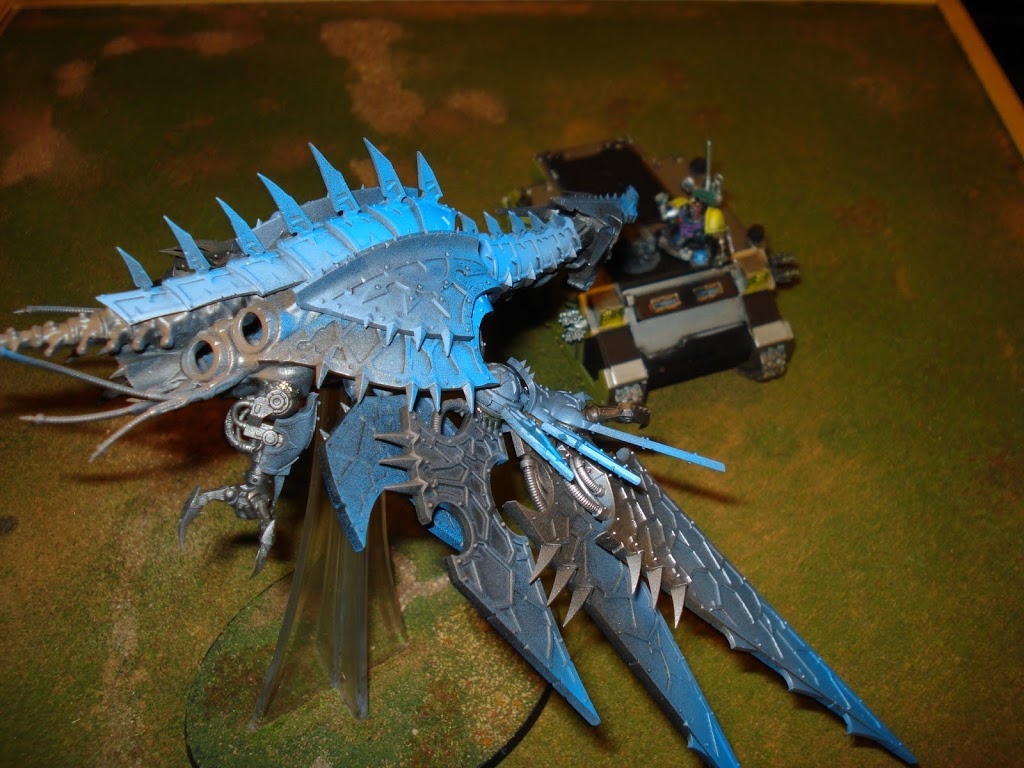
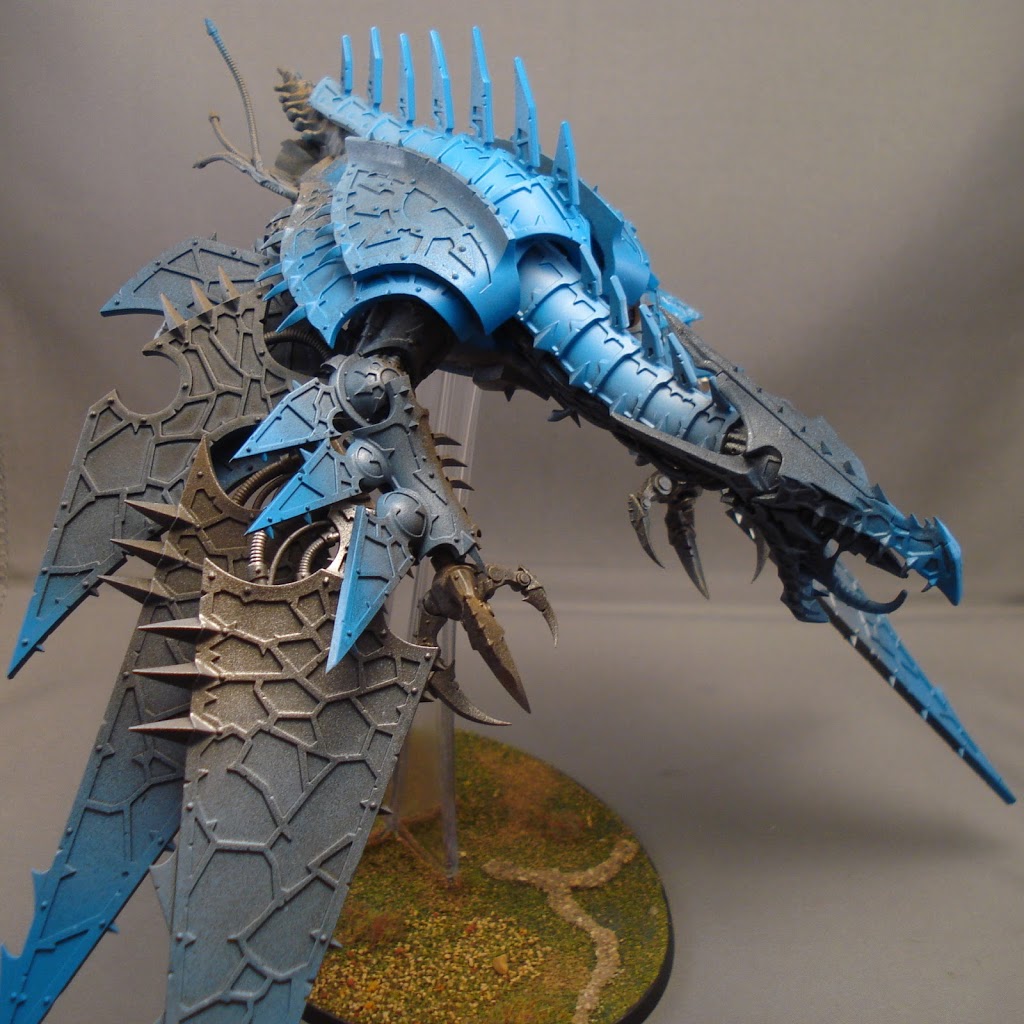
So on this model I took this idea to its natural next step. The Hell Drake above is painted entirely with spray paint. No section was masked off. I used four colors over a black base coat: brown, silver, gray, and blue. It took longer to dry than to paint – it was easy.
…
Here’s the point where I’m hoping some of you get excited. Thing is, I’ve got thousands of unpainted models that I want painted – if I’m going to do that sometime this side of the grave, than speed painting is a must.
With the Hell Drake, I clipped and cleaned all the parts, then individually sprayed them. I used angles and allowed colors to blend while the spray paint was still wet – all techniques one would use with either a brush, airbrush, or both. I let it dry and put it together. All of this was accomplished over two hours… watching paint dry.
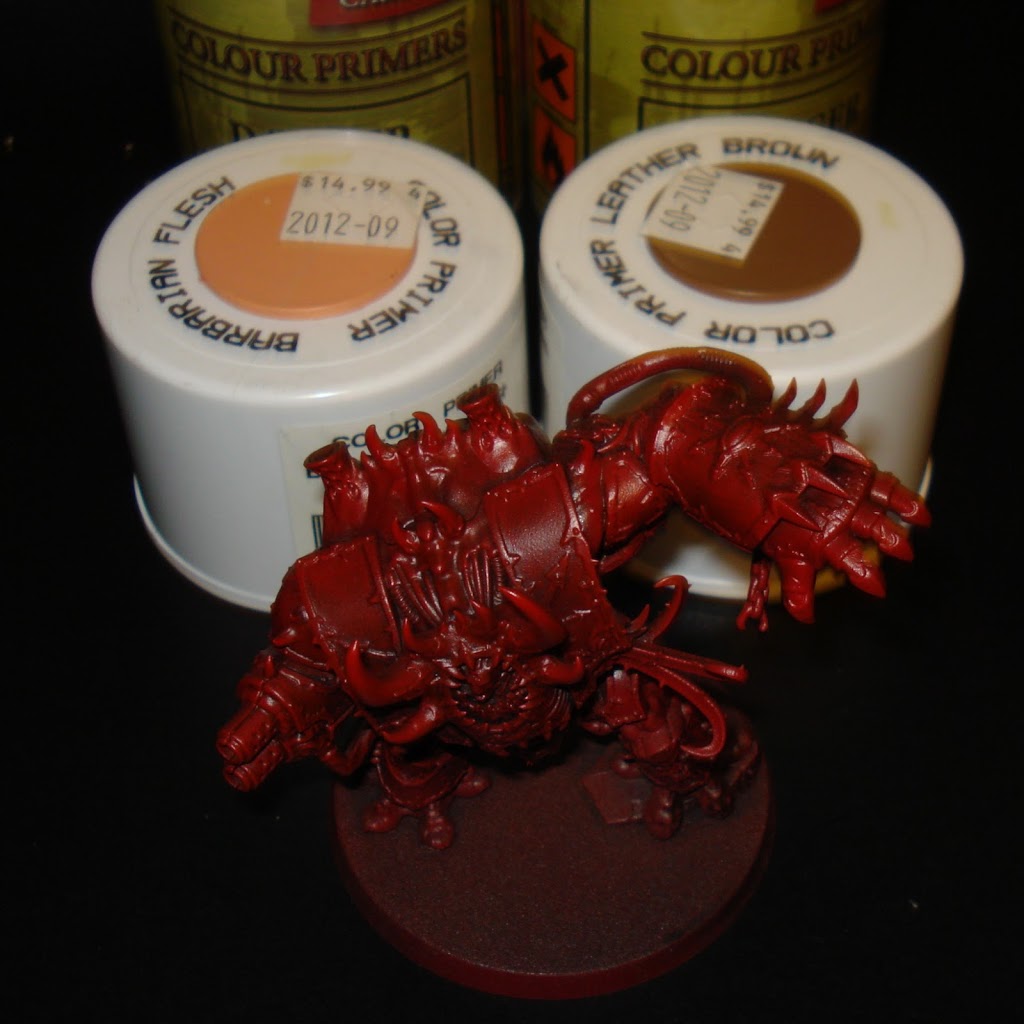
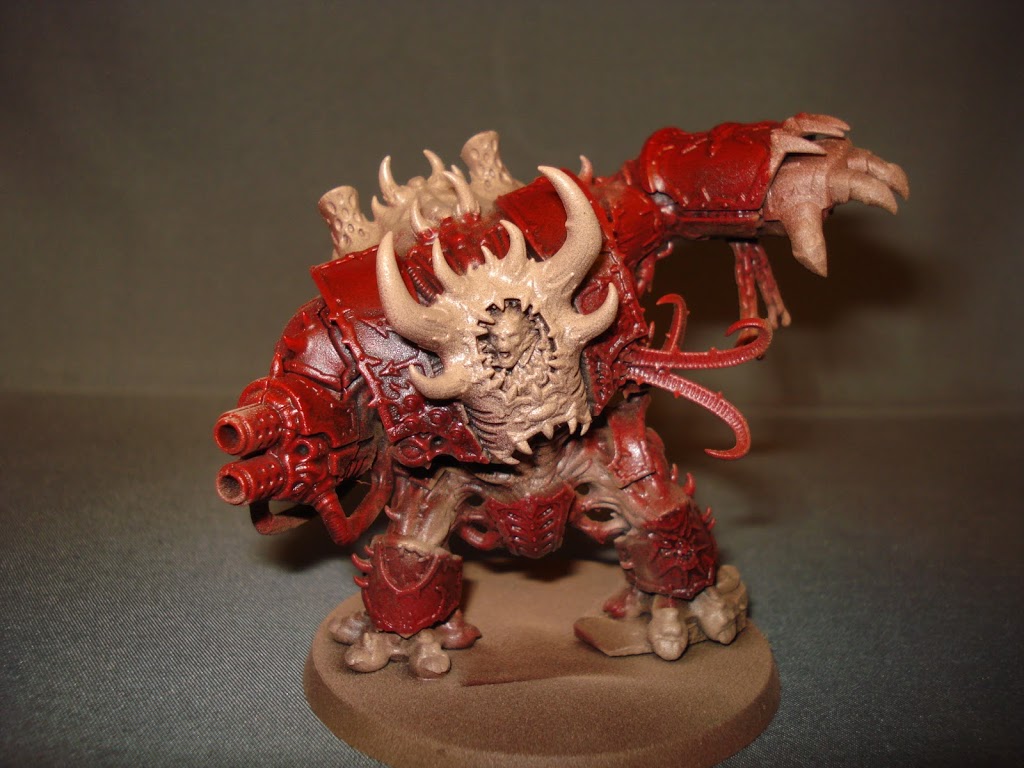
The Hell Drake is something new, but I’ve been practicing with multiple base coats for awhile now. No, it’s not just about spraying this model red because that’s the primary color it’ll be – there’s nothing wrong with that, but for depth I sprayed first black, then brown, then red.
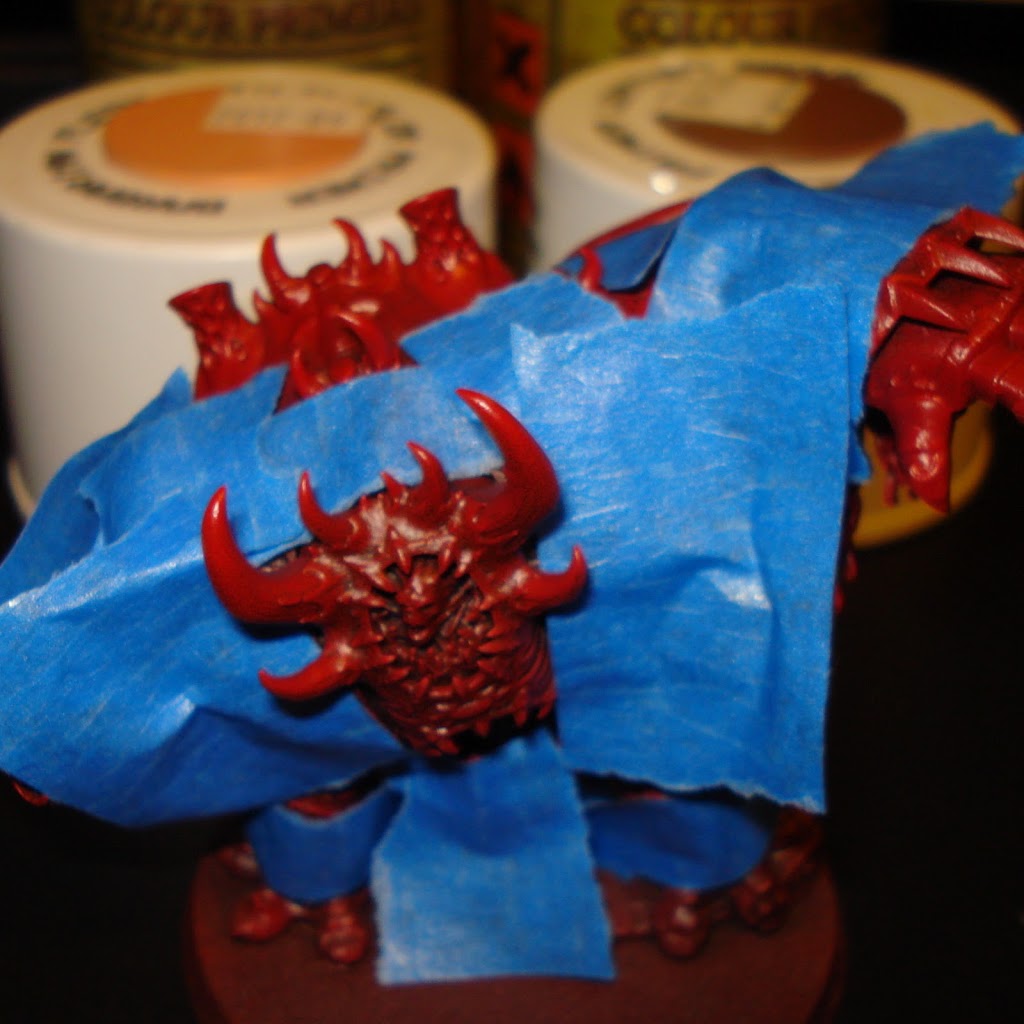
Mask off the flesh…
…and hit it with brown then flesh. There’s some bleed, and other areas that will have to be based more traditionally, with the airbrush or paintbrush. No problem – this is a time save step. Once touched up, the red armor is ready for detailing. The flesh will need the traditional wash and layers, but this knocks out the step I hate the most, the first layer that takes ten forevers to get good coverage.
Here are some Daemons I’m working on. I tend to do the spray painting in large batches; not only is it easier, but again it saves time.
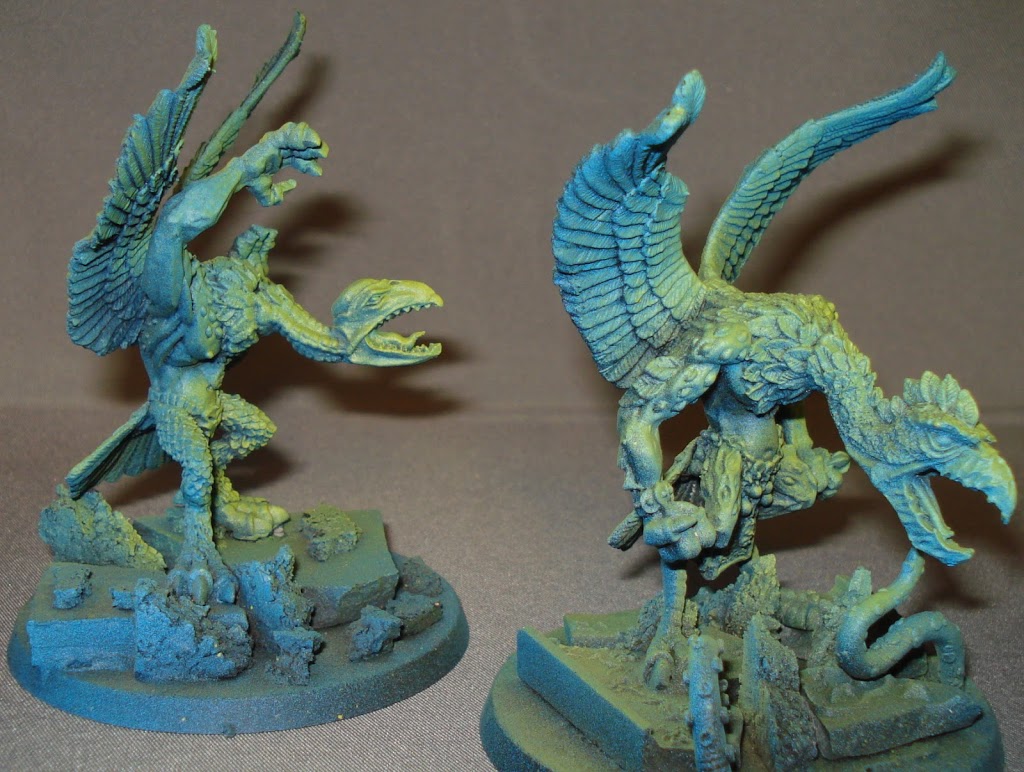
For the Tzeentchian Daemon Princes, above, I used first a black base coat followed by brown, blue, and yellow. Remember, this isn’t a finished model, just a way to block out colors in the priming step to speed up painting.
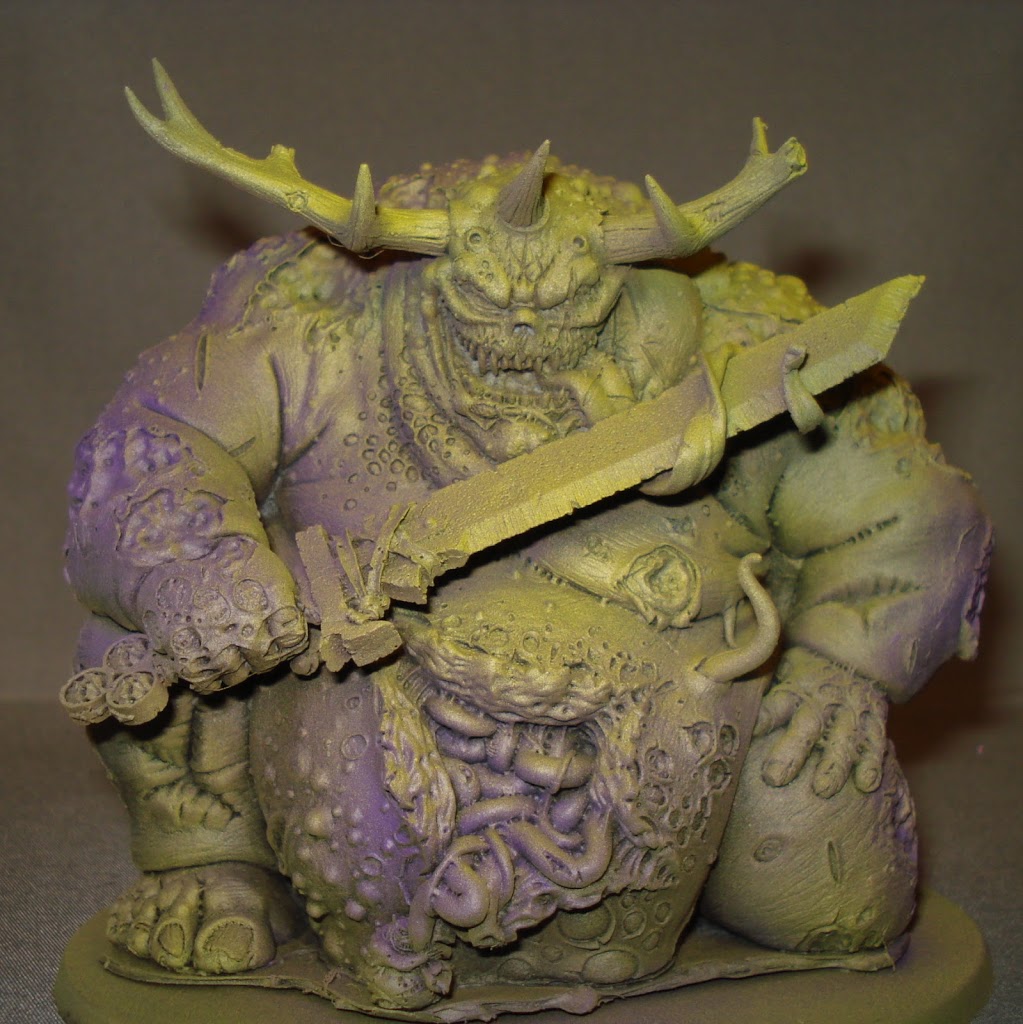
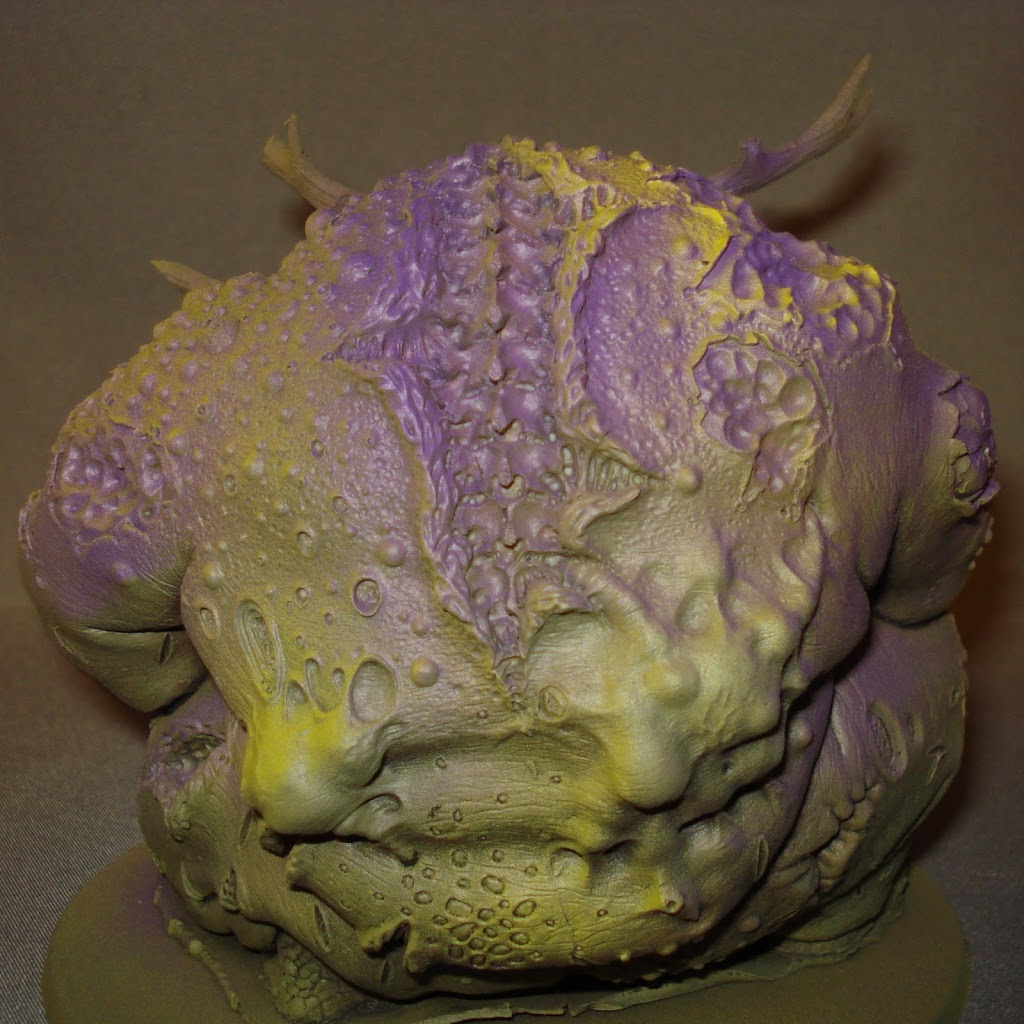
Here it was black, brown, green, purple, and yellow.
The brown shows through primarily from beneath, and in the crevices. Lately, I find it’s more forgiving than black alone.
If you want to try this – and I hope you do – the trick is ‘less is more.’ You want to ‘spritz’ from a distance. You can always add a bit more color, but if you over-spray an area you’ll have to start over.
Here I wanted only blue, but again the blue went over a black base coat with a brown overspray to ‘soften’ the tone. There’s already some depth, which is further brought out with washes or glazes.
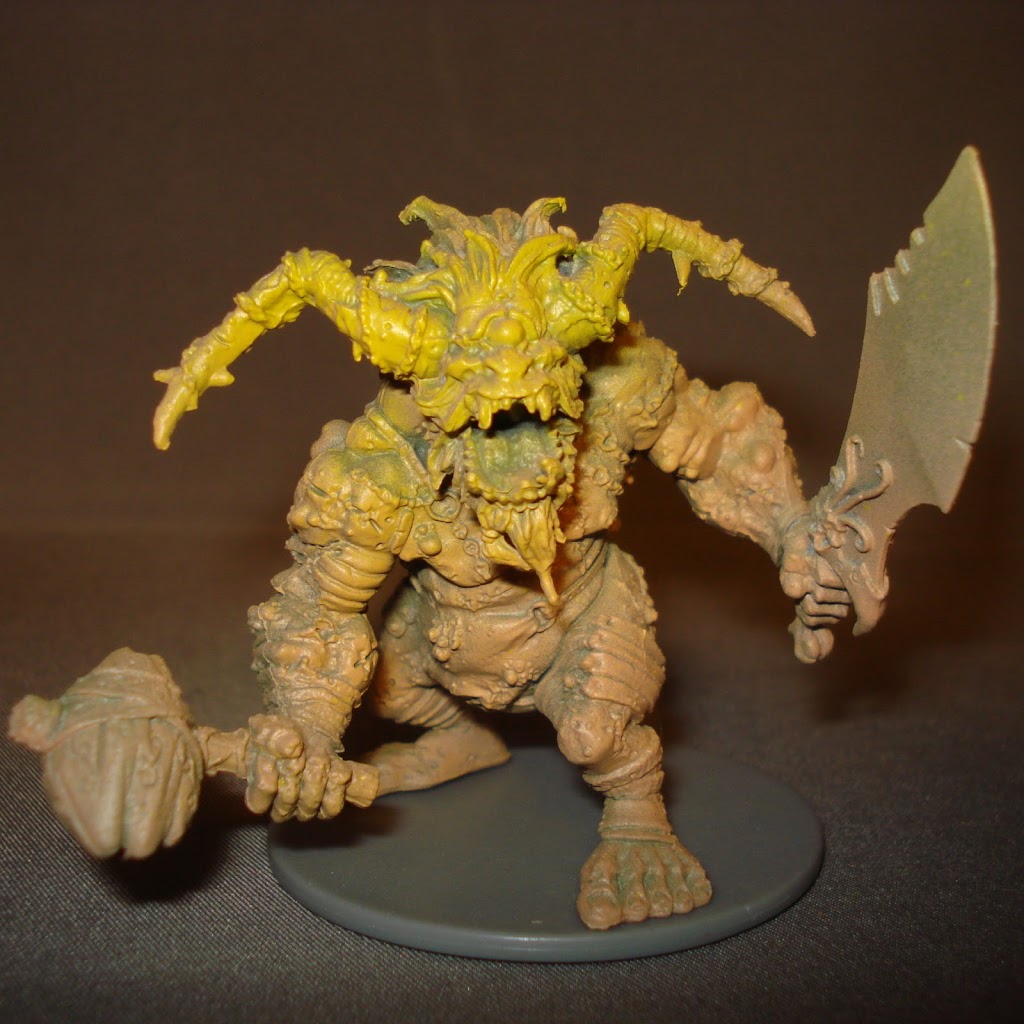
Here’s an old Rackham model that I’m painting up for a Nurgle Herald or Daemon Prince. If the colors look a bit like vomit, than I guess it’s a start.
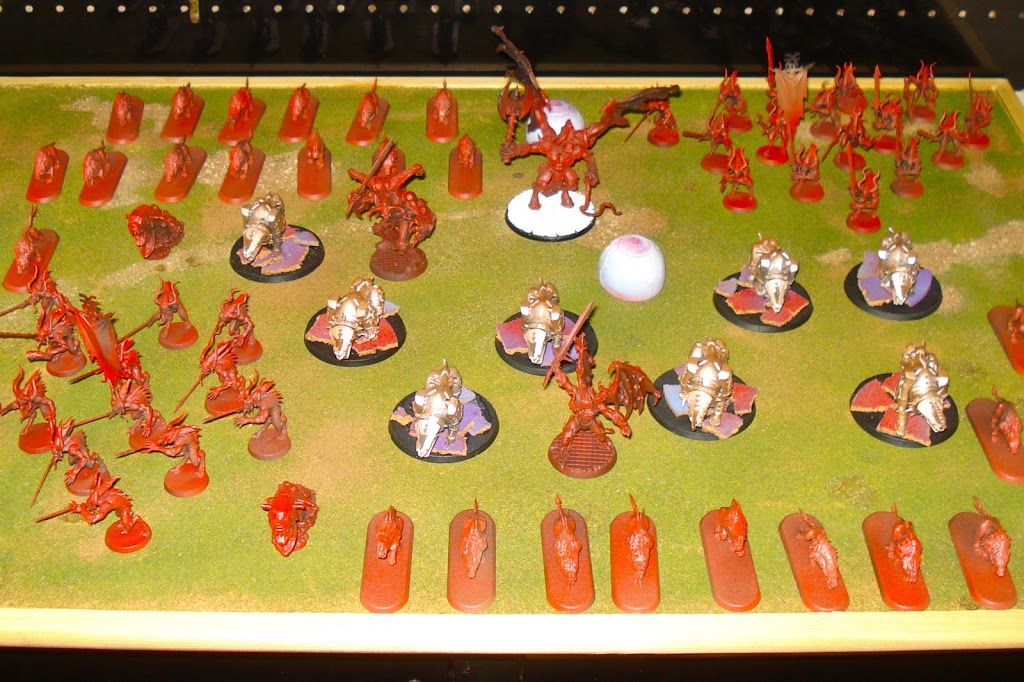
I’m working on a Khorne army for Wargames Con. It’s a lot of red from a distance, but that’s the primary color of the army, and it’s done. Painting the rest of this is about details, swords, bases, and touching up at the end. It was the work of an afternoon to get this far…
…and frankly, it’s the tedious bit I can’t stand doing. I’m looking forward to painting these models – it’s like I’m skipping past the opening phase chore.
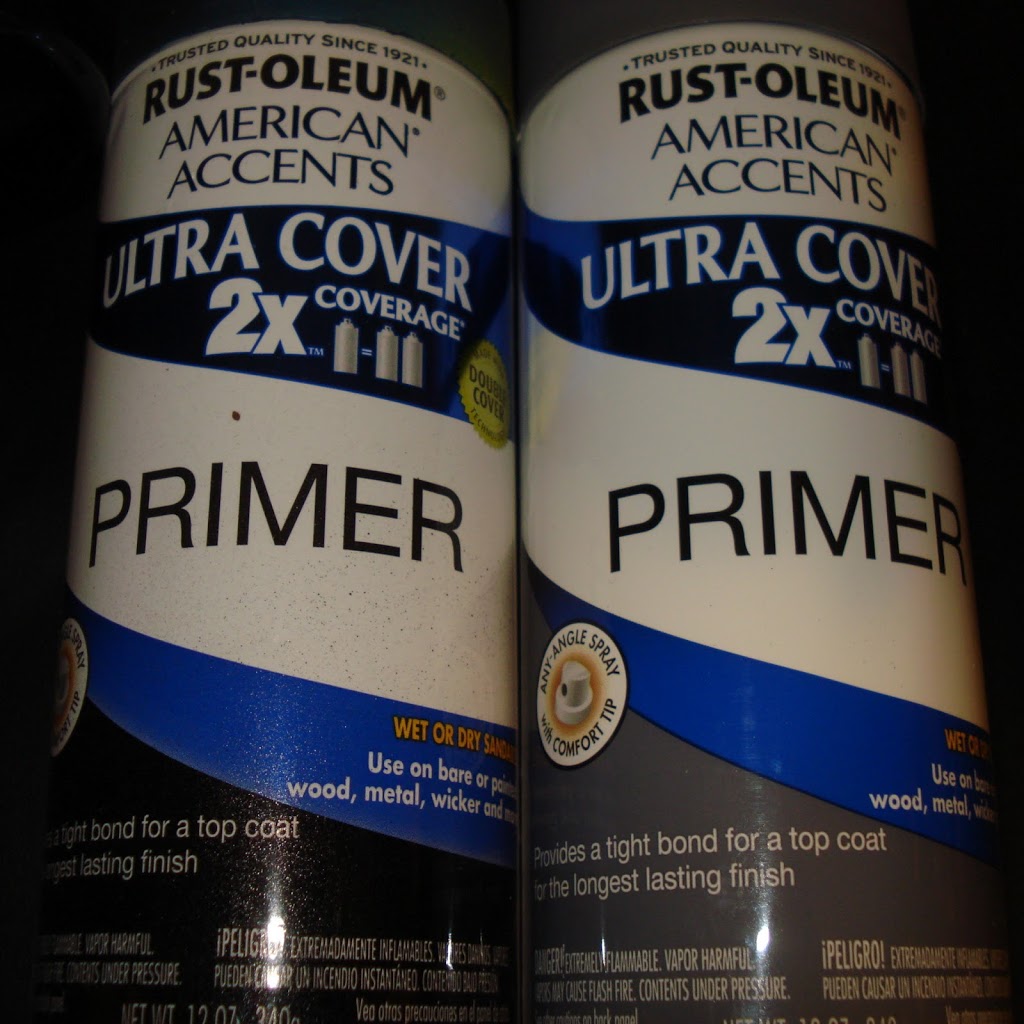
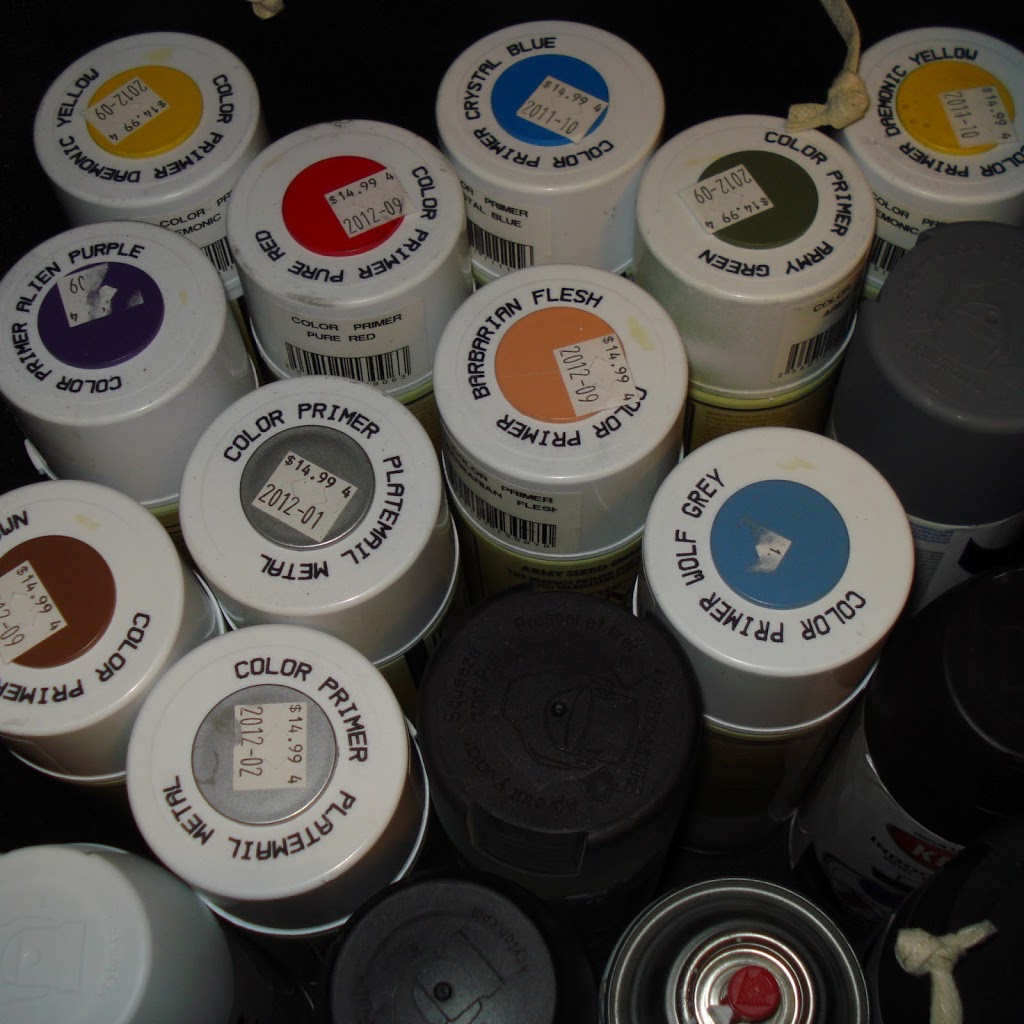
Here’s my current favorite black and gray primer. I used Krylon flats, but this covers better. Krylon colors – flat and satin – are still useful.
And cheap.
But really, you get what you pay for. I have three bins of spray paints; the other two are cheap by comparison. I get that 14.99 is steep for a spray paint, but they last forever.
Why? Because I’m not using them as a primer. I use black or gray – rarely white – and make sure I get 100% coverage. Using quality paints to block out colors in depth – like I’ve been trying to demonstrate above – doesn’t take much paint. Most of these I’ve had awhile.
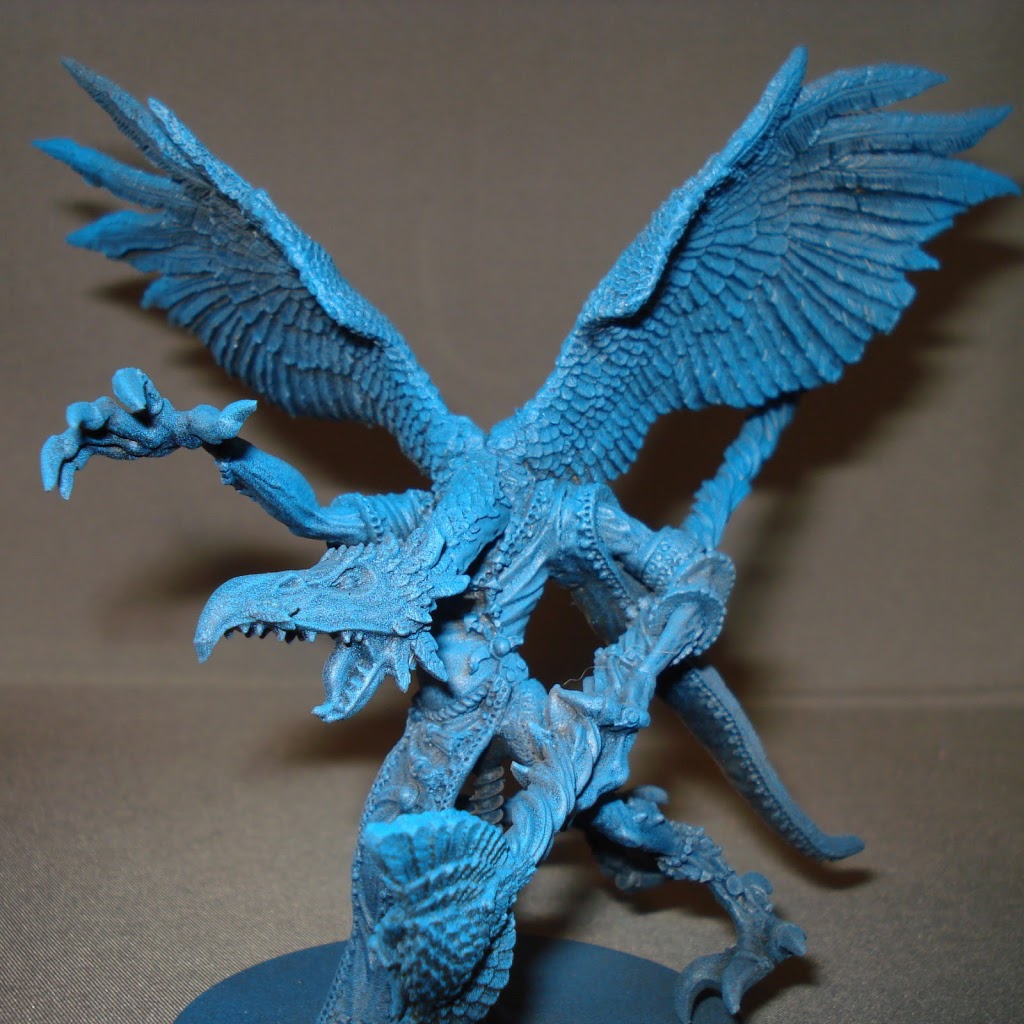
And we’re back full circle to the Storm Bird. This model isn’t done. I want to detail the head, particularly the weapon, tongue, and eyes. But it could be, and it wasn’t a huge investment in time.
After all, I have thousands of models left to go…
http://www.strictlyaverage.blogspot.com/2013/03/quickly-painting-to-3-color-minimum.html
https://www.belloflostsouls.net/?p=32515
https://www.belloflostsouls.net/?p=31878
https://www.belloflostsouls.net/?p=31038
That’s it! I hope you’ve enjoyed this one, and here’s hoping it gave you an idea or two to try out on your models. I placed a few links to other articles on a similar topic – I’ve been learning the hard way for awhile now. Many of you pros have your own tips and tricks, so please share!
Until next time, thoughts? Comments? Hugs and Google gropings?

