Hobby: Painting Cygnar Stormblades
11 Minute Read
May 22 2013

Advertisement
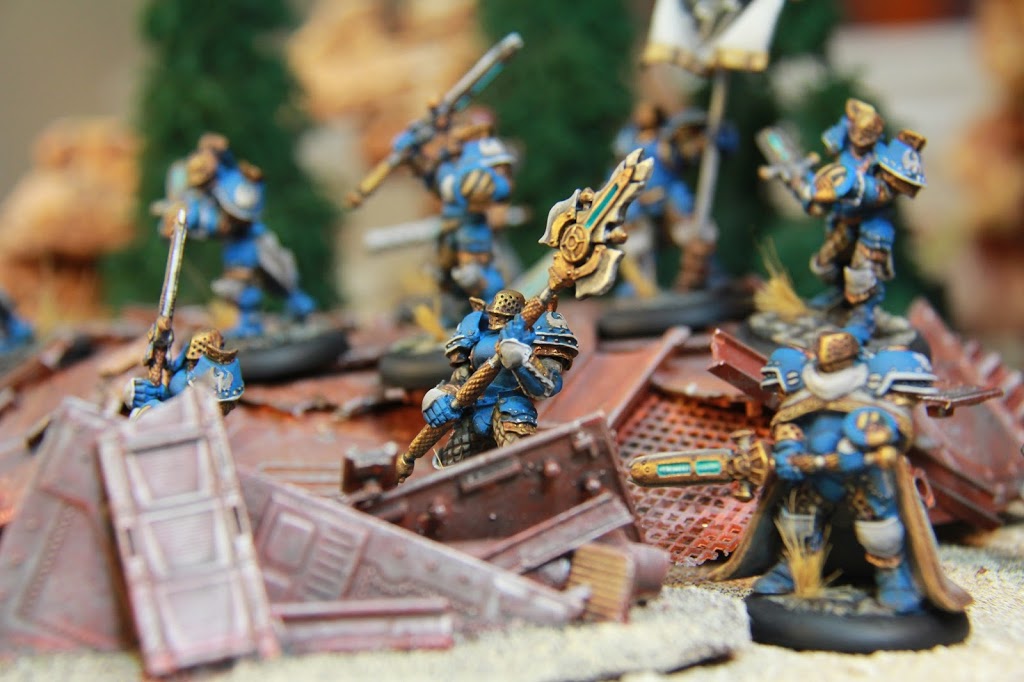
Lets paint up some of the FANTASTIC new Cygnar Stormblades from Privateer Press. Grab your paintbrush and jump on in!
Guest post by: Peanutbuttercon
When I decided that I was going to take the plunge and play Cygnar about a month and a half ago, one of the releases I was most excited about were the new Plastic Stormblades. They’re a vast improvement over the old pewter versions, and were one of the first things I painted up—I’ll do my best to show you how I went about it!
It bears mentioning that these models have a lot of inconvenient mold lines running across rivets and such. I took my time and tried to salvage what I could. In addition, some pieces (the swords and the unit leader’s halberd) were a little bent. I just ran them under some hot water and bent them back into shape as best I could (I’ll admit that I never felt like I could get the halberd entirelystraight).
Getting the models ready to paint, I affix the pieces to old rattlecan lids with some Blu-Tack. The lids are larger and give me a better handle to hold the model, and painting the models in pieces gives me better access to areas that will be obscured once everything’s assembled.
A quick word on my paint selection: I use a lot of Reaper Master Series paints, which I don’t see a lot of people talk about online. I prefer them because I like dropper bottles more than paint pots, and their selection of muted colors is superb. I find working with a muted palate allows me do things like paint knights in blue armor with hazard stripe shields without getting an end result that’s too cartoony.
One great thing about painting Storm Knights is that they’re about 75% Armor, making them perfect for airbrushing. This will allow me to lay down my basecoats and develop the color on the vast majority of the model relatively quickly.
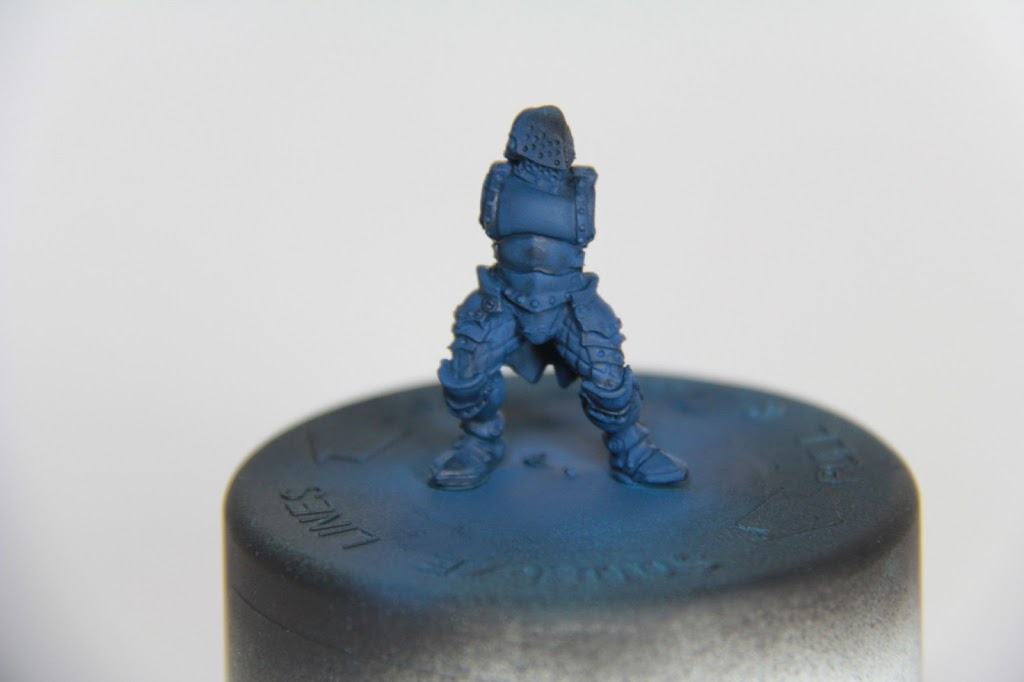
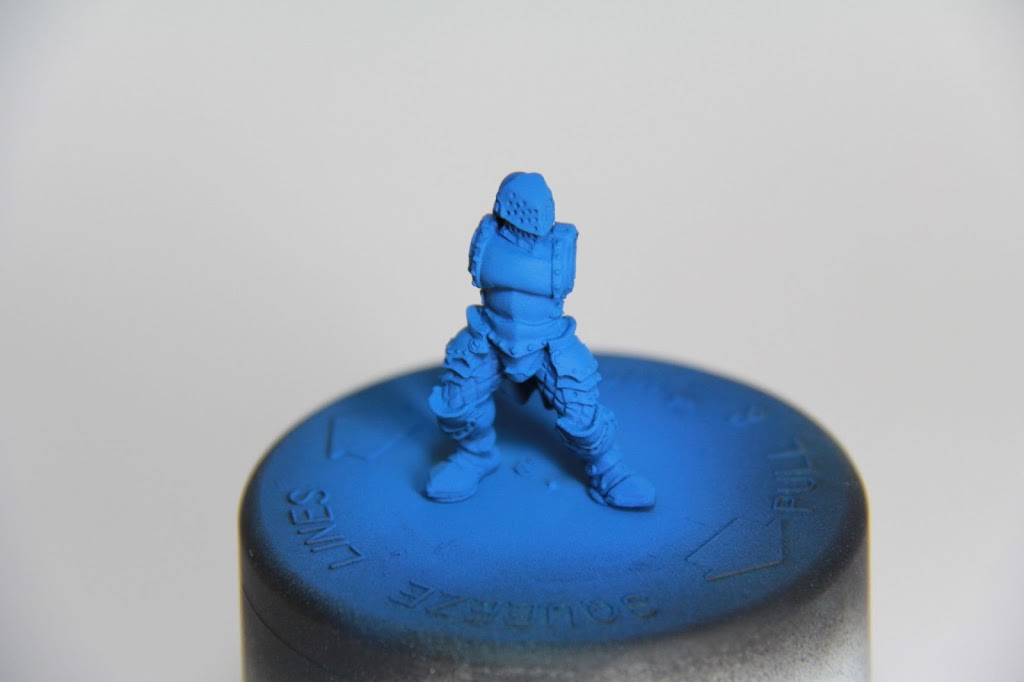
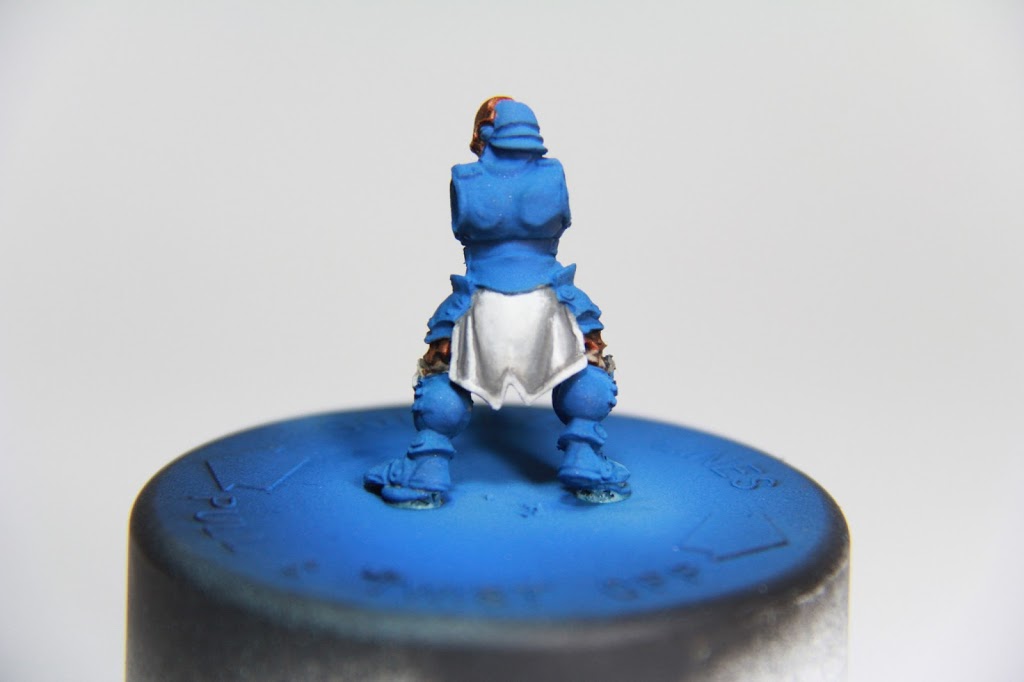
With that in mind, I start on the armor first. I grab my airbrush and give the model a basecoat of RMS Worn Navy—It’s not of paramount importance that this basecoat look really pretty, just that it be relatively even and cover the recessed and downturned areas.
My end goal for the armor is a sort of slightly muted medium blue—Somewhat brighter and less saturated than Privateer Press’ studio scheme.
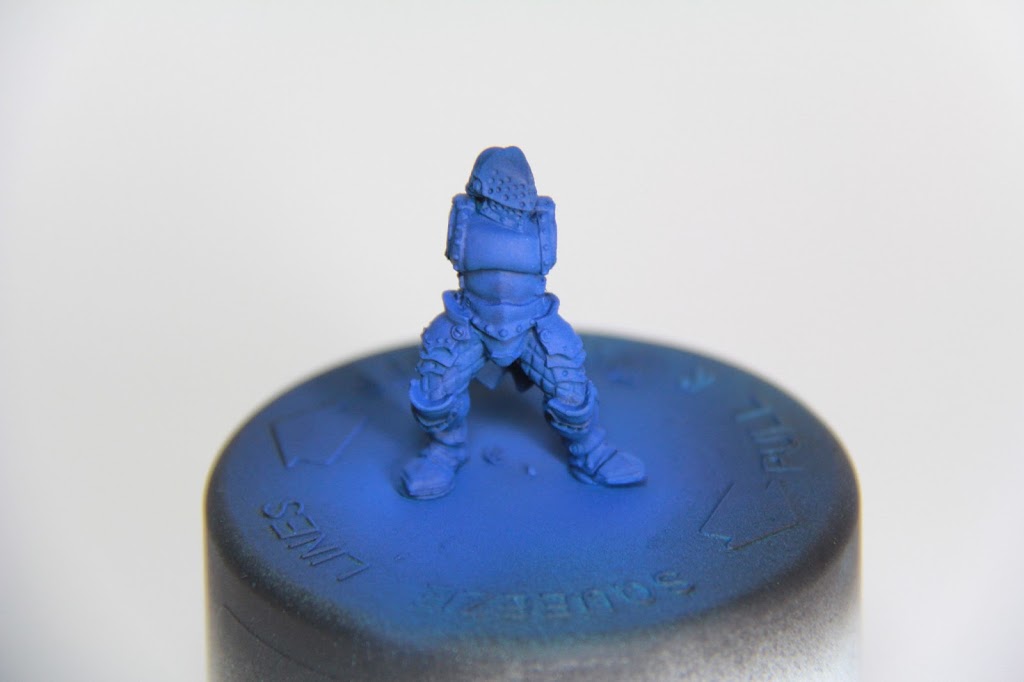
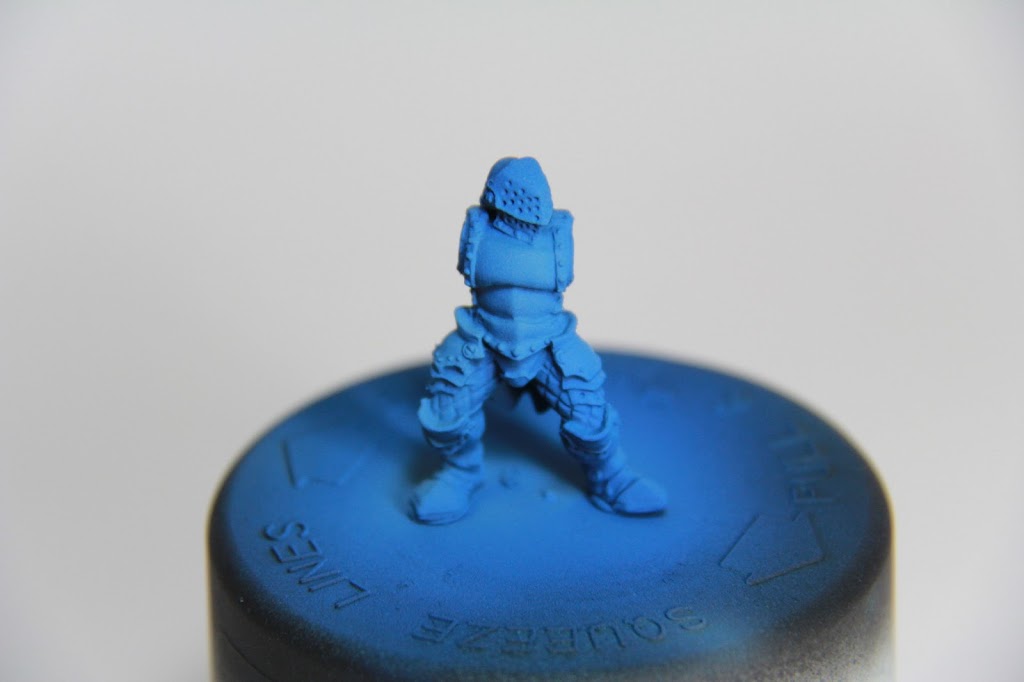
Next, I’ll highlight the upper 75-80% of the model with RMS Brilliant Blue. This is easiest to accomplish using a sort of zenithal technique—This layer will be applied at something like a 25-degree angle to get everything but the most downturned bits. If some of the paint gets where you don’t want it, don’t worry too much, we’ll address that later.
After that, I raise the airbrush to about a 45-degree angle and apply a layer of RMS Cyan Blue to hit something like the upper 60% of the model.
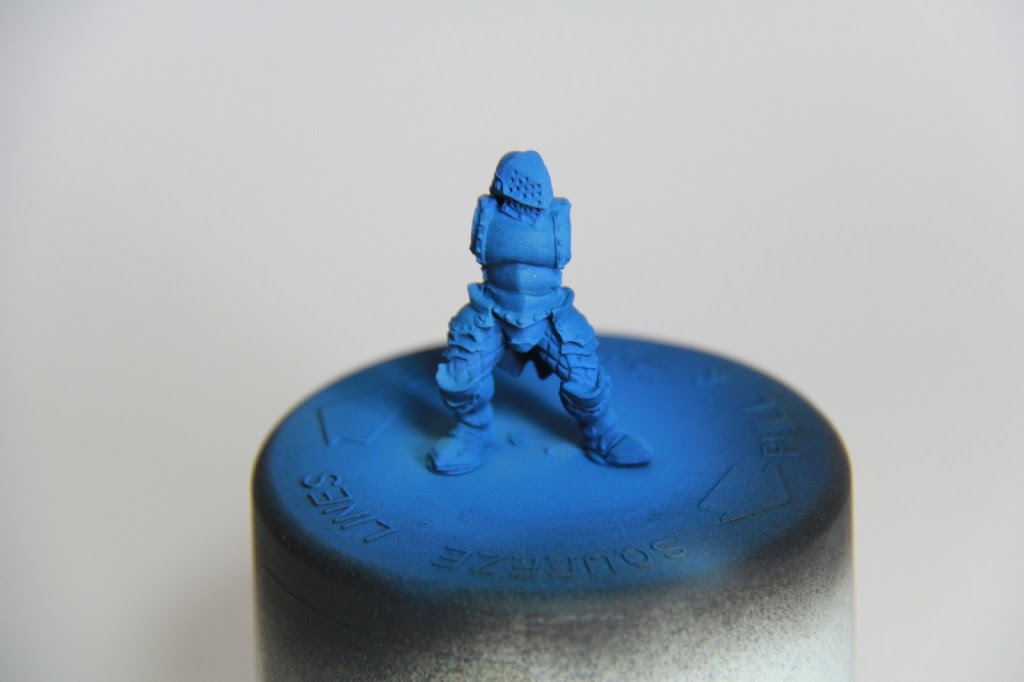
I mix Cyan Blue with RMS Ashen Blue at a 1:1 Ratio and apply it at a 60-degree angle so that I’m still hitting most of the model, but leaving a sort of gradient into the shadows—If you can’t adequately control the airbrush (I can’t always) that’s fine. We’ll come back and reclaim the shadows in a bit.
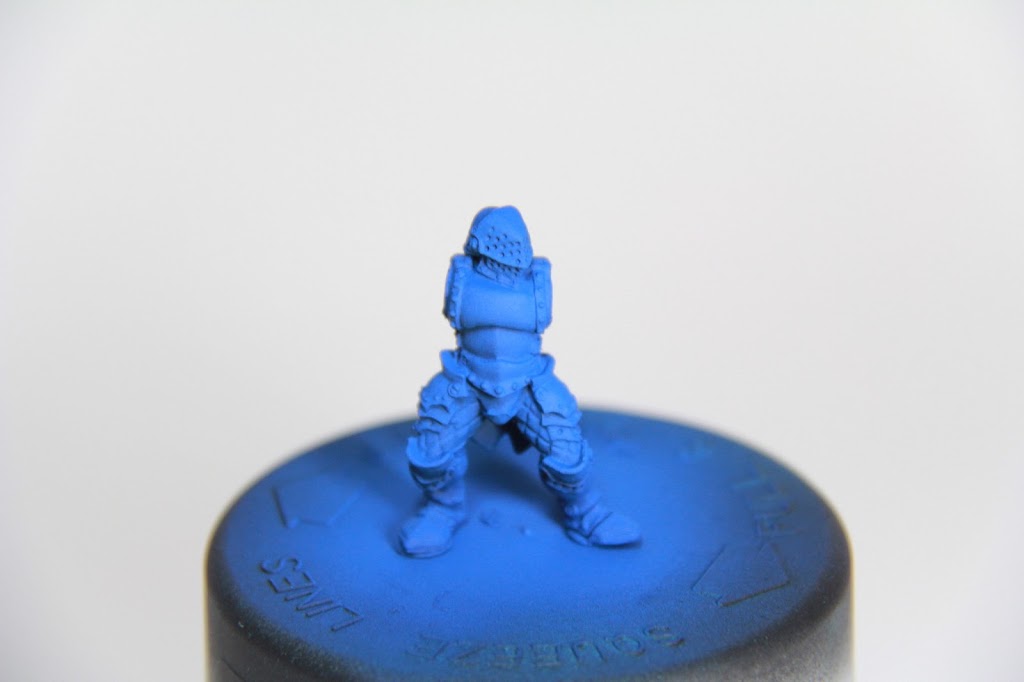
Now, at a nearly 90-degree angle, I very quickly hit the model with Ashen Blue. This isn’t an all-over highlight like the previous layers, I basically aim the airbrush and spray the paint for an instant.
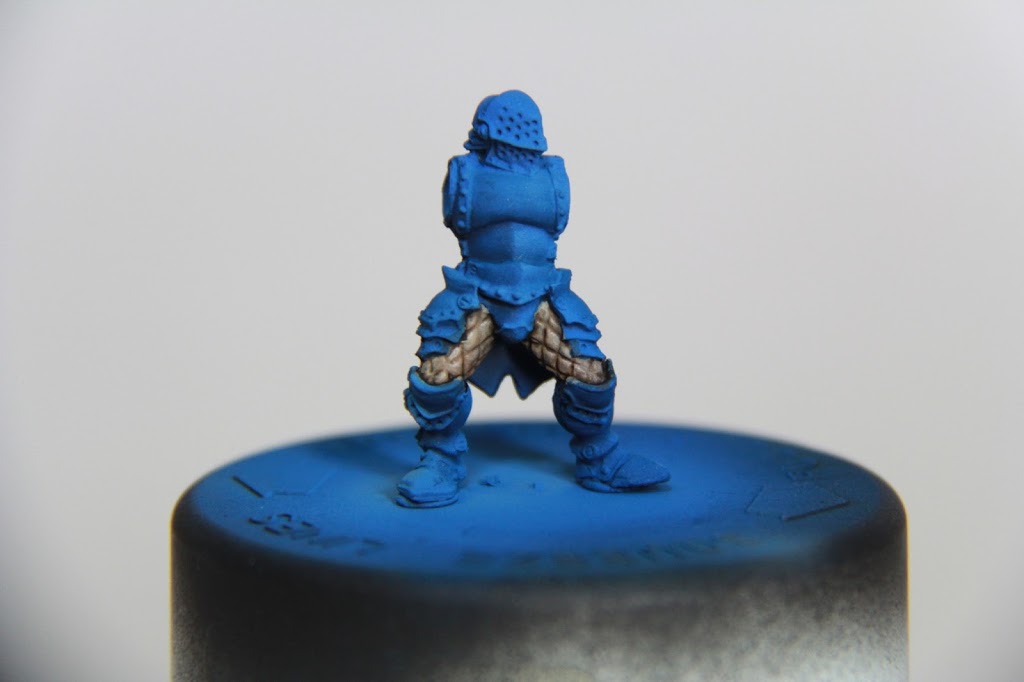
This step will de-saturate the blue into the more muted range I prefer. You can use this step to make the light somewhat more directional—You’ll see (most clearly on his pointed stomach plate) That I tried to make the light source above and in front of him, casting the other side of that plate into shadow.
So, I don’t have the best airbrush control, and that problem is made worse when working on infantry models. What I’ll do now is go all the way back to Worn Navy and Two-Brush-Blend it up from the shadows to add some shading. I don’t know if this picture shows it very well, but the idea is more or less illustrated by clicking back and forth between the last 2 photos.
Two-Brush Blending is an article unto itself, but it’s basically a trial-and-error process… If I don’t get the result I want, I quickly scrub it off with a spare brush and start over. With some patience, I manage to apply shadows to the armor. I’ll use this technique mainly to clean up larger areas where I want a gradient that I don’t quite get from highlighting alone.
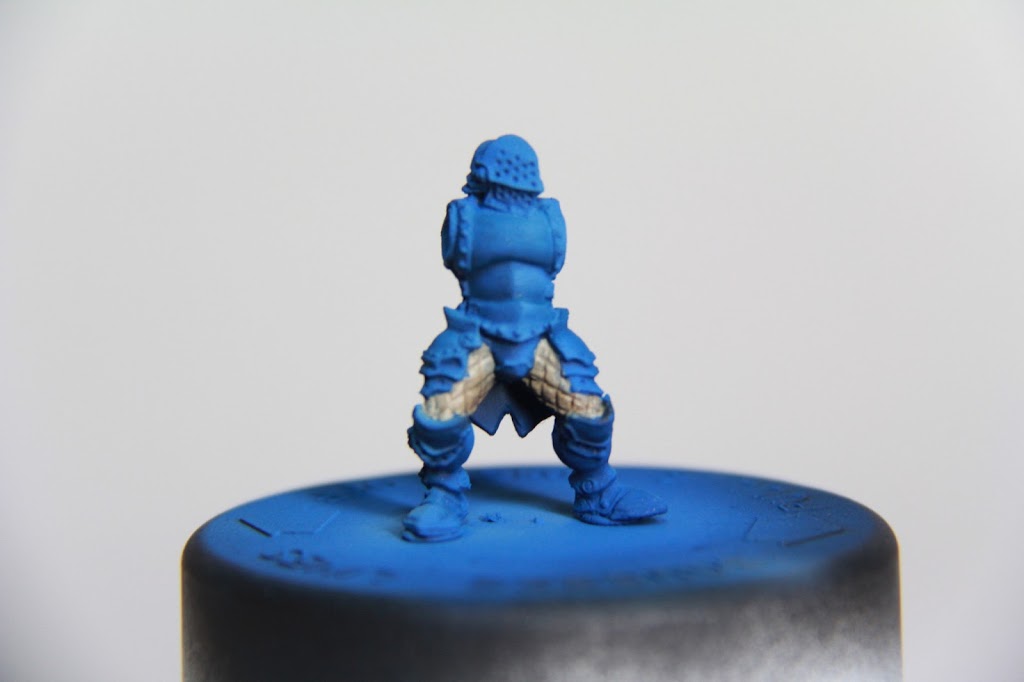
Once I’m happy with the armor, I move onto the most recessed detail—The padded sleeves and legs. I start with a basecoat of P3 Hammerfall Khaki—Applying it straight over the blue (which, in retrospect was a bit foolish) took 2-3 thin coats, but they dry pretty quickly, so no worries there.
Once I’ve got a nice even coverage, I give the padded areas a wash of Agrax Earthshade. You can see in the above photo that it doesn’t quitedo the job. I didn’t take photos of it, but what I did after this was to take P3 Umbral Umber and basically paint it the crevices between the pads, and then highlight the peaks of the pads with Hammerfall Khaki again.
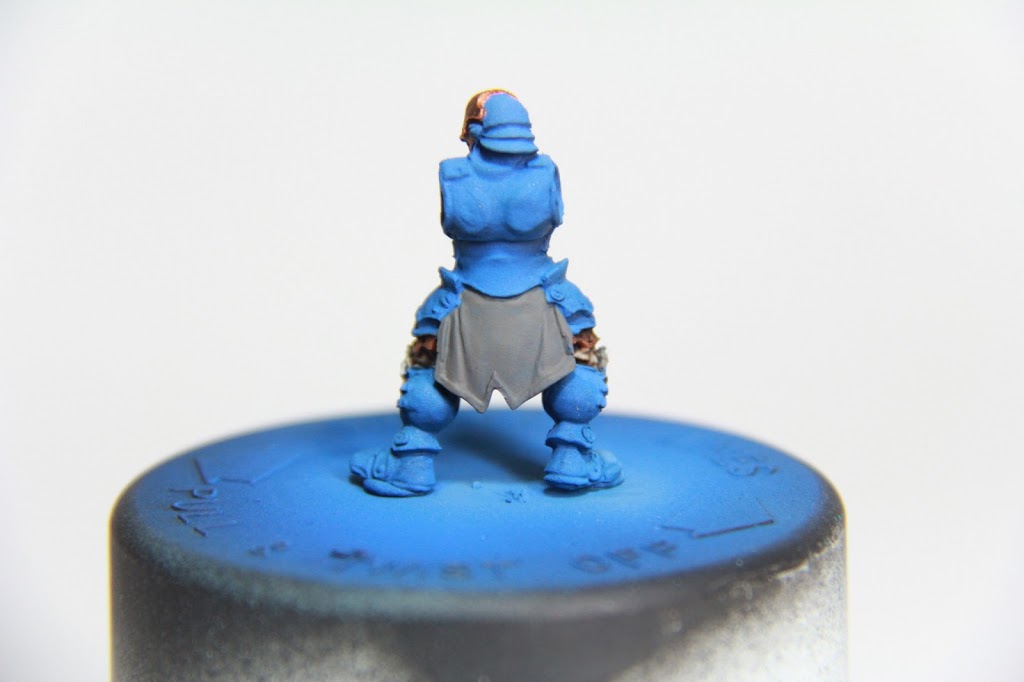
Next, we’ll move onto the White areas. The most involved part is going to be the Tabard (or the Stormgunner’s cape… things?). I begin with a basecoat of RMS Shadowed Stone.
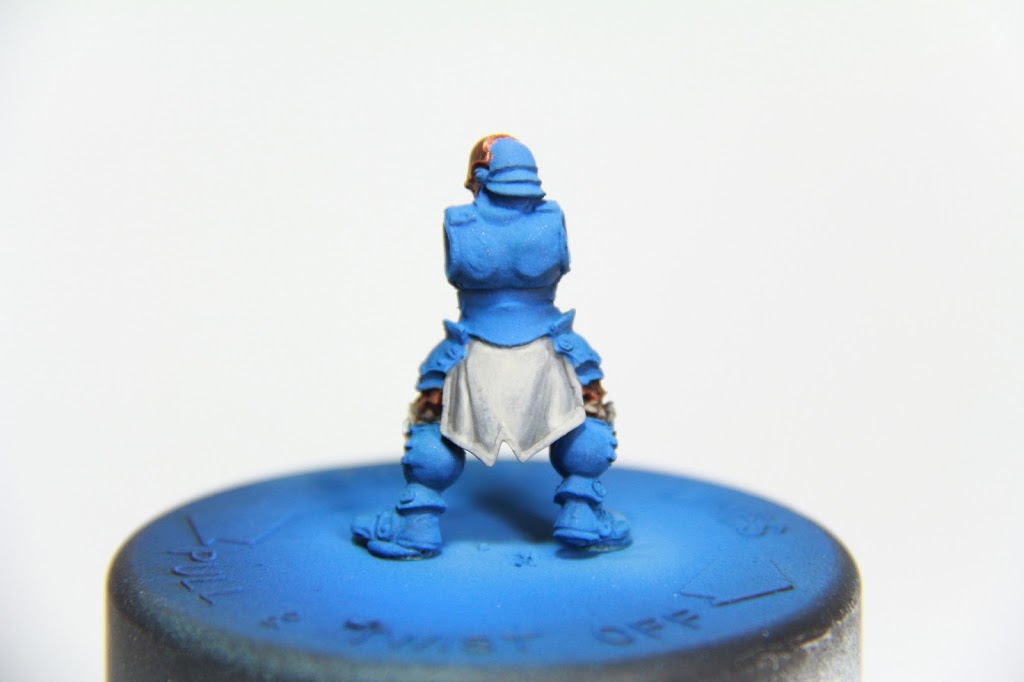
Once that’s dry, I sort of two-brush blend some RMS Bone Shadow to create my first highlight, and then forget to take a picture. D’oh!
After that, I blend another highlight of RMS Aged Bone on top of the Bone Shadow, covering less to try and begin to create a gradient between the high and low points.
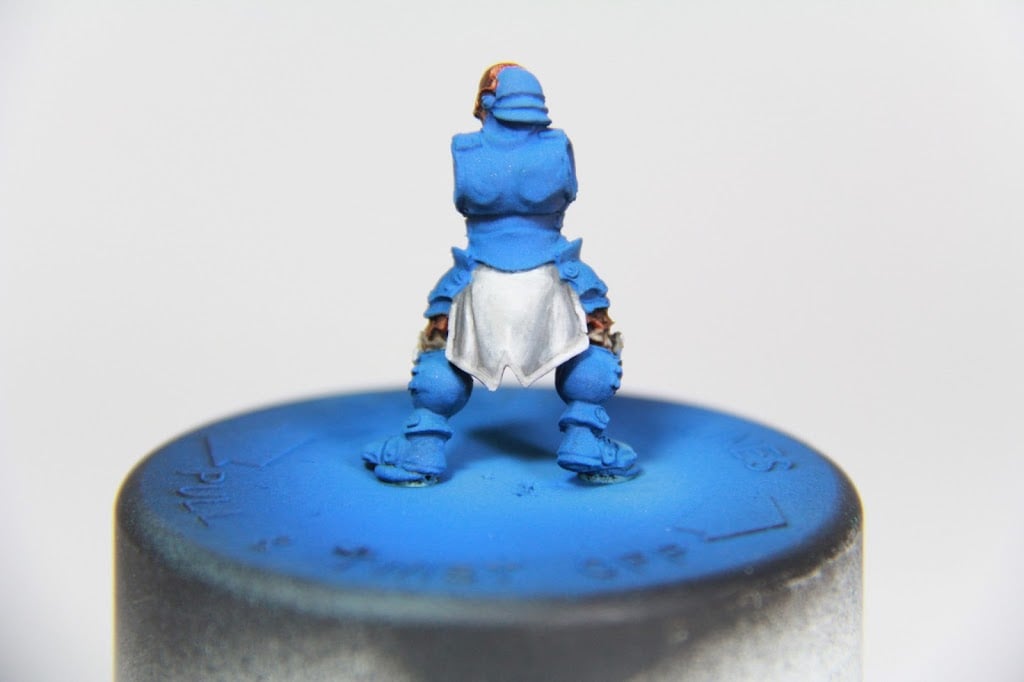
For my last highlight, I try and focus RMS Leather White on the most raised areas, blending it into the previous layers.
Inevitably, my best attempts to blend the highlights perfectly didn’t work, so I take Shadowed Stone, and blend it up from the shadows to create a gradient where I want shade to be—The tabard on this particular model is somewhat flat, so the gradients are sort of in smaller areas.
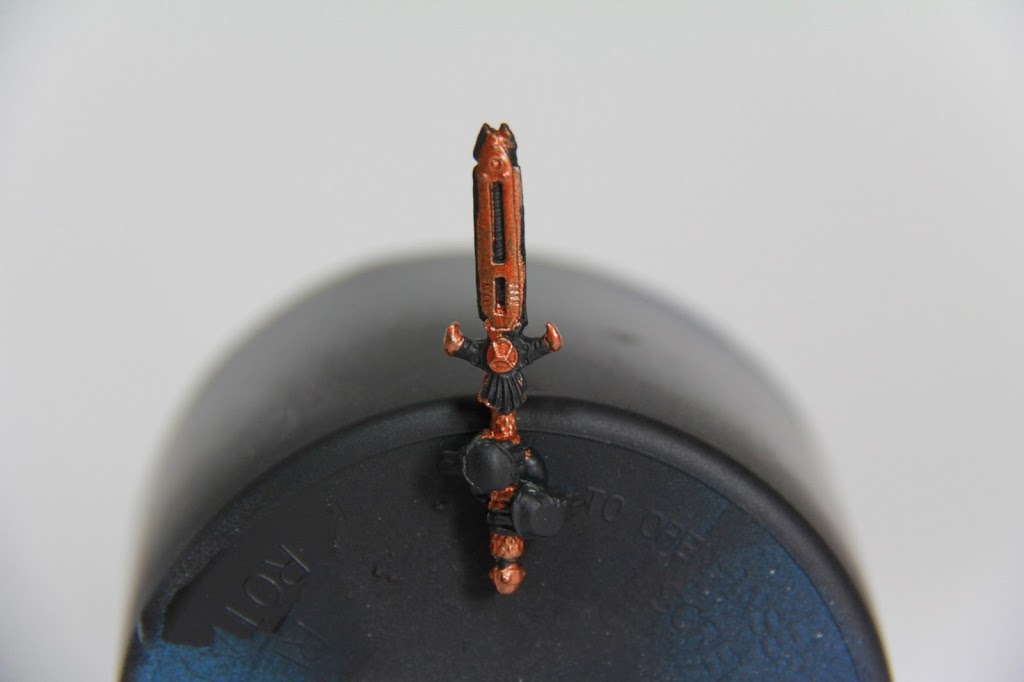
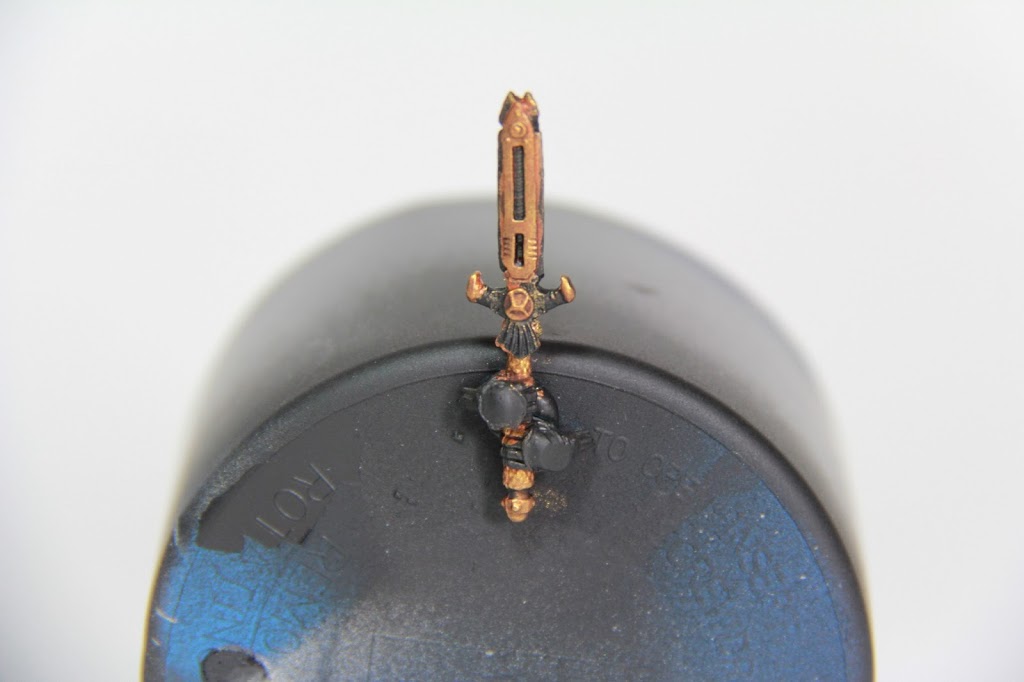
After the white, I’ll tackle the Gold areas—I start (over the blue again, gah!) with a coat of GW Brass Scorpion, which is a nice reddish color that will give a richness to the final product.
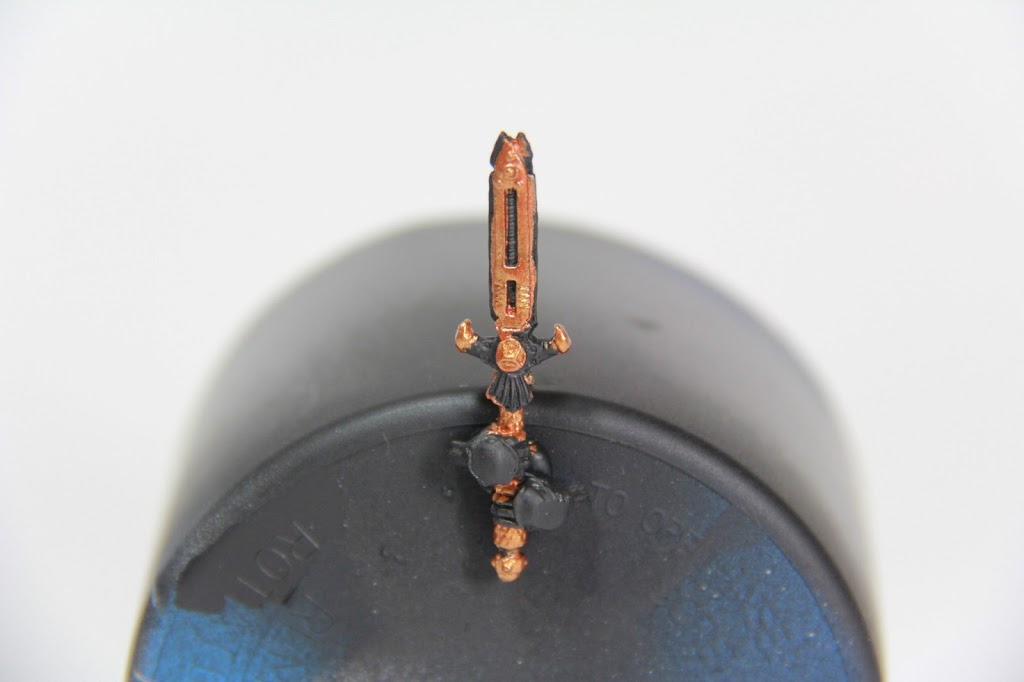
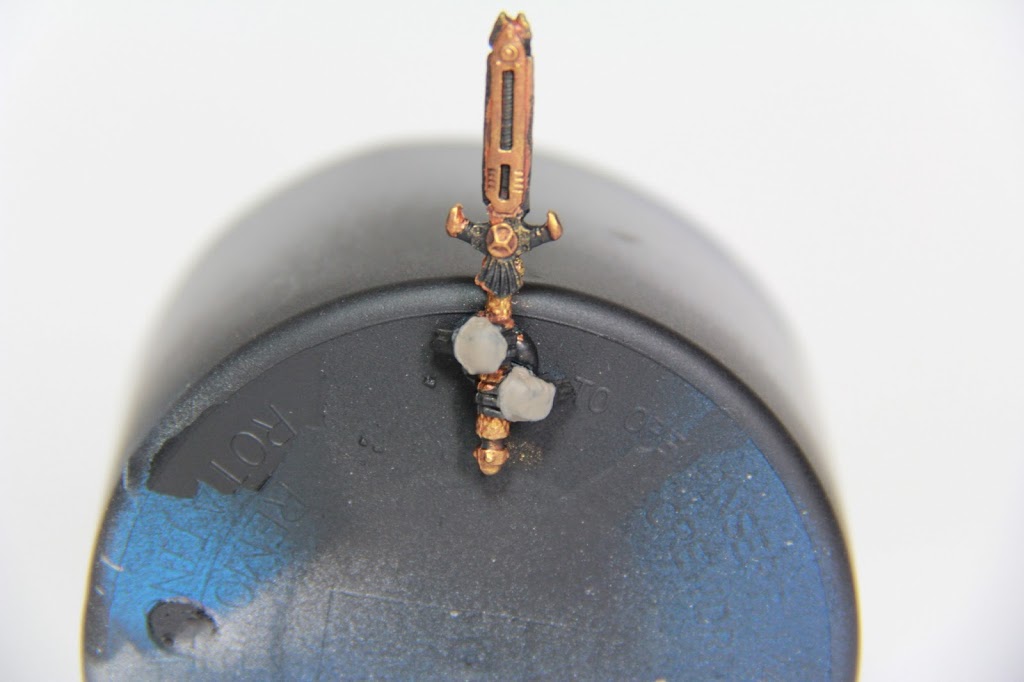
From there I apply a fairly liberal coat of P3 Molten Bronze.
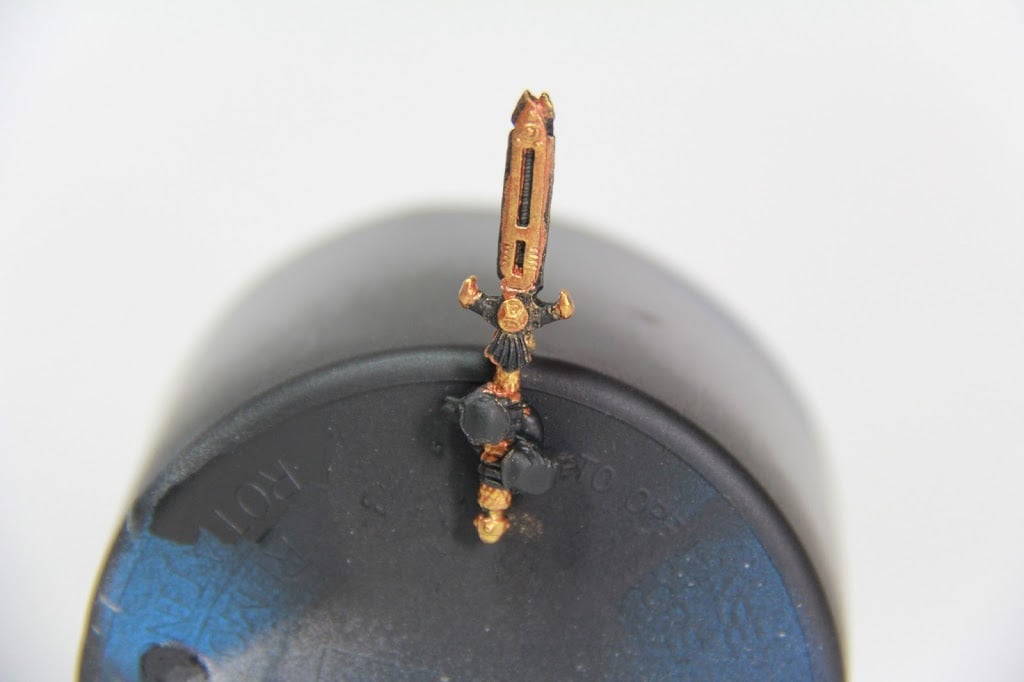
My second highlight is a somewhat less liberal layer of GW’s Burnished Gold, which I just now learned no longer exists. A quick glance around the internet leads me to believe that Auric Armor Gold is their new version of this, but those charts have mislead me before.
I give the Gold areas a quick wash of Agrax Earthshade, being careful not to overwhelm the Gold with too much of the wash—If you wash it too heavily, it gets really dark and dulls the metallic sheen a lot. Some of you might like this look for some really worn golds, but for these regal Storm Knights, I’m sticking to brighter, shinier metallics.
I come back in and apply a quick highlight of Burnished Gold/Auric Armor Gold (???) to the edges of some areas—The middle of the sword, the visor, etc.
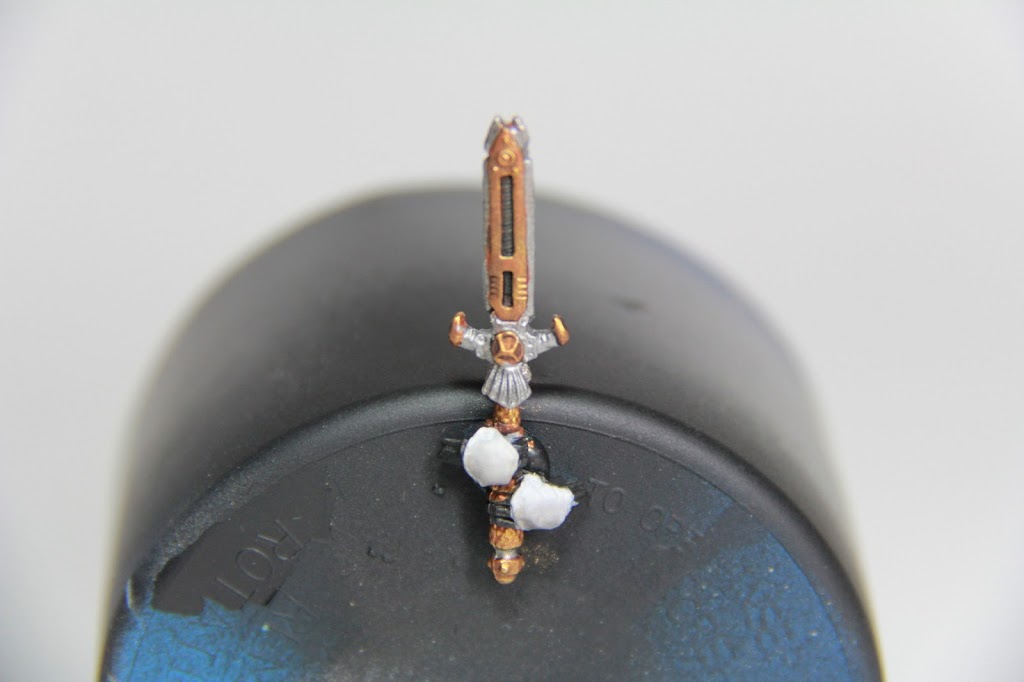
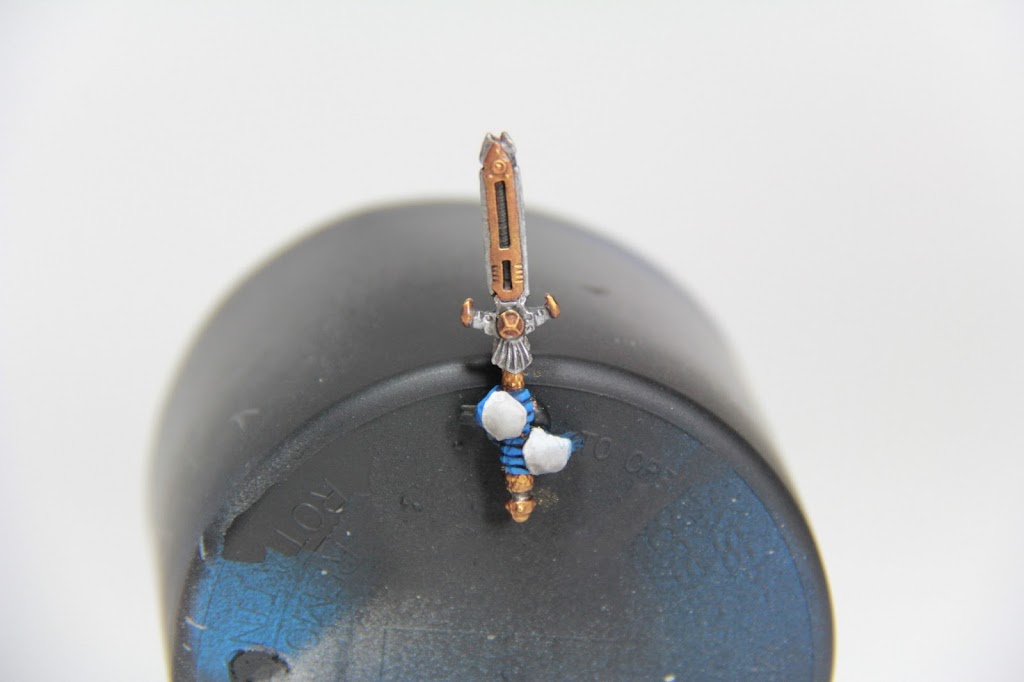
While I’m working on metallics, I’ll move right along to the Silvers: I start with P3 Pig Iron, which cleans up the sword around my sloppy gold painting.
Next I wash the silvers with Nuln Oil.
Finally, I apply some more extreme highlights with P3 Quicksilver.
A word on rivets: I use this same recipe on rivets—what you want to do is paint the entire rivet with Pig Iron, dot it with Nuln Oil to get a nice ring of the wash sitting at the base of the rivet, and then paint only the very edge of the rivet with Quicksilver—They really pop and make the model come together, but I usually save this part for last.
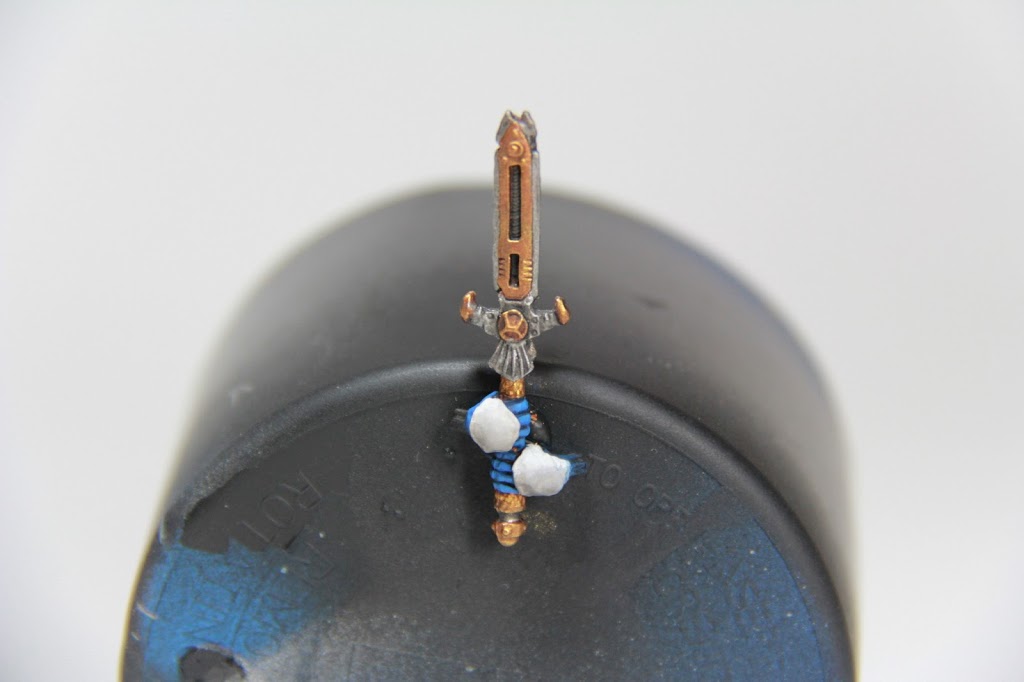
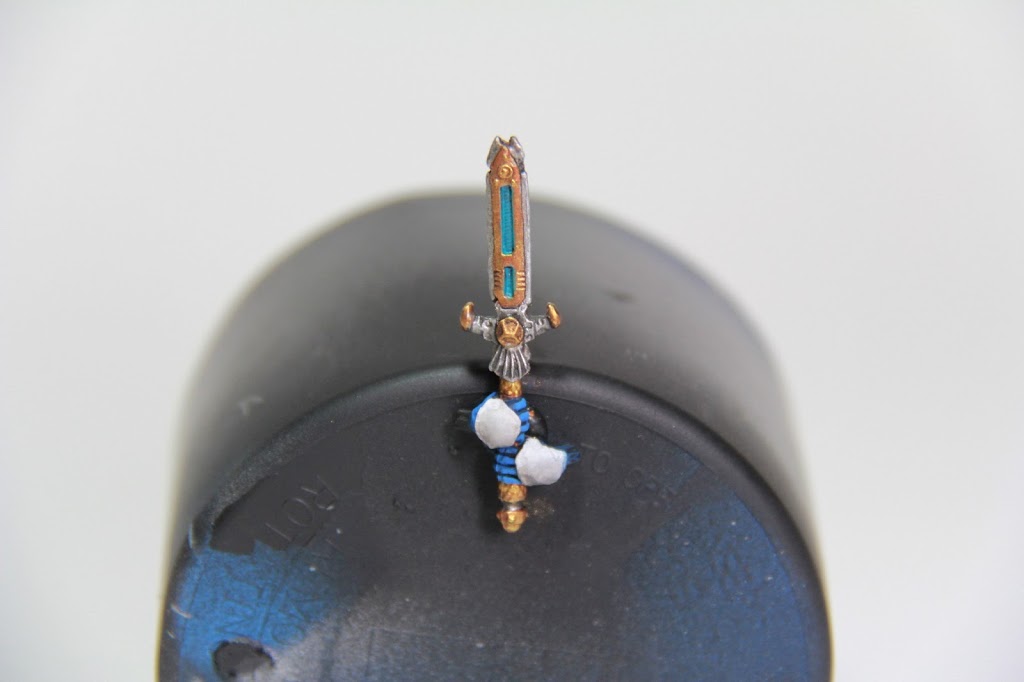
Once the metallic parts of the sword are done, we’ll move on to the lightning-y glow in the middle. To start, I basecoat the area P3 Meredius Blue
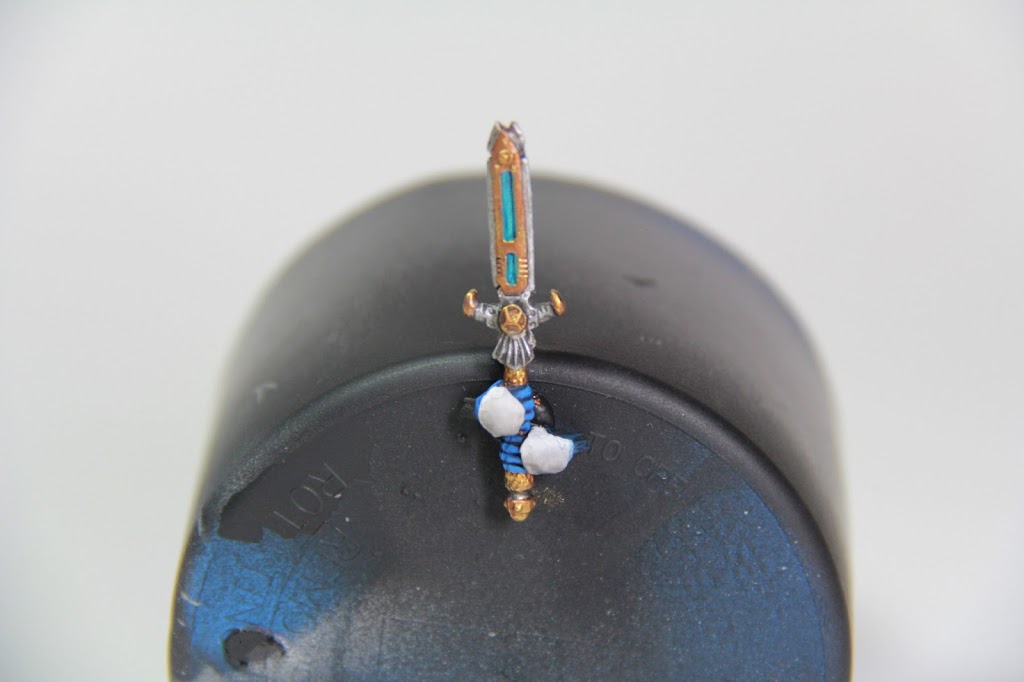
Once that’s dry, I paint the middle with P3 Arcane blue, being careful to leave some Meredius Blue showing around the edges. I do this in a few thinner coats so there’s not a really stark outline between the two colors.
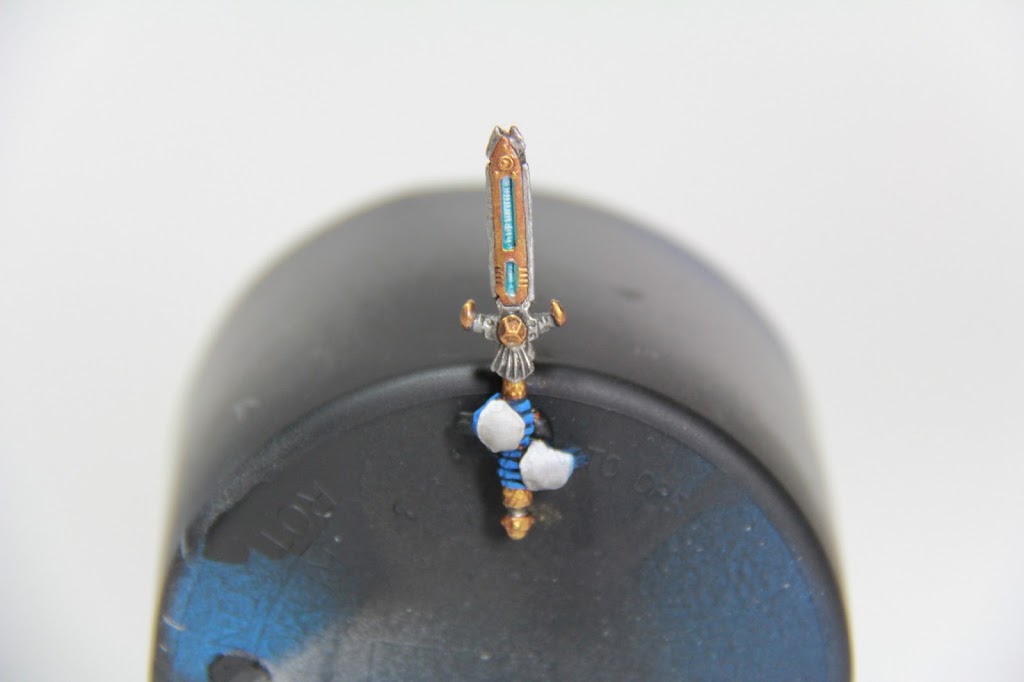
Finally, I take some P3 Morrow White and a smaller brush, and get most of the paint off of the brush, and gently drag it down over the ridges in the lightning area (I need a better name for this part of the sword). This will pick the ridges out and give you a really cool look. It works out a lot like drybrushing, but don’t be too frantic with it.
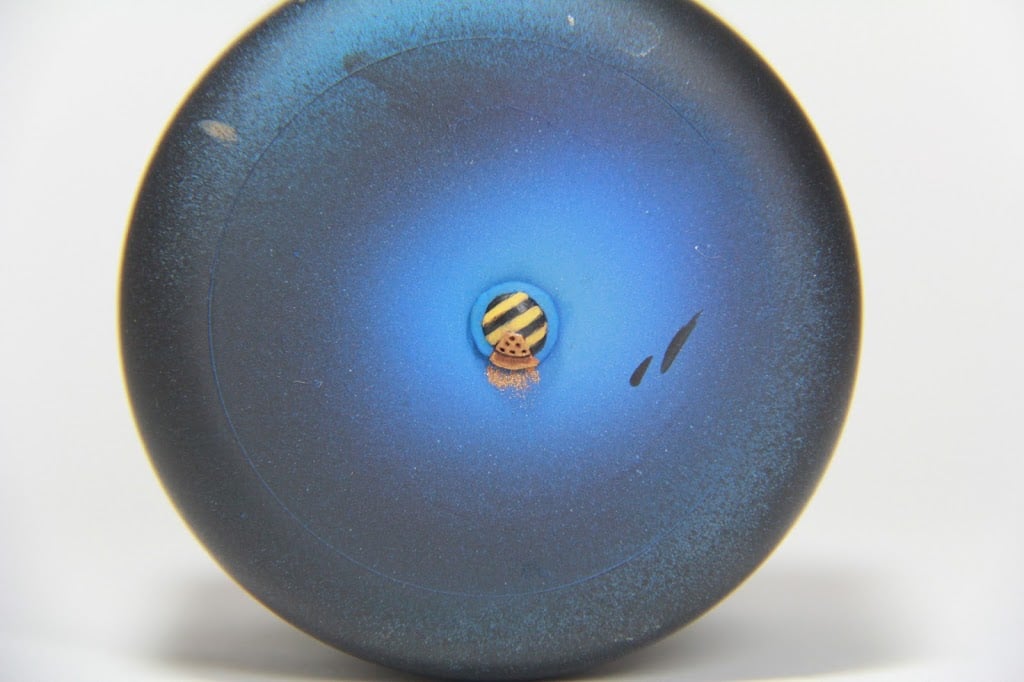
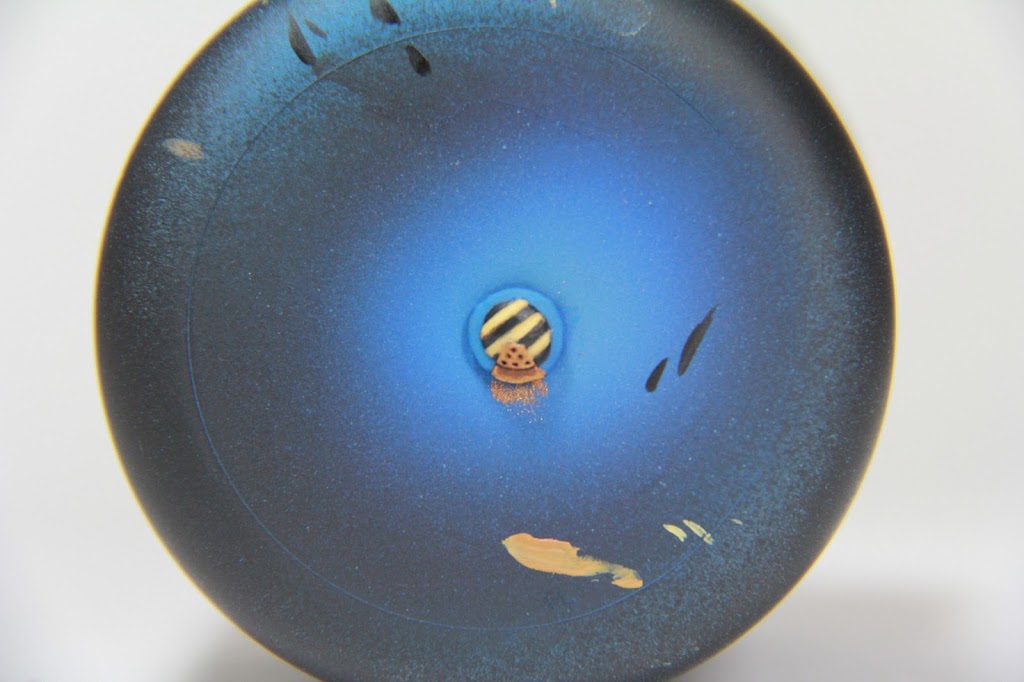
Now, one of the more involved painting elements in the project is the Hazard Stripe pattern on the Shields. I like armies to have some element that distinguishes them, and I think Hazard Stripes are a really cool industrial element that I’m incorporating into a lot of my Cygnar models. On a larger area I could probably just mask them off, but for an area this small, I’ll go ahead and freehand the pattern.
First, I paint the shield blue like the armor, and then paint the raised circle in the middle P3 Thamar Black.
I start with RMS Chestnut Gold, and just paint 3 rough lines where I want the stripes to eventually end up.
I take more Chestnut Gold and try and bulk the lines up some to give them a more-or-less defined “body.”
Once I’ve bulked the yellow lines out quite a bit, I come back in with Thamar Black and do my best to paint a straight line—The goal here is to create yellow and black lines all of the same relative thickness, and to clean the yellow lines up quite a bit. This all being said, it’s a free-hand process, so I usually have to go back and forth a few times before I get it the way I want it. I’ve found it usually gets worse before it gets better, but if you stick it out, the results are definitely both achievable, and worth the headache.
Once the lines are formed by the shot-in-the-dark freehand process I outlined above, I highlight the yellow lines with RMS Palomino Gold.
I come back in with one last highlight on the yellow lines with RMS Buckskin Pale. Once I’ve gotten these highlights down, I apply a quick glaze of Agrax Earthshade which will tint the lines into a nice earthy, weathered yellow.
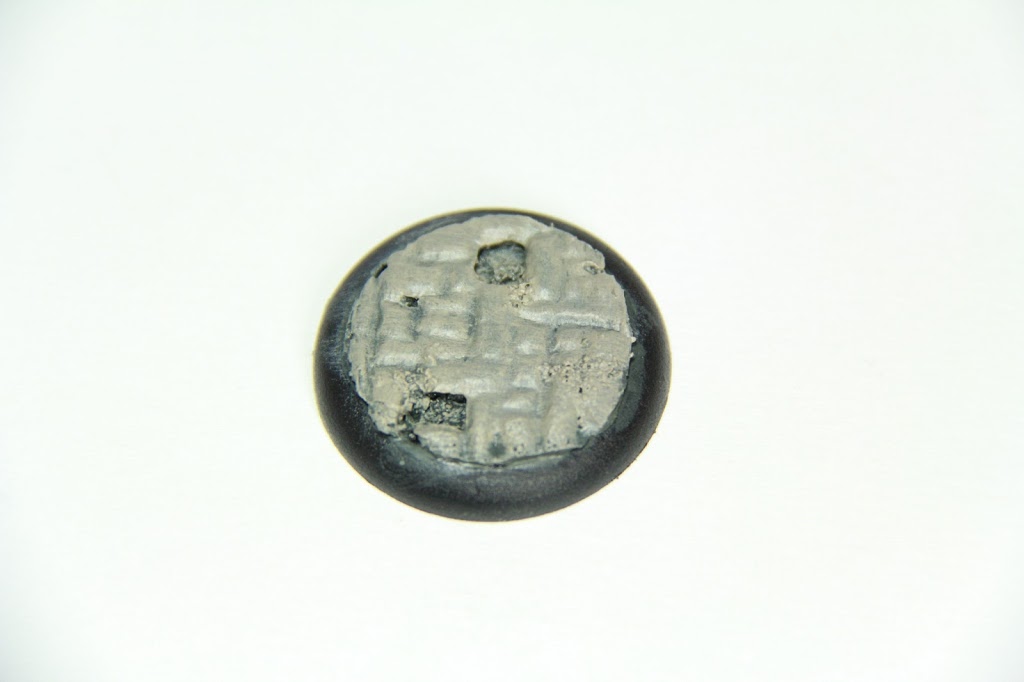
Finally, the base. I use the same cobblestone technique GentleBen outlines here with a few modifications. I’m going for a sort of weathered, gritty steampunk city vibe, so after I draw in the cobblestones, I take an Xacto knife and cut one or two out—These will end up being sort of puddles where stones are either missing or recessed too deeply.
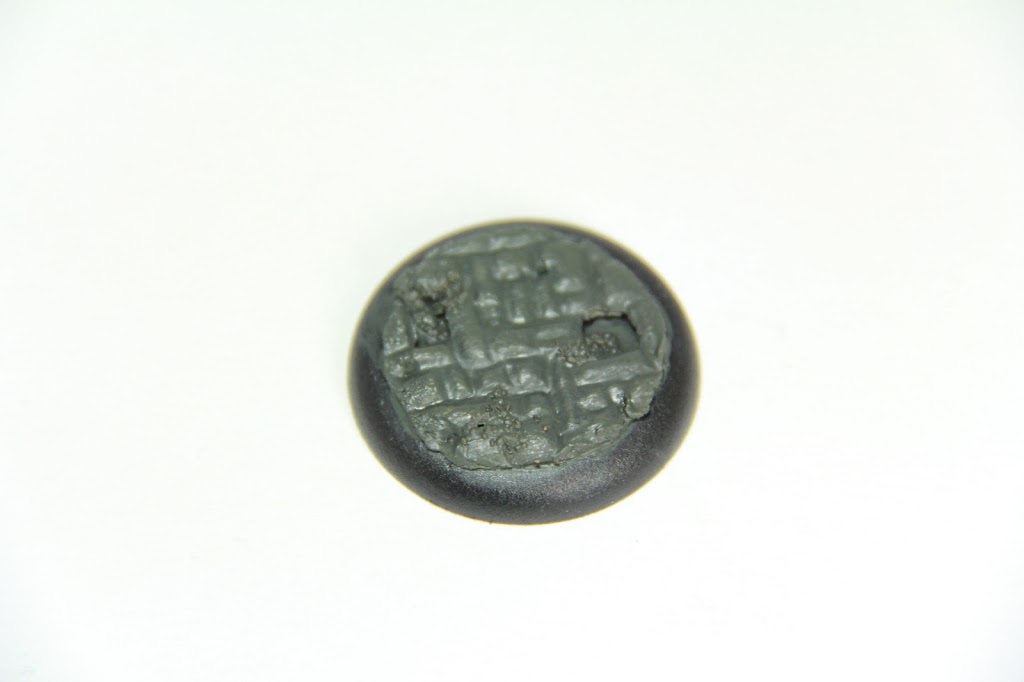
My Cobblestones are painted with a sort of an Earthy Grey in mind—So I start with a liberal basecoat of P3 Cryx Bane Base.
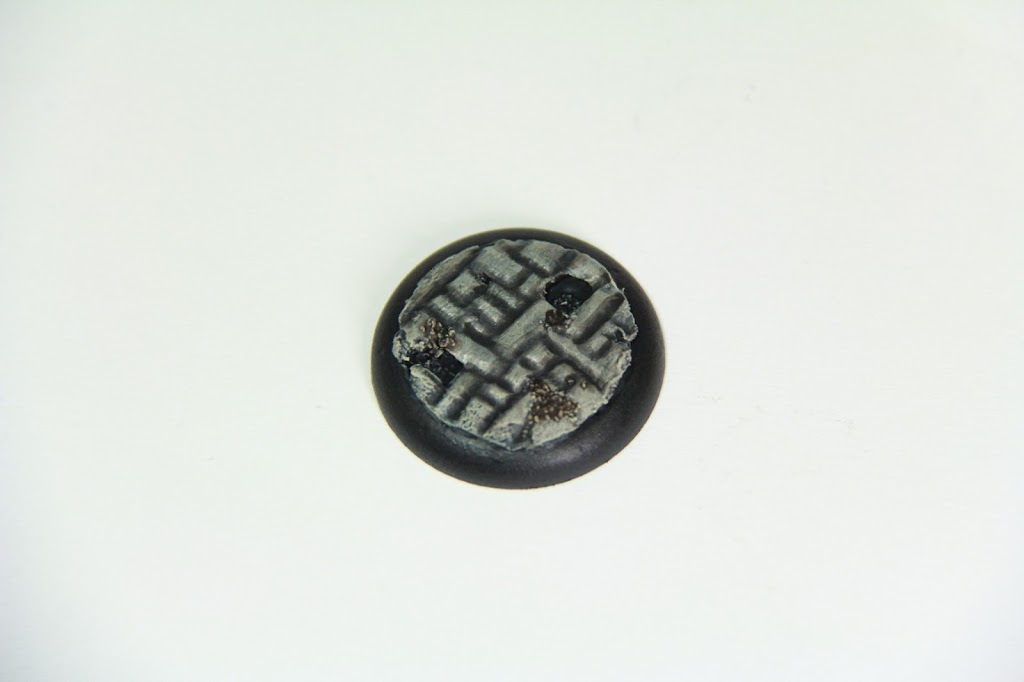
Once that’s dried, I drybrush (somewhat heavily) some P3 Cryx Bane Highlight onto the cobblestones. At this point, it’s not going to look very good (as evidenced by the picture). Stick with it! It gets better.
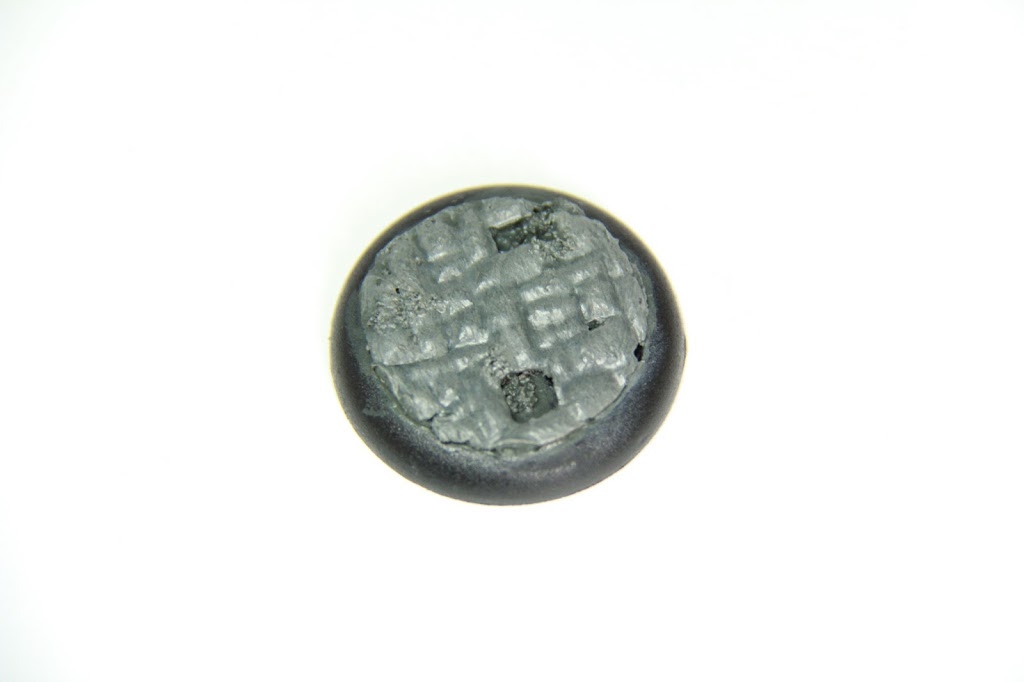
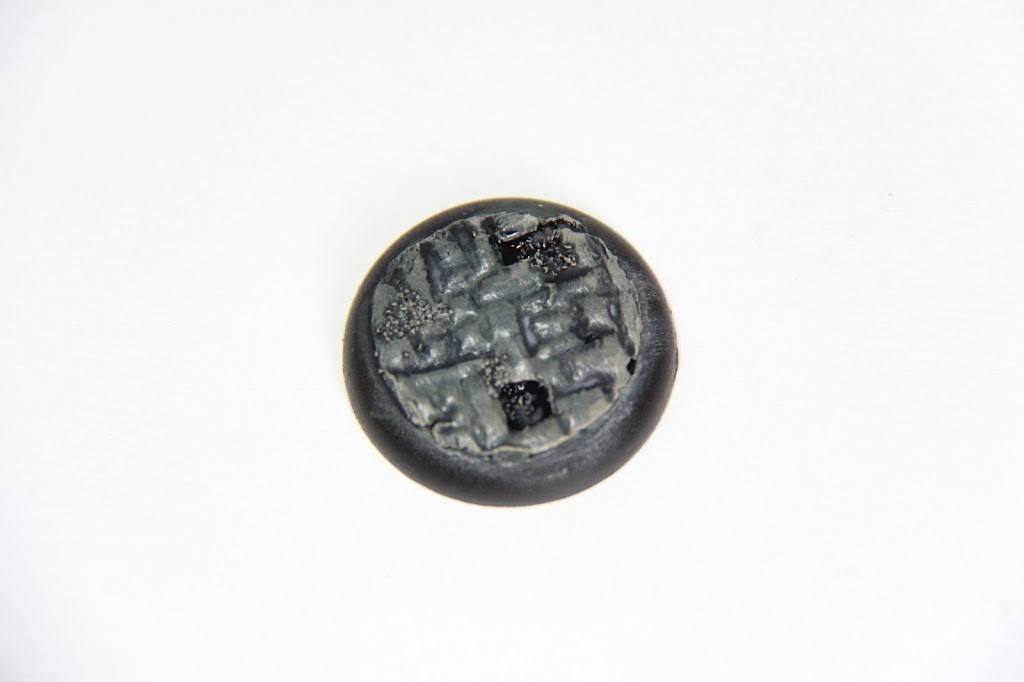
I drybrush (also heavily) again with Hammerfall Khaki, and the base looks even worse.
I begin to reclaim the base with a wash of 1:1 Nuln Oil and Drakenhof Nightshade.
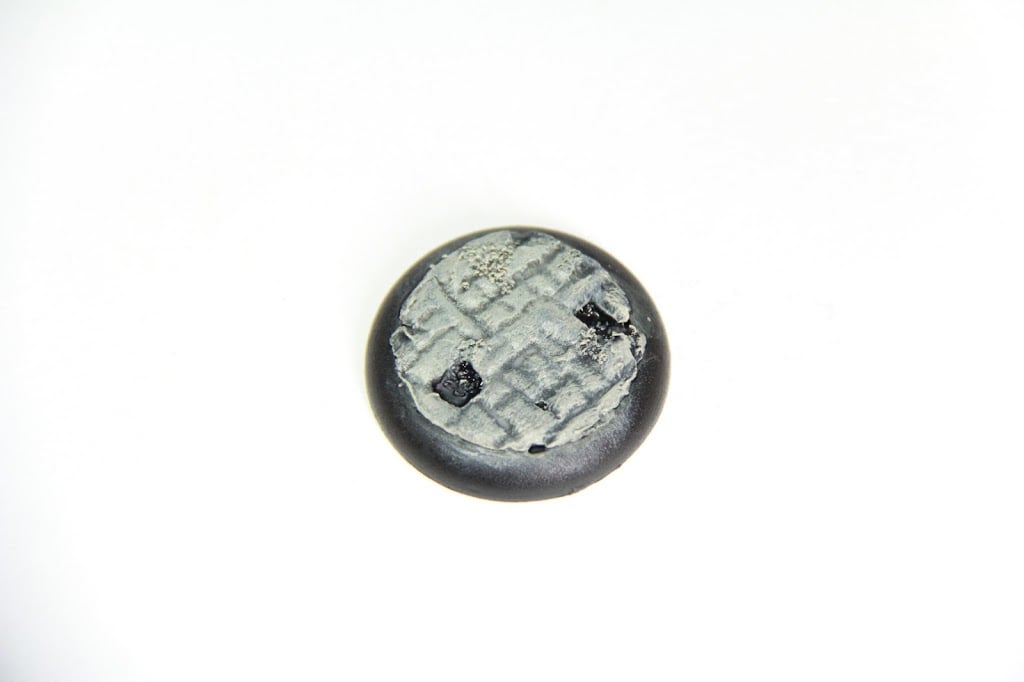
When the wash dries, I drybrush again with Bleached Bone (which apparently doesn’t exist EITHER. Gah! Allegedly, Ushtabi Bone is the same thing, although I haven’t found this out for myself yet).
So this is the step where patience pays off. I take Nuln Oil and trace the lines between the cobblestones, and everything is finally right in the world.
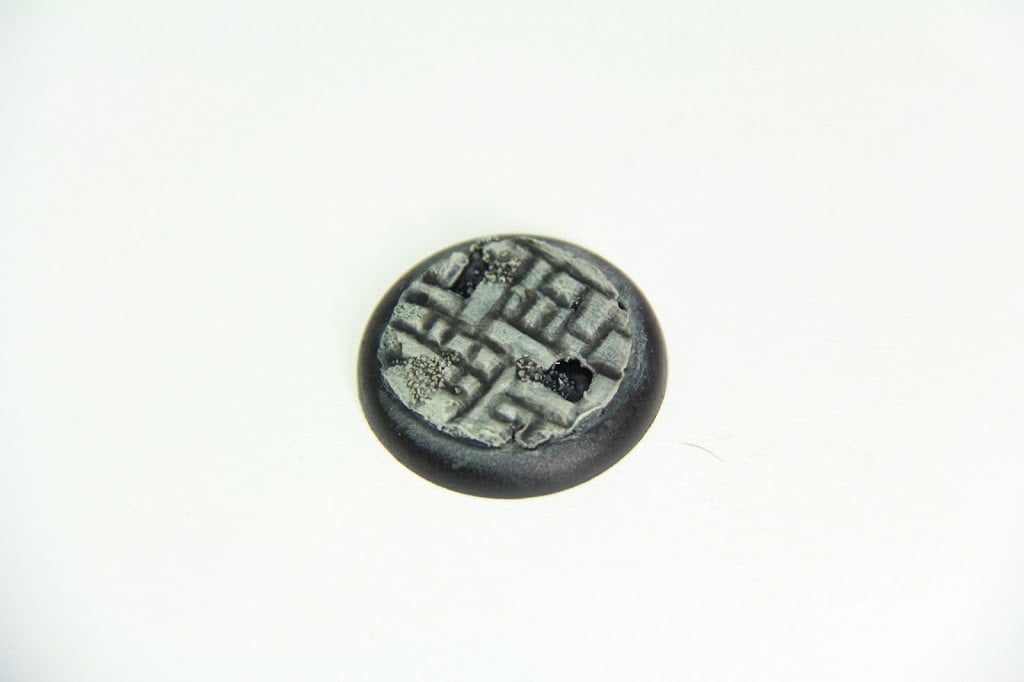
From there, you can apply some Agrax Earthshade to a few spots, and to the rubble/gravel to differentiate them somewhat.
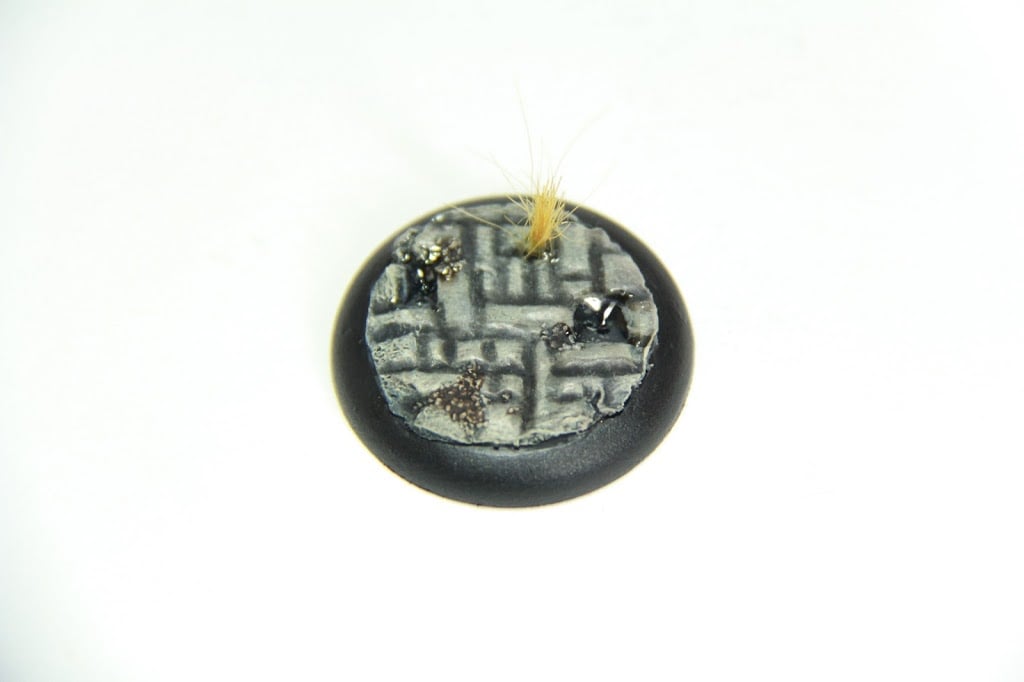
Once I’ve got the base varnished (I use Liquitex Matte Varnish through my Airbrush, but I’ve heard good things about Testors Dullcoate), I get some Woodland Scenics Water Effects (which I’ve put in a dropper bottle for easier use) and fill up the areas where I cut the cobblestones away. You can also put a few drops on the crevices between stones (if they’re deep enough) to make more of the street look wet.
Once the Water Effects are dry, I put some grass onto the base between the stones like GentleBen does in his article.
From there, I pin the model to the base. There needs to be a pin going straight from the foot of the model into the plastic base or they’ll just tear off and take the foam with them.
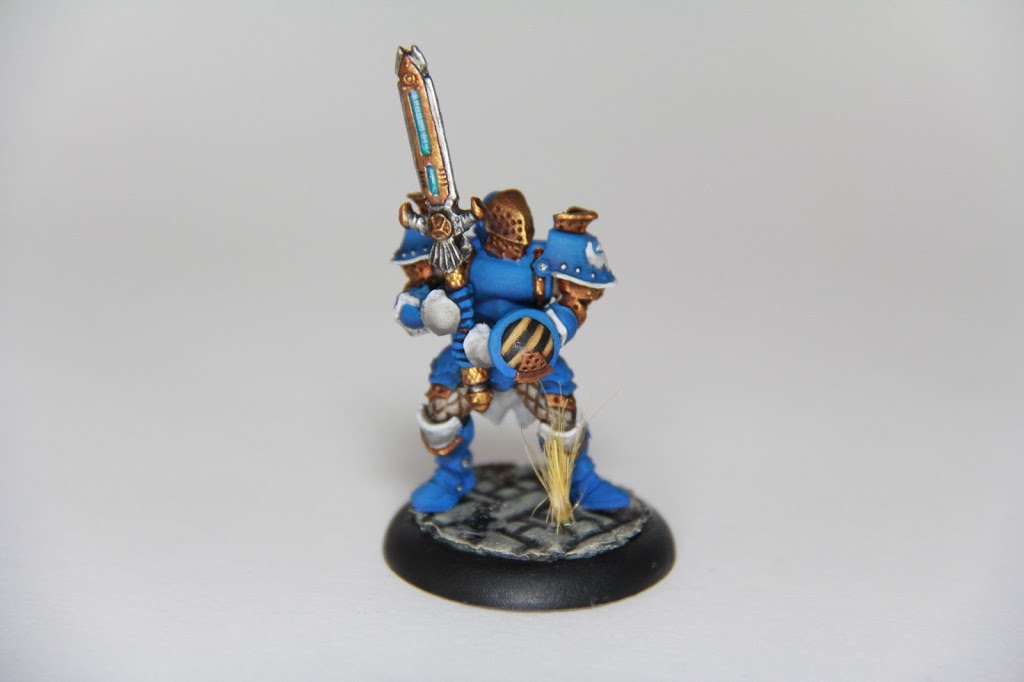
After all that’s done I go back and do some quick touch ups, (specifically on the shadows, always more shadows!) and here’s what I’ve got! If you’d like to see more photos of the finished products (and GentleBen’s great Khador Table), I’ve got a few more photos up on my Blog.
–So, the techniques and color recipes in this article are more or less the foundation for the work I’m doing on the rest of my Cygnar army. Stay tuned, I should be back soon to tell you guys all about my quest to reclaim my title of Master Craftsman at WarGamesCon 2013! Until then, how are you guys liking the newer Privateer plastics?
Author: Larry Vela
Advertisement

