HOBBY: Alaitoc Wraithknight Reporting for Duty

I’ve been playing Eldar since they were packaged as Space Elves – there was zero chance of not painting up a Wraithknight!
Now, first a little review of the kit.
Wraithknight Kit Assembly
I have heard that the instructions are tricky and that you have to really be careful with the kit or you will screw things up – HOGWASH!*
You noticed the asterisk didn’t you? Well, *something has occurred over the last couple years or so and the Wraithknight really drills it home. Remember back when you tore open that Rhino ten years ago, glanced at the instructions, tossed them aside and cut off the pieces, figured it out, and ended up with a Rhino? You can’t do that any more.
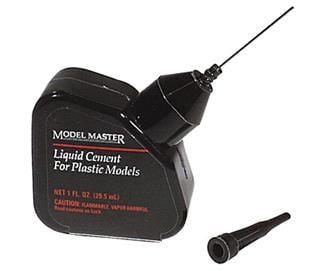
I came from a background of childhood scale modeling, so studiously studying the instructions, carefully dry-fitting each piece and assembling them with just the right amount of Testors liquid model cement was drilled into me.
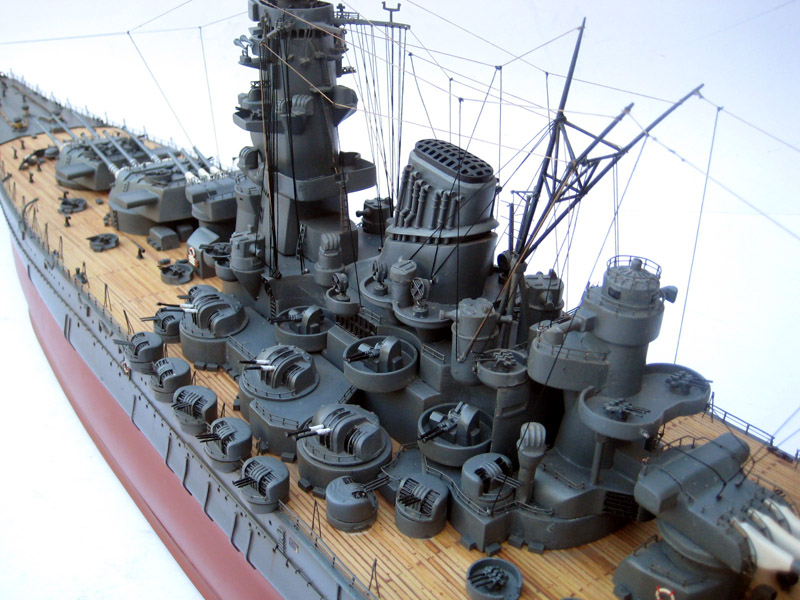
There is no way you could ever build something like this battleship ‘just winging it’ and Games Workshop kits are now “real” scale models style kits. They have reached a level of technical detail and number of pieces that require you have to follow the instructions. Nuff said.
My Kit
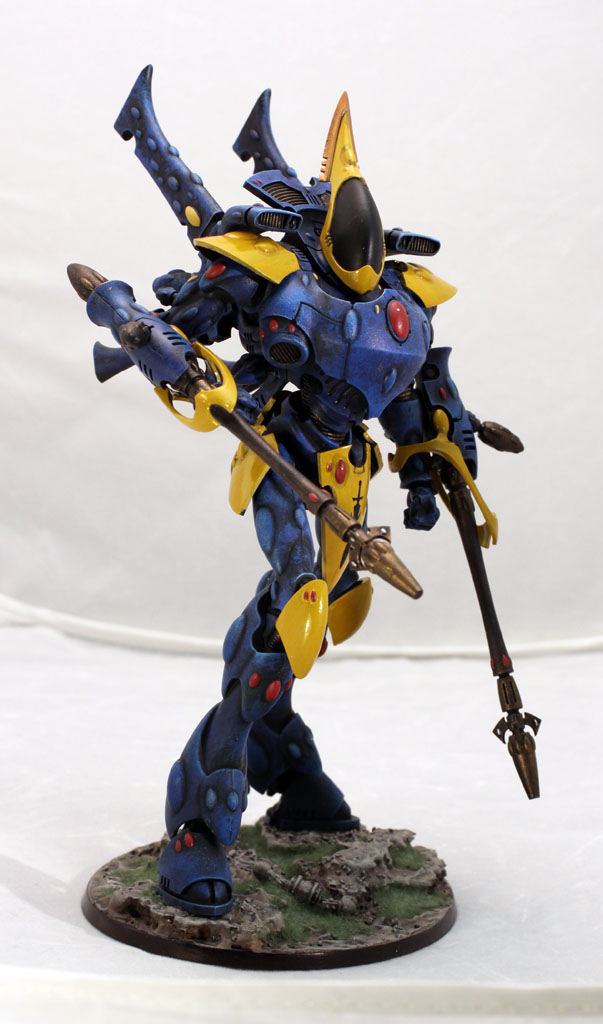
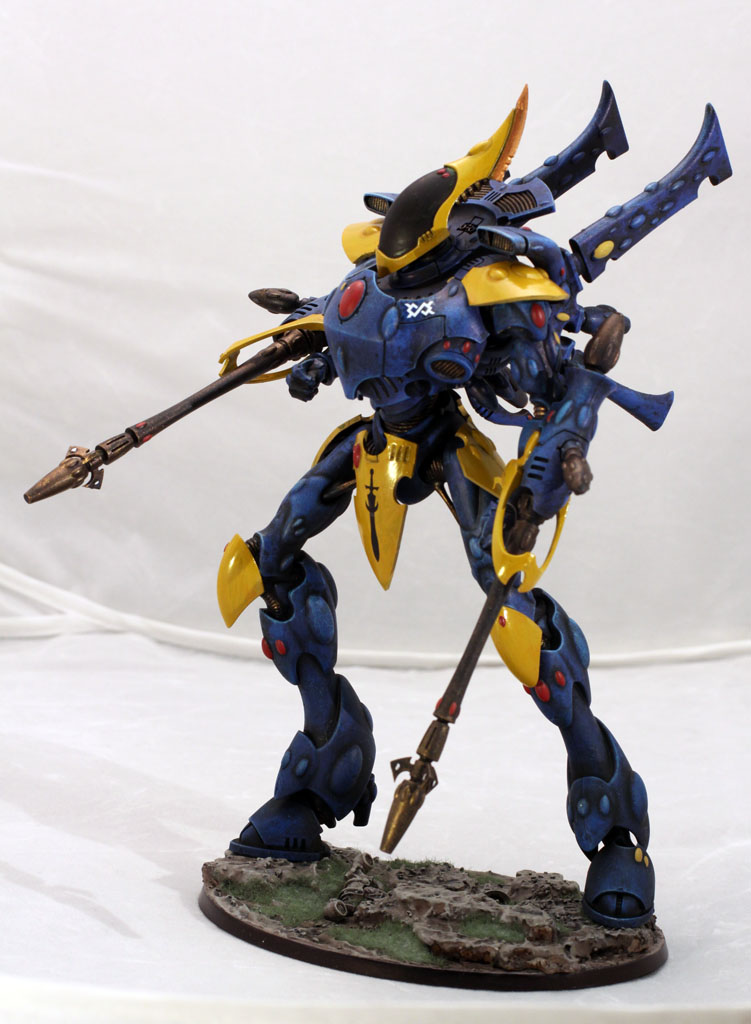
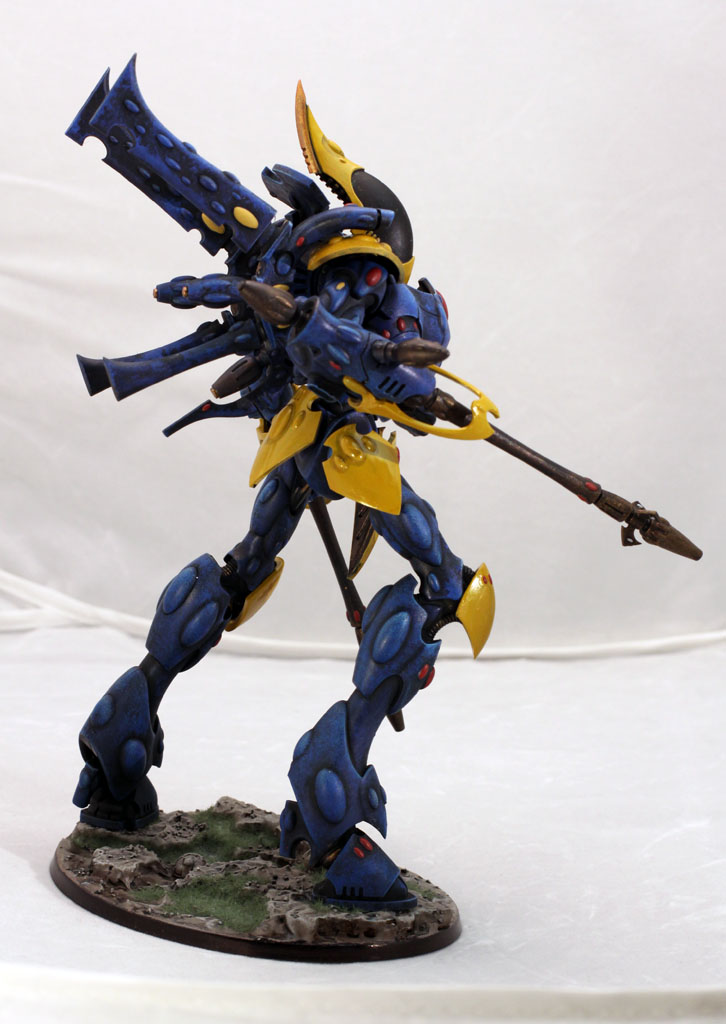
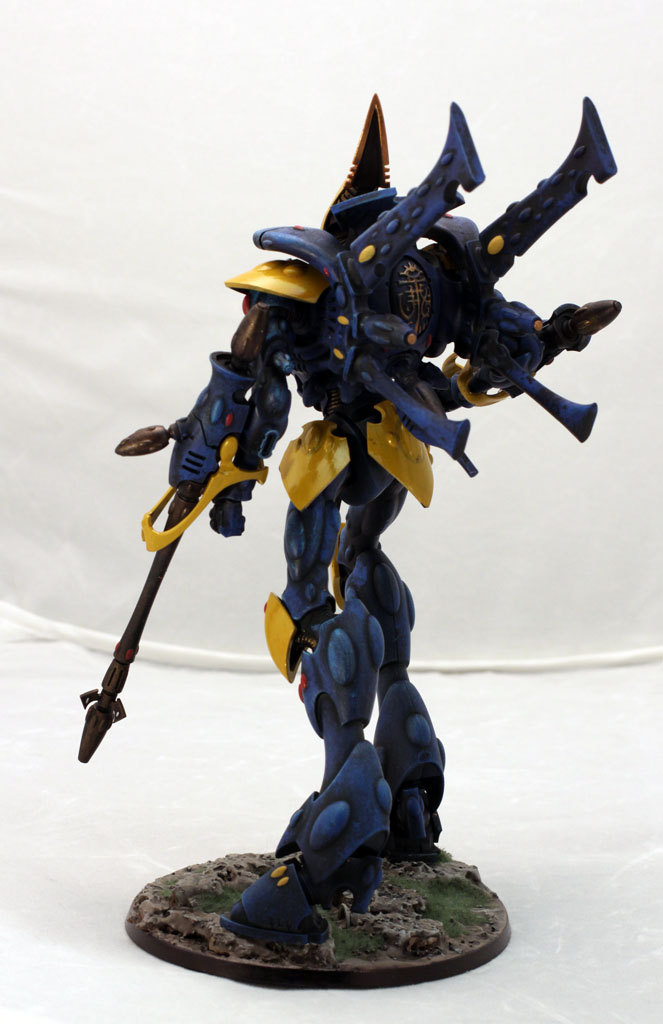
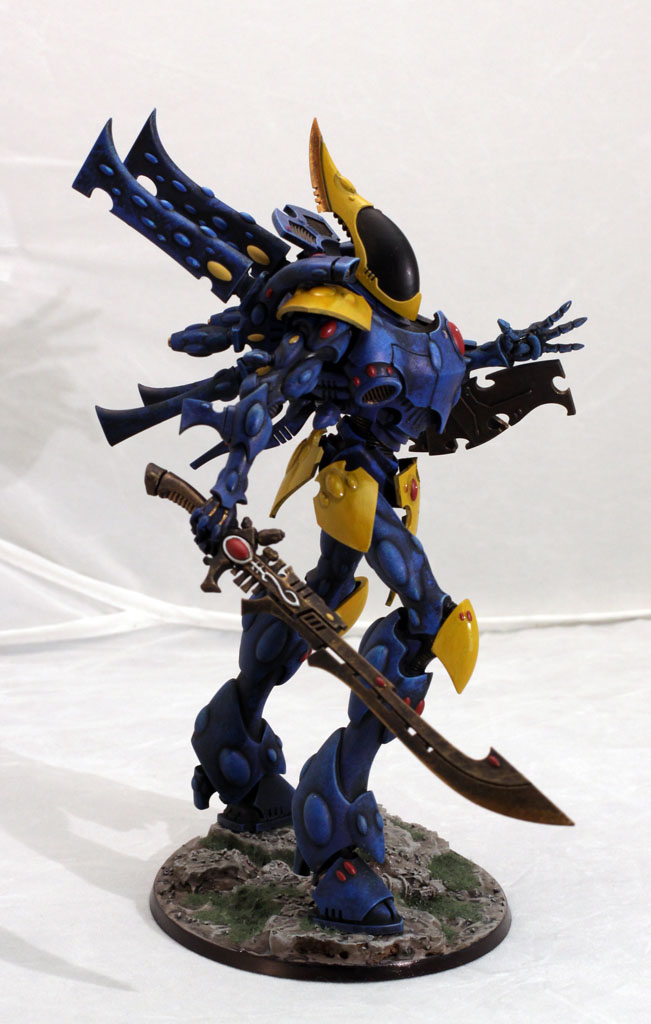
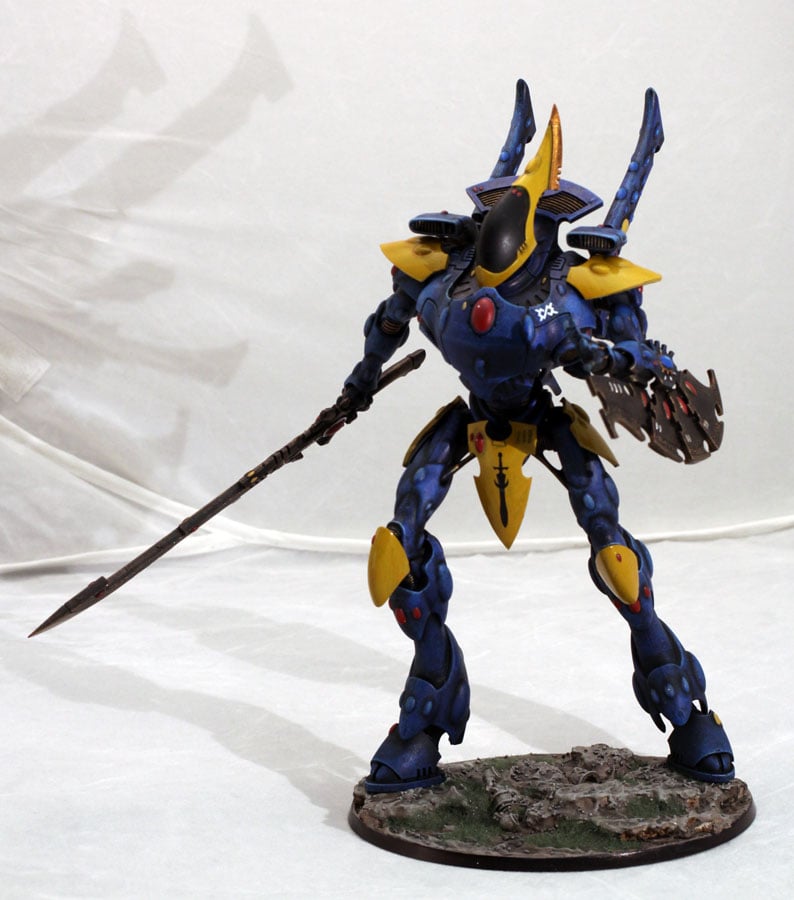
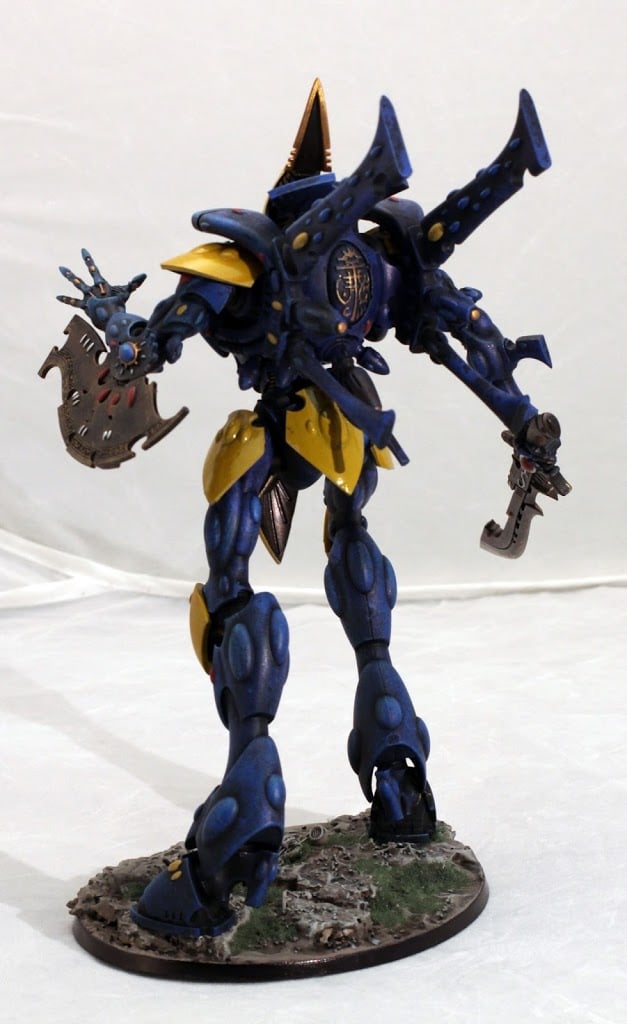
So my Alaitoc Wraithknight. I put the kit together over a day, with no issues, but I strongly recommend not attaching the torso to the legs, and putting aside all the “trim color pieces” like the side skirts, head, shouldercovers, those funky bracelet thingys. You can paint them a contrast color separately and glue them on last. Trust me – it’s WAY easier that way.
I magnetized two sets of arms with off angle drill holes, so the arms had a sense of motion instead of drooping, even with the ball and socket joints.
The Paintjob
You guys know me, I just can’t play with silver, or grey plastic so while I like a nice clean final product, I’m always looking for the shortcuts. Now you wouldn’t think Eldar would be a place for Drybrushing, but you would be wrong.
Alaitoc is a really simplistic scheme. You spray on black, then drybrush up through the following, ever more lightly with each step:
Regal blue
Enchanted blue
Electric blue (vallejo)
White
Now I use a very large brush on these as the model is quite large, and on those final 2 steps (electric and white) virtually no paint is going on with each pass.
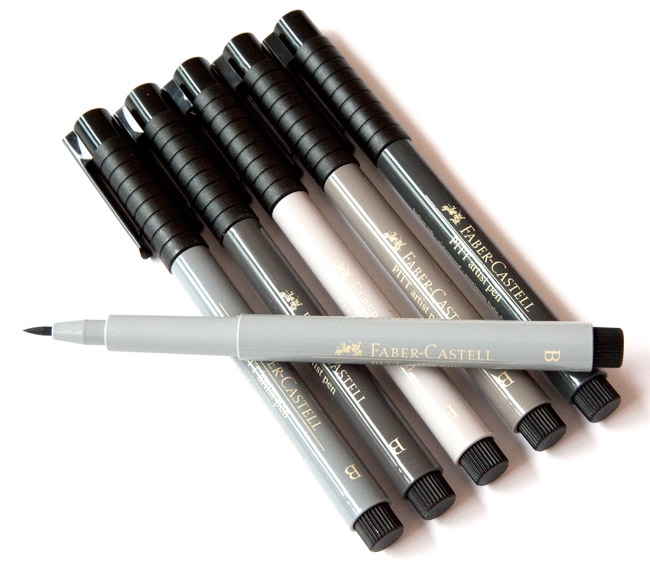
Next was using a felt tipped brush pen from Faber Castell to draw in the shading around the cracks and areas you wish to accentuate. build up darker shadow with multiple passes. It is both simple, precise and fast. Why waste time, paint, and your valuable brushes. These pens are dirt cheap.
Next was detail work on the gems using standard foundation paints, such as Macharian red with simple highlights.
Several folks have asked about the high-gloss finish on the yellow trim pieces. That is simply Iyanden Darksun with a full strength glaze of yellow ink. The ink saturates the color and dries to a hard candy high-gloss finish, almost like you see in scale model cars. It provides a great contrast to the matte finish of the drybrushed blue body.
Then is was a very minimalist pass of decals and my default cork-drywall spackle basing for stability (with some Chaos bits thrown in as debris because – hey screw those plastic dudesmen and their Heldrakes!). The Wraithknight is screwed into the base from below – he’s not going anywhere.
I have found from my titan painting days that a simple color scheme with limited high-contrast trim colors works better on these large models. Going with something super detailed and complex on such large models often just overloads the eye and diminishes the look of the big kits.
I hope you like it, comment away.

