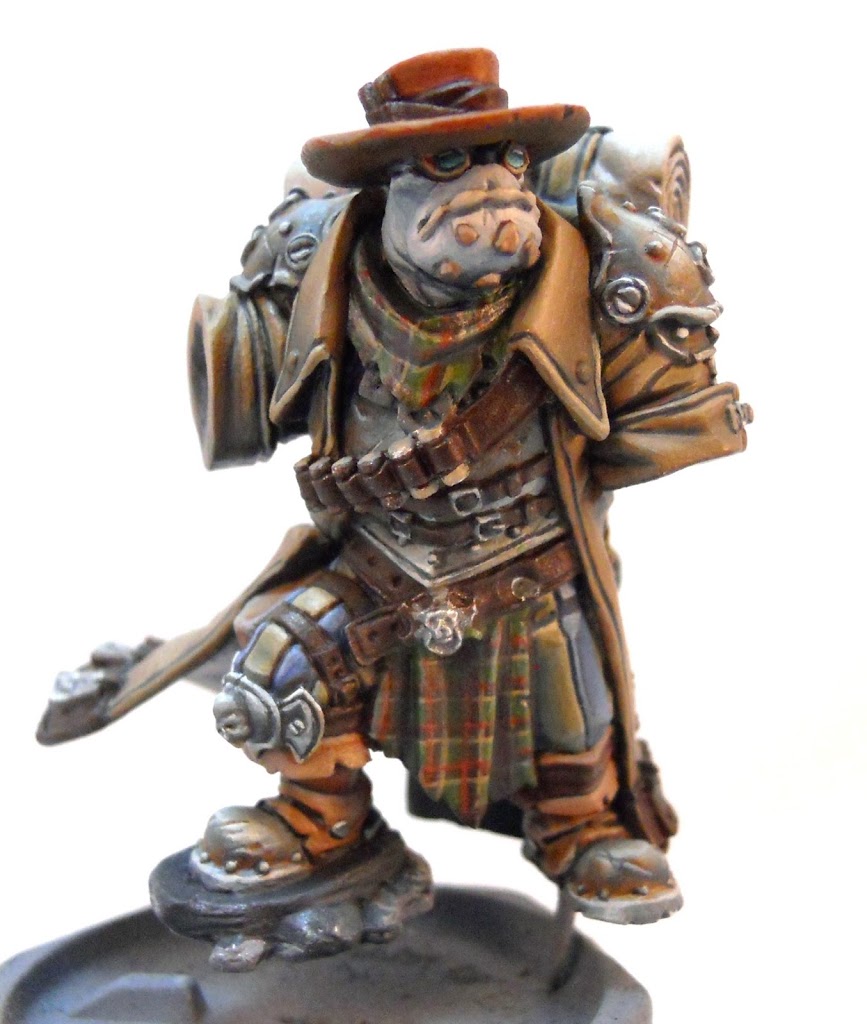
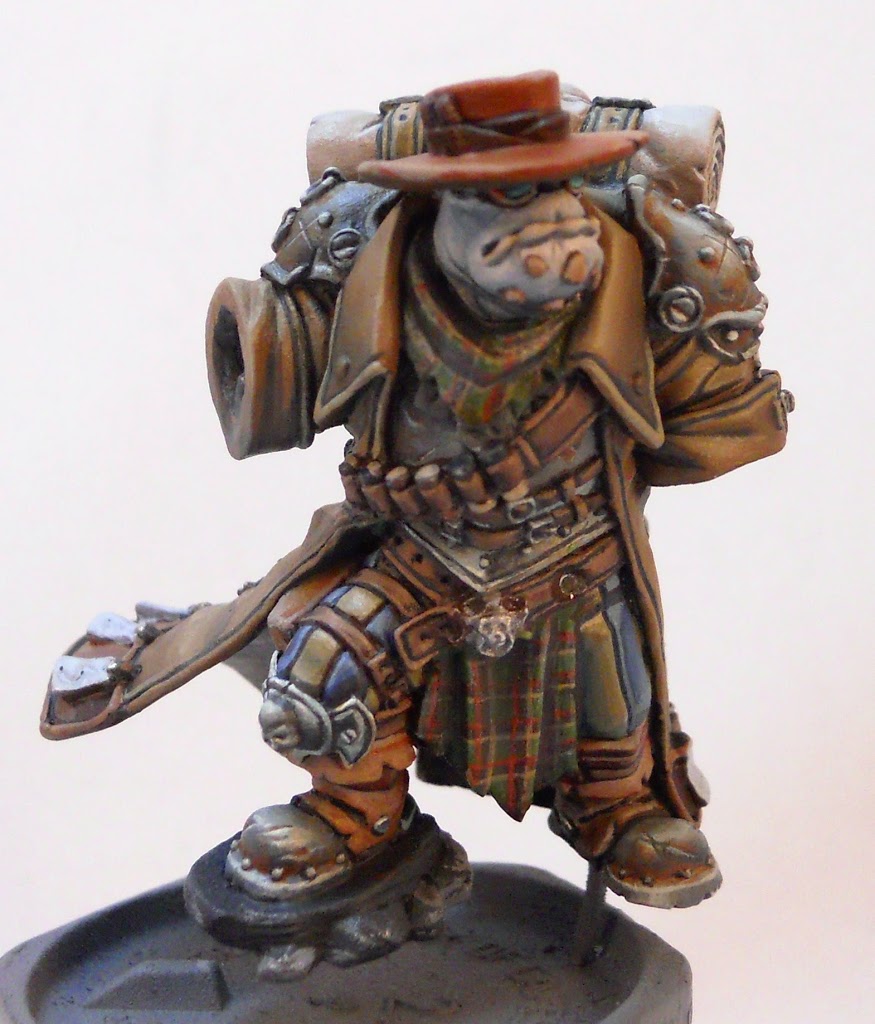
SHOWCASE: Painting The Award-Winning Hunters Grim Pt.1

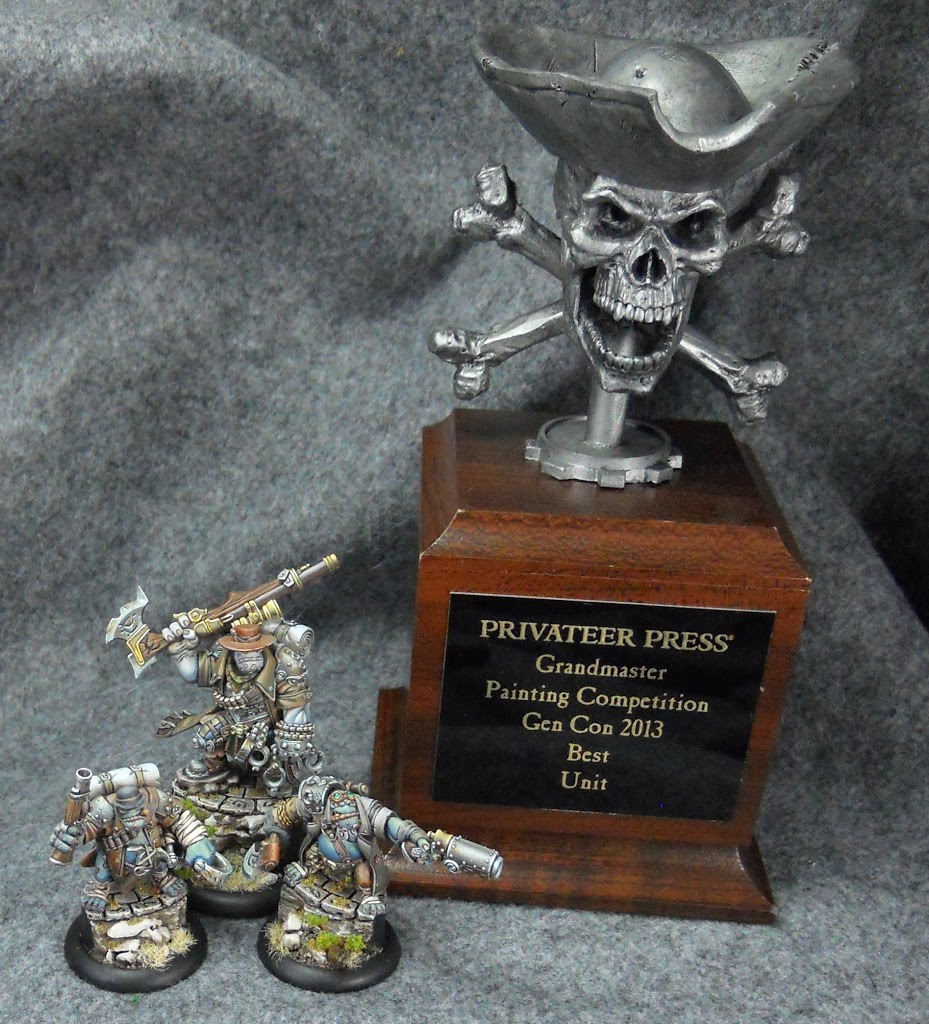
Whoohoo! Here is how I won my 3rd P3 Masters trophy fellow painters. Sometimes all that hard work and dedication pays off!
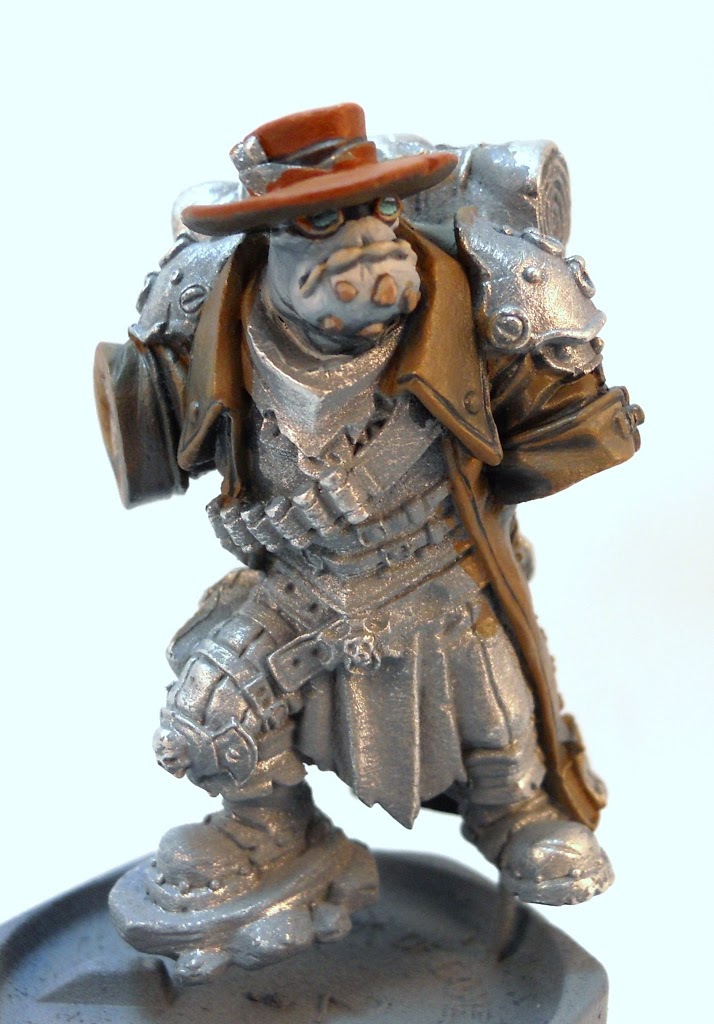
First off I’ll answer an obvious question. Yes there is a reason why I’m painting on bare metal. Sometimes the Texas heat can get the best of anyone. In the summertime here it can get hot enough to dry your spray primer in mid-air. If this happens, you end up with a model with a crusty texture that’s pretty terrible for painting. Such was the case with Grim Angus here. And his Pyg companions for that matter. The only solution was to take a wire brush and scrape most of it off. I just didn’t have the patience to spray him again and risk having to repeat the process. The upside is that all that brushing left me with an incredibly smooth surface to paint on. The downside, as you probably already know, is that painting bare metal means the mini is incredibly susceptible to chipping. Moving on…
The goggle rims get a basecoat of Bloodstone which is highlighted with Frostbite. As for the technique on the lenses; that will be shown near the end. While I have the Bloodstone out I also paint the hat. I never really had any intention of finishing it right then, but its a big part of the face and it’s important to be able to see how it all looks together.
Next its on to the coat, which gets a basecoat of Gun Corps brown.
The Gun Corps Brown is shaded with Navy Mix…
And highlighted with Menoth White Highlight
There are some really subtle folds on the back of his cloak that were tough to get right.
Now it’s on to some more non-metallic metal parts. I was trying out some new color combinations here, and began with a baseoat mixed of Underbellly Blue, Bloodtracker Brown, and my Navy Mix. This was highlighted by adding Underbelly Blue to the original color, then some Menoth White Highlight.
Some rust is added by stippling on some very thinned down Bloodtracker Brown in a few places.
A few final highlights are added with Menoth White Highlight and Underbelly blue to add definition to the various rings and rivets. Then I throw on a little battle damage painting on a stark line of highlight with a contrasting line of a darker color directly above it.
And here are some shots of the knee and boot being painted with the same techniques.
And now we’re gonna skip ahead a few steps to Grim’s chains. It’s the same color palette, just yet another shape to show some NMM technique on. I basecoat the area with a mix of Underbelly Blue and Menoth White Highlight. Then I hit it with a wash of GW’s Agrax Earth to add some quick shading and definition. Then the top of each chain gets a strip of Menoth White Highlight.
A dark strip is then added down the middle of each chain. Along the bottom of the chains the lighter tone is left untouched. This creates the illusion of light reflecting up from off the ground.
Now the tough part. Blending it all in.
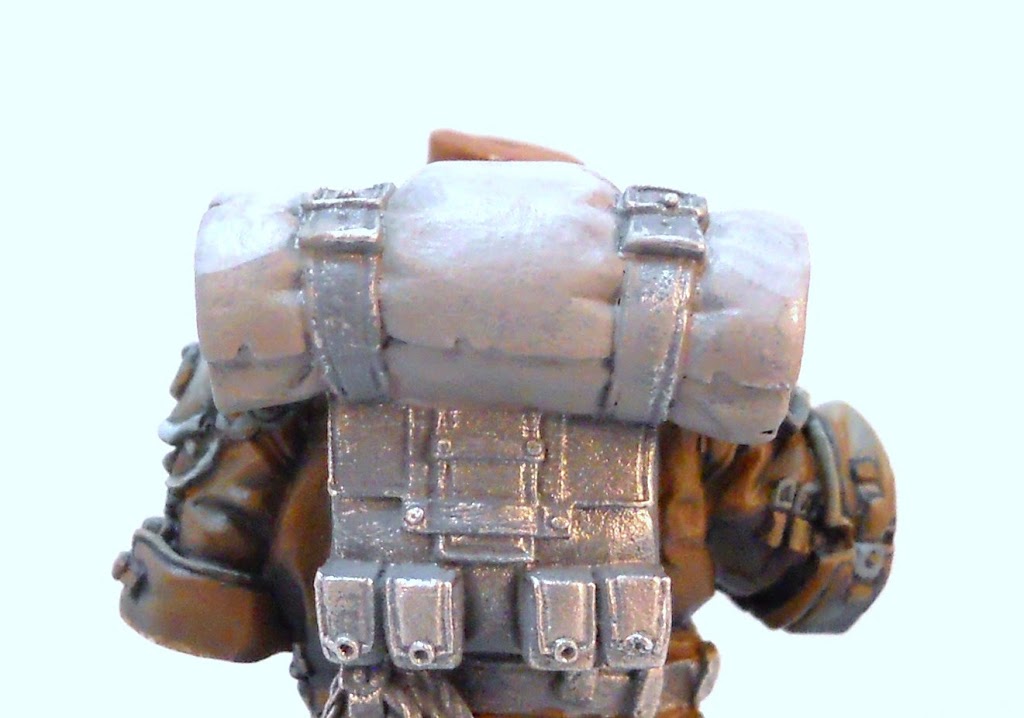
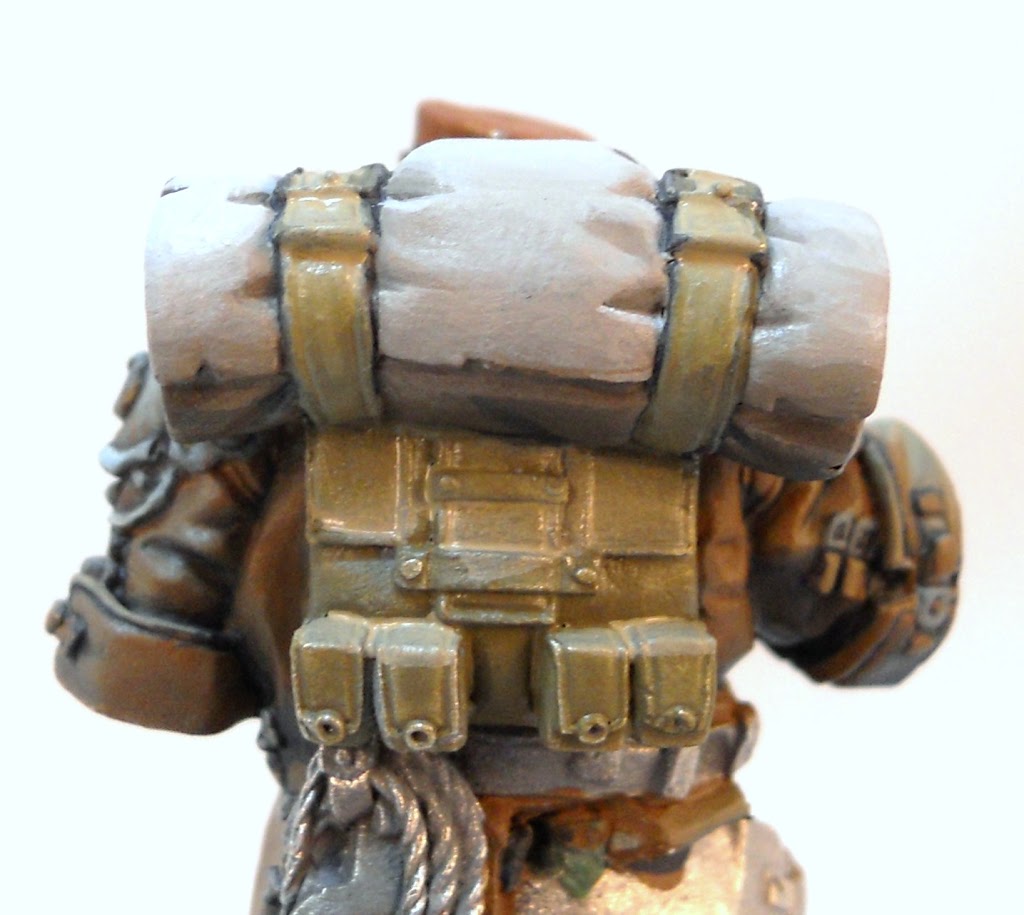
Next, for no particular reason, I decide to paint Grim’s bedroll. It gets a basecoat of Trollblood Highlight (which is kind of a warm gray) and is highlighted with Frostbite.
I shade it with Navy Mix.
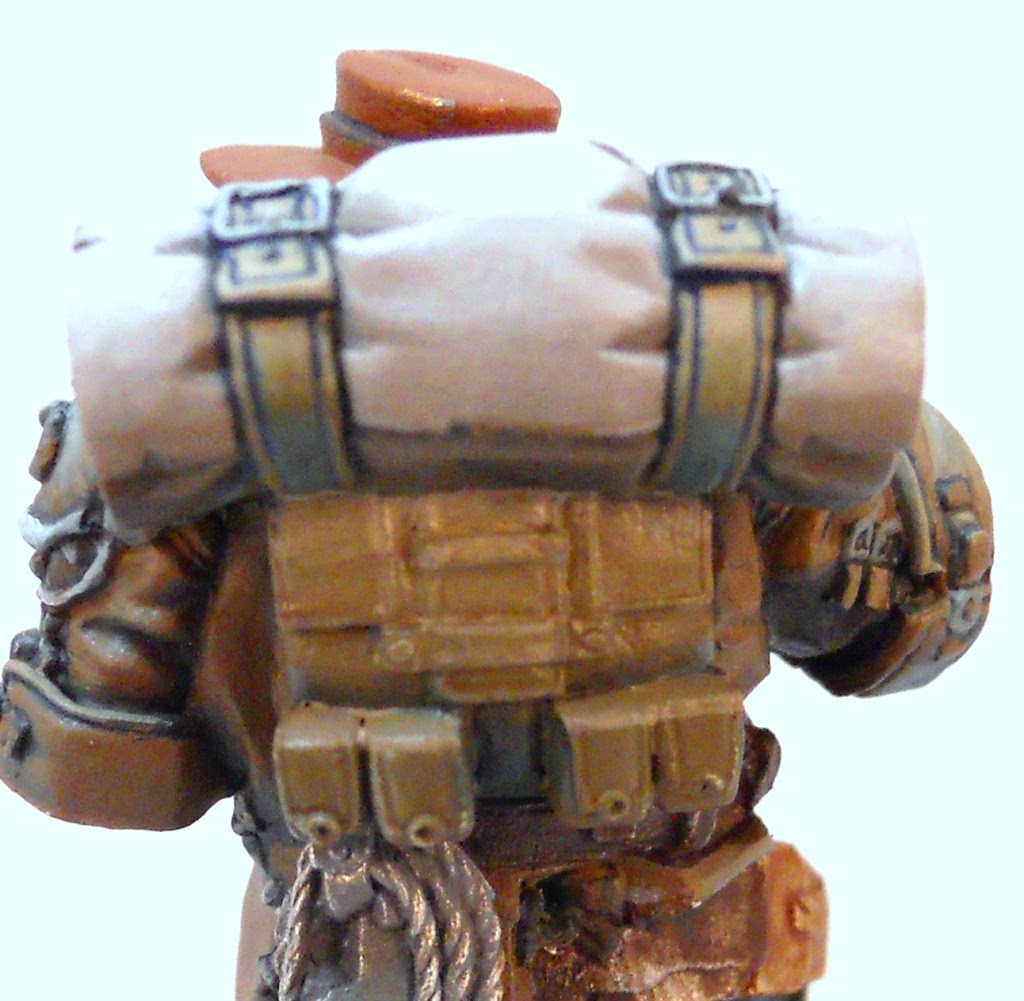
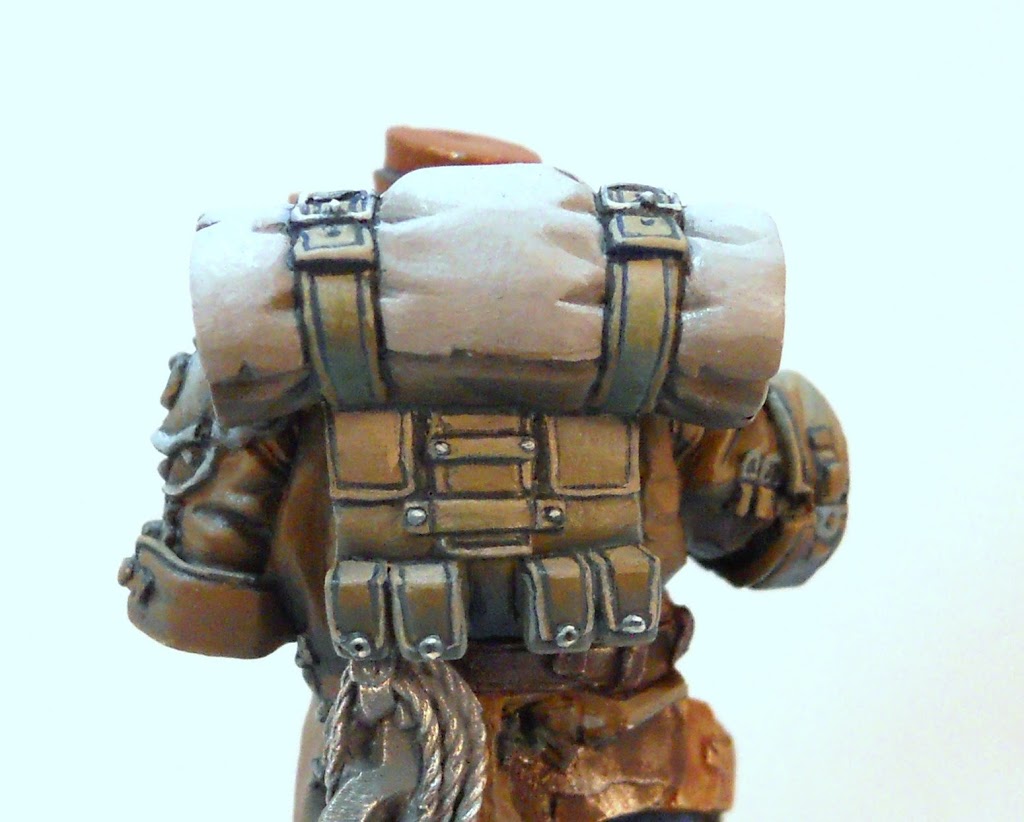
The Backpack itself gets a basecoat of Traitor Green ahich is highlighted with Rucksack Tan.
It too is shaded with Navy Mix.
In certain areas the Rucksack Tan gets a bit of Menoth White Highlight mixed in to give it a little extra pop. I also give the pack some metal buttons using the same colors as the rest of my earlier NMM.
Next I decide it’s finally time to knuckle down and paint the tartan. I did a painting article involving tartans a very long time ago, and the fundamentals are basically the same. Since this is for a competition I made sure to make the lines a lot smaller to really show how much fine detail I could pack in there. I started with some thicker strips of Umbral Umber on an Ordic Olive basecoat. Below and to the right of each strip I added a thin line of Rucksack tan. Above and to the right of each strip I added a line of Skorne Red. All the colors were thinned down a bit with some matte medium and retarder to let a bit of the green beneath them show through.
I thinned down some of the Navy Mix with Matte Medium to make it translucent and used it to shade the Tartan. In a few areas some highlights are added with Menoth White Highlight hevaily thinned with Matte Medium.
Next its Grim’s pants. I go with alternating bands of Exile Blue and Ordic Olive. The Ordic Olive is highlighted with Rucksack Tan and some Menoth White Highlight. The Exile Blue is also highlighted with Menoth White Highlight. I shade the blue with another custom color I have. It’s a mix of Bloodstone, Skorne Red and Thamar Black. While I have it out I also use it to paint Grim’s Belt, Bandolier and various other leather straps. Like the Navy Mix I use this custom color enough that I have a premixed bottle of it I keep around. Since it will be coming up a few more times in this article lets just give it a name: Deep Red Mix.
The boots get a coat of Bloodstone to match the hat.
The Bloodstone is Highlighted with Trolblood Highlight and shaded with Navy Mix.
Then I go back to the belt and straps. These are all highlighted by adding Beast Hide to the Deep Red Mix. In a few places I add a defining line of Navy Mix for a cool contrasting color.
One of my favorite things about the Hunters Grim are all the cool little items they carry around. Some of them, like this wine jug, were among most challenging things to paint. Glass is still something I can’t quite get right. A big part of what makes it so difficult to get right is that in the real world, the reflections on a glass bottle rotate as you move around it. There are definitely easier ways to get a glass appearance than trying to paint an illusion of it, but slopping on some gloss medium doesn’t really impress the judges.The truth is that this little bottle could be a whole tutorial unto itself. Unfortunately, the fact that its still something I’m trying to get the hang of means I didn’t really get any good wip shots.
The bottle was basecoated witha mix of Ordic Olive, Bloodstone, and Umbral Umber. This was highlighted up to some stark reflective areas with the addition of Frostbite or Rucksack tan. I studied a real wine bottle to try to help paint this one. One of the things I noticed about it was that different parts of the bottle reflected light in ways that were warm in some places and cool in others.
Here’s a picture of all the cool little knick-knacks Grim and his fellow hunters have tacked onto themselves.Yep… I had to paint them all separately to be able to get to the details gluing them on would have covered up. You’ll notice the wine bottle there in the upper right-hand corner. The basket was painted with Sulfuric Yellow which was washed with GW’s Agrax Earth. It was highlighted with visible strokes to emphasize a straw texture with Sulfuric Yellow, then Menoth White Highlight.
Grim also has all these Runestones all over him. It took me awhile to figure out what to do with them. I decided to just keep it simple and started them with a basecoat of Frostbite.
They’re shaded by blending in just the sligtest bit of Deep Red Mix. The Runes are filled in with the same color.
All that we really have left now is that rifle. The barrel is done in a different NMM style than the steel areas before. To try to go for a real gun metal feel, I go with a basecoat of Deep Red Mix blended up into a very thin line of Underbelly Blue. Unfortunately it’s kinda tough to see in this shot. The white in the background is more high contrast than the highlight which really subdues its appearance. I want the other parts of the gun to have kind of a brass appearance. I give them a basecoat of Sulfuric Yellow and begin shading it with Thornwood Green.
After blending the Thornwood Green into the Yellow and picking out a few little details, I add a few additional highlights with Menoth White Highlight.
Ah yes, finally time for the gun sight. This is the same technique as those goggles from before, only on a larger and more easily photographed shape. The area starts with a basecoat of Ordic Olive. This is darkened at the top with the addition of some Thamar Black (a pure black). The bottom is highlighted with the addition of Menoth White Highlight.
Then the whole area gets a wash of P3 Green Ink. The reflection at the top is Frostbite blended into the Green Ink. a tiny dot of Menoth White Highlight is added in the middle.
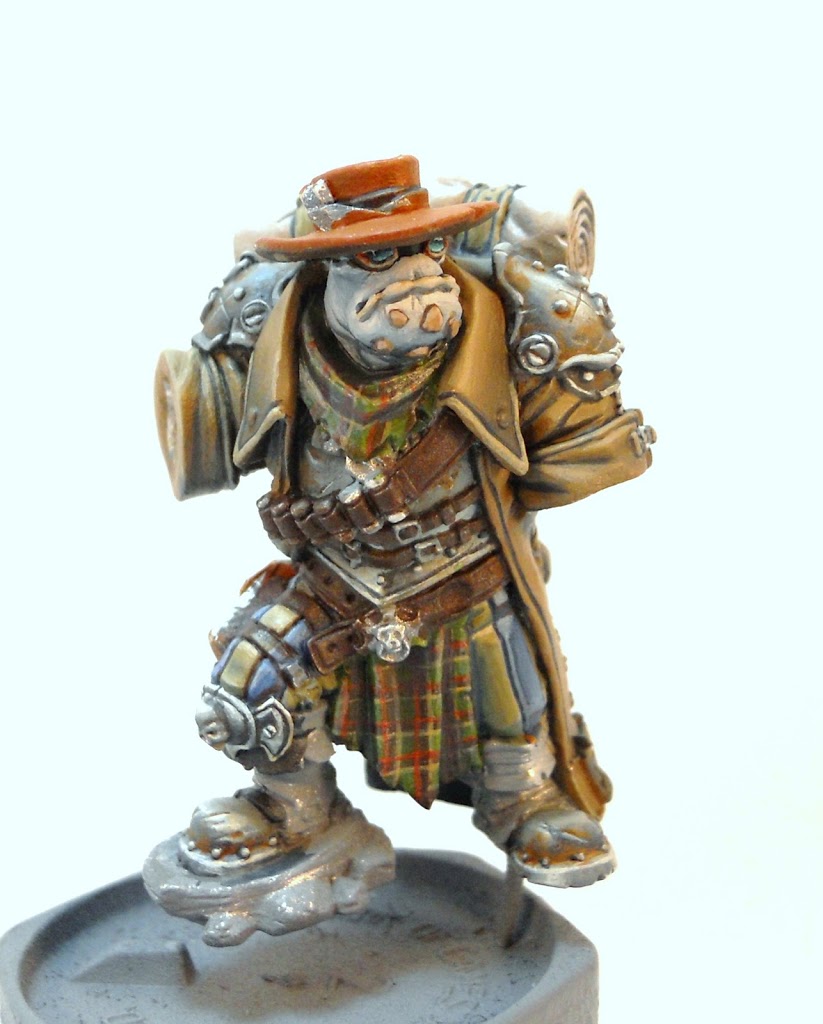
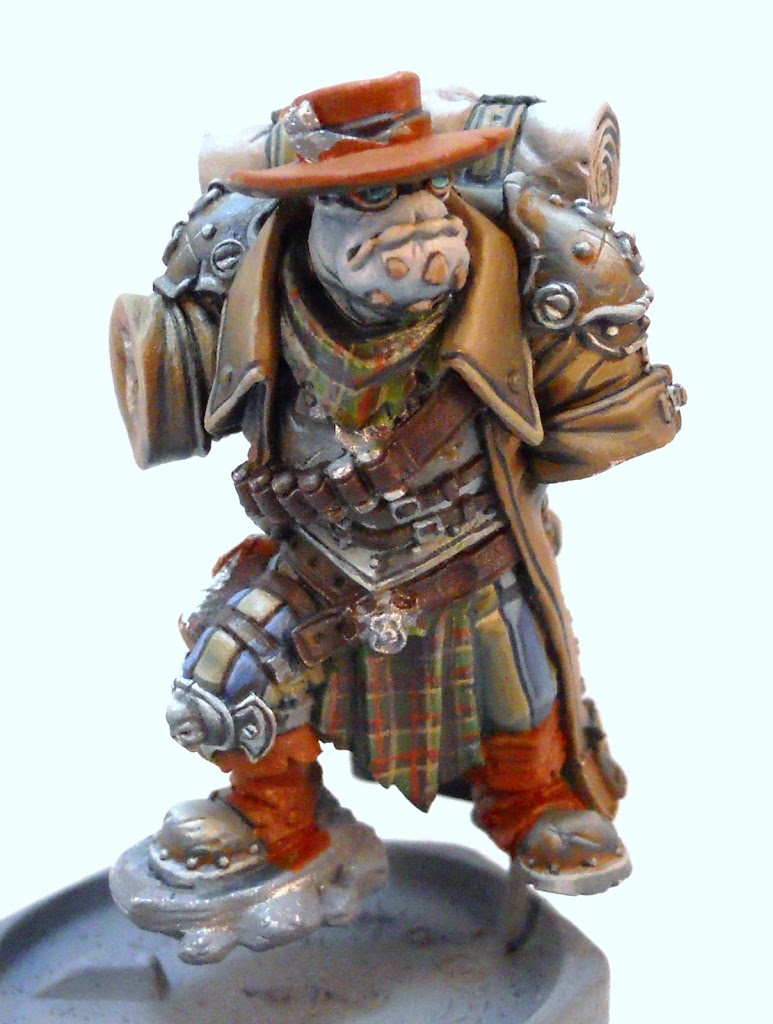
I begin work on the gun blade with the same palette used on the earlier NMM. This was the last WiP shot I got before I blazed ahead finishing everything off. The wood grain was highlighted with Bloodtacker Brown with additional highlights of Hammerfall Khaki before receiving a wash of Agrax Earth. The gloves were also painted with Hammerfall Khaki and shaded with my Navy Mix. The very last step is to go over every millimeter of this guy and fix any mistakes or imperfections I come across. Now that he’s complete, here are some shots from other angles.
~And there he is folks. Of course this only part 1. There are still Muggs and Krump, the loveable Pyg companions to paint. I’ll show them in Part 2, as well as more on how I made the bases.

