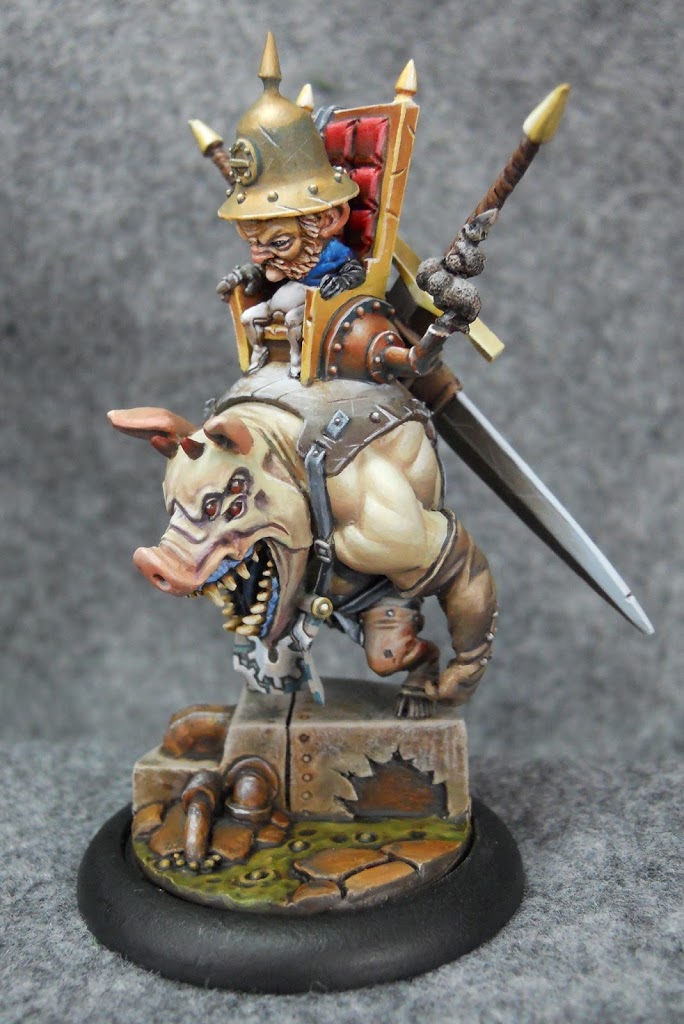
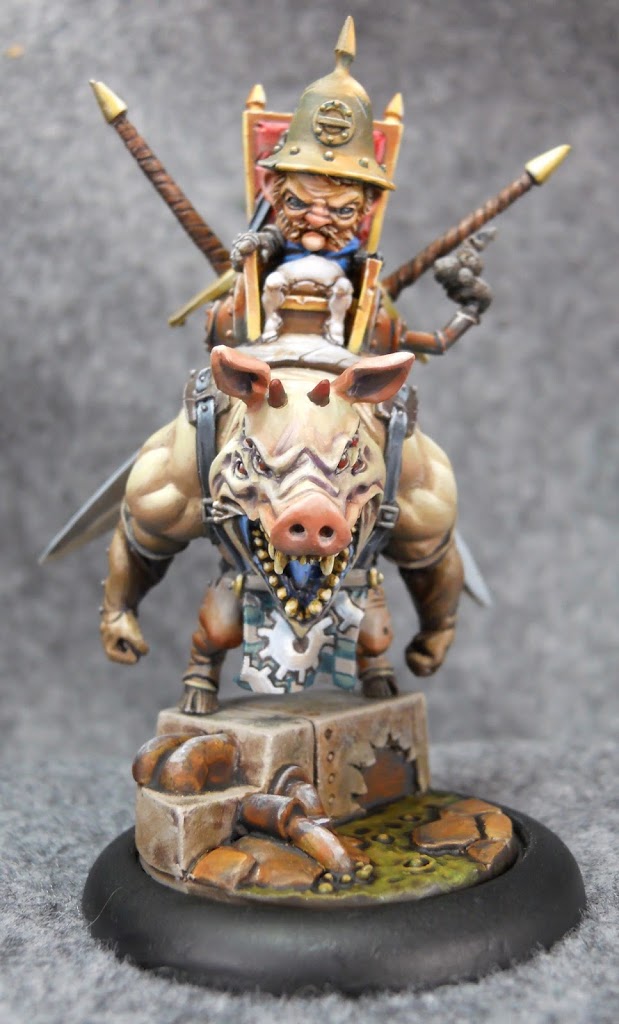
Wrath of Kings: Painting the Ironward Pt 2

Time for pt 2 of my Wrath of Kings painting article. Today I finish it off with the rider.
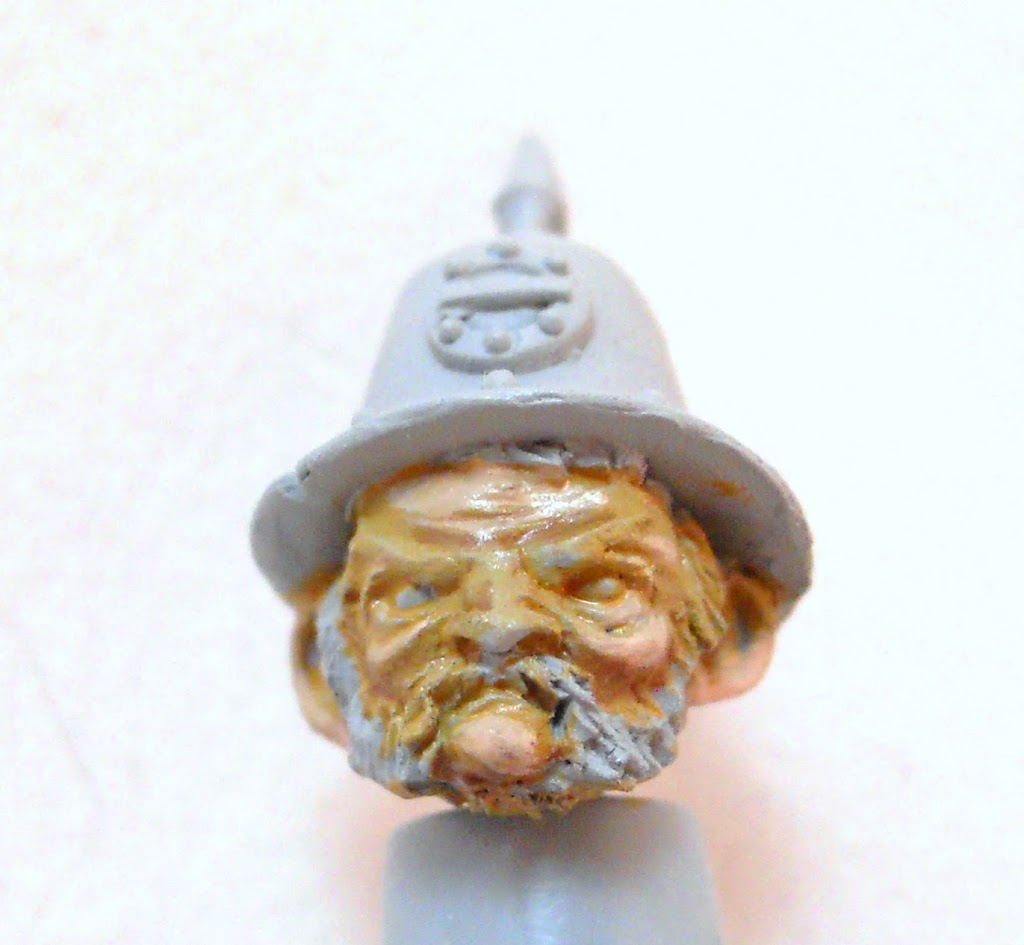
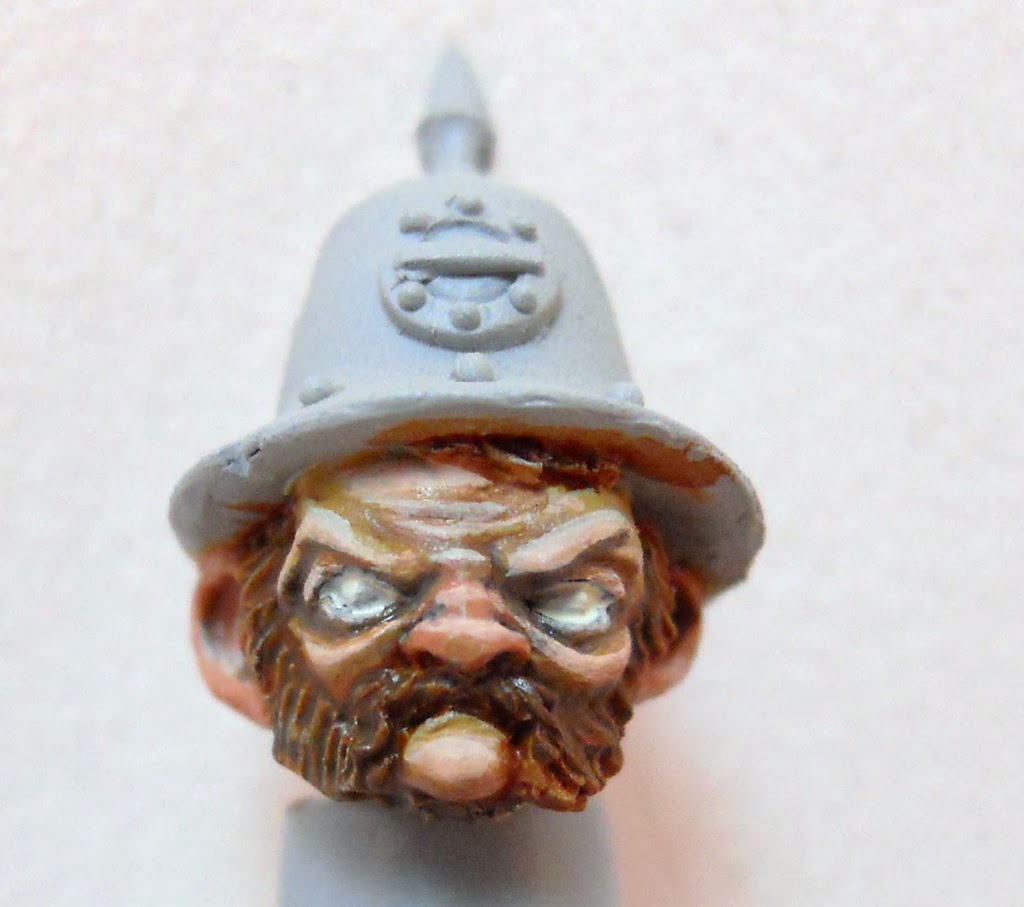
If you haven’t read the last article then go ahead and follow this link here. Lets start with the little fellow’s face shall we. I believe his name is Gulraast, for those of you who like to know these sorts of things. Anyway Gulraast here gets a base of Rucksack Tan which I begin highlighting with Ryn Flesh and shading with Bootstrap Leather.
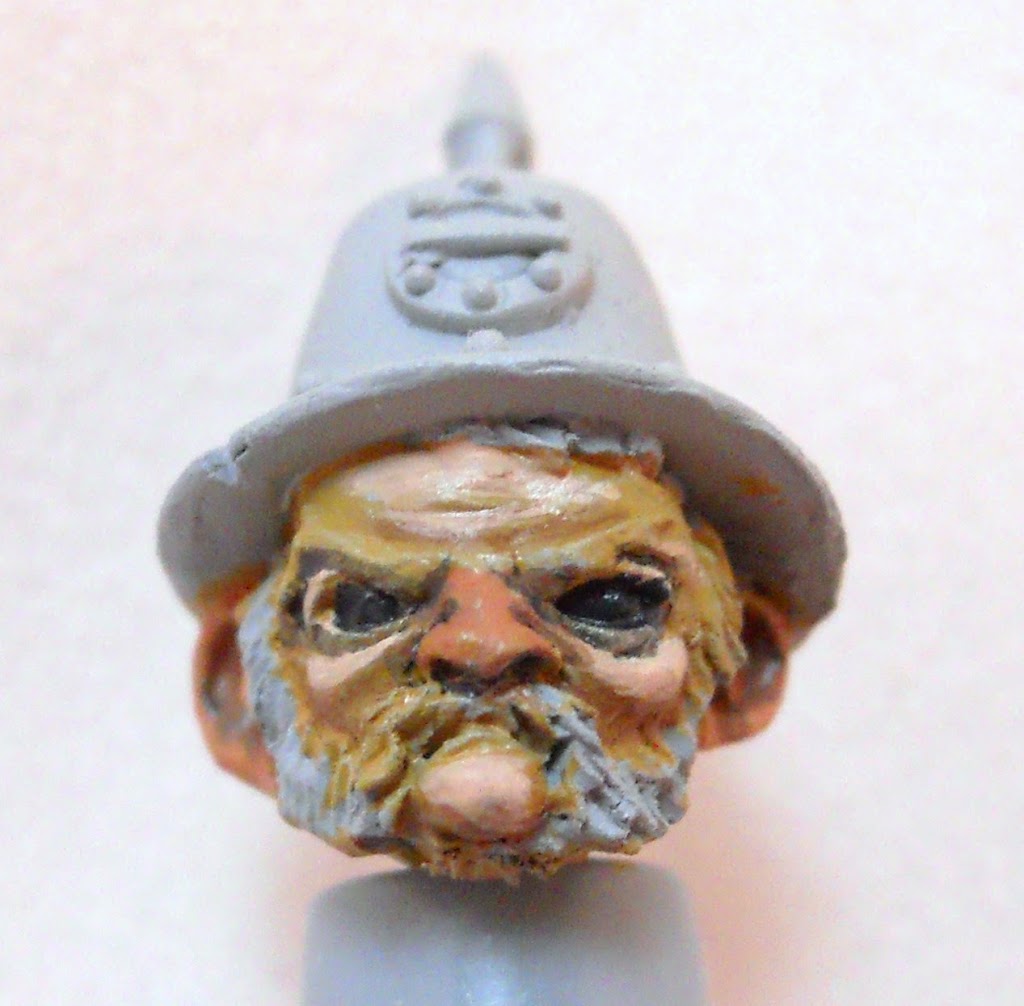
Everything is blended in a bit more. Also the nose and ears get an application of Khardic Flesh. I also start blocking out the eyes, painting them with that Navy Mix from the last article. I recomend never using pure black unless its for a very specific purpose.
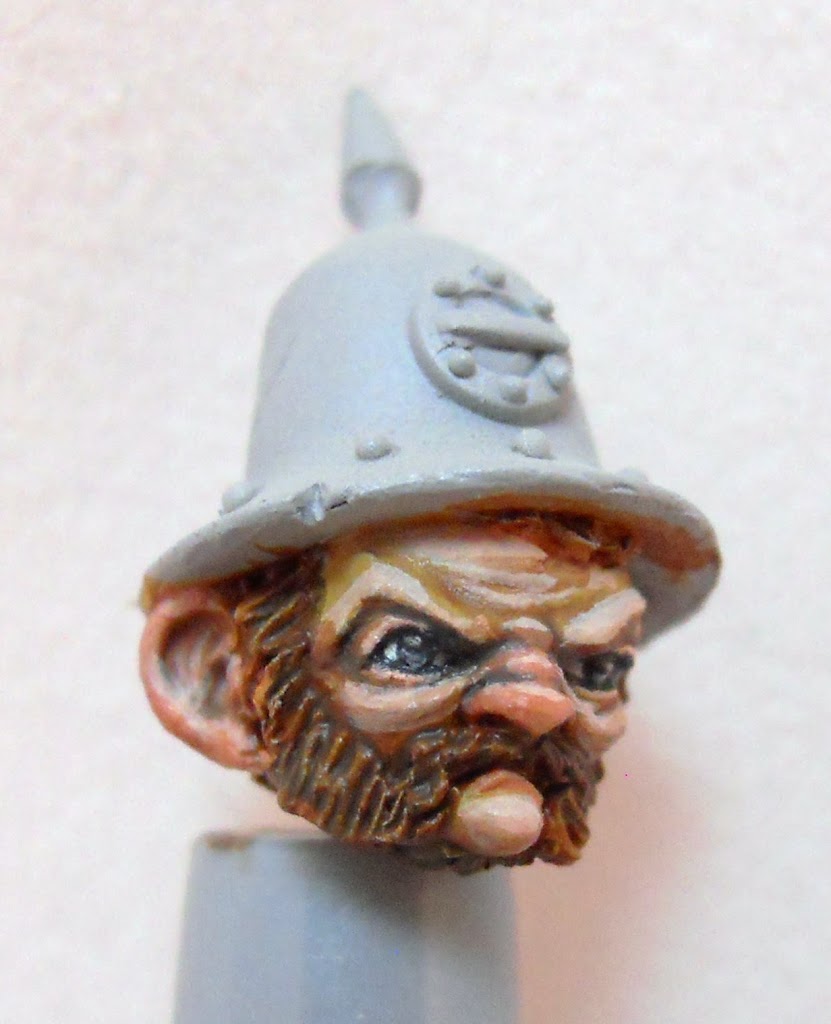
Here he is with some more blending done.
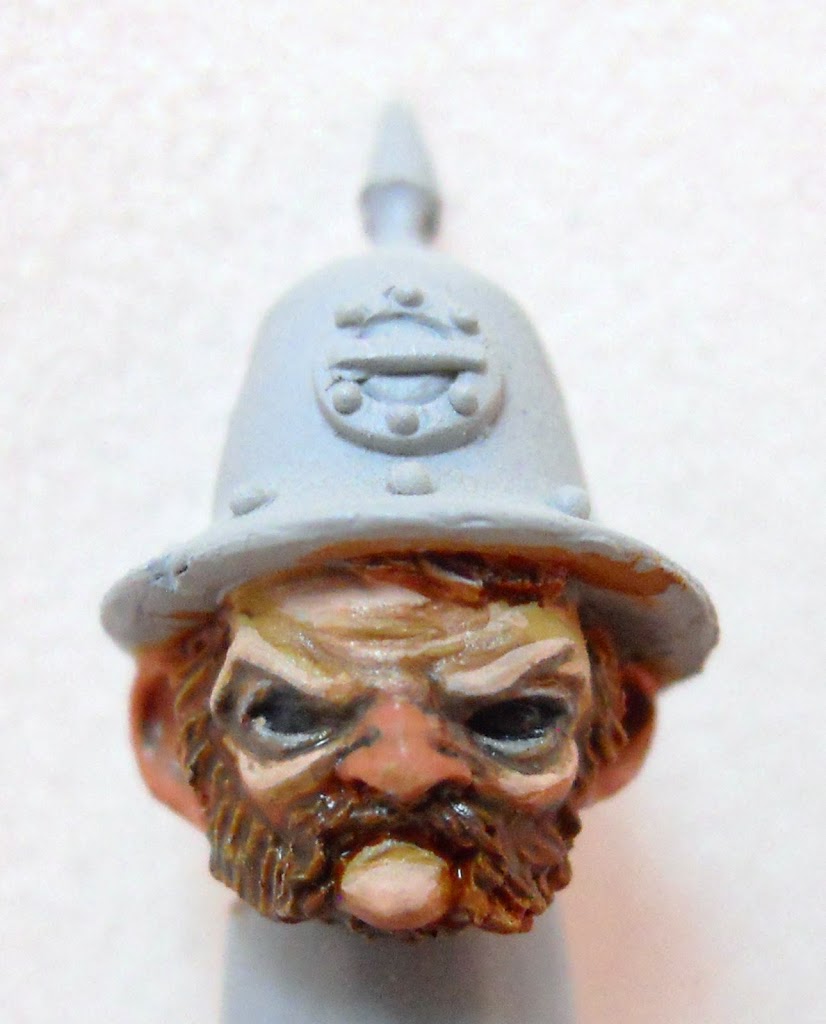
The nose and ears are highlighted with Ryn Flesh just like the rest of the face. A few more final highlights and its on to the eyes. I’ve reversed my earlier course and painted them all with Menoth White Highlight. I decided that the eyes were big enough that they would look better if I painted an outline of Navy Mix around them rather than painting the white on top of the Navy Mix as I normally would.
The eyes are big enough that I can actually do some cool effects inside the pupil. I paint the pupils in the same way I would as gemstones. You “highlight” the bottom of the shape and get darker as you move to the top. Then you add a reflection with a lighter color. I went with Trollblood Highlight with a tiny spot of Menoth White Highlight inside. The eyes themselves are the Navy Mix with Frostbite used as the “highlight.”
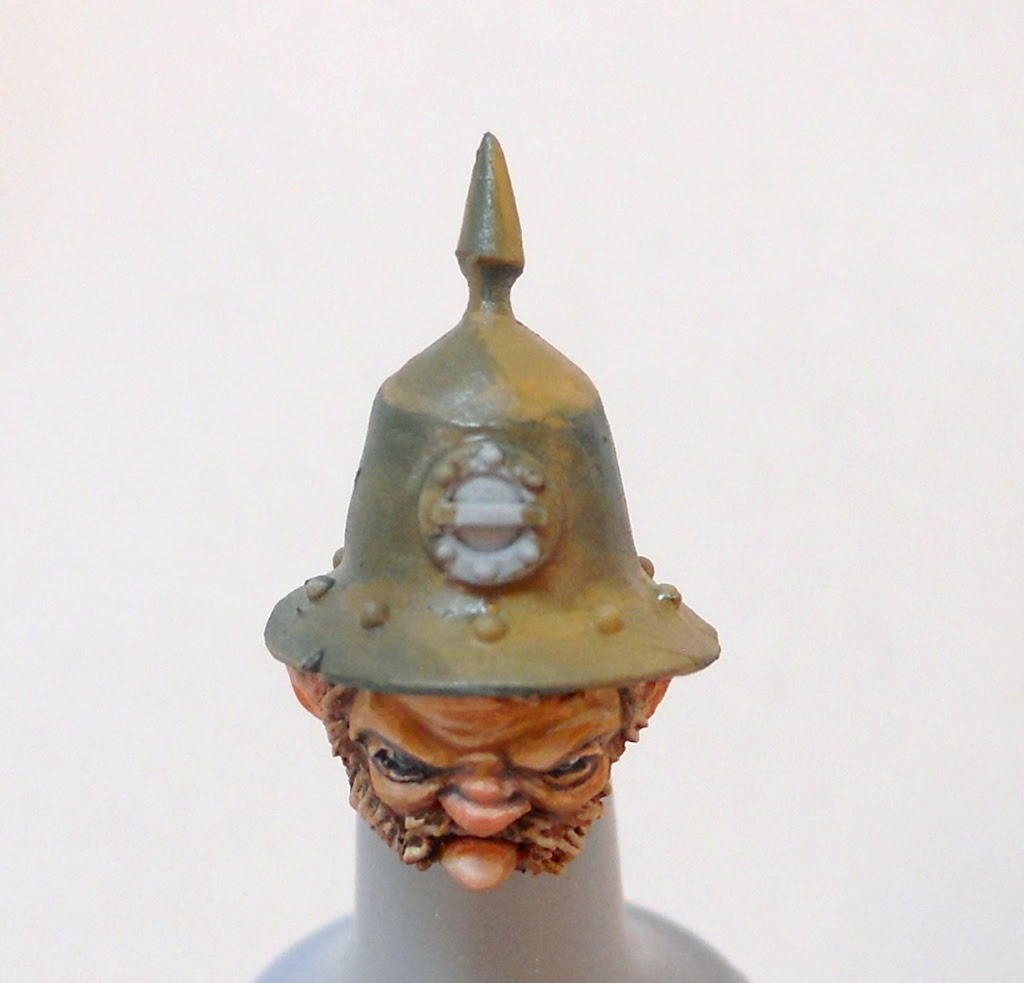
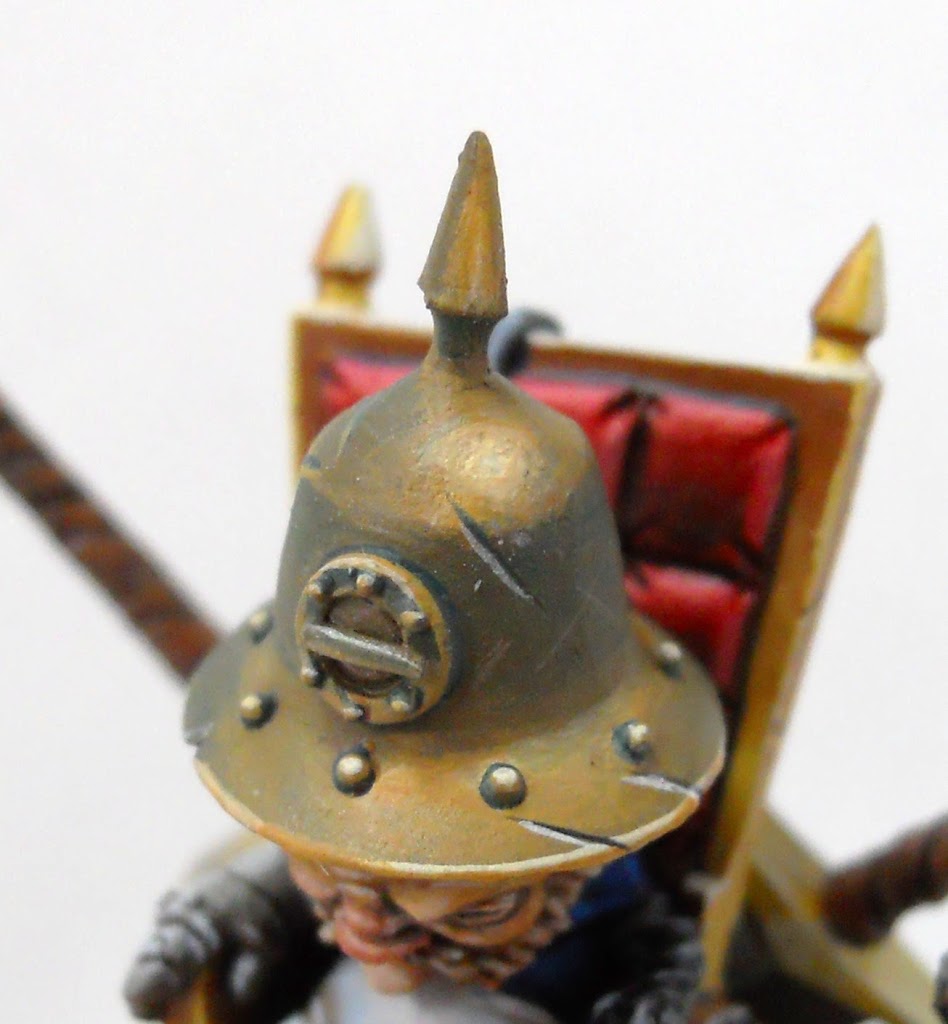
Onto the helmet. I’m going for kind of a Bronze look here. I start it off with Traitor Green. I add some shading with Coal Black (a dark turquoise color) and some Highlights with Rucksack Tan. It took some thinking to figure out how to highlight this bell shape. Fortunately the internet is full of photo references to help with things like this. Sometimes its better to use simple illustrations as a reference rather than photos since they’re not as daunting to replicate on a tiny little mini.
Here it is with more highlighting, shading and blending. The rivets are blocked out with Coal Black.
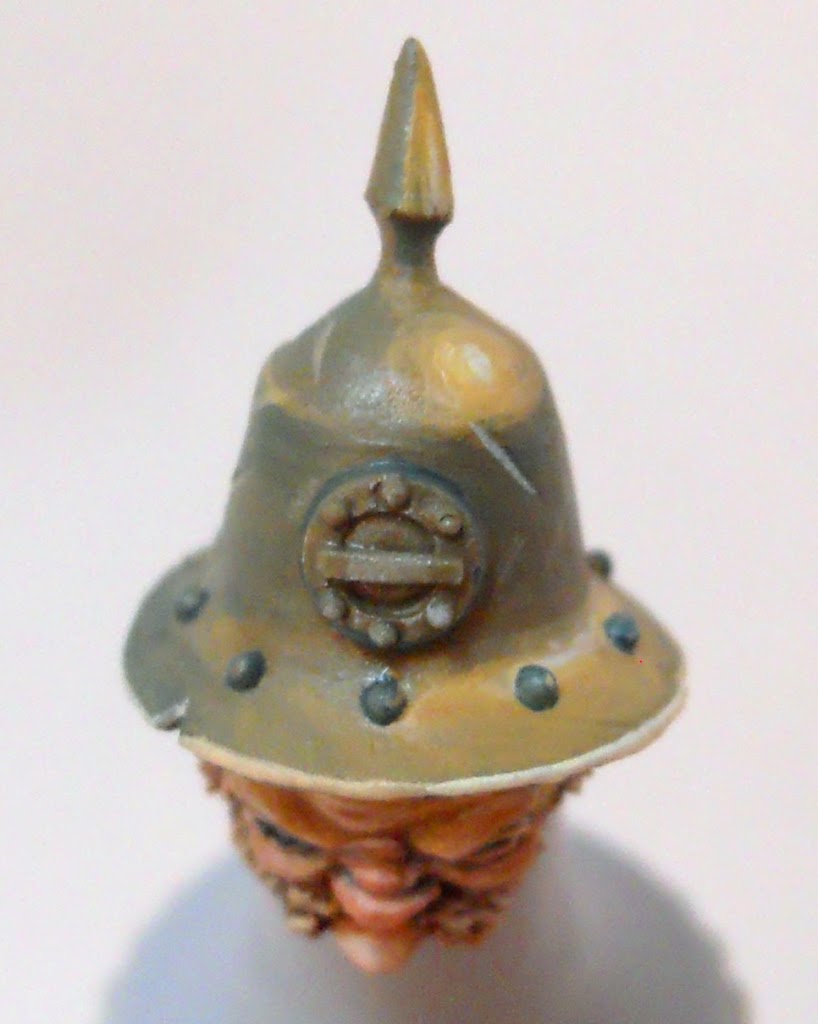
And here’s the final helmet. Menoth White Highlight is used as a final Highlight in a few places. I also add a streak of it anywhere the helmet has dings of battle damage. The dings are then shaded with a streak of Coal Black.
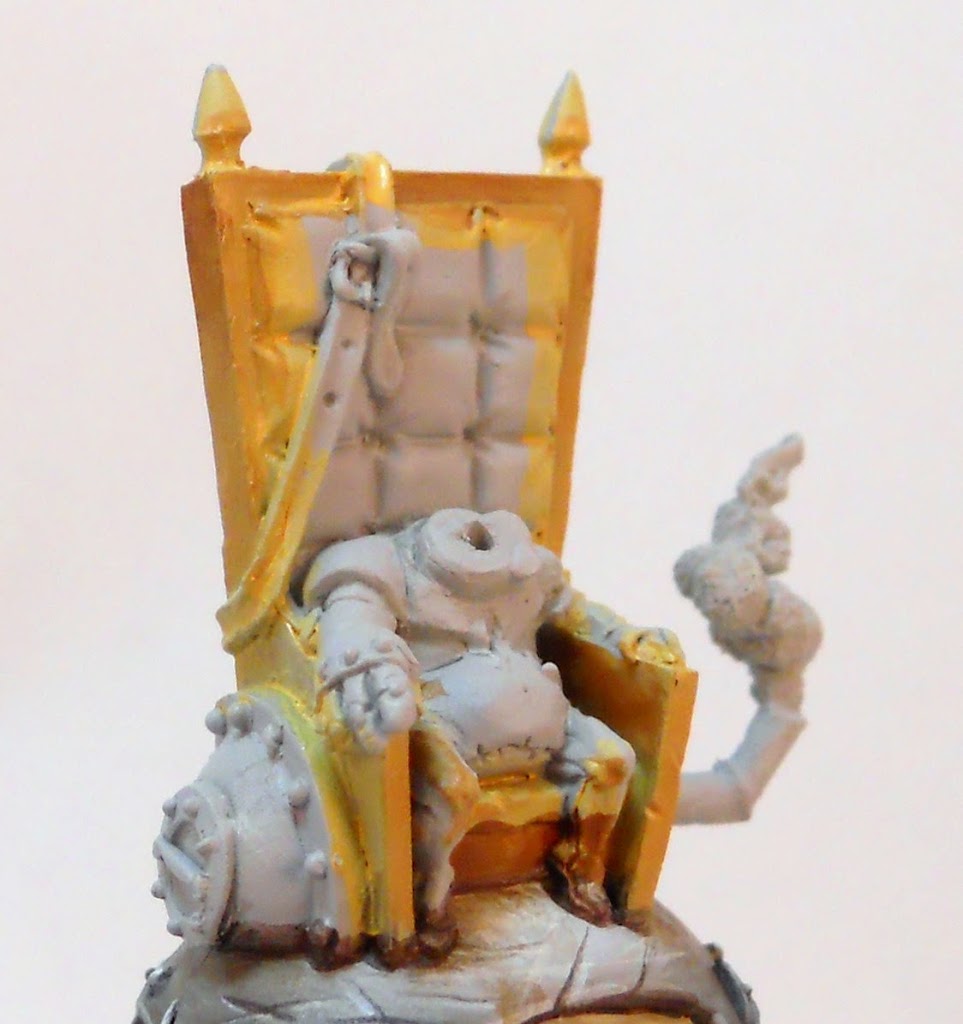
Onto the throne. Hey lets just make it gold why not. To get a nice clean gold I start with a base of Sulfuric Yellow. This is shaded with Blood Tracker Brown. Whenever you do a big flat shape like this NMM style you will want to reverse the normal directions of your highlights/shading. This means darker colors at the top, lightening as you move down.
A streak of pure Sulfuric Yellow is added along the corners on the sides of the throne. All upward facing areas like the top of the throne and the armrests are painted with pure Menoth White Highlight to represent the reflection of a strong light source: the sun (not shown). I also move on to the cushion at this time, basing it with my Deep Red Mix.
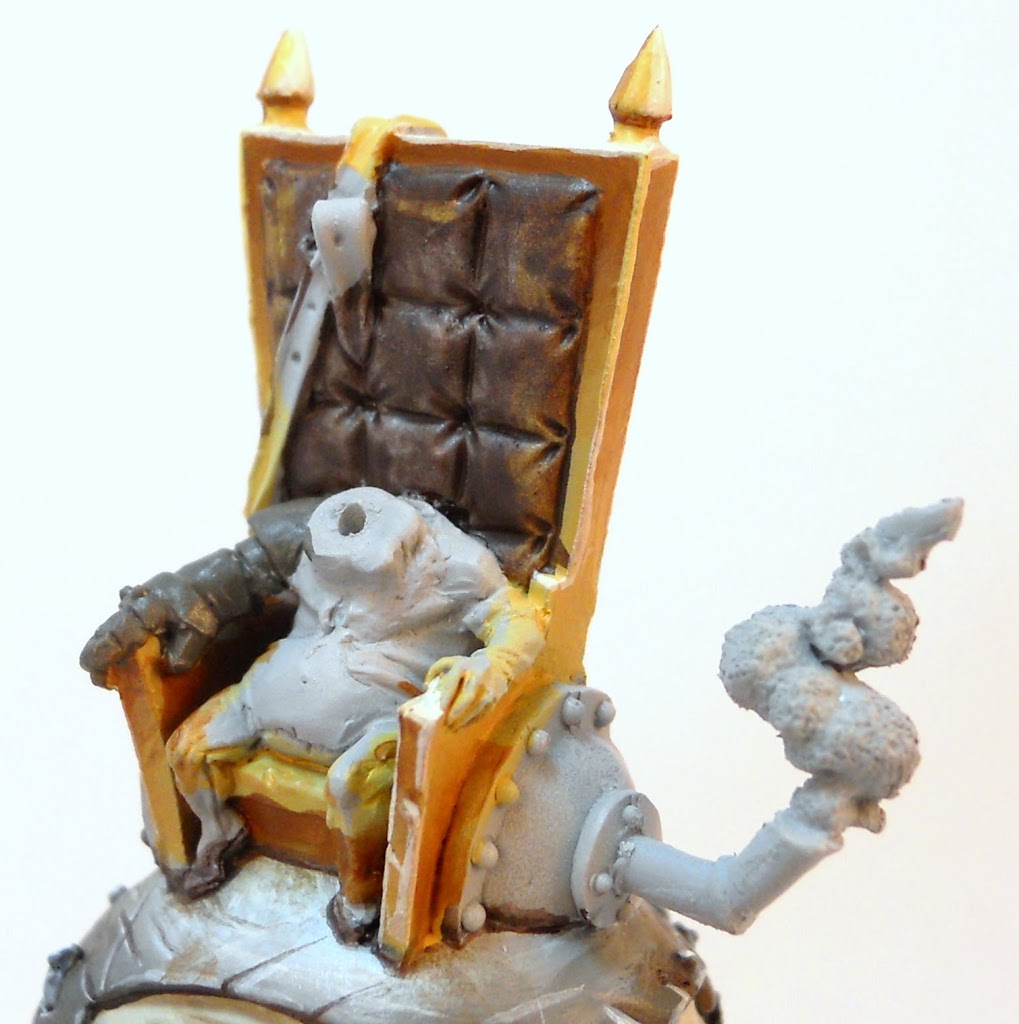
I blend some Skorne Red into the Deep Red Mix.
I want the cushion to have kind of a velvety appearance. To that end I’m going to be doing some NMM type effects to the cushions. They are highlighted up to a strong reflective point at the top by blending the Skorne red with Ryn Flesh until an apex of pure Ryn Flesh is reached. They also get a highlight along the bottom, which is done by blending Rucksack Tan into the Deep Red Mix.
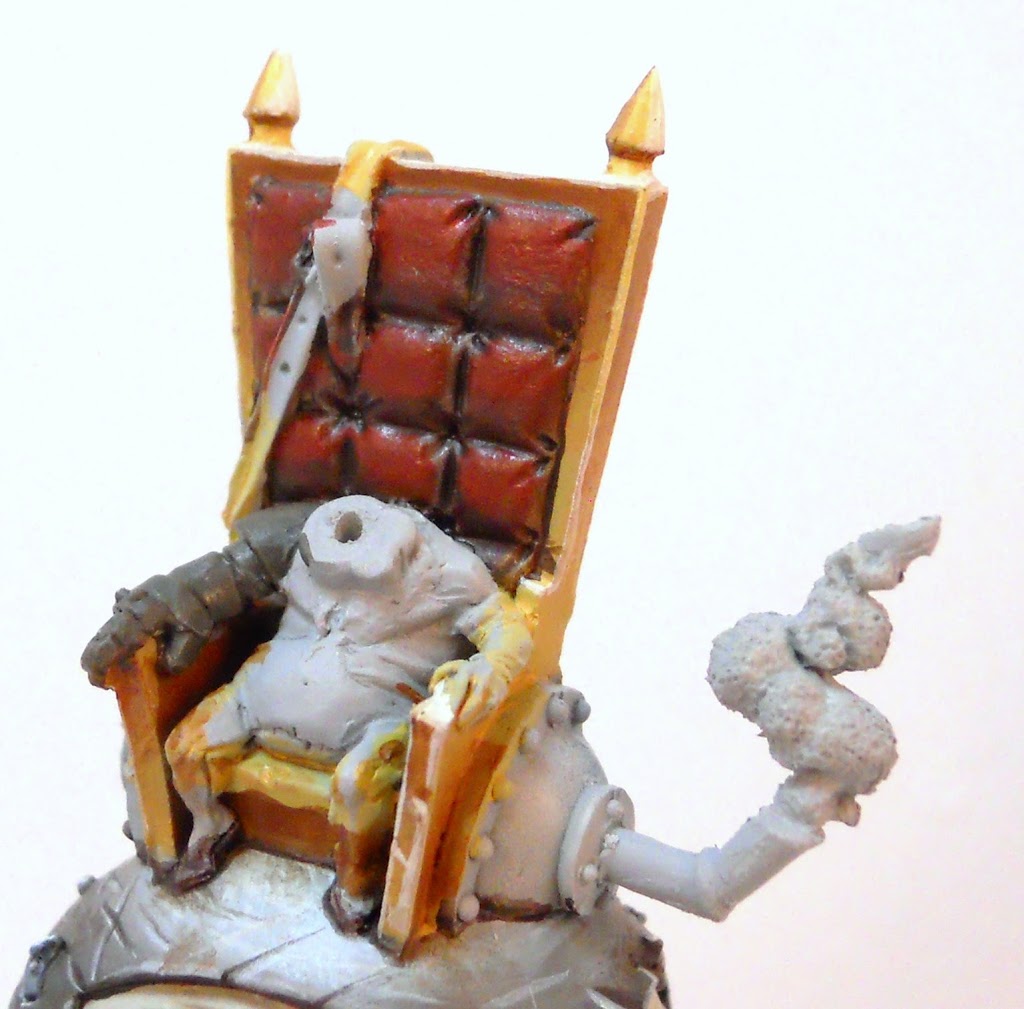
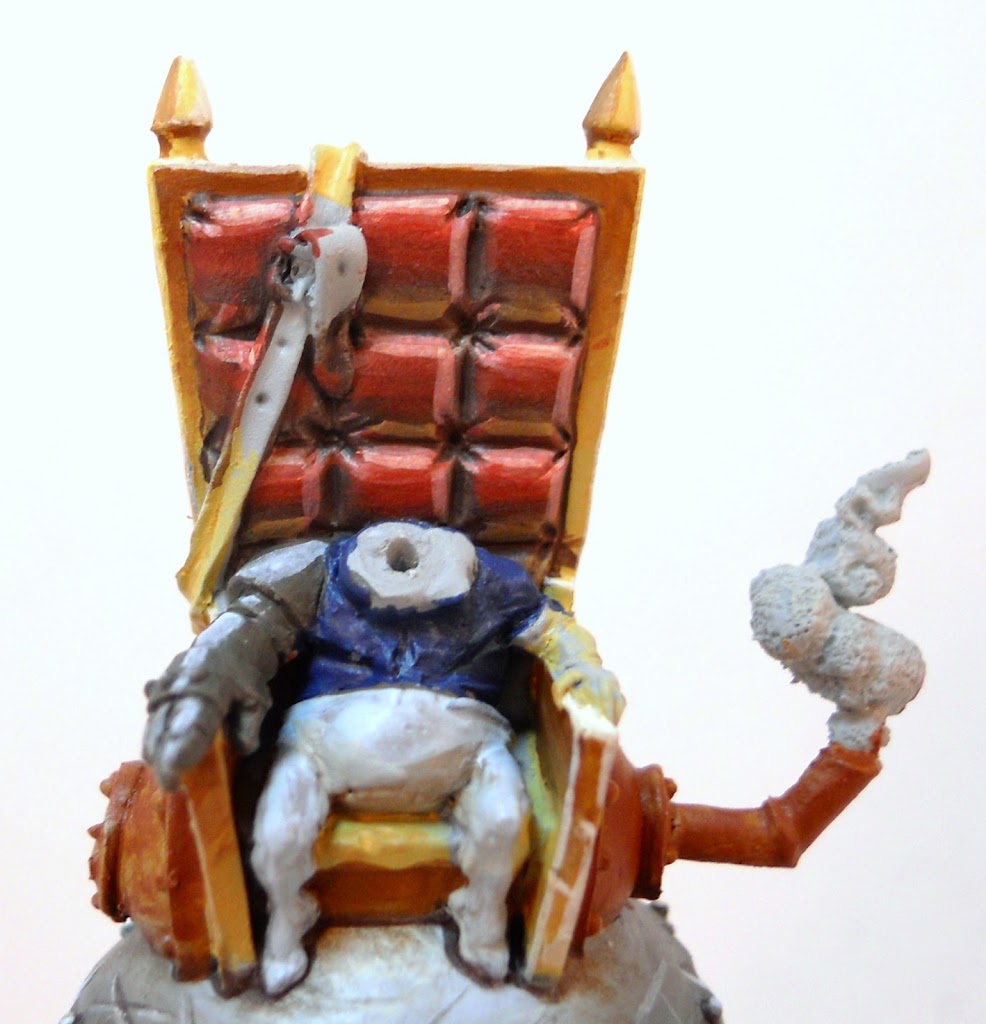
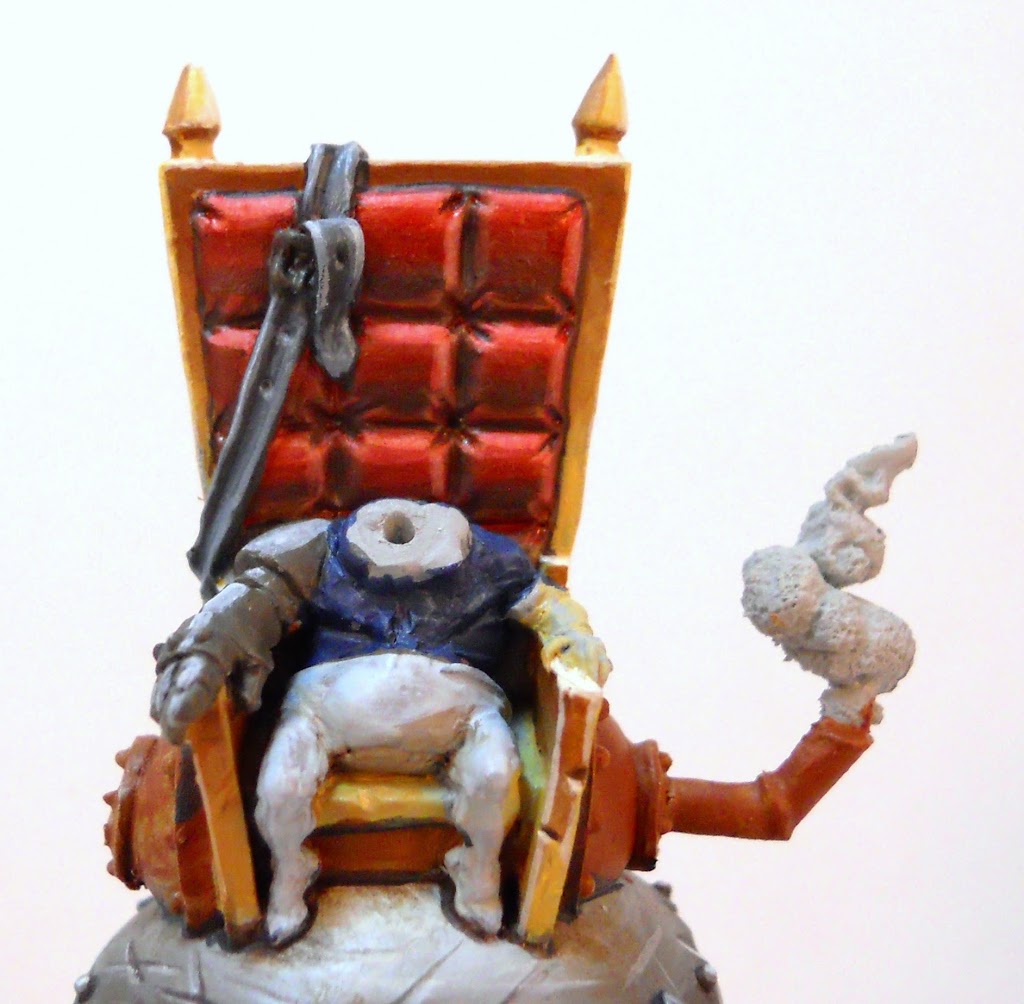
To finish it off I give it all a wash with P3 Red Ink. P3 inks are quite different in nature from GWs. When applied they are quite opaque looking and may cause a first time user to worry that they’ve just ruined their model. But as they dry all your shadows and highlights become visible again. Unlike GW’s washes which are mostly useful for quick shading, P3’s Inks are great if you want to absolutely saturate an area with color. And that’s what you’re seeing here. Is one company’s wash better than the other? Absolutely not. But it is extremely helpful to know how both brands work and when to use which. When the wash was dry I began working on the leather strap that’s holding those enormous swords in place. It was done done with my Navy Mix highlighted with Frostbite. As I’m now moving into the final stretch of painting this guy, I basecoat the last unpainted areas to get a feel for how the whole model will look
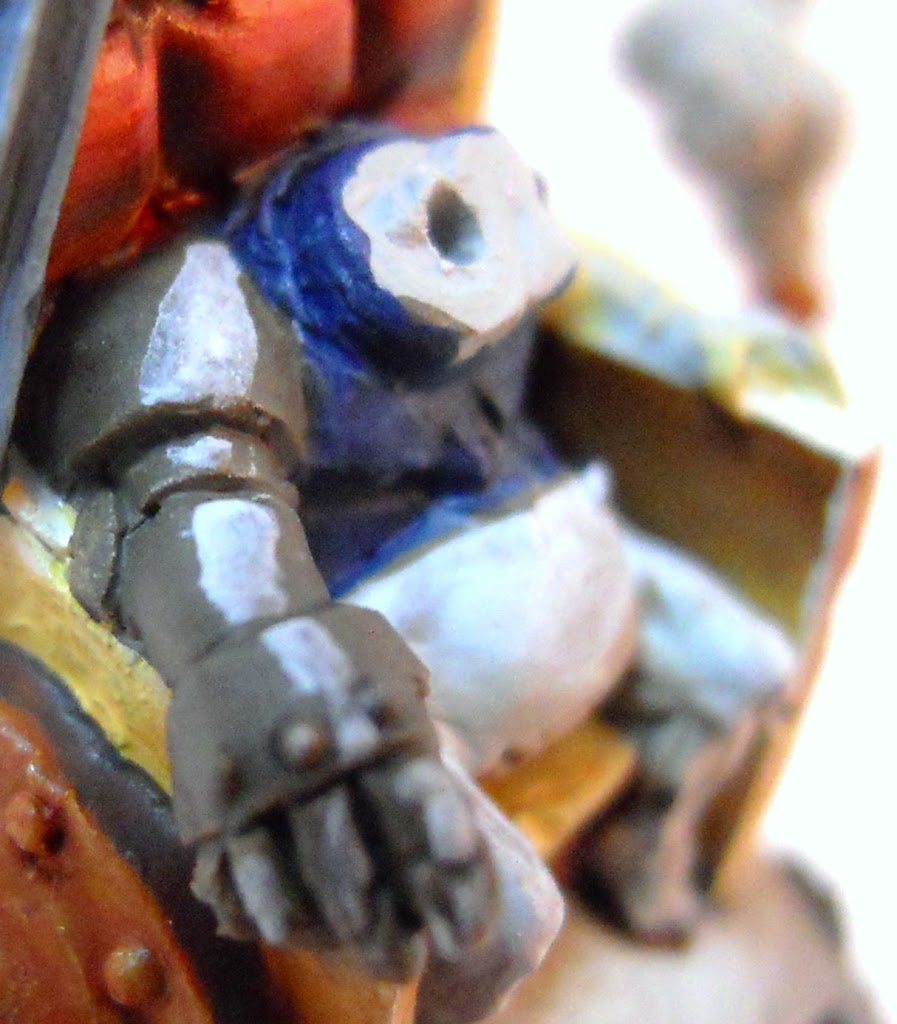
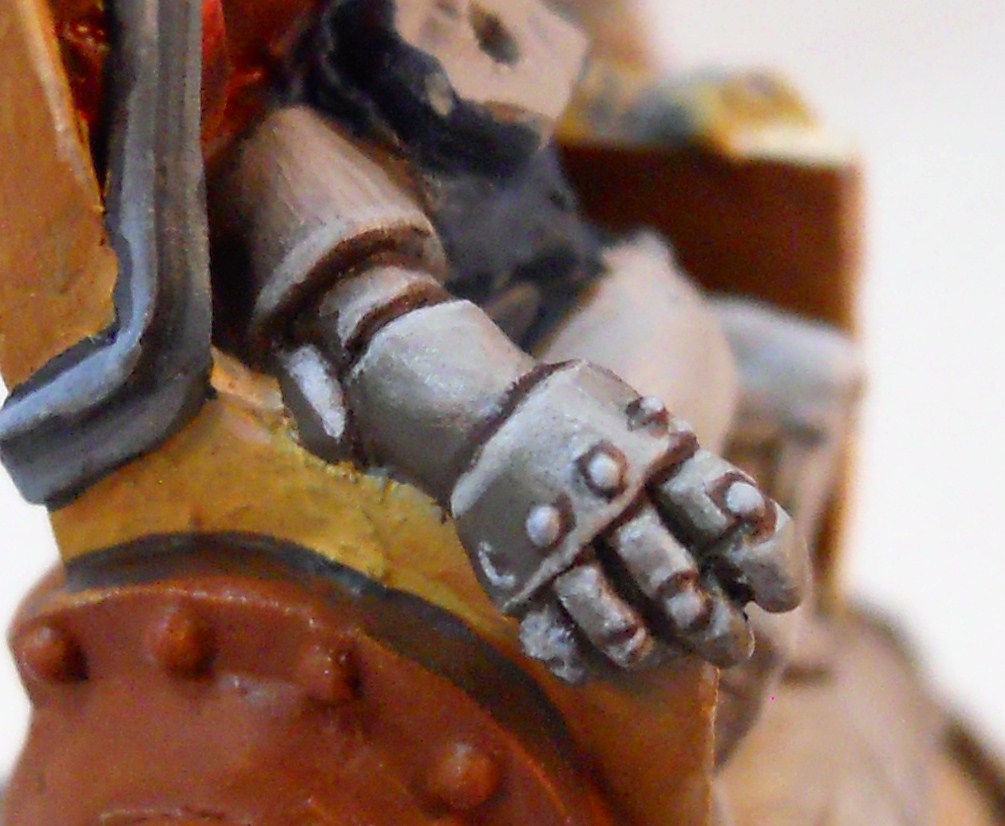
Up next I move on to the Ward’s gauntlet. I’m using the same palette as I did with the swords and armor plate on the pig: a base coat of Thornwood Green highlighted with Frostbite.
Here the highlight has been blended into the surrounding area.
Stark highlights of Frostbite are added along all the ridges. Everything is outlined with Deep Red Mix.
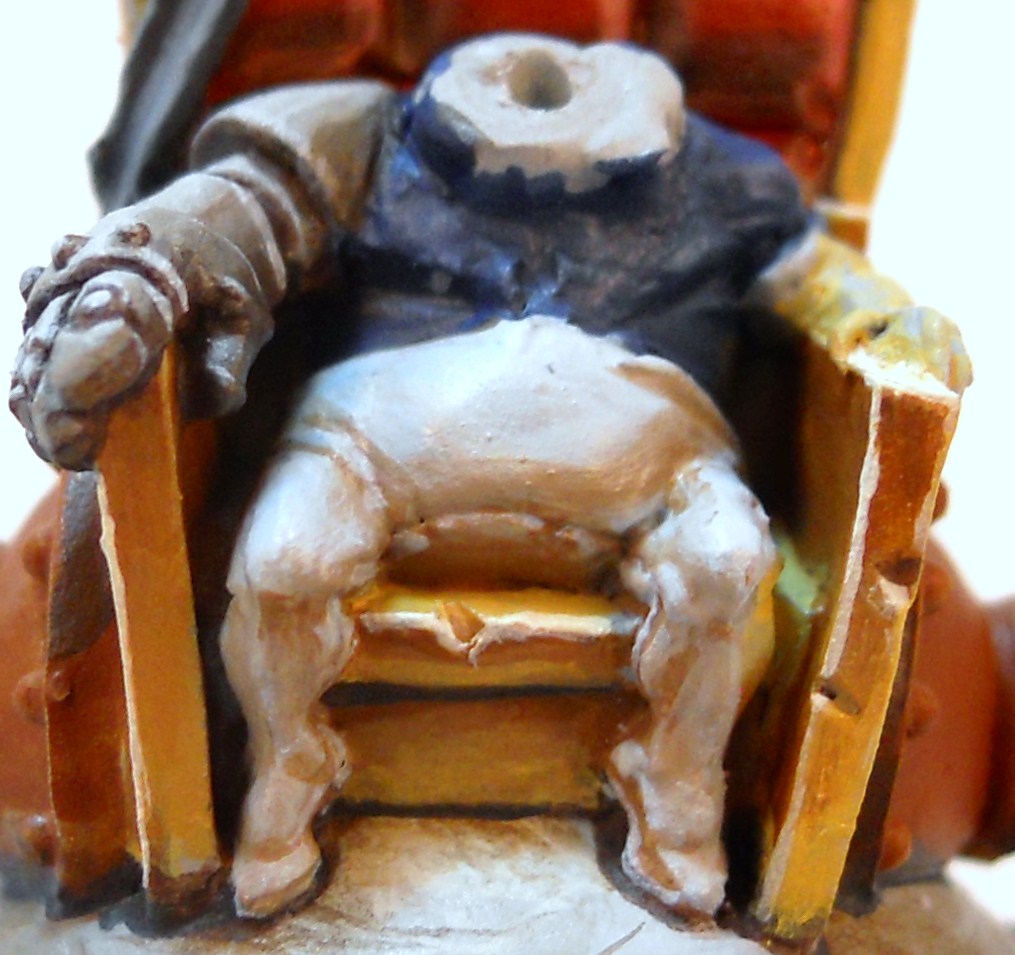
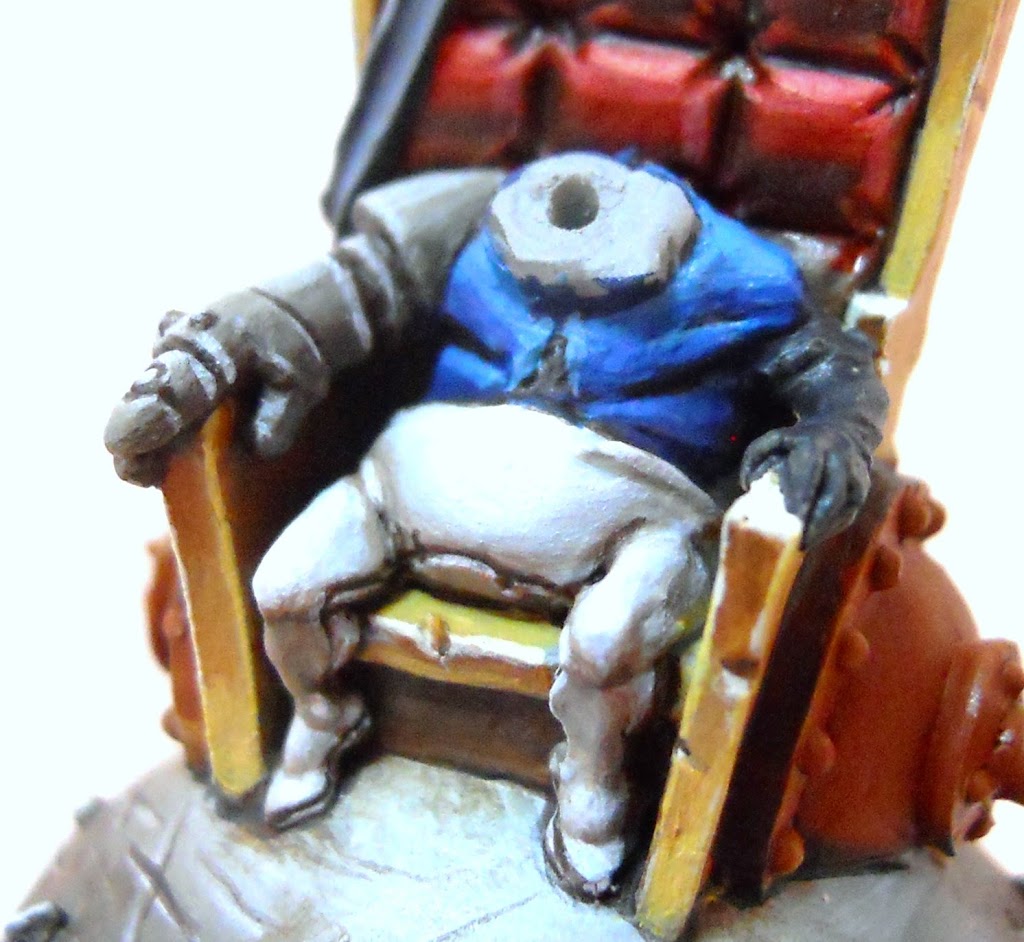
Let’s pants! I want our Iron Ward here to have some nice clean white pants. But the last thing I want to do is just shade white with gray. That’s just not how these things are done. The Frostbite basecoat is shaded with with Beast Hide and In some places Bootstrap Leather.
Once these colors were blended together a little better, a bit more shading was added in a few places with Navy Mix. This was the color used in all those little seam lines. The final highlight for these pants was the one place on the whole mini I actually used pure white – Morrow White as its called in the P3 range.
For the shirt I wanted a nice bright blue. Cygnar Blue Highlight was blended into a basecoat of Exile Blue. Final Highlights were created by adding a Little Menoth White Highlight to the Cygnar Blue. I also darkened the shadows in a few areas by adding some Deep Red Mix.
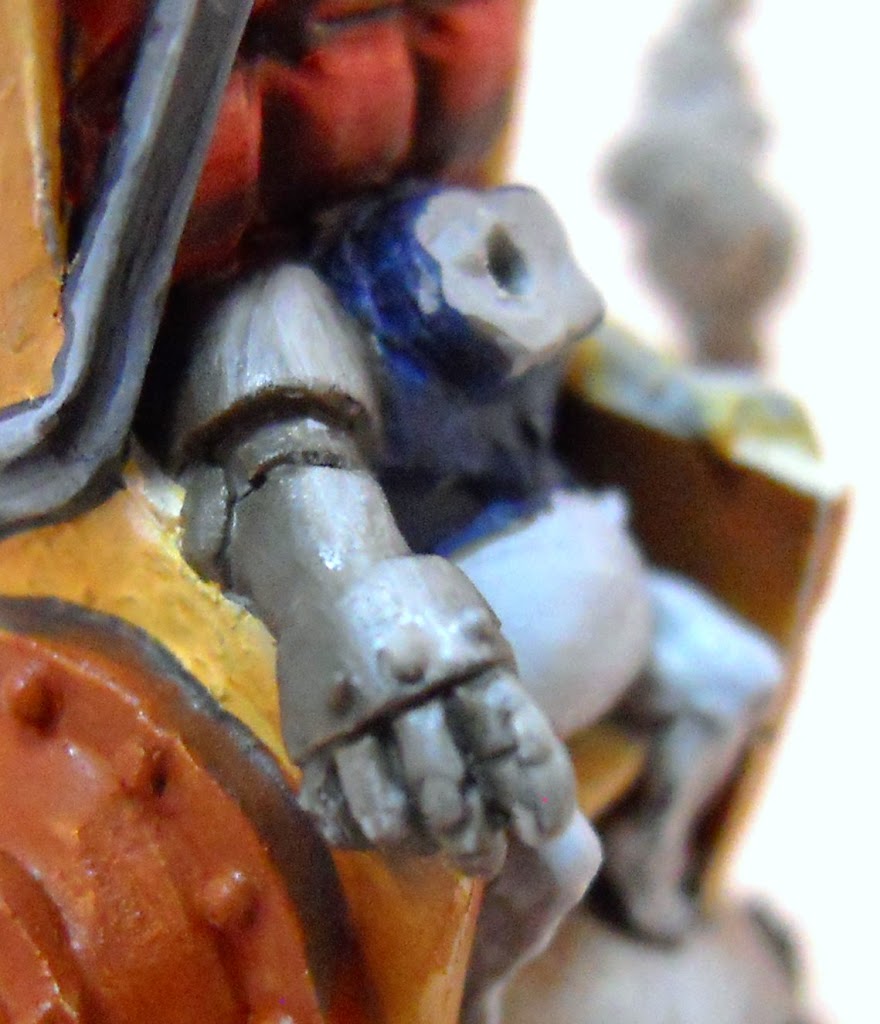
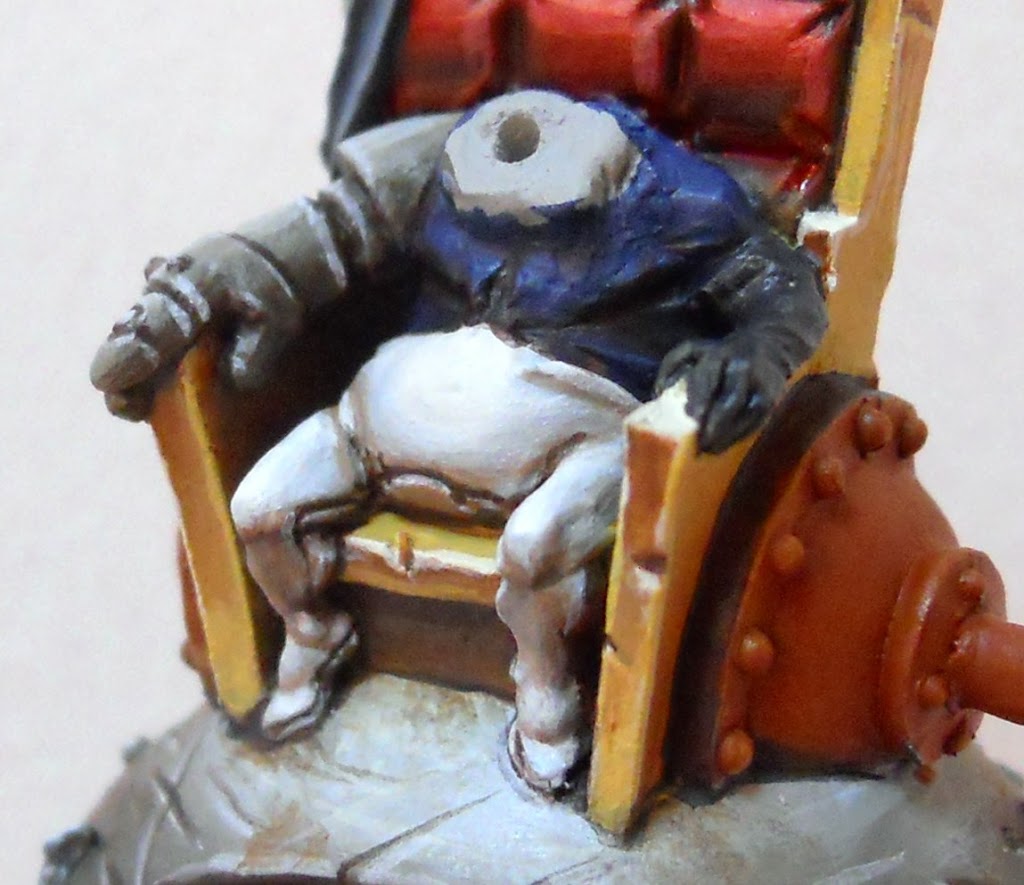
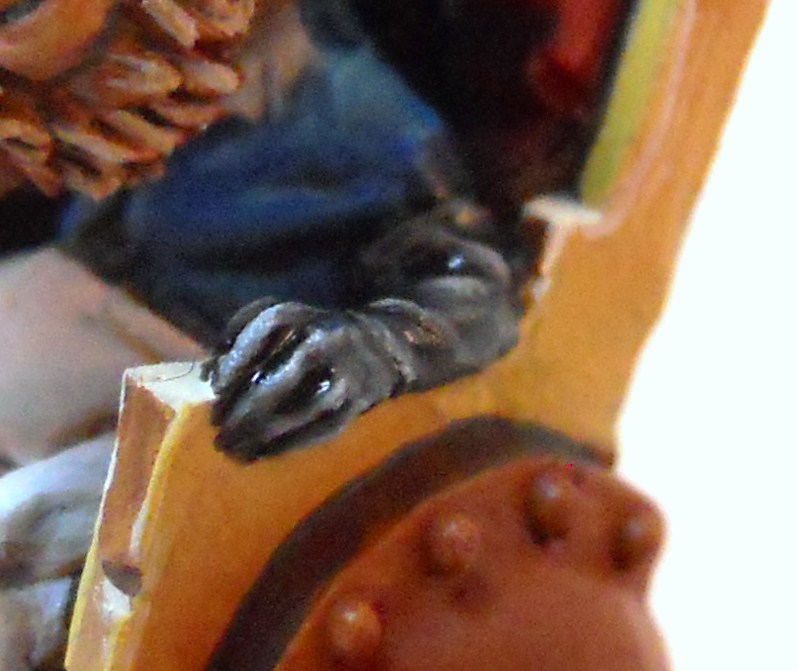
I decided this guy should have a black glove. Like the leather straps in so many other places, the glove was done with Navy Mix highlighted with Frostbite. But I also gave it a wash with a special mix I have that I usually use for metals. This wash is roughly a 2/1/1/1 of GW’s Nuln Oil, Agrax Earth, Guilliman Blue, and water, with a few drops off matte medium added to ensure it binds properly. I took this picture before it had dried completely.
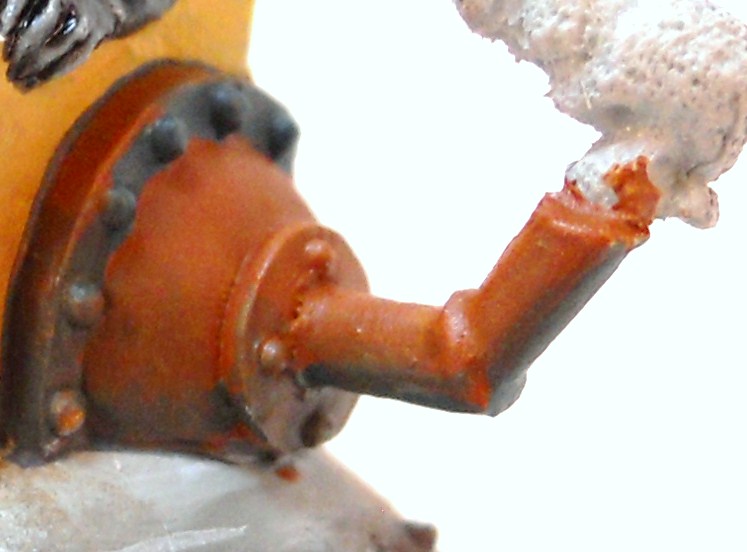
Almost done. The last piece is the boiler here. Since it doesn’t actually seem to be powering anything, I have to assume it’s just a big ass-warmer for Gulraast. It gets a basecoat of Bloodstone, and I start shading it with Coal Black.
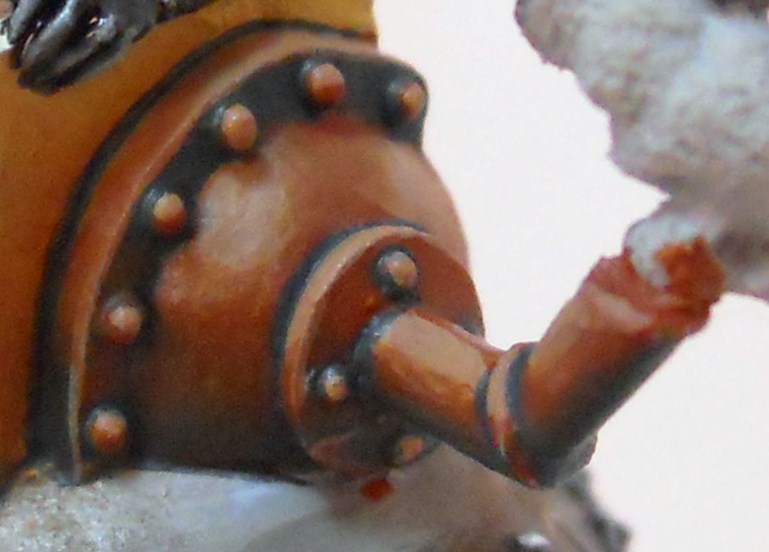
I blend a little Frostbite into the Bloodstone to start creating a highlight and even out the blending in the shadows.
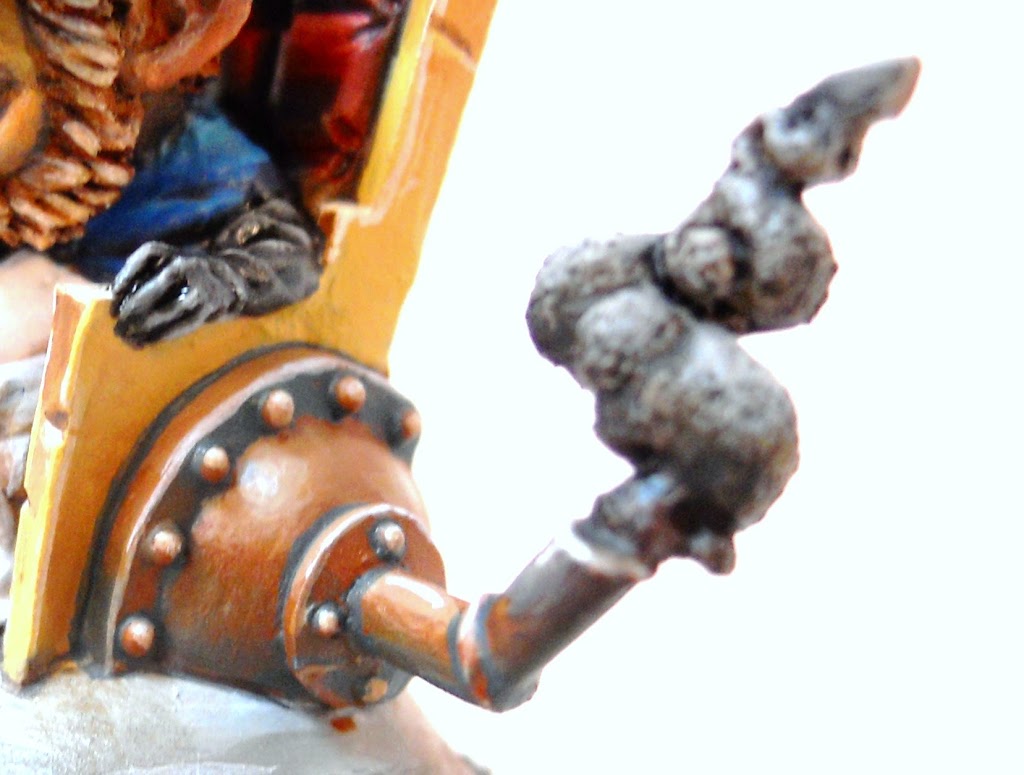
A few places get a final highlight of pure Frostbite. The very last thing to paint was the smoke plume. I gave it a wash of GW’s Agrax Earth right over the primer. While it was still wet I took some pure Thamar Black and dabbed it on to add some shading. This was the only time I used a pure black on the entire mini. When this had dried, I highlighted the plume by drybrushing some Trollblood Highlight followed by some Menoth White Highlight onto the highest areas.
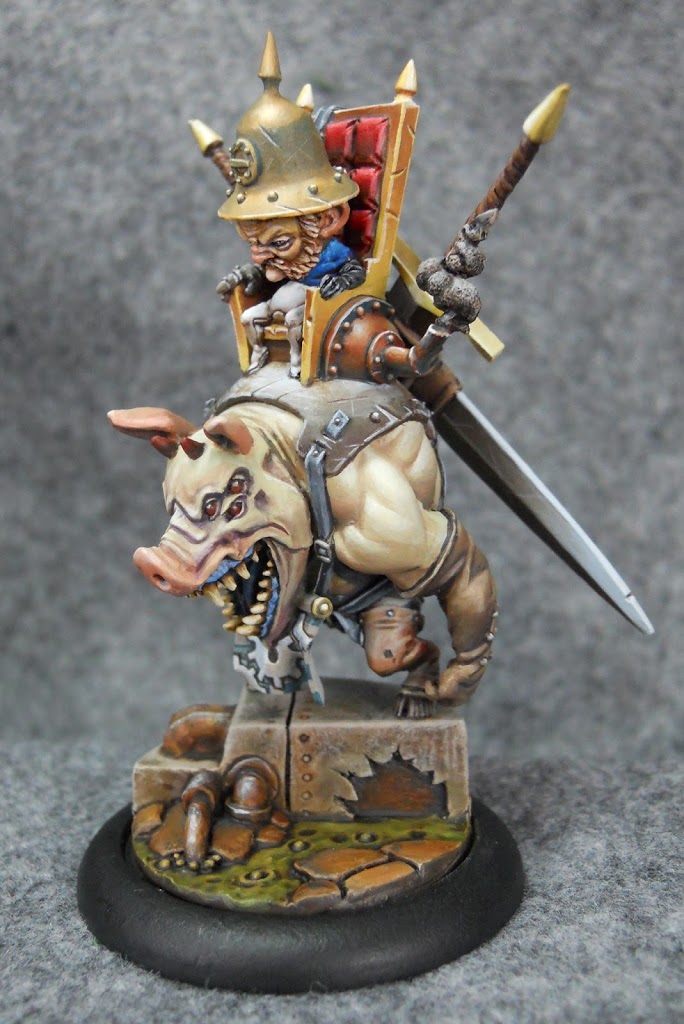
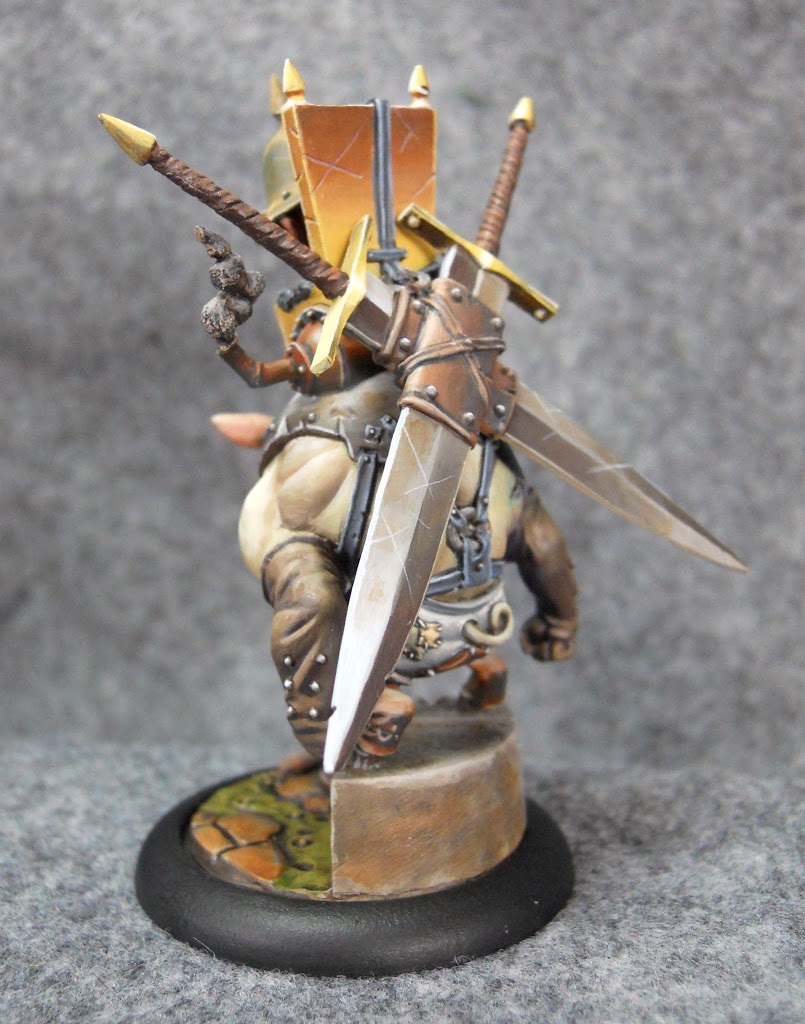
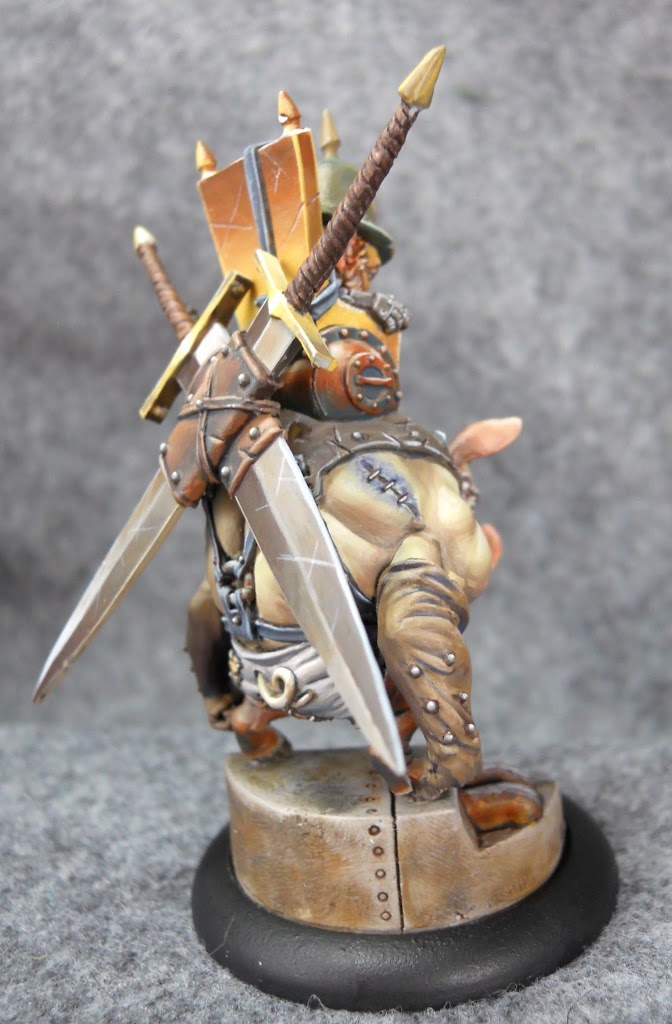
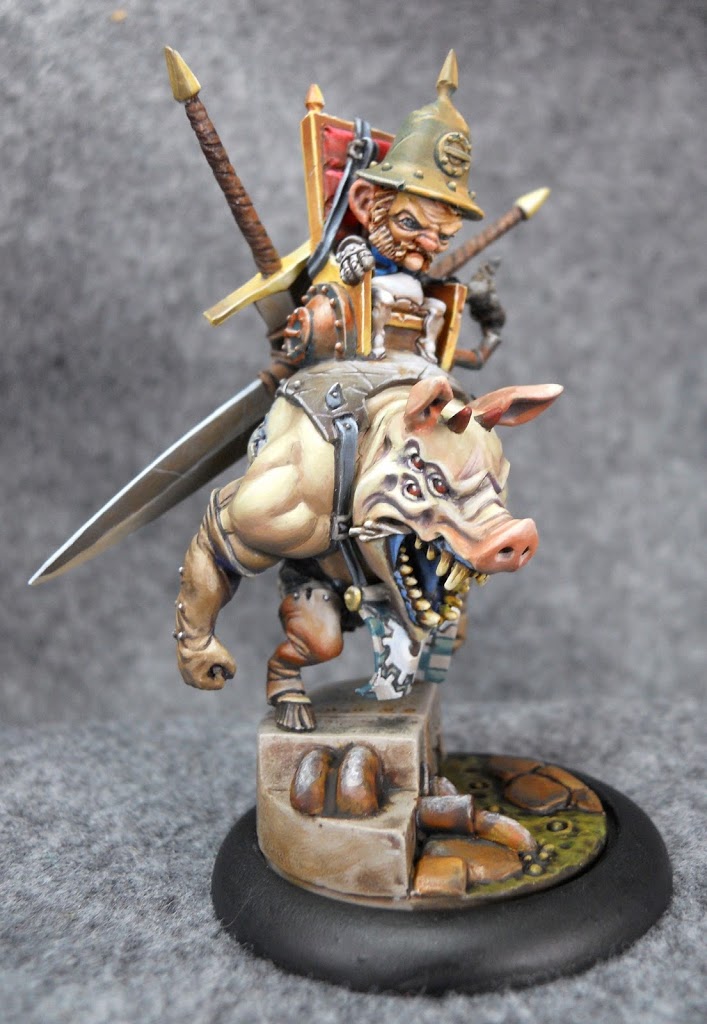
I used one of Wyrd’s Sewer Bases for this guy. No I don’t think he should be hanging around in a sewer, but all the pipes, liquid waste, and cobblestones seem to convey the Teknes theme of a fantasy society in the midst of an unchecked industrial revolution. Basically I’m just going to pretend that instead of “Sewer Bases” these are called “Fantasy Industrial Bases.” Works for me. As always the last step was clean up; going over the whole model to try to find and fix any imperfections. Oh and since I left piggy’s head off during painting, I had to green-stuff the gap and then paint that area. I hate green-stuffing after painting but its just one of those things you gotta do. Alright lets see some more angles!
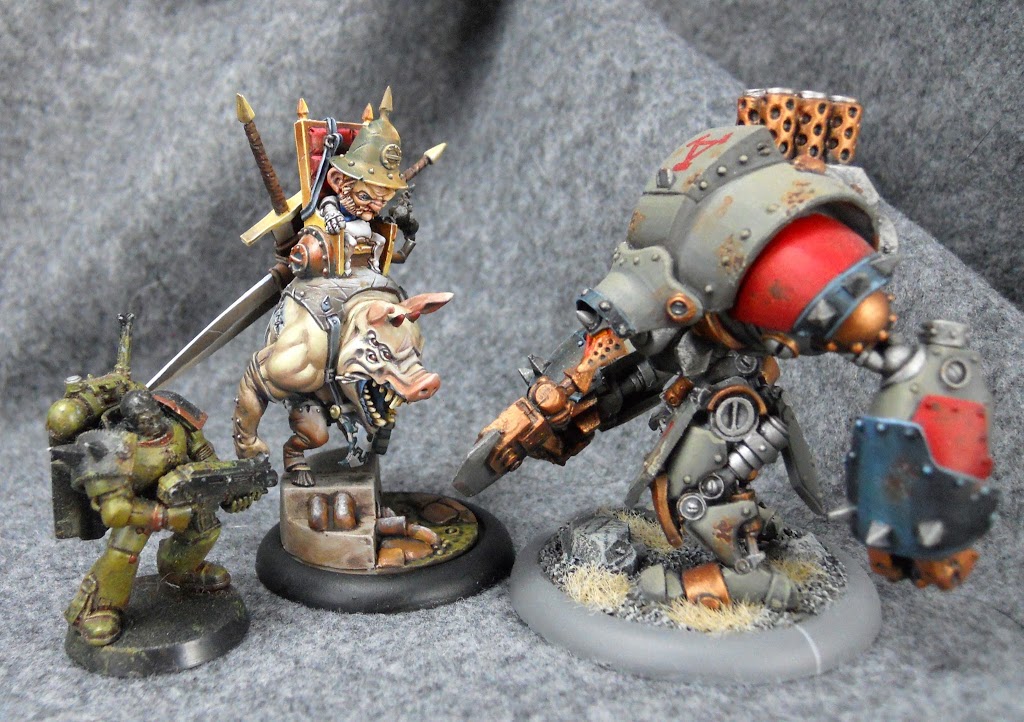
And lets finish this off with a cross-system size comparison.
~Well I hope you enjoyed the article. If you’re even remotely curious to see more from the game system that spawned the bizarre Ironward here, make sure you check out the Wrath of Kings Kickstarter. There are four other factions to look at if this guy is just a little too weird for you.

