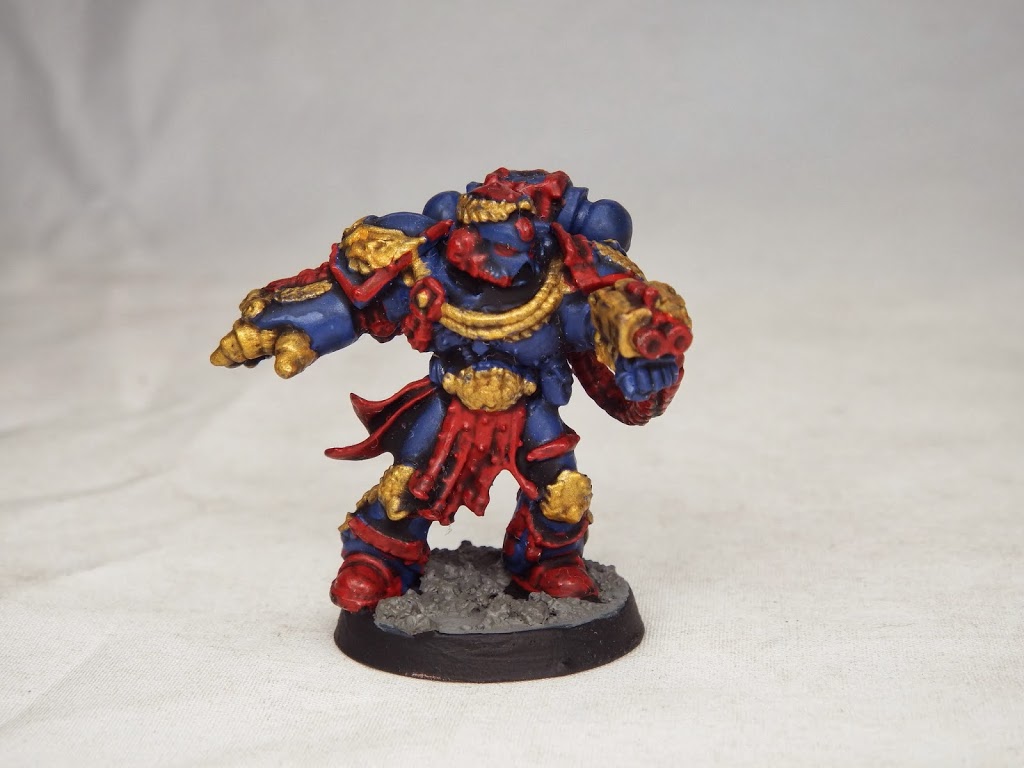
40k Hobby: Cheap Urban Rubble Basing

Greeting all you boys and ghouls! Caleb with White Metal Games here! Today I have a quick and easy tutorial for you: textured urban rubble basing for your miniature needs.
Basing your miniatures is often the final step to really finish off your miniatures. The problem is that after you’ve take so much time to paint your miniature, you’re really tired and basing is generally the last thing you want to think about. Most folks default to the green/brown earth/flock scenario, which is perfectly fine. But not every battle should be fought on mother earth. Some battles are waged in the ruins of the 41st millennium.
So, how to kill two birds with one stone. The answer is texturing your paint! Textured paint is nothing new. GW sells it. Let me save you a little time and money. It’s sand. It’s just sand, grit, or ballast mixed into the paint.
So, how do we make our own textured paint? Well, this should come as no shock, we add it in ourselves.
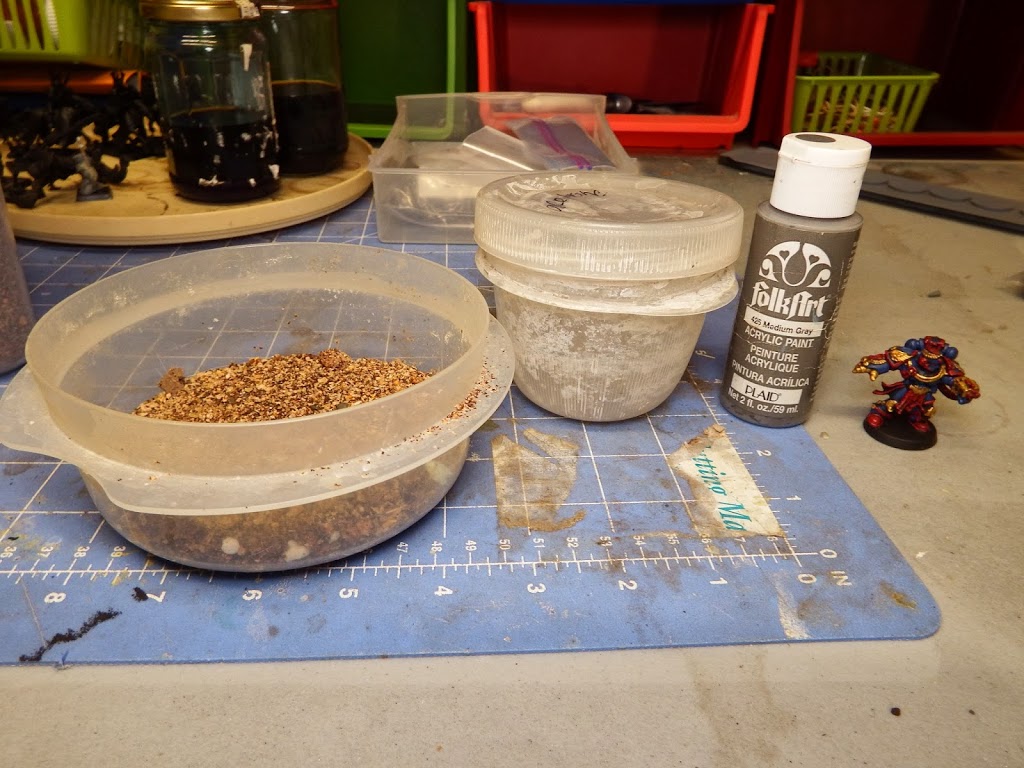
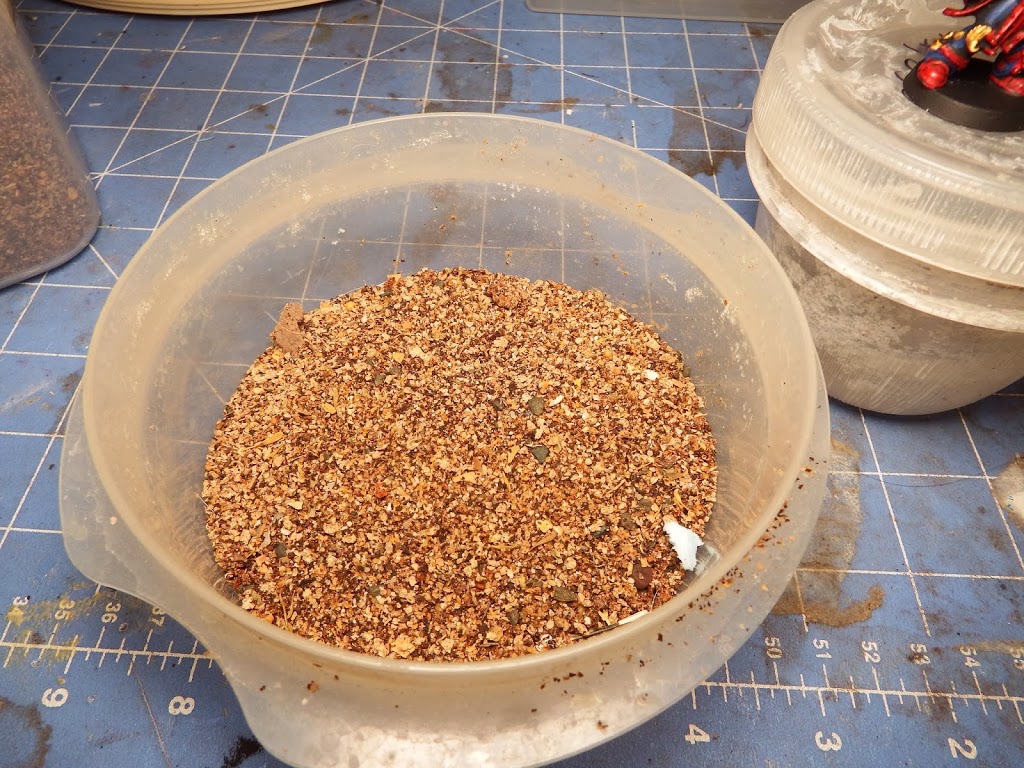
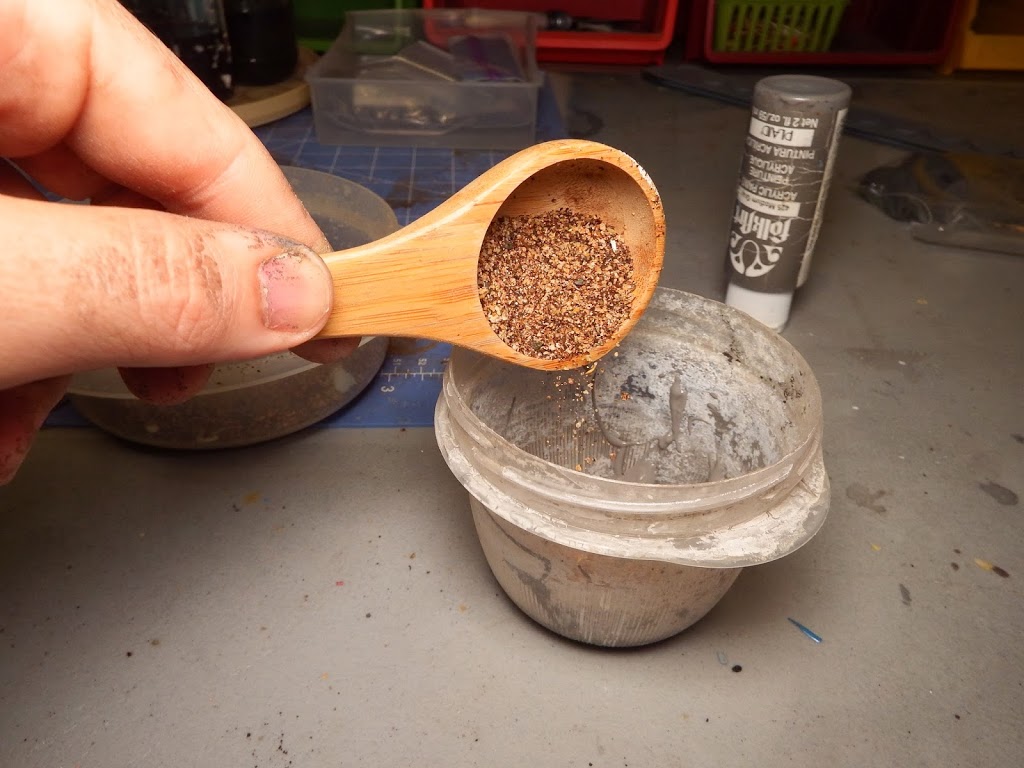
First, grab a mini, some textured basing material (mine is a blend of sand, dirt, herbs, dried tea leaves, whatever I have extra that I add to the batch over time) and some cheap paint, plus an empty container.
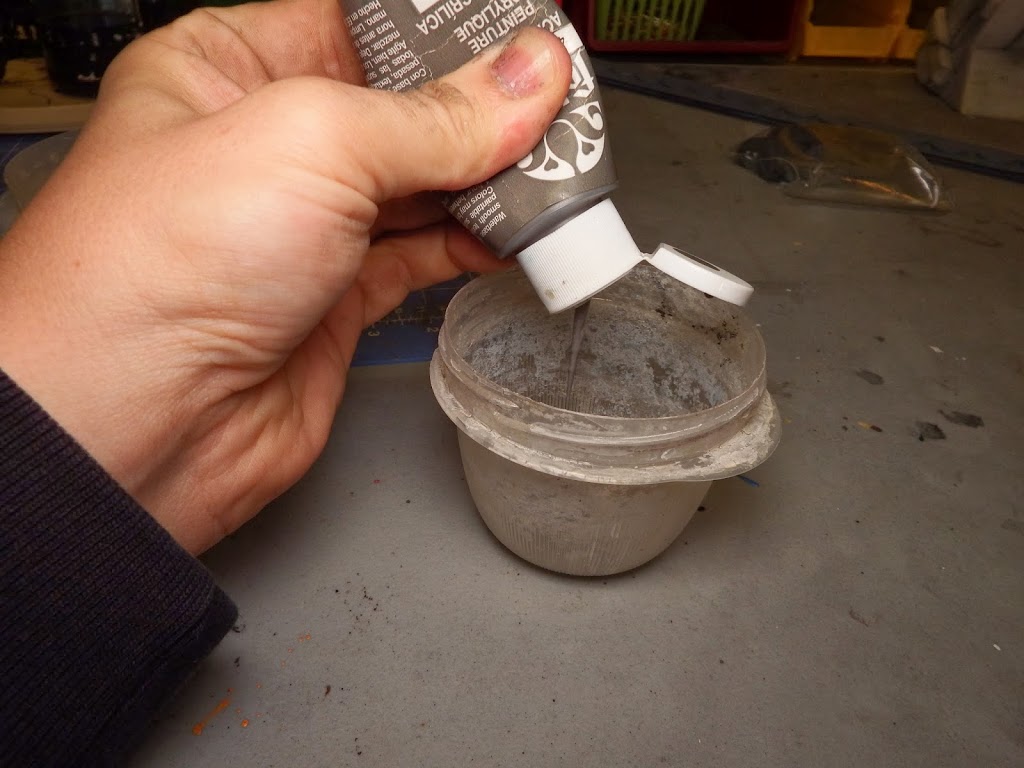
First, add some paint to the container. Darker is usually better, because then you can dry brush up to create texture. In this case I use a dark grey paint.
Add some textured basing material.
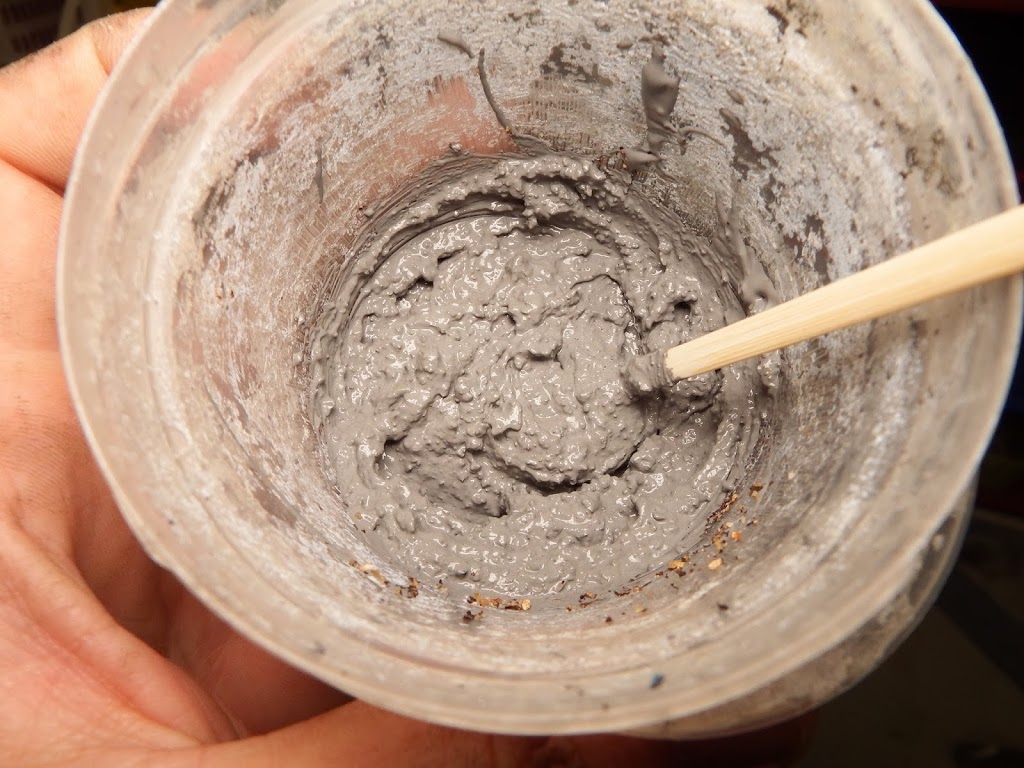
Stir to the consistency you like. Pancake batter is about what I go for, or ‘gritty’. Yoggurt like consistency.
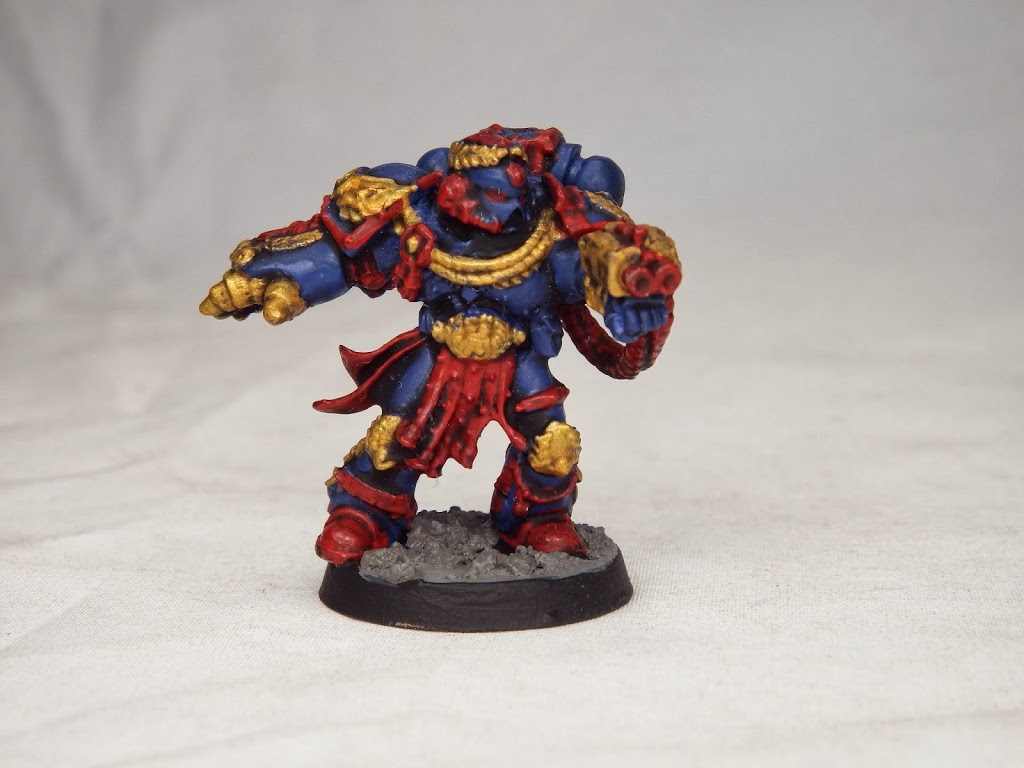
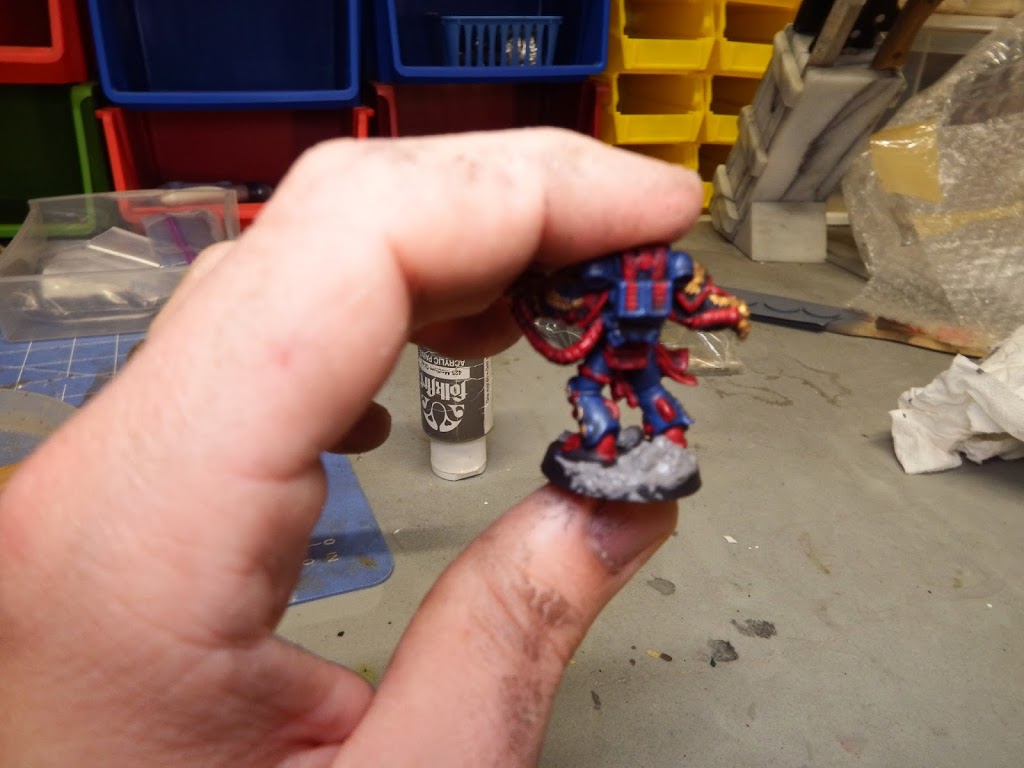
Use an old brush or wooden craft stick to apply some of the basing material to the mini. Be mindful of the paint areas, but a little drift is okay since this will look like dirt/grime/dust later.
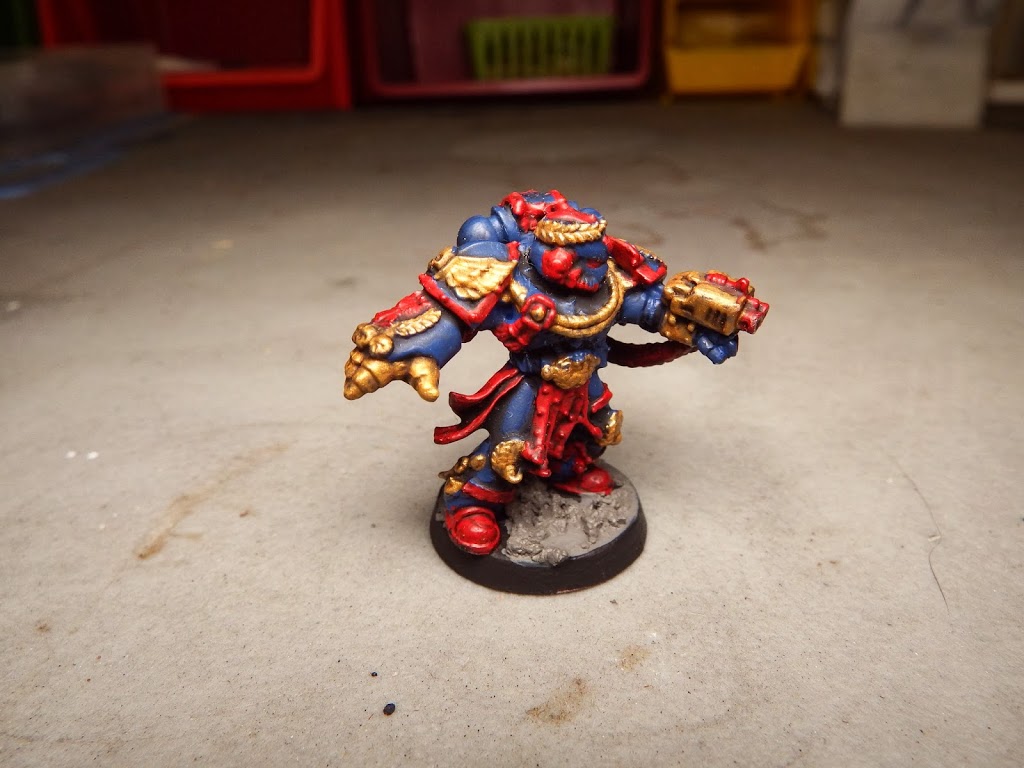
Do a little clean up with your finger and then apply a little paint to the edge to polish it off. I used black below.
This mixture will take longer than usual to dry, a few hours at least, but once dry you can wash it to detail or dry brush to help the texture stand out more. You can also add some bits like spare weapons, skulls, etc into the basing material, which will be slightly pliant and will hold down those spare bits like glue. I usually paint mine first and then just stick them wherever I feel like.
What I like about this method is that it is not only cheap and easy, but you can easily rebase an existing painted army. The basing sludge is thick enough, that you can just go over any low profile previous basing, so you can give your army a new visual look easily, or unify minis if they had different basing in no time.
If you found this tutorial useful, be sure to check out more of our work on our homepage, or at the very least, like us on facebook!
And until then . .
PUT YOUR MINIS WHERE YOUR MOUTH IS! Caleb, WMG

