Infinity – One Tournament, One Terrain Board, One Week
I’m not a hobbyist. But I did need to create a playable and more than decent looking Infinity terrain board in a week…
So I have to apologize right now. I was hoping to have my deep dive Dire Foe articles up by now, but I just got my hands on the dire foe packs and I felt like playing the included mission was more or less a requirement for doing a good job with the dire foe articles. So instead, I thought I’d bring everyone a little Infinity gift (make sure to stay through to the end so you can get your hands on said present).
It was January 7th, 2014 when the newly appointed Infinity Tournament Organizer Karl informed me that there was a chance we could have 16 players at our January 25th tournament. Our store is large, and we had plenty of tables to accommodate 16 players, but not enough “Infinity” terrain. Veterans of the game system know that there are a few things you want to avoid, namely “Swiss Cheese” terrain. There’s also a desire to have both high and low level terrain. With two weeks to go, I took stock on what I had to make terrain.
1) 1 Modest Magic Sci-Fi wall terrain kit. ($75 at http://www.modestmagic.com)
2) 10 Warsenal Large Containers (HUGE props on their Cyber Monday Sale)
3) A small piece of 2 inch polystyrene (maybe 2 foot square)
4) Three Chessex Dice Containers
5) Random bits from an old Pegasus Hobby Platformer Kit.
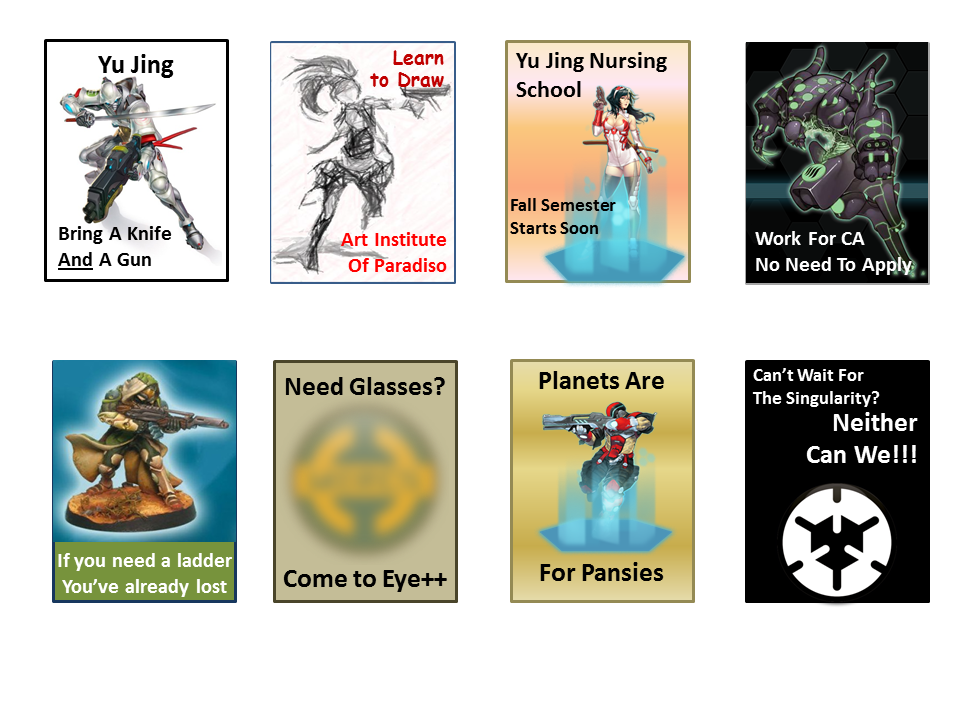
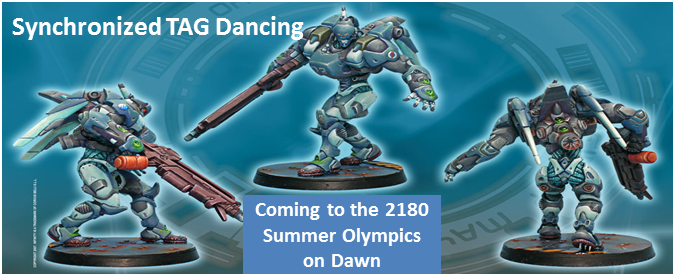
And I was off. I assembled (with the help of Jeremy) the Warsenal Boxes and handed them off to Karl (who agreed to get the crates painted up). My next step was to create a few new Infinity Faction Propoganda posters and apply them to the Chessex Dice Containers. I found out that without having the largest Chessex dice containers, the images were a little small and did not display as well as I’d like. So I sliced up the 2 inch polystyrene with the help of a miter saw and recreated the posters to fit in the larger dimension.
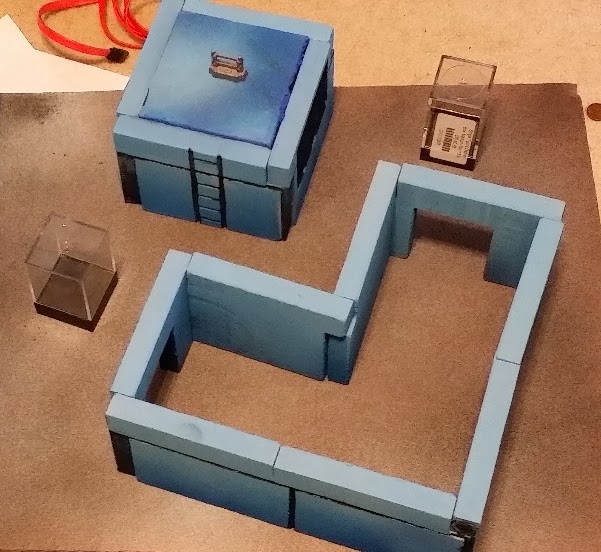
Then I glued together the Modest Magic kit. These steps were photo documented in the BoLS Lounge ( LINK ). The paint applied to this terrain included Apple Barrel paints for the lines and Design Master spray paint for the gradient shades. Make sure to use only the paint which can be used on foam (the can will specify “Styrofoam”).
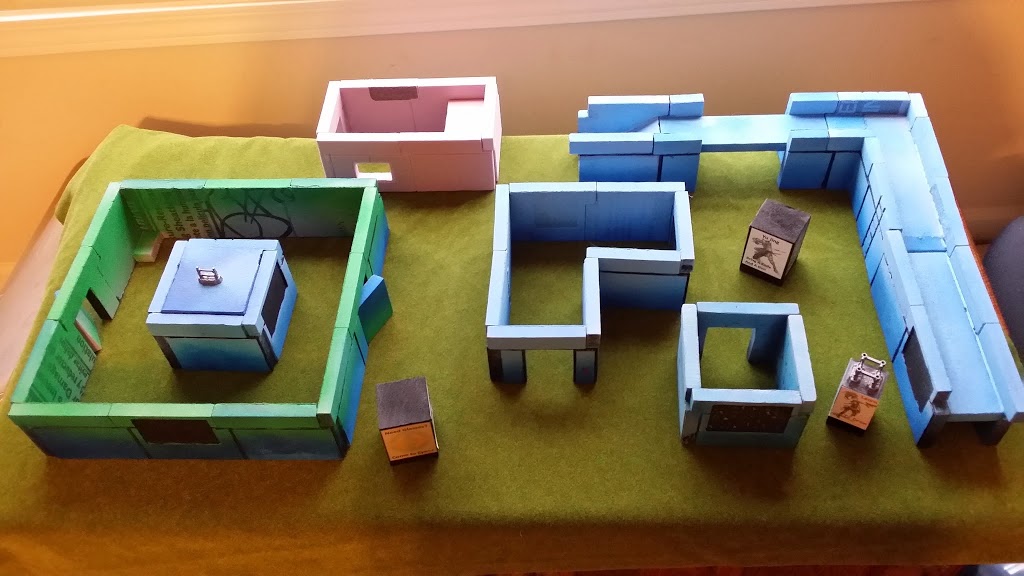
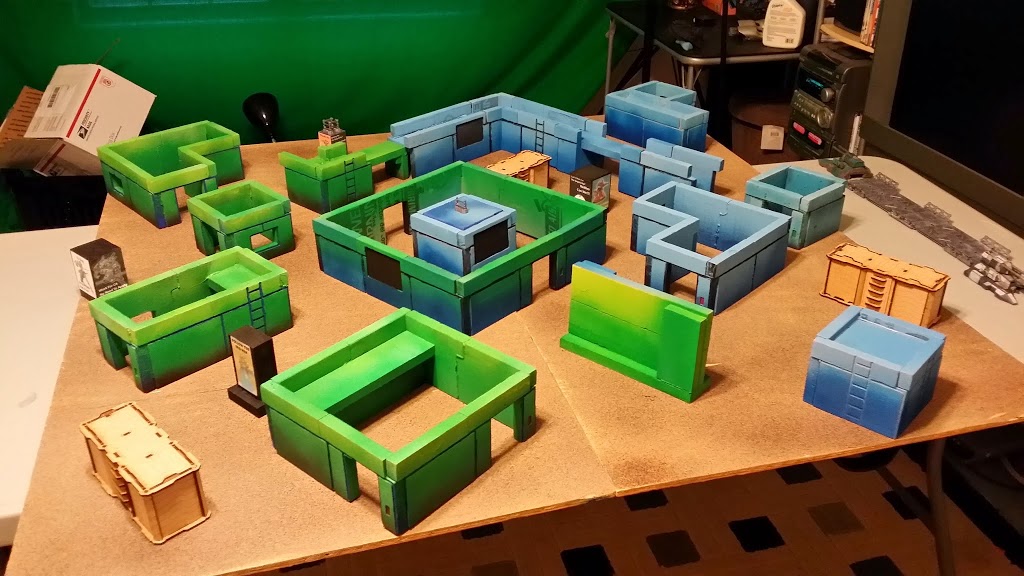
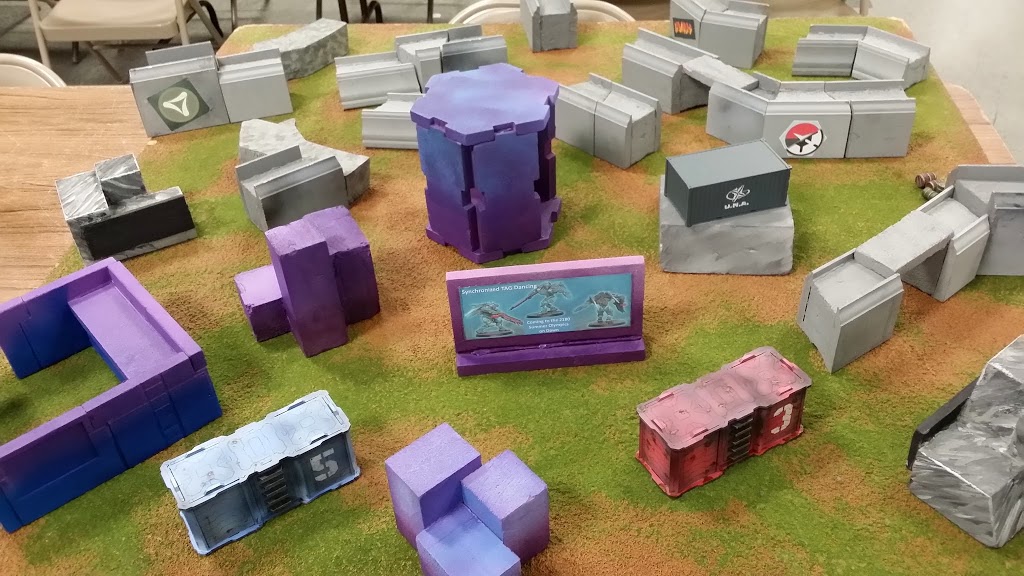
At this point, while I was thrilled that I was able to create a full Infinity Table in a week, I knew we still needed more terrain for the tournament. So I took a miter saw to the remaining 2 inch polystyrene to create large collections of blocks that I glued together with a hot glue gun and painted to match the terrain I had just created. At the Tournament, the final blue/green board looked like this:
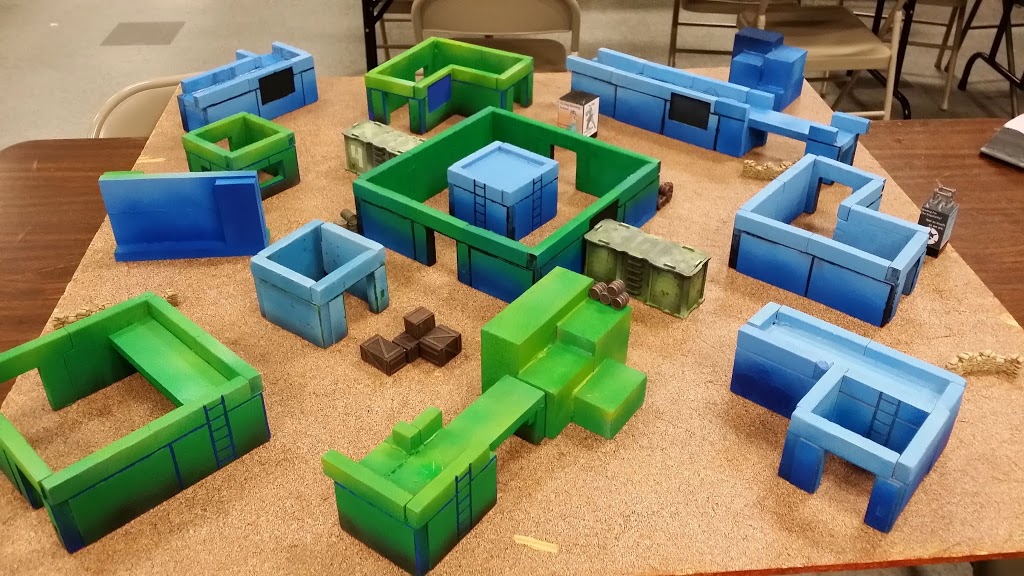
With the inclusion of the 2 inch polystyrene shapes and the Warsenal crates, I was able to move some of the structures to the other boards, fleshing them out just a little bit more. Two of the other boards at the tournament:
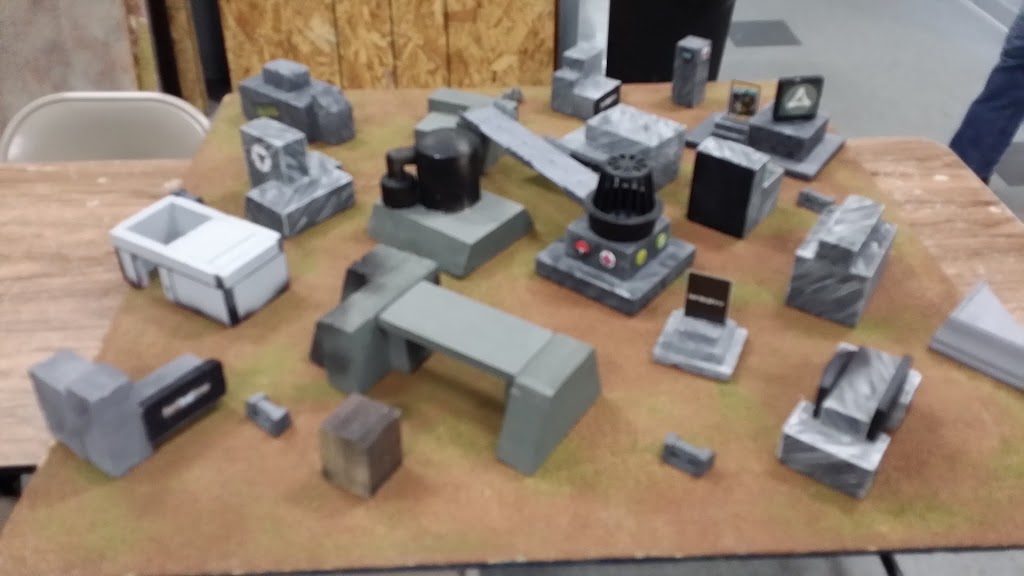 |
| Note the crazy bridge in this board (from the Pegasus Hobby Platformer set) |
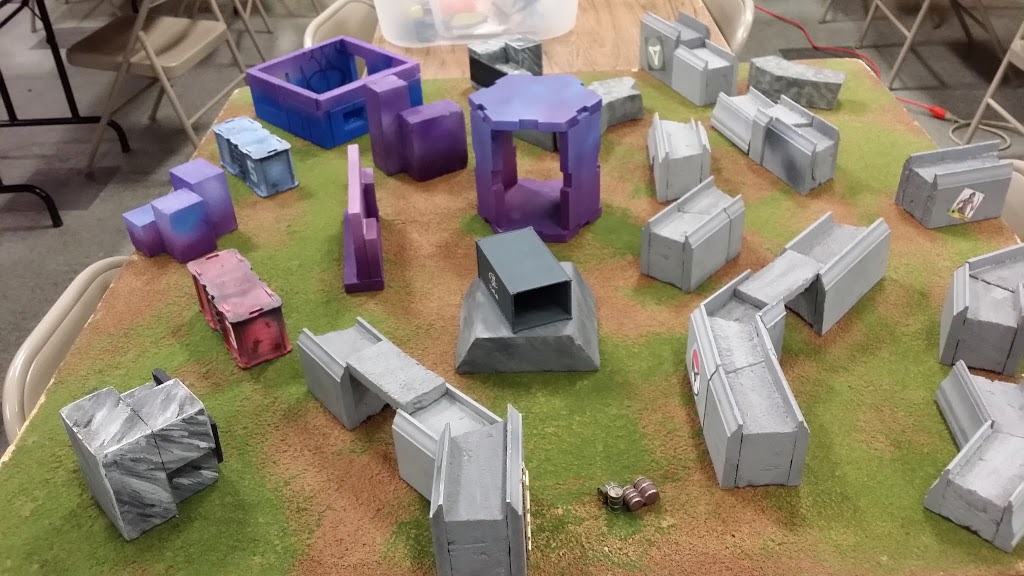 |
| The handful of remaining Modest magic walls I created as purple and added it to the propaganda Labyrinth Terrain |
Without further ado, my Infinity gift to everyone. Below are two of the sheets I created and printed out on shipping label paper to add to the terrain. The first one I attached to 2 inch x 2 inch x 2.5 inch polystyrene blocks as adverts.
Have a good terrain story? Be sure to leave it in the comments below. I’m always looking for another technique to creating fast, good looking, playable terrain. And I’m sure I’m not alone.
As always, you can leave a comment here and find me on YouTube.
doremicom

