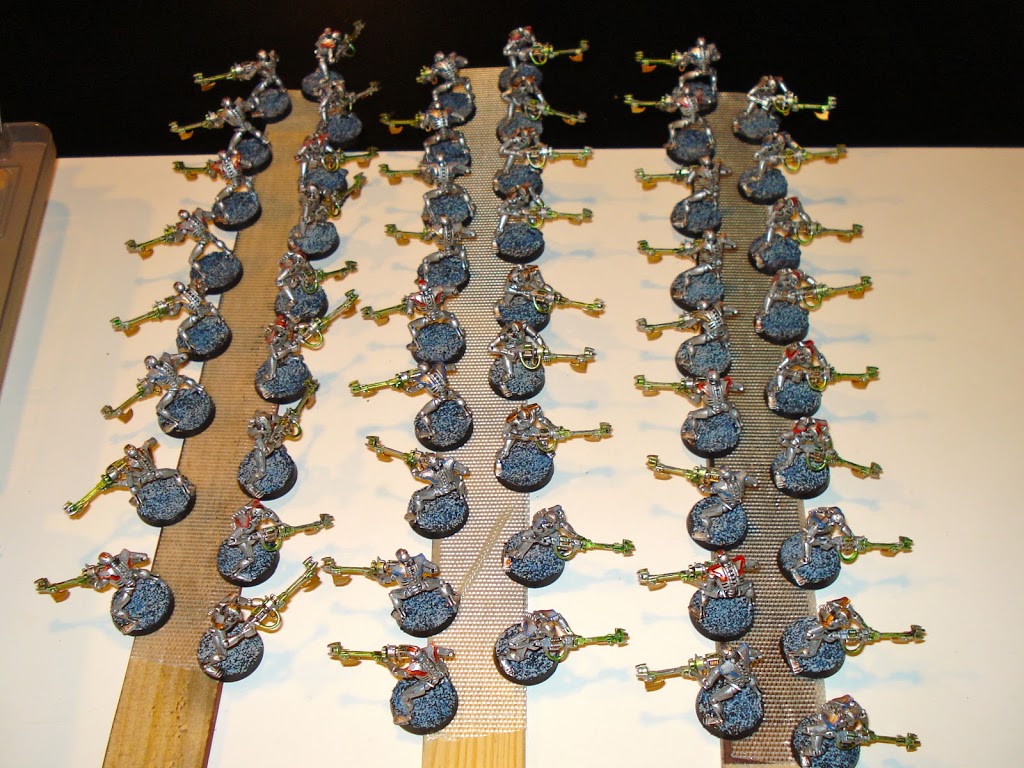
I’m putting this right up front, since time and again it’s the hobby trick people seem to remember and embrace. Take a stick and double sided tape, then put it in a box with some miniatures. Shake it up. When you remove it, it’ll look like the picture, above.
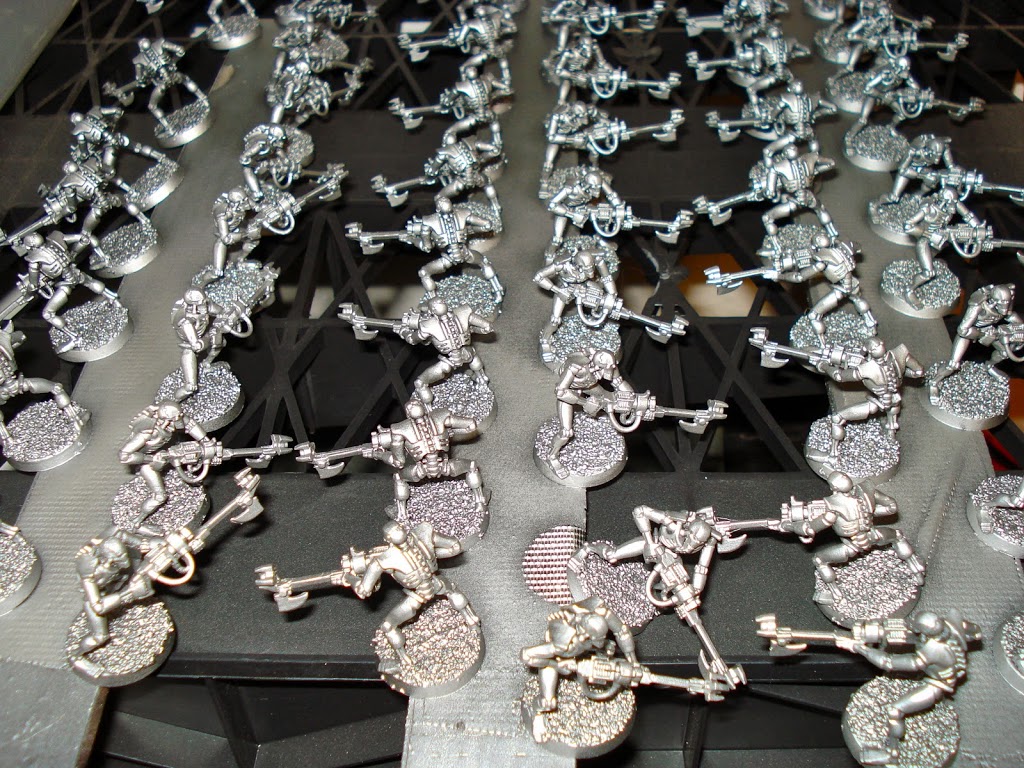
I think you get the idea. If you put plastic models down, you are safe to double them up like the Necrons in the picture above. If the models are metal, center them and be a bit more careful turning the stick around. The obvious benefit to this technique is 1) it’s easy to batch spray a lot of models at once, and 2) the stick can be turned to get every angle of the model. If the tape you’re using is good, you can turn the models upside down with no problems. The tape in the picture above isn’t that great – you can see some models almost came off.
But they didn’t! Anyway, give this trick a try. These days, I use a standard ruler with 10-models maximum. It goes from priming and base coating outside to indoors, where I use an airbrush on all the models at once. I find it easiest to remove the models when I break out the paint brushes, but a buddy of mine does most of the painting right on the stick.
Primers and Spray Paints
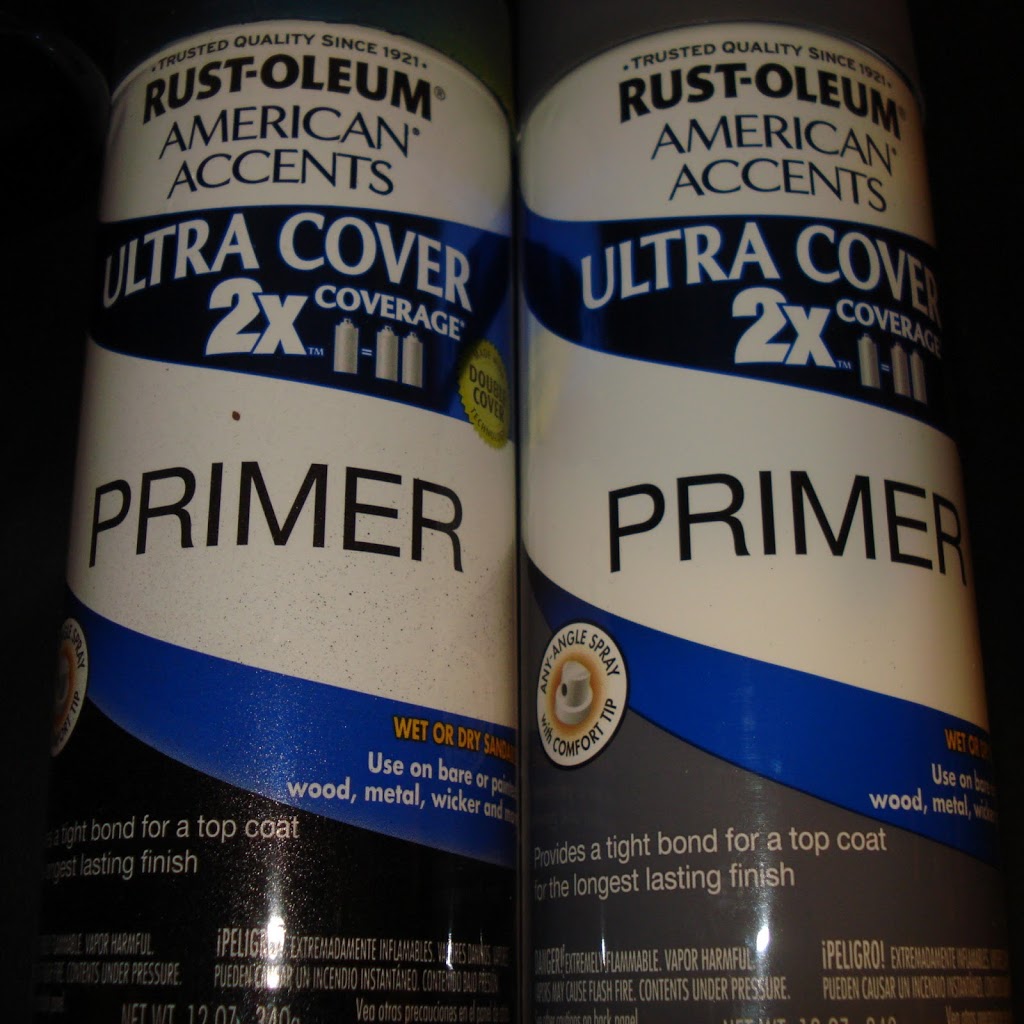
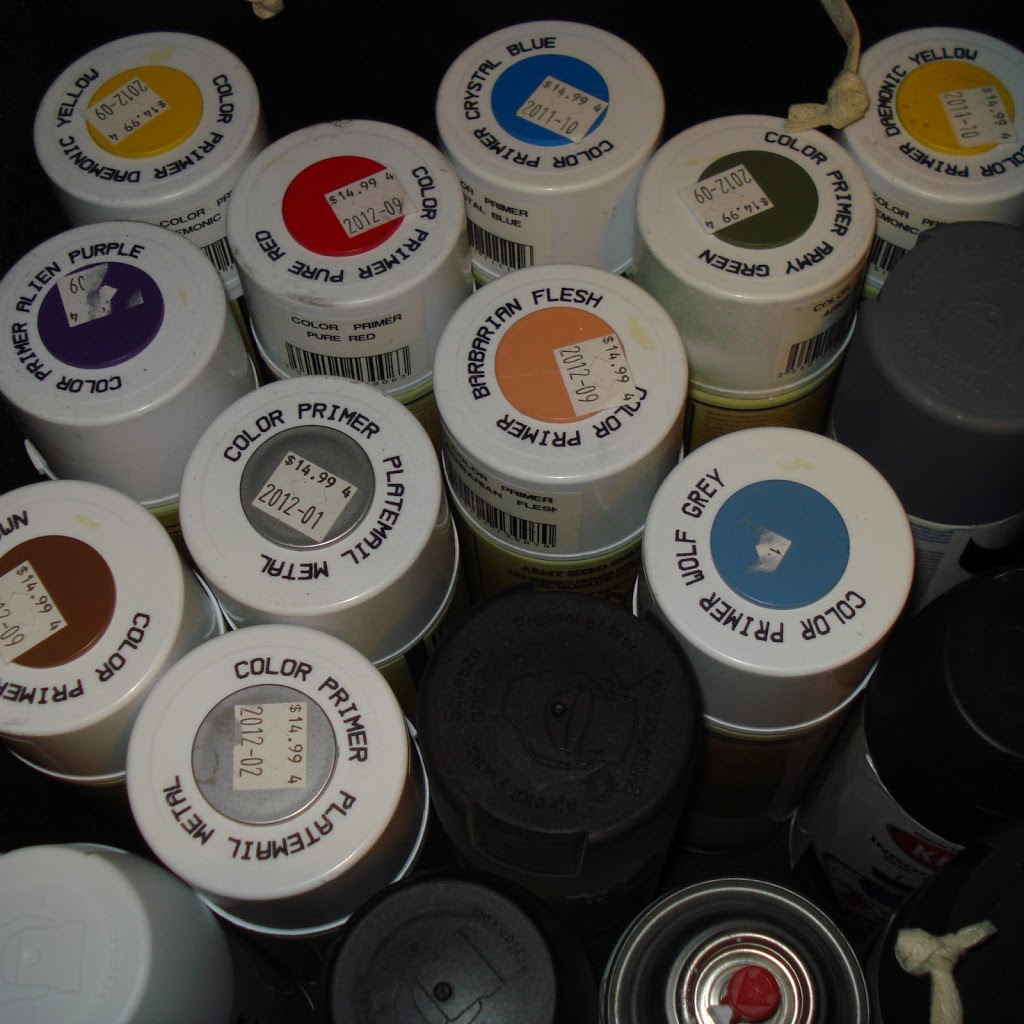
I really like this product. It’s cheap, it can be found in any big box store, and it’s actually a primer. It will give you a solid coat with only a few passes.
Then typically I’ll turn to a better quality of spray paint for a base coat, over the primer. Obviously I prefer
Army Painter. I like to save money, but spend on quality where you need it. These sprays last forever and you don’t risk ruining models with some PoS cheap color that sprays on too thick.
You can save a lot of time and effort on a squad’s ‘first coat’ of color. Frankly, I hate the beginning stages of painting, so through trial and effort I learned to use spray cans to do the first few steps. For example, I’ll use the black primer pictured above, the Rust-oleum Ultra Cover x2 Primer, then I’ll spray the base color – say, red for Blood Angels – while the primer is still wet. (Keep in mind, I’m using the paint stick, so I can easily manipulate the angles of the models.) Typically I’ll do a light pass underneath and at a 90-degree angle – or straight on – before applying a good coat from a 45-degree angle above the models, obviously aiming down.
If you do it right, it’s a shaded base coat, where the primer blends a bit with the base color spray paint. It’s usually pretty spot on, but the blends can be corrected with an airbrush or traditional paint brush as needed. For table-top quality models, you won’t need to. You can then move right into the fun part of painting.
Base Coats with Spray Paints
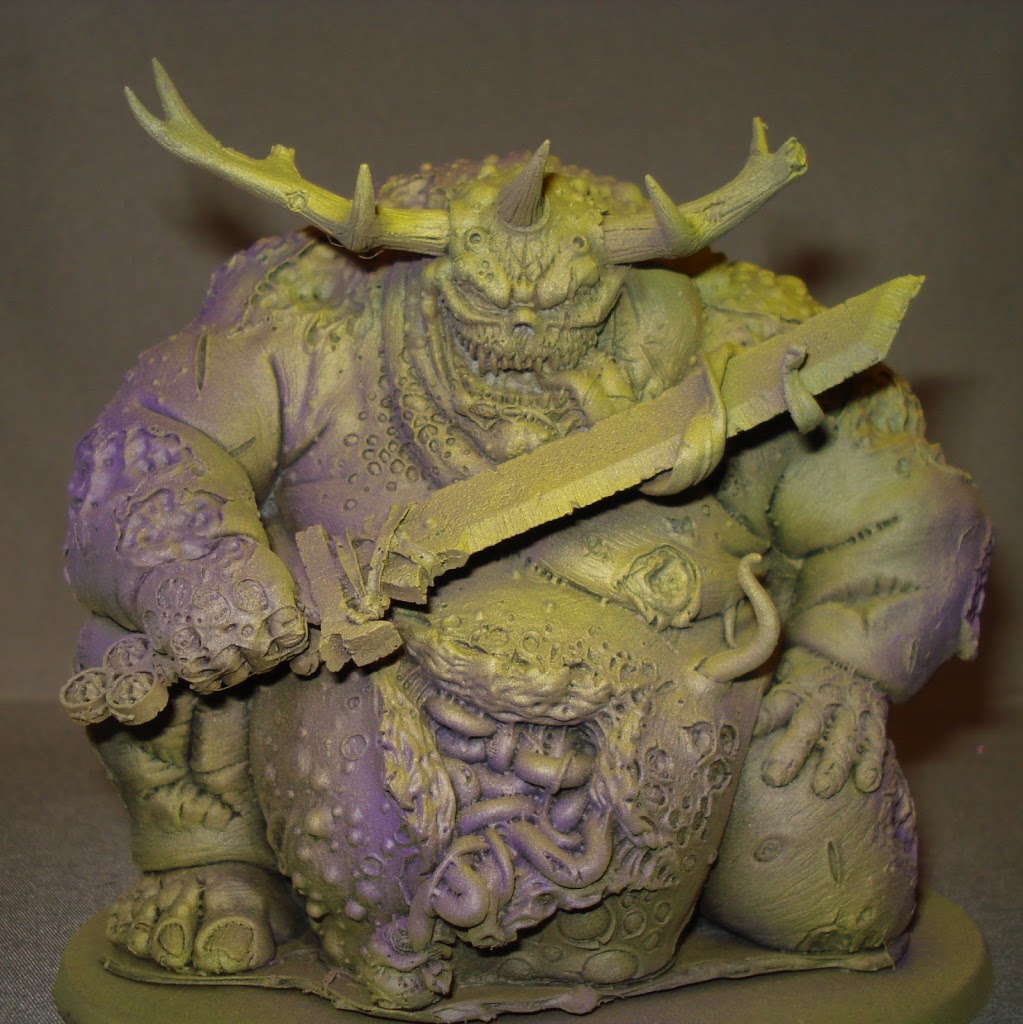
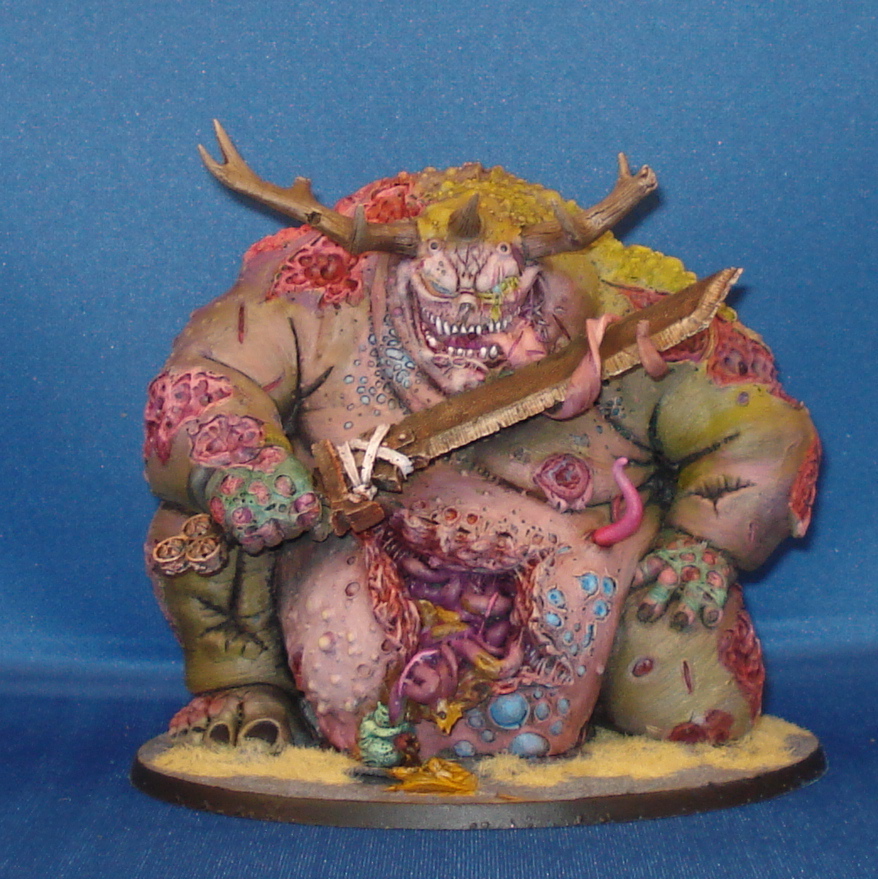
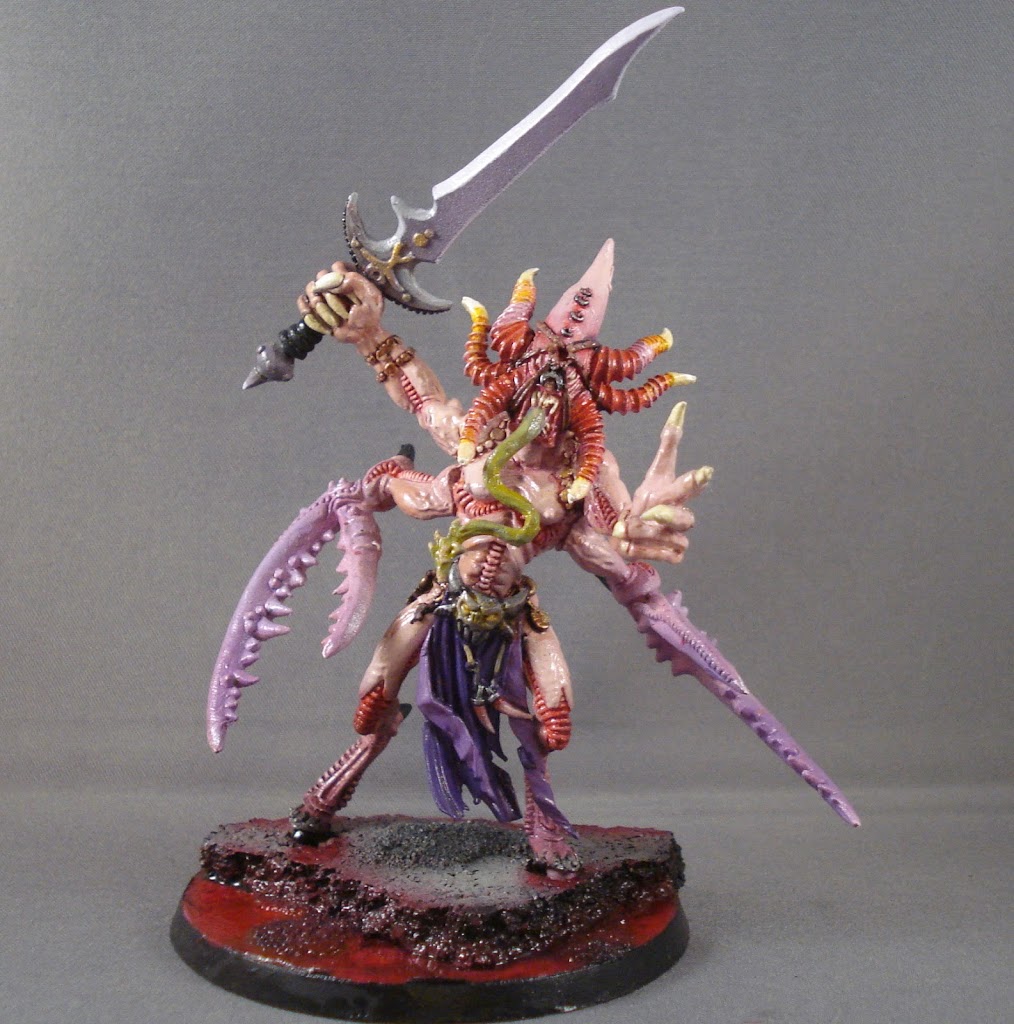
Here’s an example of using spray paints for the base coat, combined with traditional brush painting for the finished model. In the picture above, I primed the model black then brown, much as you would layer. Then, I used Army Painter spray paints in green, purple, and yellow, to get a base coat to work from. The lightest color, yellow, was used as a zenithal spray, dusting the model from above to lighten the appropriate areas.
Obviously the finished model is very different, but you can see how the colors beneath provided a guide. I didn’t want to use an airbrush for this model, since I didn’t want to cut any corners in the actual painting. Suffice it to say, I’m happy with how it came out, but it would have taken quite a long time to paint on thin layers of color to get me to the point I started from after five minutes of spraying the model outside.
3-Color Minimum
This is a tip I certainly need reminding of. Sometimes less is more.
Most of us are painting models to use on the tabletop. With that in mind, a limited palette of complimenting color choices, well applied to a model or group of models, is often better than spending ten forevers trying to duplicate the ambitious efforts of all the very talented people whose work we see all the time online.
I’m not very good at color choices. I always want to “do it my own way,” almost religiously avoiding painting in standard color schemes. Well, standard color schemes are usually chosen for a reason! If I’d stuck with painting Ultramarines or Blood Angels or Space Wolves, my collection of painted models would be larger, and I’d be using Space Marines that would be recognizable. That goes a long way.
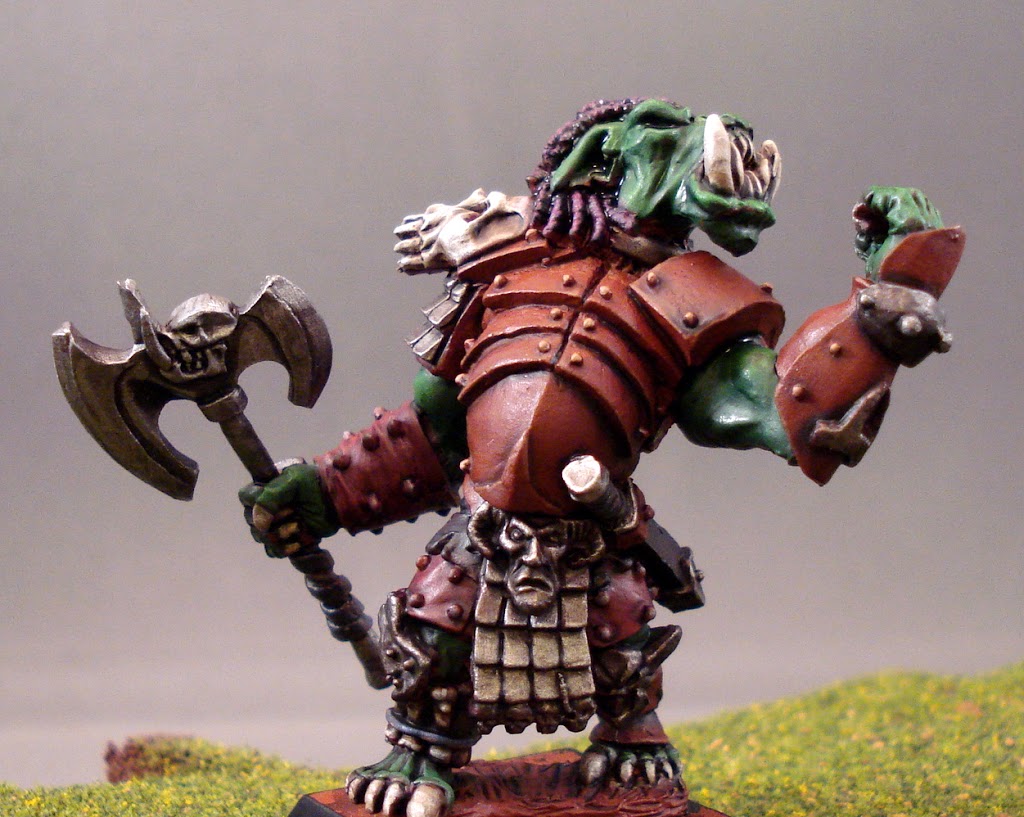
In the Orc picture, I used a leather with red tones to compliment the green, avoiding the Christmas Curse painting standard red and green on a model. I used silver and bone, which are cool colors and fairly neutral. The only pop of color is the purple hair; even then, it’s muted. I painted this model and a few others for D&D, all in one sitting and all by keeping it fairly simple.
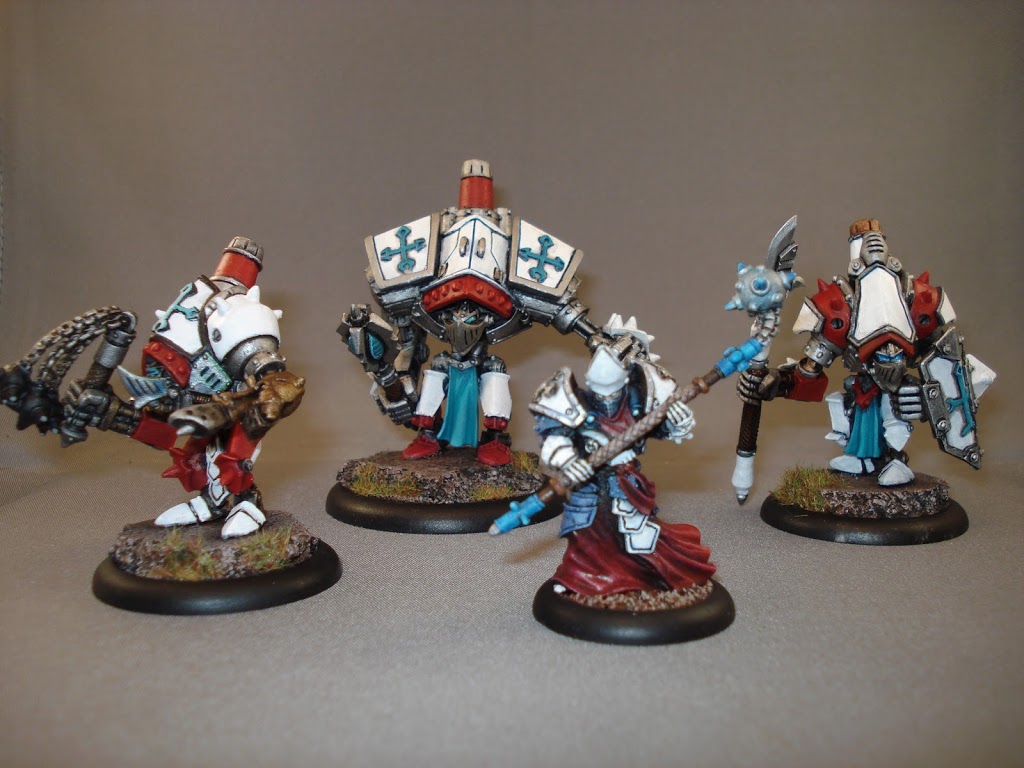
Another example is the Menoth models, above. There’s nothing fancy, but I used colors that speak to the faction a bit, meaning the white and red, and used the blue for the accents. I didn’t blend much; further, the metal stayed muted. In fact, looking at this picture reminds me that I used a .005 pen to block out the armor plates for a bit more contrast. It was quick to paint and I’m happy with the result. These are models I want on the table, not stuck on my paint tray forever!
Terrain
Terrain is an area where beginning players suffer. We’re luckier these days, since you can purchase great terrain kits, both painted and unpainted. Still, I’d recommend having a go at building your own terrain. It’s surprisingly easy and it is nice to have terrain that isn’t a ruined cityscape.
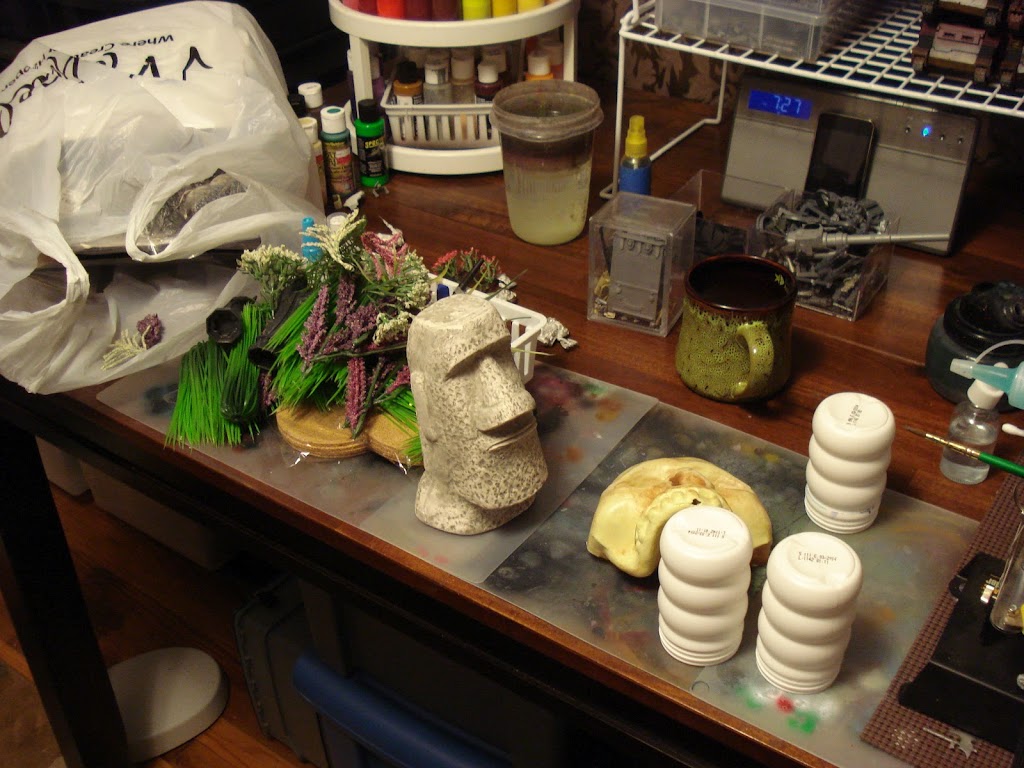
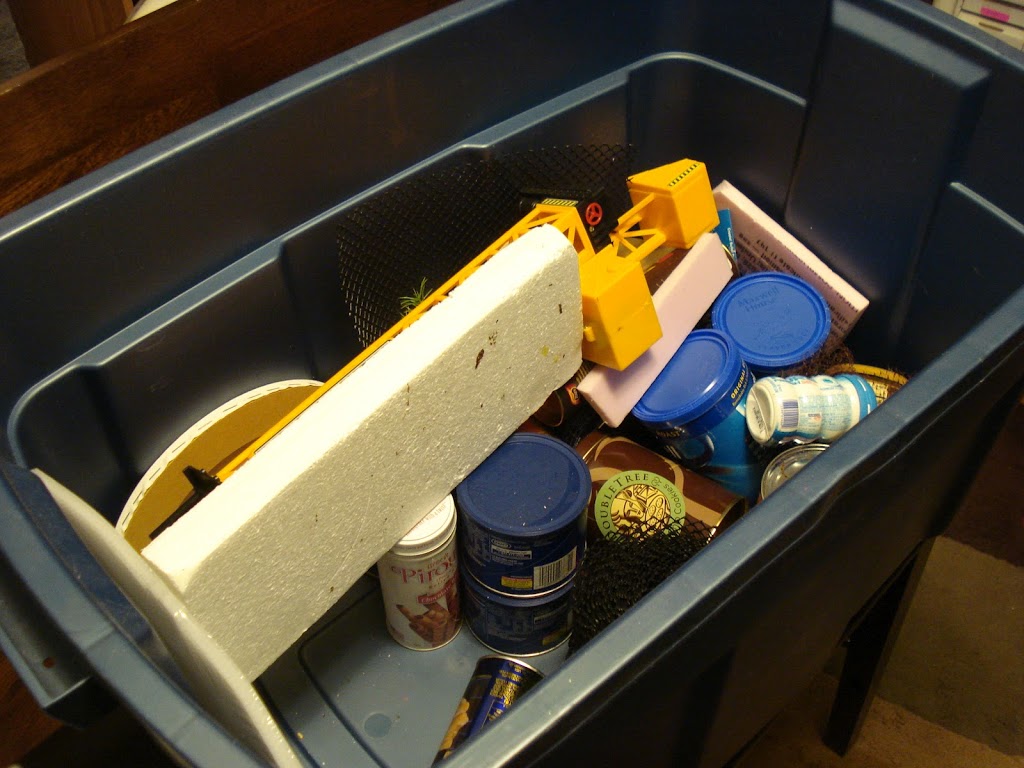
I have a tub that I throw junk in. If it looks vaguely terrain-ish, in it goes. Sometimes I’ll use it to build terrain for a table, while other times I decide it’s too much trouble and in the trash it goes.
Still, you’ll be surprised how quickly you fill a tub when everything starts looking like potential scenery!
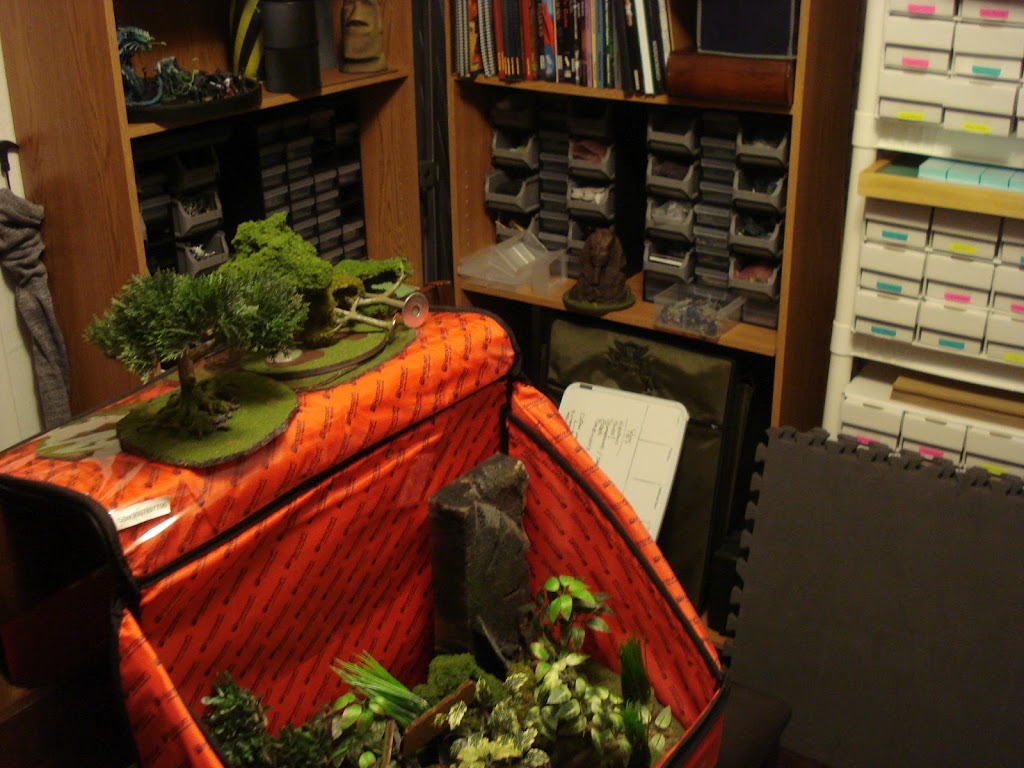
My favorite table to play on is a forest, simple because you don’t often see it at the FLGS. I look for trees after Chrismas, or on clearance. The best trees I own – pictured above – were discounted bonsai trees in a cheap pot. I purchased the lot, pulled out the trees, and ditched the pot.
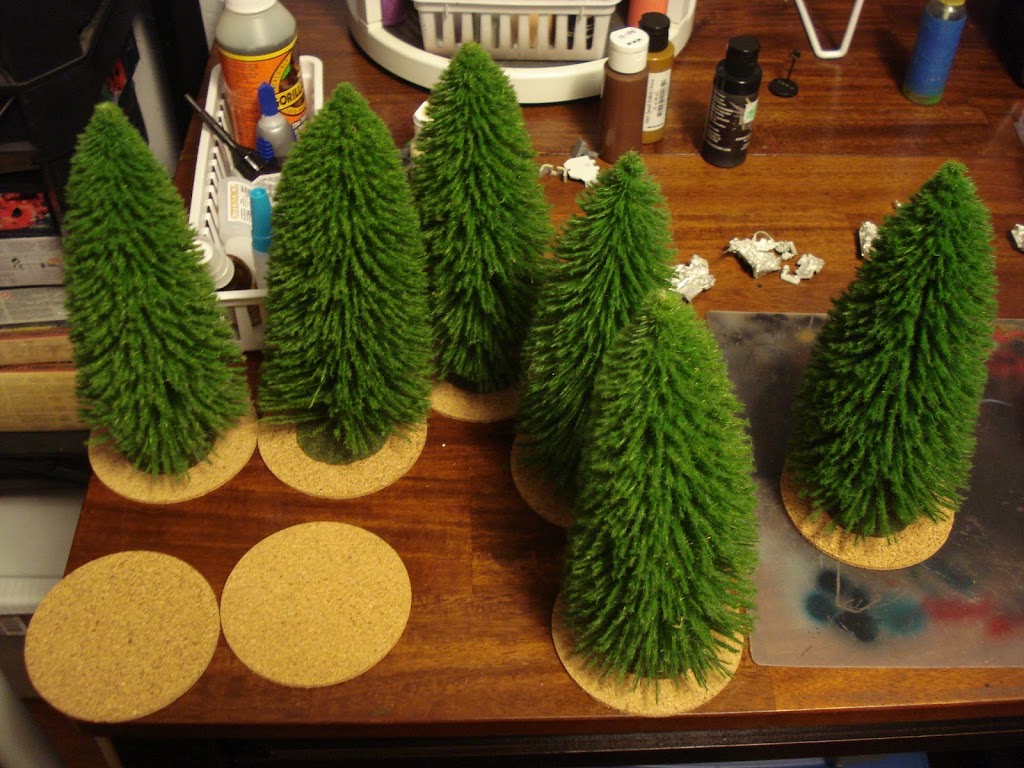
As WarmaHordes players know, you have to be able to move models through all those trees! Base them simply and gather them on a larger base, then move them around as you see fit.
Basing Models
I’m not the best at basing models, but Bell of Lost Souls has taught me a lot over the years. The first models I put on the front page were all simply flocked. I like it at the time, since it was easy to do and provided a consistent look, but you – the BoLS Faithful – pointed out in the comments that there was a missed opportunity to make models pop through scenic bases.
Cork is the tool for basing. You can buy it in sheets and cut or tear it up before gluing it down. You see it all the time, even if you may not realize it.
If any of you have good basing articles you can link, please do so! We’ll all find them useful.
Subscribe to our newsletter!
Get Tabletop, RPG & Pop Culture news delivered directly to your inbox.
Favorite Products
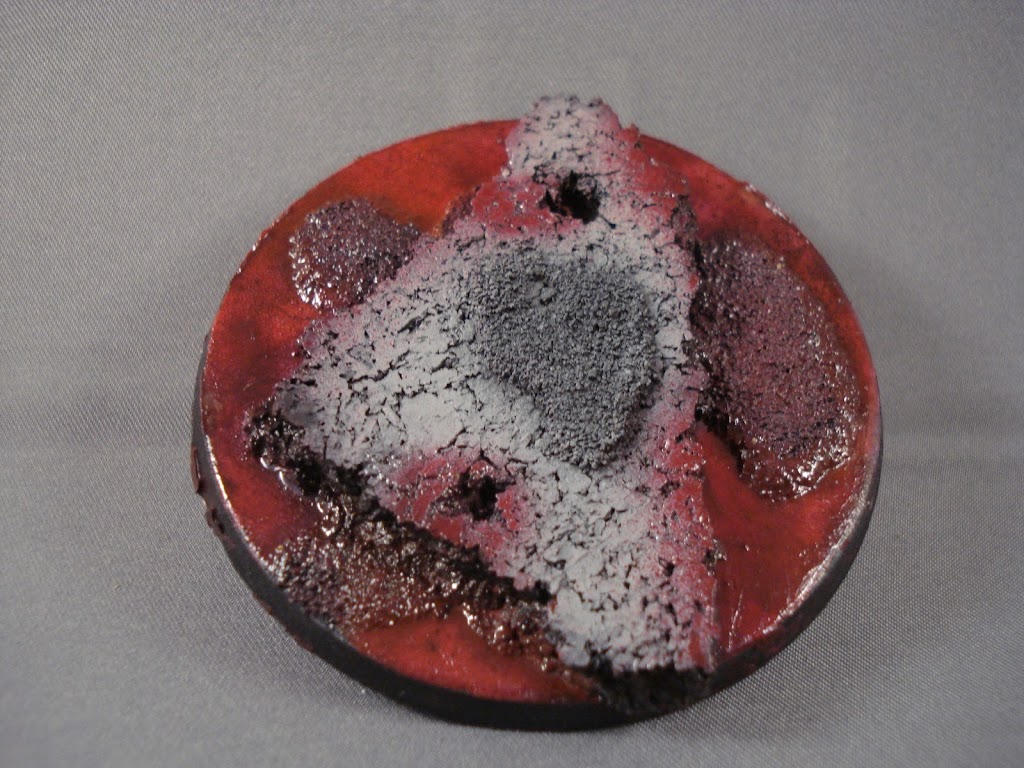
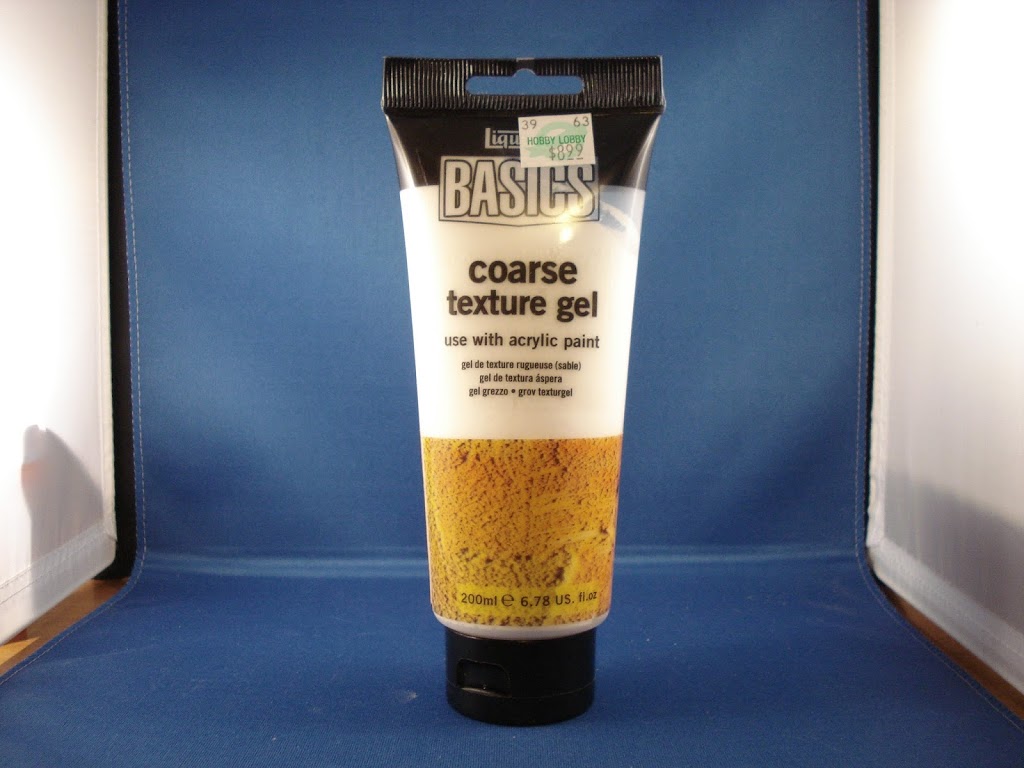
Hobby Lobby is expanding the hobby supplies that are useful to us in war gaming. The gel, above, can be mixed with the paint of your choice then painted on a model’s base. It’s very similar to the product GW makes that provides texture to a base… except it is easier to use and much, much cheaper.
It can also be used on vehicles as mud or rust, with the appropriate colors mixed in, of course. I’m still finding uses for textured gel.
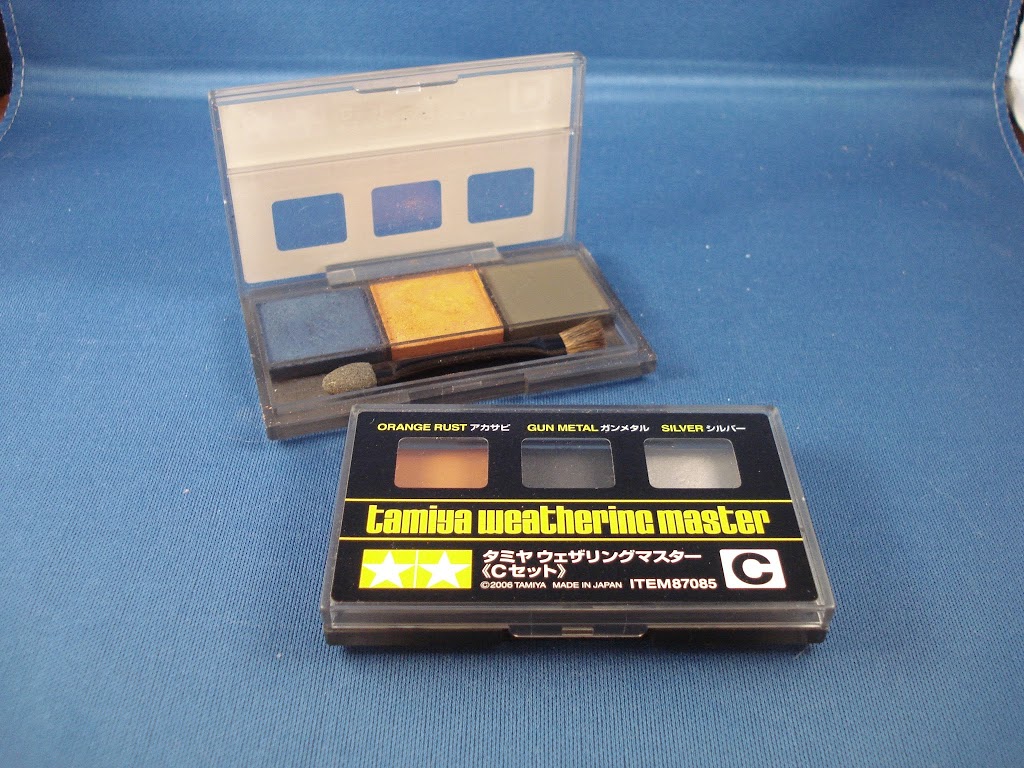
You’re familiar with Tamiya, I’m sure. If you see these weathering kits, purchase them! There are four that I know of, and it’s a great beginner product. I’m trying out weathering powers these days, but the kit below is much easier to use for basic applications.
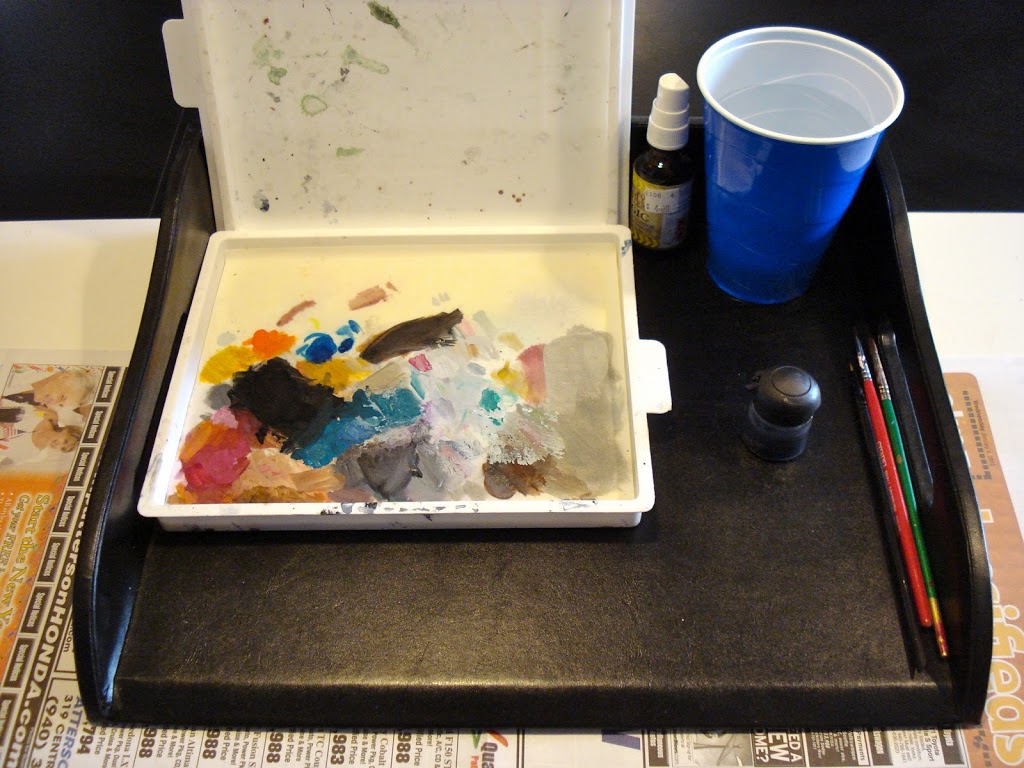
You should really be using a wet palette. It will change your life! It’s easy to blend, shade, and highlight color. It’s easy to switch between different colors. The paints stay moist when the lid is on and can be used for days and weeks. It’s also much easier if you have a limited painting space or want to take your paints with you. The only colors I avoid using on the wet palette are metallics. You can, but they tend to separate on you. Traditional GW metallics are still the best, in my humble opinion.
Simply put, if you don’t have one you really, really want it. You just don’t realize it yet!
Stripping Paint
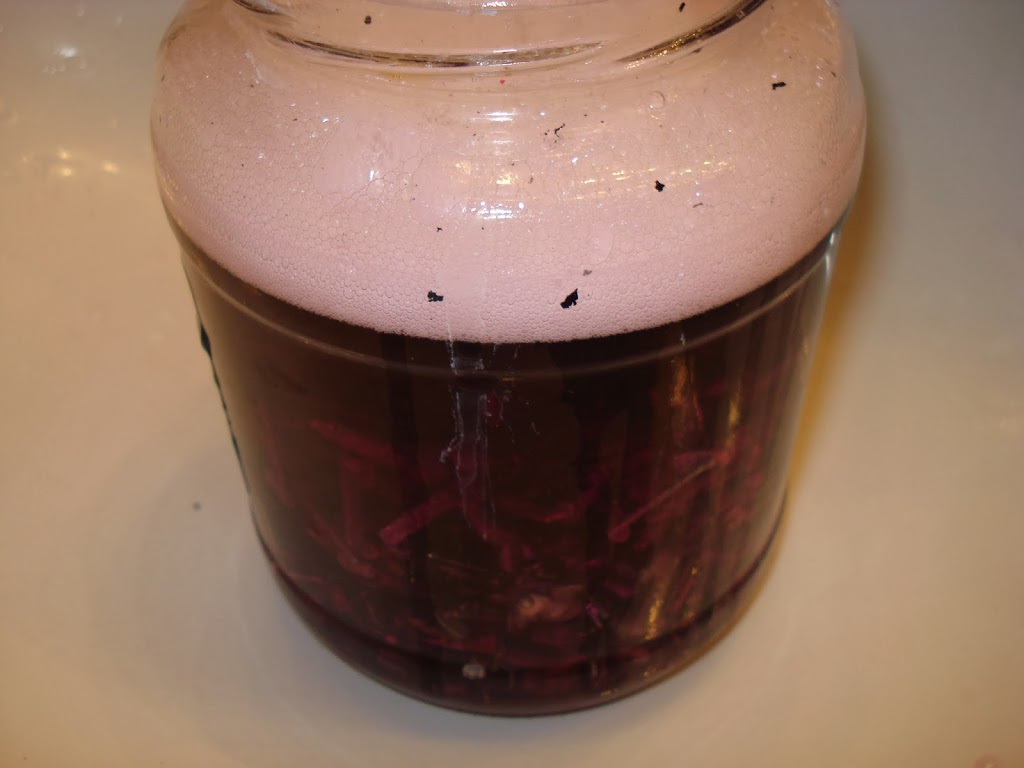
You’ll have reason to strip the paint from models one of these days. Maybe you need to repurpose models and your skill has improved; maybe you’ve purchased a deal on Ebay. Either way, take a glass jar, fill it with Purple Power or Simple Green, and let them sit for a day or two.
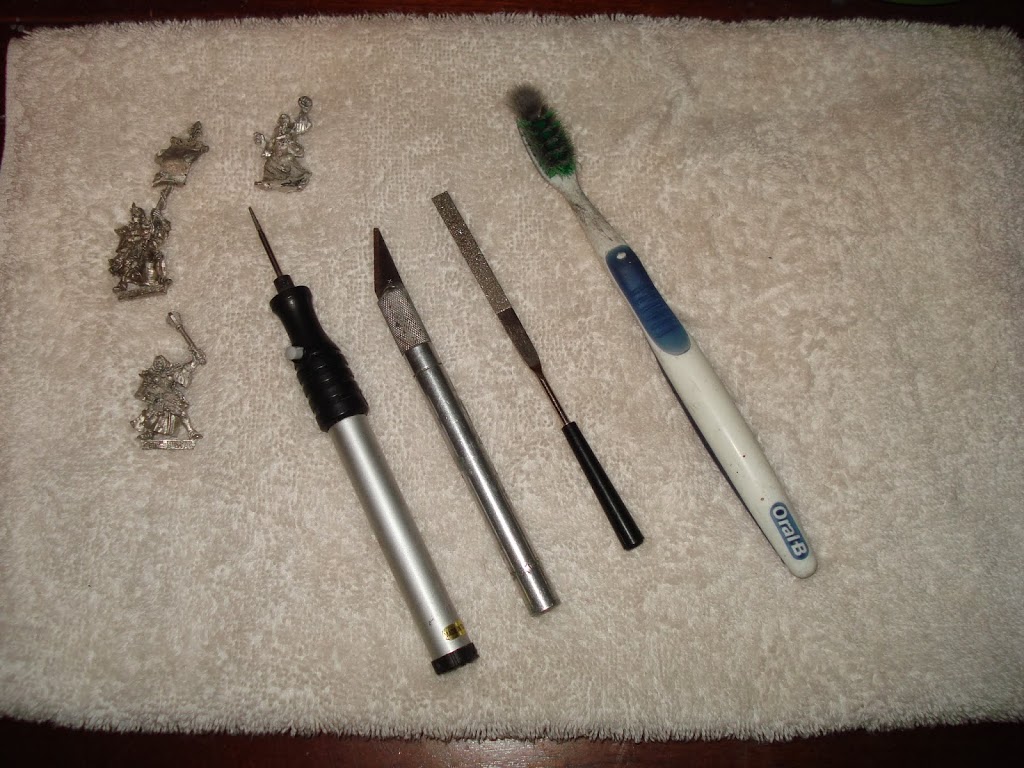
Much of the paint will wash off, but you may need to apply some elbow grease. These days, I use an old sonic toothbrush and my battery operated drill/file, picture above. (That little sucker is worth its weight in gold.)
I will say this: as I’ve gotten older, my interest in cleaning and putting together models has fallen through the floor, much less breaking out a toothbrush and scrubbing the models in that deal you got from Ebay. Is it really a deal if you saved ten bucks but spent three hours scrubbing crap paint off of old models?
That’s for you to answer. When you’re young and don’t have a large hobby budget, the answer is a resounding, “Hell yeah!”
Invest Time
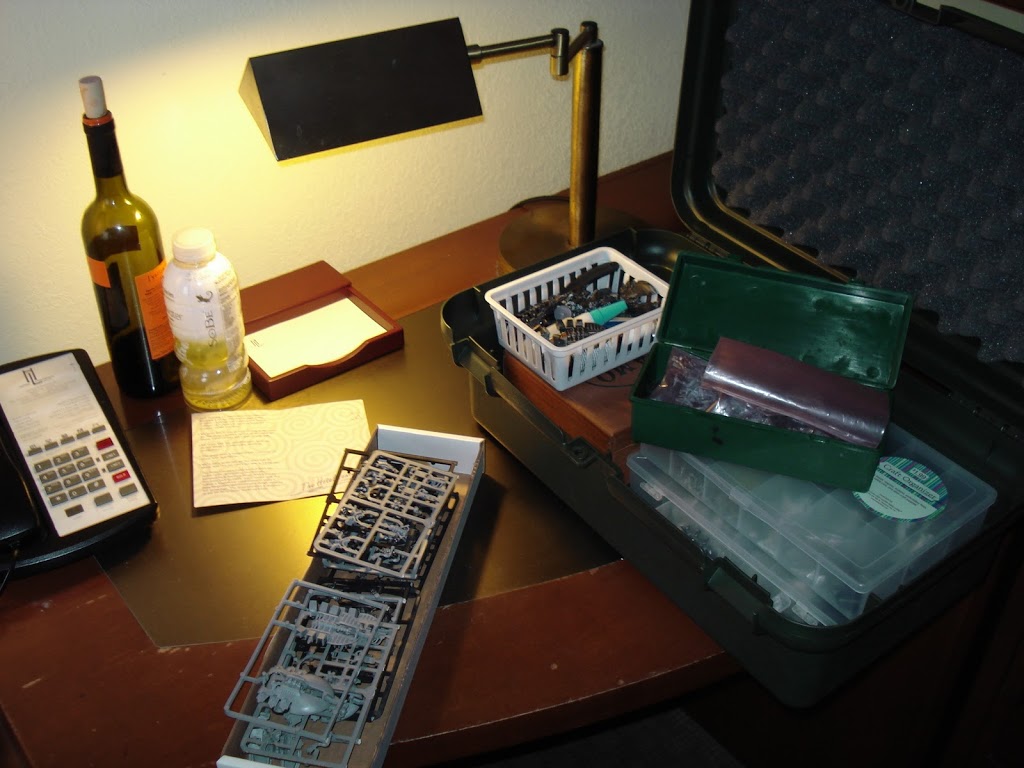
Speaking of time, if you want finished models, much less a finished army, you’ll have to find the time to work on your stuff. I usually take something to work on, even on holiday. I might only get in a half hour every so often, but any investment in time will add up. And hey, what’s one more box compared to your wife’s crazy amount of luggage?
Anyway folks, I hope you found some of these tips and tricks useful. If you have some of your own, please share – and (appropriate) links are welcome! Just remember, keeping reading this site, and one day you’ll win a million dollars courtesy of Big Red!
No, you won’t. No chance, just so we’re clear. But read anyway! And as always, thoughts? Comments? Hugs and gropings?


