HOBBY: Tricking Out the Casket of Souls
4 Minute Read
Jul 20 2014
Advertisement
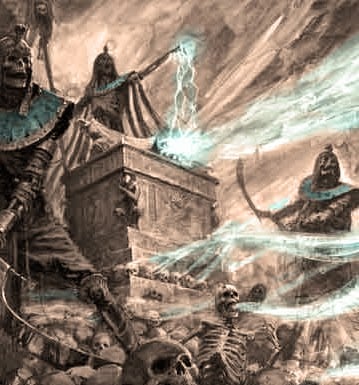
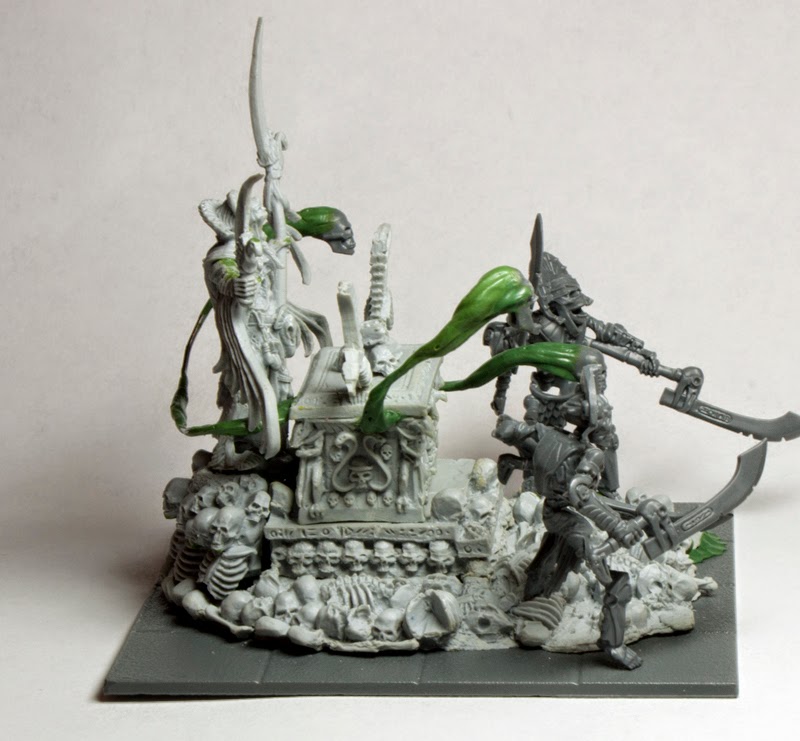
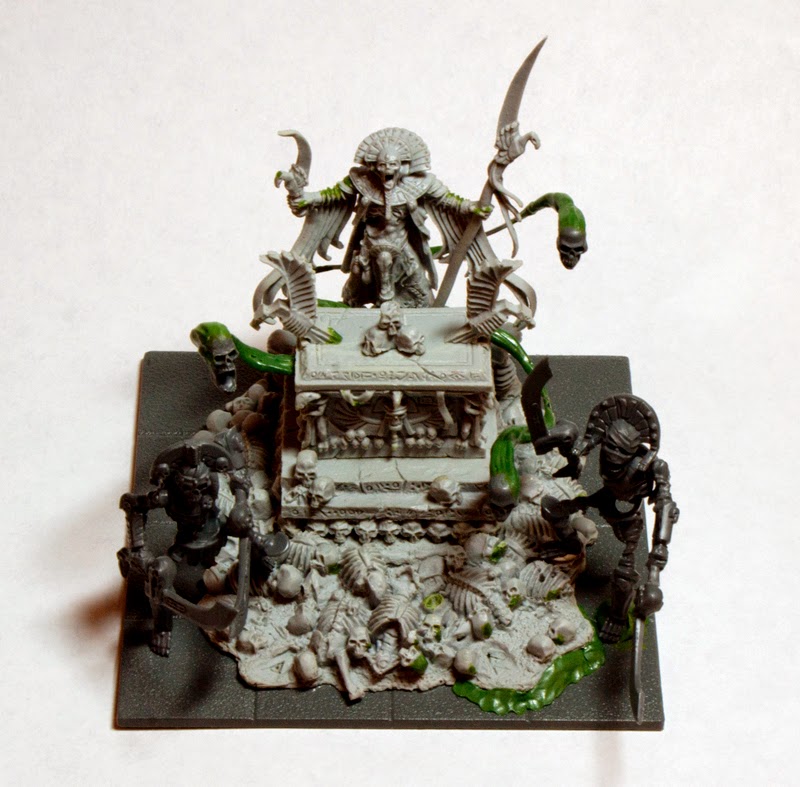
Time for another installment of Tyler’s “Building a Better” series. Today starts my quest to make the Tomb King’s Casket of Souls more dynamic.
Now to be fair, I have actually been working on this off and on for quite some time, but my ideas have changed since I started and I am finally at a point where you can see the progress I am making. Although I am not sure how many parts this article will have I am going to follow it through all the way to the finished, painted model.
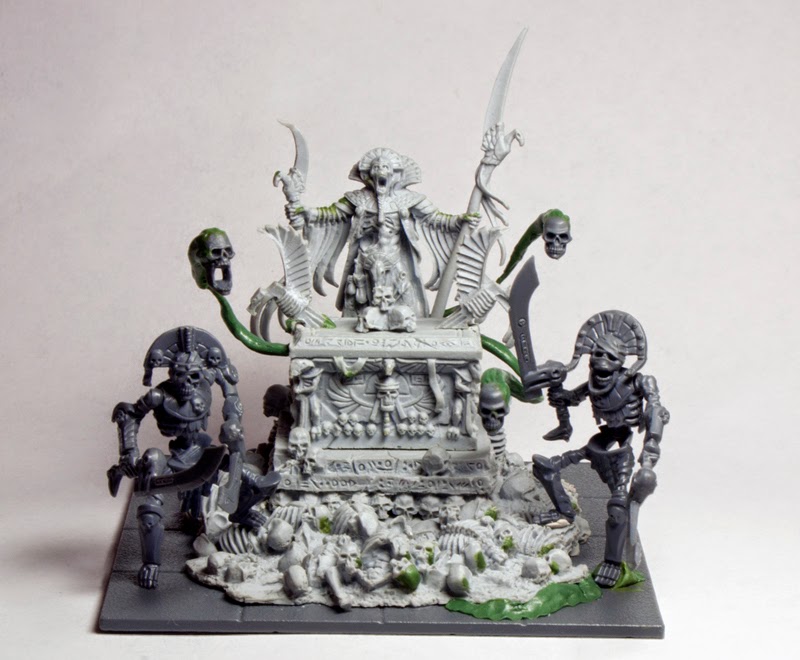
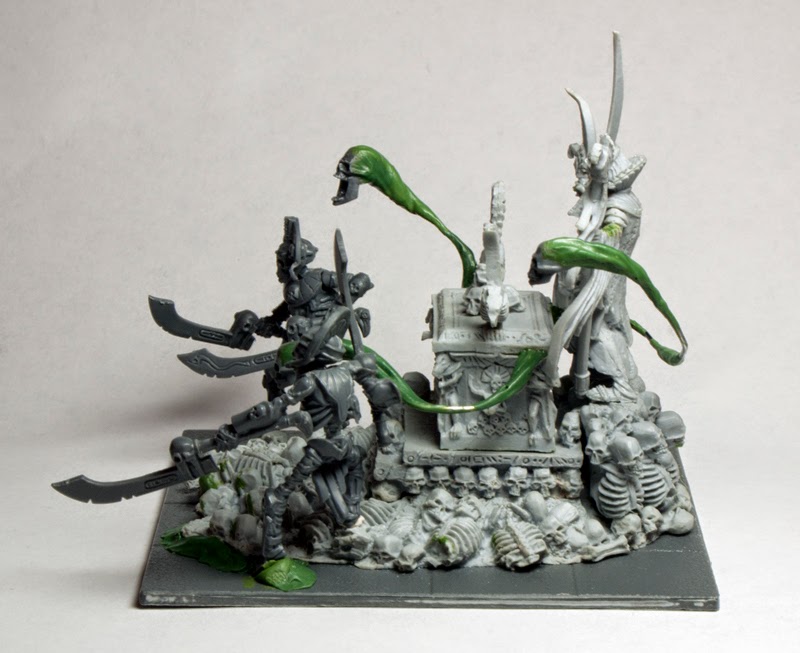
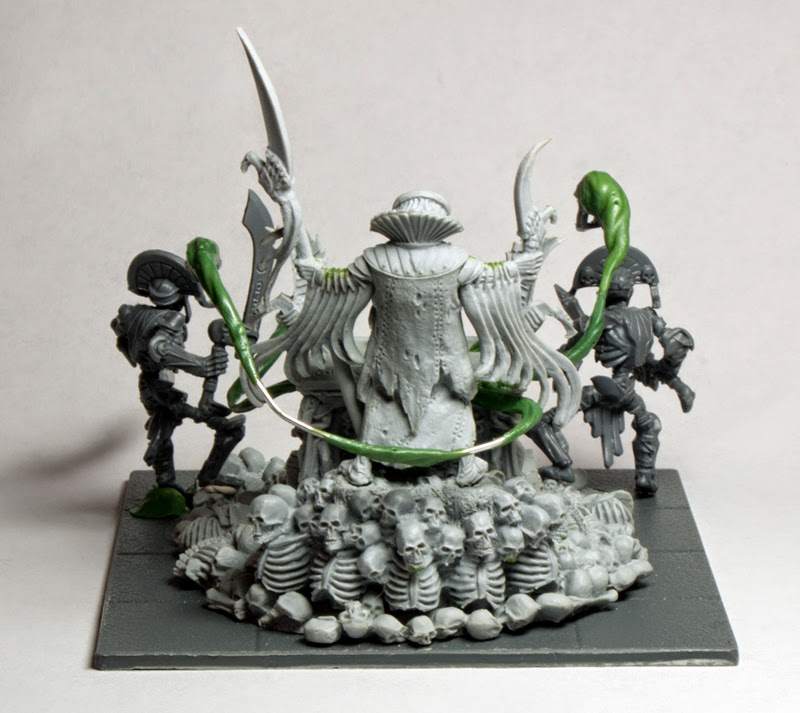
I actually really like the GW Casket of Souls model, it has tons of detail, is very flavorful and has aged very well. The only thing I feel that it’s lacking is some dynamic movement. The easiest fix for that is with the Tomb Guard that stand watch over it. With all of the new plastic options spread over 3 sets, Tomb Guard, Warsphinx and Necropolis Knights, I had a cornucopia of parts to chose from. It did also help that I built my Knights as Stalkers and my Warsphinx as a Necrosphinx, which means all the Guard bits were unused.
After a little fiddling around with different parts and placement on the base my 2 guards were set. The next thing I wanted to address was the Light of Death spell this thing unleashes. Think the Ark of the Covenant from Indiana Jones. My original idea was to use the banshees from the Vampire Count’s Mortis Engine. I even went so far as to buy the loose bits off eBay and glue them all together. I had seen this done several times on various forums across the internet and liked the look.
Unfortunately I couldn’t get past the European look of the banshees. Their armor just didn’t fit in with the Tomb King aesthetic. After looking back through my army books I decided to do some kind of floating “ghost” skulls. Skulls are definitely Tomb Kingesque and I had a lot of left overs. One of the skulls, the screaming one, is actually the front to one of their trumpets with a few detail filed off. So began the painstaking process of adjusting and re adjusting the shape and placement of the paper clips that would form the ghost tail of the skull.
They all had to be coming out from under the lid, look awesome, and fit around my existing models on the base without looking to forced. The back one was the hardest for some reason. The green stuff was probably the easiest part of it since ghost tail are pretty amorphous, all I had to do was make sure they conveyed movement and were interesting to look at. Now its ready for painting, which will be done in 5 separate pieces; the Liche Priest, the 2 Guards, the base with skull pile and pedestal and the casket itself with the ghost skulls.
Time to break out the brush.
What model do you think needs updating? Be sure to check out my website Mengel Miniatures for future installments on this project as well as countless other models.
Tyler is a life long painter and hobbyist and took home his first Golden Demon award at the 2012 Chicago Games Day with a follow up at the 2013 North American Games Day. More of his work can be found at his blog, Mengel Miniatures.
Author: Tyler Mengel
Advertisement

