Painting GENCON Winner – Dozer and Smigs Pt. 1

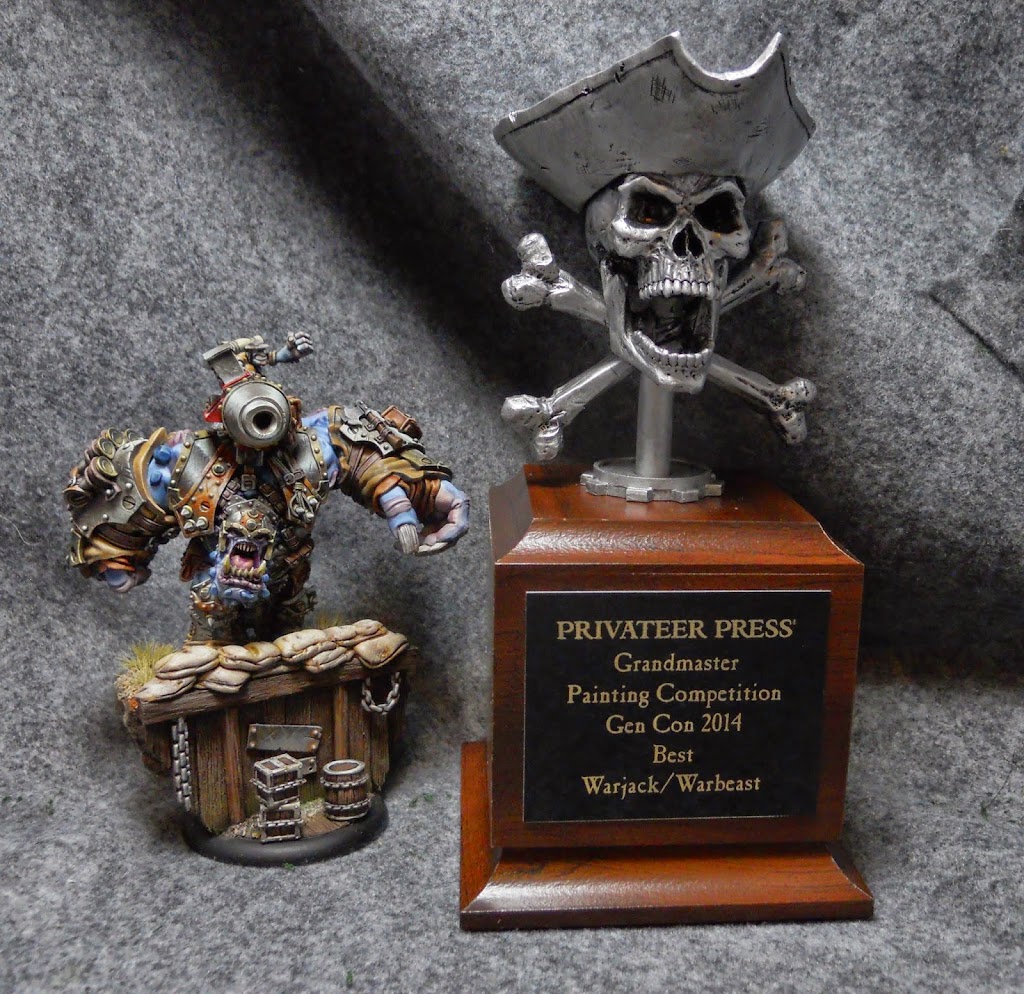
I had another productive year at Gencon. Get ready for a painting thread about it!
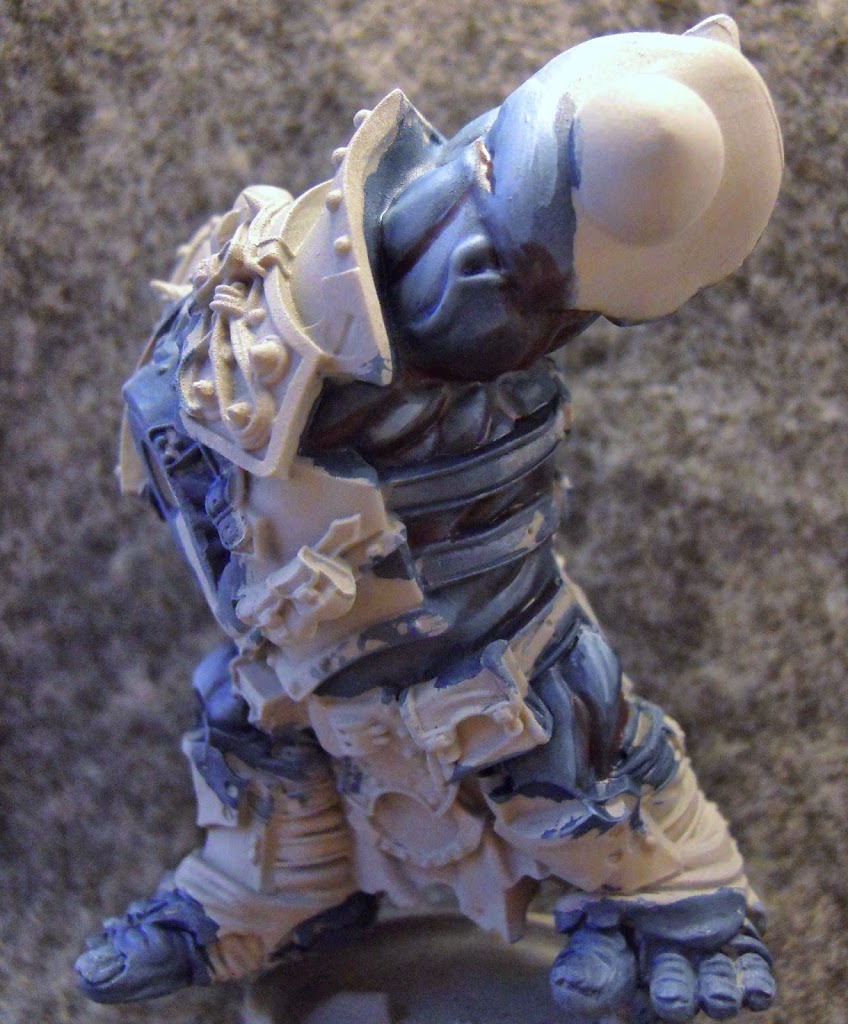
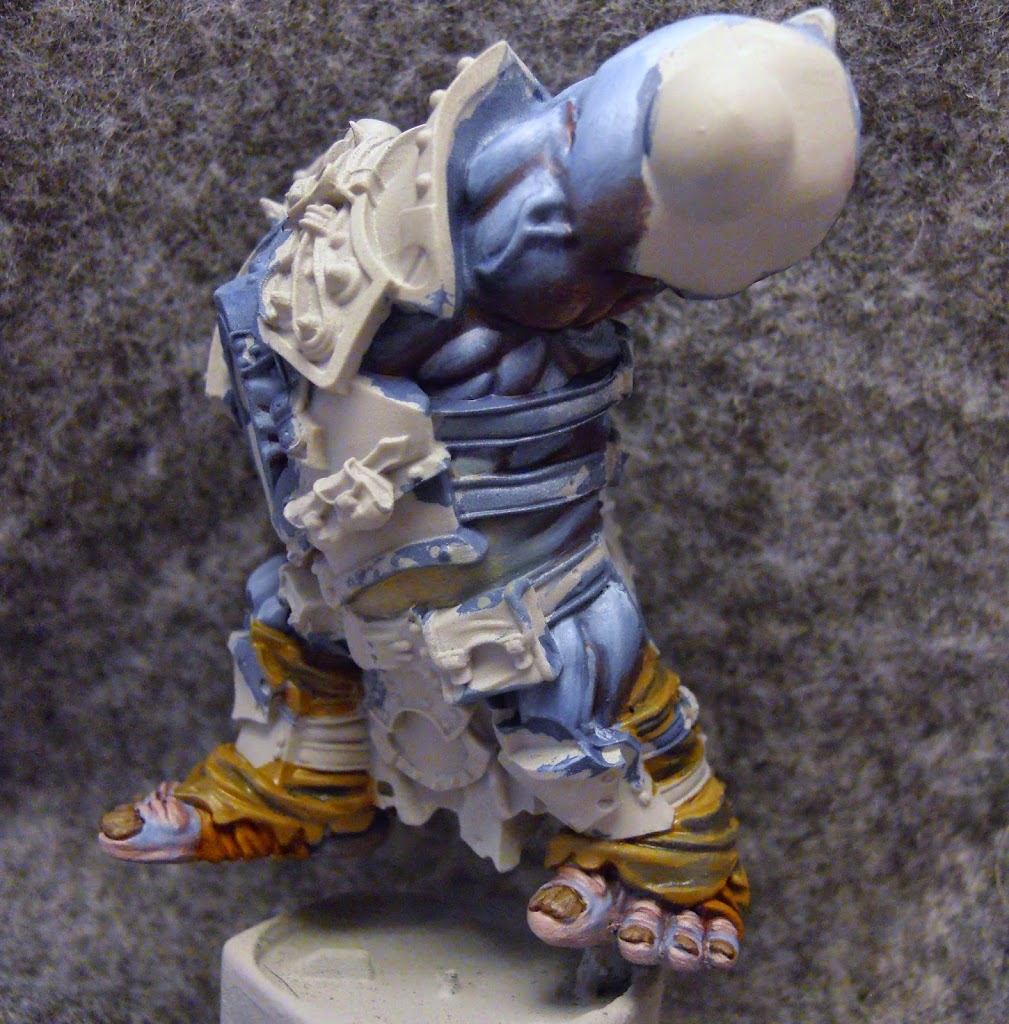
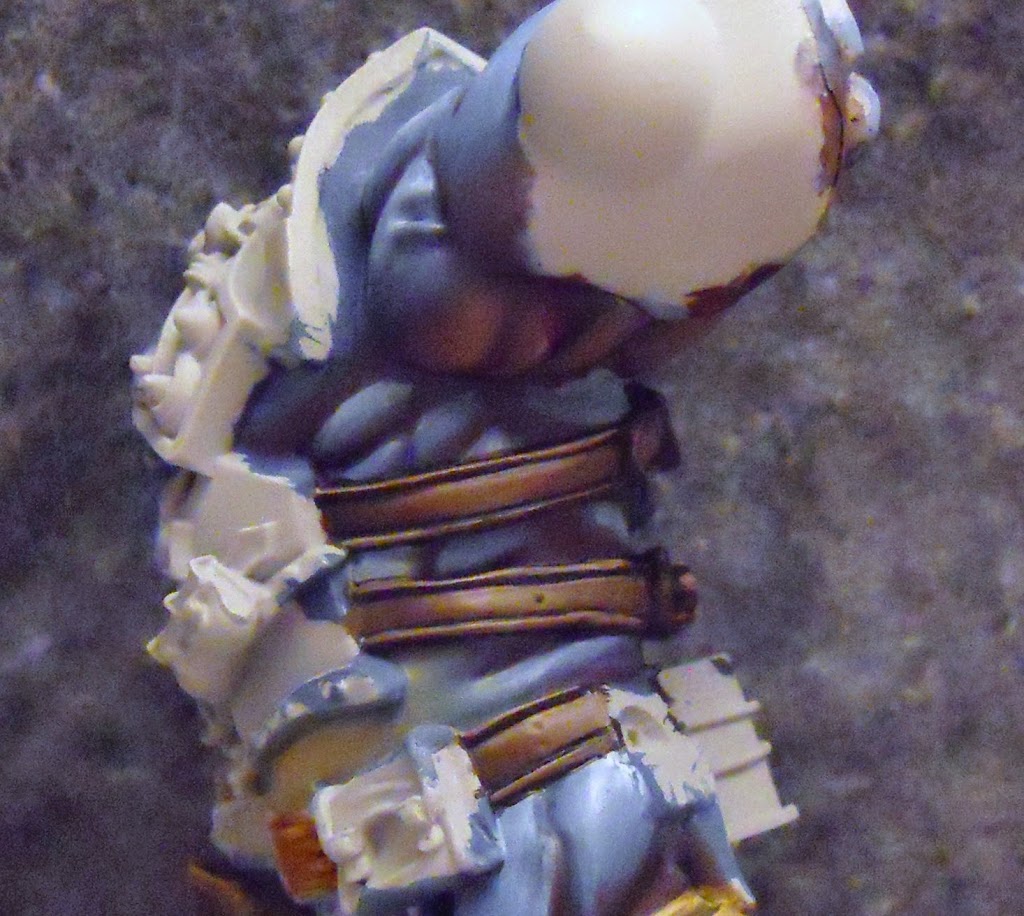
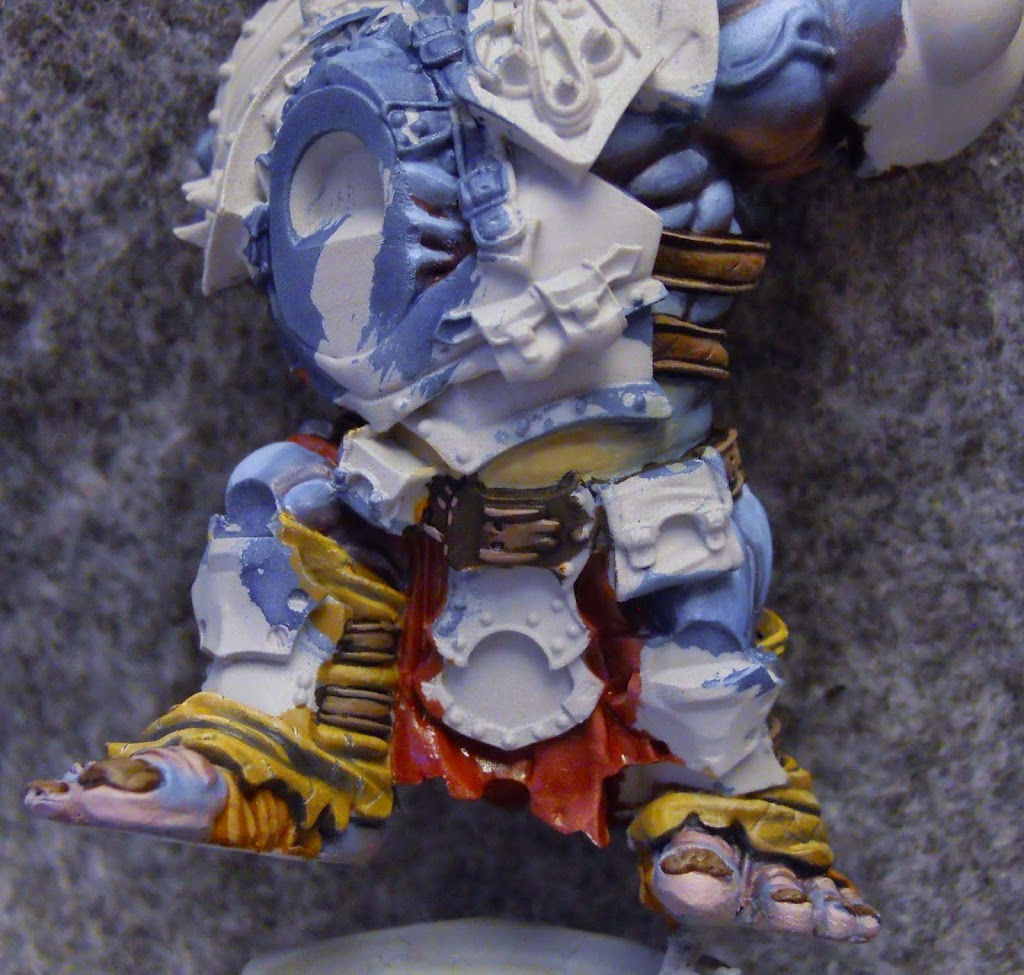
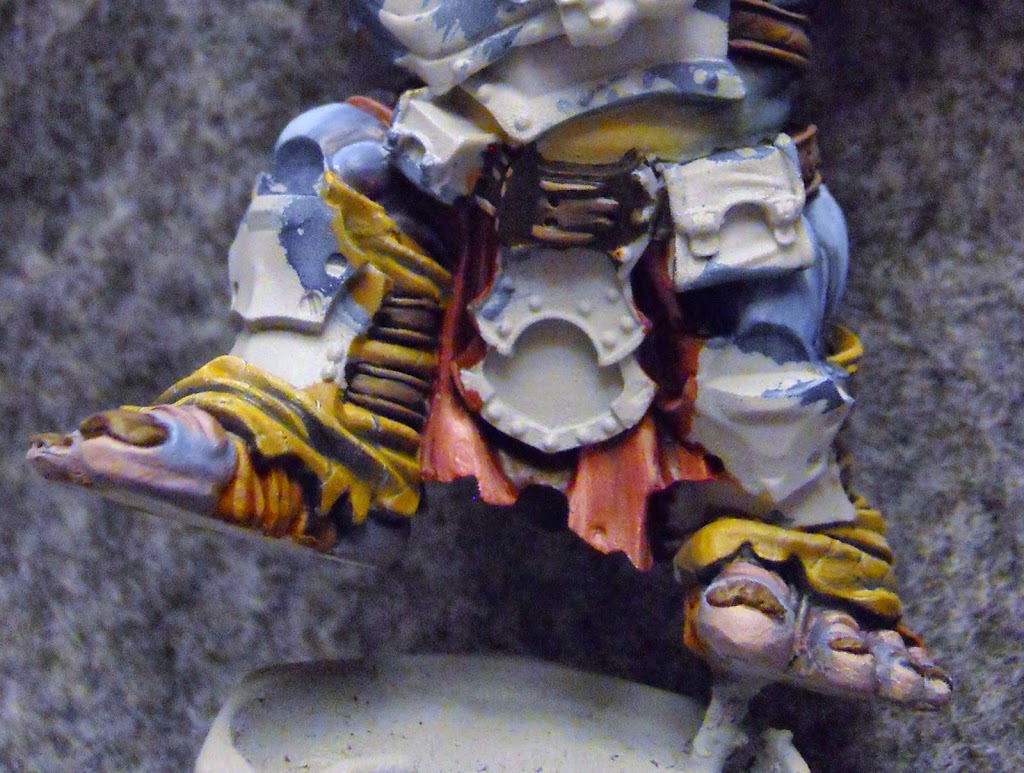
It all starts as an unimpressive painted torso. Both arms, the head, the cannon, a box, two kneepads, and Smigs are all pinned to their own little grippy bases so I can get a good hold on them.
Because it’s the most recessed part of the model, I start with the skin. I start off with the Trollblood base I always use for these things. I’ve mentioned it in a few other articles. Apparently it’s P3’s exile Blue with a bit of Umbral Umber, Beaten Purple, and Frostbite mixed in. I’m glad I write these things. Otherwise I’d never remember that mix. While the base is still wet, I start to mix in some Frostbite highlights.
Then I shade it with a mix of Umbral Umber and Beaten Purple.
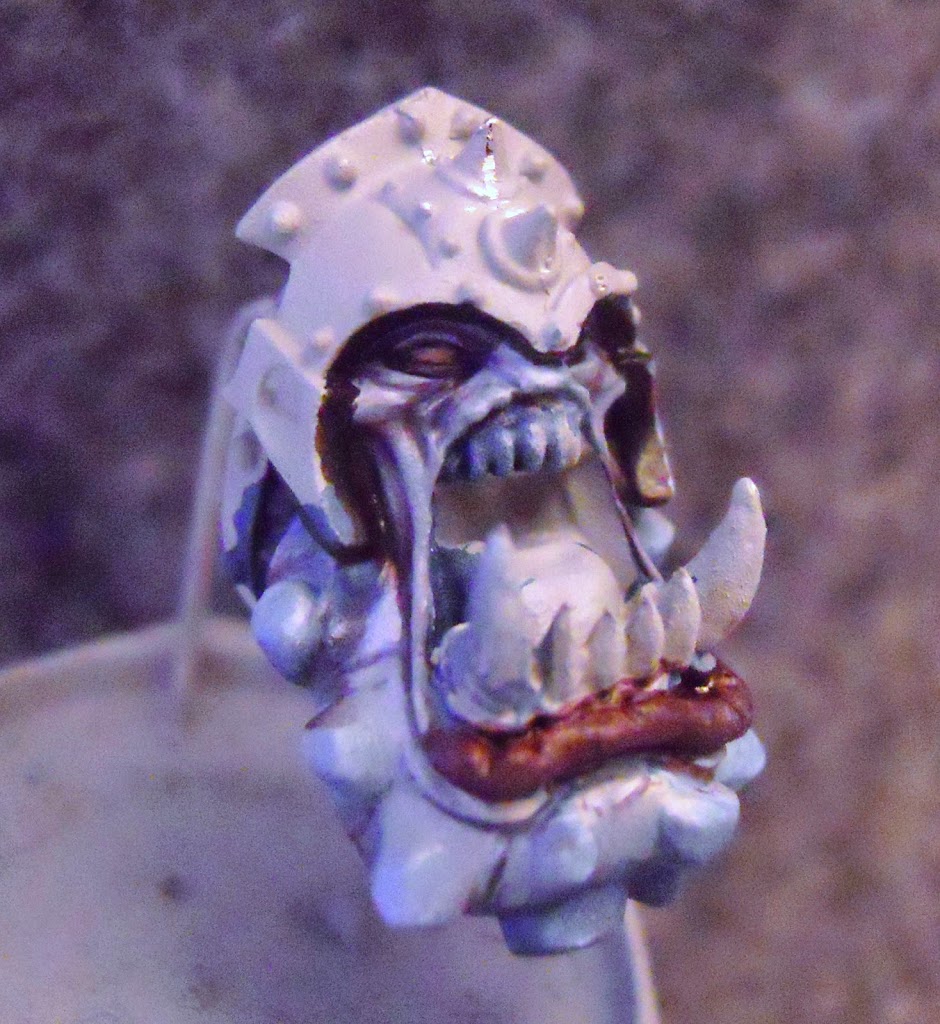
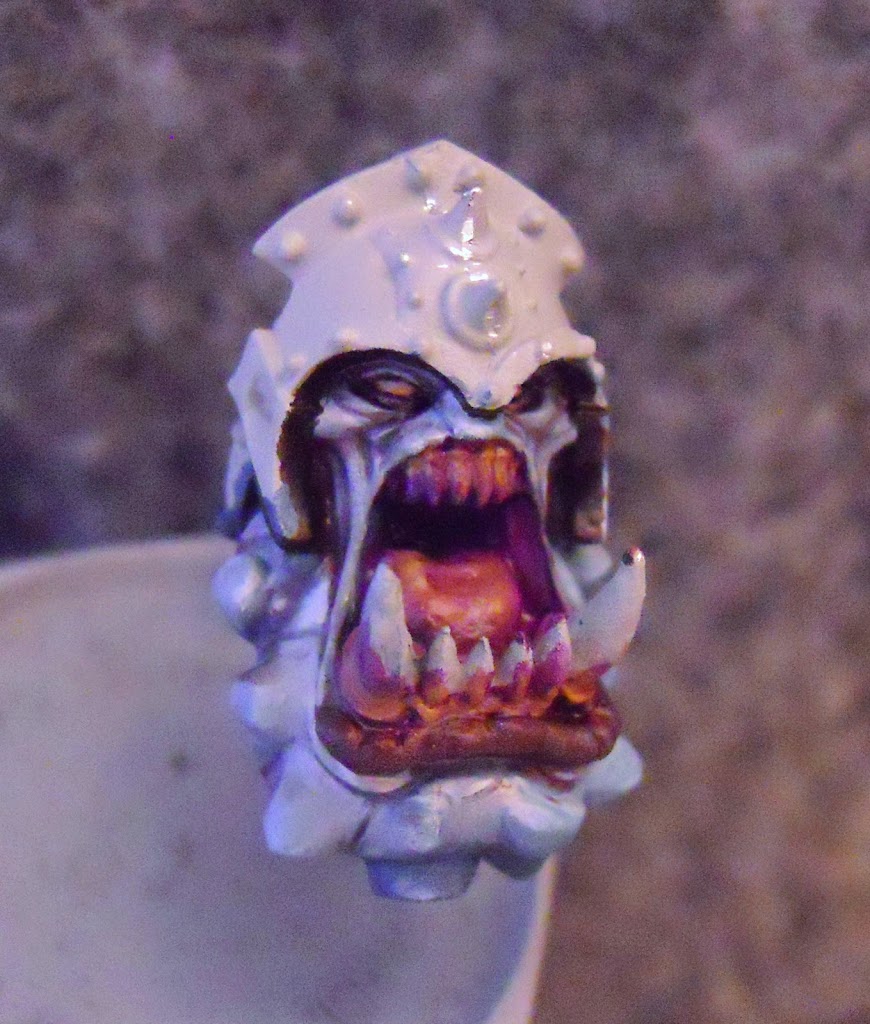
Thought it might be cool to show the face in this early stage.
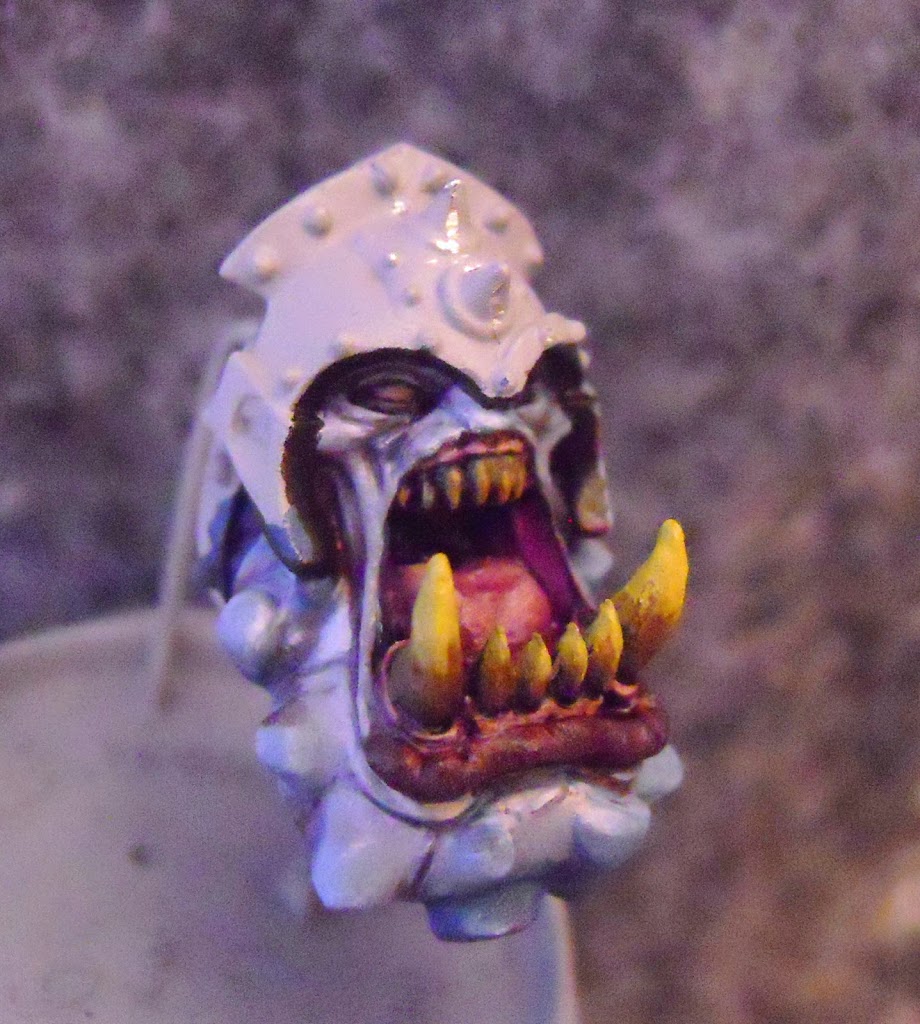
Hardly finished but here it is after a bit more wet blending. I find it helpful to start with a base layer to plan things out and go back in for more blending in a few more thin layers.
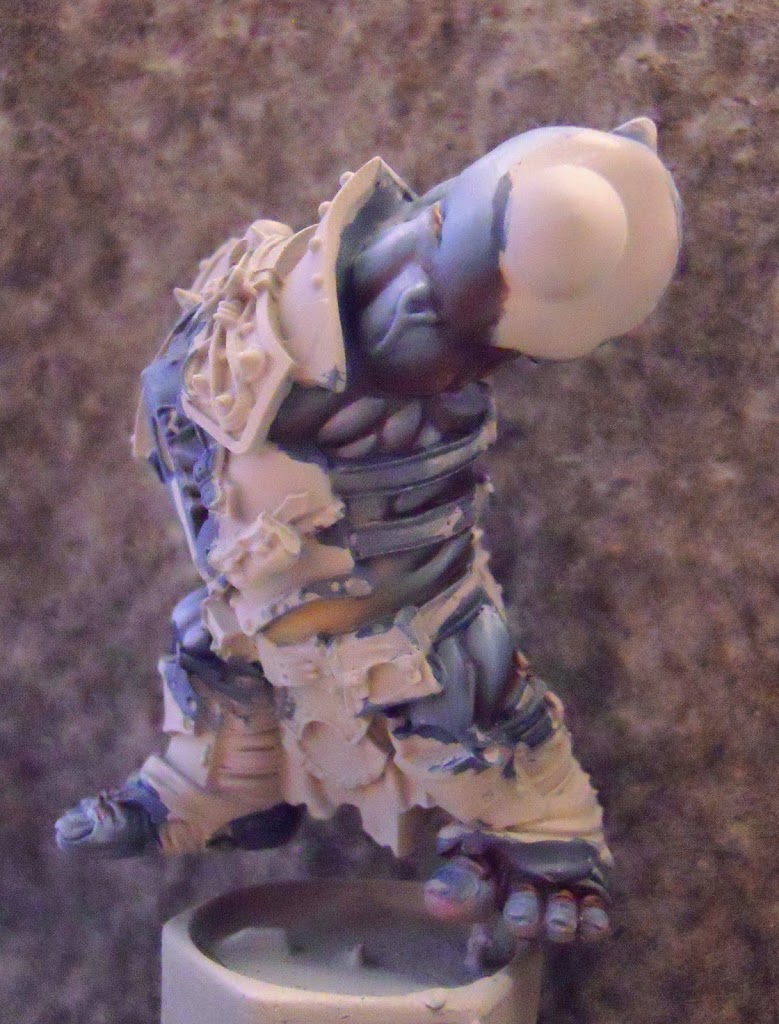
And back to that torso again, with everything here nicely blended in as well. I also added a bit of reflected light to the bottom of the arms with some Hammerfall Khaki. This just represents the scant bit of light that would be reflected from the ground, but mostly it gives the muscles a little more definition.
With the skin looking how I like it I go back to the mouth for more work there. I start the interior with pure Beaten Purple and mix in some Rucksack Tan for a highlight.
I add Ryn Flesh to that mixture for further highlighting. I start the teeth with a basecoat of Sulfuric Yellow and blend some Umbral Umber into the base there to add some decay.
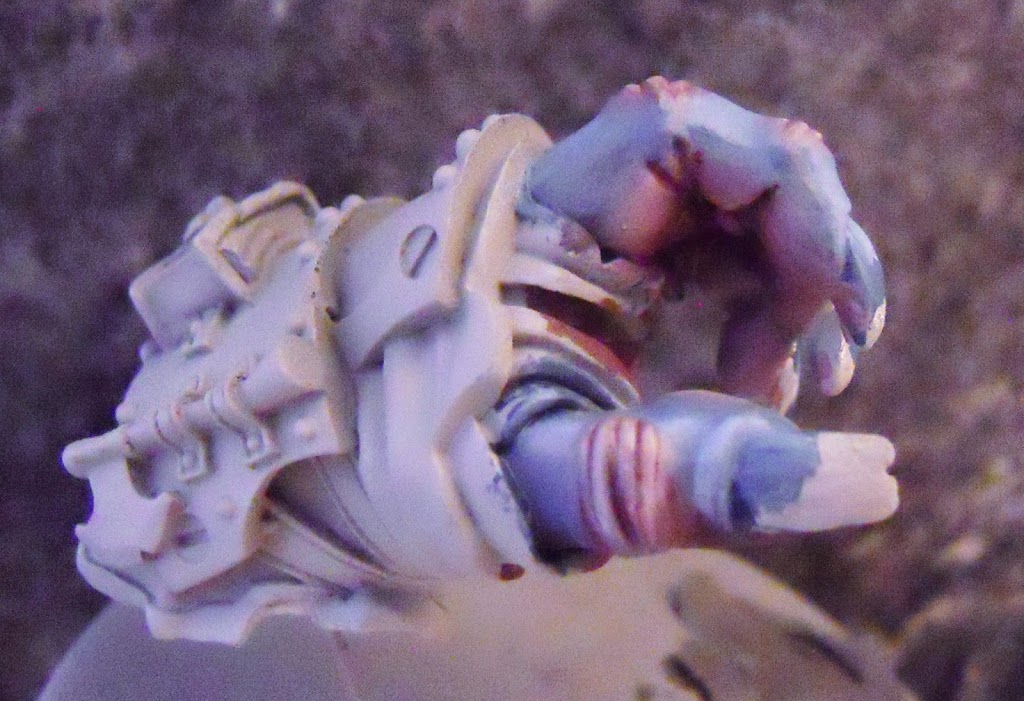
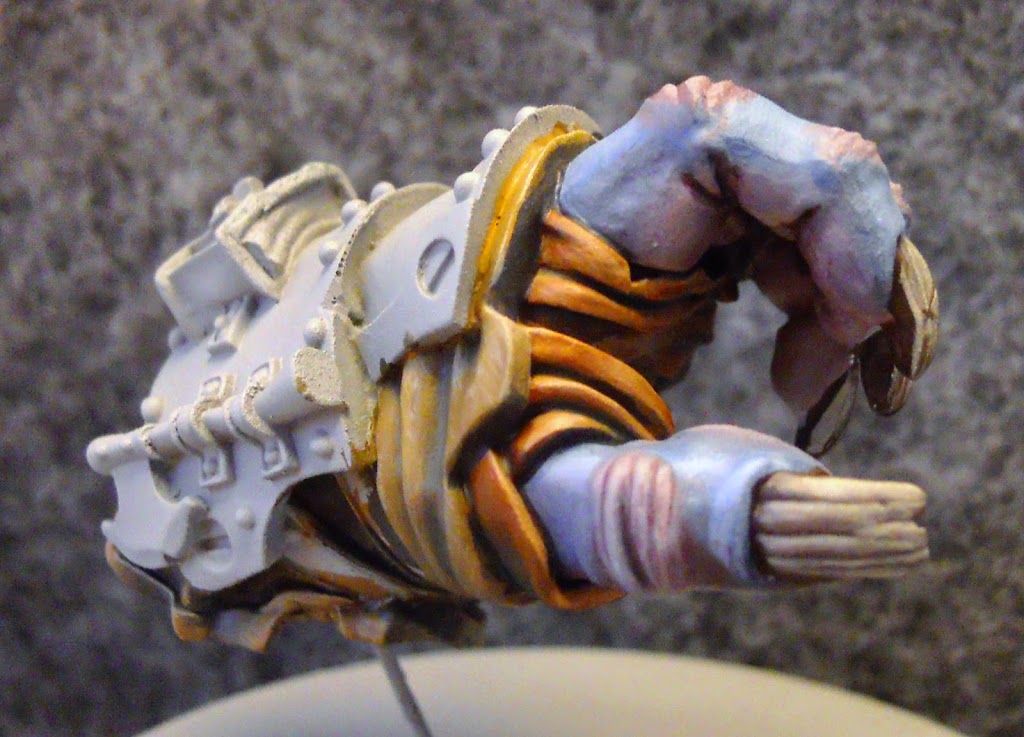
And here’s a look at one of the arms why not. I like to make the palms of my Trollbloods hands fleshier. The pinkish purple I use here is Ryn Flesh mixed with Frostbite and that Umbral Umber/Beaten Purple mix from before. Frostbite and Ryn Flesh in equal quantities are used as a Highlight while it is shaded by increasing the amounts of the purple mix.
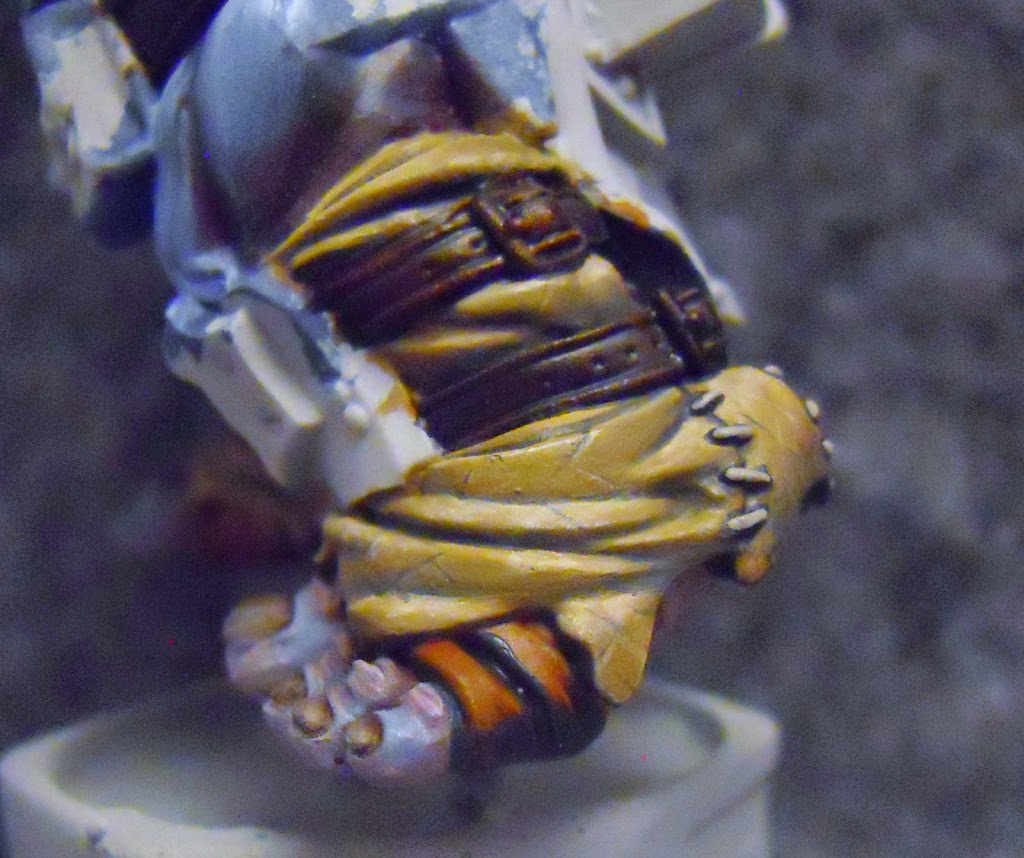
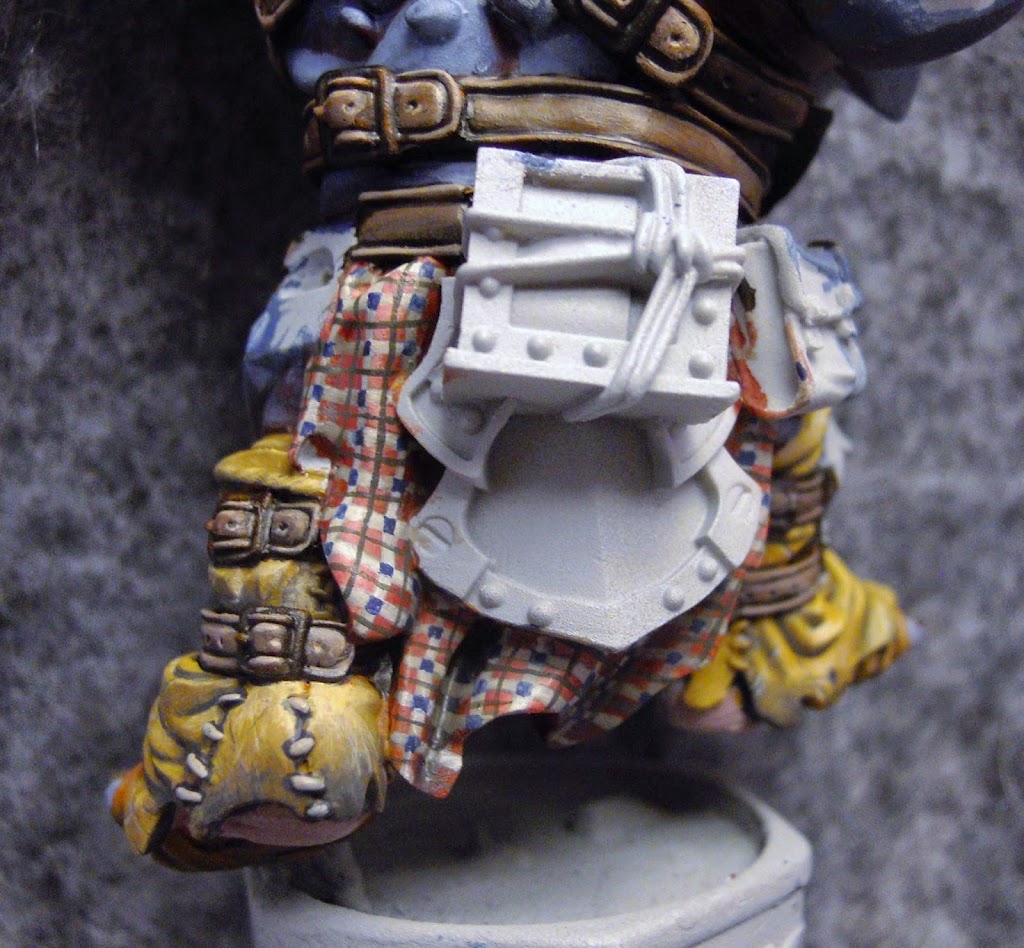
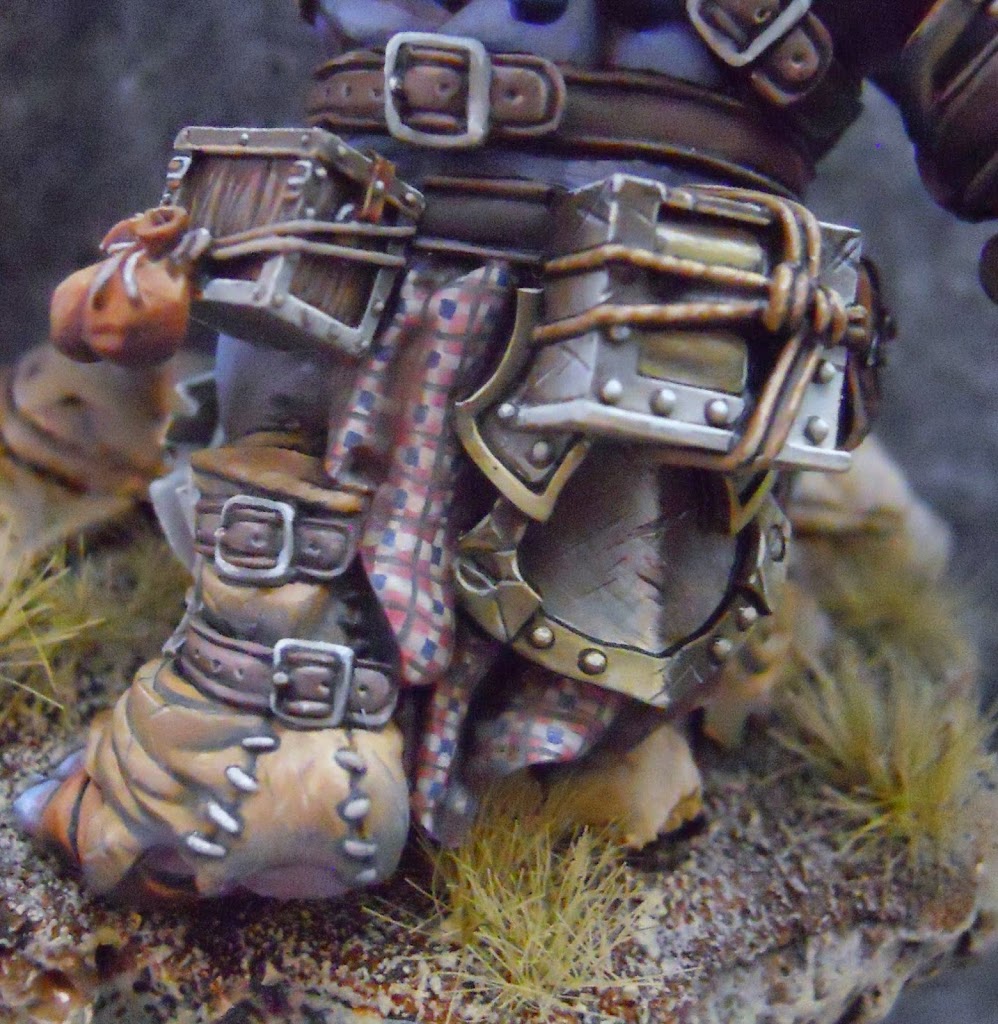
For the leg wraps I use Gun Corps Brown shaded with another one of my favorite mixes: 50/50 Umbral Umber and Exile Blue. To add contrast I paint the leather strips beneath them a different color: Bloodstone shaded with Coal Black.
To highlight the brown I use Rucksack Tan, mixing a bit of Menoth White Highlight into it for the brightest areas. I add a little distressing by painting on some thin lines of Menoth White Highlight with a line of the Exile Umber Mix painted directly above. The Bloodstone on the strips is also highlighted with Menoth White Highlight. Then I get started on a third type of leather, and paint the straps around the wraps with a mix of Bloodstone and Thamar Black.
And here we are looking at a hand again. The strips are more pronounced here so I thought I’d show this view. The claws are Umbral Umber highlighted with Trollblood Highlight lightened even further with Menoth White Highlight.
Now lets get back to those leather straps. The black mix is highlighted with Umbral Umber with increasing amounts of Ryn Flesh added. Here is that first layer to help me feel it out.
And now with some more blending and definition. The last step was to add tiny highlights of almost pure Ryn Flesh around the lip of all those little holes, then give each of them a dot of the original black mix.
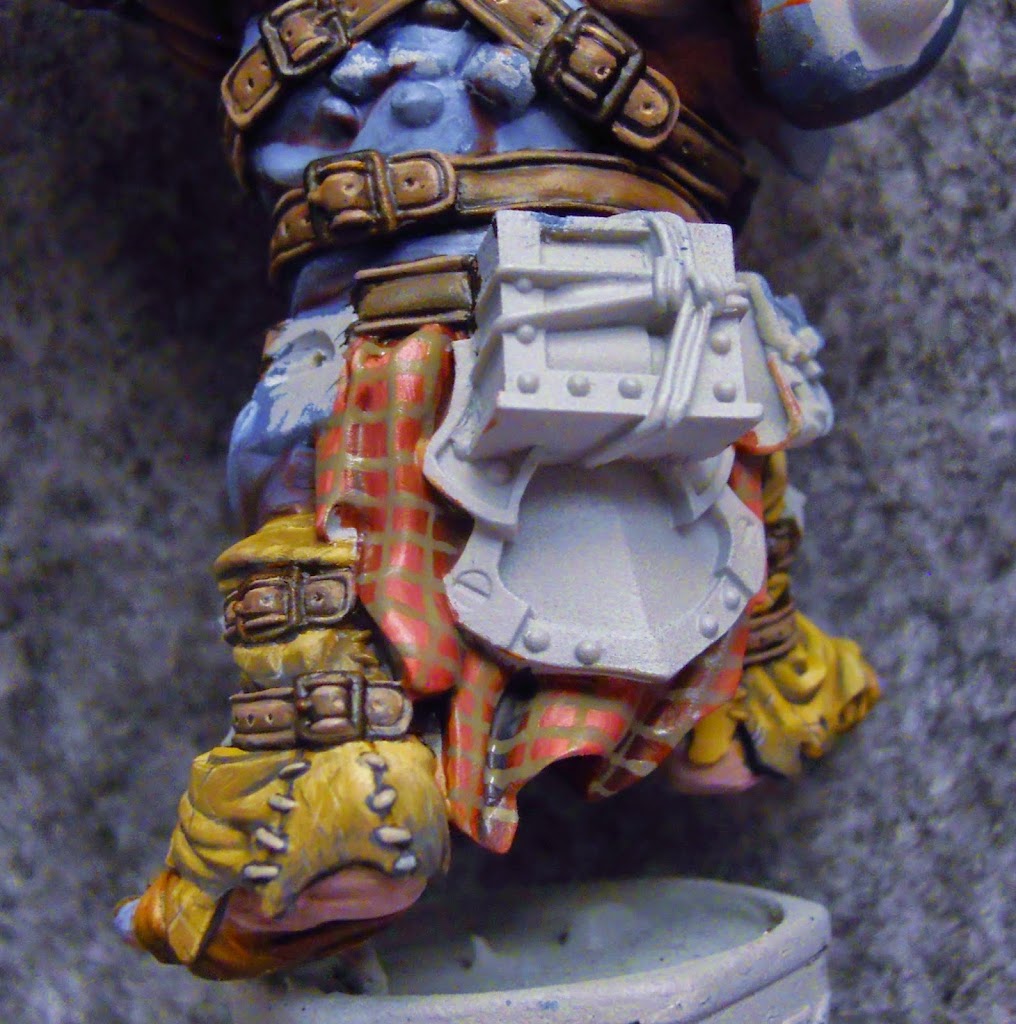
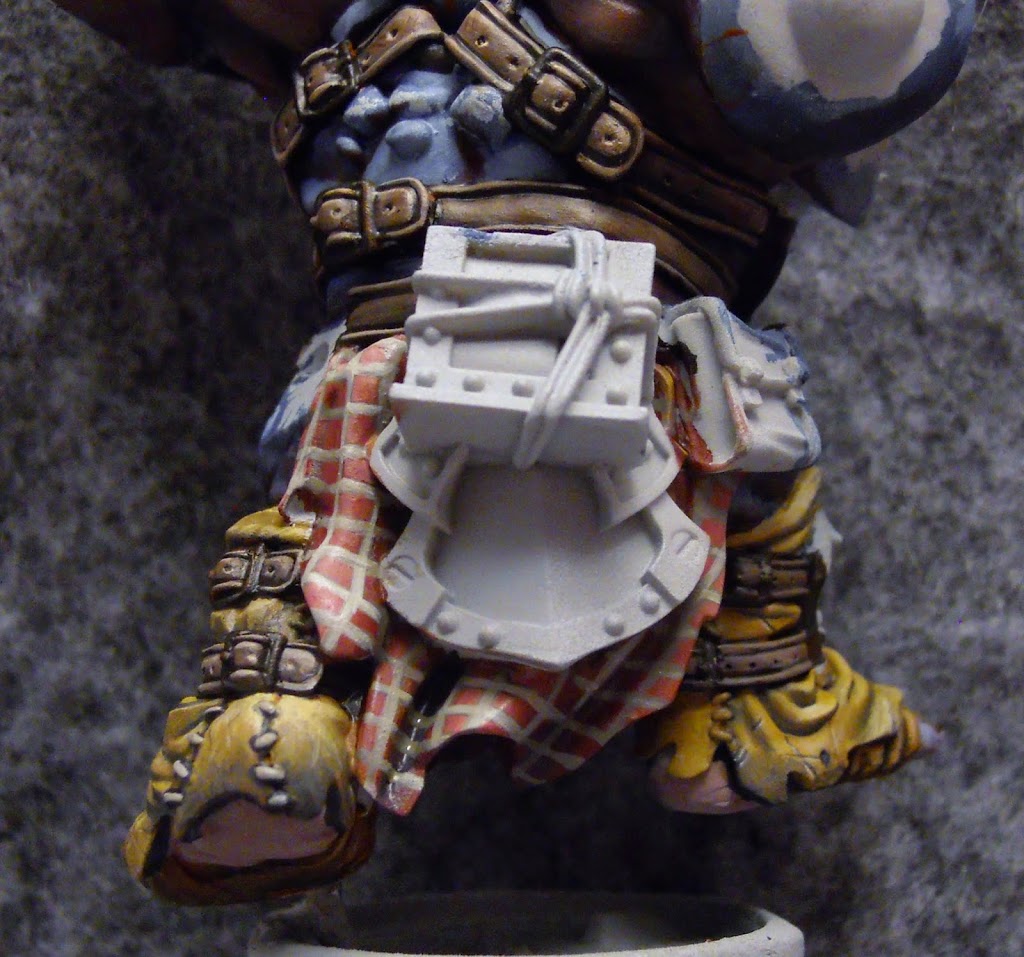
Ugh… I hate this part. Tartans… what a pain. The initial basecoat is Sanguine Base
This is shaded with Coal Black and highlighted with Rucksack Tan and a bit of Ryn Flesh. You may have noticed the rest of the colors I’m using here aren’t too saturated. I want to keep this red rather subdued lest it overwhelm the rest of the piece.
So for the first stripes of the tartan I go with another subdued color. It doesn’t get much more subdued than Bastion Gray.
The stripes get a highlight of Trollblood Flesh.
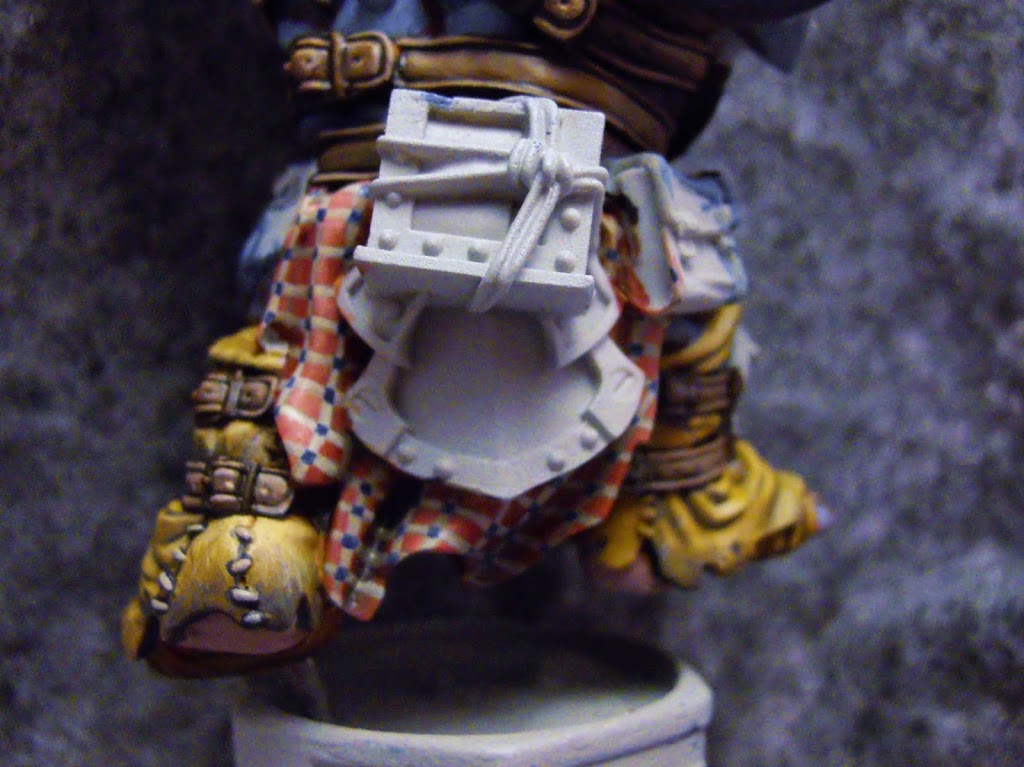
At all the intersections I add a little square of Exile Blue.
Then its more stripes. Very thin this time. I use Cryx Bane Base, since it has a slightly greenish tinge to it, and will have just the least bit of contrast.
It seems I forgot to get a final shot of the tartan while the model was in an incomplete state, so here’s a pretty big fast forward to after the model was completed. I cleaned up the lines wherever possible by painting alongside them. Then I shaded the cloth using Agrax Earth. To ensure a smooth transition, I applied the Earth only to the recesses. Then I took a brush with only water on it, and carefully blended it in. None of the tartan was left dry in this step to ensure that no unwanted transition lines were visible. The amount of water applied to the peaks of the tartan cloth had to be incredibly thin to keep the Agrax Earth from just bleed all the way up.
~Hope you’re enjoying everything so far. I’ll be back with part 2 soon.

