HOBBY: Constructing a Necropolis
6 Minute Read
Nov 25 2014
Advertisement
As some of you may know, the Armies on Parade competition happened recently. What does every Armies on Parade entry need? An awesome display board.
With no Golden Demon in the US this year I had to get my painting competition fix somehow, so I figured why not?
When I first started this project I really had no idea what I was going to do. I played around with the easy idea of using an Arcane Ruins set and maybe a Realm of Battle tile. However, I have been collecting random Egyptian themed items over the past year or so that I thought would make excellent Tomb King scenery with a little conversion. Taking this as a great opportunity to finally work on some of them I decided to make my board from scratch.
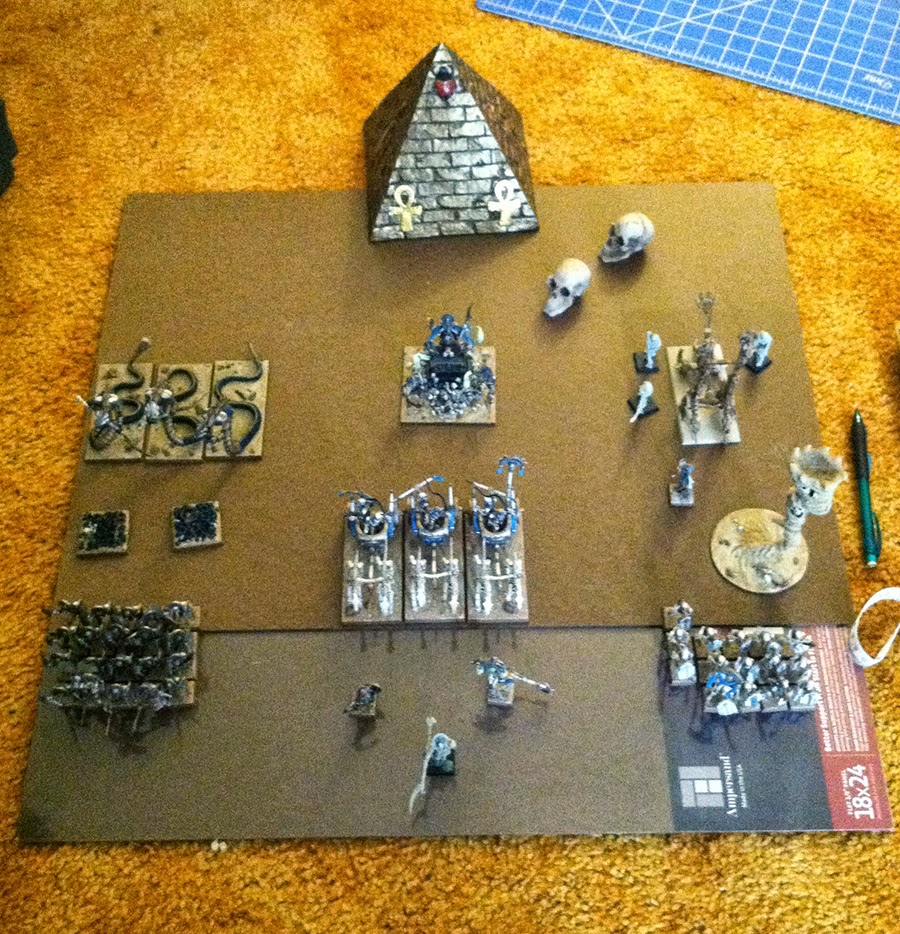
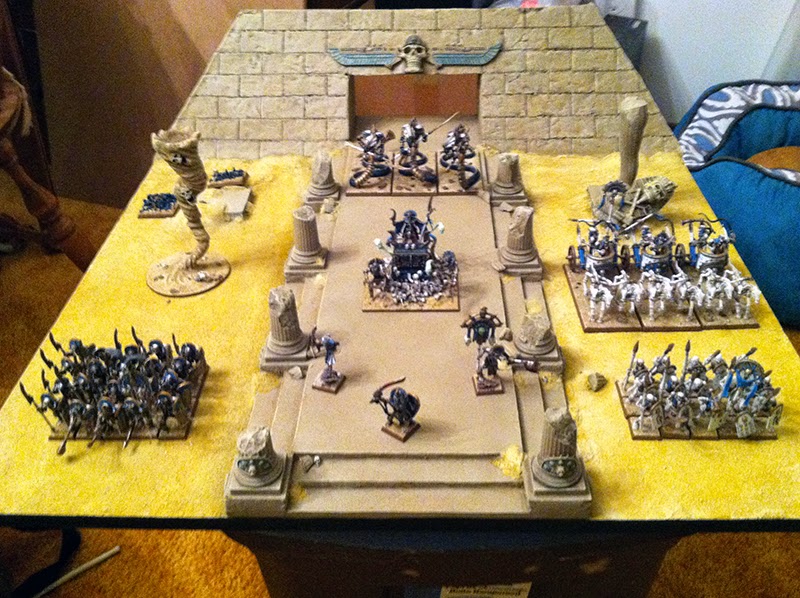
The first thing I did was make a 2′ x 2′ board and lay out all of my models and some of the terrain pieces to see how it would all fit. After doodling a few ideas I settled on making the front end of a pyramid on the back of the board with my army coming out of it. Originally I was just going to have a simple road leading out of the pyramid, but then I saw this picture from Warhammer Fest.
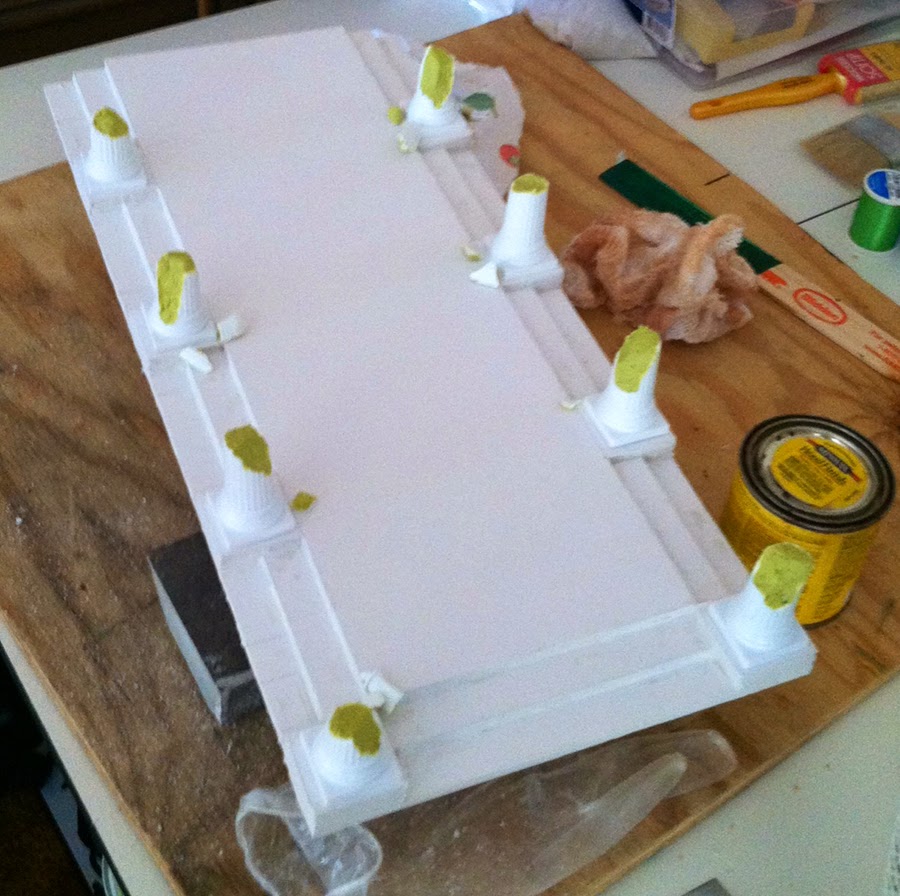
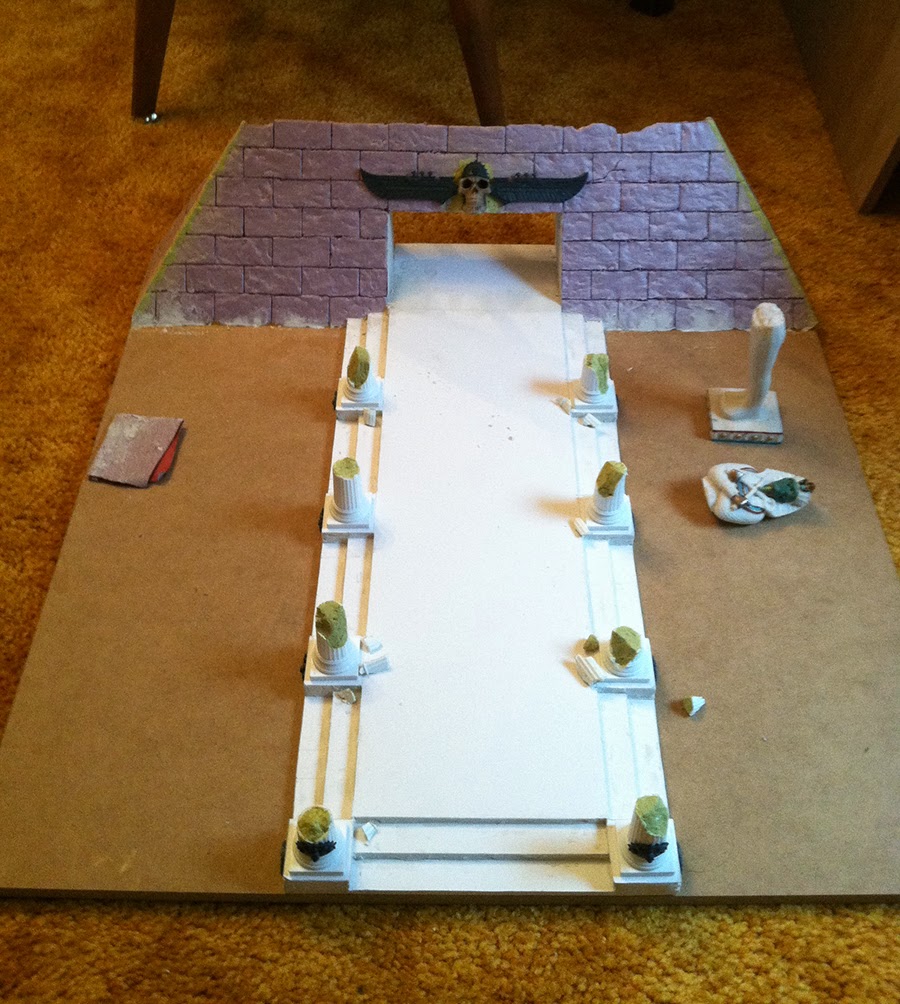
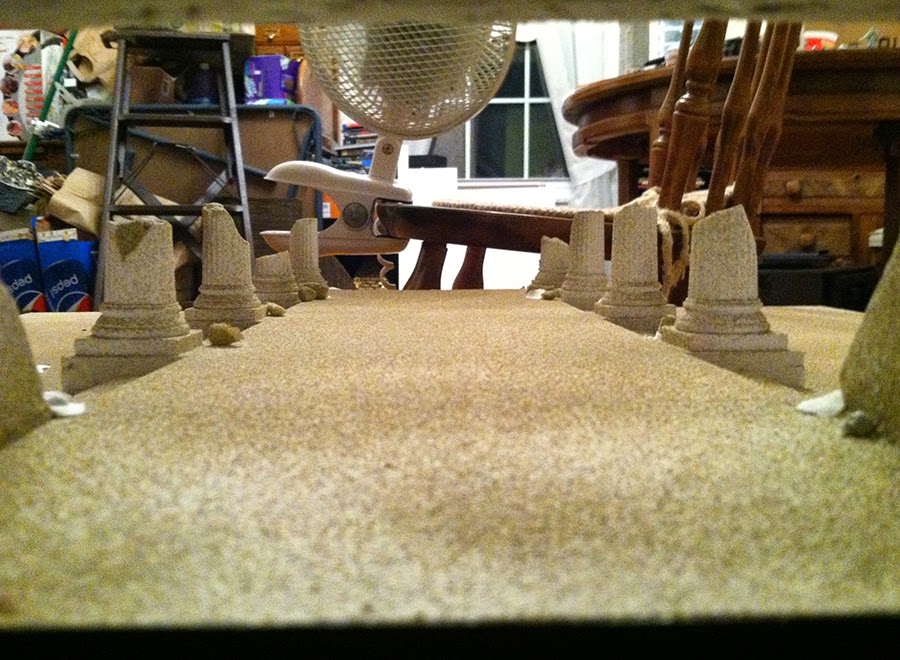
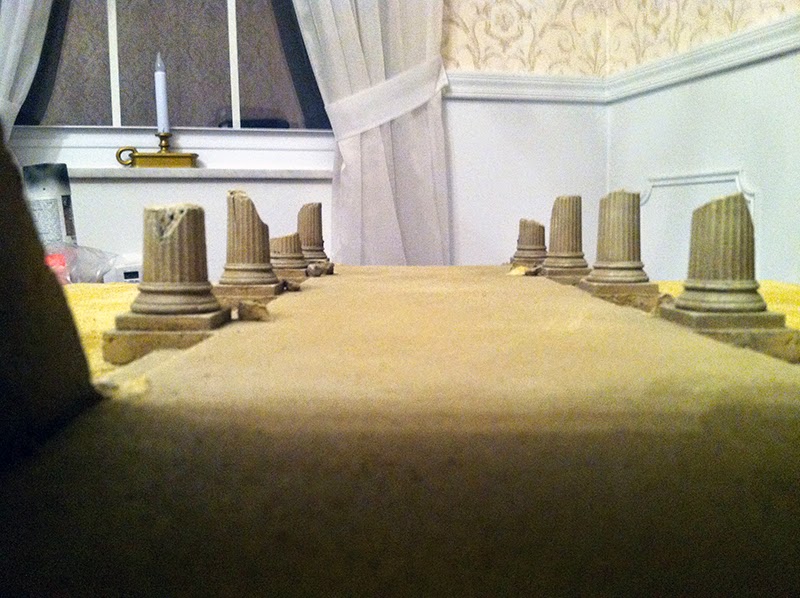
I instantly loved it and knew I wanted to try and emulate it. Grabbing some foam core board I started cutting out the design for the raised plinth/road thingy. I also went shopping for some suitable pillars to line it. I remember reading an article in a very old White Dwarf on how they built their original Tomb King scenery and for their pillars they used wedding cake decorations. I found some at a local craft store for around $4 for four. I broke them across the middle to make them look ancient and ruined. They were hollow so I had to fill the interiors with aluminum foil for a solid surface to sculpt on, then made the ruined stone with Milliput.
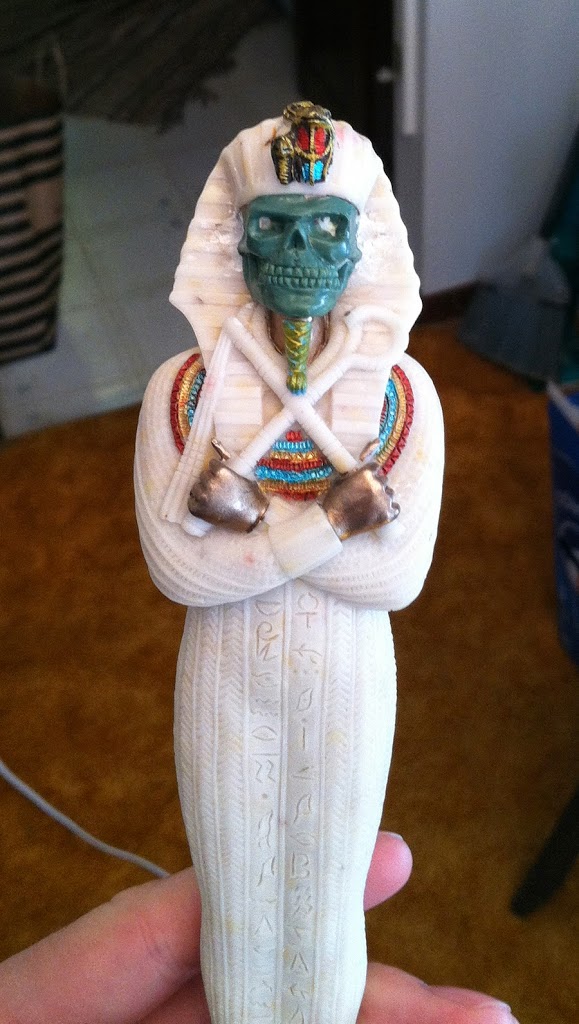
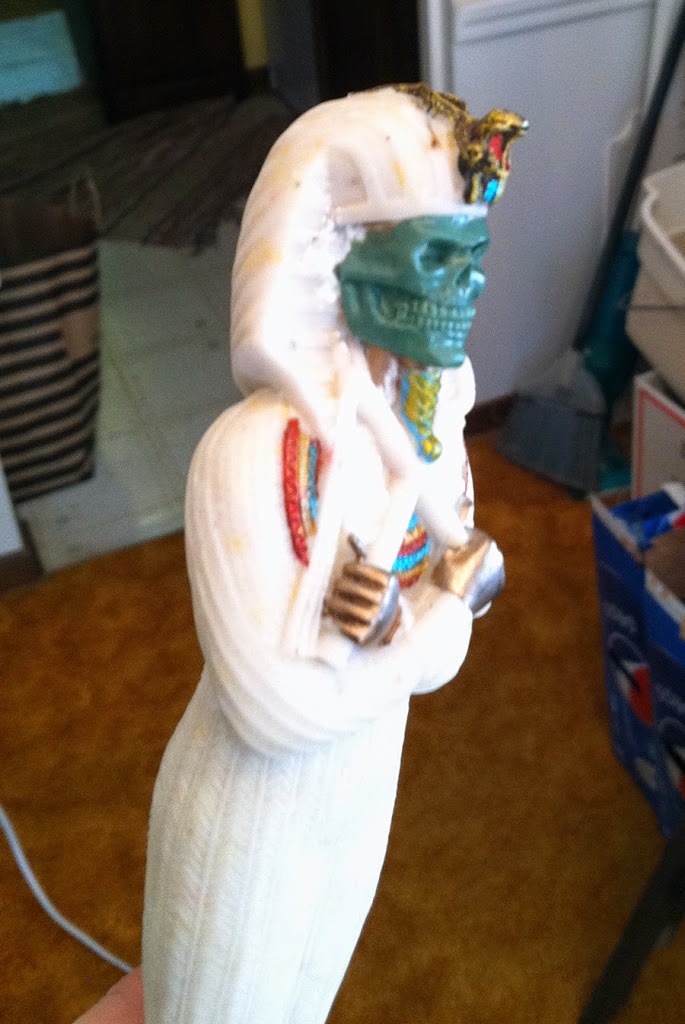
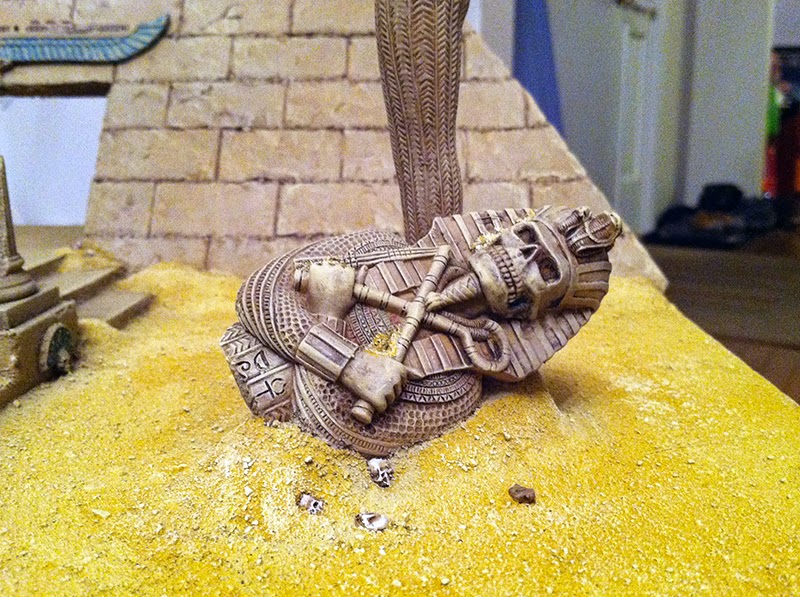
I also had to use a drywall filler to fill the sides of the foam core board. Next I took an Egyptian statue figurine I had bought at a random doo-dad store and took a Dremmel to his face. After that I used green stuff to re-sculpt it with a skull face to fit in with the Tomb King aesthetic.
Not my best work, but good enough for something that is going to be half destroyed. In fact, the next step was to break it in half.
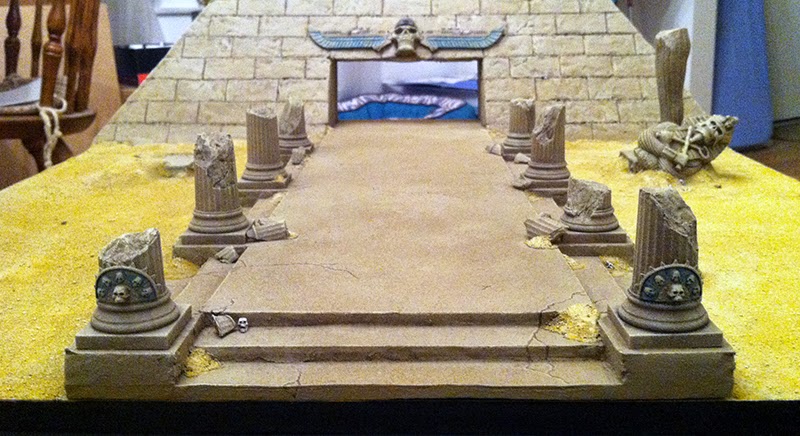
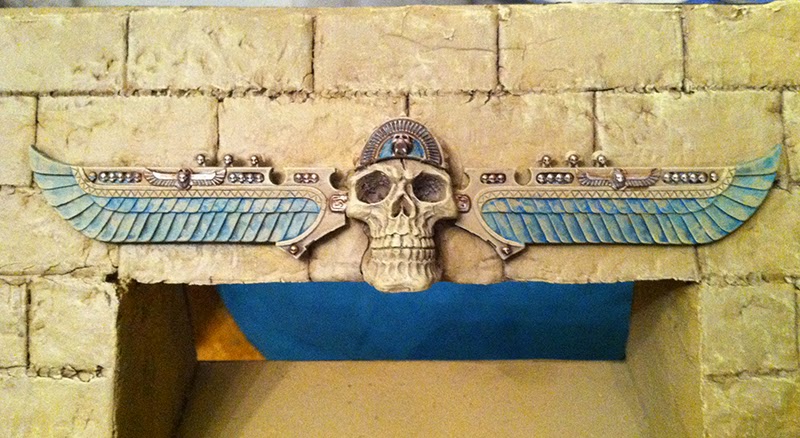
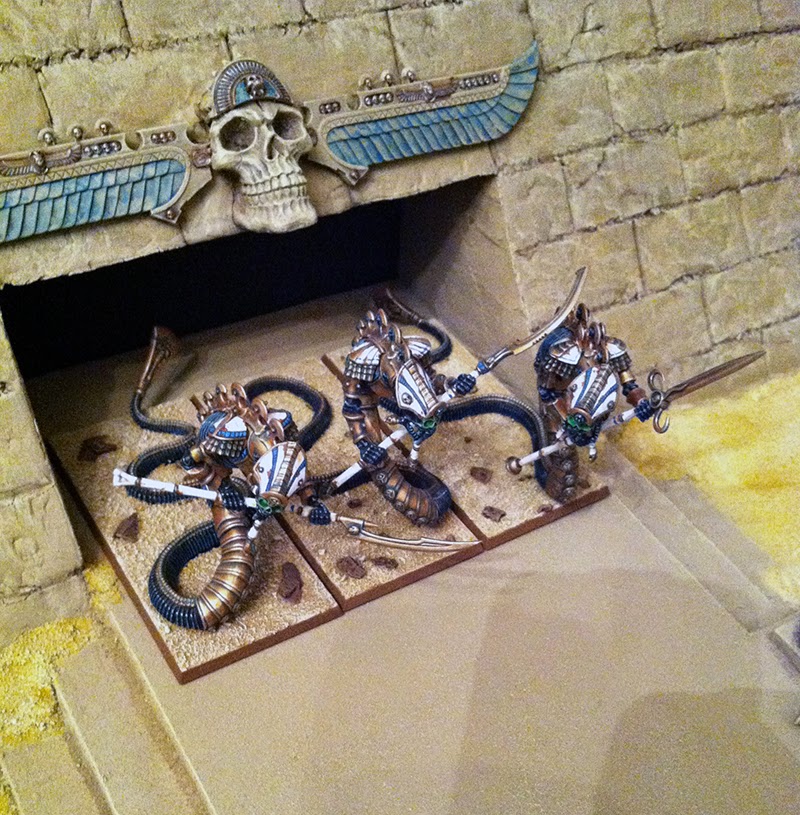
Here you can see my half ruined statue to the right. Unfortunately I didn’t take any picture when I was working on the Pyramid itself. It’s made out of pink foam with the bricks made by using a pen and pressing really hard. The texture is simply made from taking a real rock and repeatedly pressing it into the foam. The decoration about the portal is made from a random skull souvenir I picked up in Germany (my display board is very cultured and well traveled), the wings from the Necrosphinx, and the front decoration from a chariot. I also added Tomb King banner tops to the sides of the plinth and some chariot decorations on the front pillars.
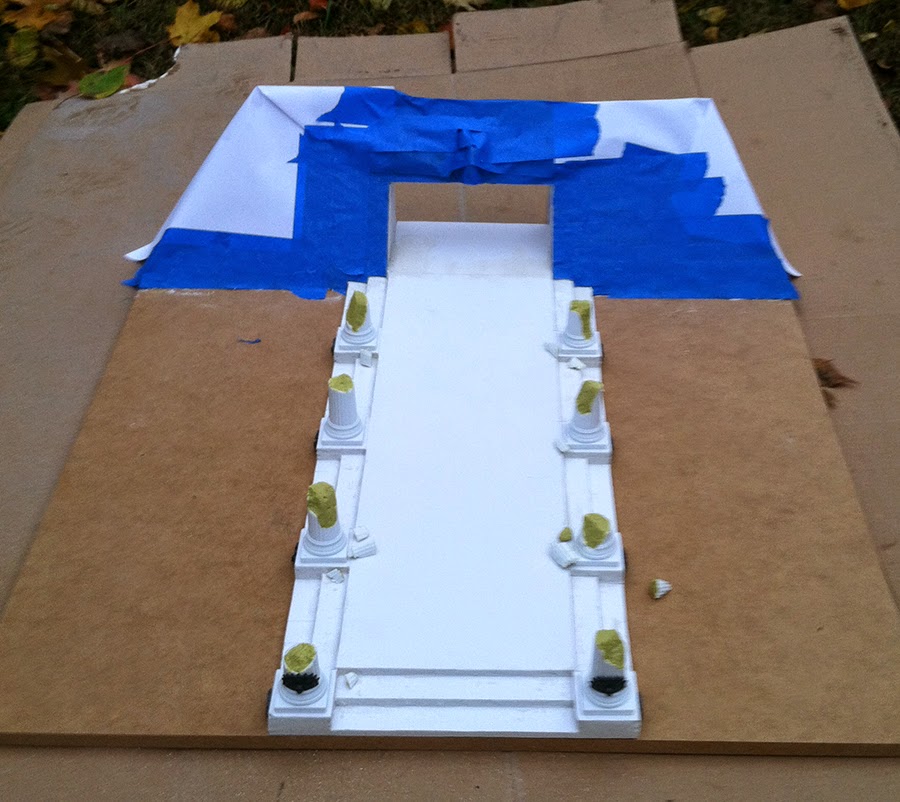
Covering up the pyramid with painting tape and paper I sprayed the plinth with a lightly textured stone effect spray paint.
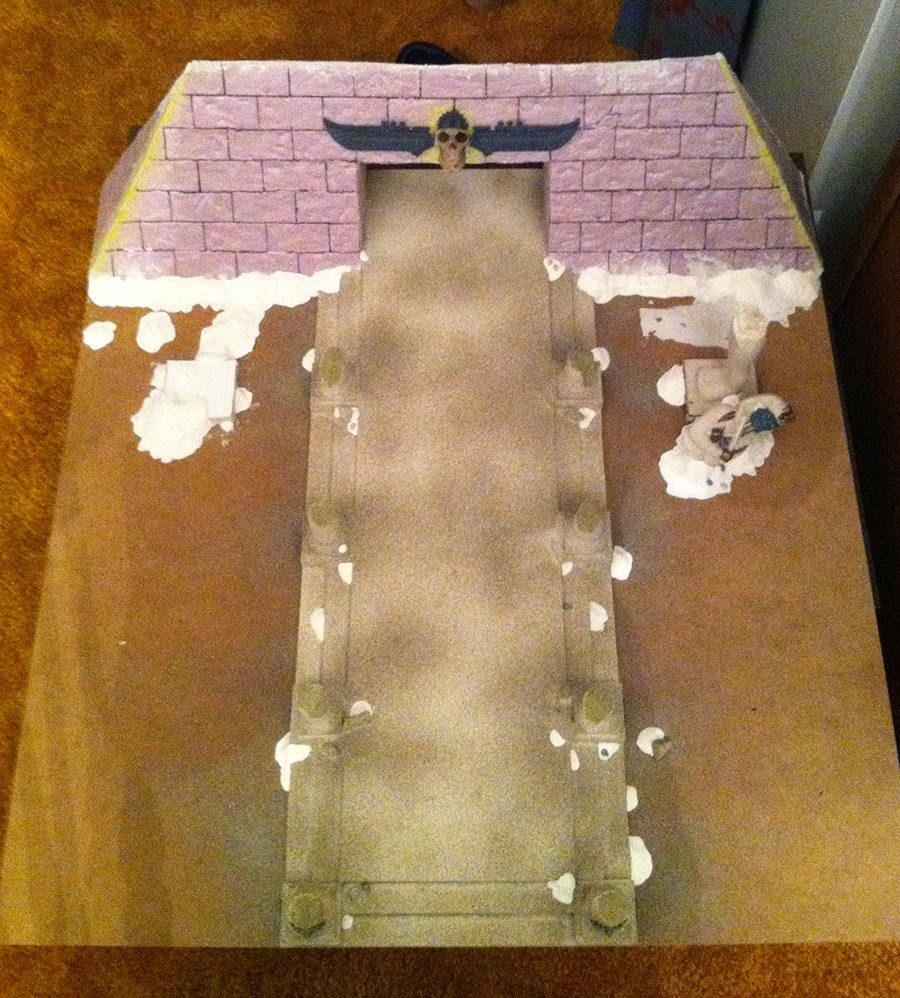
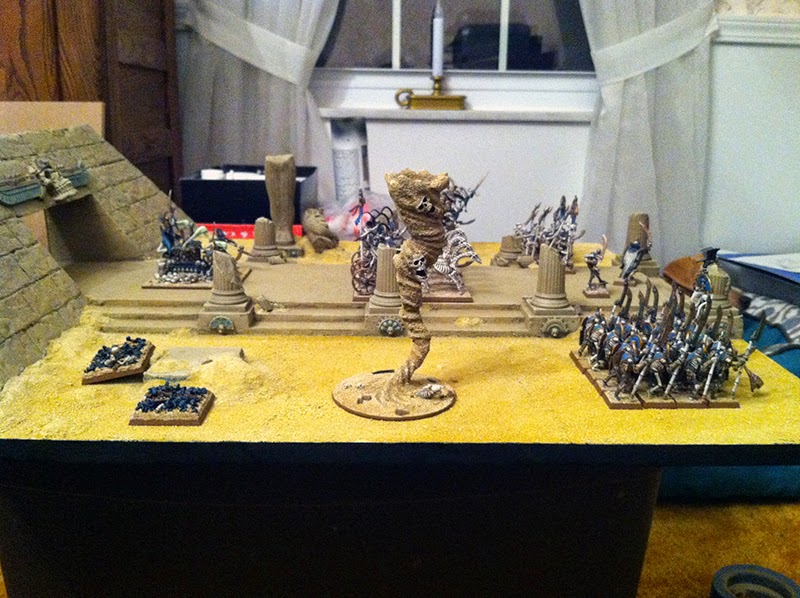
Once my texture was applied I glued my statue down and started making some mounds which will be sand dunes later on. I sculpted these with a cheap Crayola clay, I figured it wasn’t worth spending the money on a nice clay when it will just be covered with sand in the end. I also scattered a bunch of skulls all over the board. I only had one statue but didn’t want my board to be unbalanced so I made a plinth the same size as the statue’s to add to the opposite size. Perhaps that statue stayed intact and marched off to war.
With less then a week to go all I have left to do is to glue my sand down and get painting. You can see the fan in the background that I’m using to speed up the drying time.
I started out painting it by airbrushing the stone with Tallarn Sand as a basecoat. I followed this with a second airbrush of Karak Stone. I did this in a purposefully patchy pattern to give the stone some variation in color.
Anything that had texture, such as the pillars, statue, and in between the pyramid bricks got a wash of Agrax Earthshade. All of the stone then got a drybrush of Karak Stone followed by a light drybrush of Ushabti Bone.
The sand was painted with a trio of bulk acrylic paints I got at a craft store. I painted the sand with a patchy look of ochre and a khaki. I did this while the paint was still wet so it blended together nicer. This was then drybrushed with what would be the equivalent of Screaming Skull.
I picked out some areas with Hawk Turquoise and then faded it with Karak Stone. The gold was painted is my normal manner.
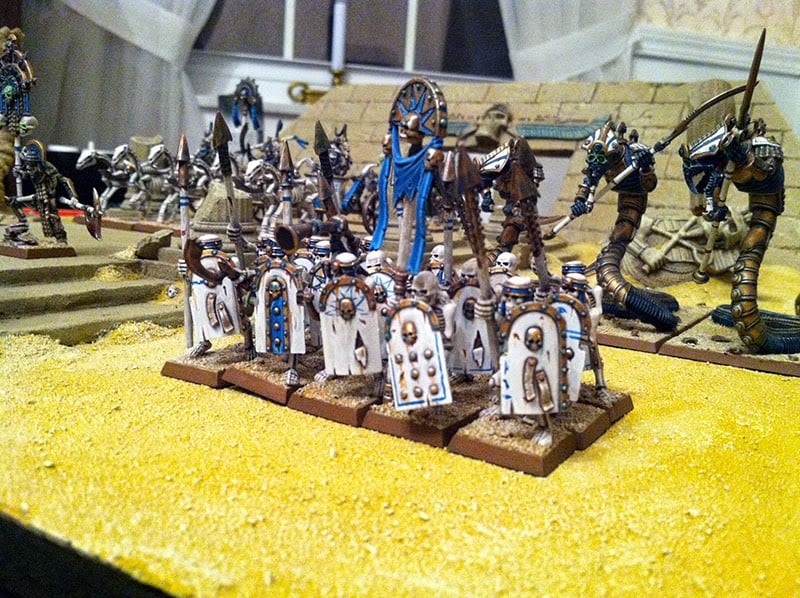
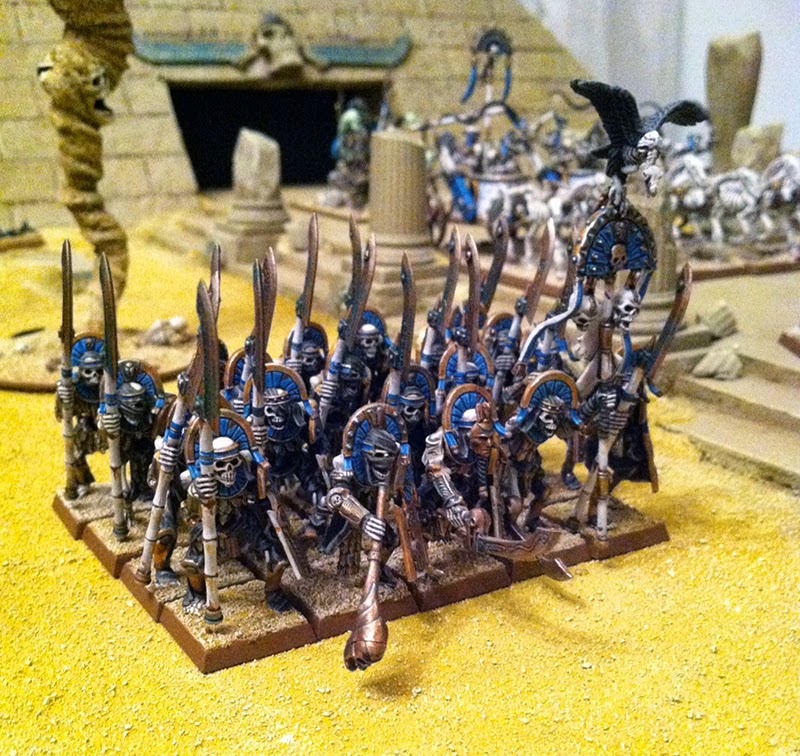
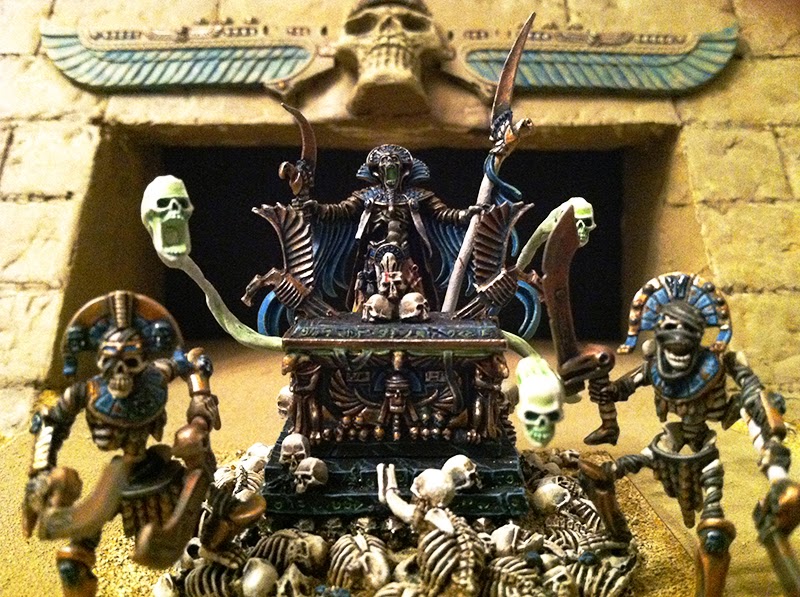
The last things I did was paint the rim of the display black and painted some cracks onto the main walkway. I did this since I decided it was not ruined enough looking as the rest of it (it was actually my wife’s suggestion, I really like what it added). Well enough talking, here are some pictures of my army displayed on it.
I ended up taking second place at the Michigan GW (there’s only one in the state).
Rahmotep eat your mummified heart out.
Have you ever made a display board for your army? What are some of the ideas you have or have wanted to use for your display?
Tyler is a life long painter and hobbyist and took home his first Golden Demon award at the 2012 Chicago Games Day with a follow up at the 2013 North American Games Day. More of his work can be found at his blog, Mengel Miniatures.
Author: Tyler Mengel
Advertisement

