Arena Rex: Painting Stheno Part 1


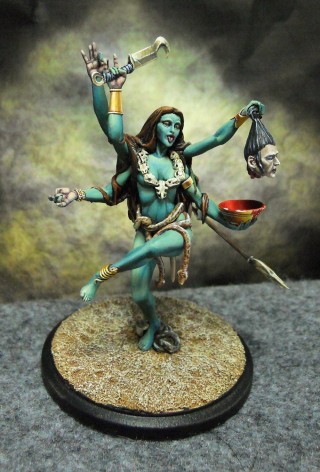
It’s been way too long since I did an Arena Rex post. Let’s change that with a painting article for Stheno.
Stheno is a very important model for Arena Rex because she’s part of the first batch they’ve released in their web store. Go check it out.
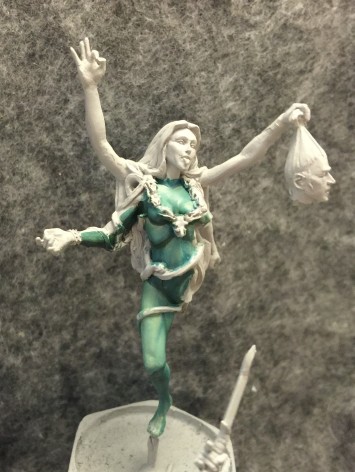
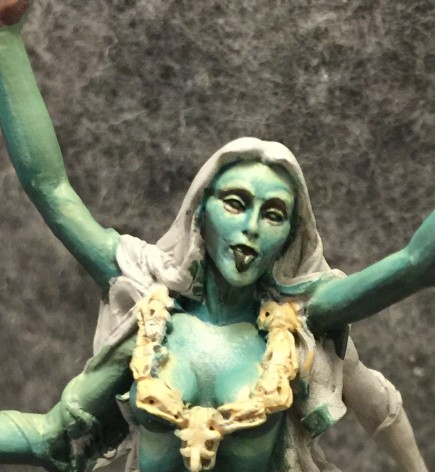
We’re just going to jump right in to the skin. I start with Trollblood Base, shade with an Umbral Umber/Beaten Purple mix, and highlight with Thrall Flesh, and in a few places, Menoth White Highlight – all P3 colors.
I continue moving into the other parts of her body. The snake skulls I basecoat now just so I can clearly see the shapes underneath. It will be a long time before I actually paint them
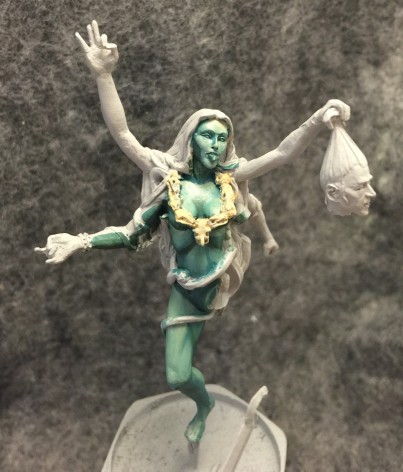
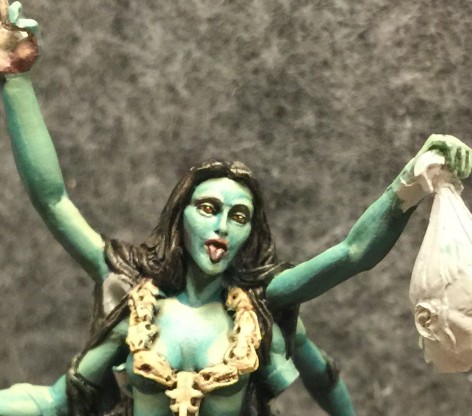
I’ve got almost all of her covered now. For the palms I mix Ryn Flesh with a bit of the Trollblood base and some of the same Umber/Purple mix. They will be highlighted with more of the Ryn Flesh and shaded with the purple mix.
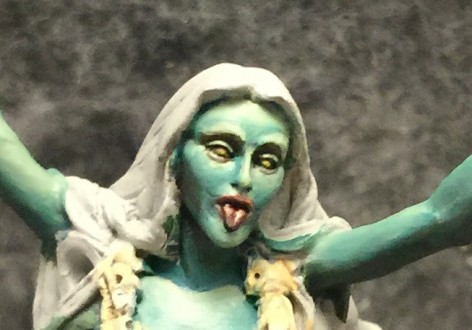
Let’s focus a little more on the face for a bit.
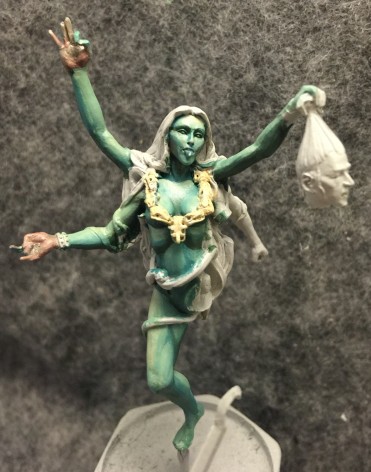
I add more intensity to the highlights before starting on the eyes and mouth. The eyes are Sulphuric Yellow with the lips and tongue painted from that same Purple mix but with some Sanguine base added. Like the palms they are highlighted with Ryn Flesh, but more sparingly. Starker highlighting will create the illusion of reflection on a wet surface.
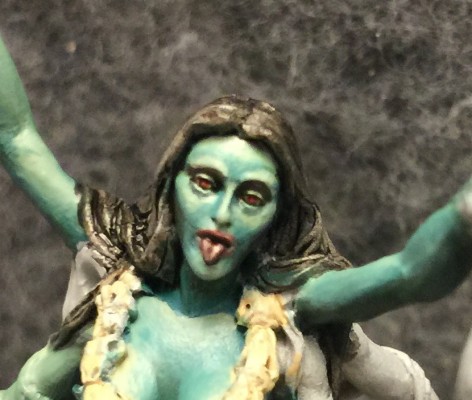
Here the tongue has been cleaned up a bit, and I’ve begun on the pupils. They start as Sanguine base and the bottoms are “highlighted” with some Khador Red Base. If you have a model with large enough eyes, or you’re just feeling ambitiious, remember that they should be painted like gemstones. Dark at the top, light at the bottom…
And with a nice contrasting dot at the top to represent reflected light. And of course add an iris with a dark dot in the middle.
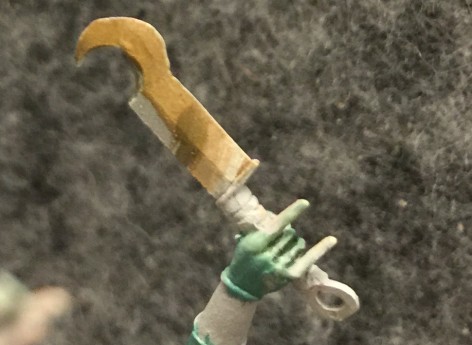
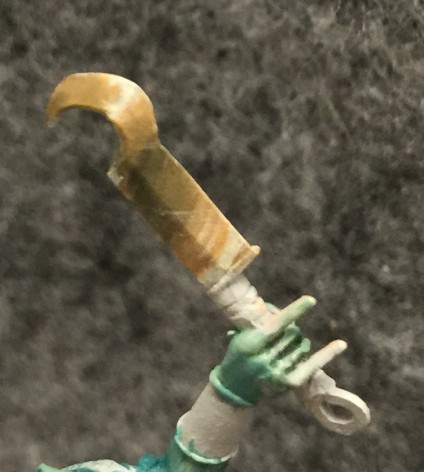
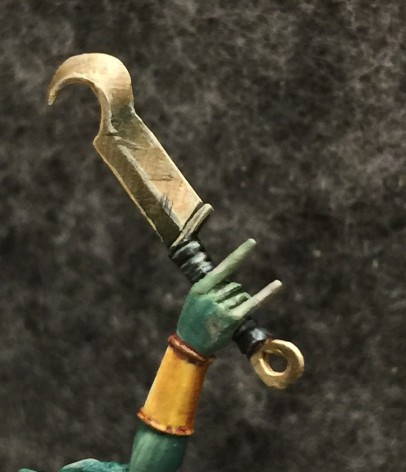
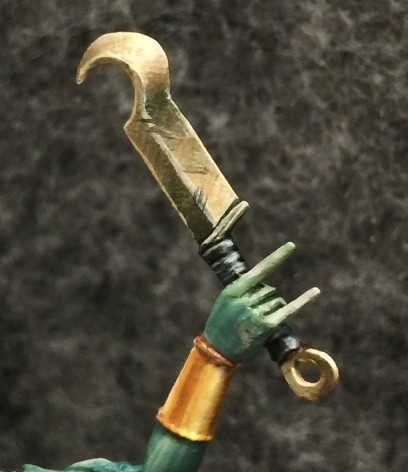
For act 2, let’s focus on something not so organic. I believe this is a Khopesh, although the curved part is a little less substantial than what I think of for that kind of weapon. I’m sure if it’s something else you guys will let me know. Back on topic, I start it off with a basecoat of Traitor Green mixed with Rucksack Tan, and immediately start adding some contrast. In some areas I lighten the basecoat by adding Menoth White Highlight and I darken it in others with pure Traitor Green.
For the darkest areas I add some Umbral Umber and Exile Blue to the Traitor Green.
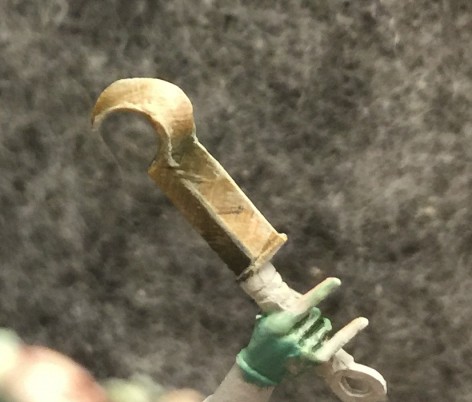
I reverse the light to dark transition on the flat part of the weapon. Contrasts like these help crete the illusion of Non-Metallic Metal. Also note that the flat of the blade doesn’t reach the same brightness since it doesn’t face our imaginary light source; the sun.
I also add some texturing to show a little battle wear on the blade. This is done by adding some very thin and wet strokes of the colors beneath repeatedly using light but fast strokes to give the impression of scratches. I go into a little more detail in this process in my Dozer and Smiggs article.
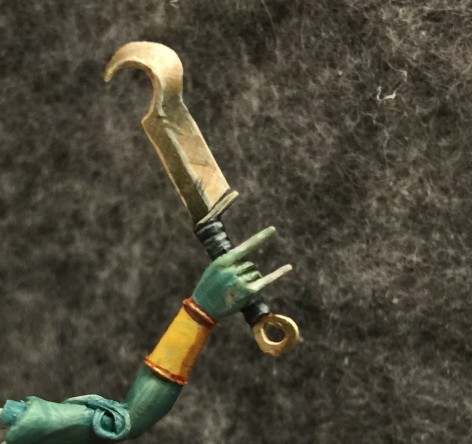
I’ve added a little mor dark hatching along the middle for more dings, and also started on the gold bracelet. The basecoat of Sulfuric Yellow is shaded with Bloodtracker Brown and even more of the Umber/Purple mix I like so much.
I start adding two distinct rays of highlight by blending in some Menoth White Highlight.
Yellow is never an easy color to paint, and this is no different. It takes a few layers, but eventually I build up the two rays into some nice stark highlights. The contrast is enhanced by blending some Bloodtracker Brown into the strip in between them. I’ll finish them off by painting the rings at the top and bottom with a line of pure Sulfuric with some more Menoth White Highlight. Then the creases are lined with – you guessed it that Umber and Purple mix again.
~Hope you enjoyed part 1. In part 2 I’ll be covering painting some snakes!

