Hobby: Painting Glorious Yellow


Yellow is a color that many painters struggle with. But to defeat your enemy, you must first understand your enemy.
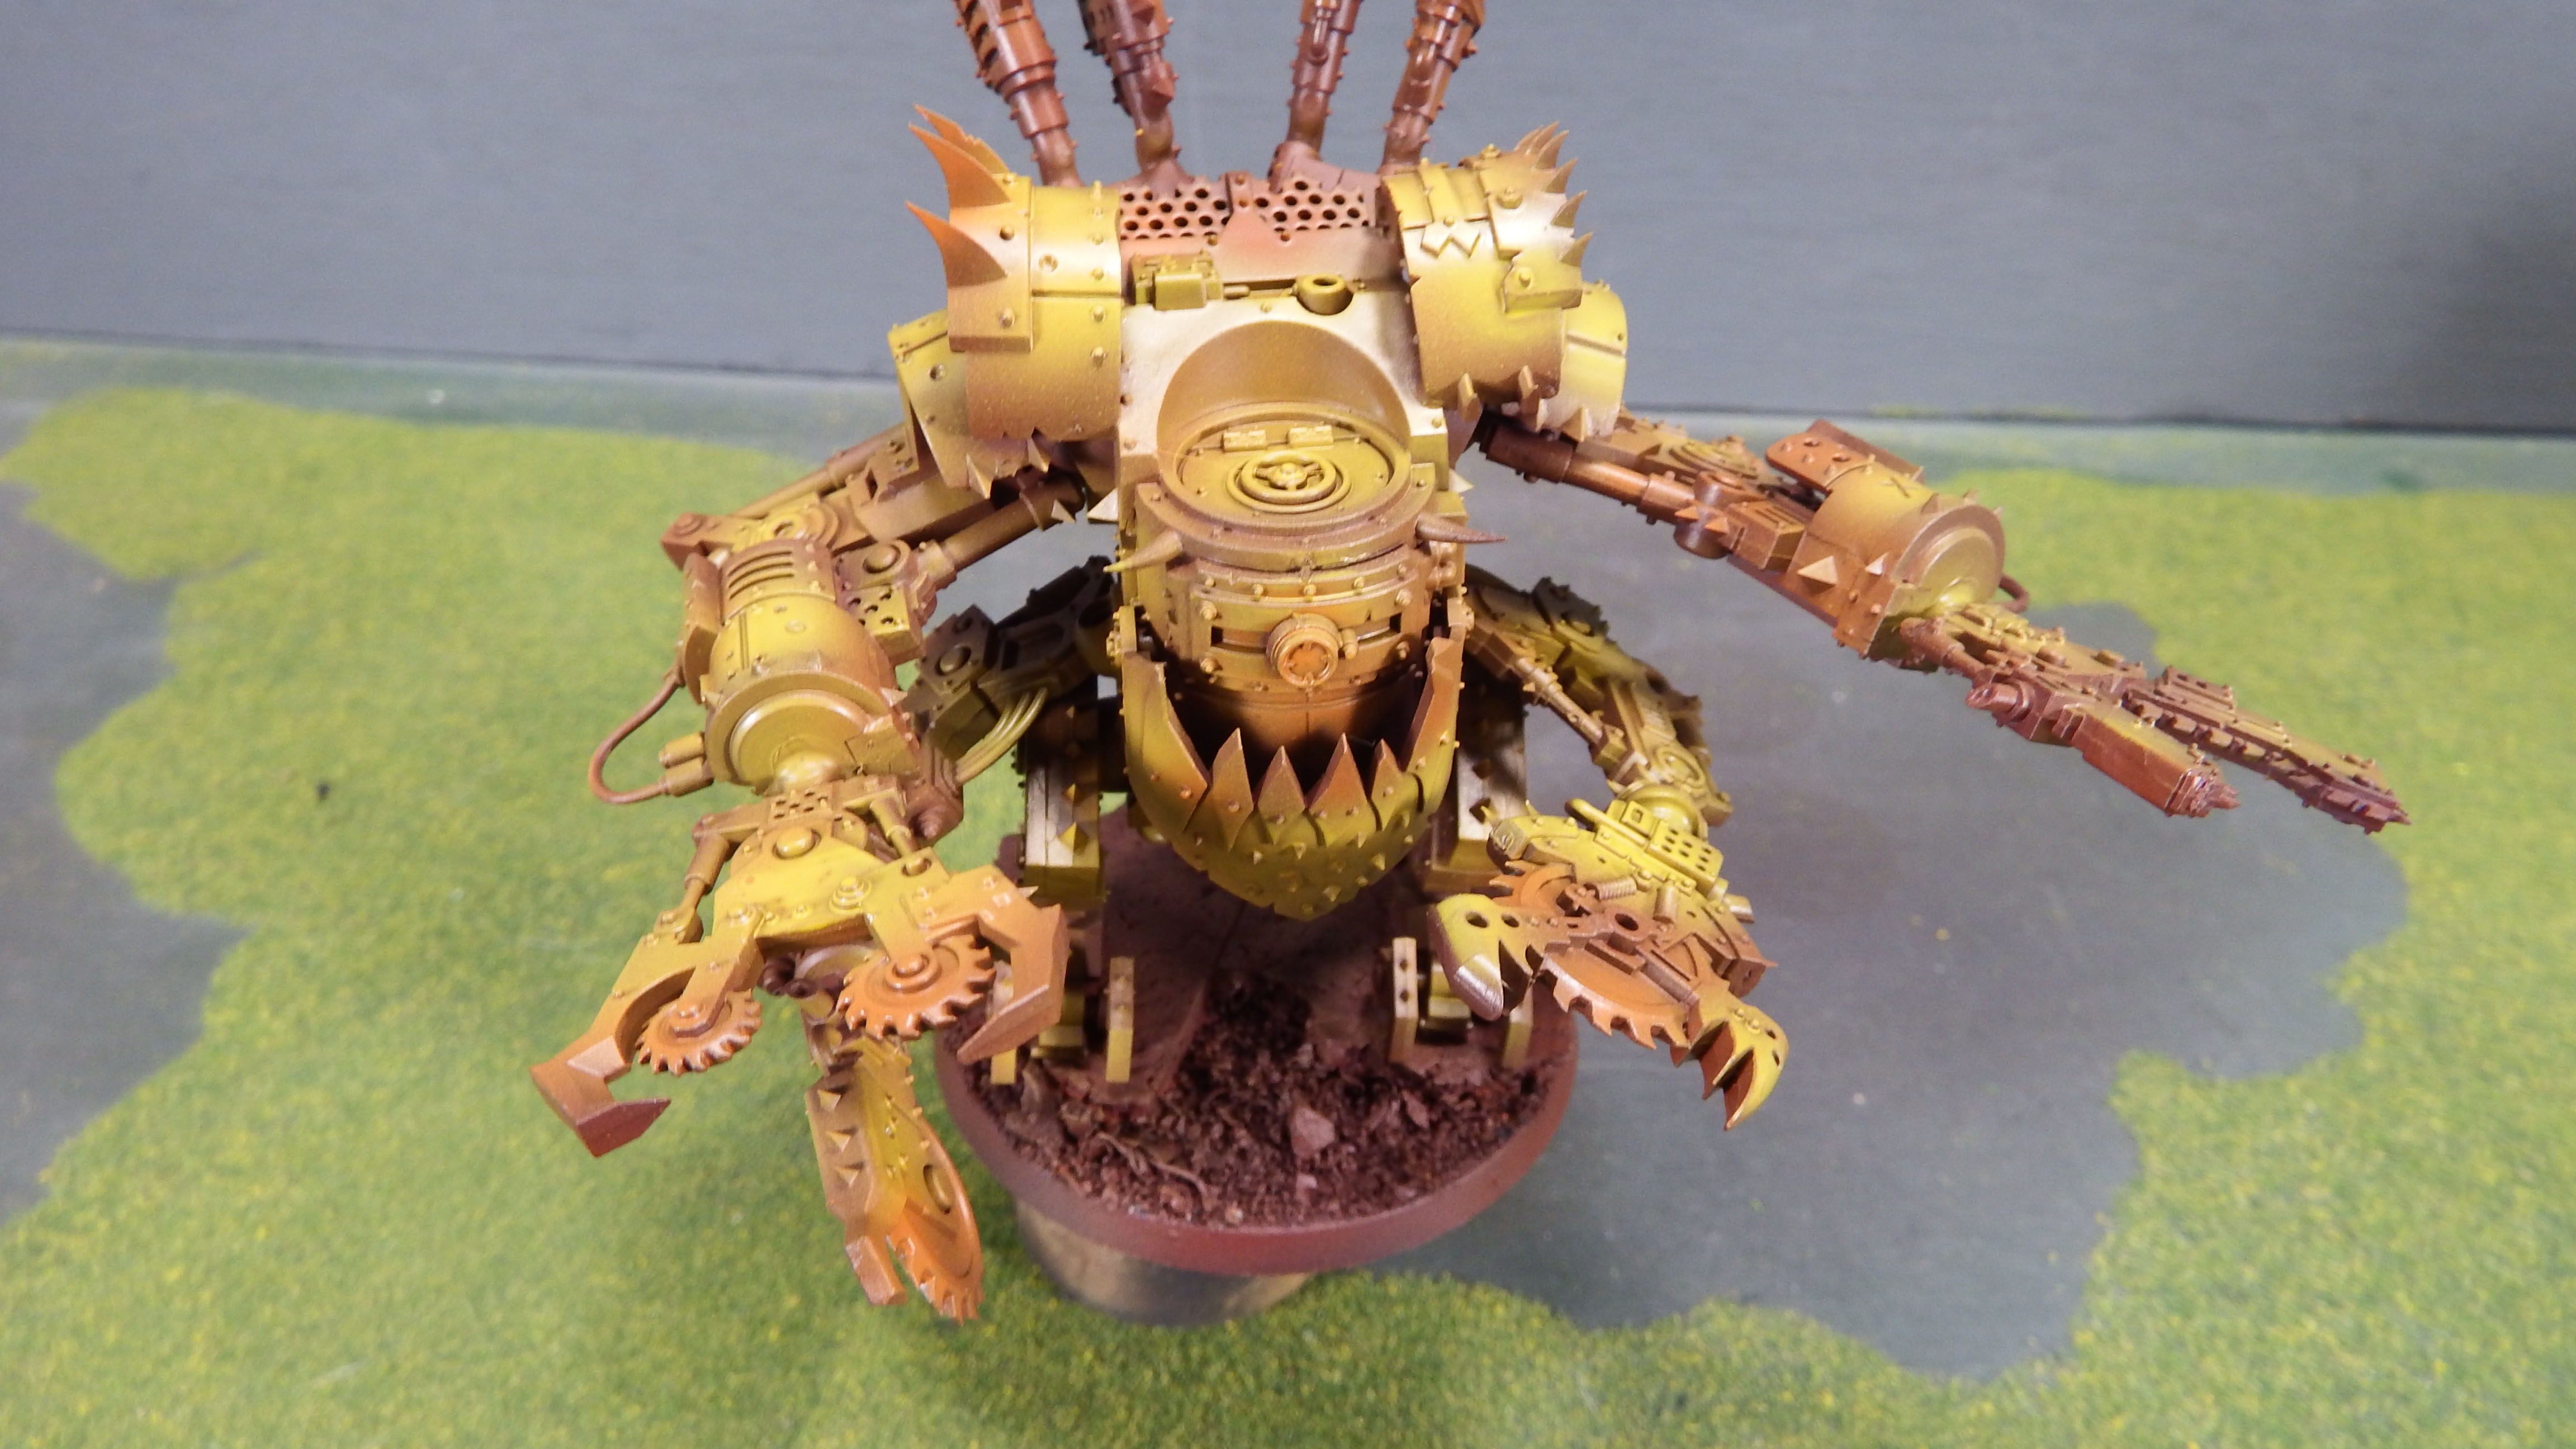
Hey guys: Caleb with White Metal Games here. When I first started my miniature painting service many years ago I compared my service vs. several other for pricing purposes. I noticed quite a few services charged more to paint miniatures that were red, white, or yellow. Wonder how much that would have charged to paint THIS thing!
At the time I didn’t have the skill set to understand WHY anyone would ever charge more for painting any particular color. Now, years later, I am beginning to understand. Painting certain colors, including yellow, is really tough. IMHO, the problem with yellow has to due with the nature of transparent colors vs. opaque colors.
In a nutshell, some paints allow more of the underlying colors to come through. This is especially evident with yellow, which is by and large a generally transparent color. There are some exceptions, and I’ll note that GW makes some of the most opaque yellow paints I’ve ever worked with, in particular Averland Sunset. However, in many case having a more transparent color can lead to some fantastic final results. Try to think of the top layer as a combination of every layer that has come before with, building up a base of color with the final yellow being the frosting on a well deserved slice of cake. You must first layer the cake, one delicious layer at the time, so that the final frosting really stands out.
This is not my best metaphor to date, I will admit. I guess I could just say that to build a house you must first layer a foundation. Sure, that’s sounds good.
In this article I’ll outline one way of painting yellow I recently stumbled across that I really REALLY like. Maybe it helps you out, maybe it doesn’t. But if you’re that one, well, here you are.
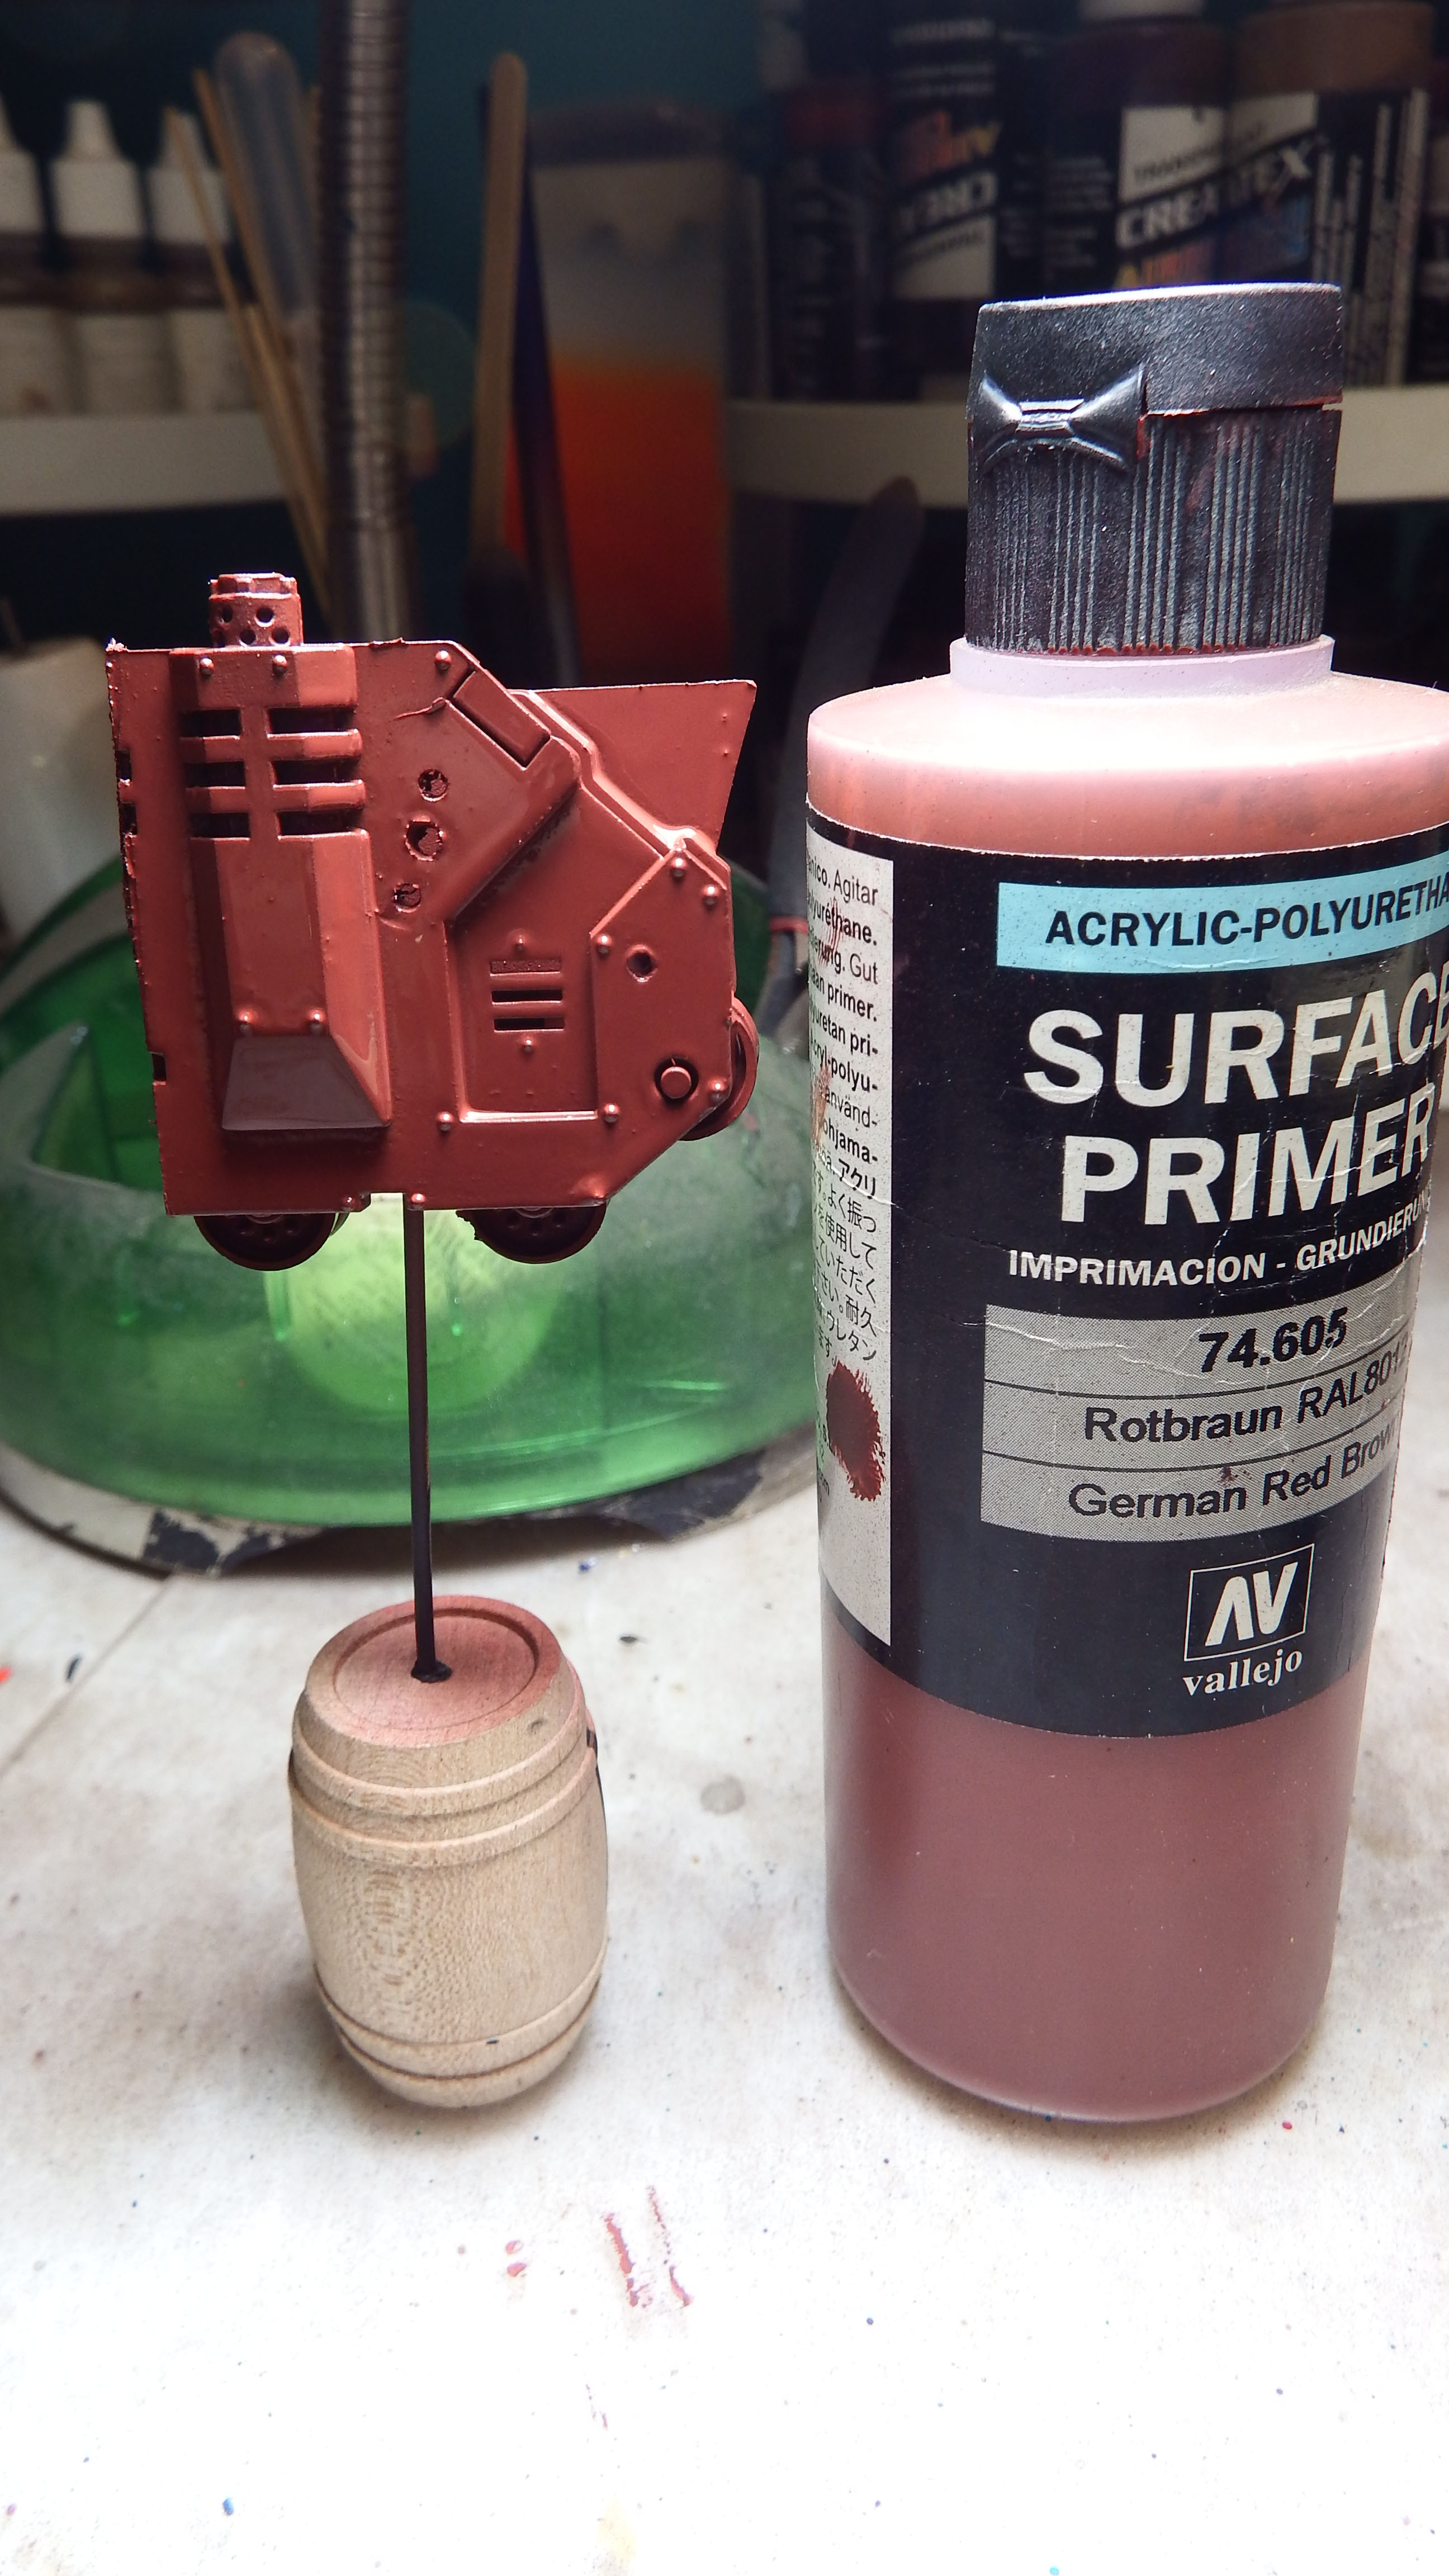
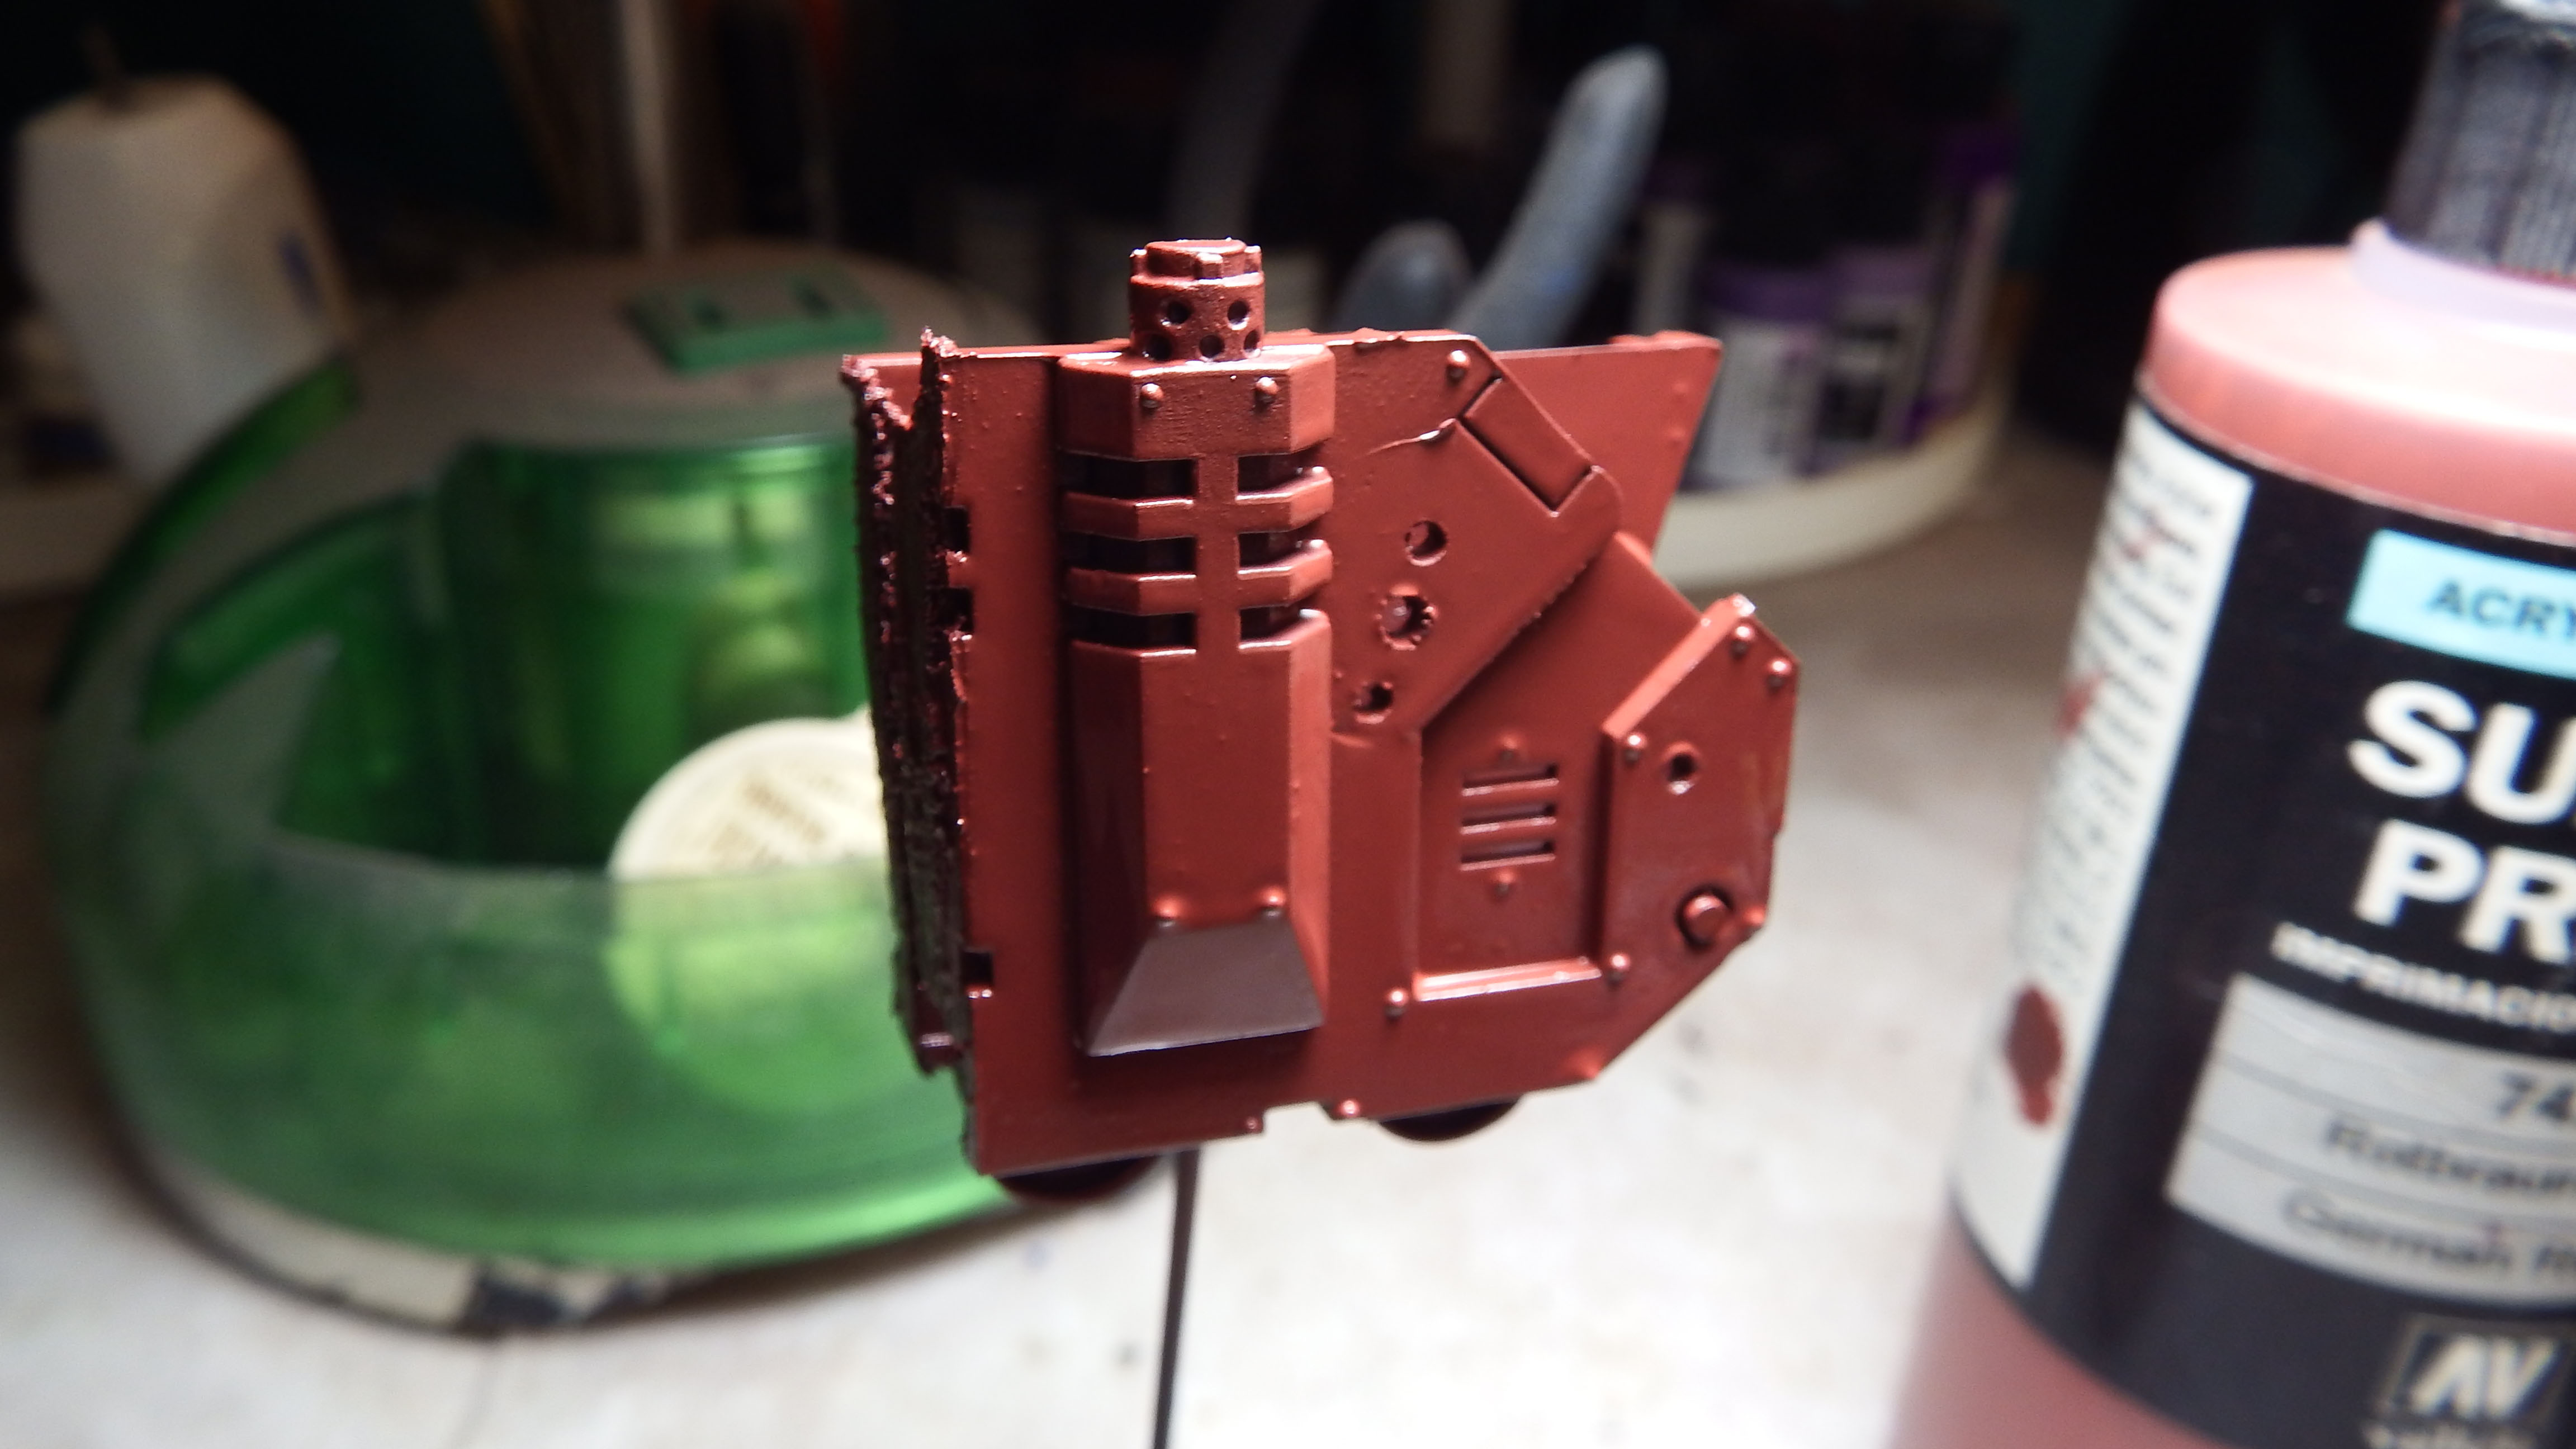
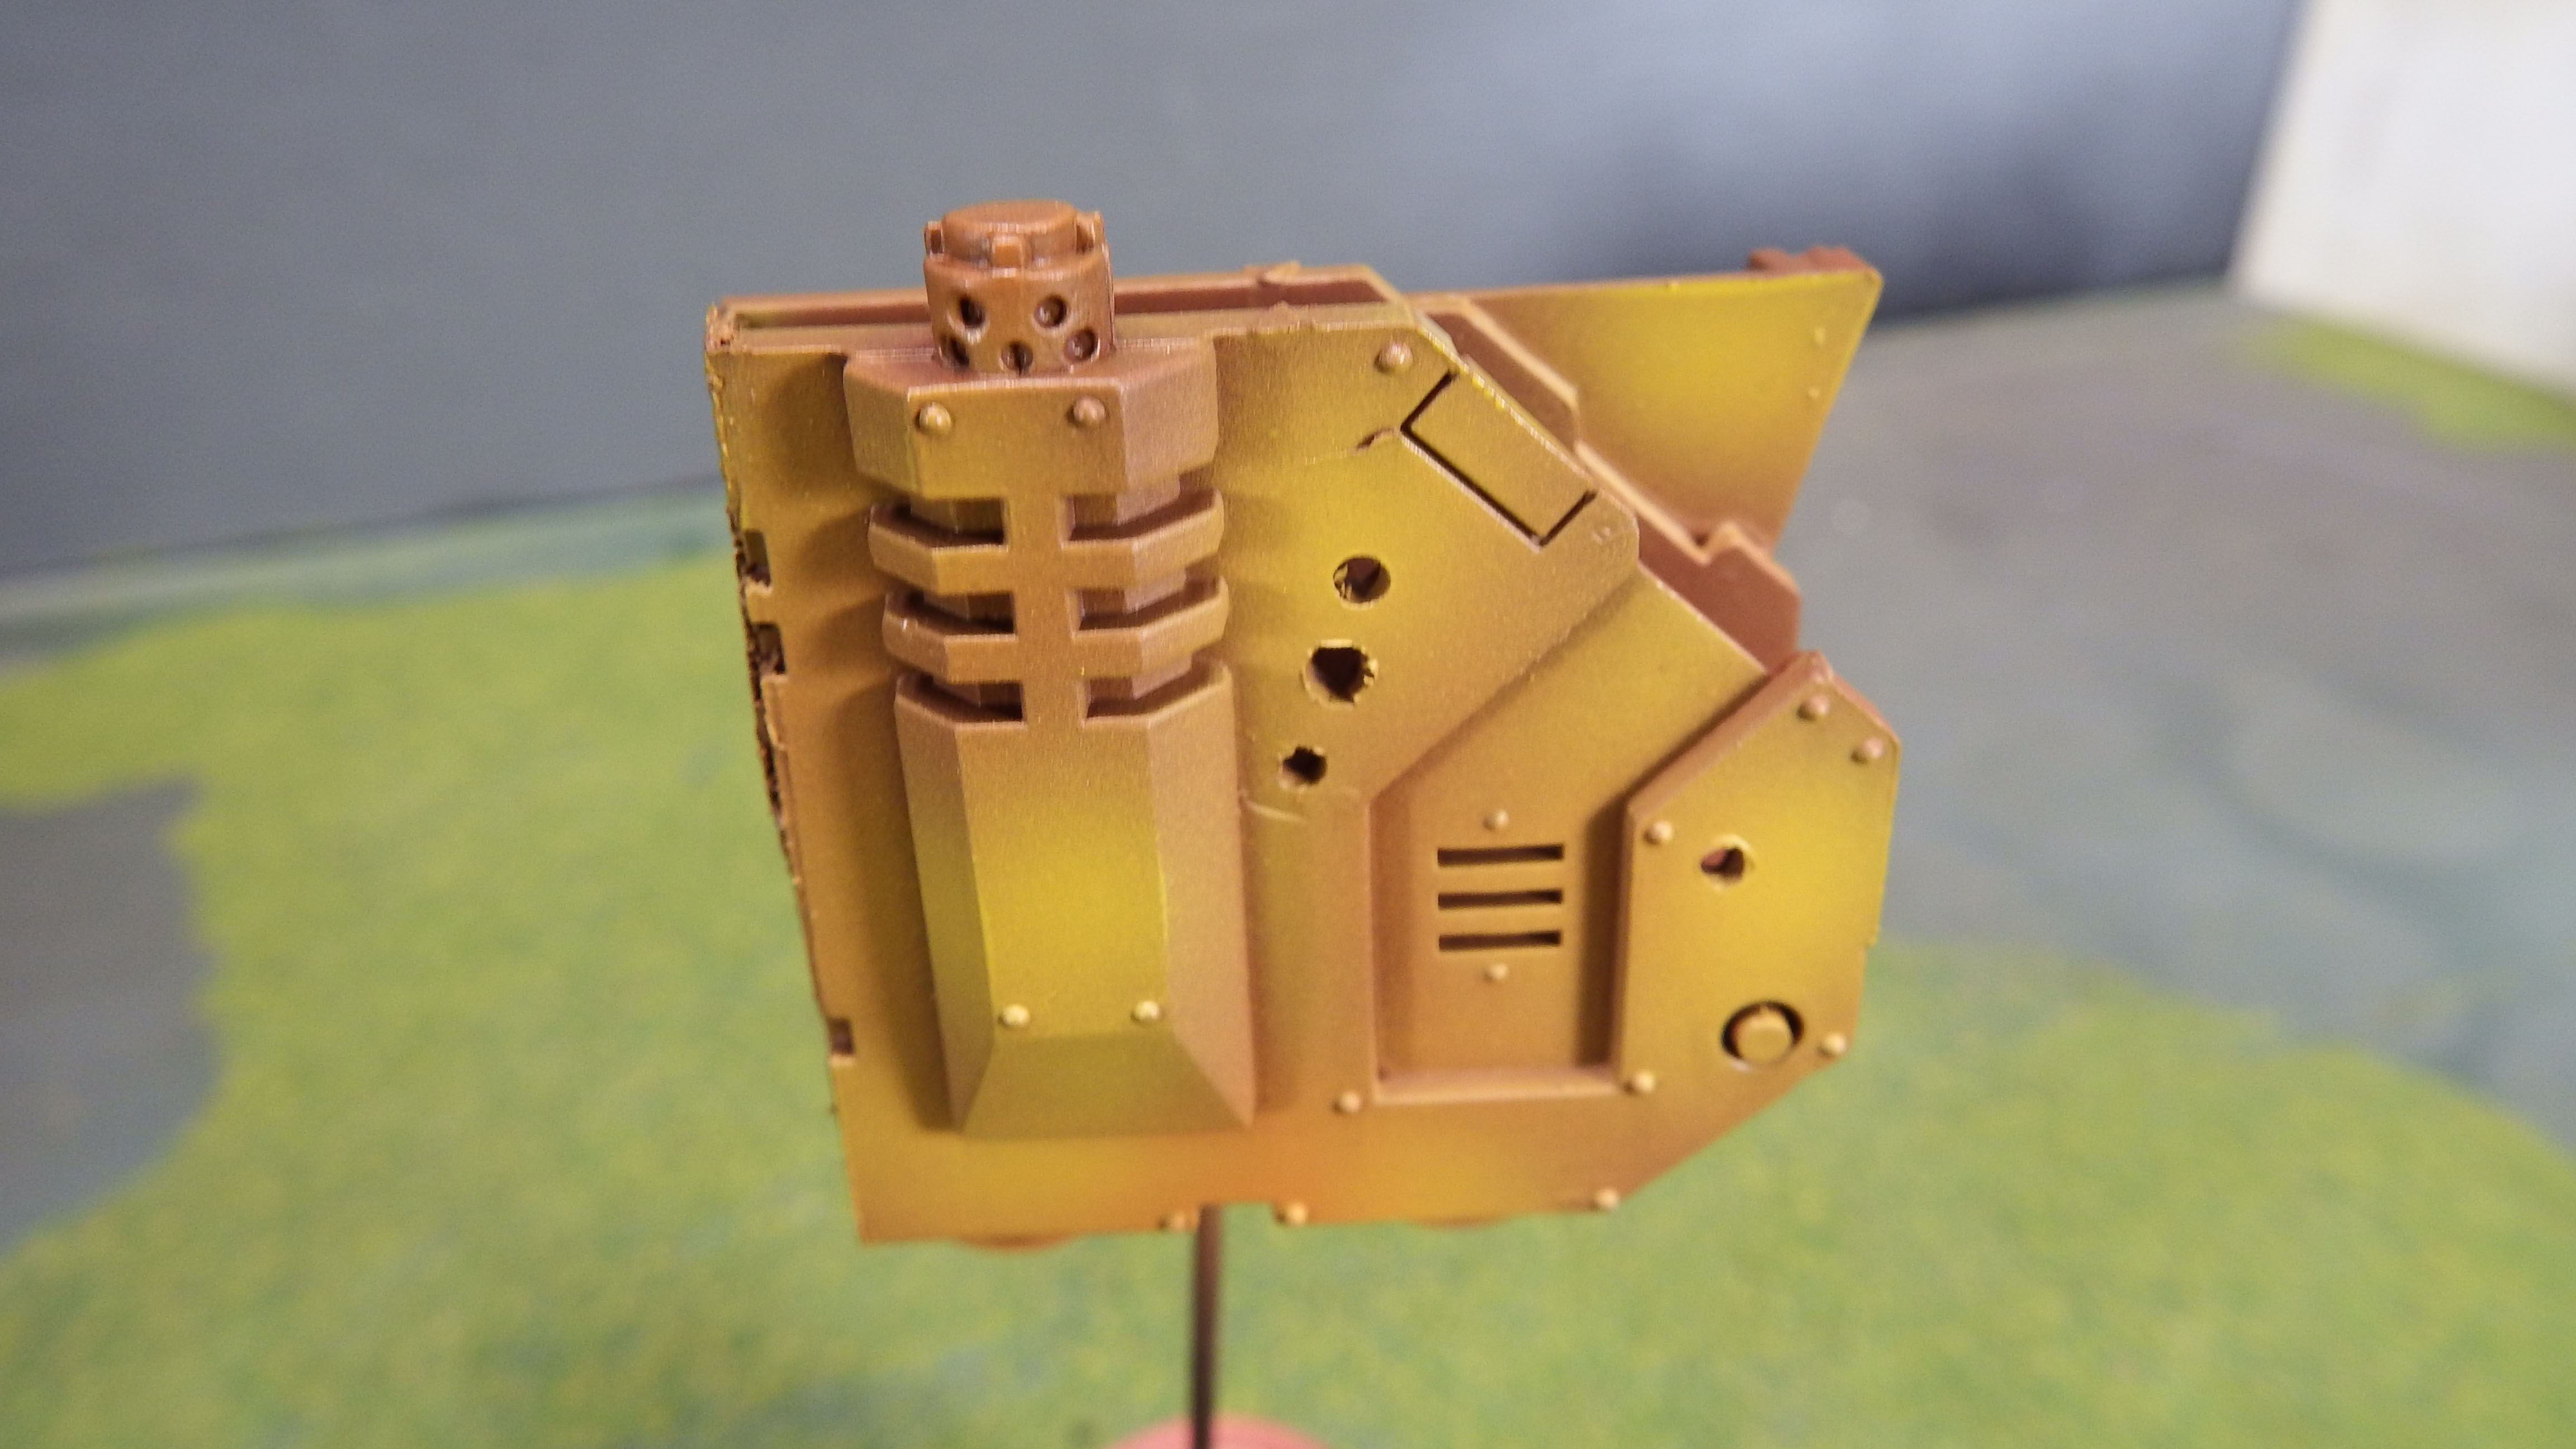
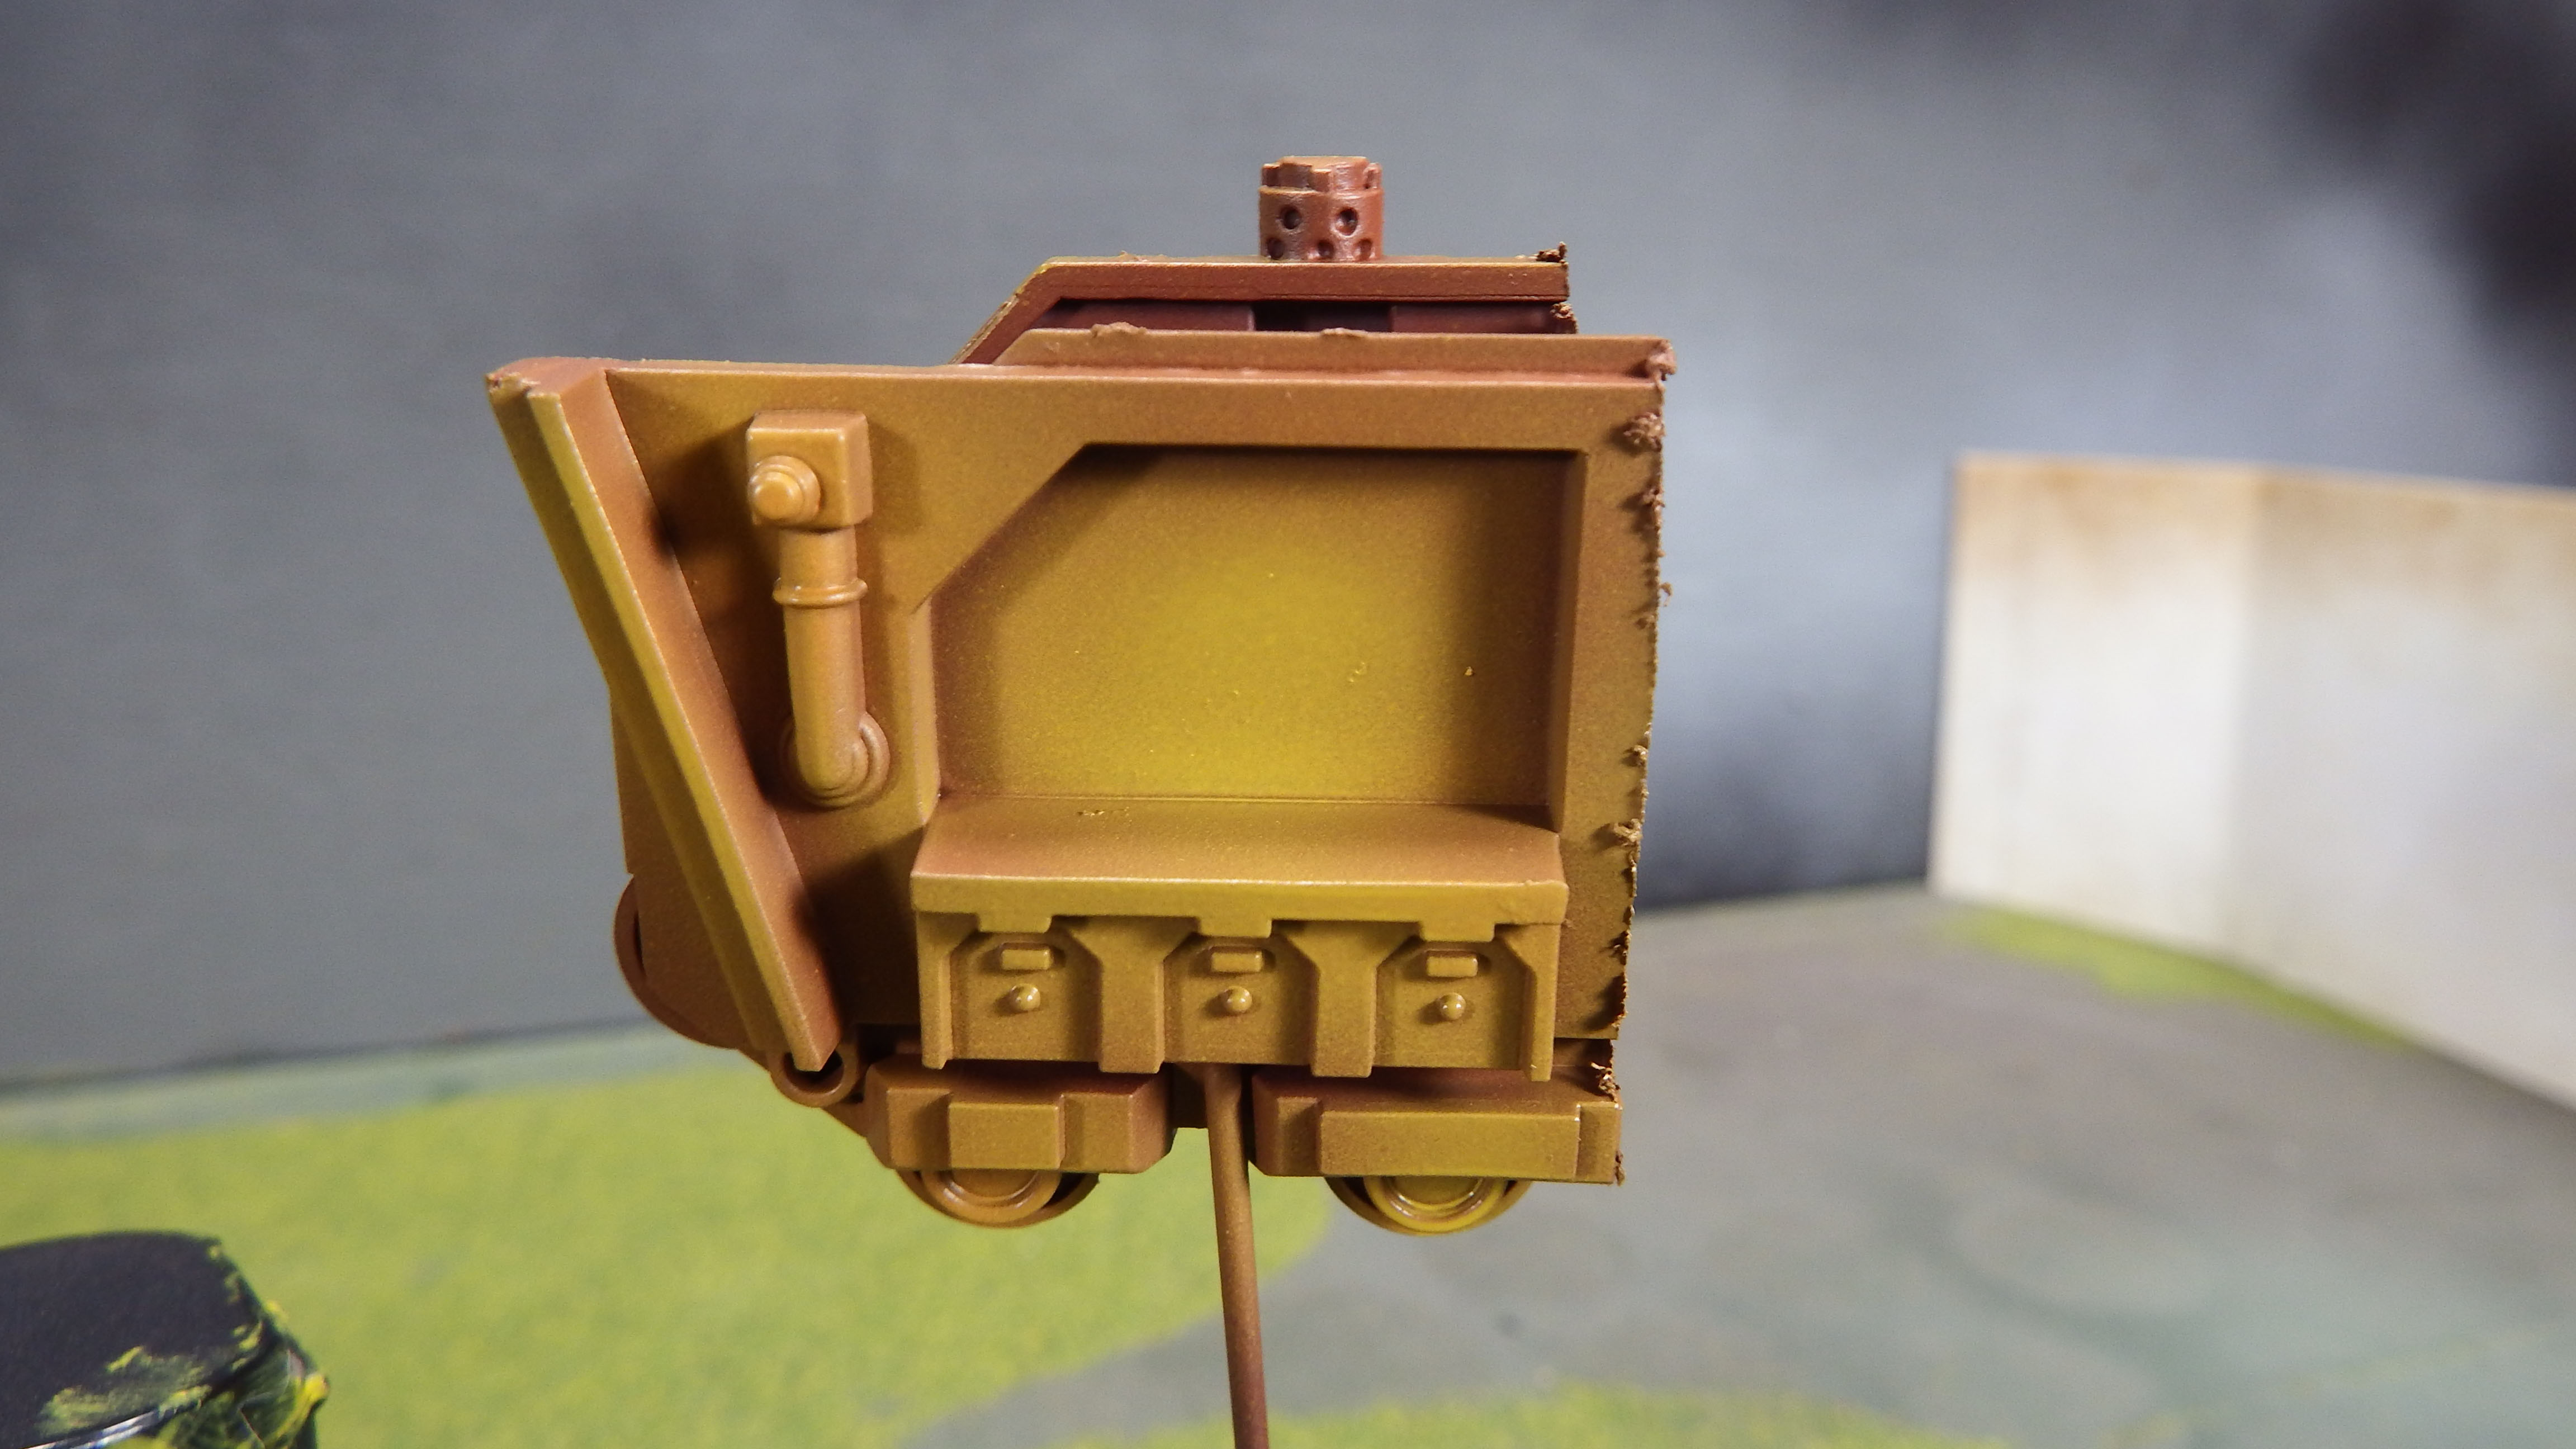
Firstly, I picked out a piece of junk material to do a test paint on. I found this old hunk of Rhino in my bits box. I drilled out a few bullet holes that will figure into the painting later. I wanted something with some texture, some raised areas and some recessed areas, as well as lots of flat panels. This will do nicely.
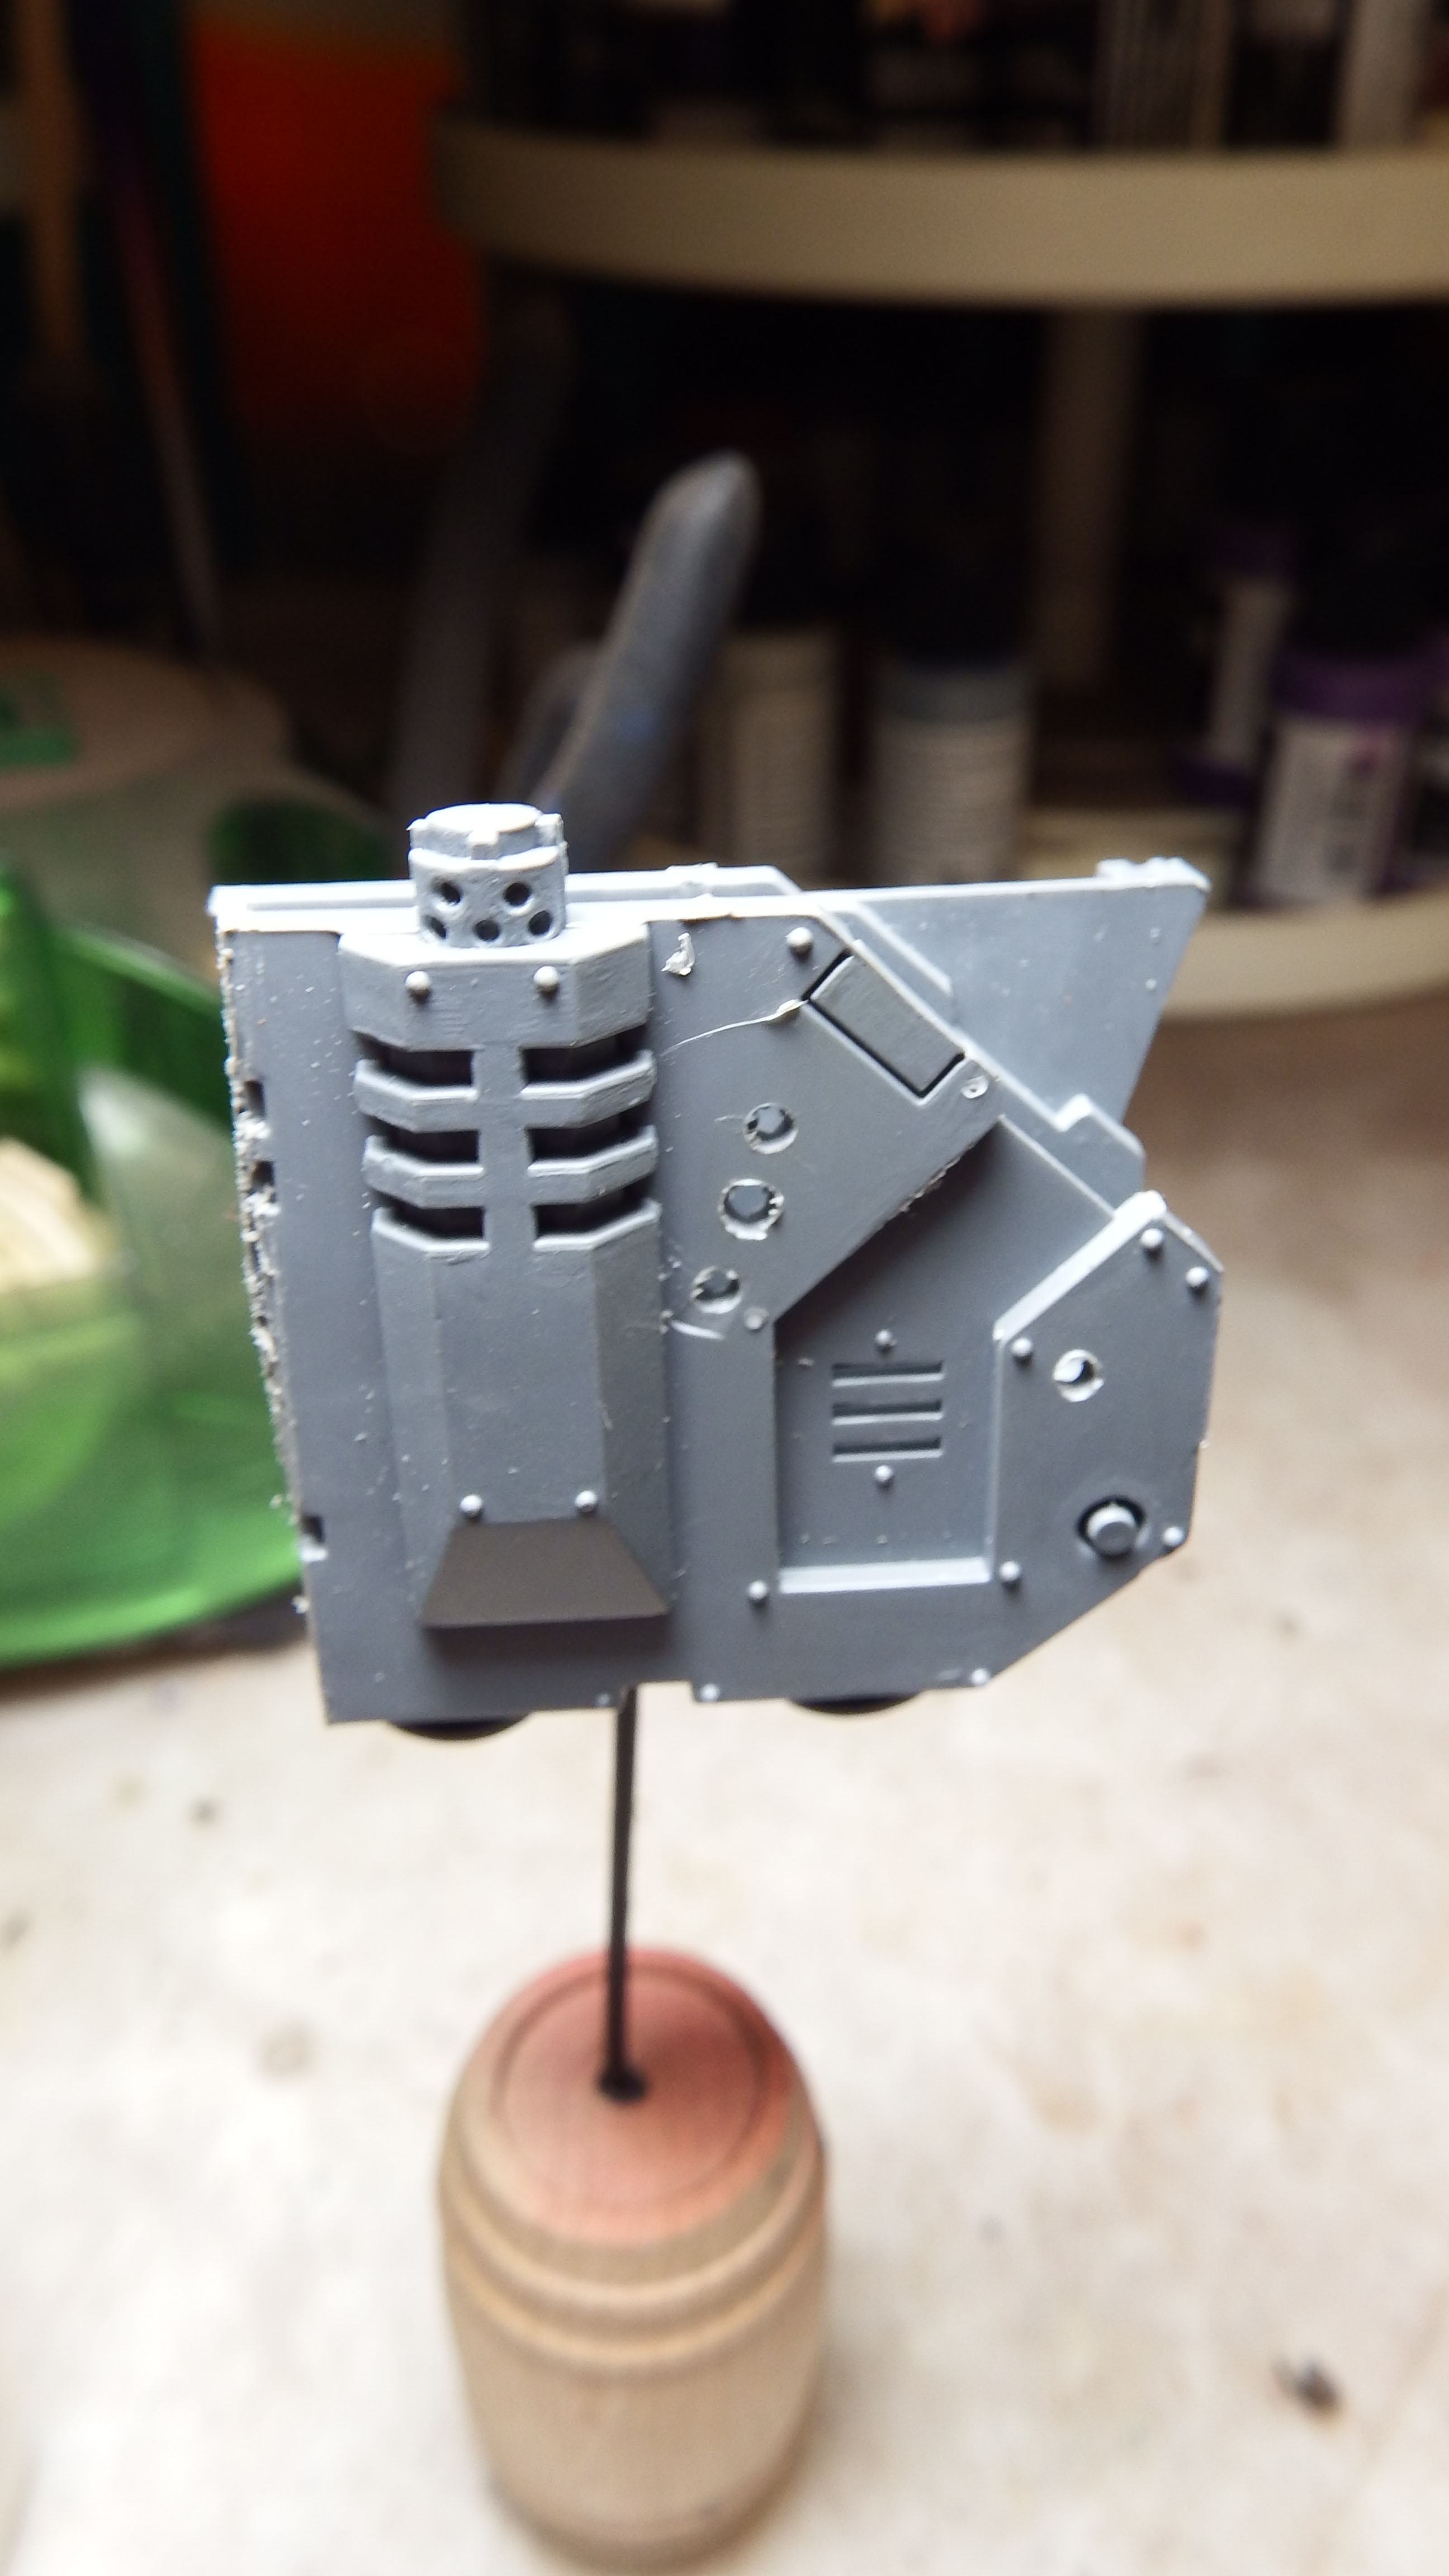
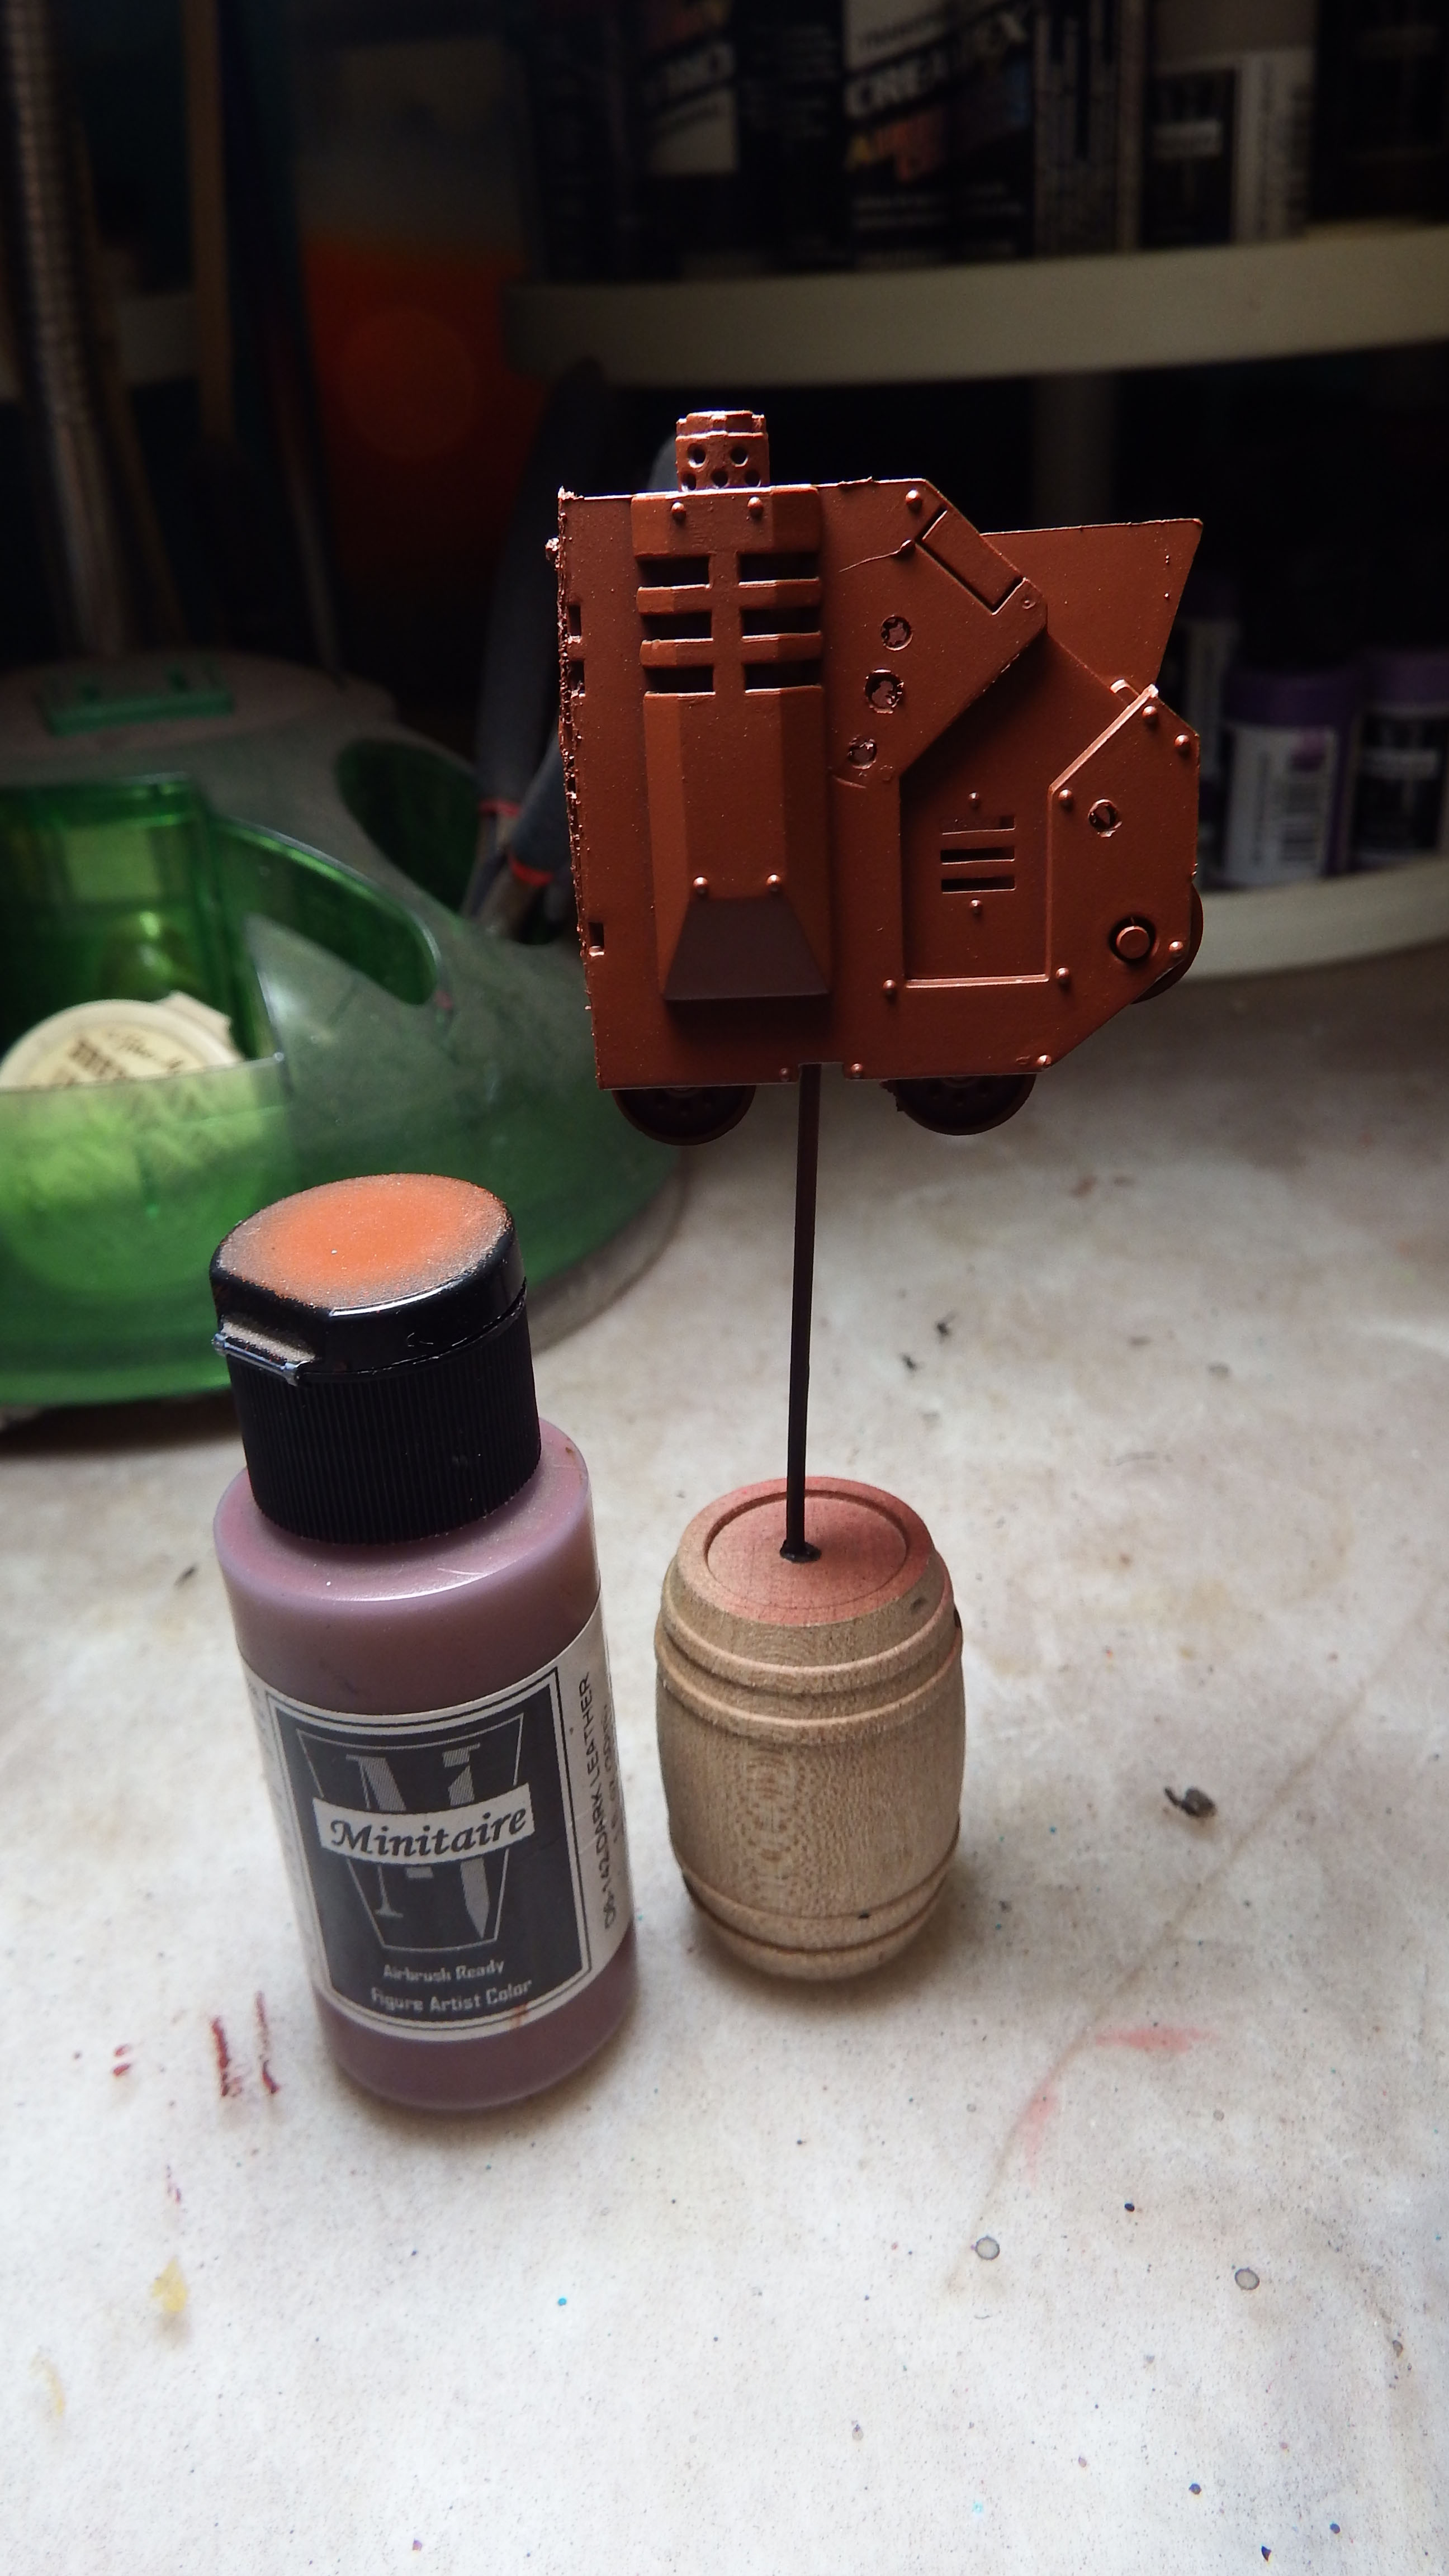
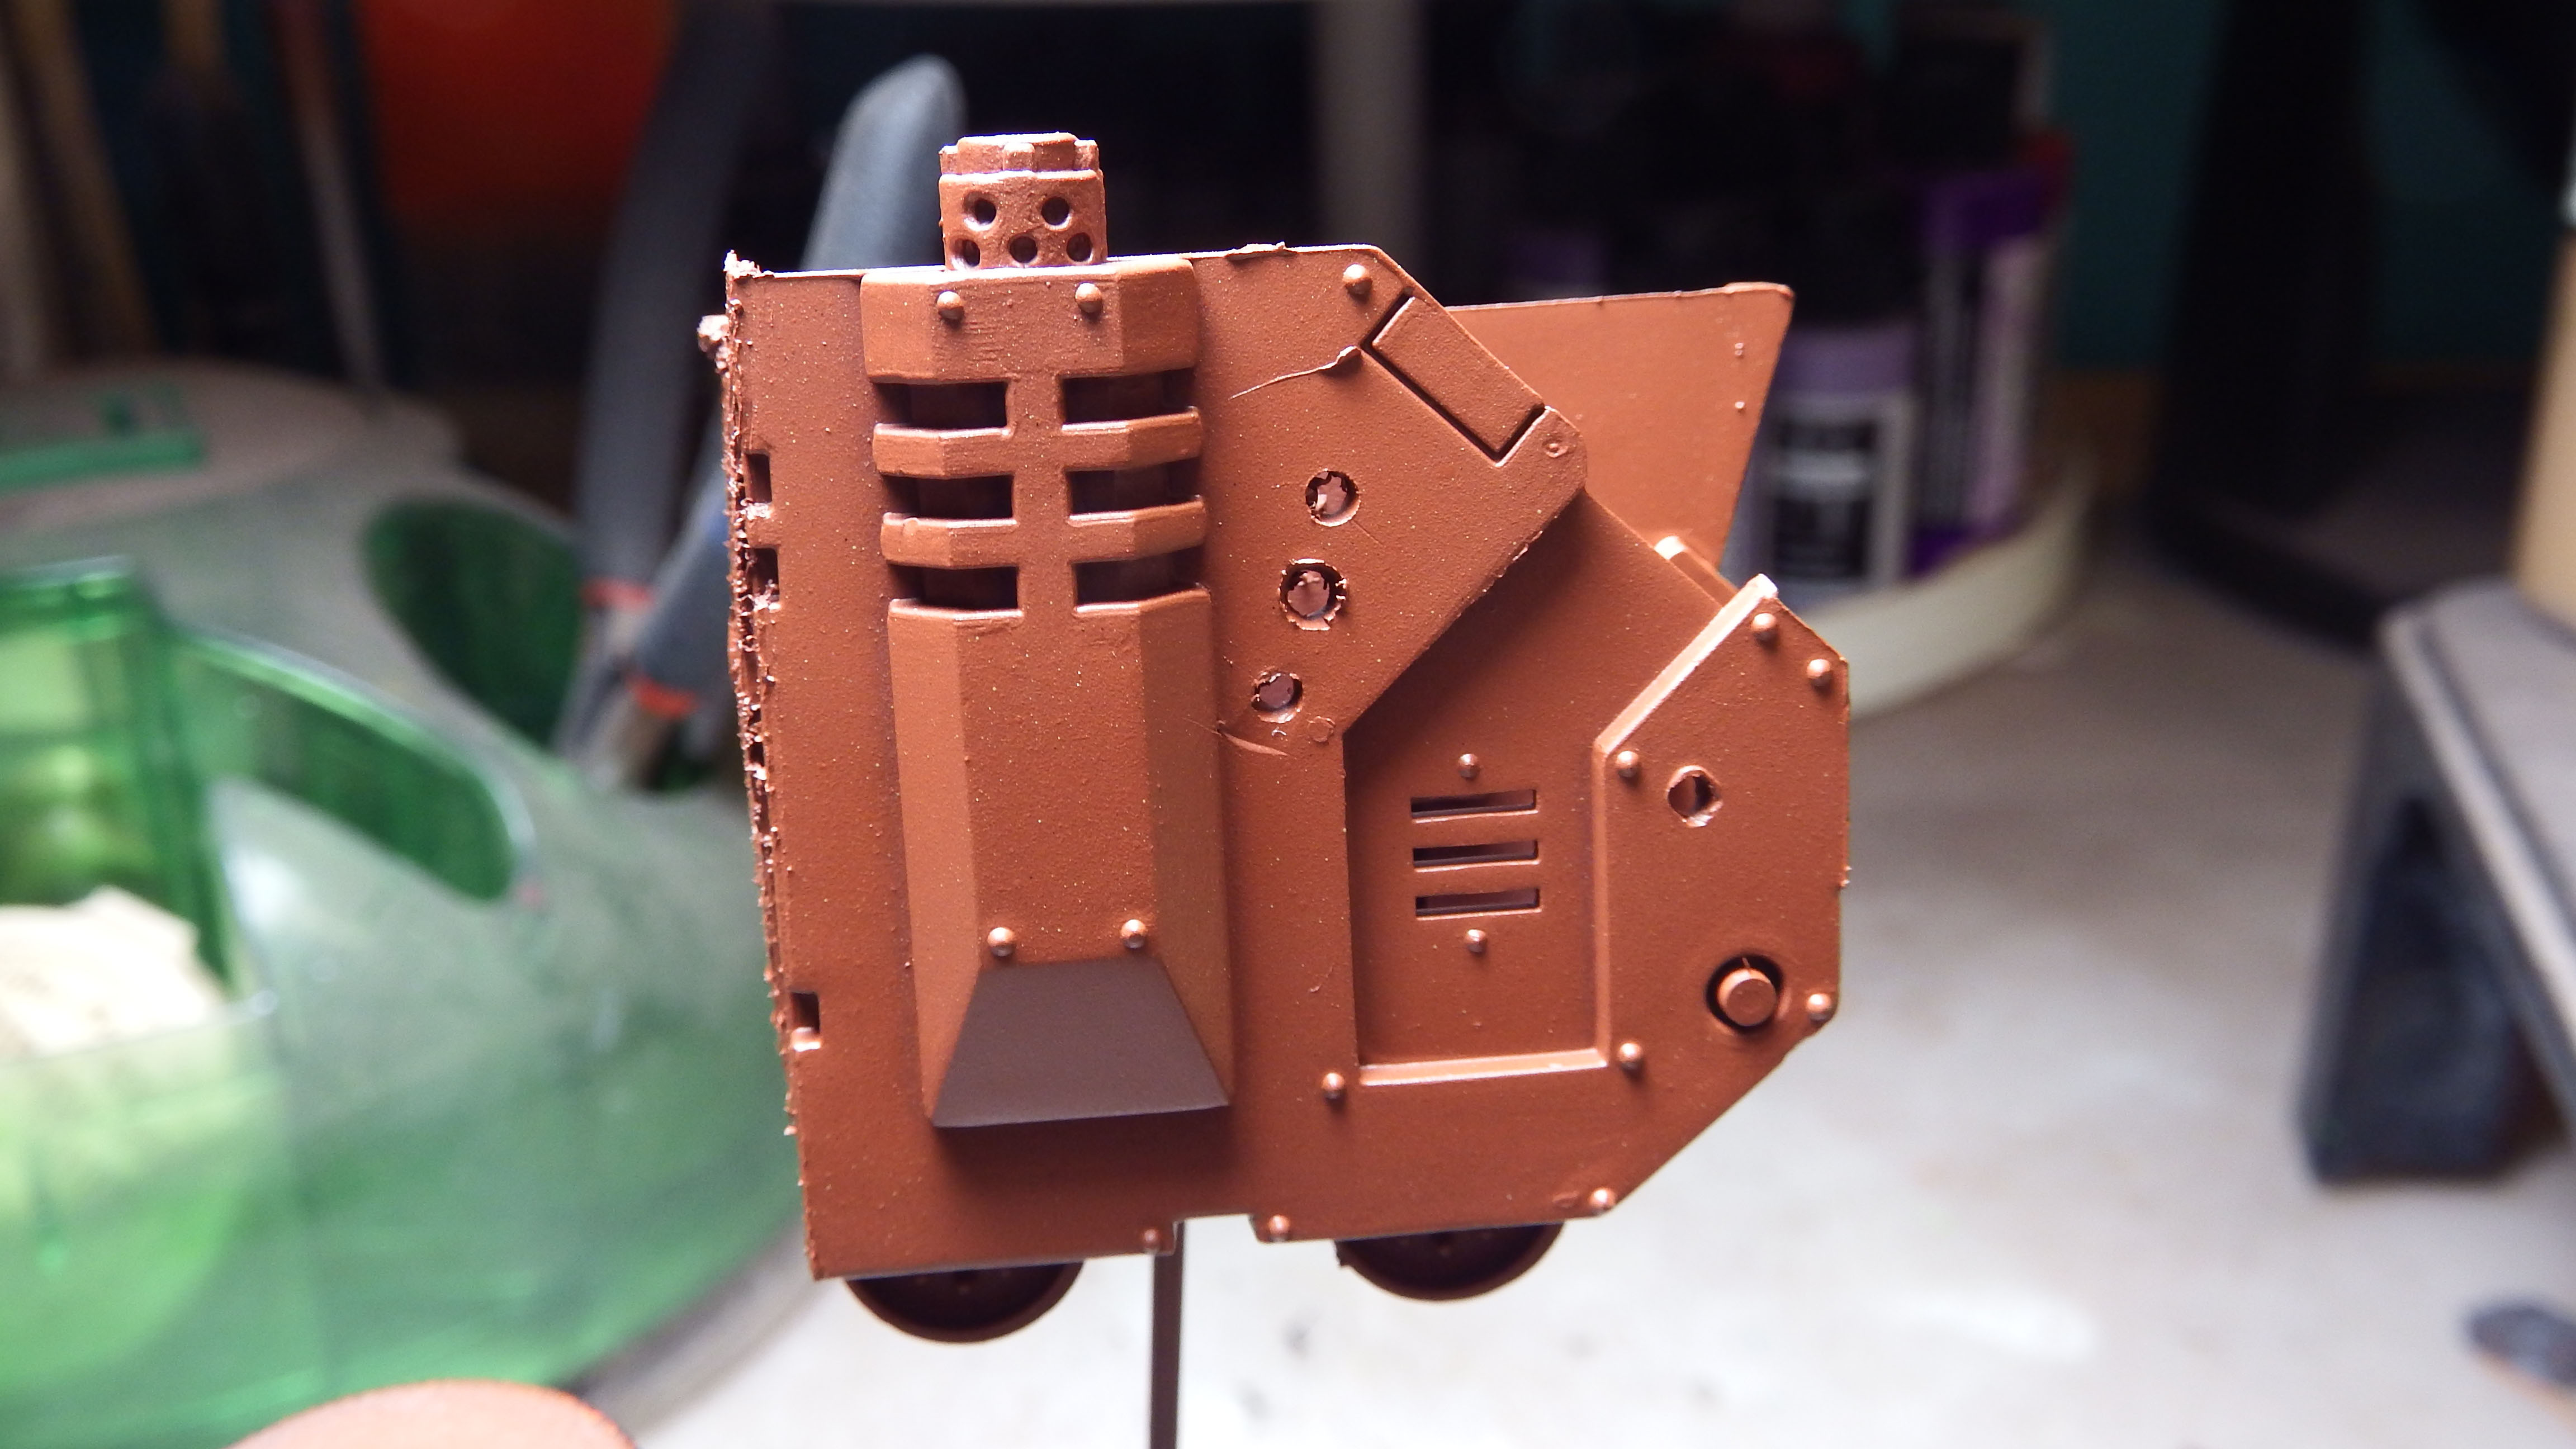
I began by priming the model with VALLEJO GERMAN RED BROWN. This is fast becoming one of my favorite colors. I love basing with red when I can, because it leads to such rich and vibrant top layers. I laid it on nice and even with my airbrush (all colors applied via airbrush, just to be clear). Its worth noting that if you do a LOT of airbrushing like I do, then buying primers in 200ml bottles from Vallejo is a much cheaper alternative to the standard 17ml bottles you usually get from most producers of paint. I get this entire bottle for like $20! (although fair warning, I have never struggled with a paint as much as Vallejo Black Airbrush Primer . . something about the pigments).
Secondly, I applied a layer of MINITAIRE DARK LEATHER. This color is kinda a rich in between of brown and orange. Kind of like a very dark ochre. I applied this liberally, only leaving red, if anywhere, in the most recessed areas. If you cover up all the red, that’s perfectly fine.
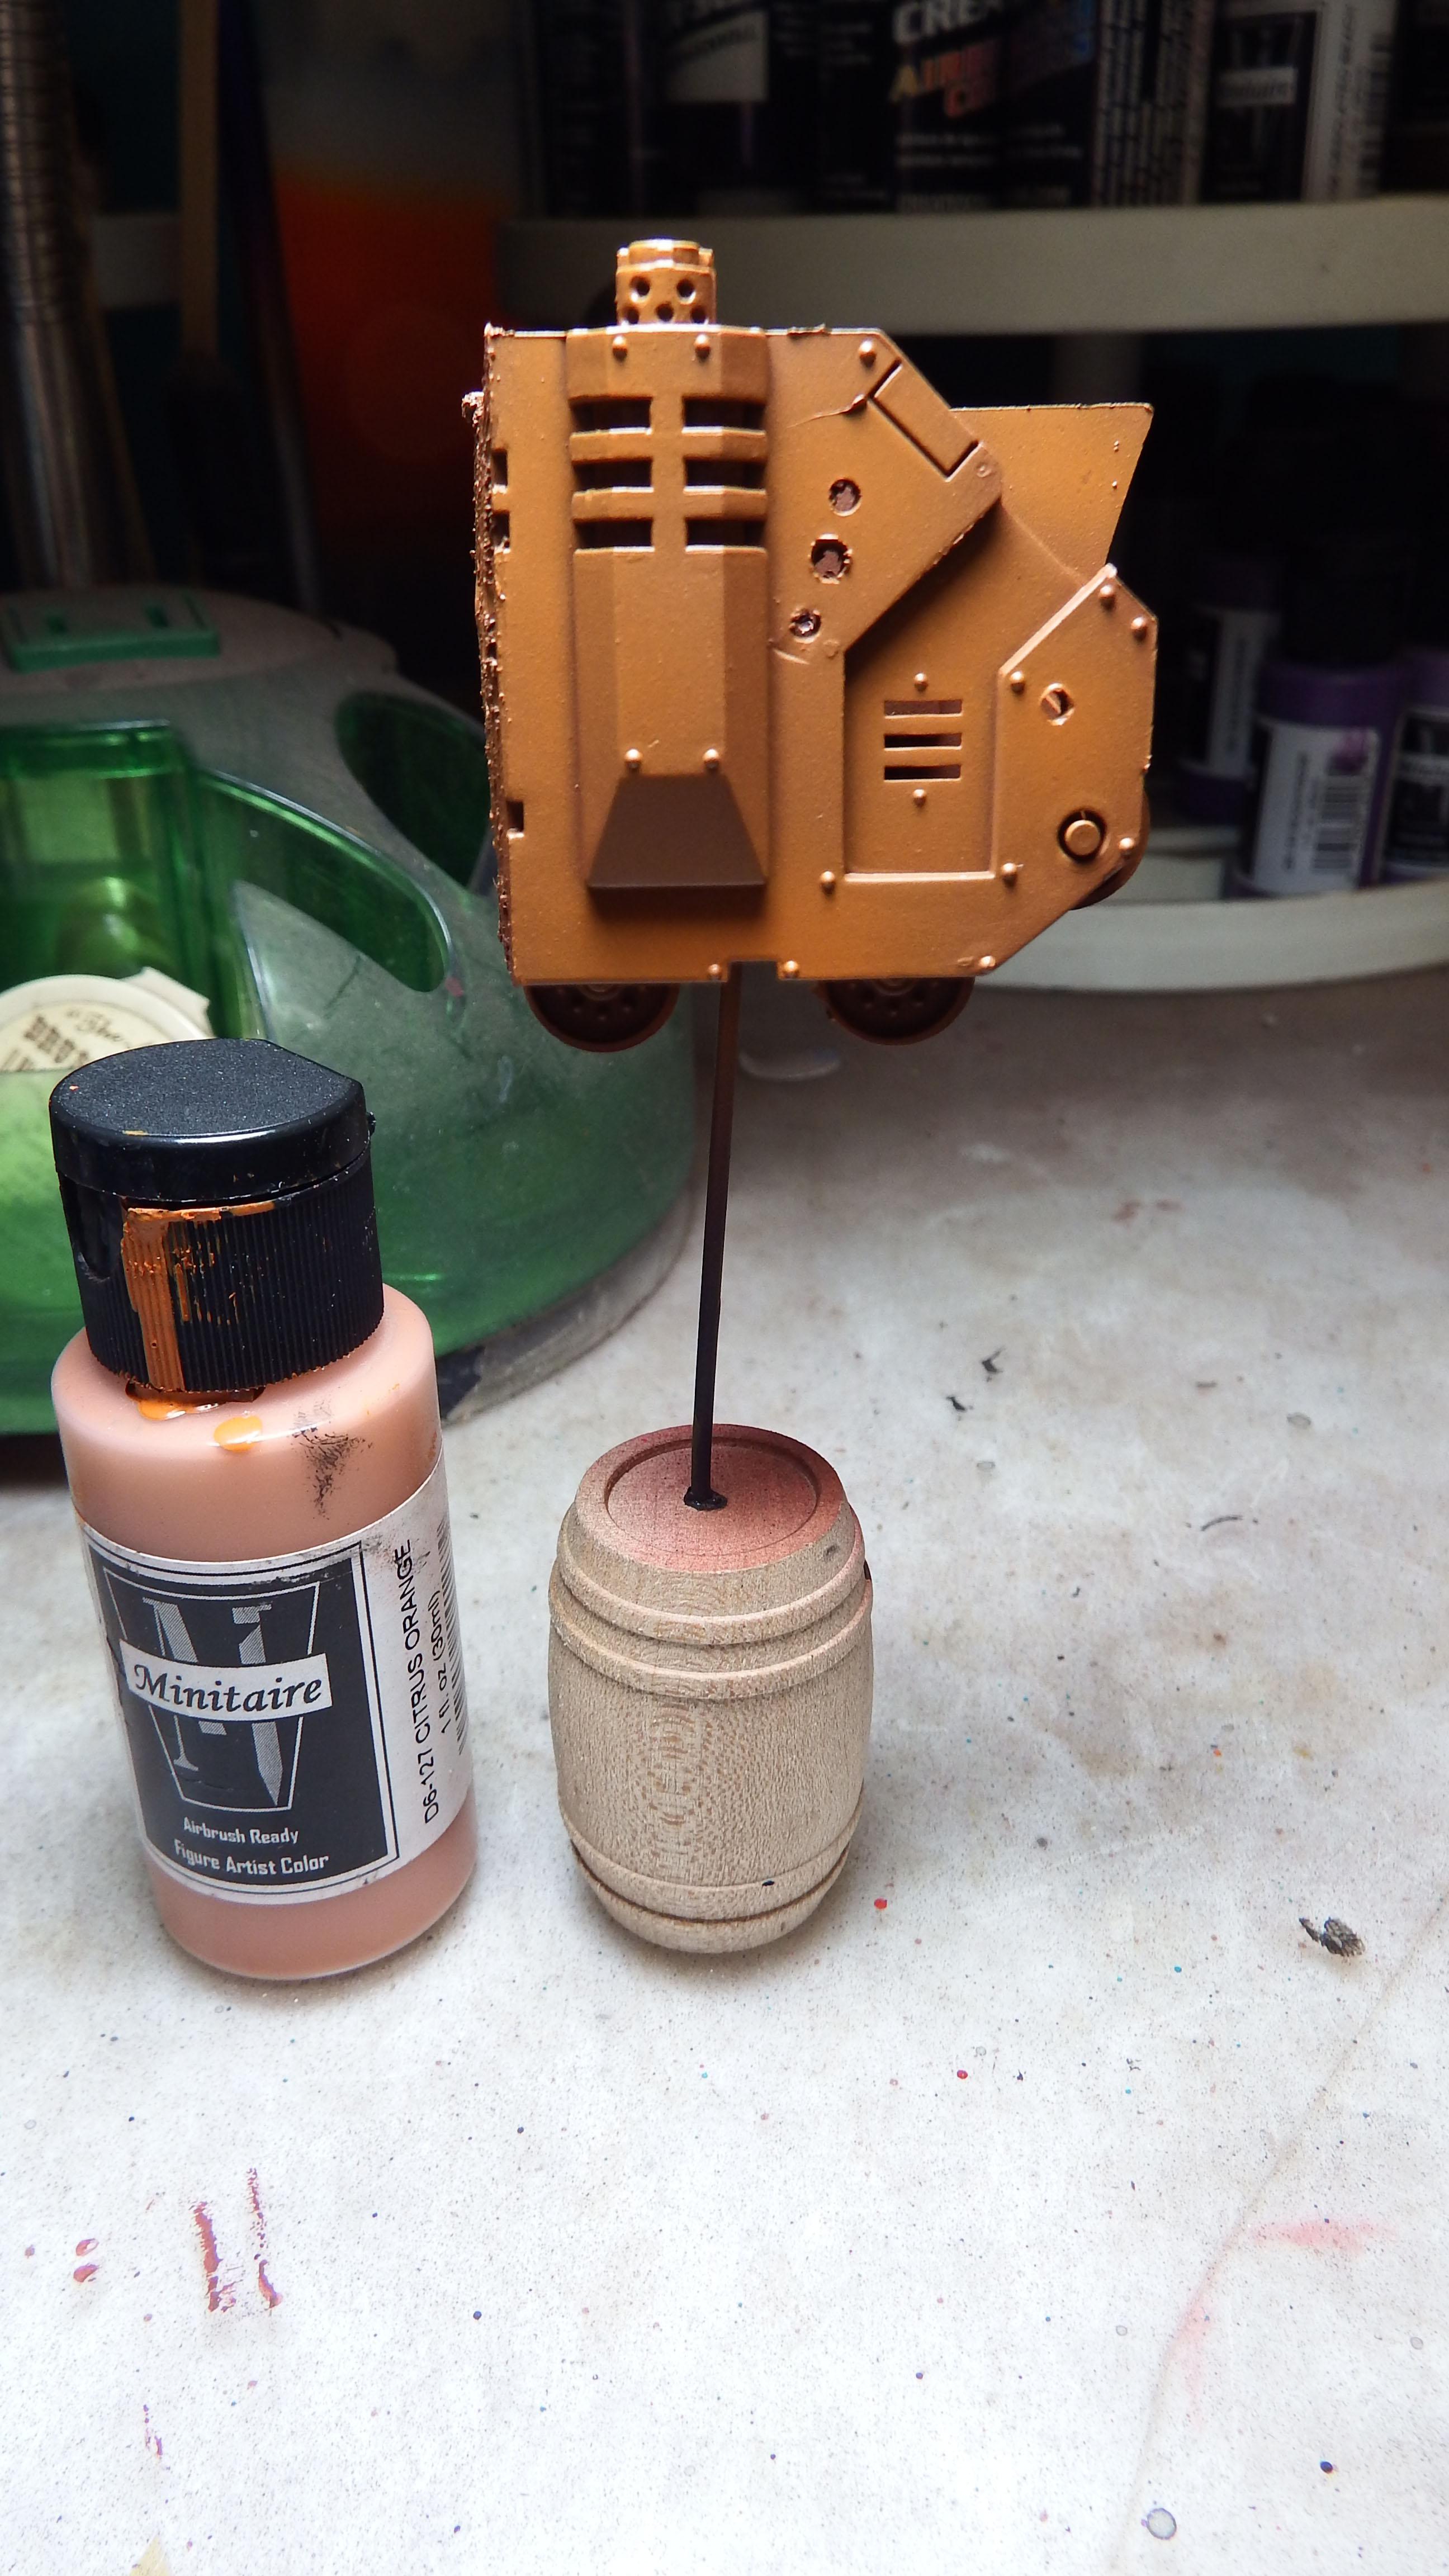
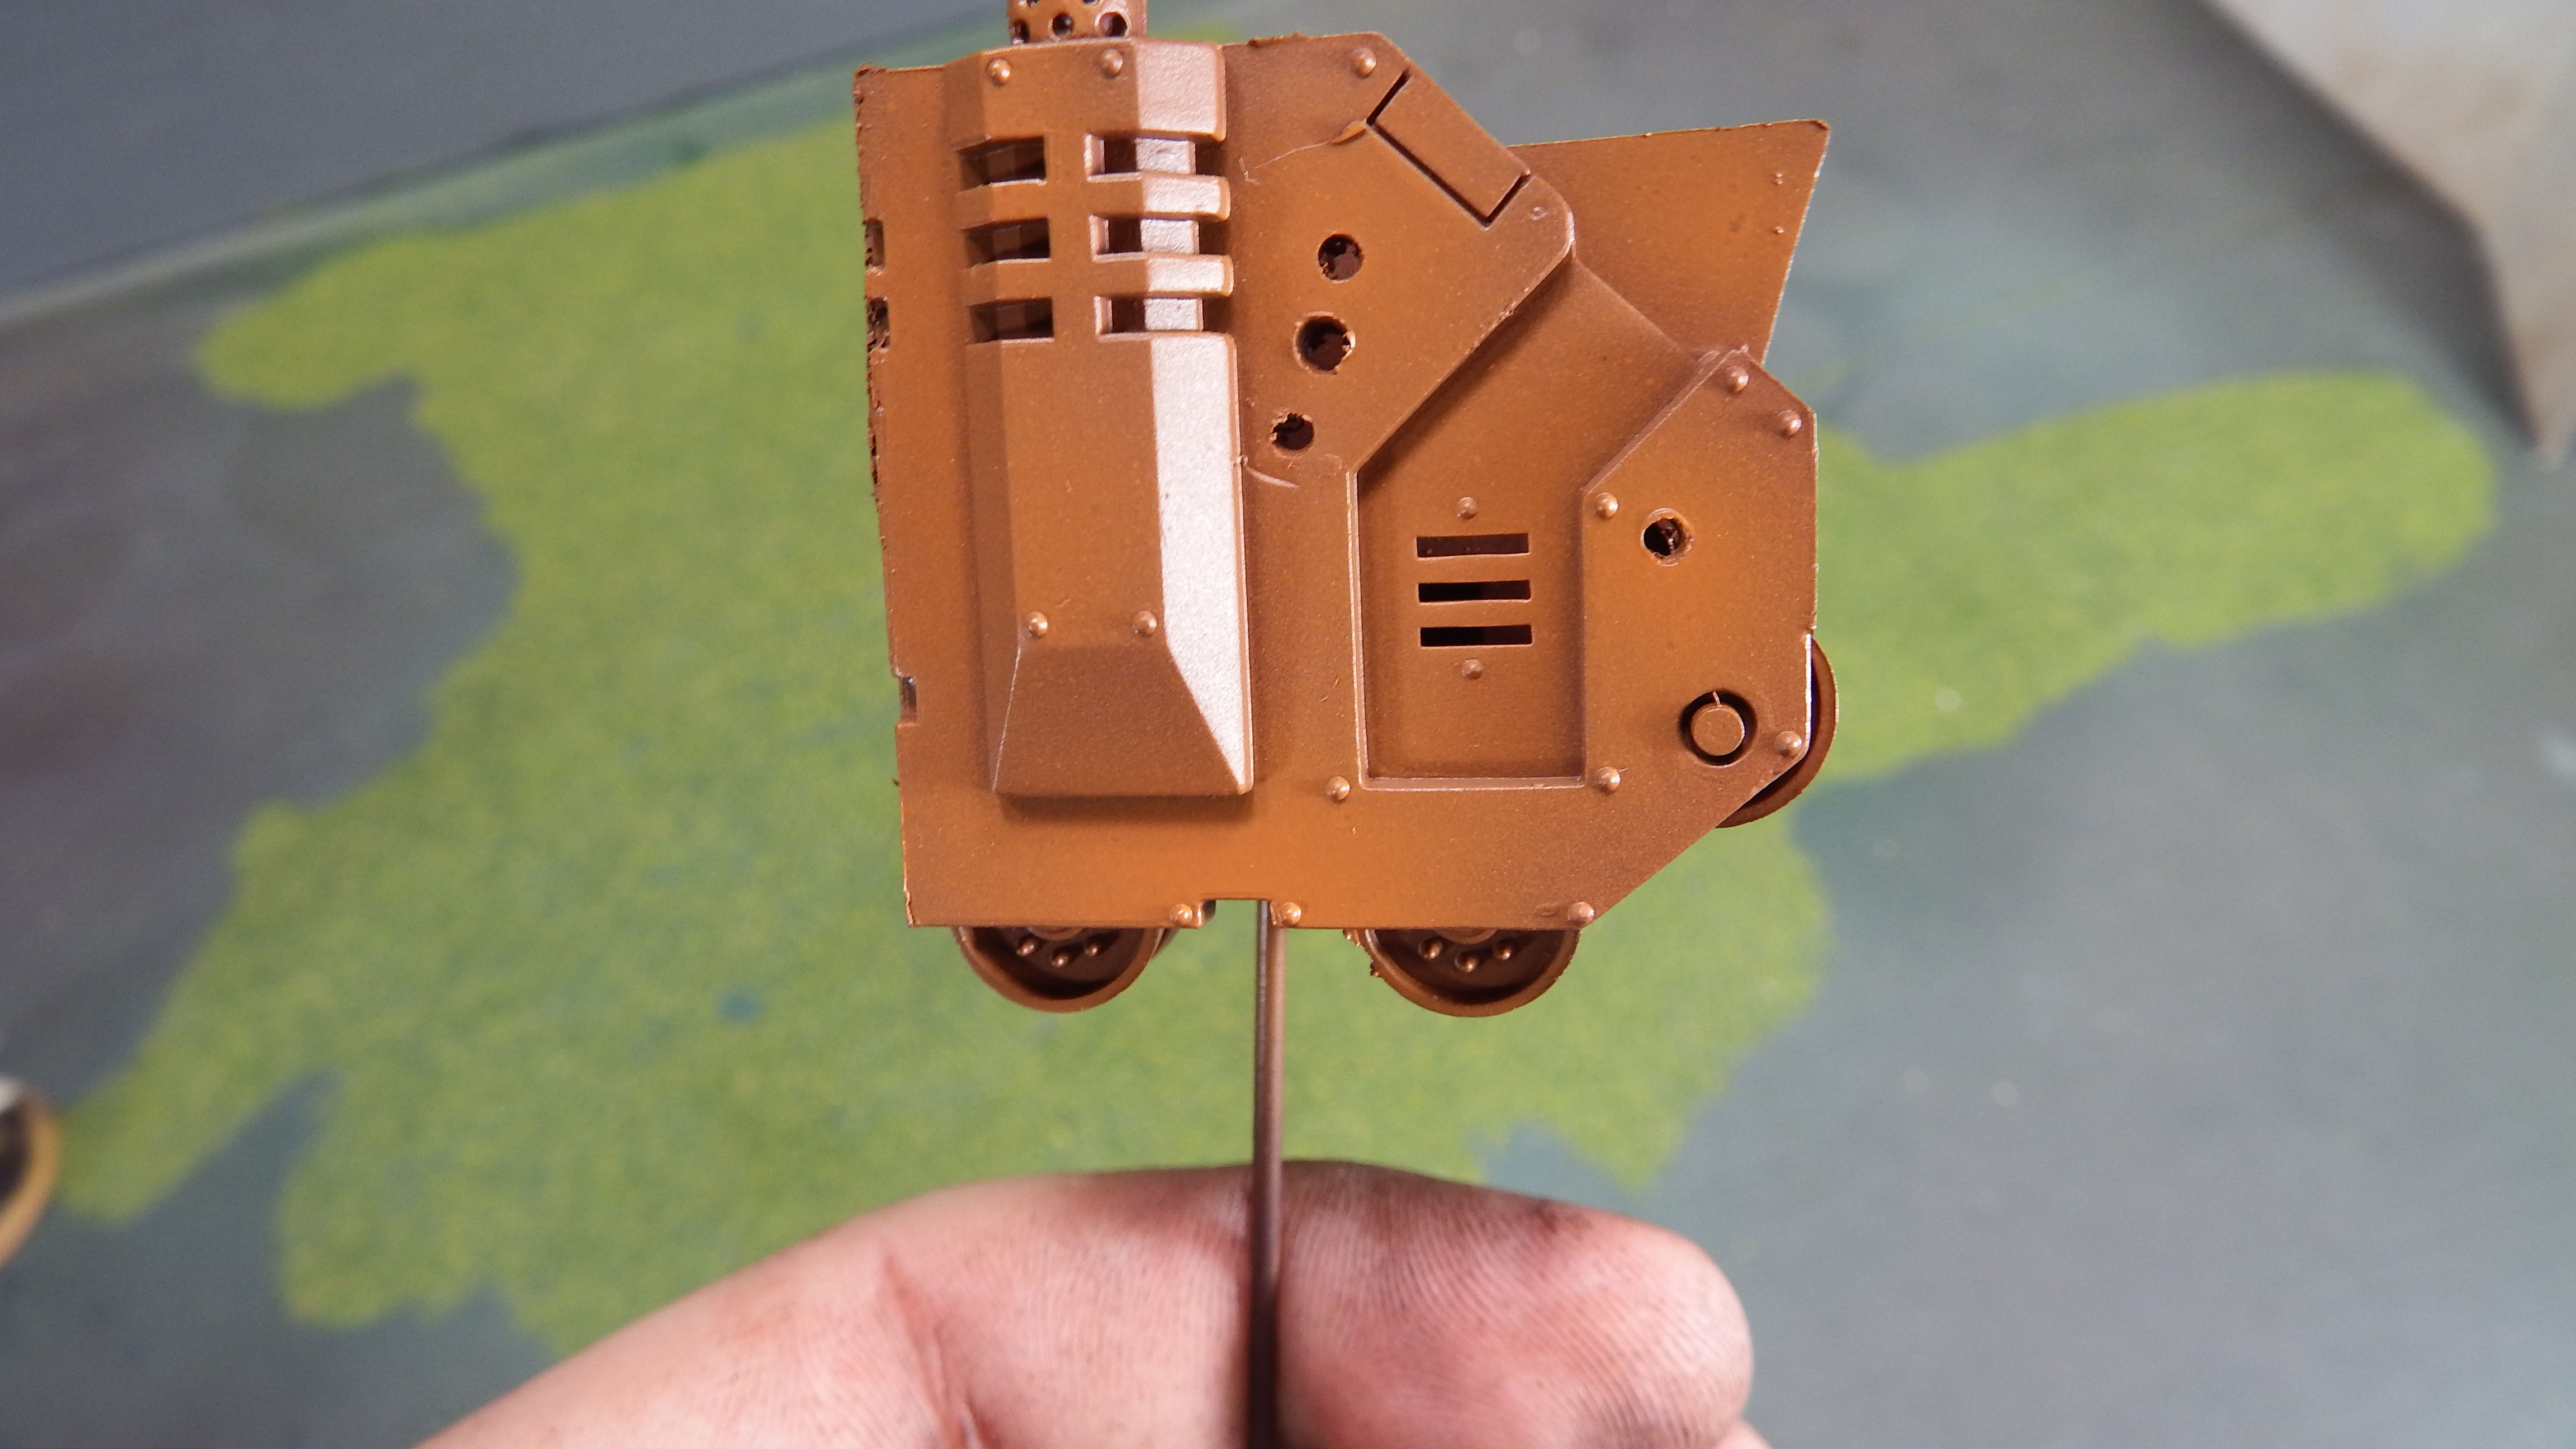
Now I applied MINITAIRE CITRUS ORANGE. While this is a great color, the pigments in it are VERY hard to work with IMHO. It’s a nice flat orange, kinda lackluster which works well as a layer color. I am more careful with the application this time and try to leave some of the Dark Leather from the prior step in the recesses. This is the foundation of our yellow and will also come back into play later. You may need to apply 2 layers of this, although I only applied one.
Next I applied MINITAIRE MUSTARD GAS. it’s worth noting that like most yellows, this yellow too is semi-transparent. Minitaire is fast becoming my favorite range of airbrush paints. They have some great colors. I also considered using MINITAIRE JAUNDICE and CRAVEN before settling on Mustard Gas. MG just has a nice rich color that I loved for this particular tutorial. I layer on the yellow, focusing on the flat areas, trying to leave some of the two previous colors showing through. Be sure to drop down your PSI on your airbrush to 30ppi or below to keep it from laying down too much paint too quickly. You may wish to apply 2 layers of yellow. In fact, I think I did. Just concentrate on the areas you really want to pop on the model and saturate them with yellow to your hearts content.
For most of you this will be a good stopping point. But for you Ork players out there, this next part is just for you.
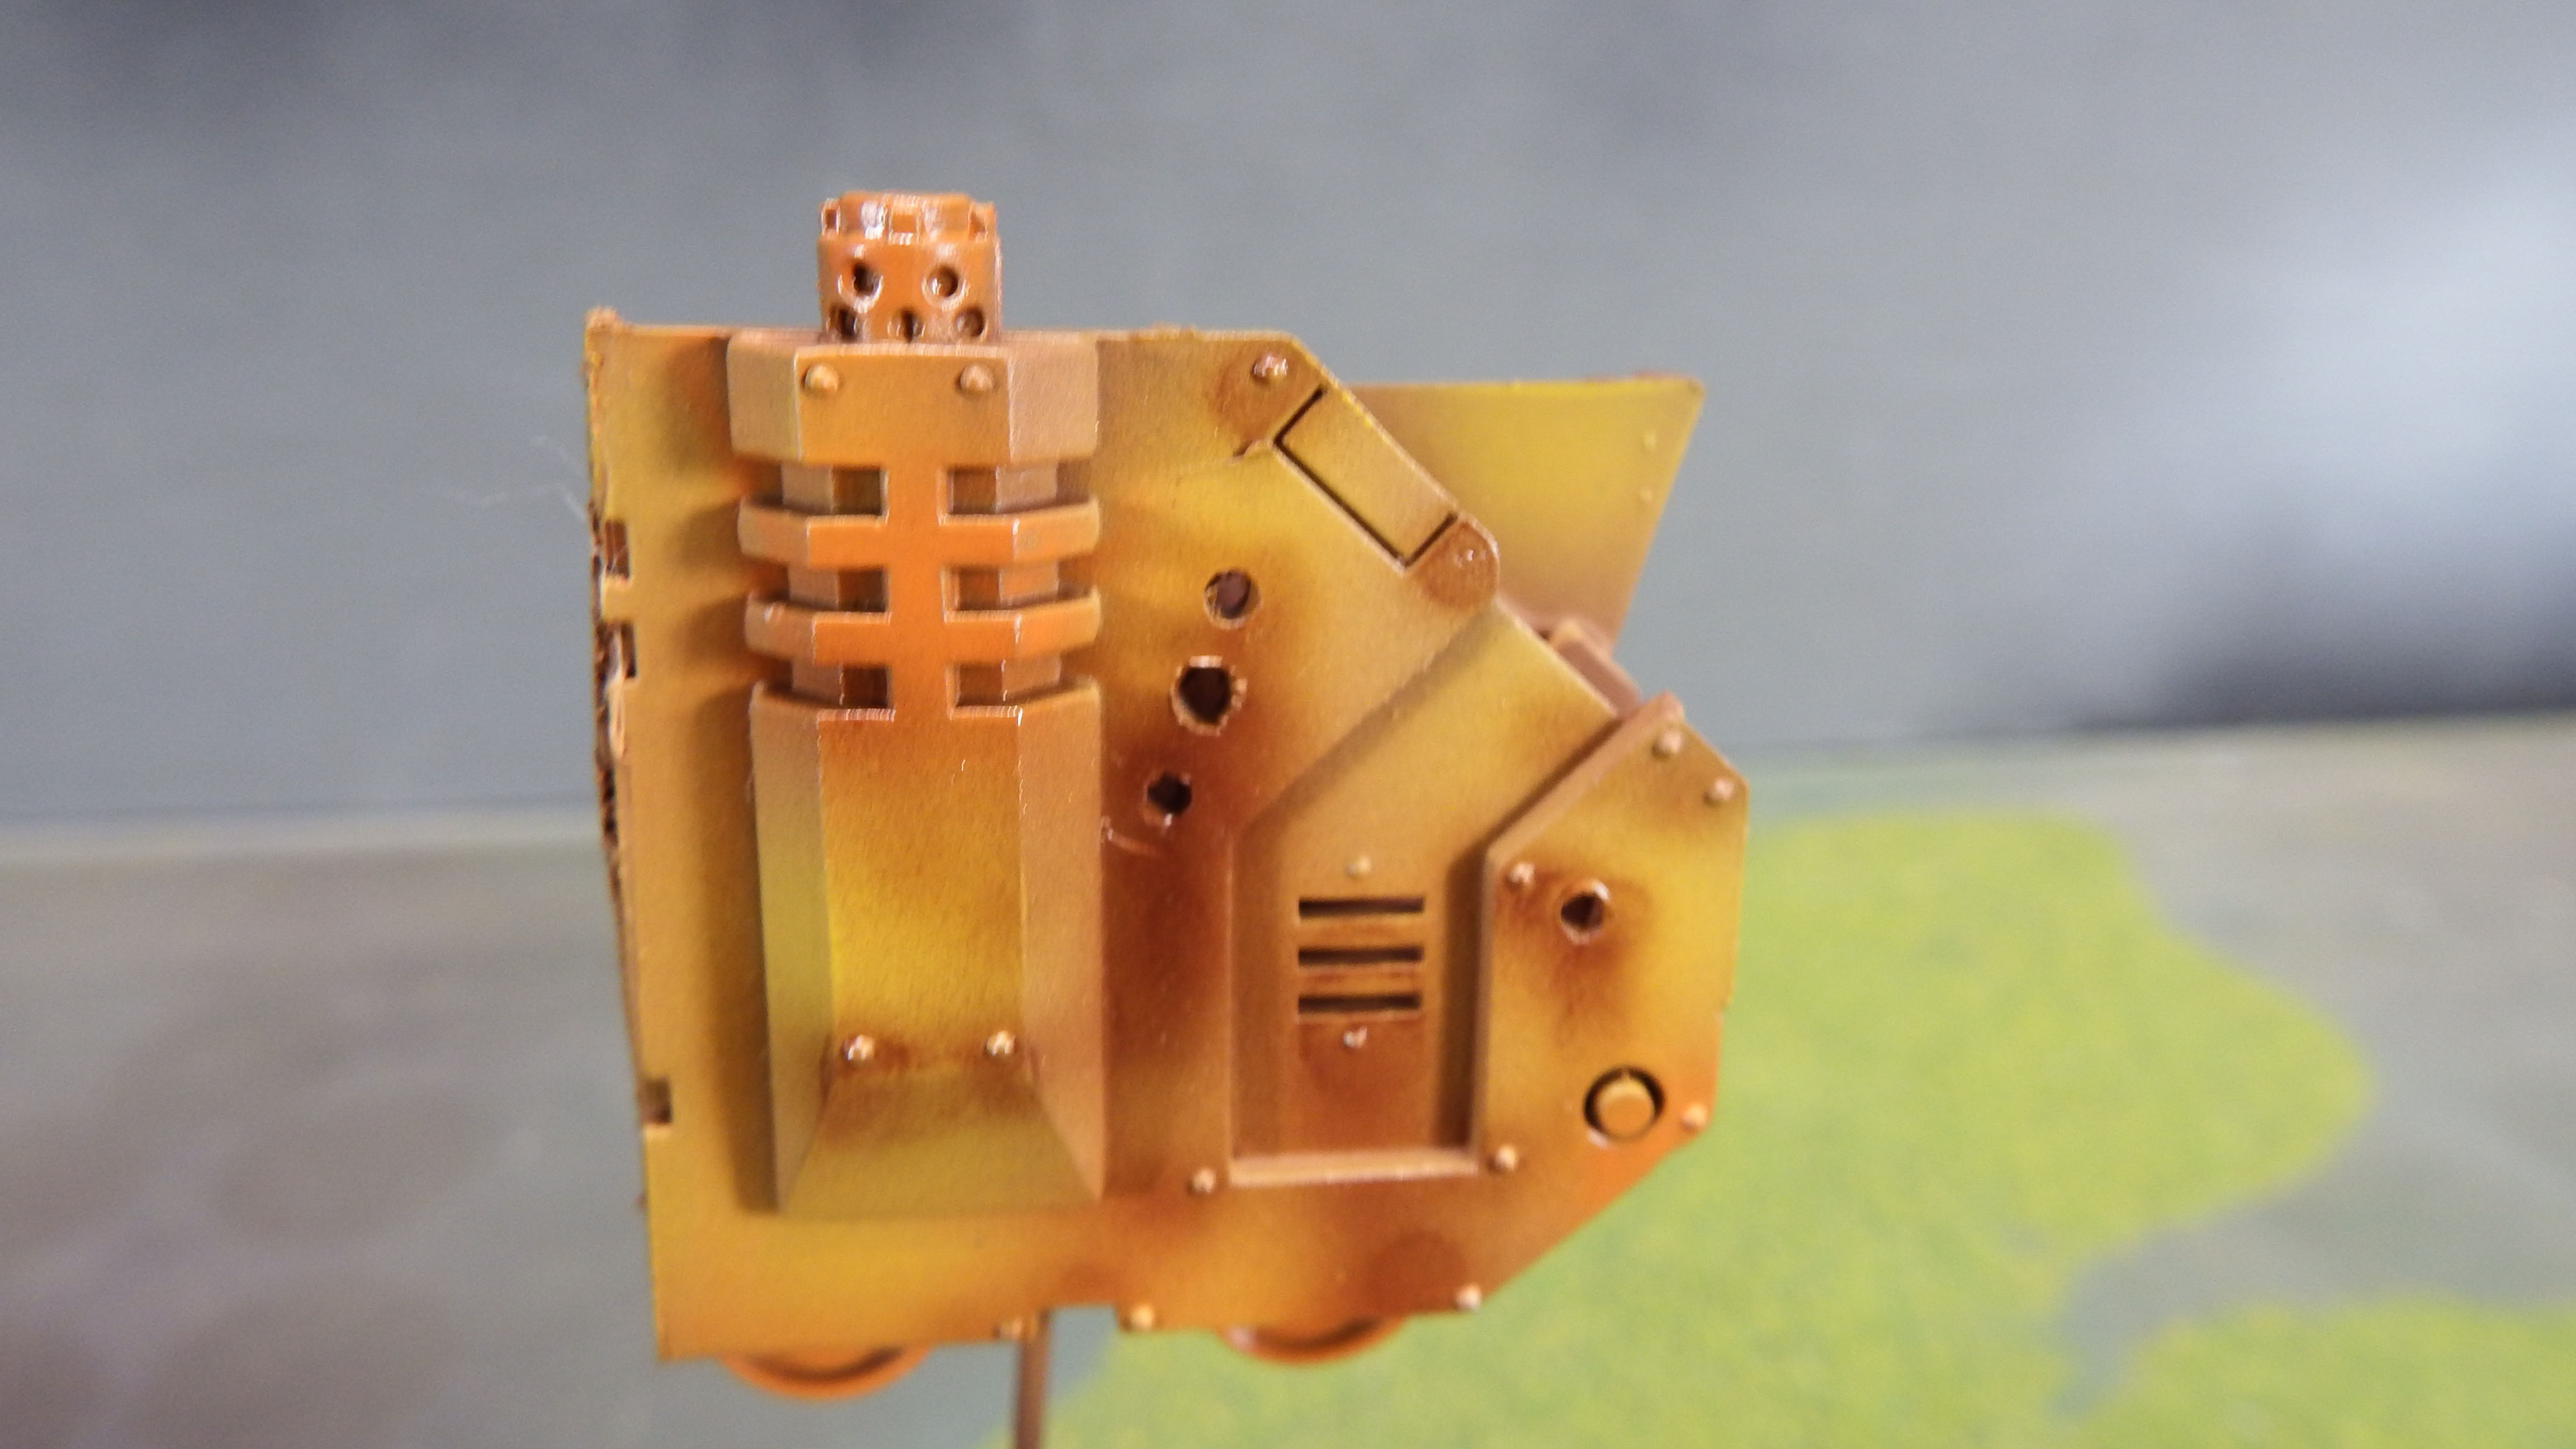
Next I bring back the Citrus Orange. I focus on areas where rust might occur: such as the exhausts, the trucks, and the vents. I apply it with kid gloves so as to not lose any of the yellow I just laid down.
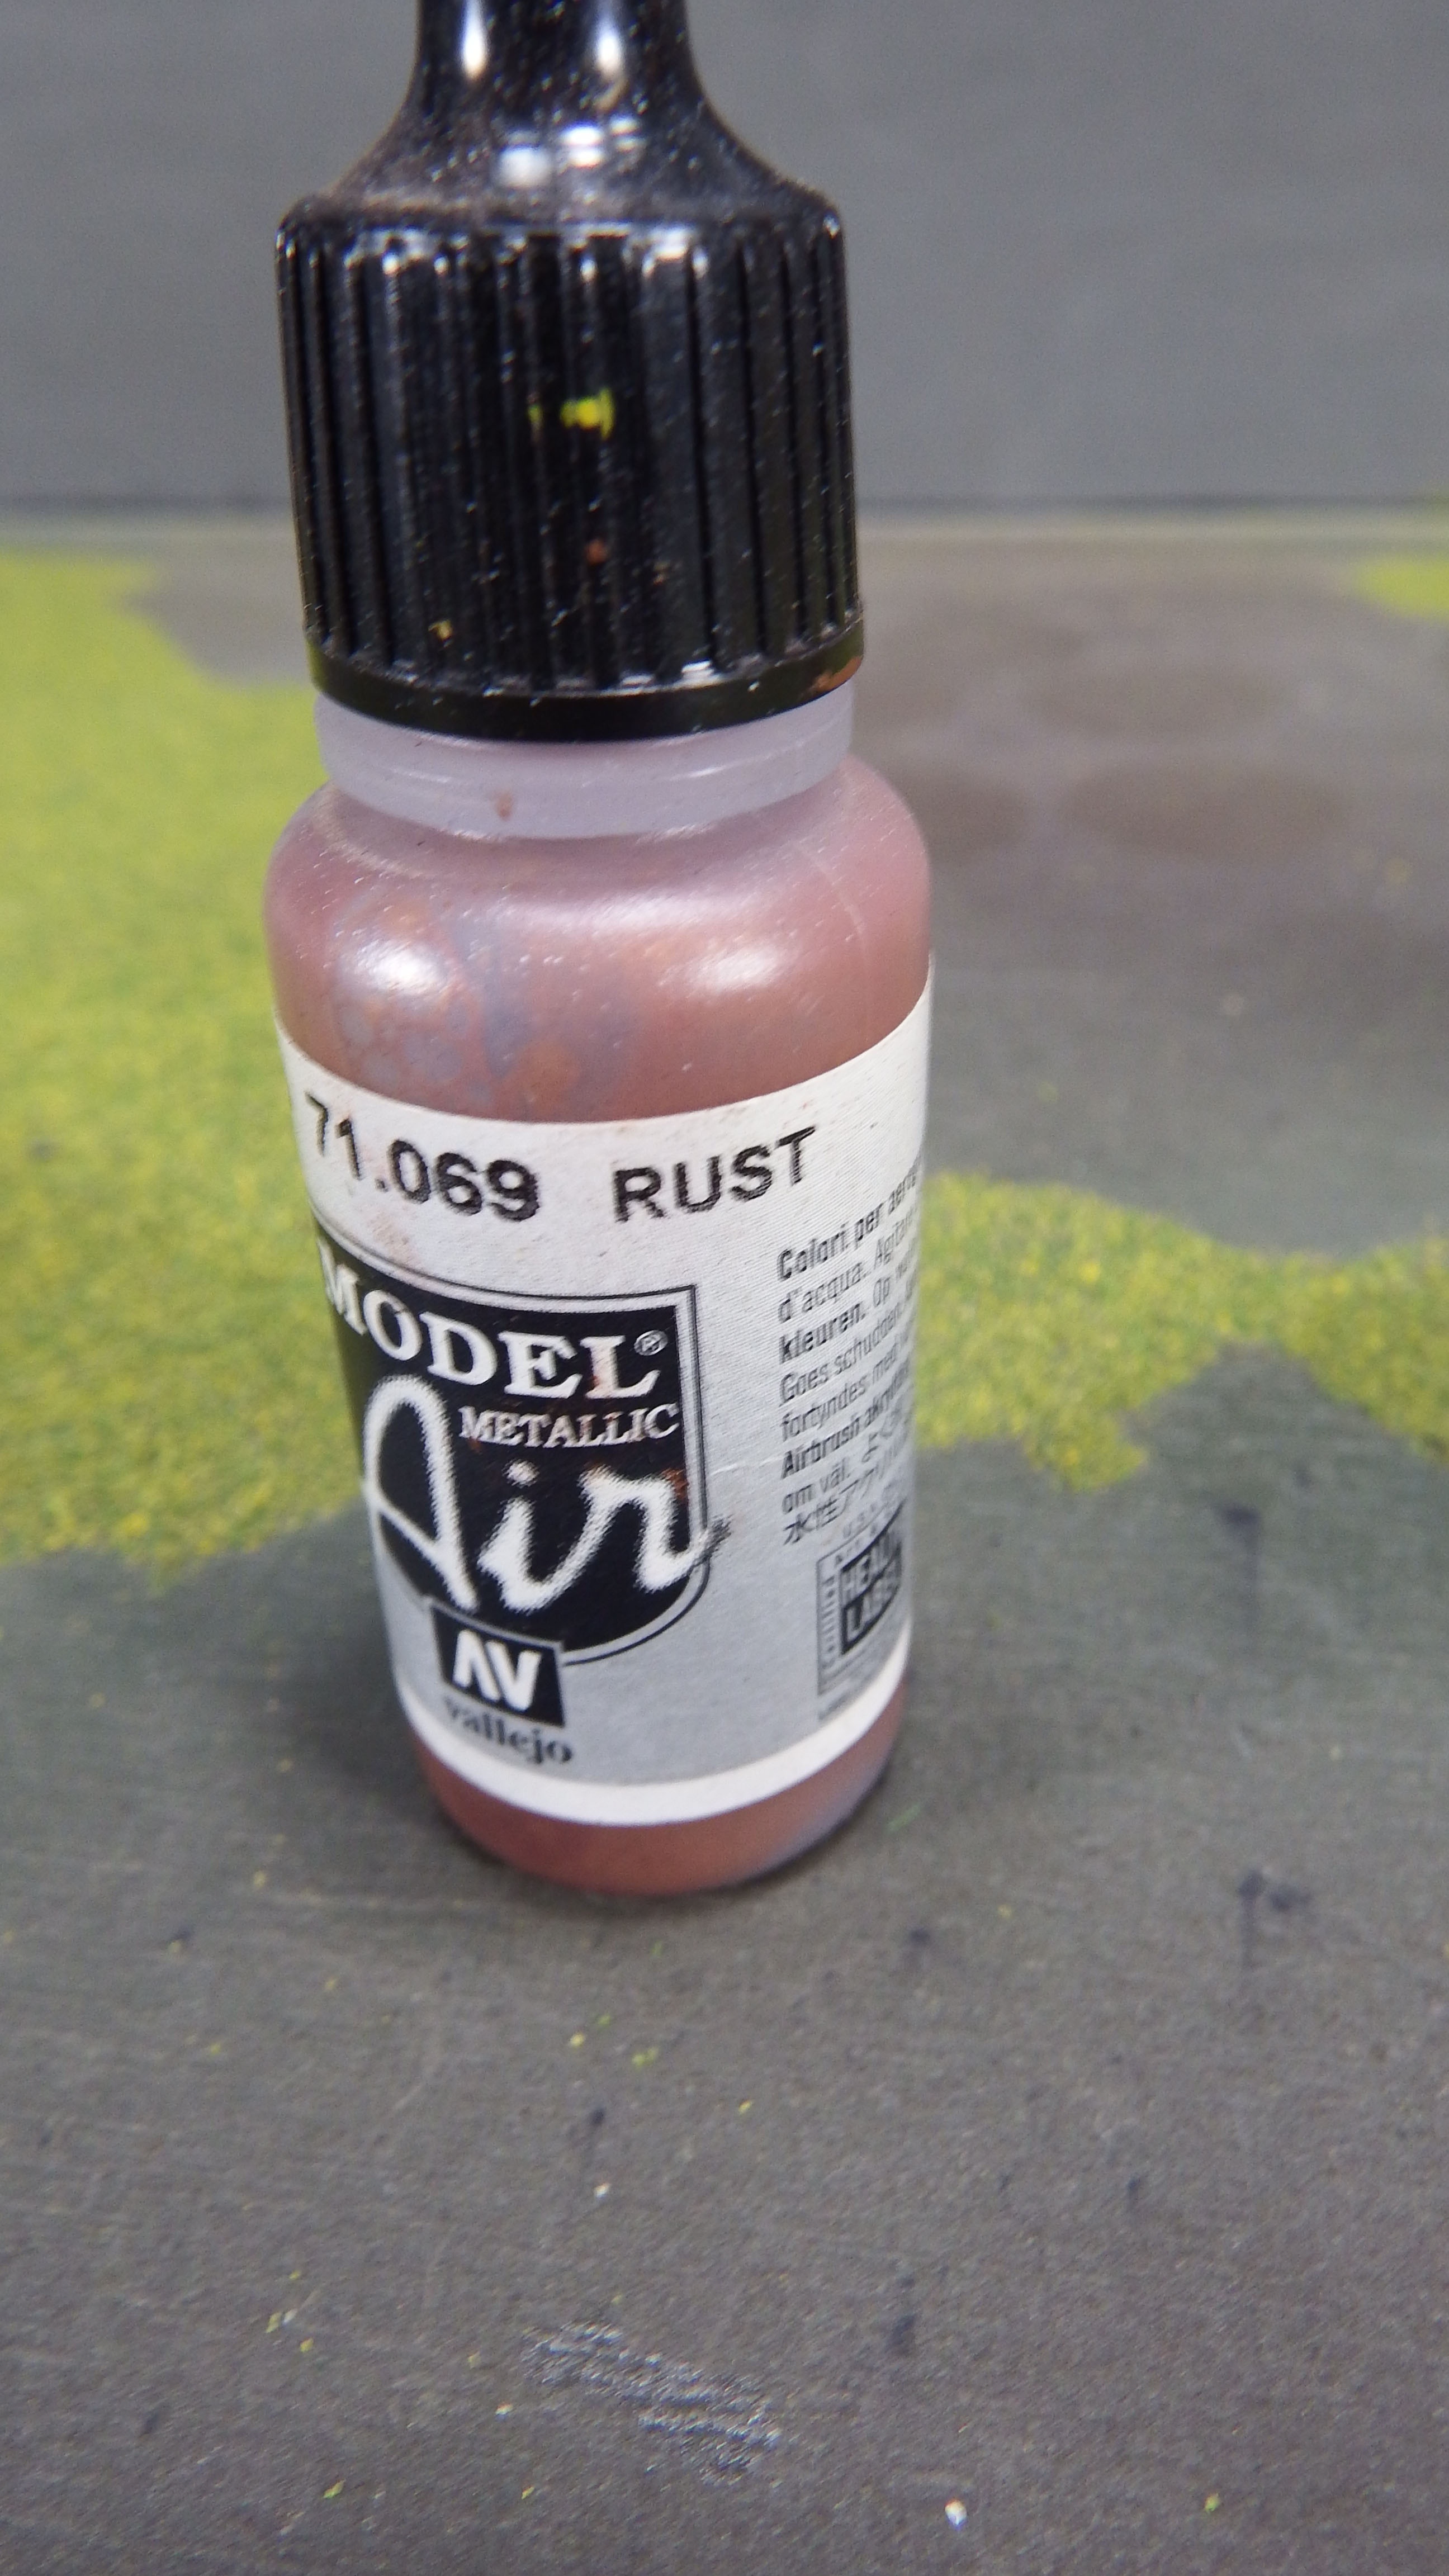
Just for fun, I grab some Vallejo Model Air Rust. Remember those bullet holes from the beginning? Well, I use the rust to create some distress and ‘streaky’ areas where rusty water might have ran down and stained the model. I focus on the bullet holes, vent, and some rivets. I’m not entirelly satisfied with the result, but hey, I’m still learning too. If you want to see some REALLY great streak painting, check out Kenny’s work at Next Level Painting. That guy brings techniques like this to life. I think the trick is in the dagger stroke, and dagger strokes with metallics are TOUGH.
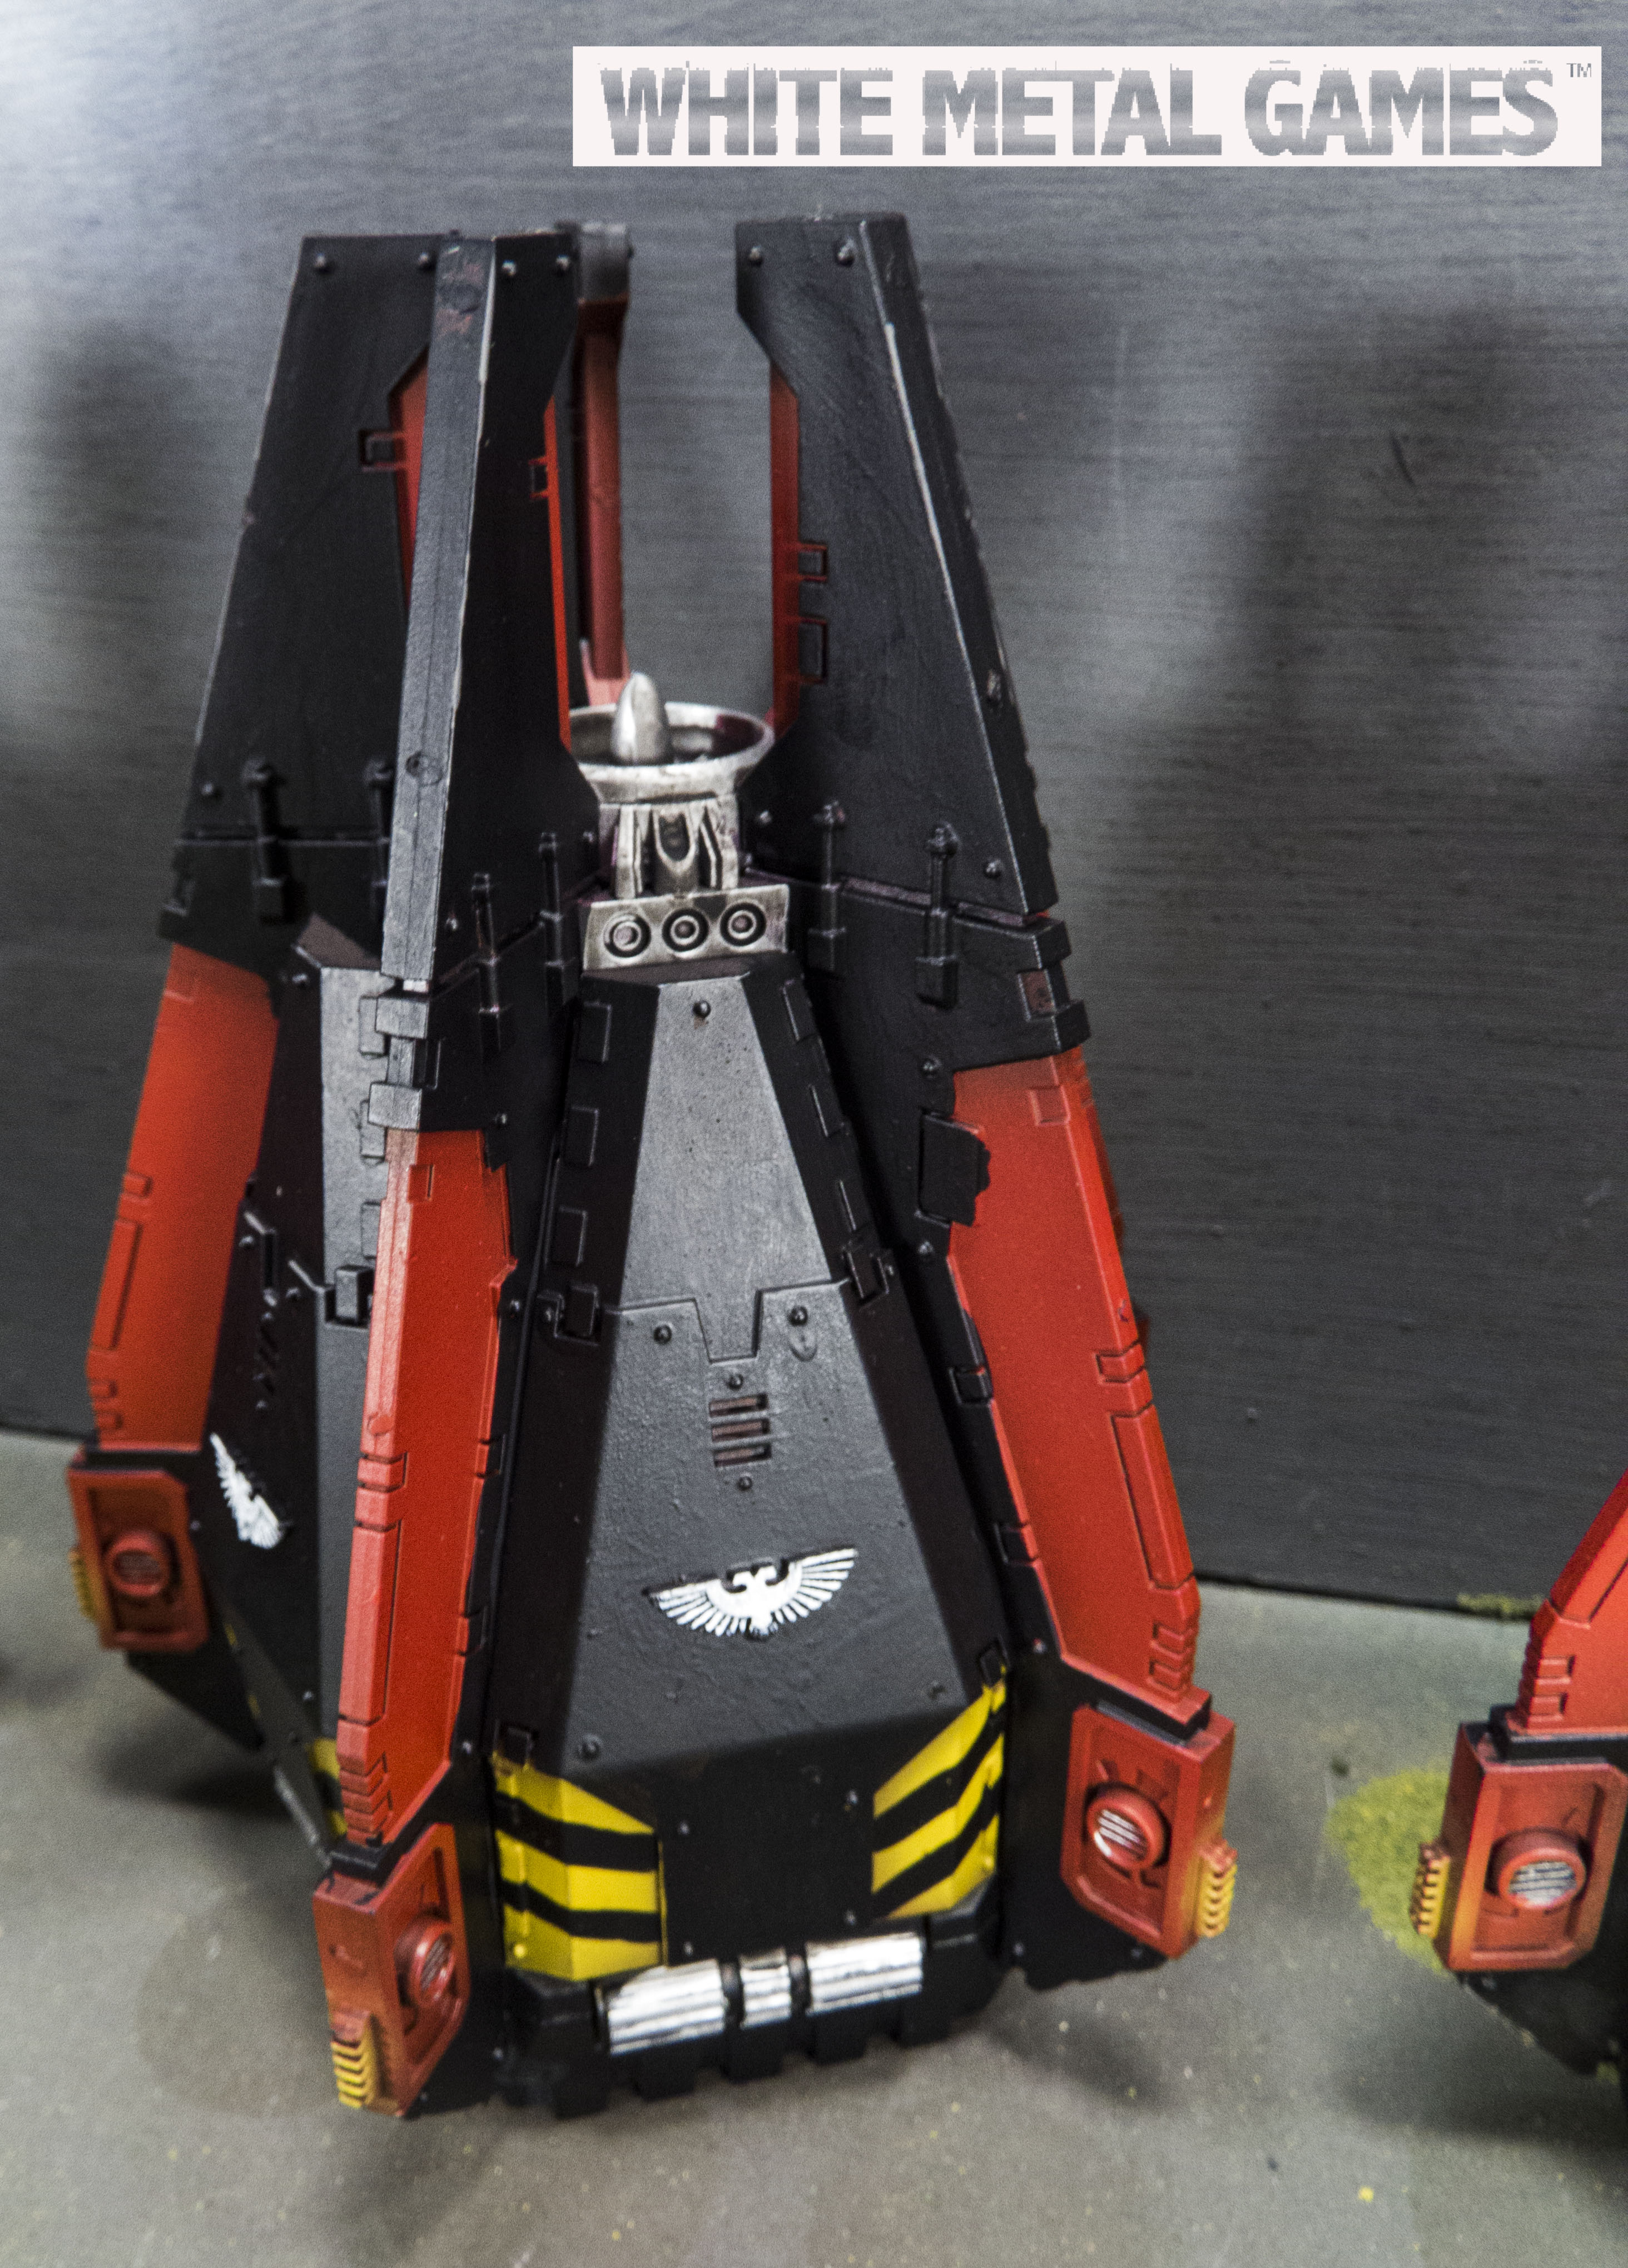
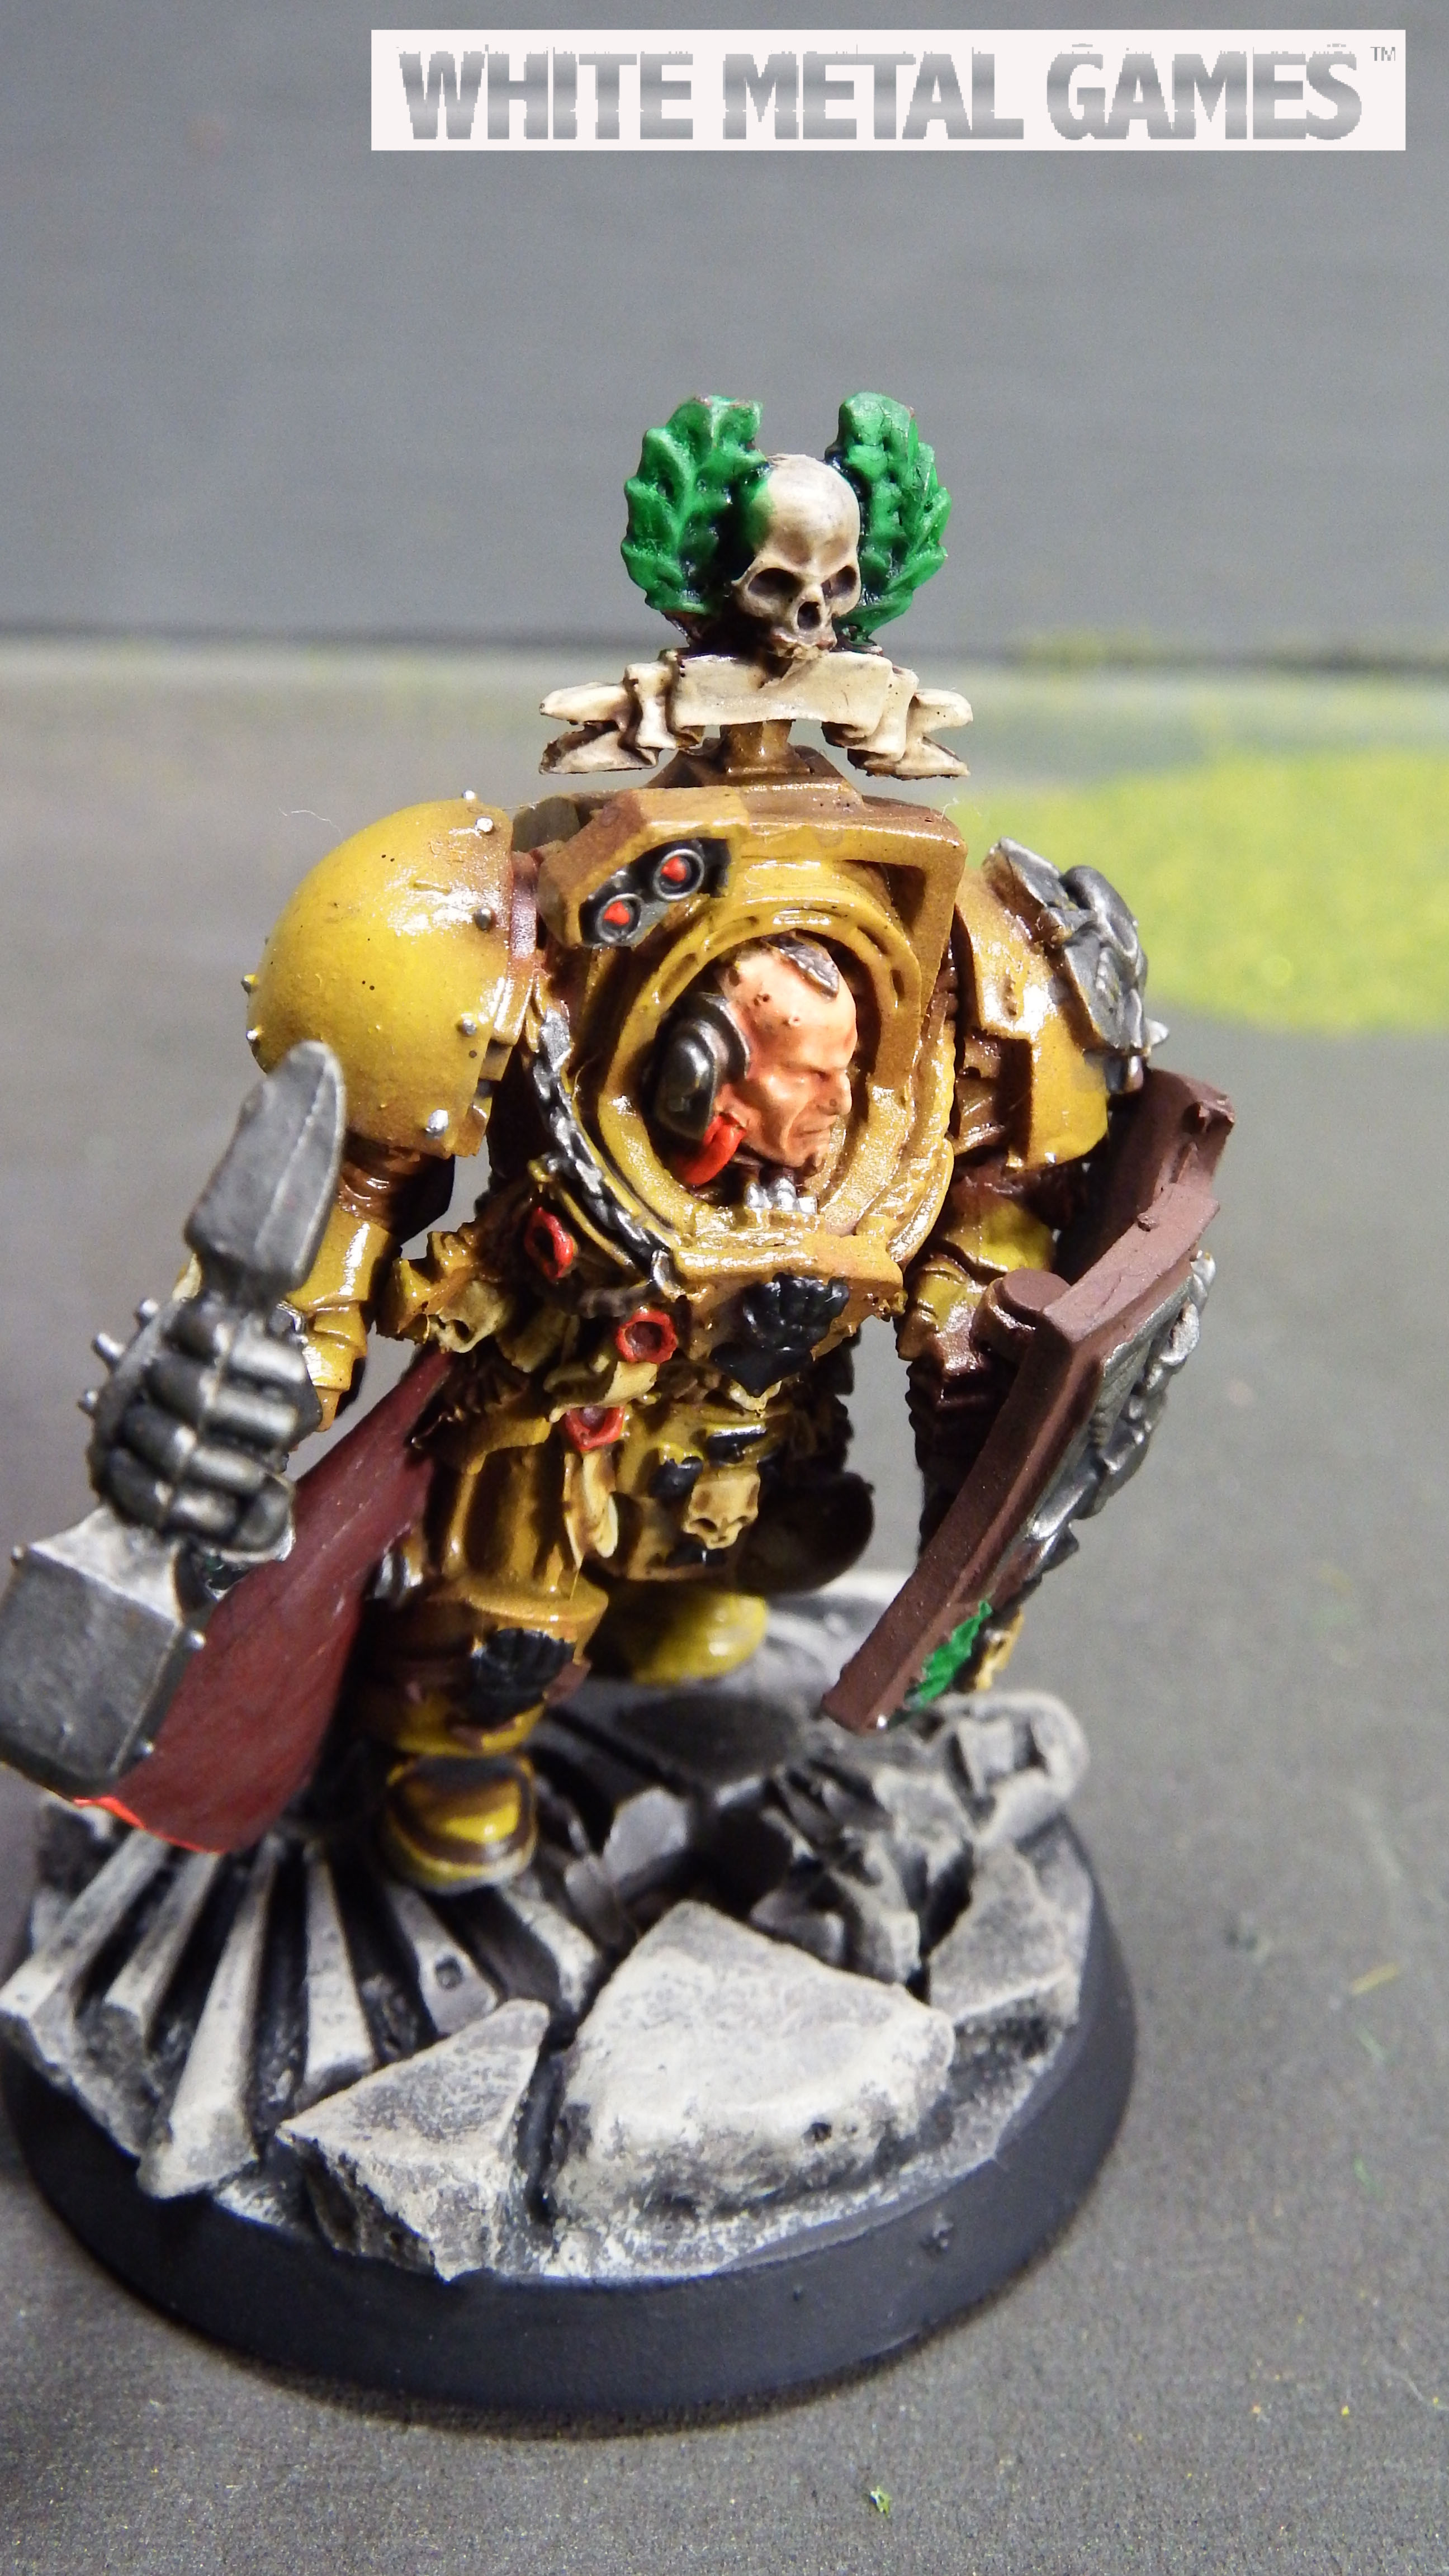
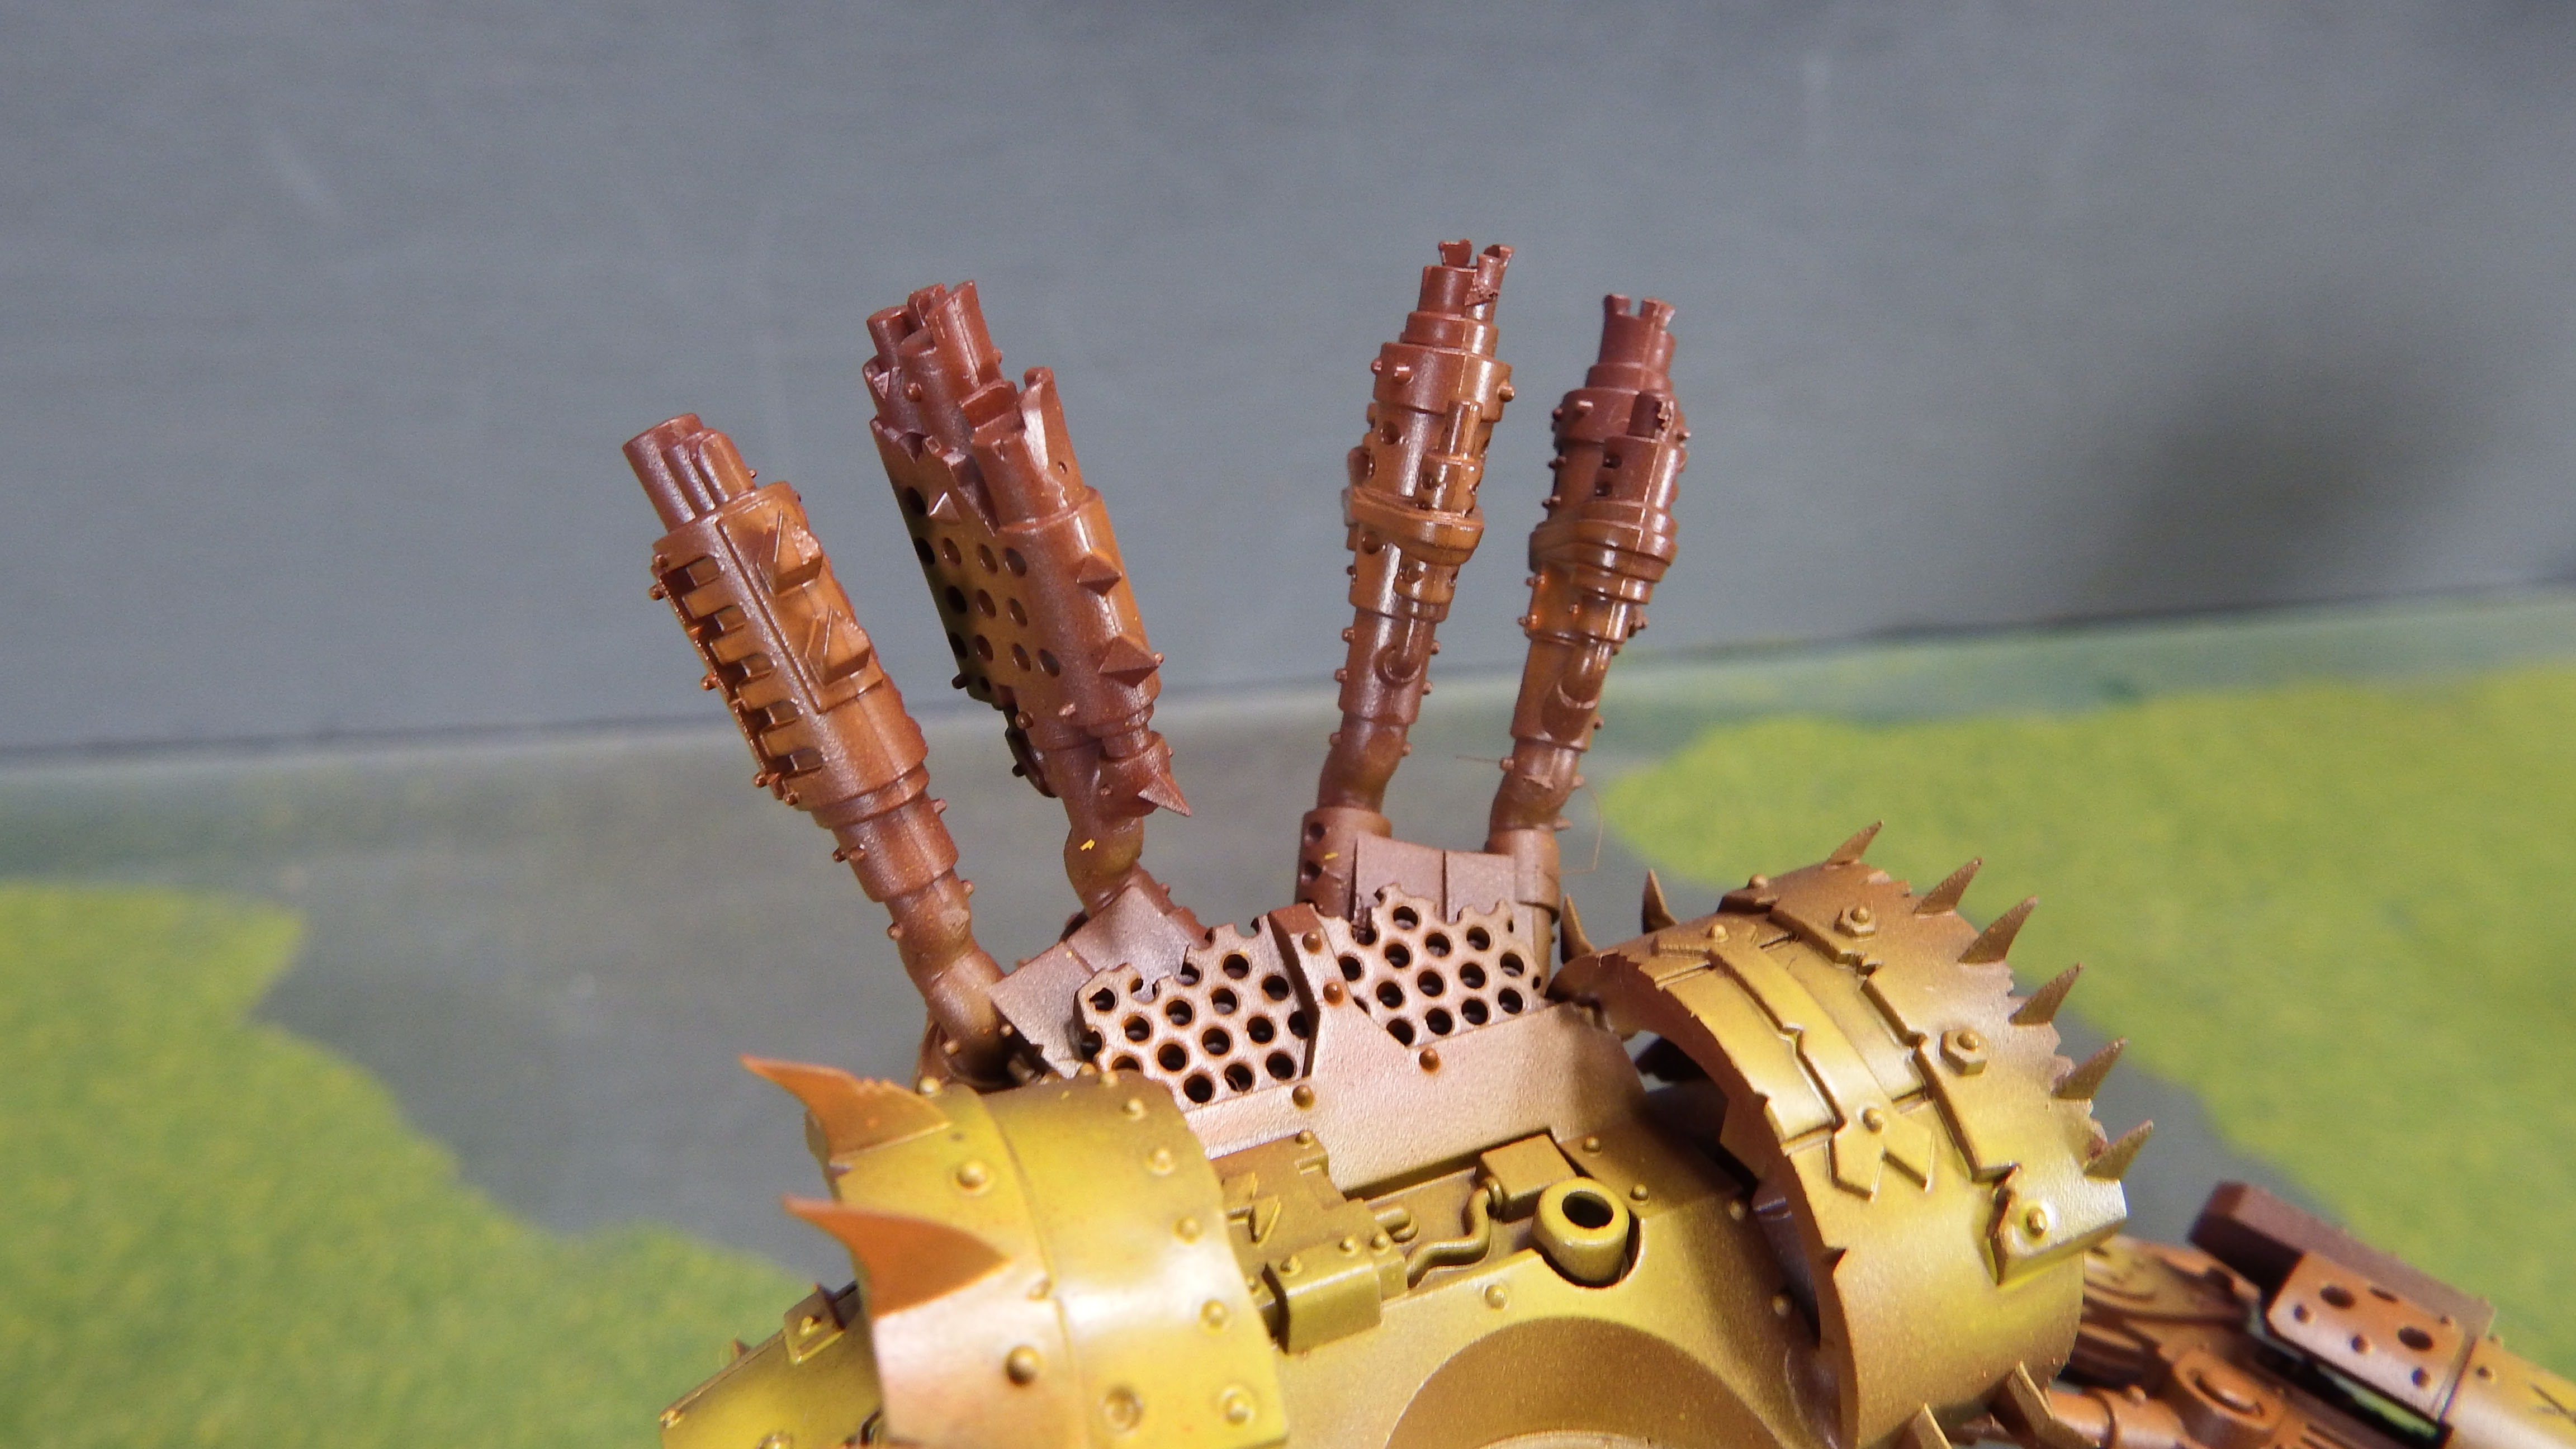
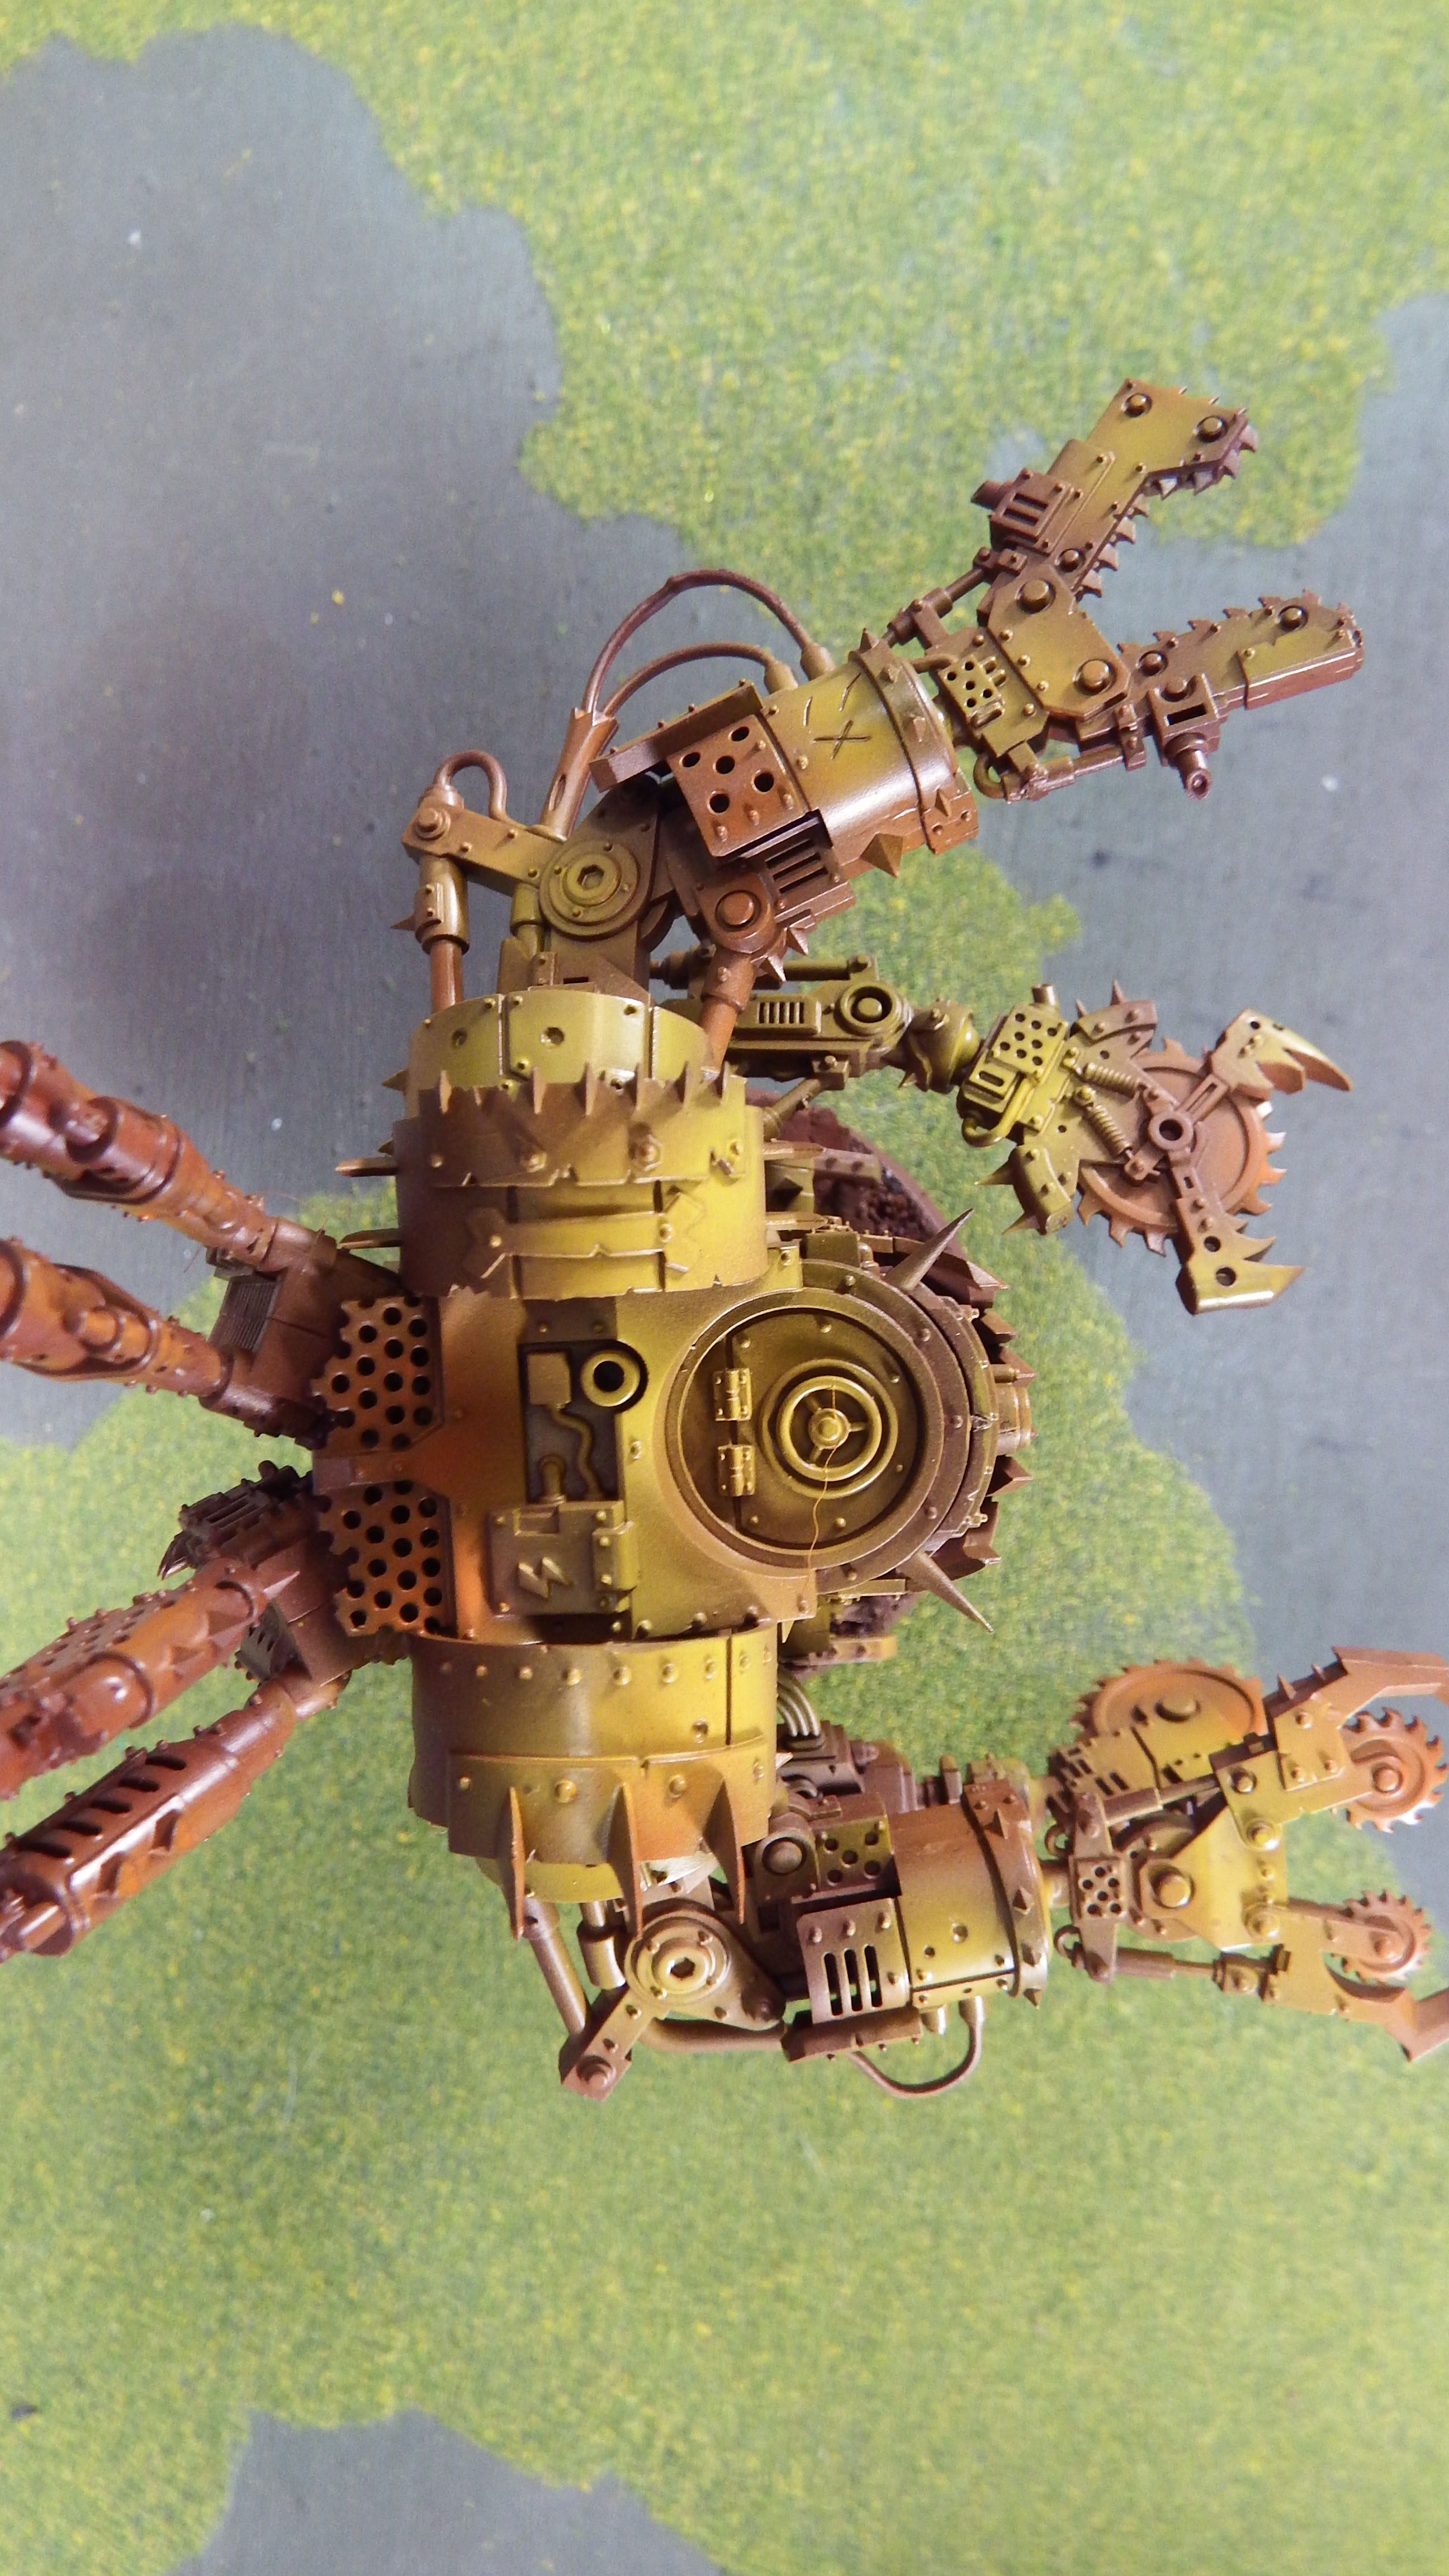
To see how this tecnique might look on an actual model, here are a few sample models. Lysander I painted for fun and he is currently on Ebay. This Ork Deff Dread is part of a Dread Mob I am painting up, also to later sell on Ebay. Be sure to tune into my Facebook page for details!
Well, that’s it for now! Until next time PUT YOUR MINIS WHERE YOUR MOUTH IS!!!
Thanks for reading!
If you enjoyed this article, be sure to like it, share it with others, and subscribe!
Find us on the web, Facebook, Twitter, Flickr. Listen to our podcast, shop in our store: follow our blog.
Caleb, White Metal Games

