Hobby Tutorial: Assembling the Perfect Drop Pod


Checkout the assembly secret to keeping your Drop pods from looking like something an Ork would cobble together.
Don’t get me wrong, I LOVE the drop pod. It’s an amazing kit and it was great when it came out, mostly because you didn’t have to drop 80 bucks on a forge world one, that being said this thing is definitely designed on the computer and if you clean away every little seam or sprue you are going to have problems with this kit. I’m sure we’ve all had problems with our Drop pods. I know the first one I put together was pretty much garbage. However, there are a few tips and tricks I can teach you to make sure that every pod you make from here on out will go super quick and easy. I’ve assembled at least 20 of these things.
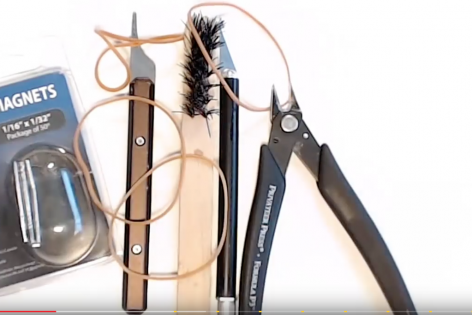
What’ you’ll need: (Left to right in the Picture) Magnets (optional), a seam scraper, a soft bristle brush, A hobby knife, Side Cutters (obviously), Rubberbands (less obvious).
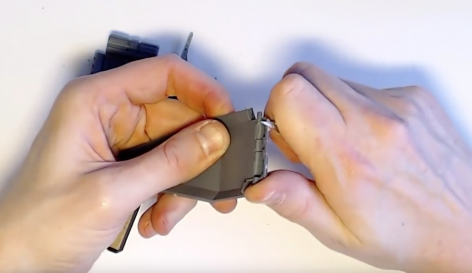
We aren’t going to go over every bit of this kit but we’re doing all the outsides because it takes just as long to do the inside as much as it does to do the outside. Make sure you leave enough nub so you don’t damage your part. You’re going to have to go in with you hobby blade and clean it up.
Pro-Tip: Always use a sharp blade, it leads to less cuts and a better experience. Always cut away from your fingers, because 80% of the time you WILL always cut yourself immediately after changing your blade!
Use a seam scraper to get that seam nice and clean. Luckily the mold lines are easy to find. This is a super boring part but you have to make sure it’s clean so it fits super tight.
Don’t get too crazy with the glue, you don’t want to get the glue on the door nubs that fit into the drop pod.
Pro-Tip: use a damp paper towel to get in there and clean up the excess glue that spits out.
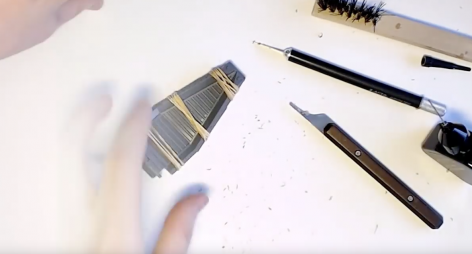
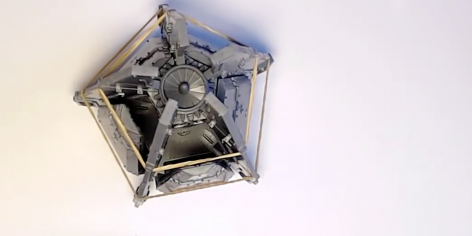
Once that’s cleaned up I use about three rubber bands to snug it all together
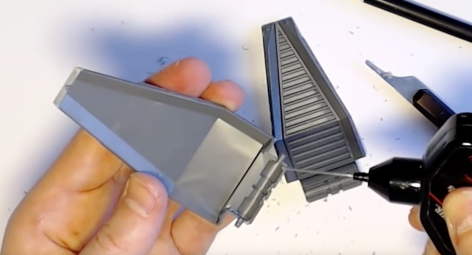
When it comes to magnetizing the weapons I drill out the center support bracket and insert a magnet there, then another in the weapon itself.
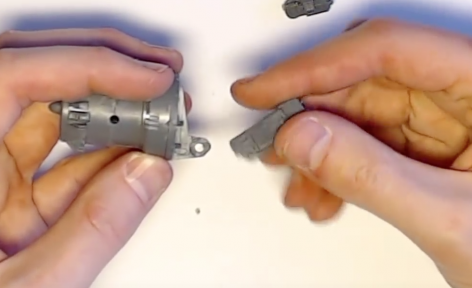
P.S. Make sure you’re paying close attention to the assembly guide, it can get a little tricky for new hobbyist’s to get the spinning weapon mount to actually function.
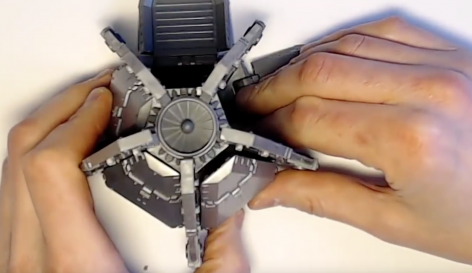
I glue in one fin then attach the engine. It will support itself.
Then add the rest of the fins. Once that’s together add the rest of the fins and us rubber bands to keep them in place. Don’t worry about the doors; they’re going to do what they’re going to do, we’ll talk about that in bit. Just make sure they align up with the engine/turbofan and the heat shield at the bottom.
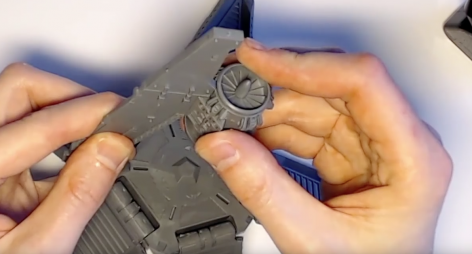
This is where the magic happens; you have to pop those doors into the place. Use two thumbs at the base of the door and just pop it into place. Doing that will get it over the lip and lock it into place. Once it’s in place it’ll stay that way forever.
Once you’ve popped it like it’s hot, presto
So there you have it, one amazingly assembled Drop Pod.
Any tips or tricks of your own to share?


