Mad Max Fury Road Ork Army: Big Foot of Gork (or Mork)


VRROOM VROOOM! Follow along with our progress on this Mad Max Fury Road Ork Army!
Greetings fellow wargamers! Caleb with White Metal Games here. This series of articles will follow the creation of a Mad Max Fury Road themed Orks Warhammer 40k Army. (Not to be confused with another, similar project we are simultaneously doing, a Mad Max ‘Compilation’ style army, which had a heftier budget and was quite different by the end)
Part 1 of this series can be found here: Immortan Joe on Blitzbike
HOW THIS ARMY CAME TO LIFE: For those that hate backstory, feel free to skip ahead to EXECUTION below
A few years ago, on a lark, I set about building a Necron/Ork fusion army called the Necrorks. This army was exhaustively covered through a blog article on BOLS here.
Although we had no client at the time, I was eager to cut my teeth on a REALLY big project and show just how far you could push a kitbash/conversion project, cranking it up to 11! There were many interested parties, and the army sold quickly. This ended up being a great project for me as a calling card to showcase just what I could do if given the opportunity and an ample budget!
But even with the army sold I didn’t want to stop there. I had dozens of other ideas for projects and wanted to share these ideas with prospective clients! So I created a sample listing on Ebay.
The listing is kind of a generic calling card or placeholder. It’s intentionally high, so that buyers will open up a dialogue with me before they buy. There are dozens of ideas on the sample listing, and more to follow on our website in the months to come!
Over the past few months we had multiple inquiries, and through an unusual turn of events, two different clients back to back requested Mad Max Themed Ork armies, although with different budgets and lists but some overall similarities, such as paint scheme.
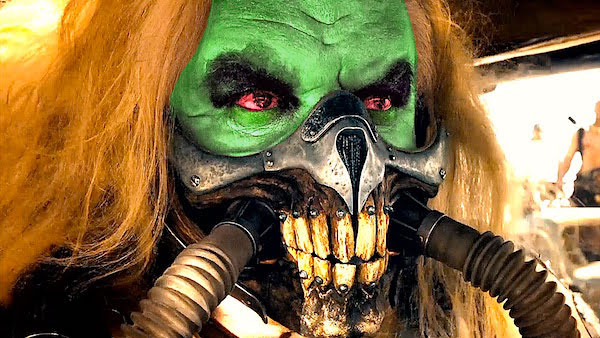
For sake of ease, we are going to refer to this army as MAD MAX-FURY ROAD army. The client wants more of an emphasis on the latest film in the Mad Max franchise and the army will reflect this more than anything.
If you haven’t picked up on it yet, this isn’t a ‘how to’ article. It’s an overview. I’m going to skip steps from time to time. This is meant to give you a general impression of my workflow and how I got from A to Z, skipping many letters in between.
Which leads us to . . . .
EXECUTION – Big Foot of Mork
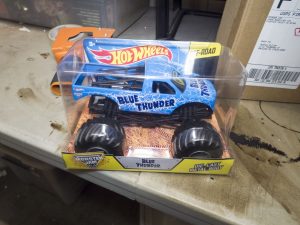
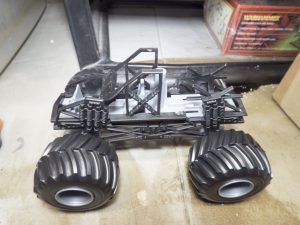
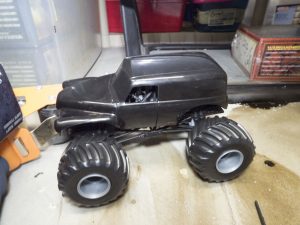
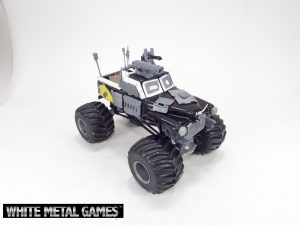
When it comes to big trukks, you need big wheels, and I found this bad boy at my local CVS for about $12, though on Ebay and they like they go for more with shipping. I tried to avoid Diecast vehicles at all costs, due to how hard it is to modify metal chassis’, but I knew I could use the frame and wheels so this was a great find! Normally 1/24 is a bit too big, but in this case, I think Mattel is a bit off on their scale and this feels morel like 1/28 scale, which is perfect!
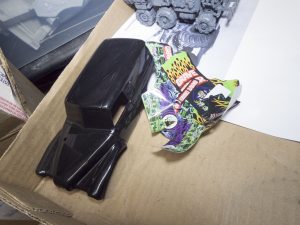
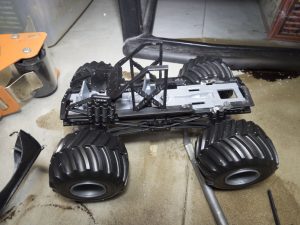
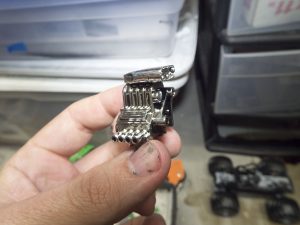
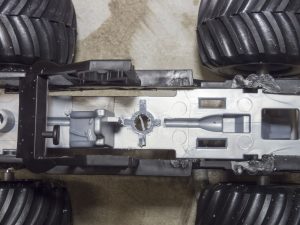
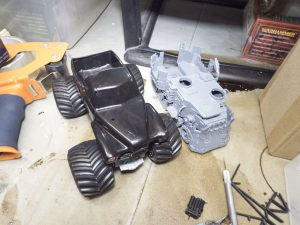
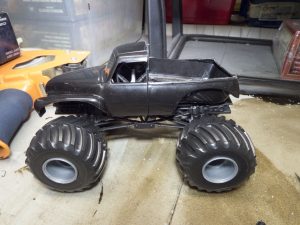
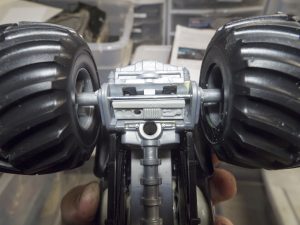
I had purchased an RC Gravedigger model originally, and while the wheels were great, the undercarriage was almost a total loss due to the battery mounted chassis. So I salvaged the wheels and shell and sit aside the tires for another project. I carefully removed the stickers from the model, which provided me with a servicable casing for the Big Foot. I removed the diecast shell from the Mattel truck and found it to be in pretty good shape. I trimmed away the rear suspension to make room for the flatbed, and removed the old engine, sitting it aside for use in the future.
Now from the topdown view you see a relatively open frame. As you can see the old cab fits on top of the newly modified chassis quite well. Here is a side by size comparison shot with the trukk next to a Battlewagon. This gives you a sense of scale and size. I feel pretty good that Orks could cram into the back of this modified battlewagon. The wheels will effectively count as Deathrolla’s and in the final stages I’ll armor this vehicle to make sure it seems like the battlewagon armor is justified, plus add some Orky firepower to make this bad boy table ready for play.
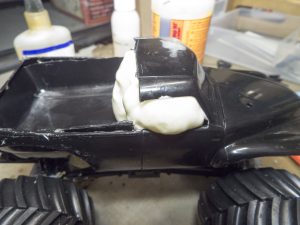
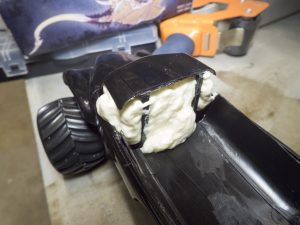
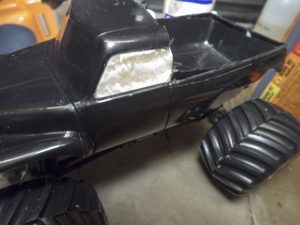
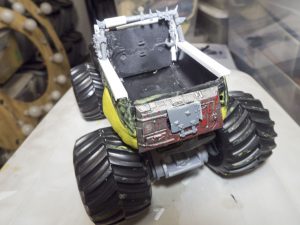
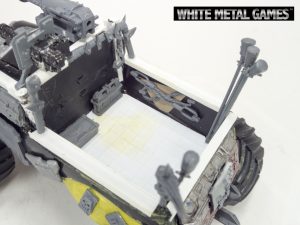
Rather than wash half the cab, I cut away the upper portion on the rear cabin and flip it over to make a well sized truck bed. The problem is now that I have a LOT of deadspace to fill and I want this vehicle to have a steady foundation for later stages when I add lots of bits and casings. Believe it to not, I use some expanding spray foam in the inner cab and beneath the truck bed to fill in the gaps. Liquid Foam is quite durable once dry, and if you give it lots of space to expand out, it won’t distort the model itself. I trim away the excess once it’s all dried.
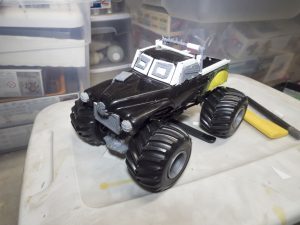
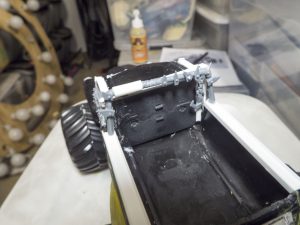
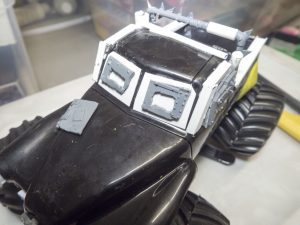
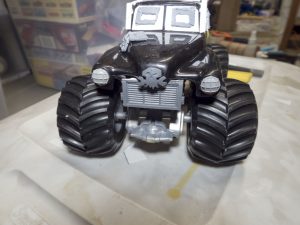
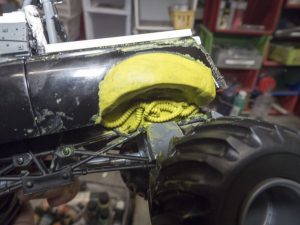
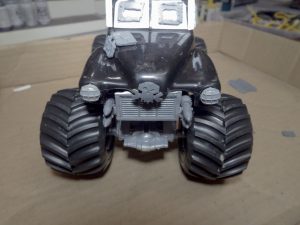
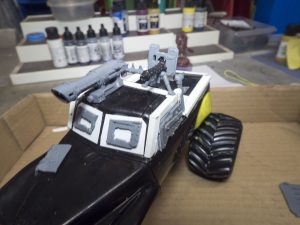
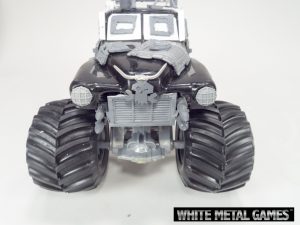
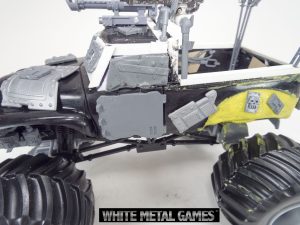
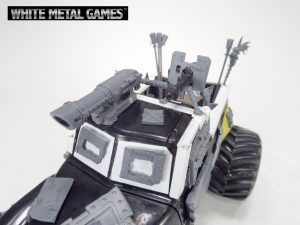
This is one of the bigger leaps for this model. I close in the cabin with some spare bits including a set of Rhino hatches, and some plasticard. I use a variety of other bits to begin to create the armored cabin, complete with viewing ports. I add a Grill from a split Razorback plate on the front and add some plastic beams to the trukk bed to cover up some of the rougher handiwork in the initial phase of assembly. Finally, I sculpt up some rear fenders using Apoxiesculpt. Though I breeze over this part of the blog posting, I used the existing fender area as a sort of guideline for my work. In the area beneath the fenders, you’ll see that I generally just smoothed over the rougher areas of foam filler. This won’t be a focal point on the model, so I don’t have to worry about it too much, I just want to make sure when someone picks up the model later that it isn’t an eyesore.
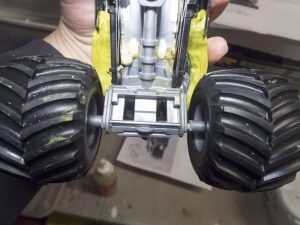
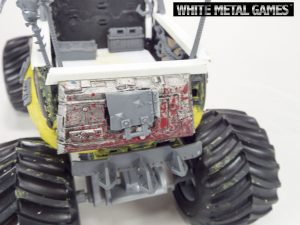
I add a rear gate to give some detail on the back. For the wheels, which are designed to drift up and down depending on terrain, I add some plastic splints to plug the gap and ensure these wheels won’t be a problem when the trukk is on the tabletop and roll away. I also added some loose ‘tubes and hoses’ to distract from the lack of detailing under the rear fenders. Works for me!
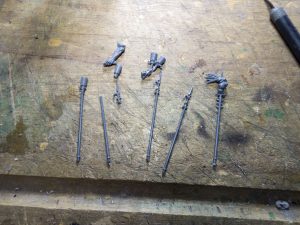
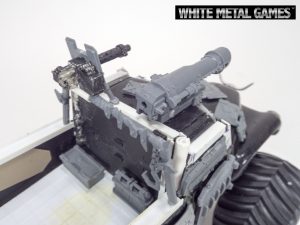
I now continue to add detail, as many as I can! Anything to break up the deadspaces on the model. I use an old warbuggy bumper for a rear bumper and add some hidden missiles to the front of the trukk beside the grill! Finding spots to put up to 5 weapons on this guy was a real challenge! I add a Kannon up top and a modified Big Shoota, mounted to the cab/roll bar. I also take some old Dark Eldar spears and replace the tips with Stikkbombs to give the assaulting Warboyz something to use on their unwary opponents!
I use a heat gun to soft up some of the later plating, like the rhino doors. This helps when I glue them onto the trukk to form a better overall fit. for places like the hood it’s an absolute necessity, as I would never be able to cut plasticard to fit that round trim without a lot of time, very thin card, and a lot of glue.
The ‘art’ of kitbashing comes from knowing when to add a bit and when/where not too. You don’t want it to look like you just took a toy trukk and slapped a bunch of ork parts on it. The art is in the balance. Believe it or not, this model took about 10 hours to complete from beginning to end and a wide assortment of bits and parts to complete. Seen here are a few other final details, like the loaded trukk bed, with a spare ammo box, gas can and some spare cable wire. Just because it’s not easy to see, doesn’t mean you shouldn’t give it a little detail too!
I would be remiss if I didn’t at least mention Iron Dog Studios at this point. Though I don’t know the name of the studio head, his work has been a big influence on me over the years, and is one of the reasons I love kit bashing Orks as much as I do. Although our methods vary, I think you’ll see a lot of IDS’s influence in my work here, and it’s only because of his work and the prolific and unbiashed sharing of his projects that I was able to learn so much before tackling projects like this! If you are an Ork fan, you owe it to yourself to visit his sight and explore Tork’s Mek Shop!
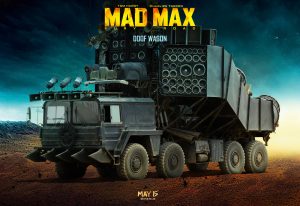
Follow along with this series because in the next article, we’ll tackle Da Goff Wagon, which will be our take on the Doof Wagon from Fury Road!
~And until next time, this is Caleb reminding you to PUT YOUR MINIS WHERE YOUR MOUTH IS!!!
Caleb Dillon, White Metal Games
White Metal Games is a miniature painting commission service based out of Raleigh, North Carolina.We specialize in producing custom models for any range, including wargames, board games, roleplaying games, historical figures, and display dioramas.
Find us on the web:
Like us on Facebook:
Read our Blog:
Listen to our podcast on Hobby and Painting: War Council

