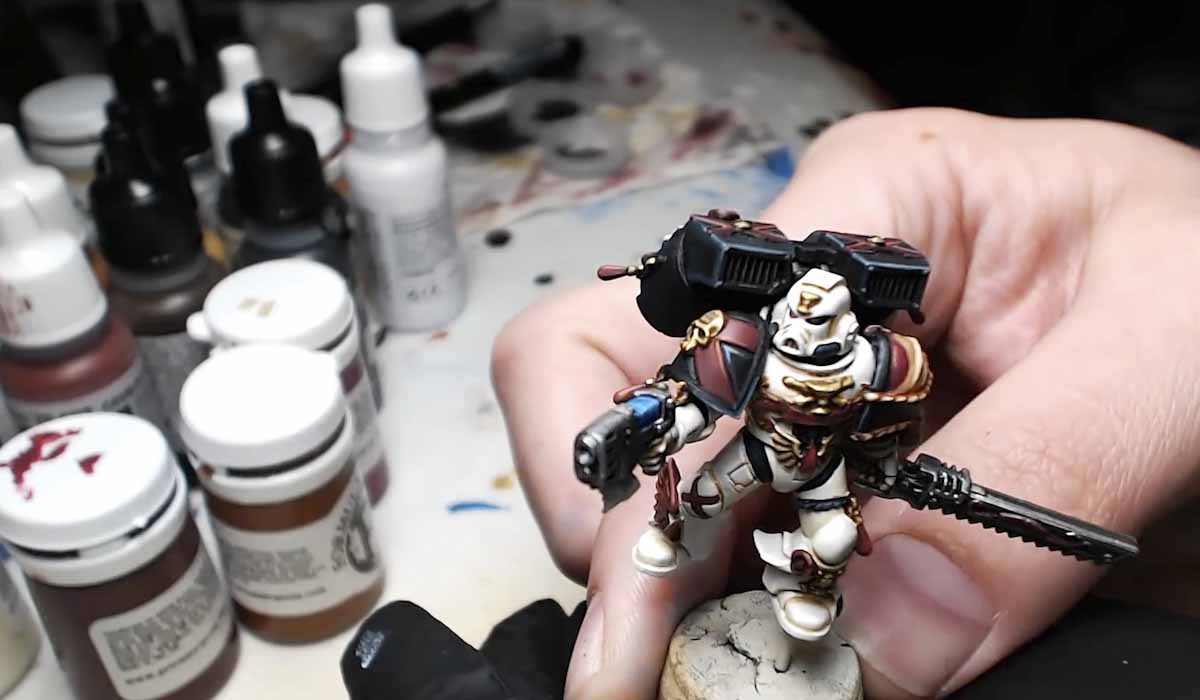
Painting Death Company, The White Way – TUTORIAL


In the pantheon of colors white is one that scares everyone; guess who isn’t afraid of white? That’s right, me. Today, I’ll show you the secret too!
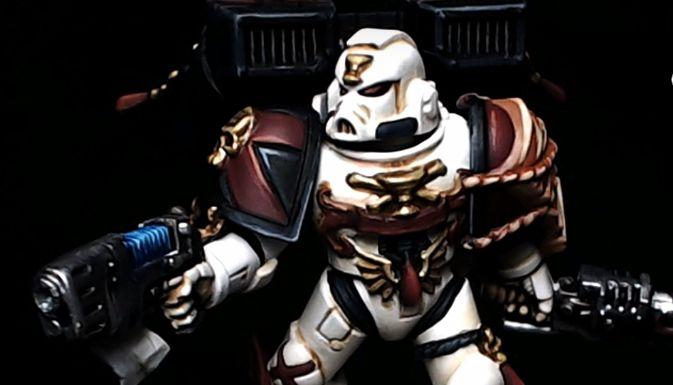
I can’t stress enough just how much I truly believe that anyone, ANY. ONE. can get their models to look just like this so long as you use the same colors and have the same amount of patience as me.
Lets get to it.
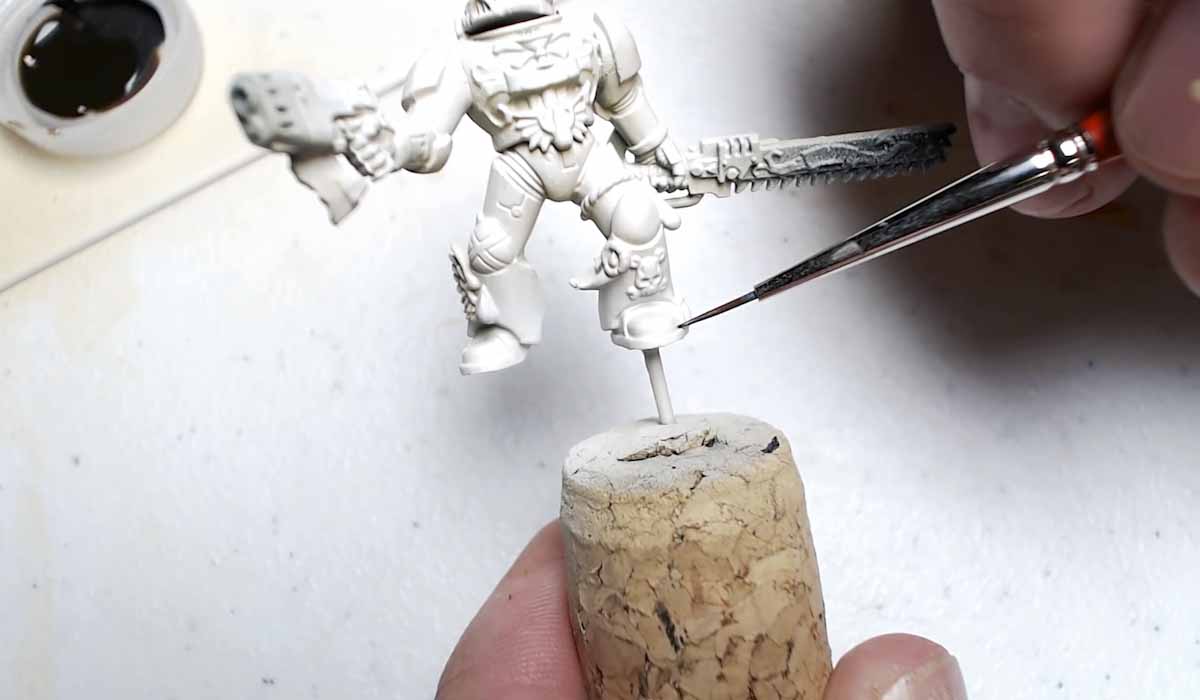
Step 1: Vallejo primer, it’s subtle that allows more details to show through. The positives outweigh any negatives.
Pro-Tip: Cardboard and Masking tape are must have in any beats lab.
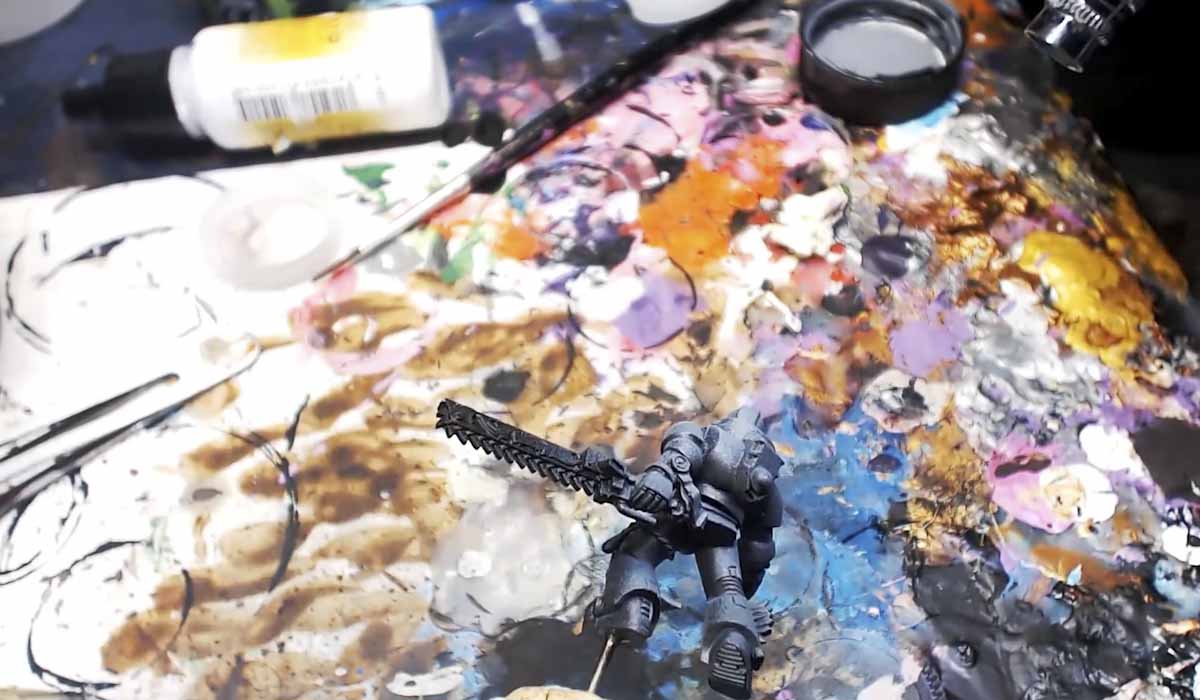
Step 2: Grey. Don’t go crazy. One thing I’ve noticed about these surface primers is that you don’t want to go too heavy and sometimes they make my airbrush act funny for about an hour afterwards. So, don’t go crazy and use it sparingly.
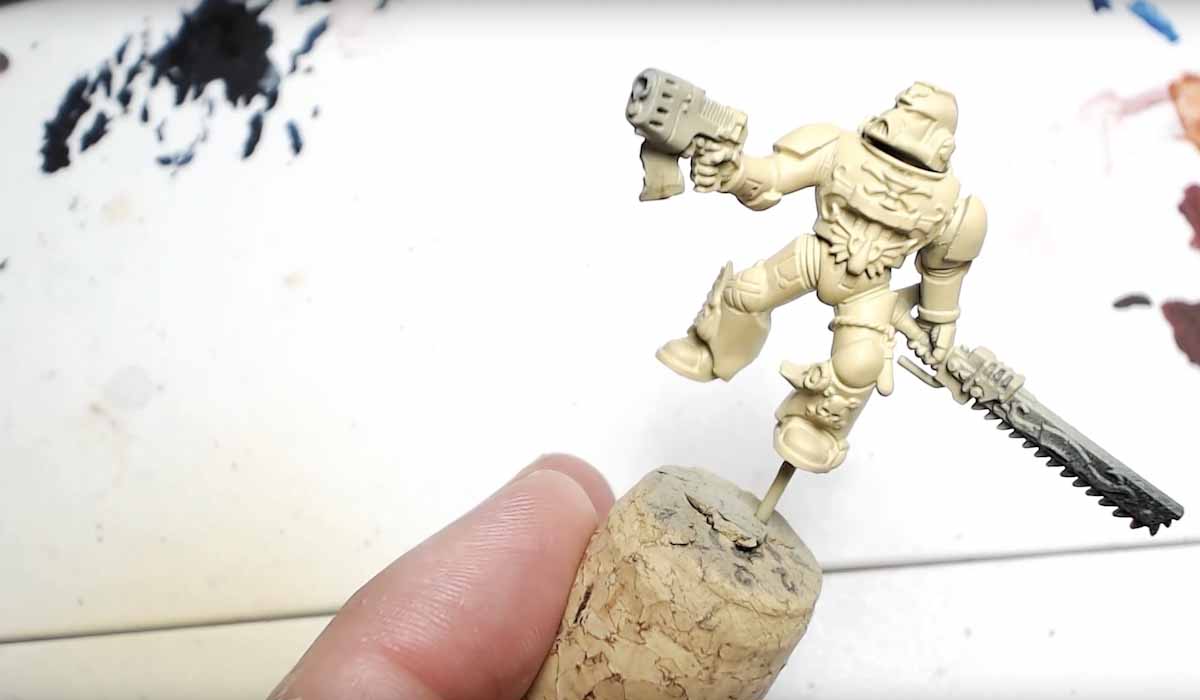
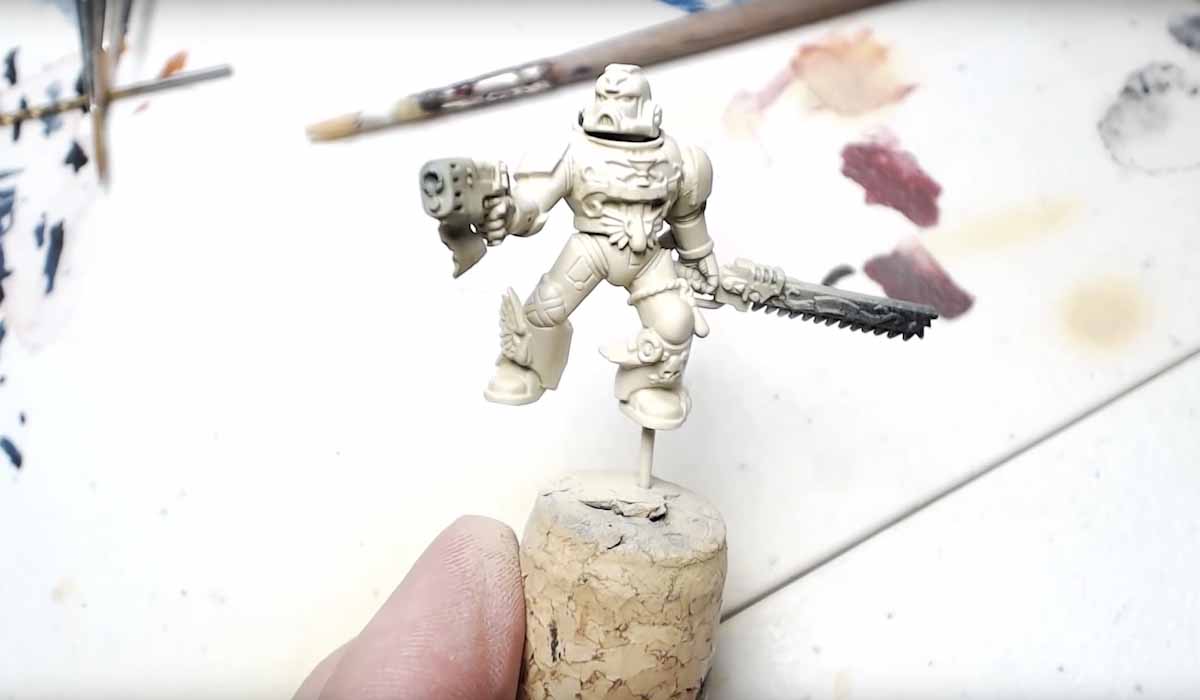
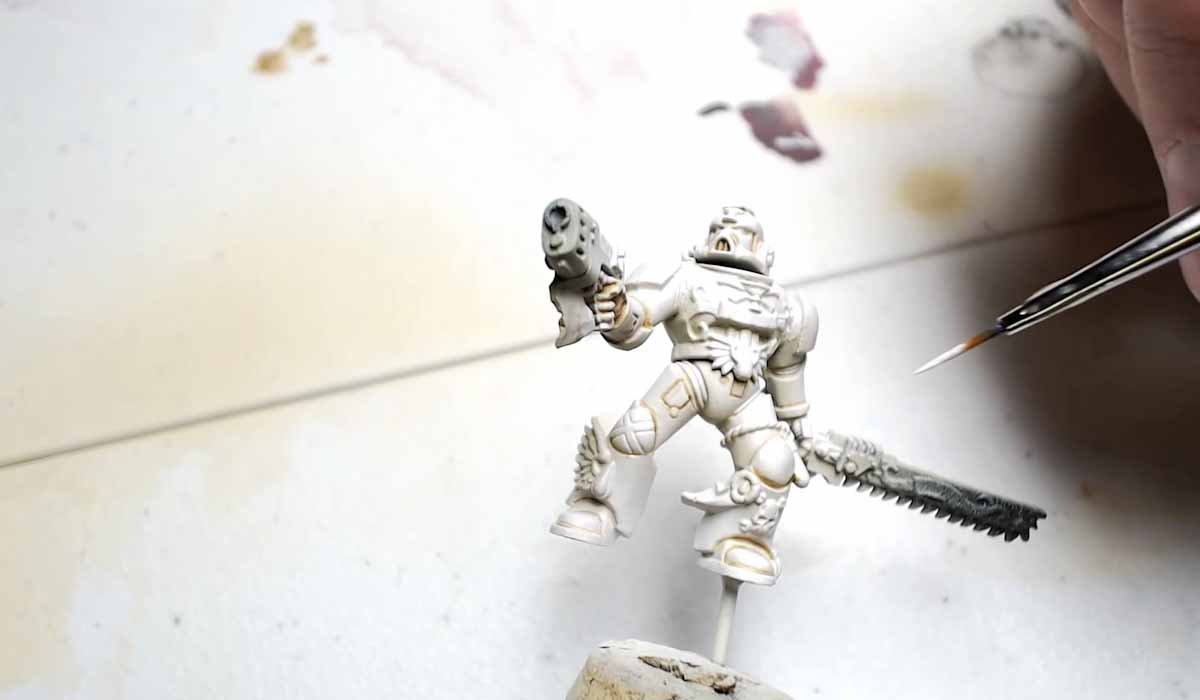
Step 3: Mix the white with a couple drops of yellow. You can see that it gives you a BIT of bone flavor. This p3 paint sticks REALLY well. We’re going to get into all the nooks and crannies and just dominate this model with this shade. This is one of my favorite colors to use.
Step 4: Highlight with your Menoth white.
Step 5: Menoth Highlight white. You’ll notice the highlights are super subtle. You build up to it. Don’t go crazy because white will speckle and don’t want that.
Pro-Tip: One thing we won’t do, is wash this model. Washing whites with sepia essentially ruins your model because you have to start over. Don’t do it.
Step 6: Valley Game Color White is super thick, you need to thin it down.
Step 7: Pure absolutely, unadulterated white. It’s a light pass. It doesn’t take much.
I want to apologize right now that you don’t see as many transitions as is actually on this model because quite frankly I don’t have the set up to film this brilliant white right and a lot of the whites just don’t pop through.
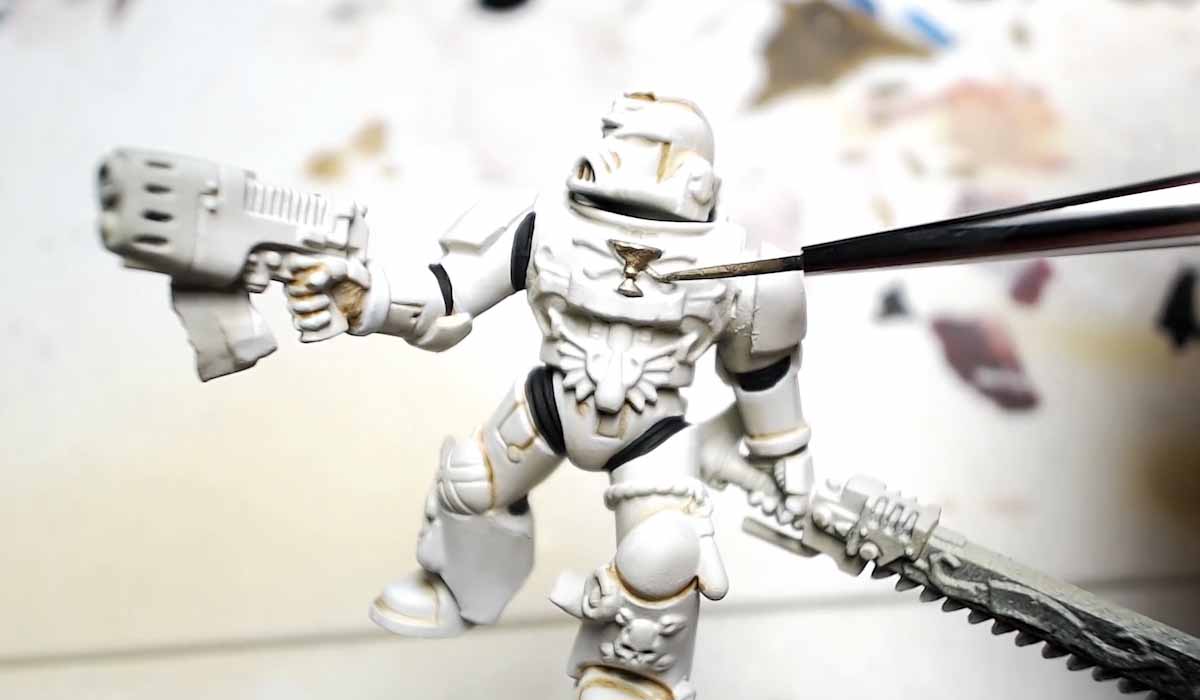
Step 8: Sepia, tiny, tiny, tiny bits of sepia. Use your best detail brush, load up on it and twirl it around. You don’t want that tip to be overloaded. This is JUST tracing. This is the brutal part. It’s the most annoying part of 40k. If you mess up here it’s easy to come back and tighten that up. Not a big deal. Every time you go over that line it comes out stronger. Go light; Lots of layers.
Step 9: Highlight, Highlight, Highlight. The fingers, the grips, the knees, you have to, have to, have to get all those.
Pro-Tip Reiteration: Don’t wash it. Can’t do it. Don’t wash white. Doesn’t work. You’ve been warned; twice.
Step 10: Paint the connective area’s, I’m going with black because that’s how I imagine it and this is the way GW does it.
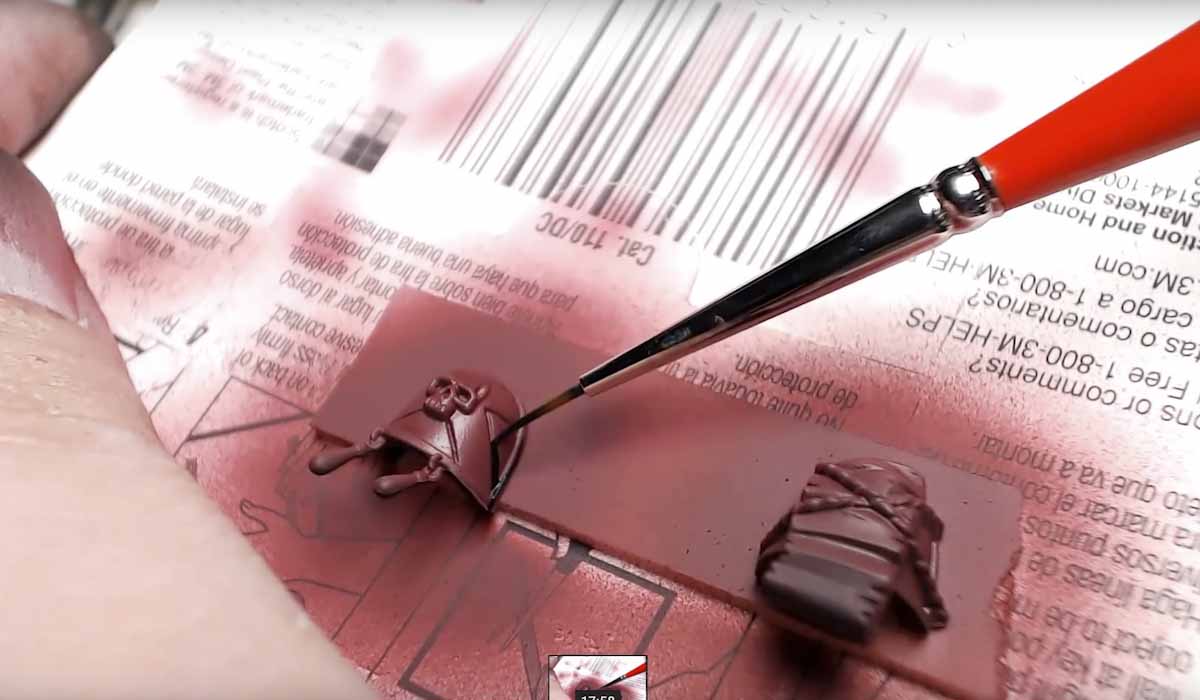
Step 11: we’re going to paint the should pads red; this is a different technique than what GW shows because I don’t think that parchment color on the shoulders is enough contrast so I’m showing you a different way. Sanguine Base, and Sanguine highlight, from the kit, we’re keeping the reds dark, very burgundy.
Step 12: Add in some black for the shoulder pads.
Step 5000452: Now we’re using the gold’s to paint everything that’s not white.
15 minutes later we get this model.
This was a paid commission, this is why I was able to make this video for you, thanks for the support on Patreon it’s allowing to bring videos like this and I’m so thankful for every bit of love you guys have been sending my way. If you want to get into all the glorious details click the video below and see the ancient hobby techniques first hand.
Painting White is Secretly Easy – Death Company Edition

