Hobby Hacks – Making Your Knight Titan Interchangable


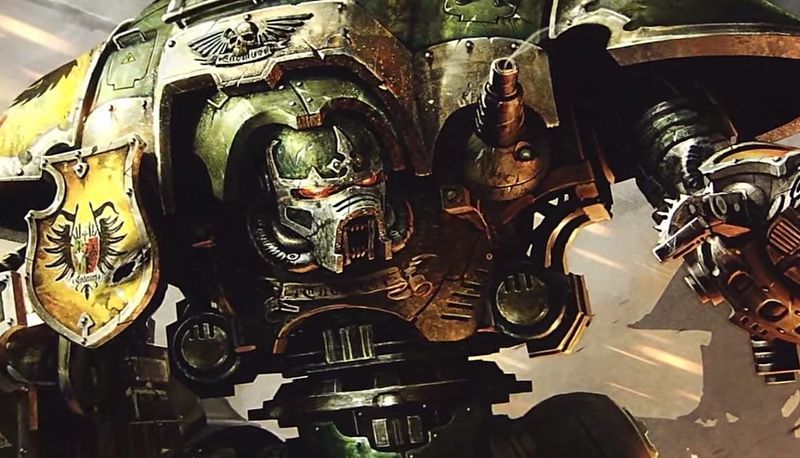
Nobody wants to spend $140 on a model and have it configured less than optimal. Here’s how to magnetize YOUR knight titan!
It’s good to keep your models modular from both a hobby stand point and a competitive standpoint. If Game Workshop makes your weapon loadout lame it’s nice to be able to just swap it out for something useful right?
Magnetizing these models really helps you articulate into different poses as well which will take your photos to the next level as well. As an added bonus, I’m also going to show you a neat method of using tubing to swap out weapons; magnets aren’t always the best option IMHO.
Step 1:
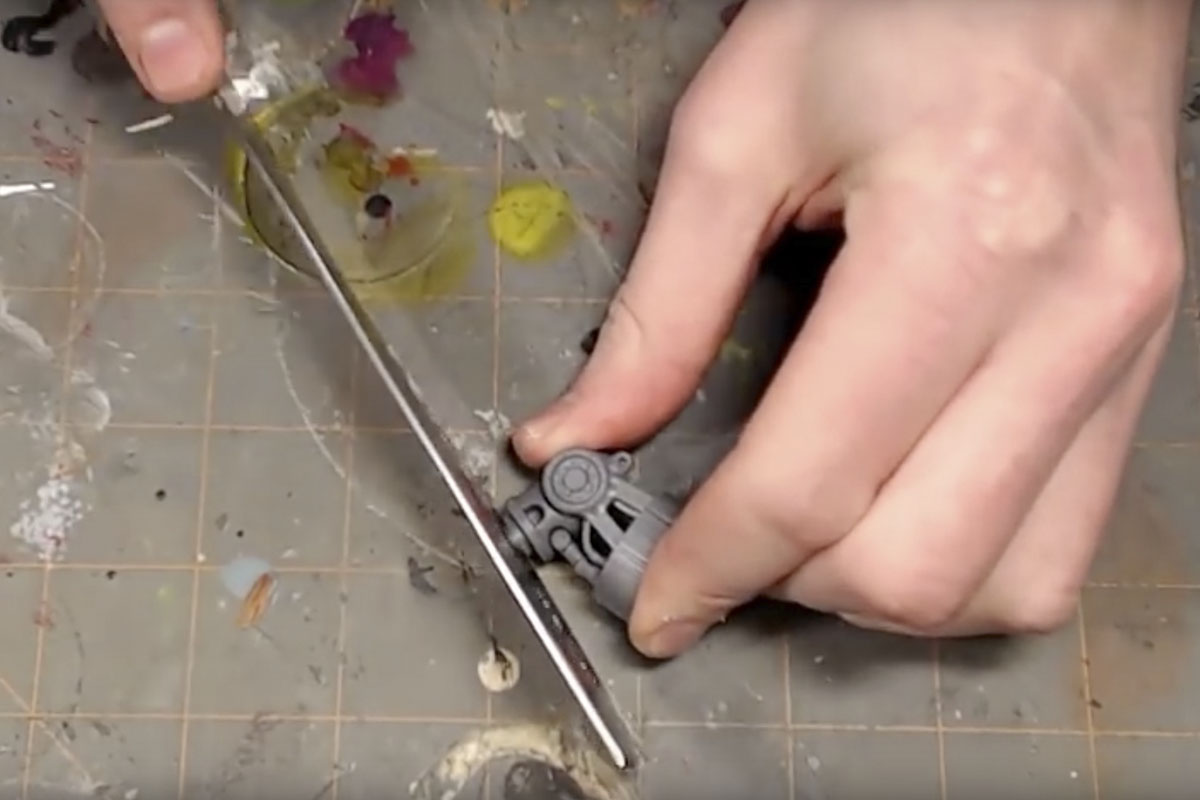
Get your bone saw and hack at the extra big of plastic, shown in the picture below, which we will then replace with a magnet. It may look like I’m not perpendicular but it is, I promise, I blame the camera. You just want to go nice and slow, grinding the teeth back and forth.
I use a high grit sandpaper and an exacto knife to clean up the surface that I just planed. I want you to notice that I didn’t just lob the entire thing off, I left a bit up there to give the magnet a solid platform.
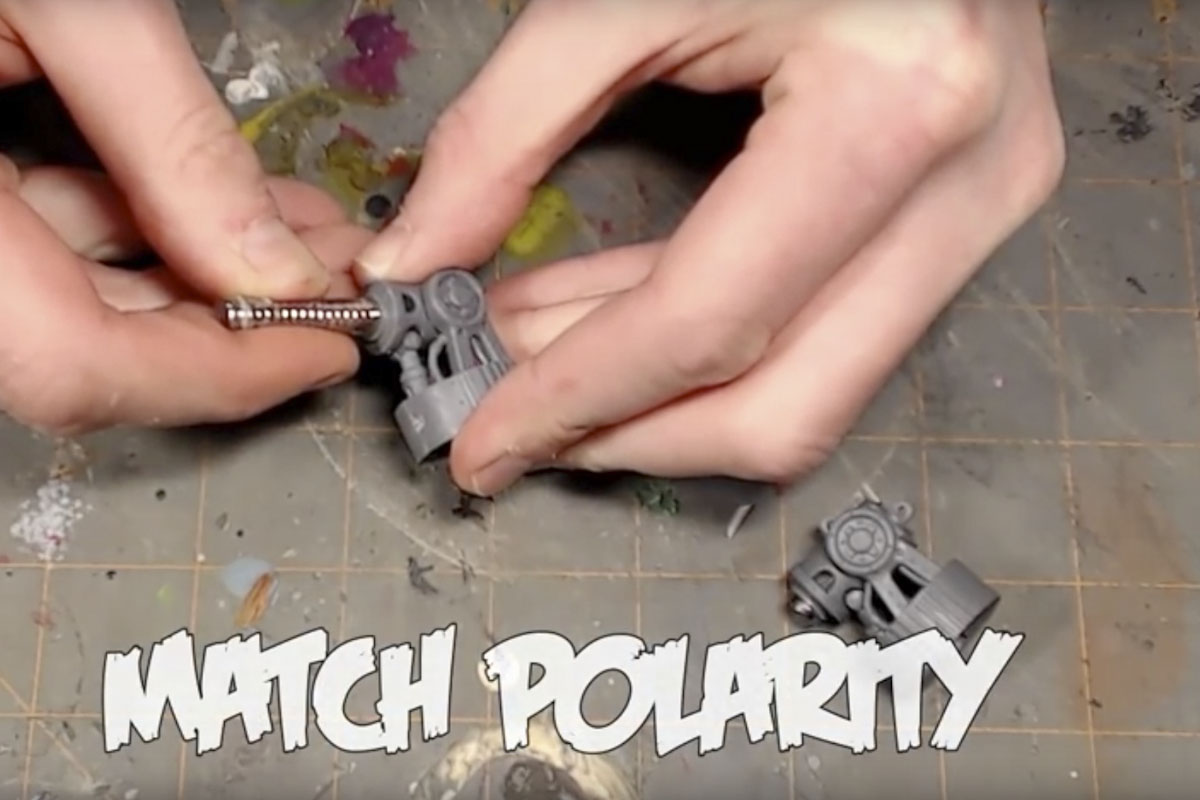
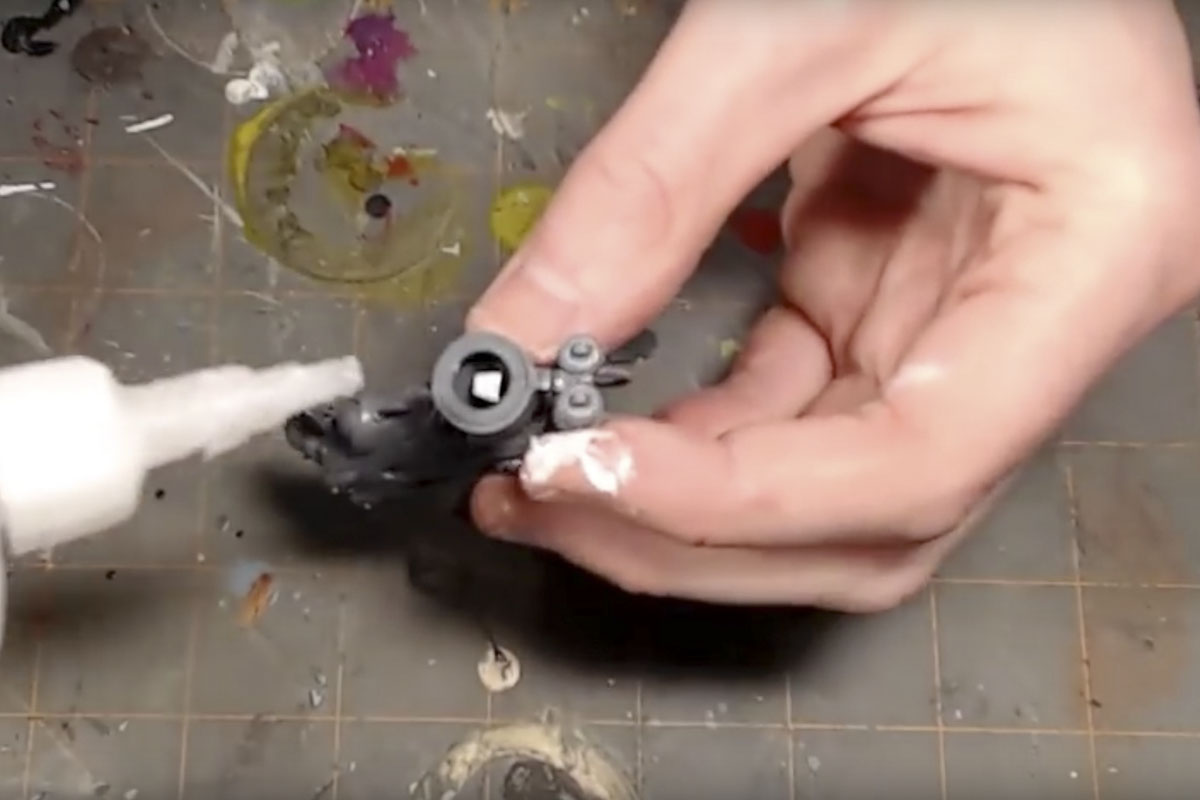
Pro-Tip: This should go without saying but make 100% sure you match the polarization, if you don’t it’s going to repel certain parts. You can’t just go ham and put the magnet on there. I use a bit of zip kicker to get it glued on there.
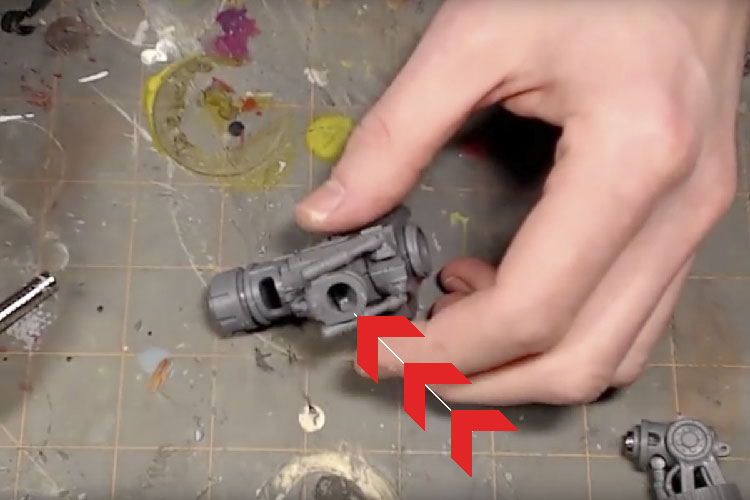
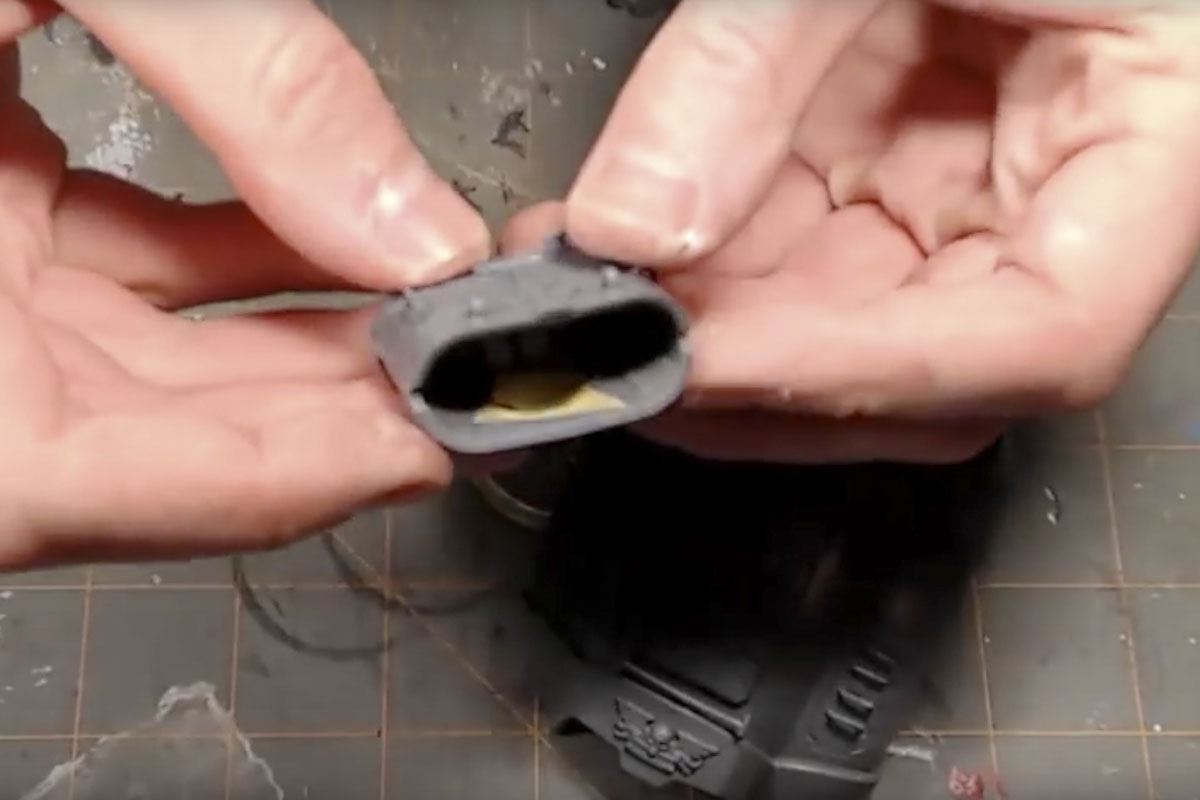
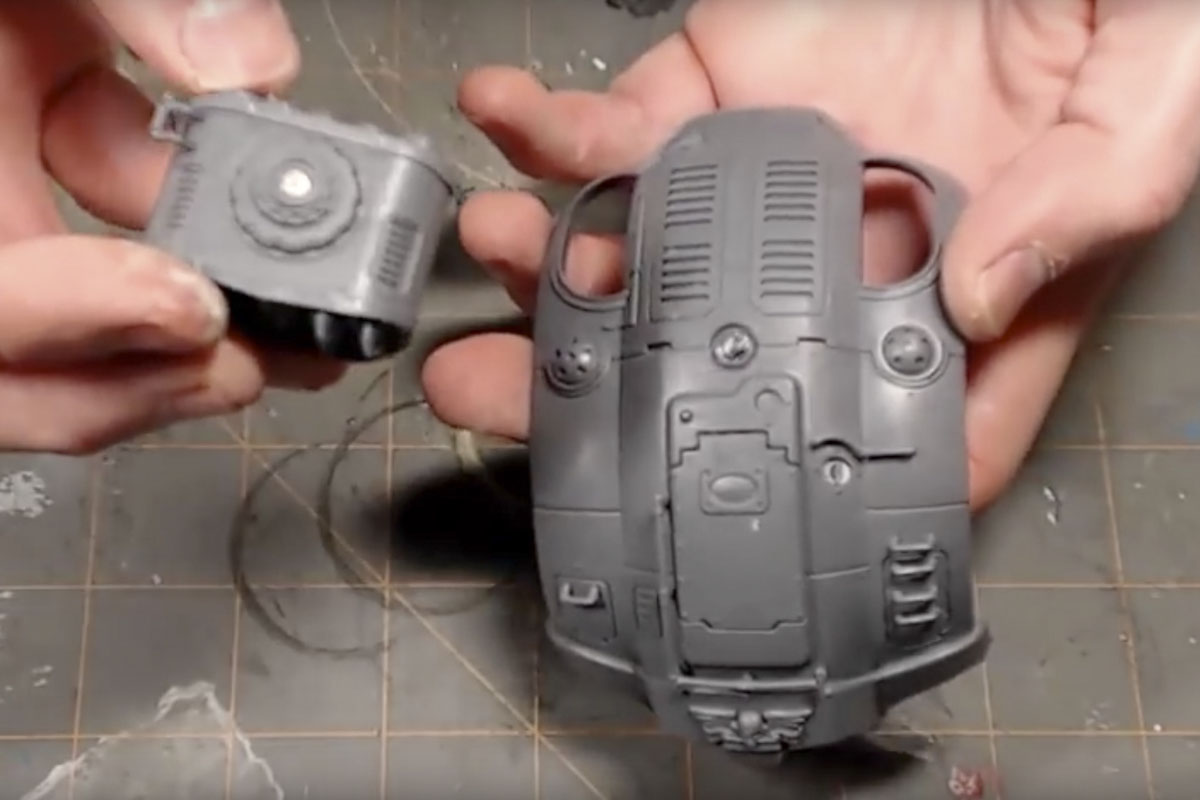
Some of the parts need a little support, for the battle cannon, there are some nubs inside which you can see here that the magnet can attach too.
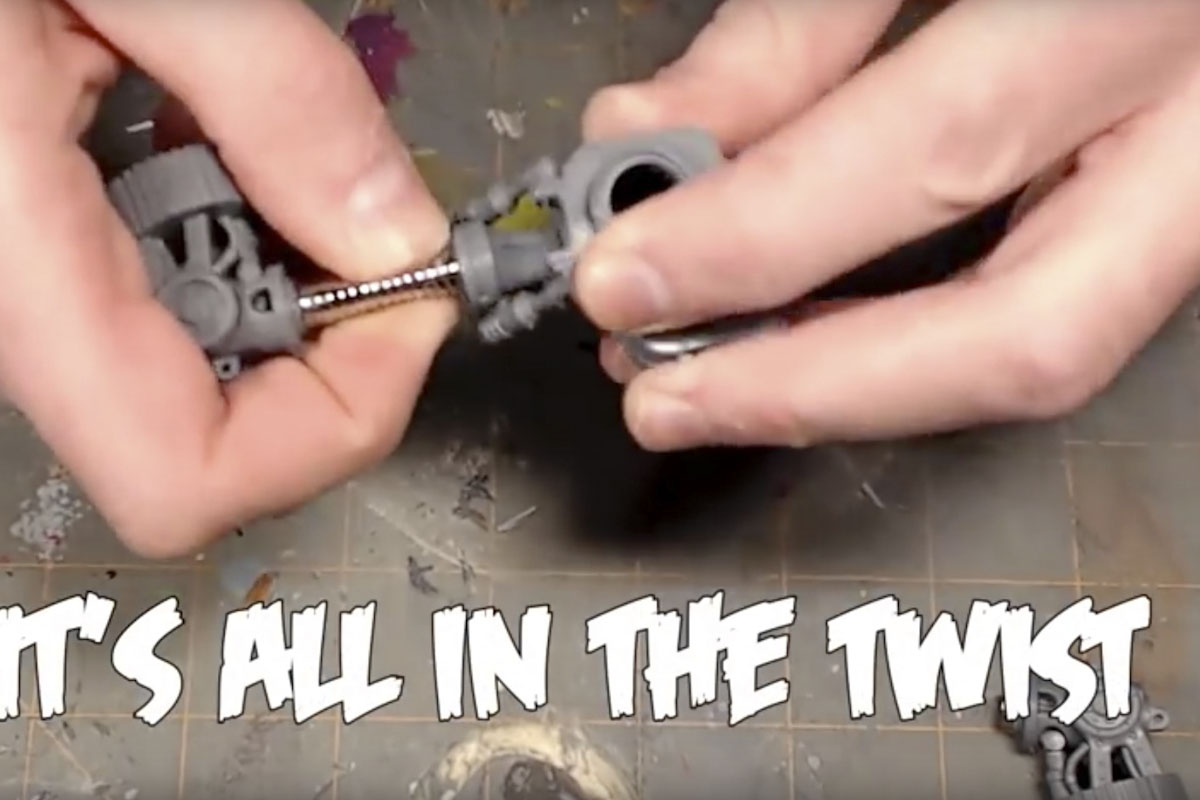
Give the magnet sometime to dry and then do the twist. The magic is, in fact, in the twist, you’ll feel when the magnet is ready to stick and then you can just pull it out.
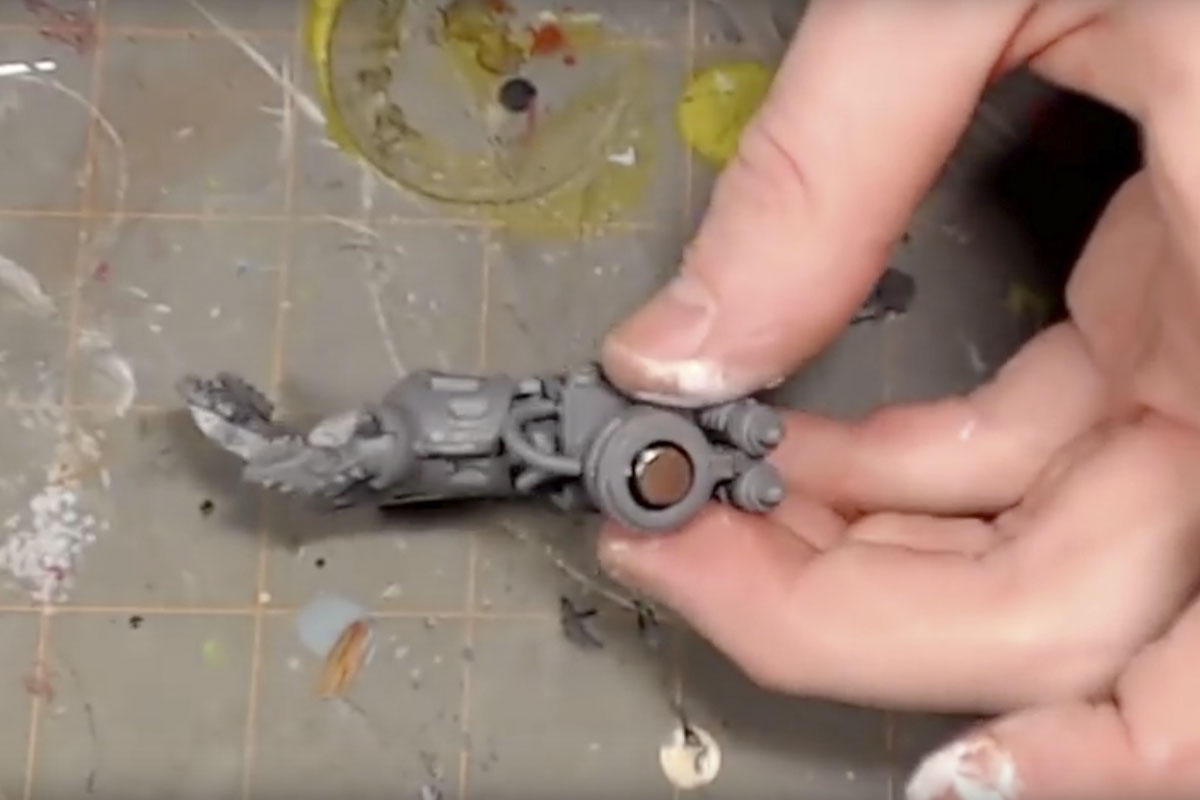
You can see in this next shot that sometimes you need to put in a bit of sprue to give your magnet a platform.
You can see I made it a bit high,which can leave some exposed magnet, it’s one of those things you might want to play with with plenty of pre-measuring / dry fiting. It won’t take away too much from the model, just be aware that in that gap you’re going to get some paint chipage. Put in some Ryza Rust on the magnet and presto the rust is where it’s “supposed” to be.
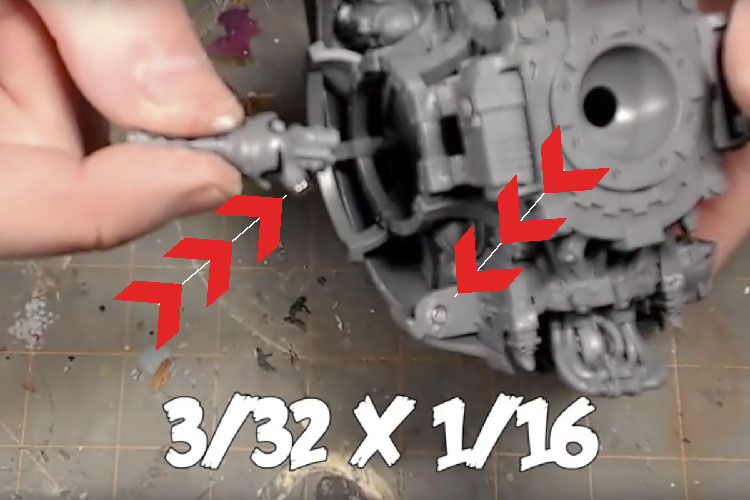
The stubber is straight forward just add some mangets and you’re set. Or you can just use the tension of the y-yoke to switch out the weapons too.
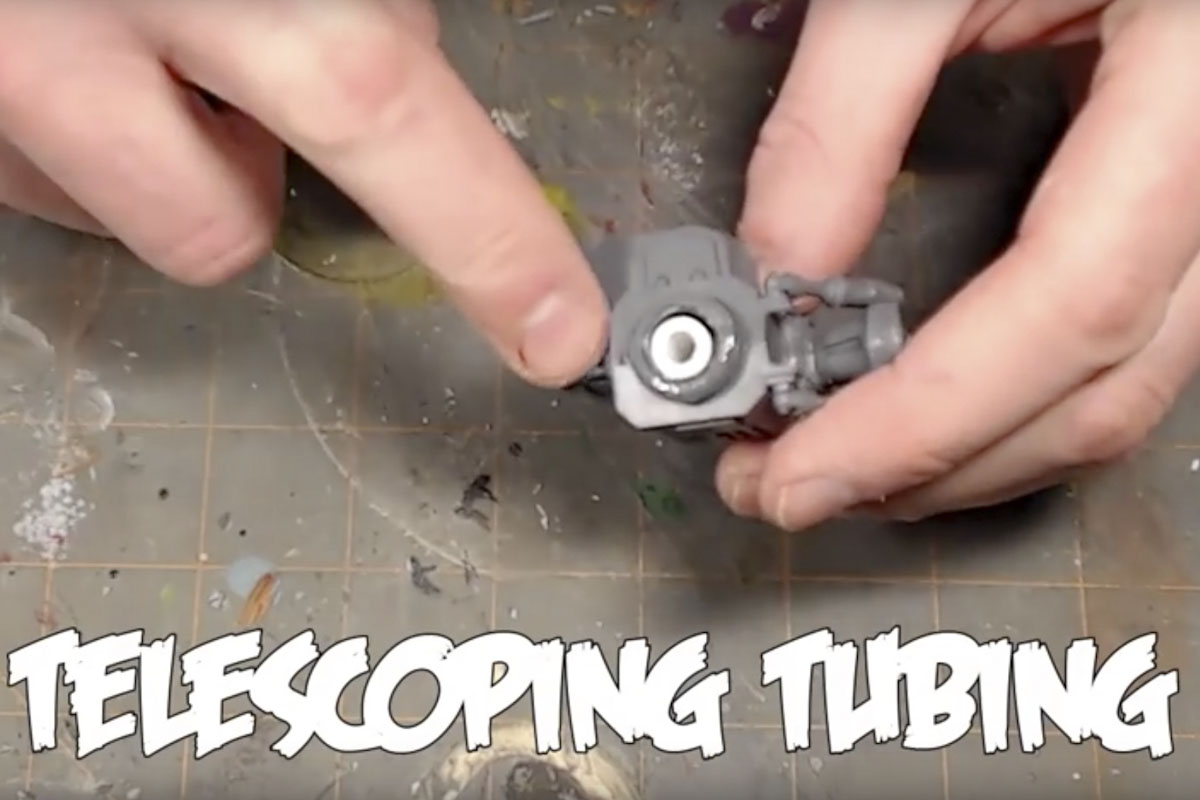
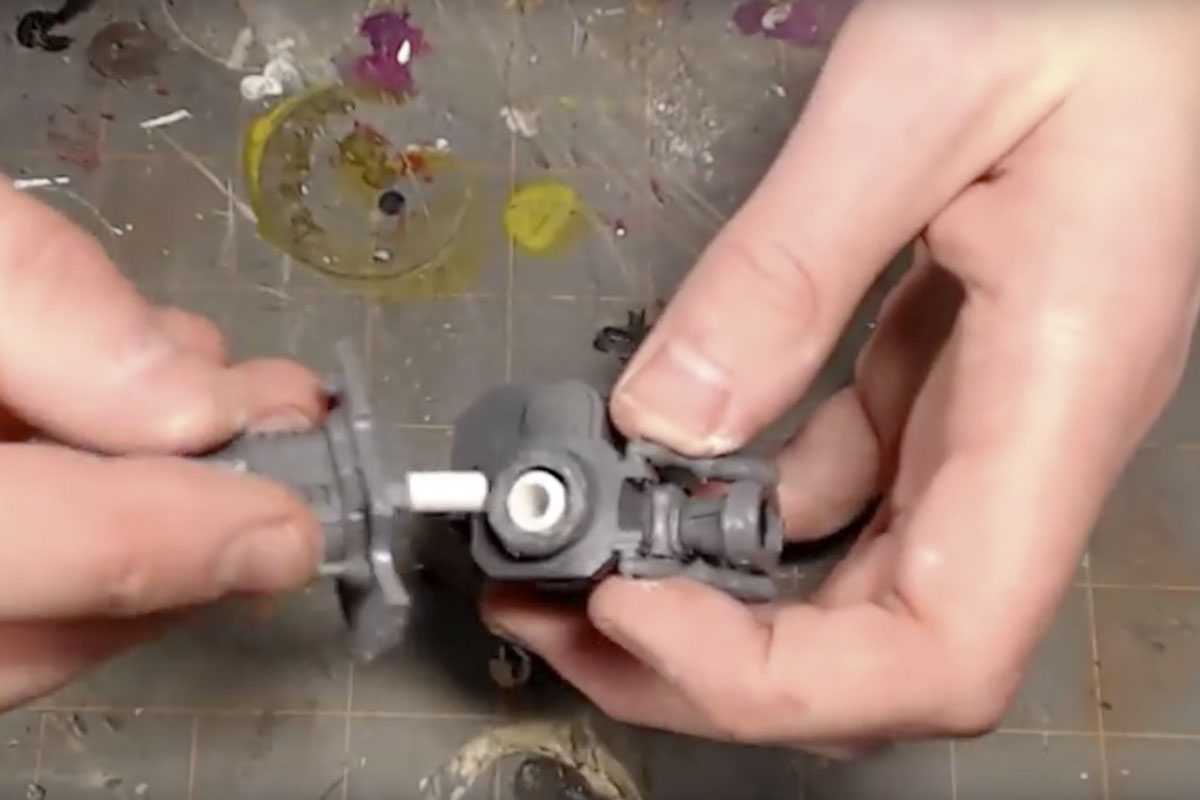
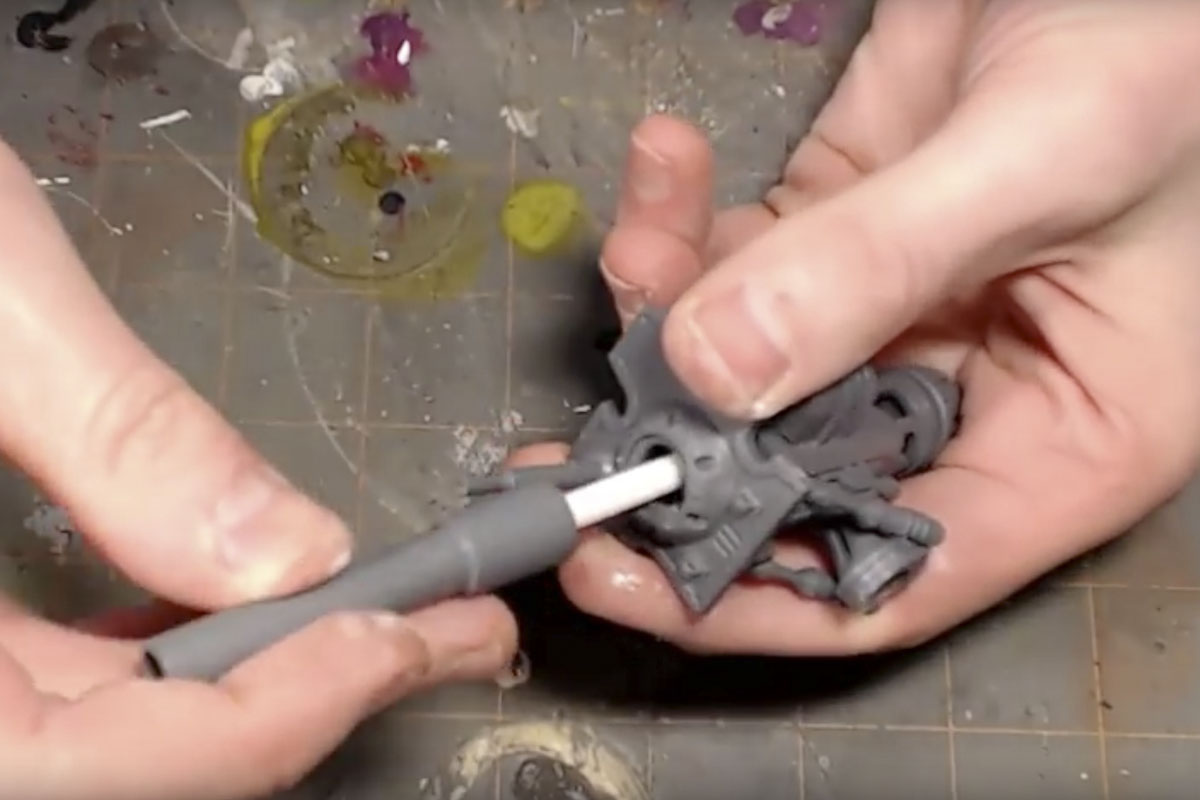
I used telescoping tubing from Gale Force 9, I’d get a bunch of different size and you just jam it in. Then trim it to size. Then for the weapon you do the same thing but you’re leaving excess so you can slide it in. If you live in central North Carolina you can find some at your local HobbyTown USA!
Then you just do the same with the Meltablast gun. It’s a bit of work but it’s a lot easier than working with the magnets.
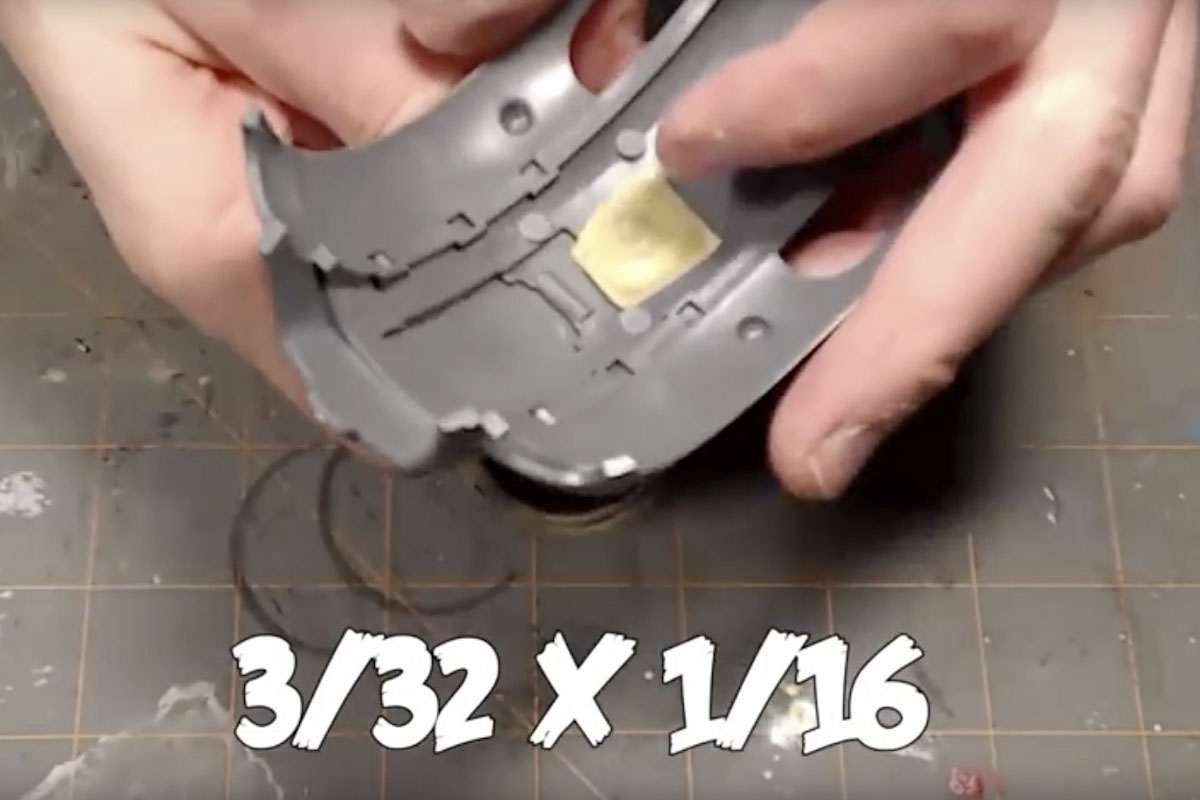
The rocket pod you just make the hole there a bit bigger and drop in your magnet. I add some tape for some support. Then it just snaps right on. It’s a pretty simple process.
And that’s that – whew!

