8 Steps to Painting Purple You Should Know!


Welcome back hobby maniacs, Kenny Boucher here from the Hollywood Hills with a painting tutorial brought to you by my supporters.
Today, we’re doing purple. It’s a big part of the commission I’ve been working on so this gives me the opportunity to bring you these ancient purple techniques.
I also want to thank everyone for sticking with us through these Infinity models, I know we’re a 40k centric community sometimes, so I appreciate everyone sticking with me. Don’t forget to hit me up on Twitch.
1. Vallejo Purple
2. Vallejo Prussian Blue
3. Game Color Squid Pink
4. Game Color white
5. Game Color Prussian Blue
6. Vallejo Gloss Varnish
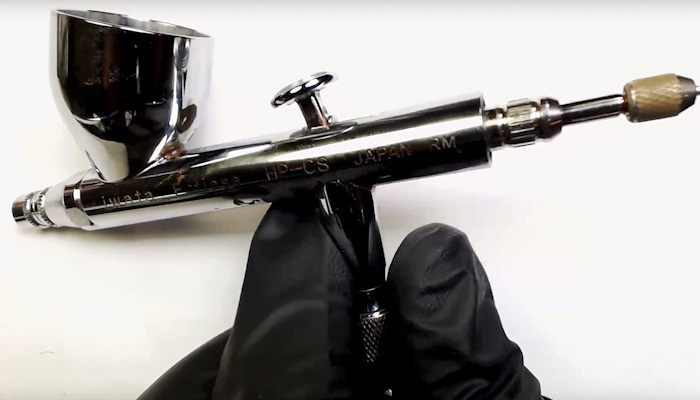
Also, The Iwata Eclipse Airbrush and the Vallejo Airbrush flow improver are both clutch pieces to have in your hobby arsenal.
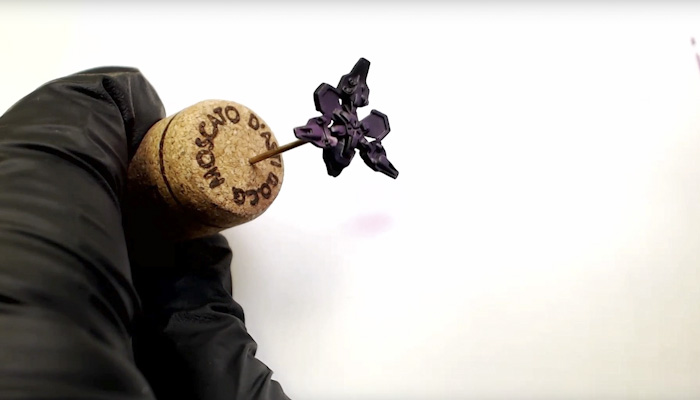
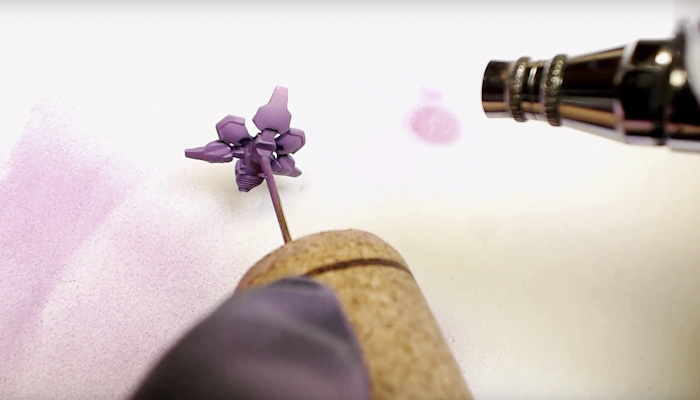
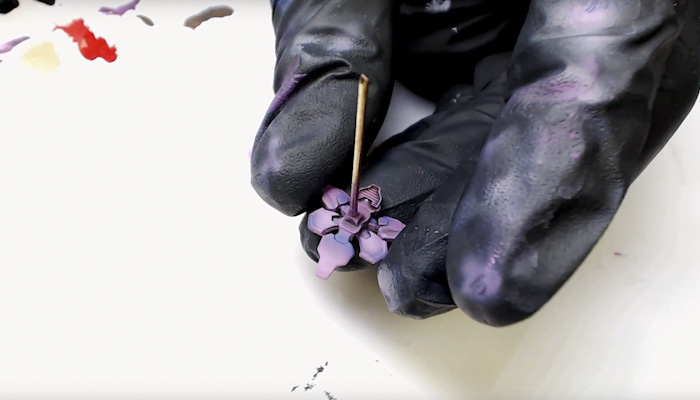
Step 1. The Model Vallejo Purple, just hit it up, this gives you an amazing base with just a single coat really.
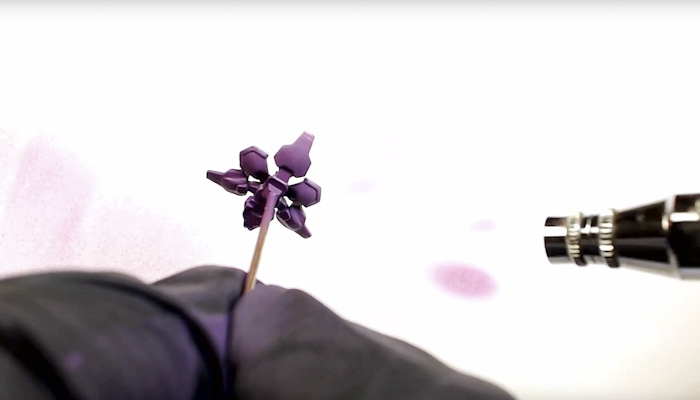
Step 2. We’re going to mix the quid pink and the purple. Now we’re going to use this mix to highlight the pedals.
Pro-Tip: Regardless of the color you’re going to highlight with, always mix it with the base color and hit the model with it. That’s what gives us amazing transitions. This technique also helps you eliminate the speckling and rough transitions which can happen with air brushing.
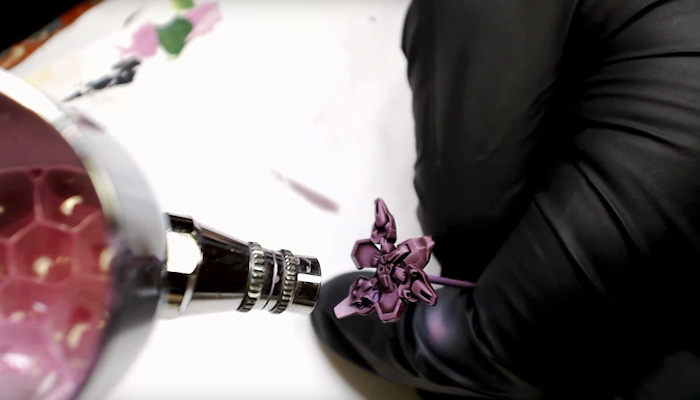
Step 3: add some white. Don’t over think it, don’t worry about getting the pot super clean. Just add it in and spray. Then just hit the ends of these petals.
Step 4: Then we do the airbrush thinner and the Vallejo gloss acrylic varnish. Gloss it on. Let it dry. Done.
Note: The Gloss not only helps prevent chipping on the pewter models but also helps the wash flow better into the crevices and away from our flat area’s where we want out base colors to pop.
Step 5: Then we’re using Citadel Shade, Carroburg Crimson. Note, I may have mixed in a bit of purple wash into this, so your results may vary a bit.
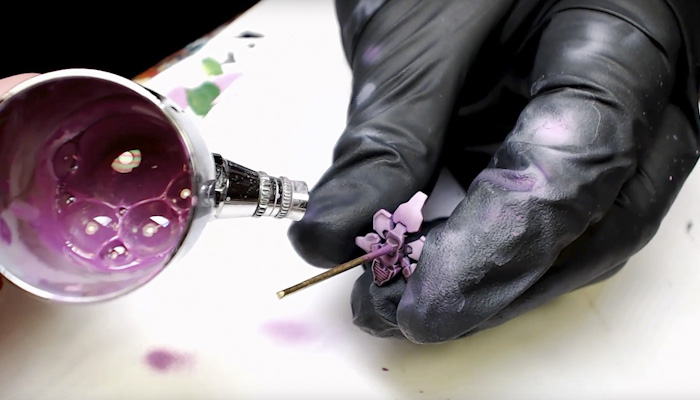
Step 6: Back to the original mix, Purple and Pink. Time use more water and more flow improver than you did before. We’re going on thin, super thin so we can MAINTAIN those wash transitions
Step 7: Hit it with the purple, SUPER thin. Sometimes, I’ll go back over with the darker color once we have the lighter color on to build back the purple.
Pro-Tip: The purple will interact differently with the lighter base than it did with the darker base we had at first. This is what helps create amazing transitions.
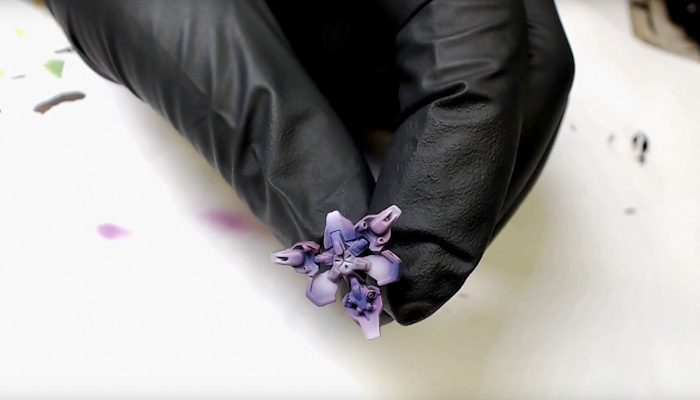
Step 8: One of the most ancient of techniques, we’re going to bring in a different color now, Prussian Blue, which we’re going to mix in with the Purple and drop off a bit into the deepest points of the transitions.
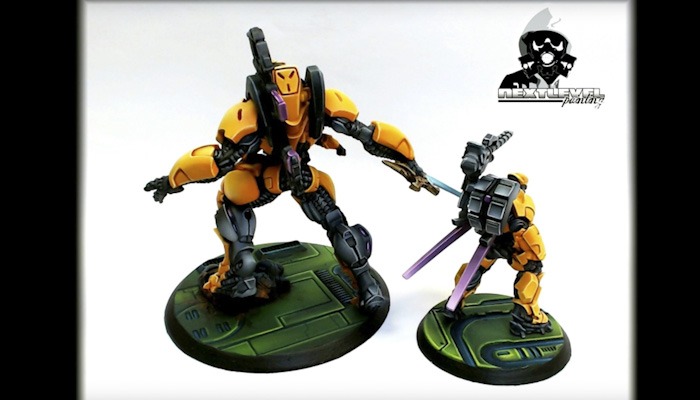
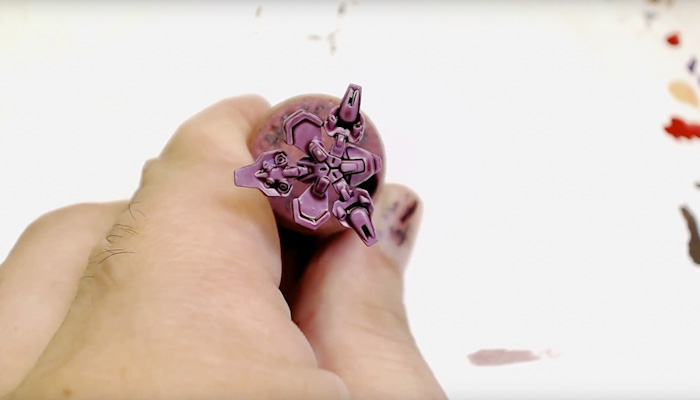
You can see here the finished product. It’s got some life and some pop to it because we used half a dozen colors on it and even made a few of our own.
To see the this backpack come to life check out the video.
The 8 Steps to Painting Purple You Should Know!

