Easy Hacks For Painting Skintones & Orange


Master skin tones and painting orange! Today I’m going to show you some techniques to get your new AoS Dwarf army up to hobby par.
These dwarf models are F&$%(*G amazing. I love them. They’re ballers with beards and cannons for arms. Let’s get to it:
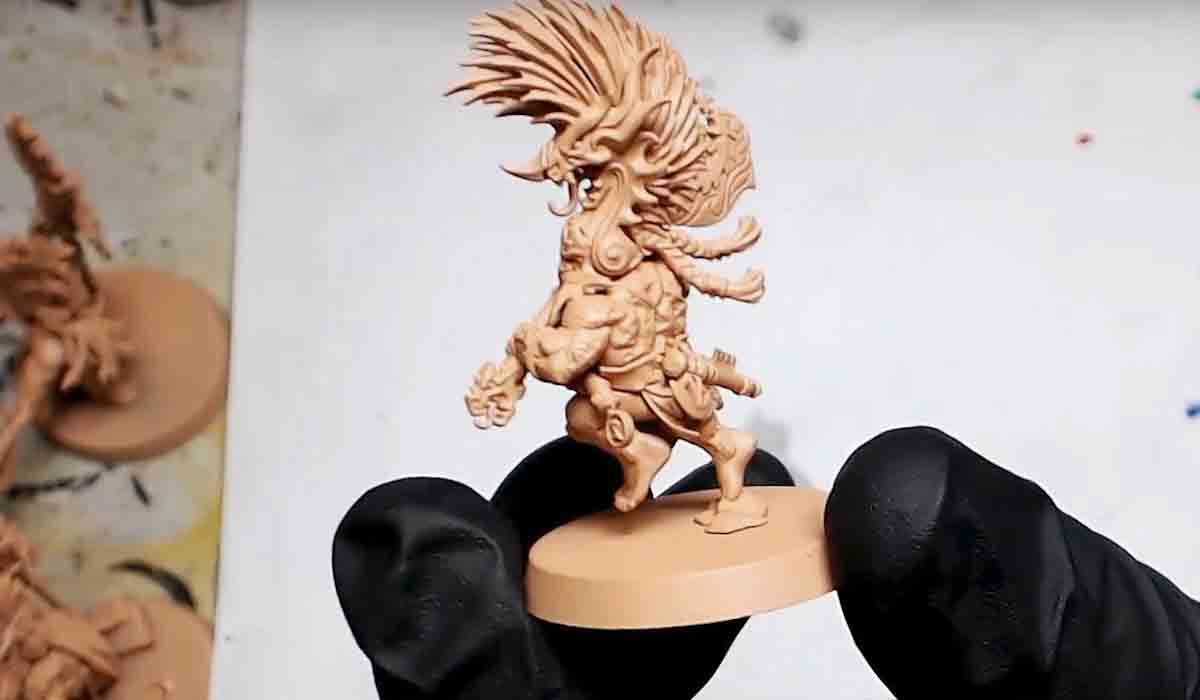
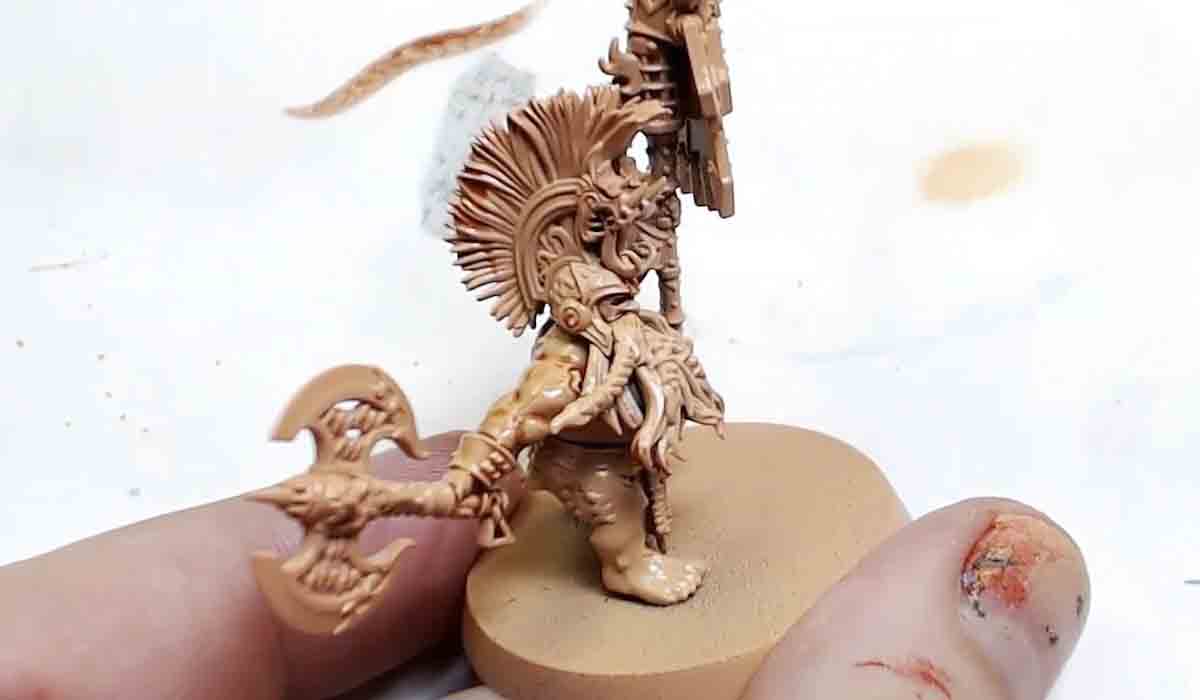
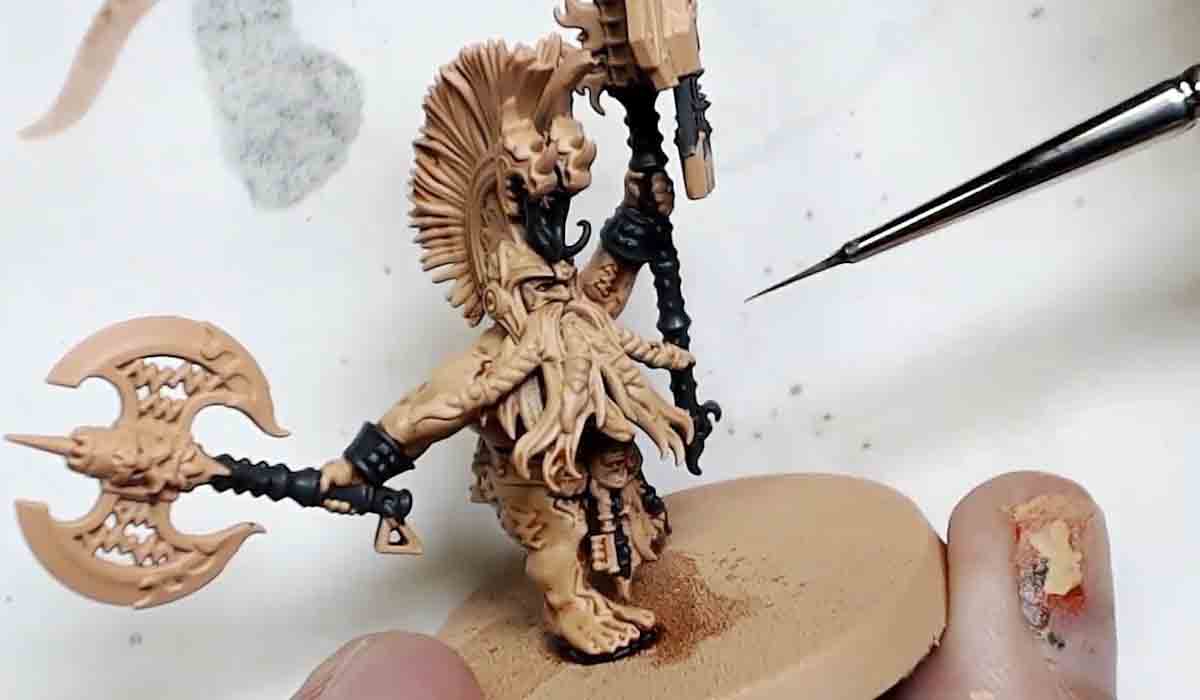
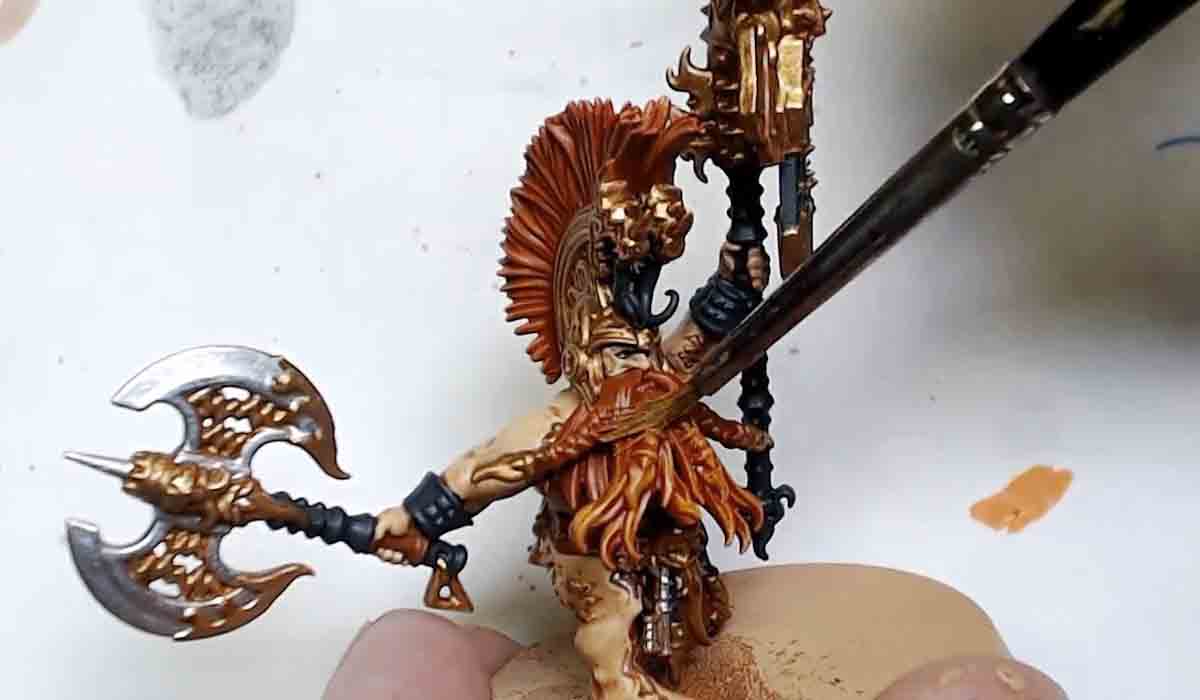
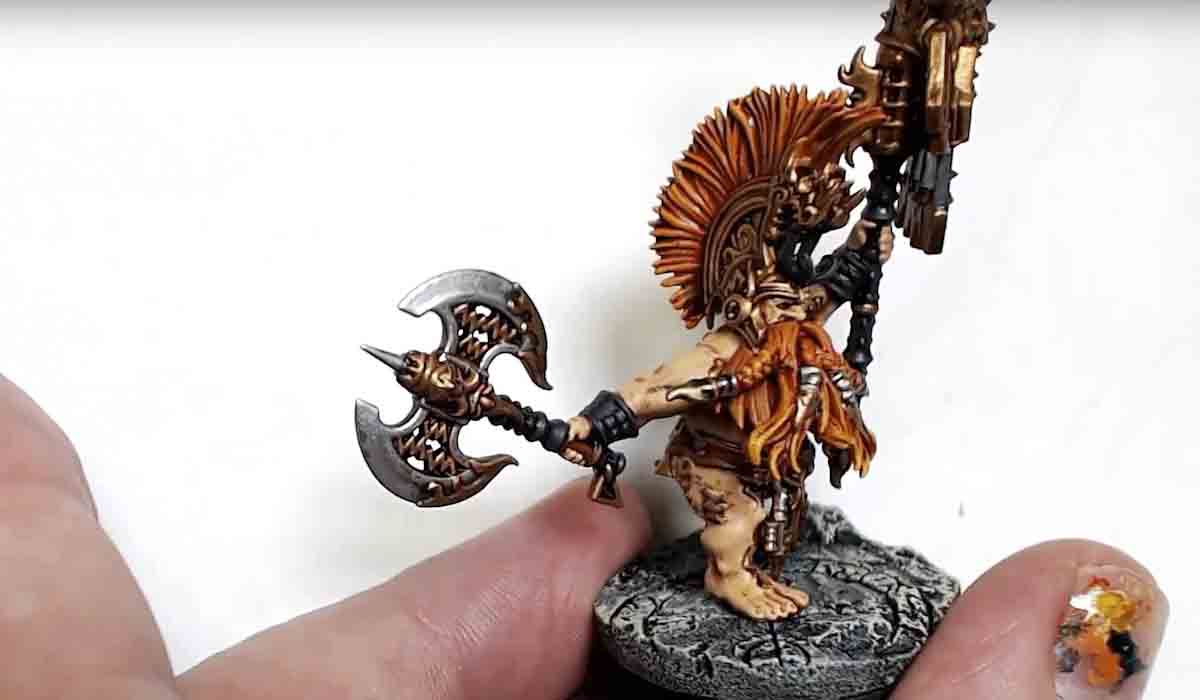
Step 1: we base it with barbarian flesh and hit it with Elf Skintone to Highlight.
Step 2: we’re going really hard with the wash. I want you to know that the combination of the Gloss Varnish and the Wash is a one two combo of easy. The wash just drains off those big flat area’s and cuts the baby sitting time way down.
Step 3: After the gloss varnish and gloss wash you NEED a matte coat because it’s literally impossible to paint after that combo. I like Testors model masters lusterless, that’s the one I use.
Step 4: After the matte, highlight with Elf Skintone again, just real subtle.
Step 5: I’m going back in with the wash and putting in some more wash on the key muscles.
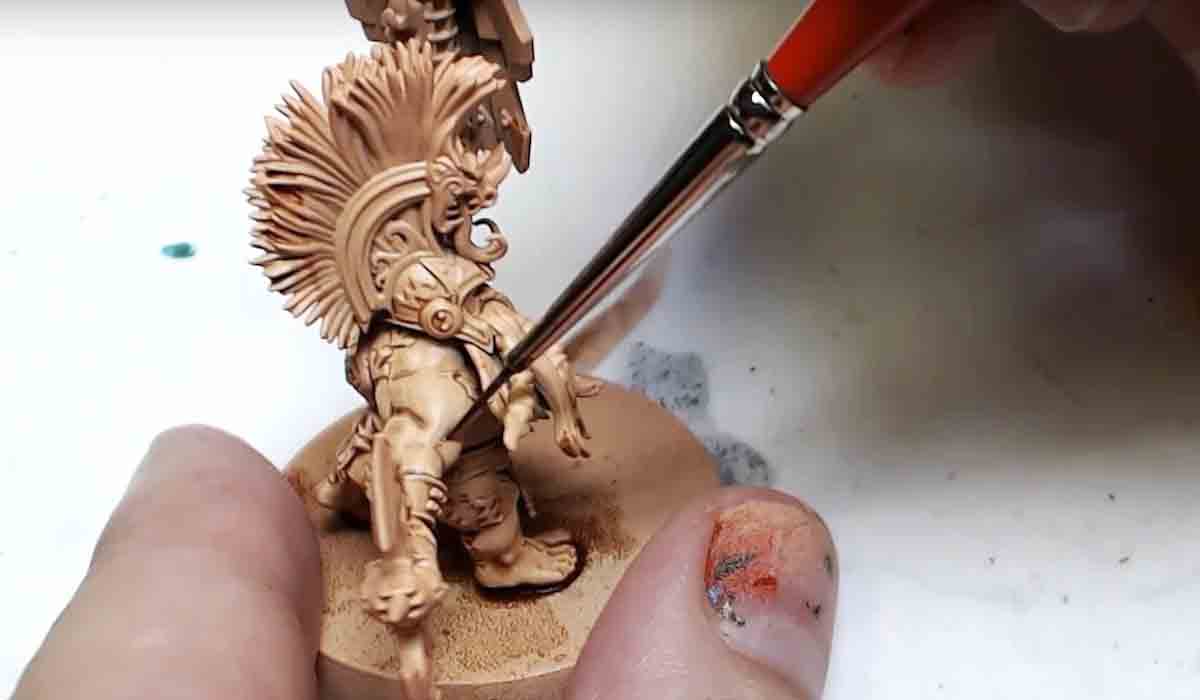
Step 6: Matte it down one more time.
Step 7: Vallejo German Grey, we’re painting the wrist wraps, everything you think will be a dark color just bang it out and methodlically pick them out.
Step 8: Bloodstone, it’s brown with a lot of depth. We’re going to use this where we going to put the leather sections.
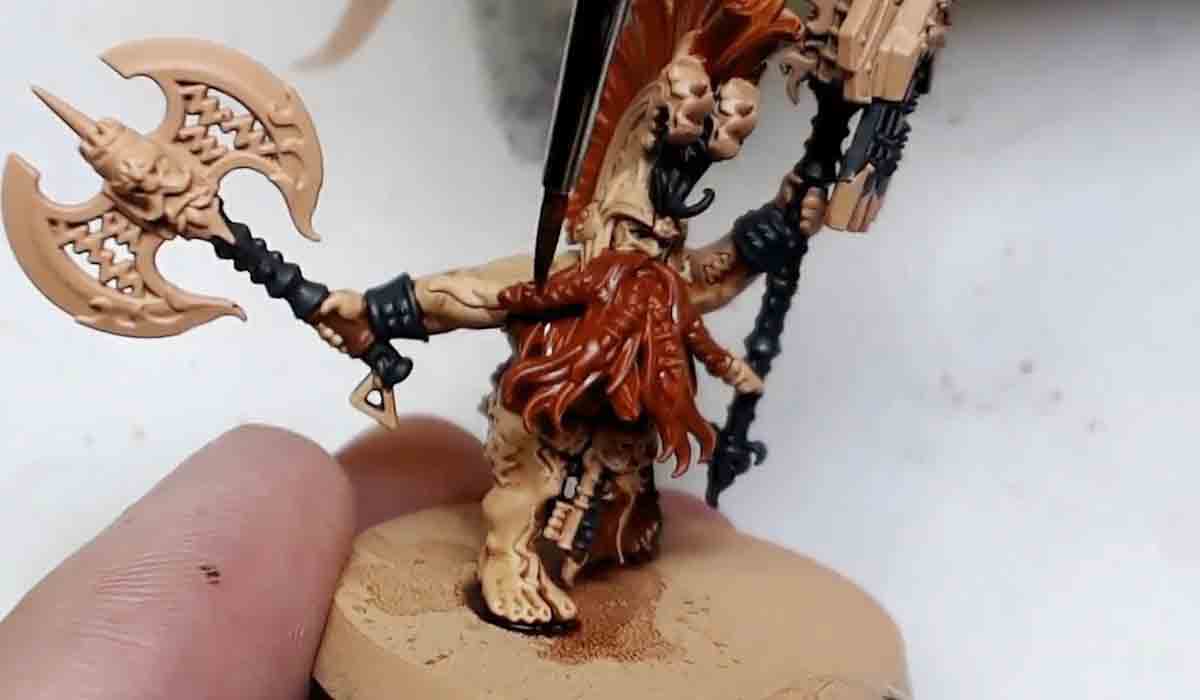
Step 9: Game Color: Calvary Brown and Flame Orange for his beard. This is the pre-layer to the orange, I don’t want to just go hard with the Orange.
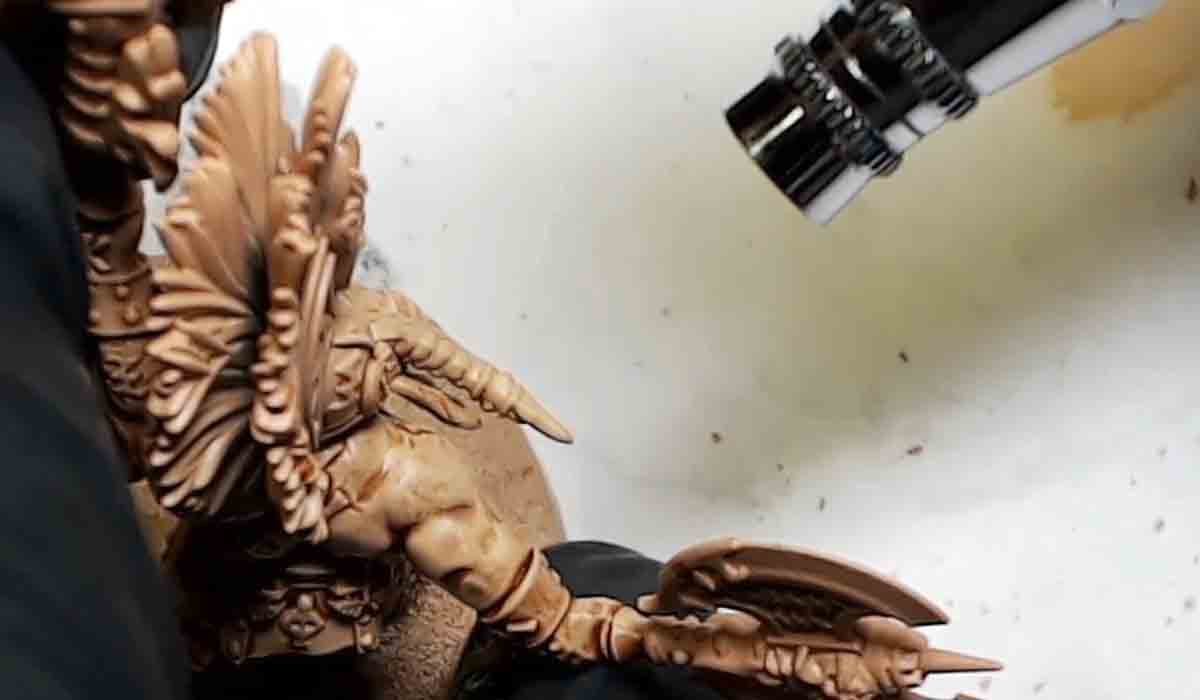
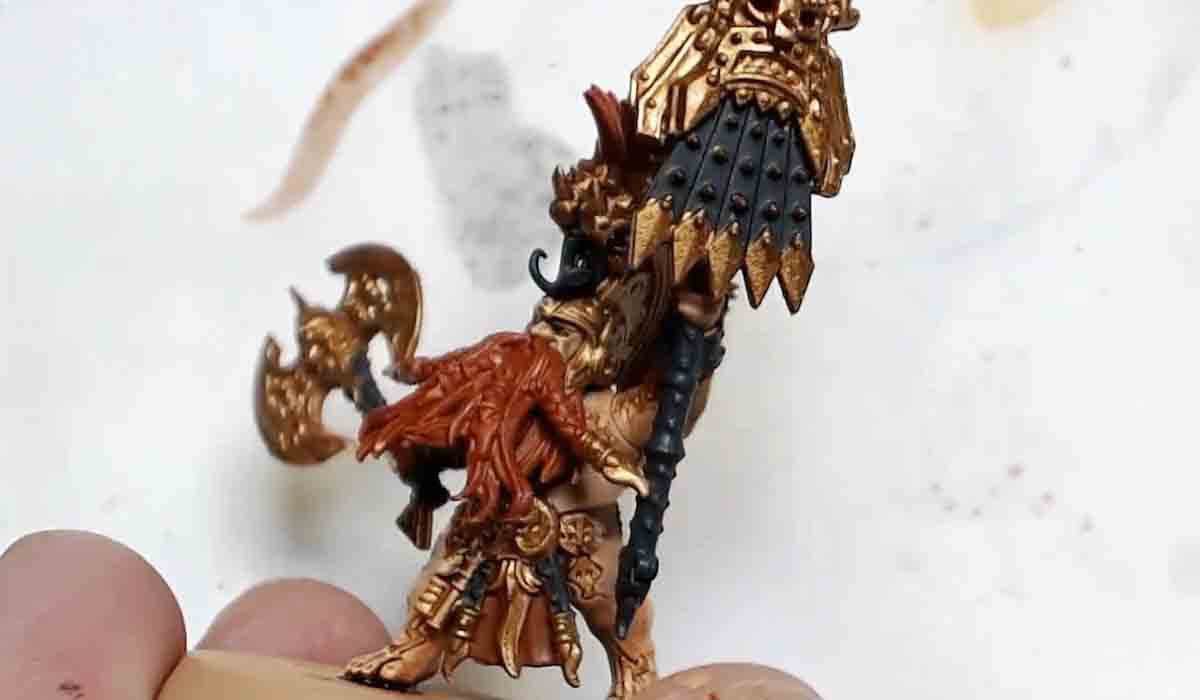
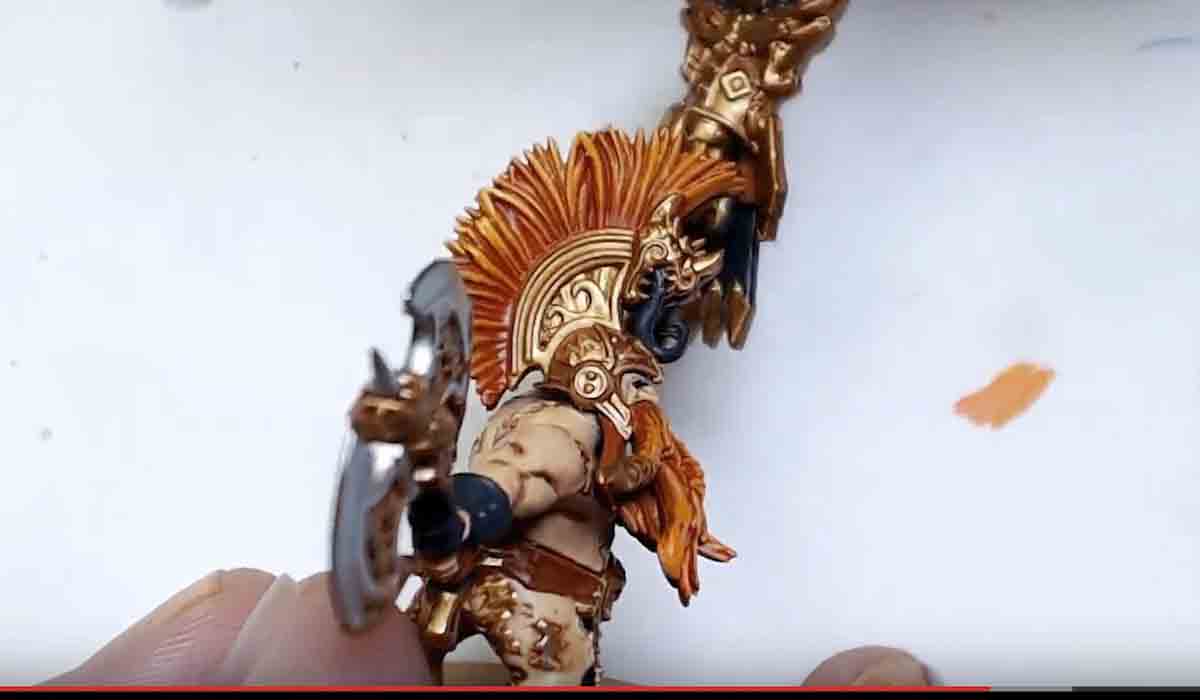
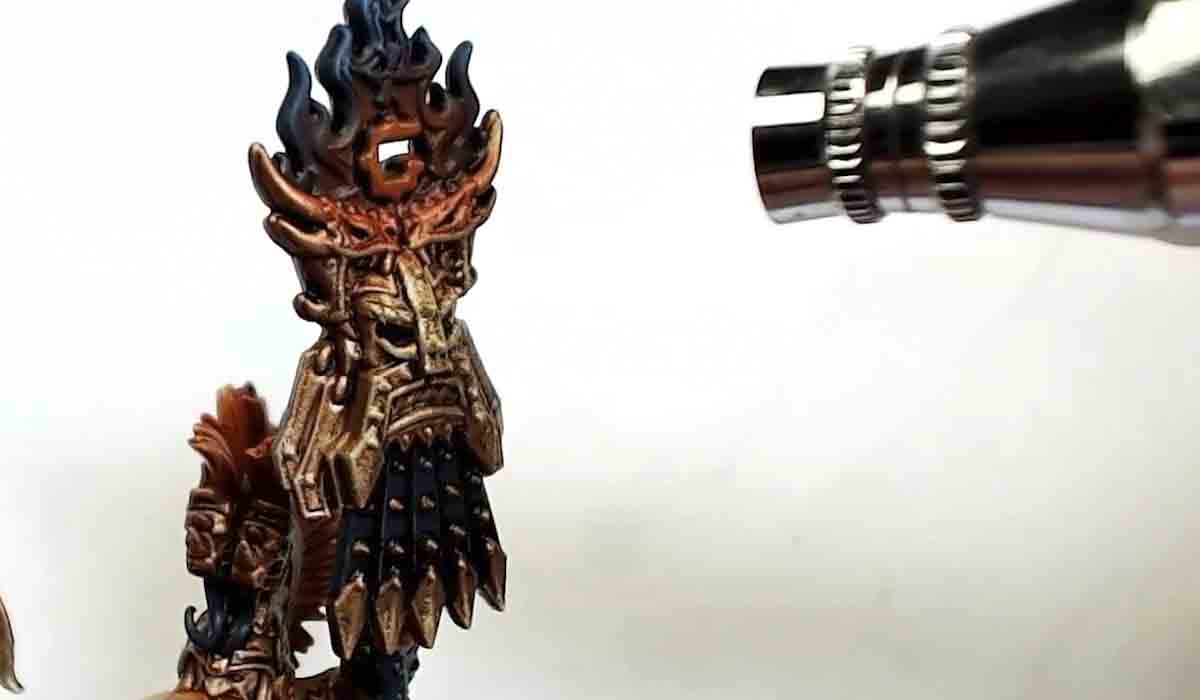
Step 10: Combine Molten Bronze and New Gold and attack the metal parts. You can see his details being fleshed out. We’re going to be individually washing these sections.
Step 11: Citadel Stormhost Silver, Layer, and hit the silver details. You’ll notice I didn’t gold the details, instead I painted it all gold and then put the silver in and left the gold alone for the details. It’s a real simple process and works for me.
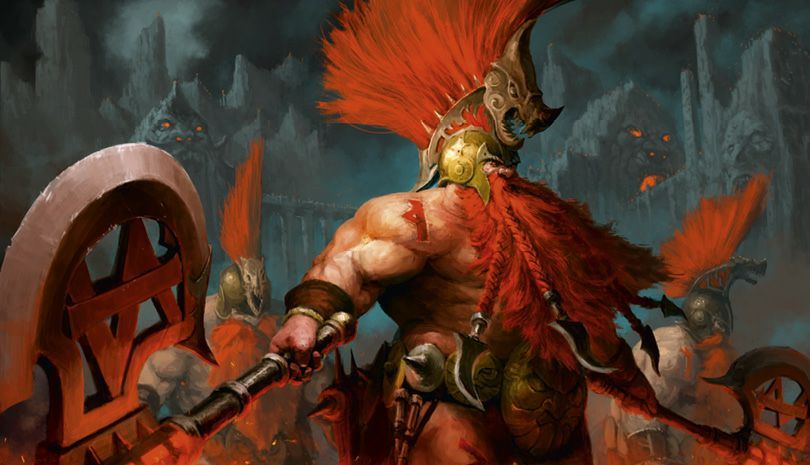
Step 12: Orange Fire Wet/Dry brush. We’re leaving the paint a little streaky so it blends in better, it’s not a straight dry brush. This is the GW studio method and I’m just copying the box art this point. We’re building up to that orange.
Step 13: Golden Yellow: Quick dry brush into the plume and the bottom of the beard. It’s an easy technique.
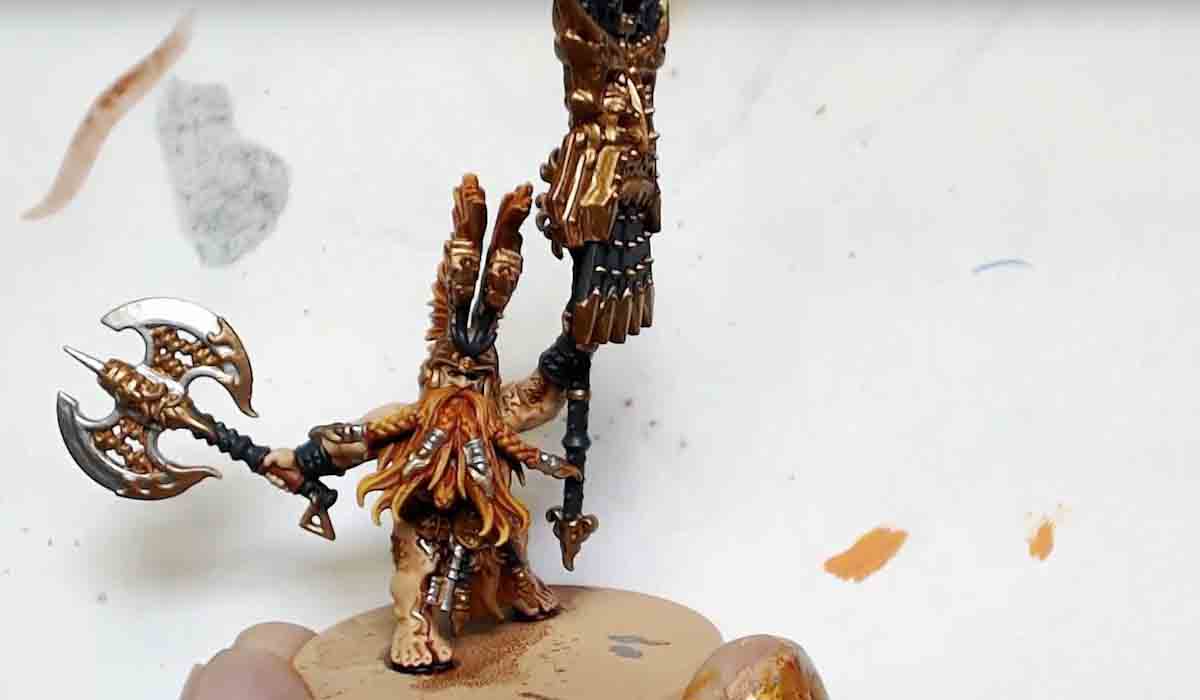
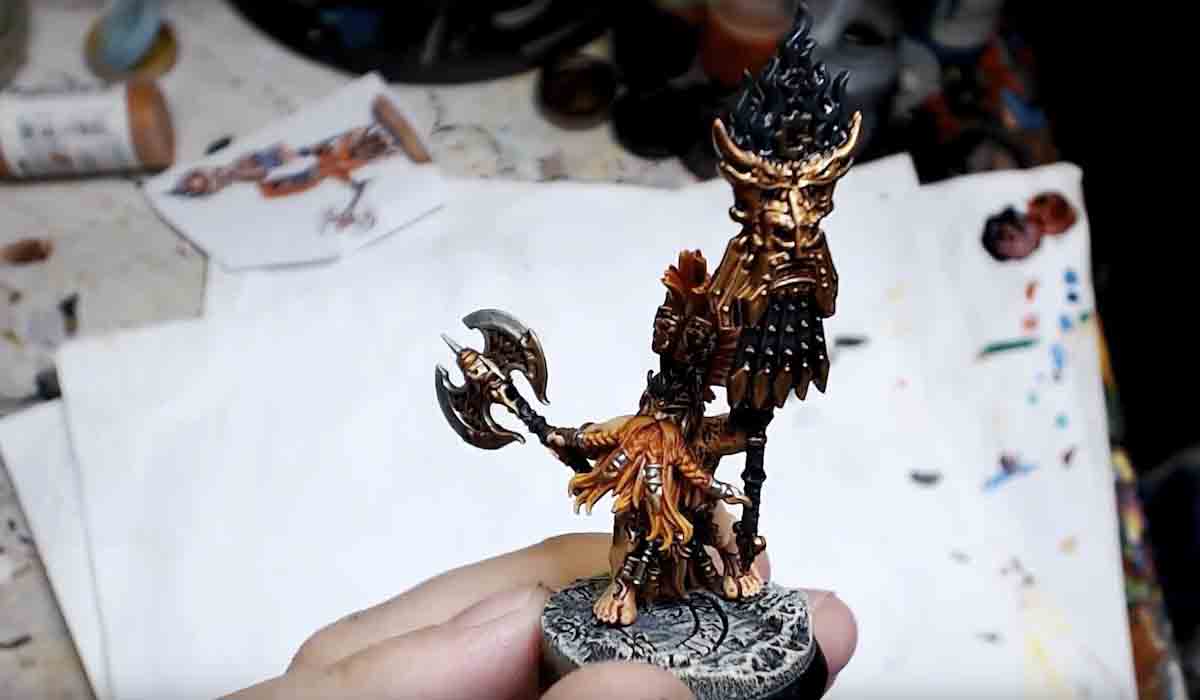
Step 14: get the beard jewelry that dwarves like with the colors we used in the previous steps.
This is solid, and for just a few more minutes than were people would normally stop. But wait, there’s more.
Step 15: Citadel Nulin oil gloss, We’re going to slather it over the grey and the gold and the silver It flows so well. I didn’t gloss coat a thing. The wash is attacking the not gloss model with it’s own gloss medium.
Step 16: Citadel Reikland flesh shade, hit the plume and the beard. The transition is amazing. All it did was dark the recess and left the gold and yellow so bright and didn’t mess with our dry brushing.
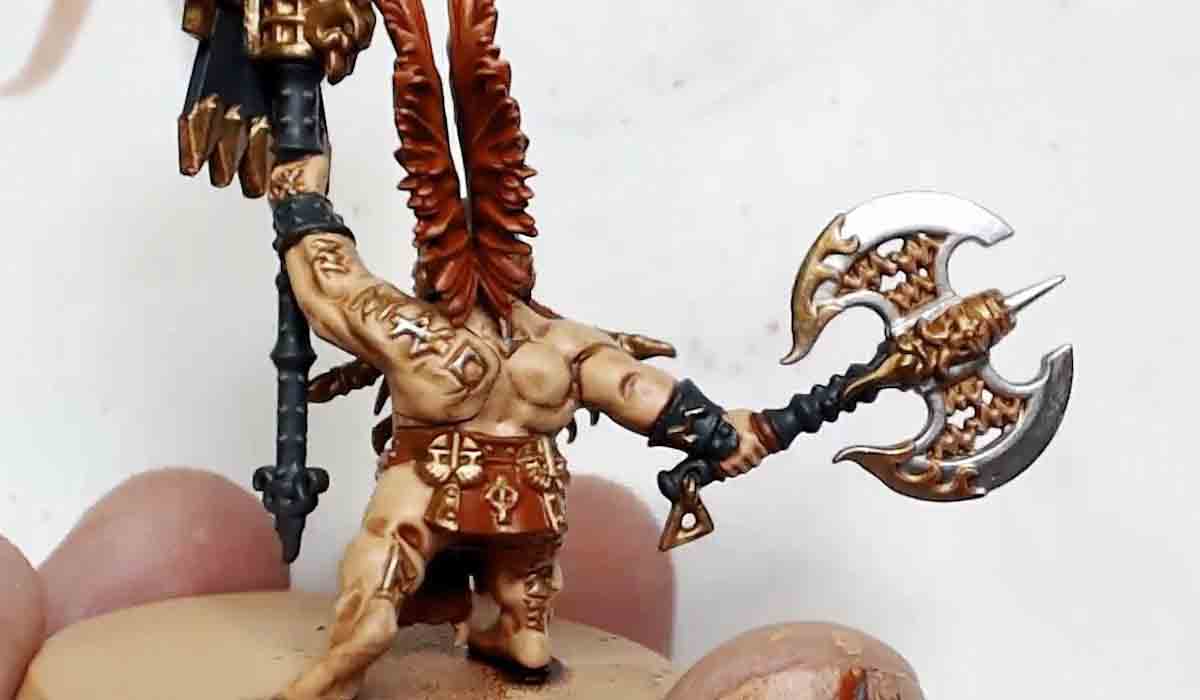
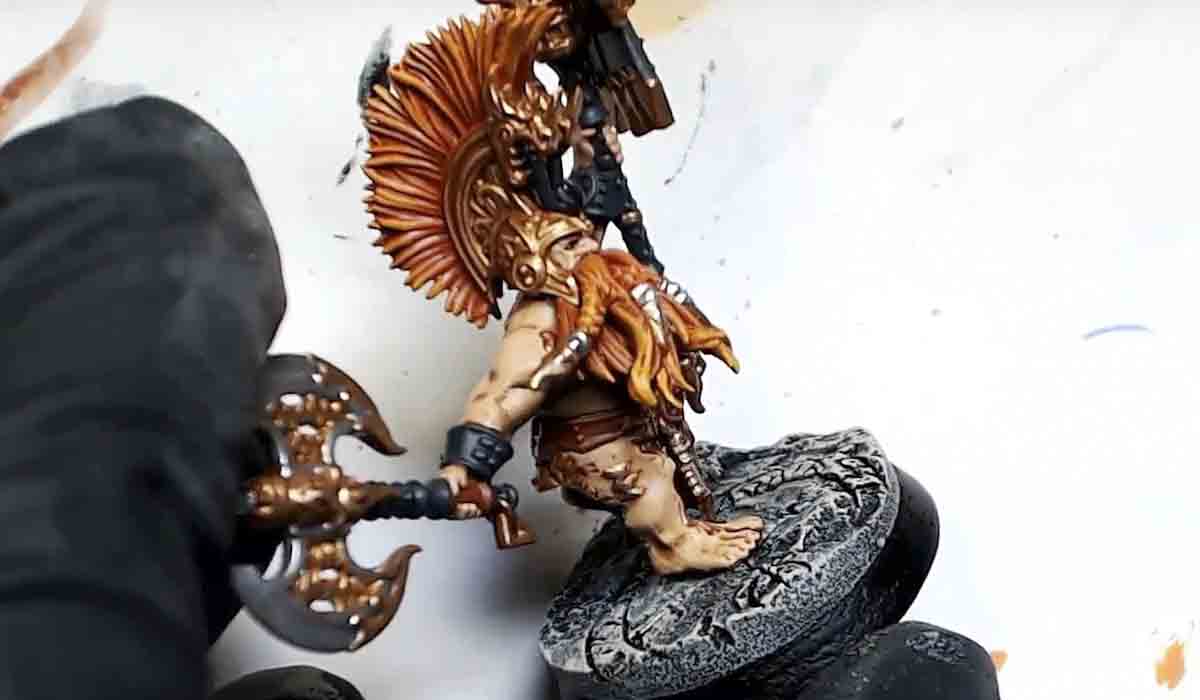
Step 17: Dry Brush the axe blade with the stormhost silver, really easy. Just focus on the tips. You want some gradation; don’t over complicate it.
Step 18: Hit the gold with the same colors as before.
Step 19: German grey with some blue and dry brush it over the German grey parts. You want to build it up over time not all at once focusing on the top.
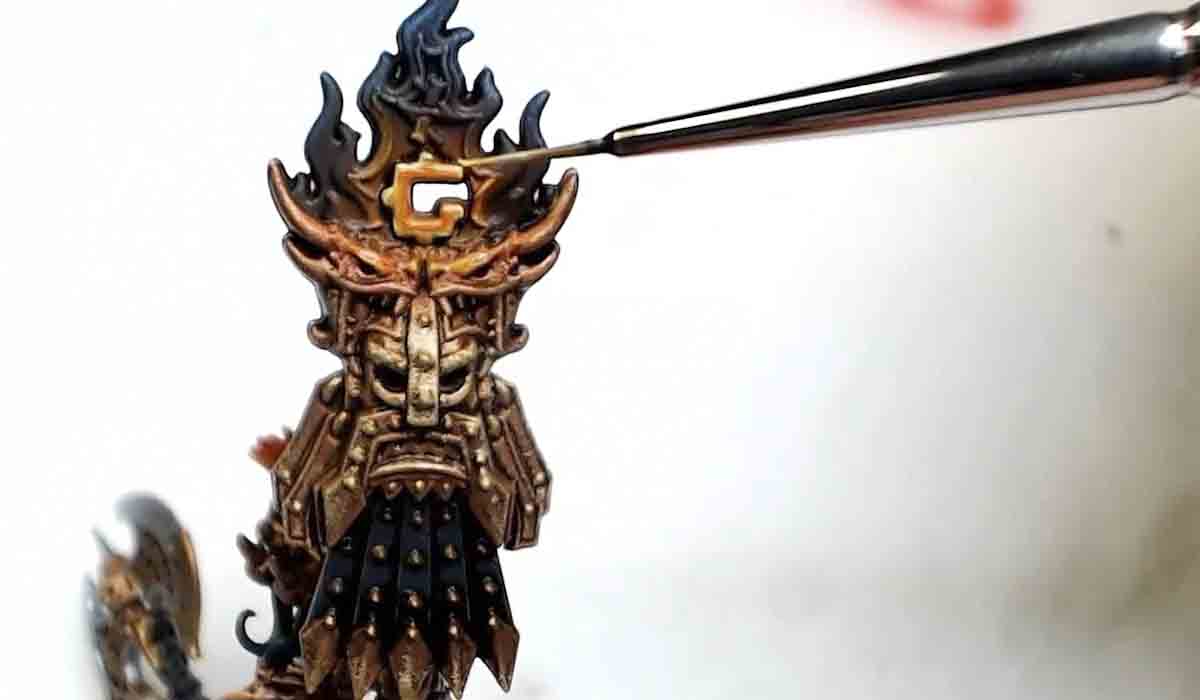
Step 20: Hit the icon with some Scarlet Red and I think it’s supposed to be glowing.
Step 21: Flame Orange with some yellow on your brush to really get the icon in the middle.. We add in some yellow and go brighter and thinner toward the center.
This is taking models to the next level quickly and easily.

