HOBBY: Sweet Necron Jet-bike Conversion!
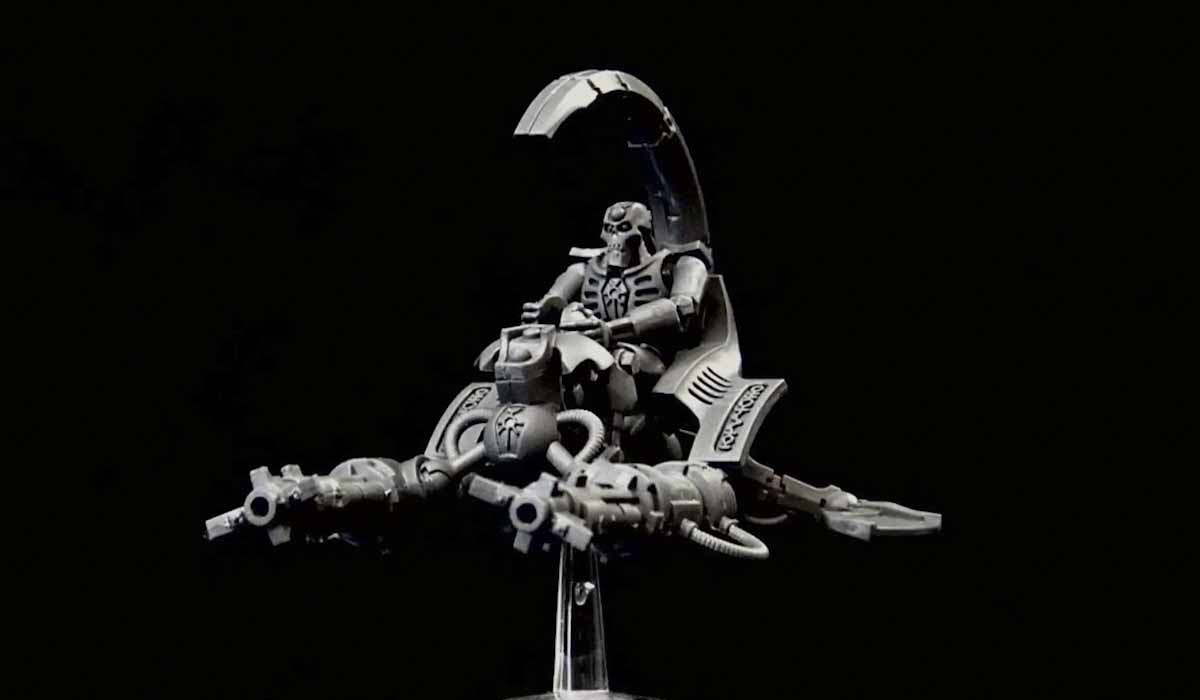

Hey Necron lovers, have you been jealous of all these Eldar jet bikes flying around? Check out my latest conversion.
Welcome back Hobby Maniacs! I know I haven’t hit you with any conversion tutorials in a long time. Back when I started my own site, it was a way for me to show you want I was working on and to hopefully inspire everyone. It was such a magical time because I was working on amazing conversion, at least to me, like I had a fully converted Ork Army.
I’ve been doing this for 7 years this fall, and I think when you do this every day this becomes more of a chore than a passion. However, I’m getting an opportunity to do more conversions and fresher hobby projects as of late so it has been a fun ride!
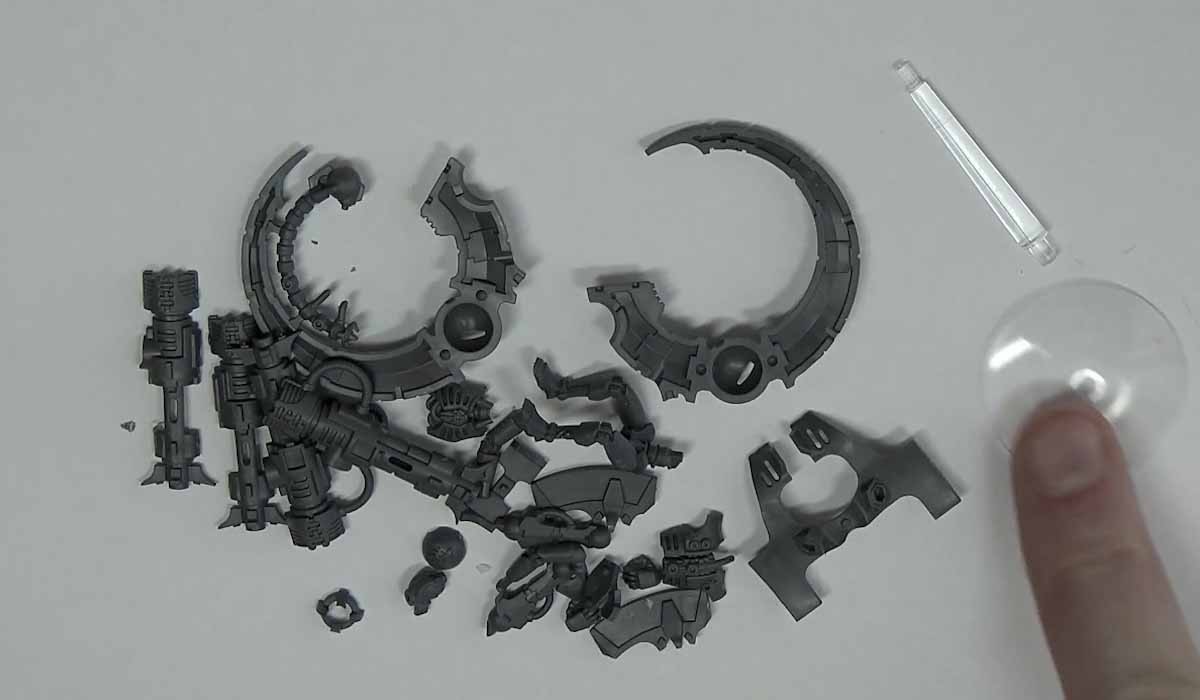
I start with the standard box but I had some extra heads from the Lychguard box so I’m going to use those instead and it’s going to look a bit more stylish.
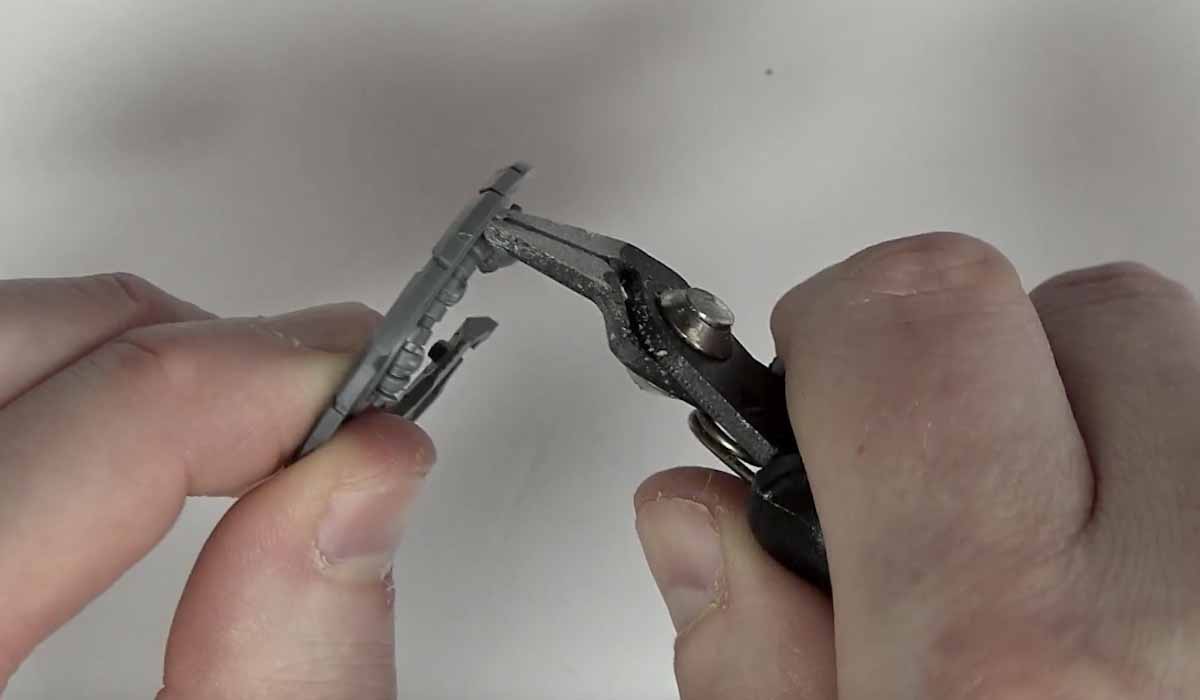
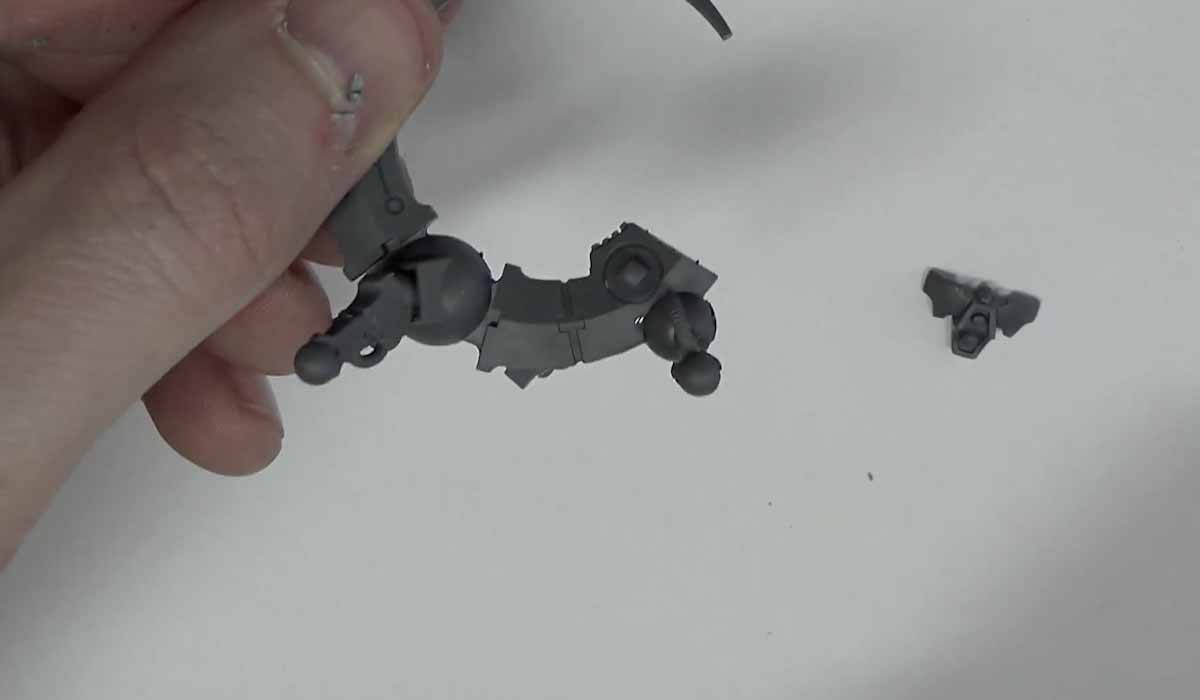
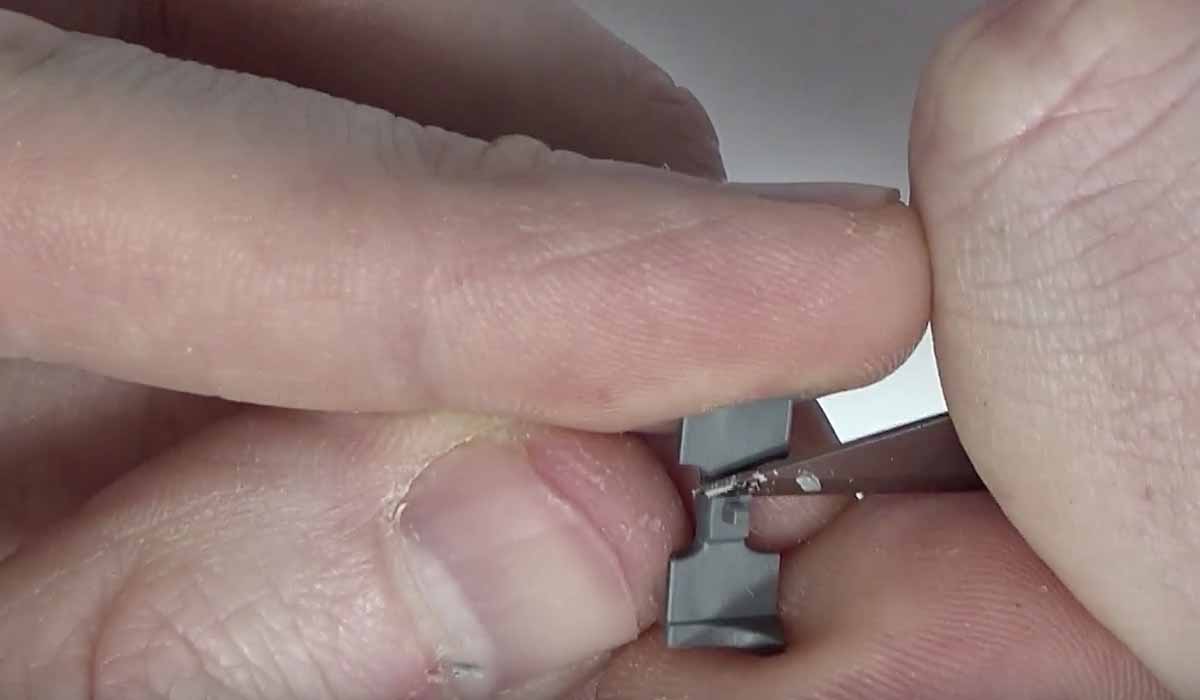
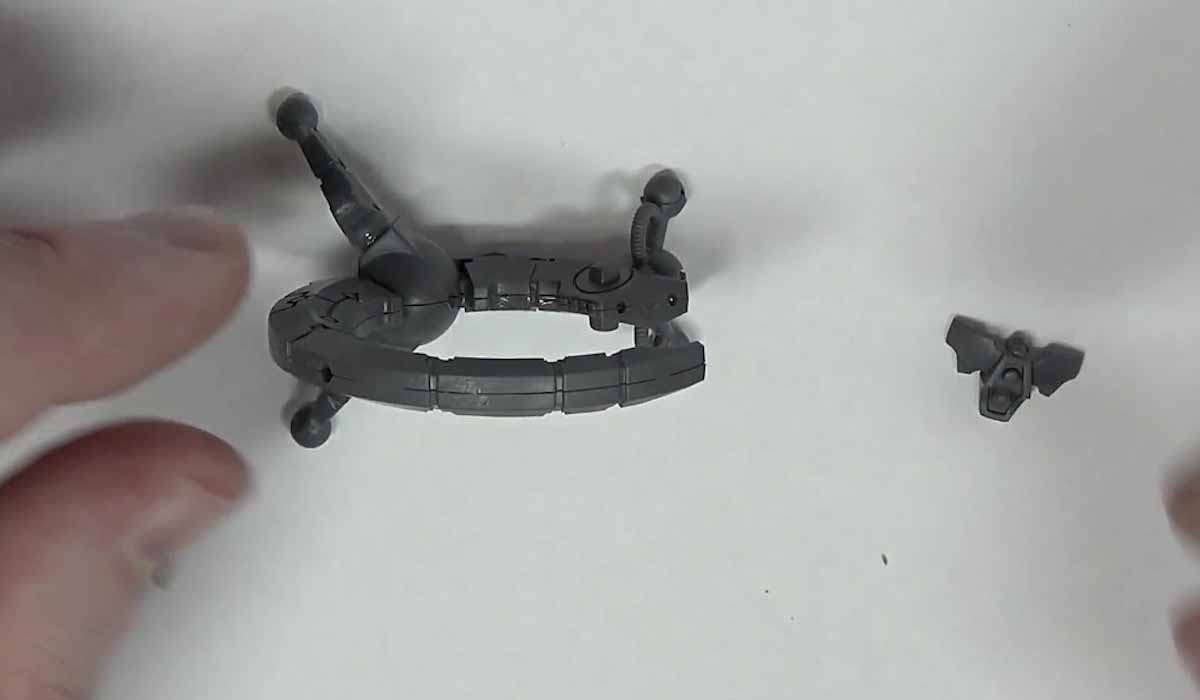
Step 1: Clip off the nebuoscope, it’s only attached to one half of the chassis so it’s easy to clip off.
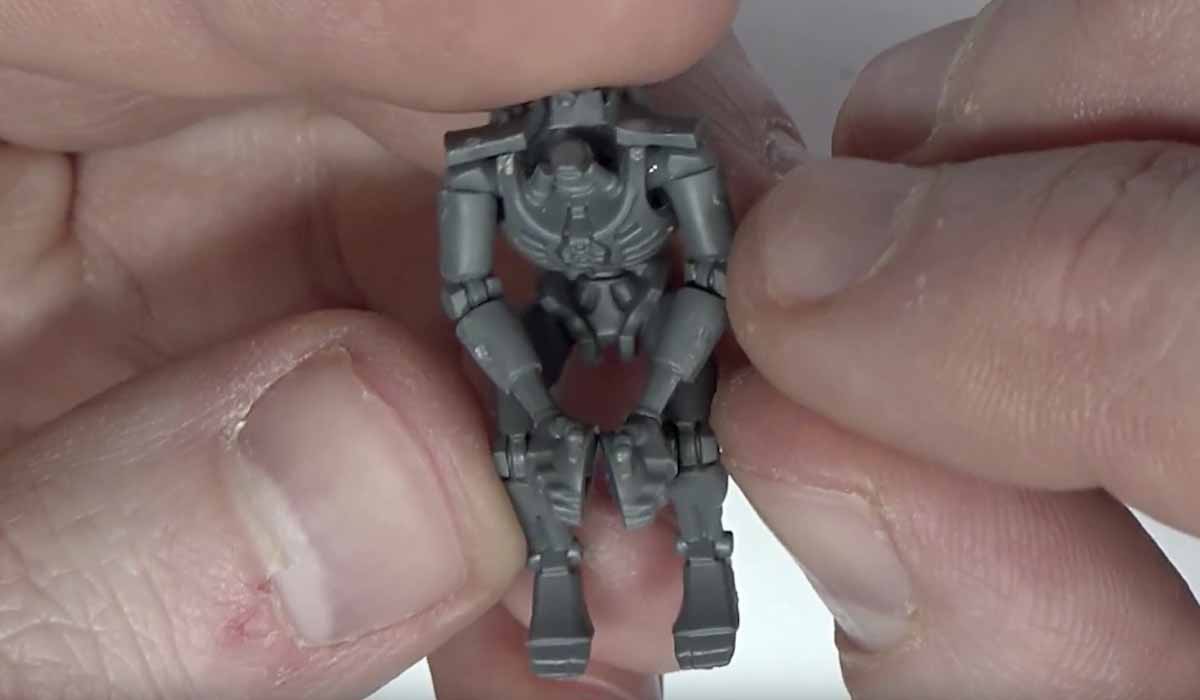
Step 2: Trim down his back spine region so he sits in a lot better.
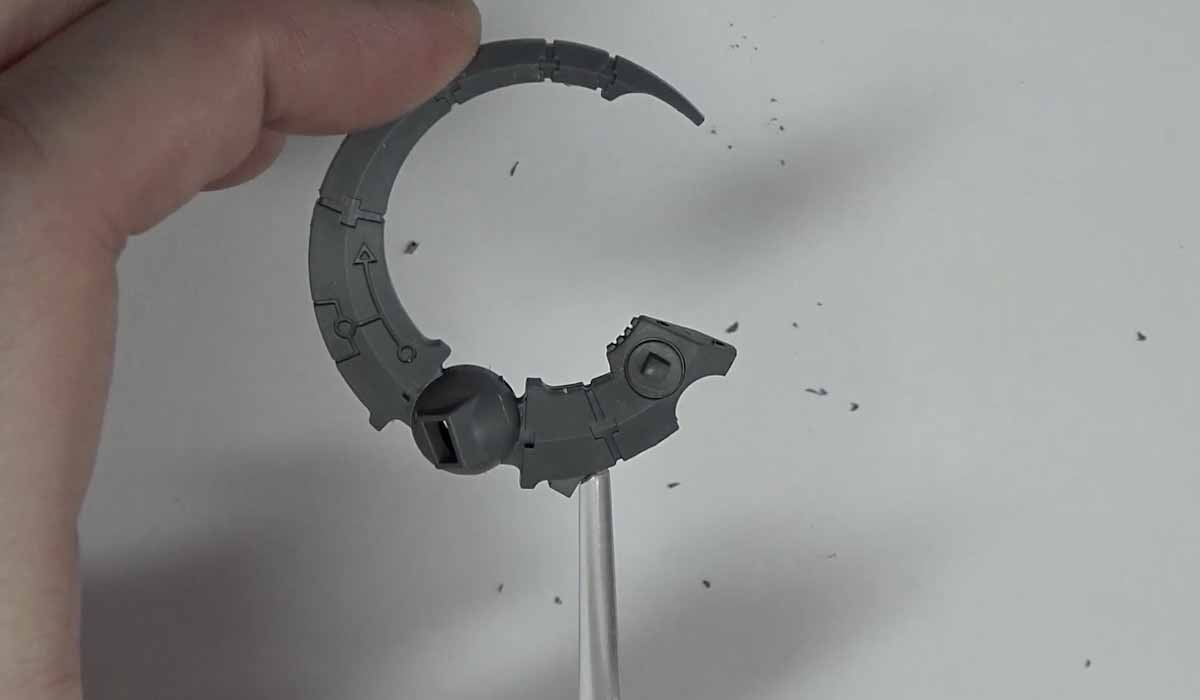
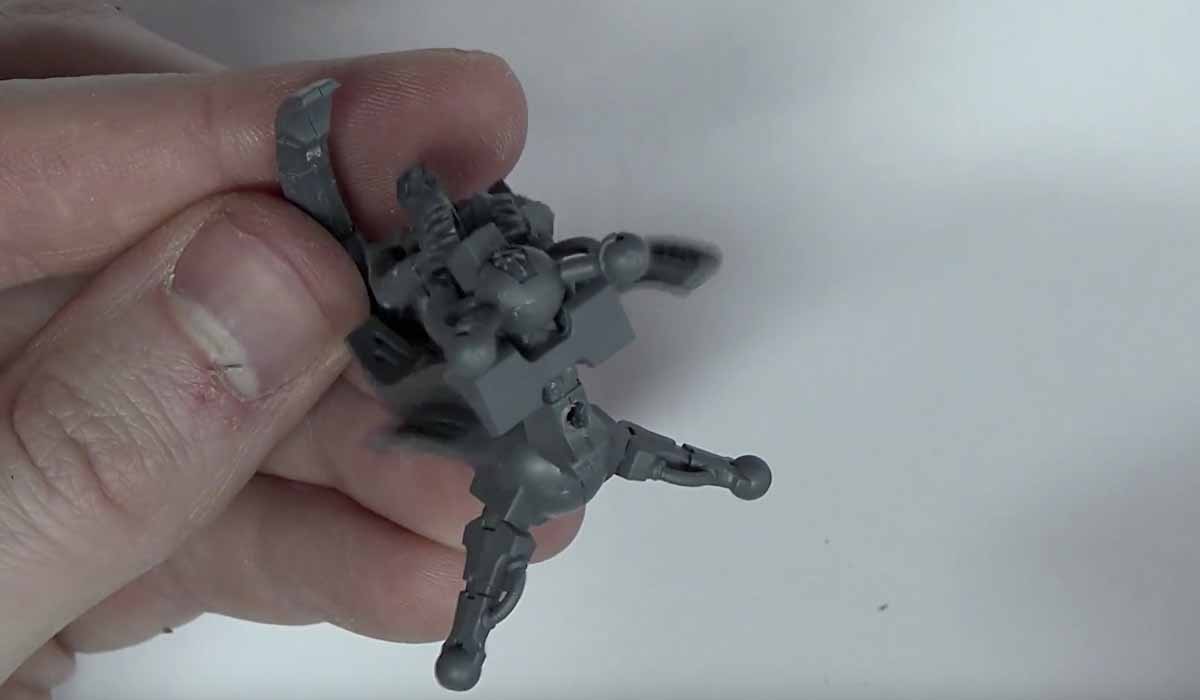
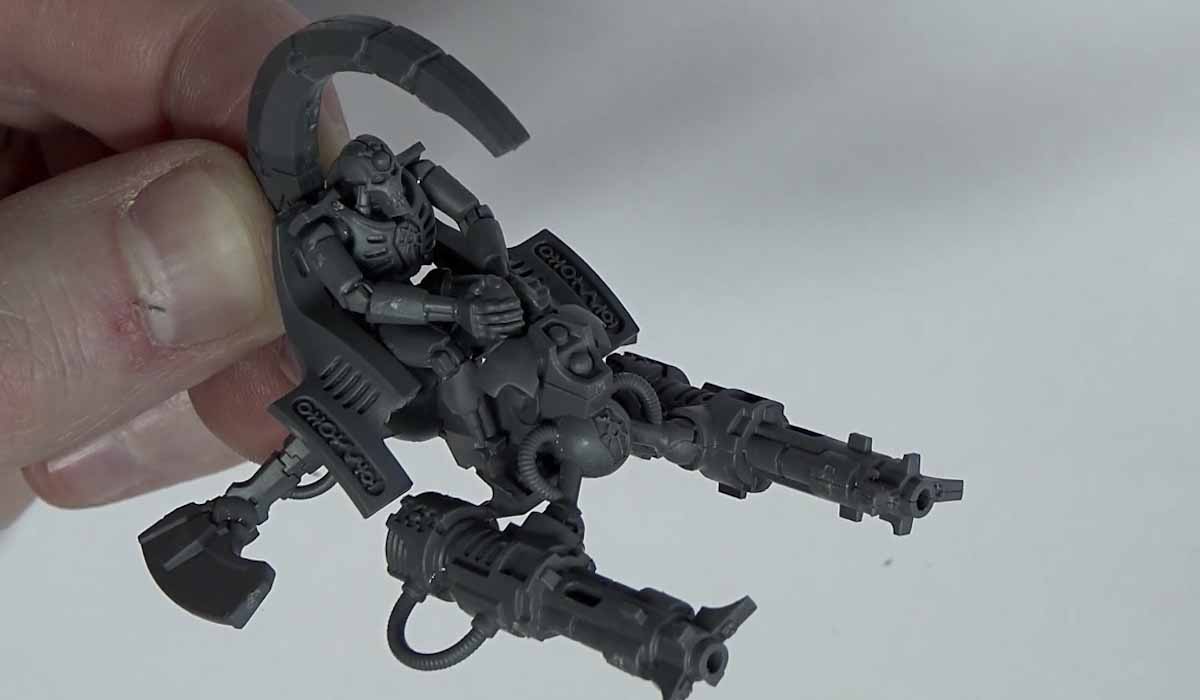
Step 3: Assemble the crescent shape and the rider, it’s assembly 101, if you’re worried about the gaps a bit of putty will clean it up. The tricky part here is that the arms, in the new assembly, don’t quite fit the console. So I just glue them so they’re kinda looking like a clapping monkey.
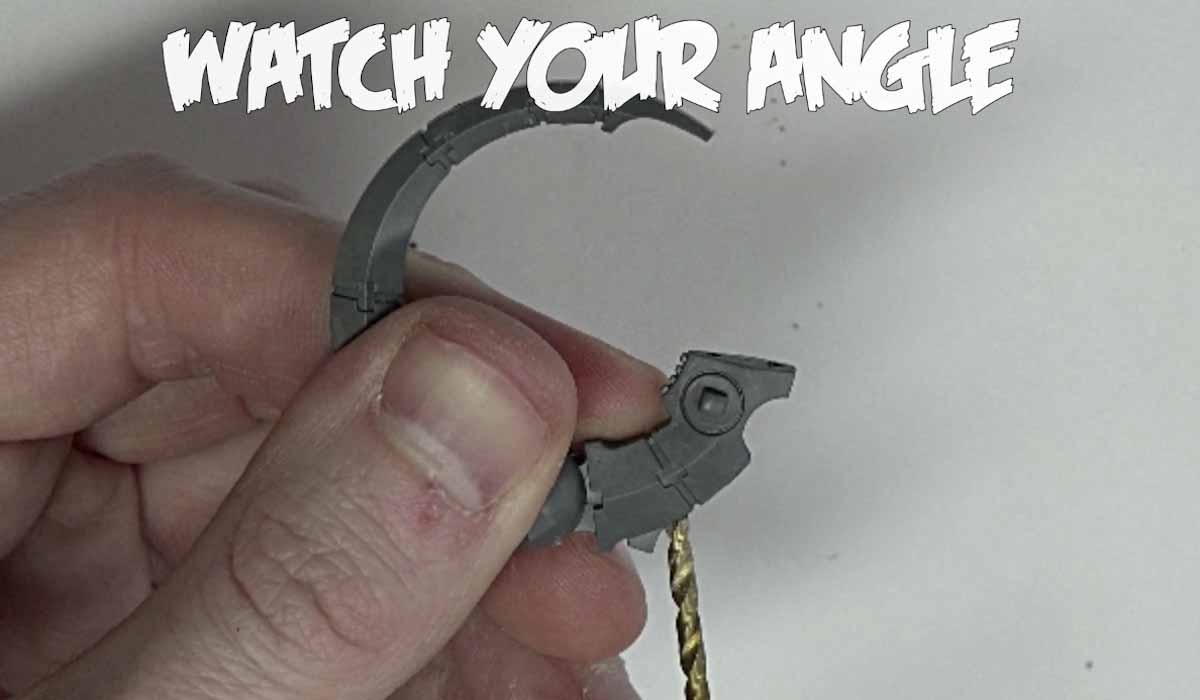
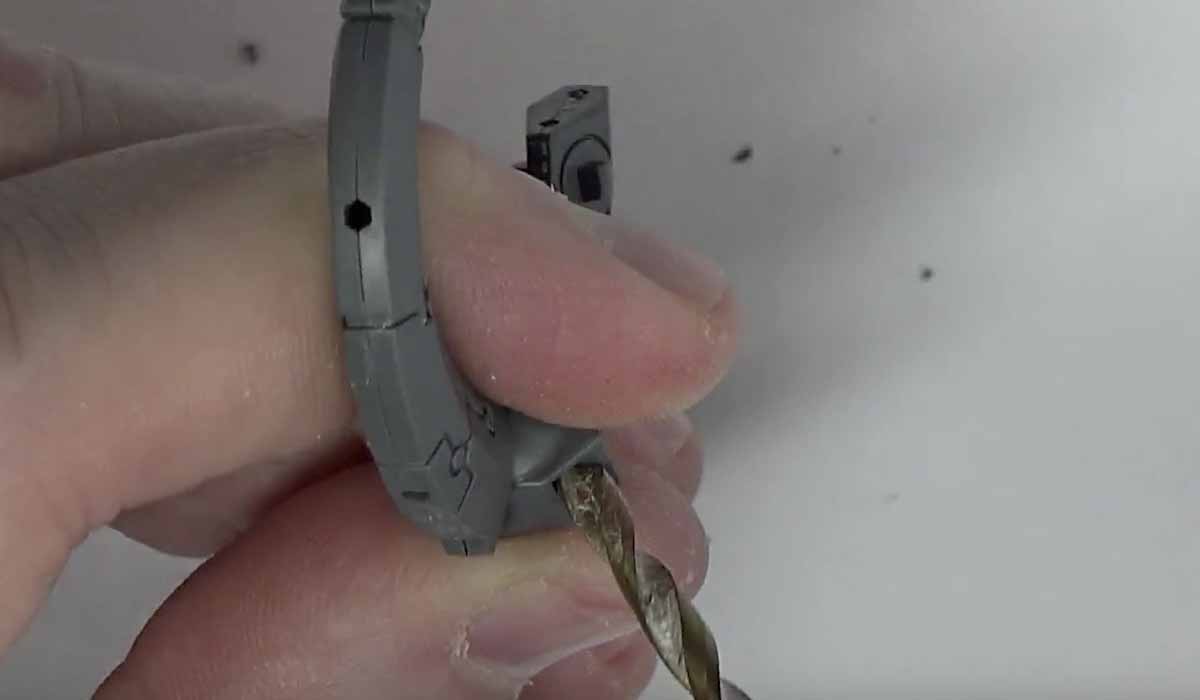
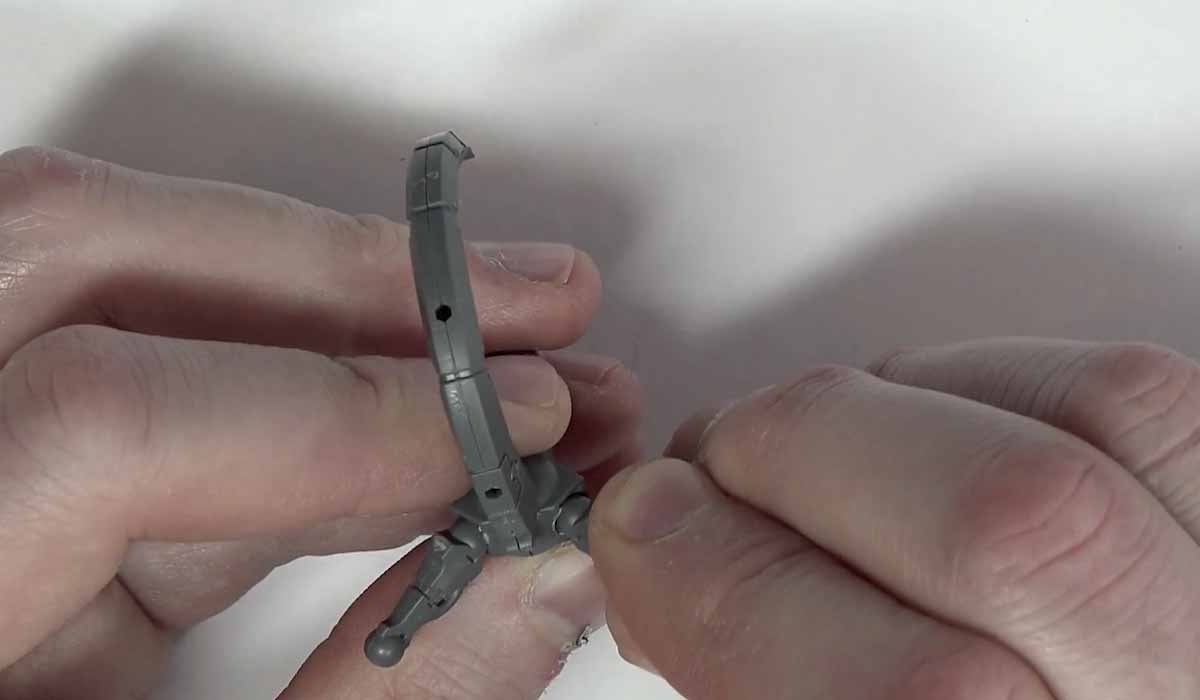
Step 4: using a 3/32” bit for the stand we drill into the chassis itself and a 1/8 bit for the wing/strut support.
Use the 1/8 bit into the engine because the strut is going to fit right in there.
Step 5: letting it dry. I really want to give this a chance to fit in right and glue tight so I’m going to let it sit under it’s own weight while I work on something else. Make sure you keep an eye on it and make sure it doesn’t move or it’ll feel lopsided.
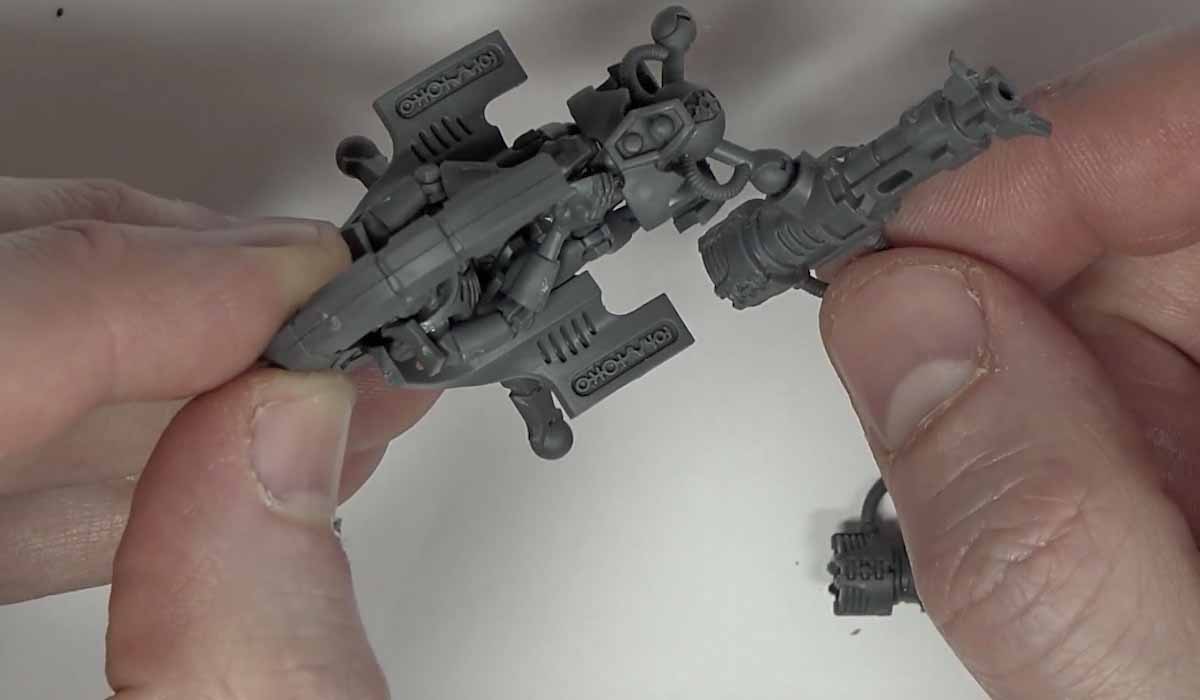
Step 6: Assemble the weapon. This is straight forward.
Step 7: Assemble the front end.
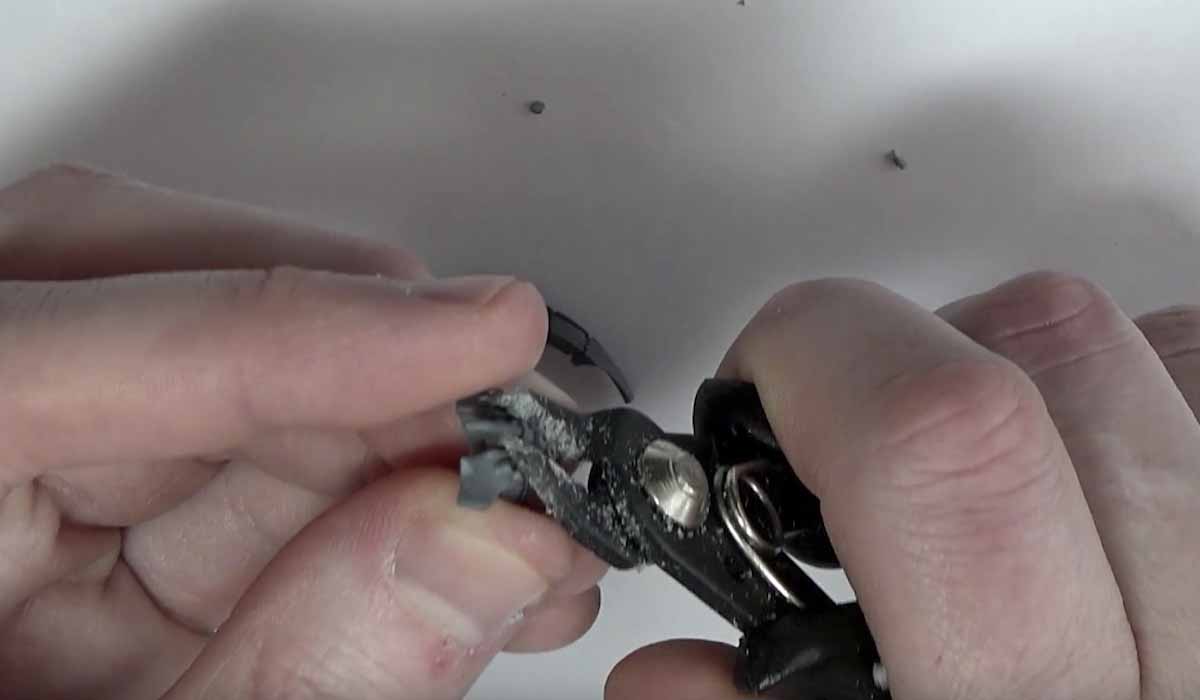
You’ll have to clip off the nub on the foot plate to get this part to fit in and you’ll just have to play with it to get it just right.
It’ll pop off a few times, because it takes some time for the tackiness to hold everything together. You’ll notice the hands still look like they’re clapping but once you put on the top end it kinda hides that part.
Pro-Tip: do this all in assembly line so you can do one, wait for it to tack, then do another, then going back, then forward until they’re all set up right.
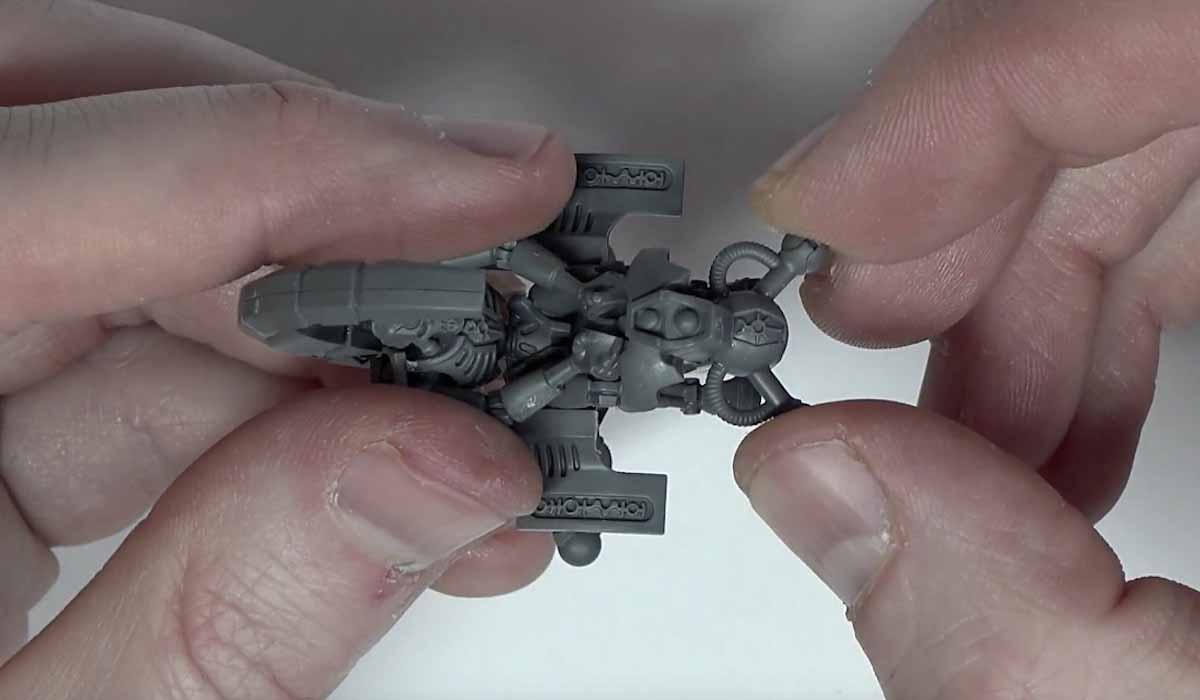
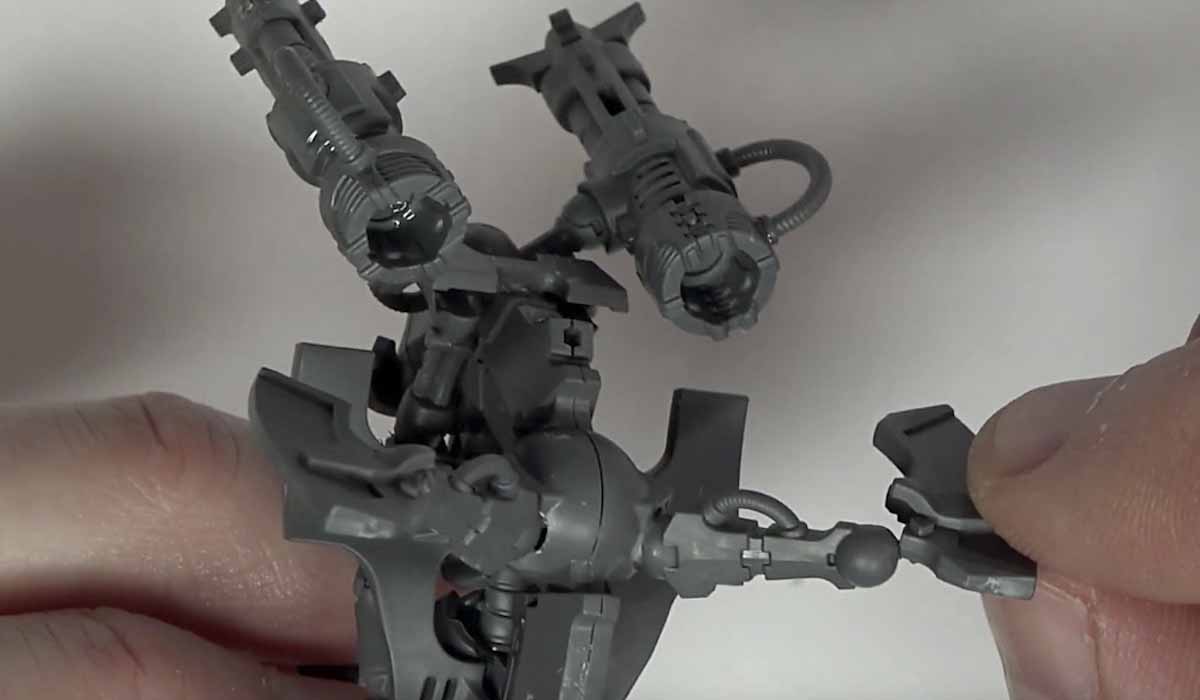
Step 8: Add the front weapon mounts. You can see here I left the tubing on to keep everything just looking uniform
Step 9: attach the wings. You’ll notice the support bracket goes on the bottom.
Pro-tip: use a bit of wet paper towel to moisten the plastic glue and give it more tackiness.
So who’s ready to make their own?
Zoom Zoom!

