GMM: Building the Shipyard – Laser Power

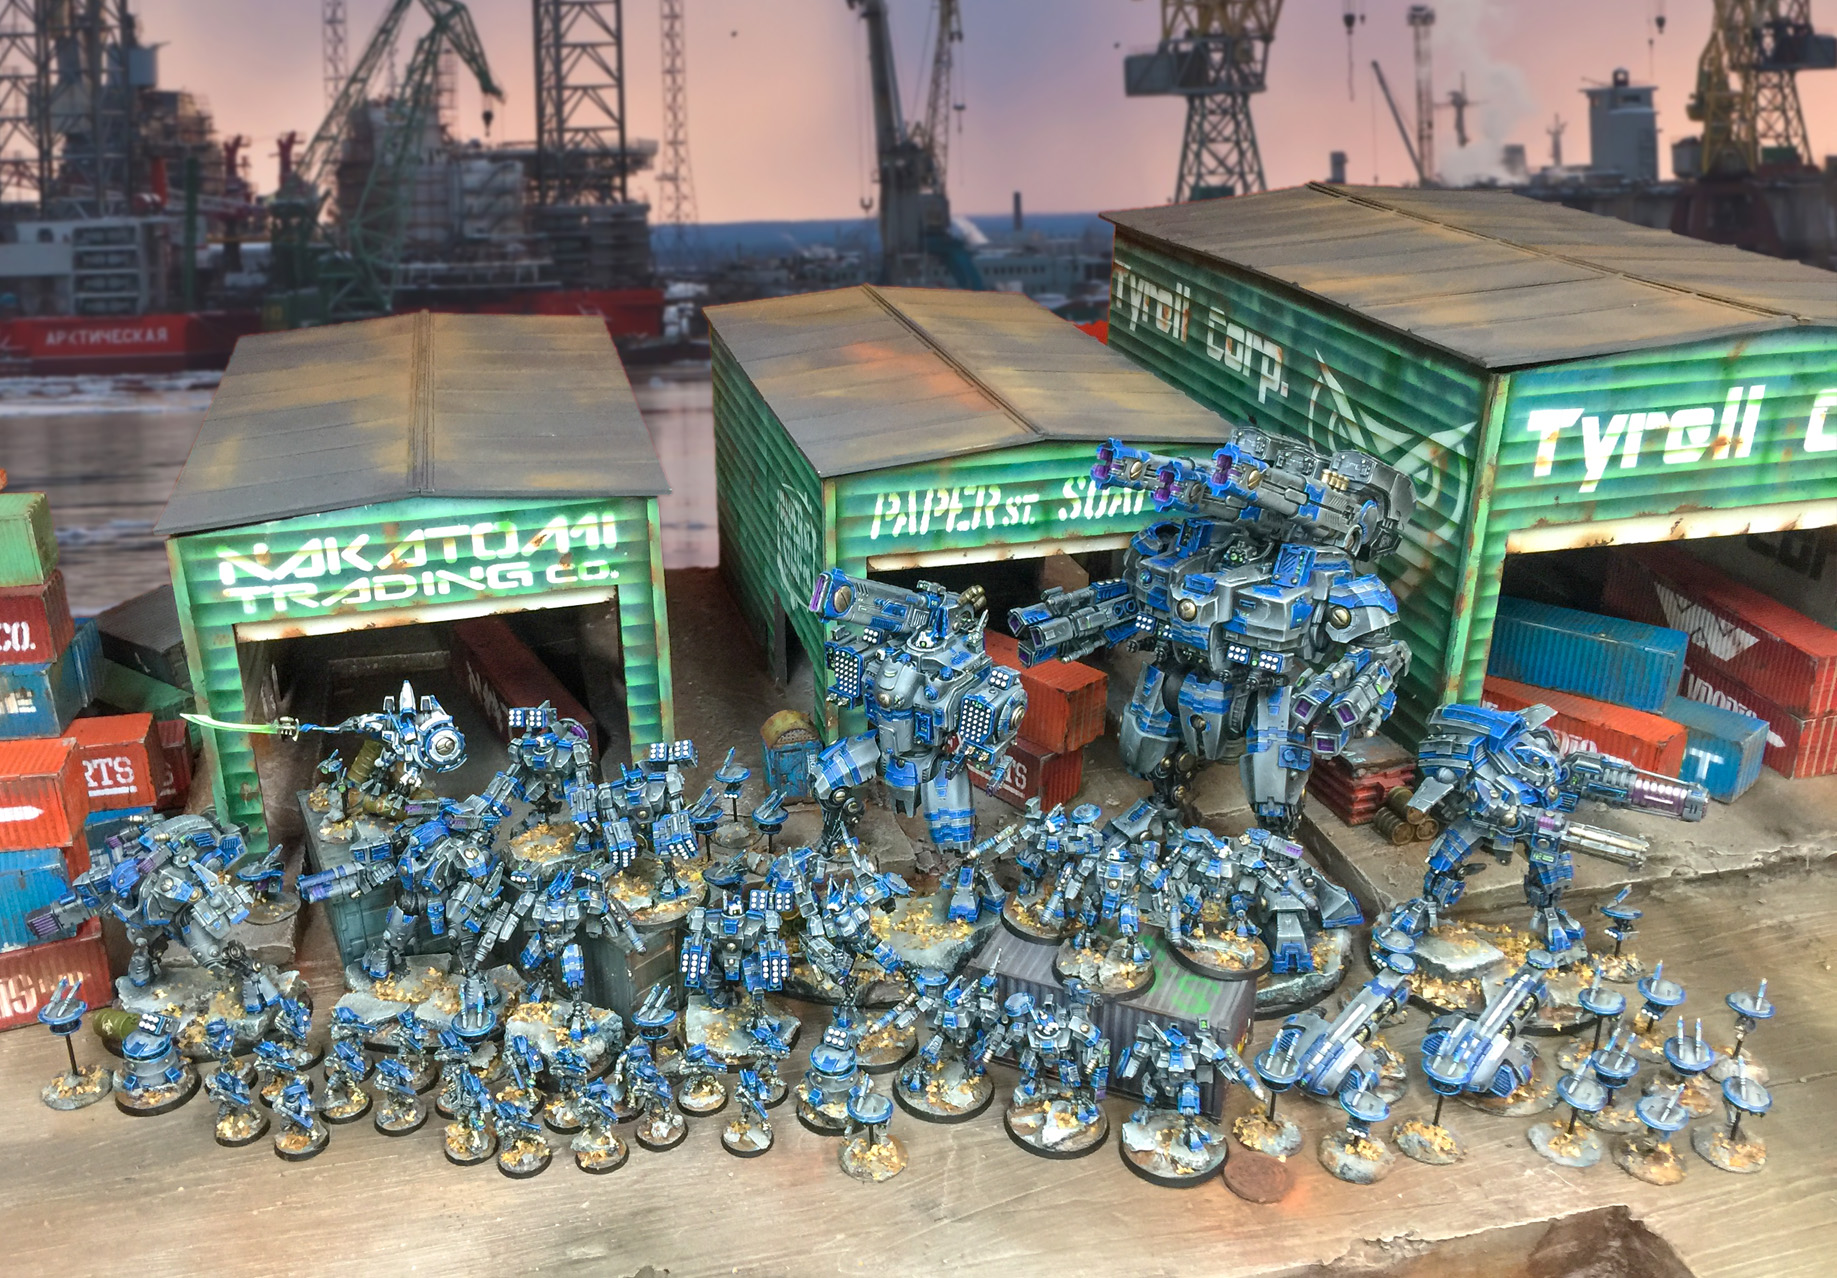
Hello BoLS readers! Today let’s talk about building modern building terrain to show off any army or board.
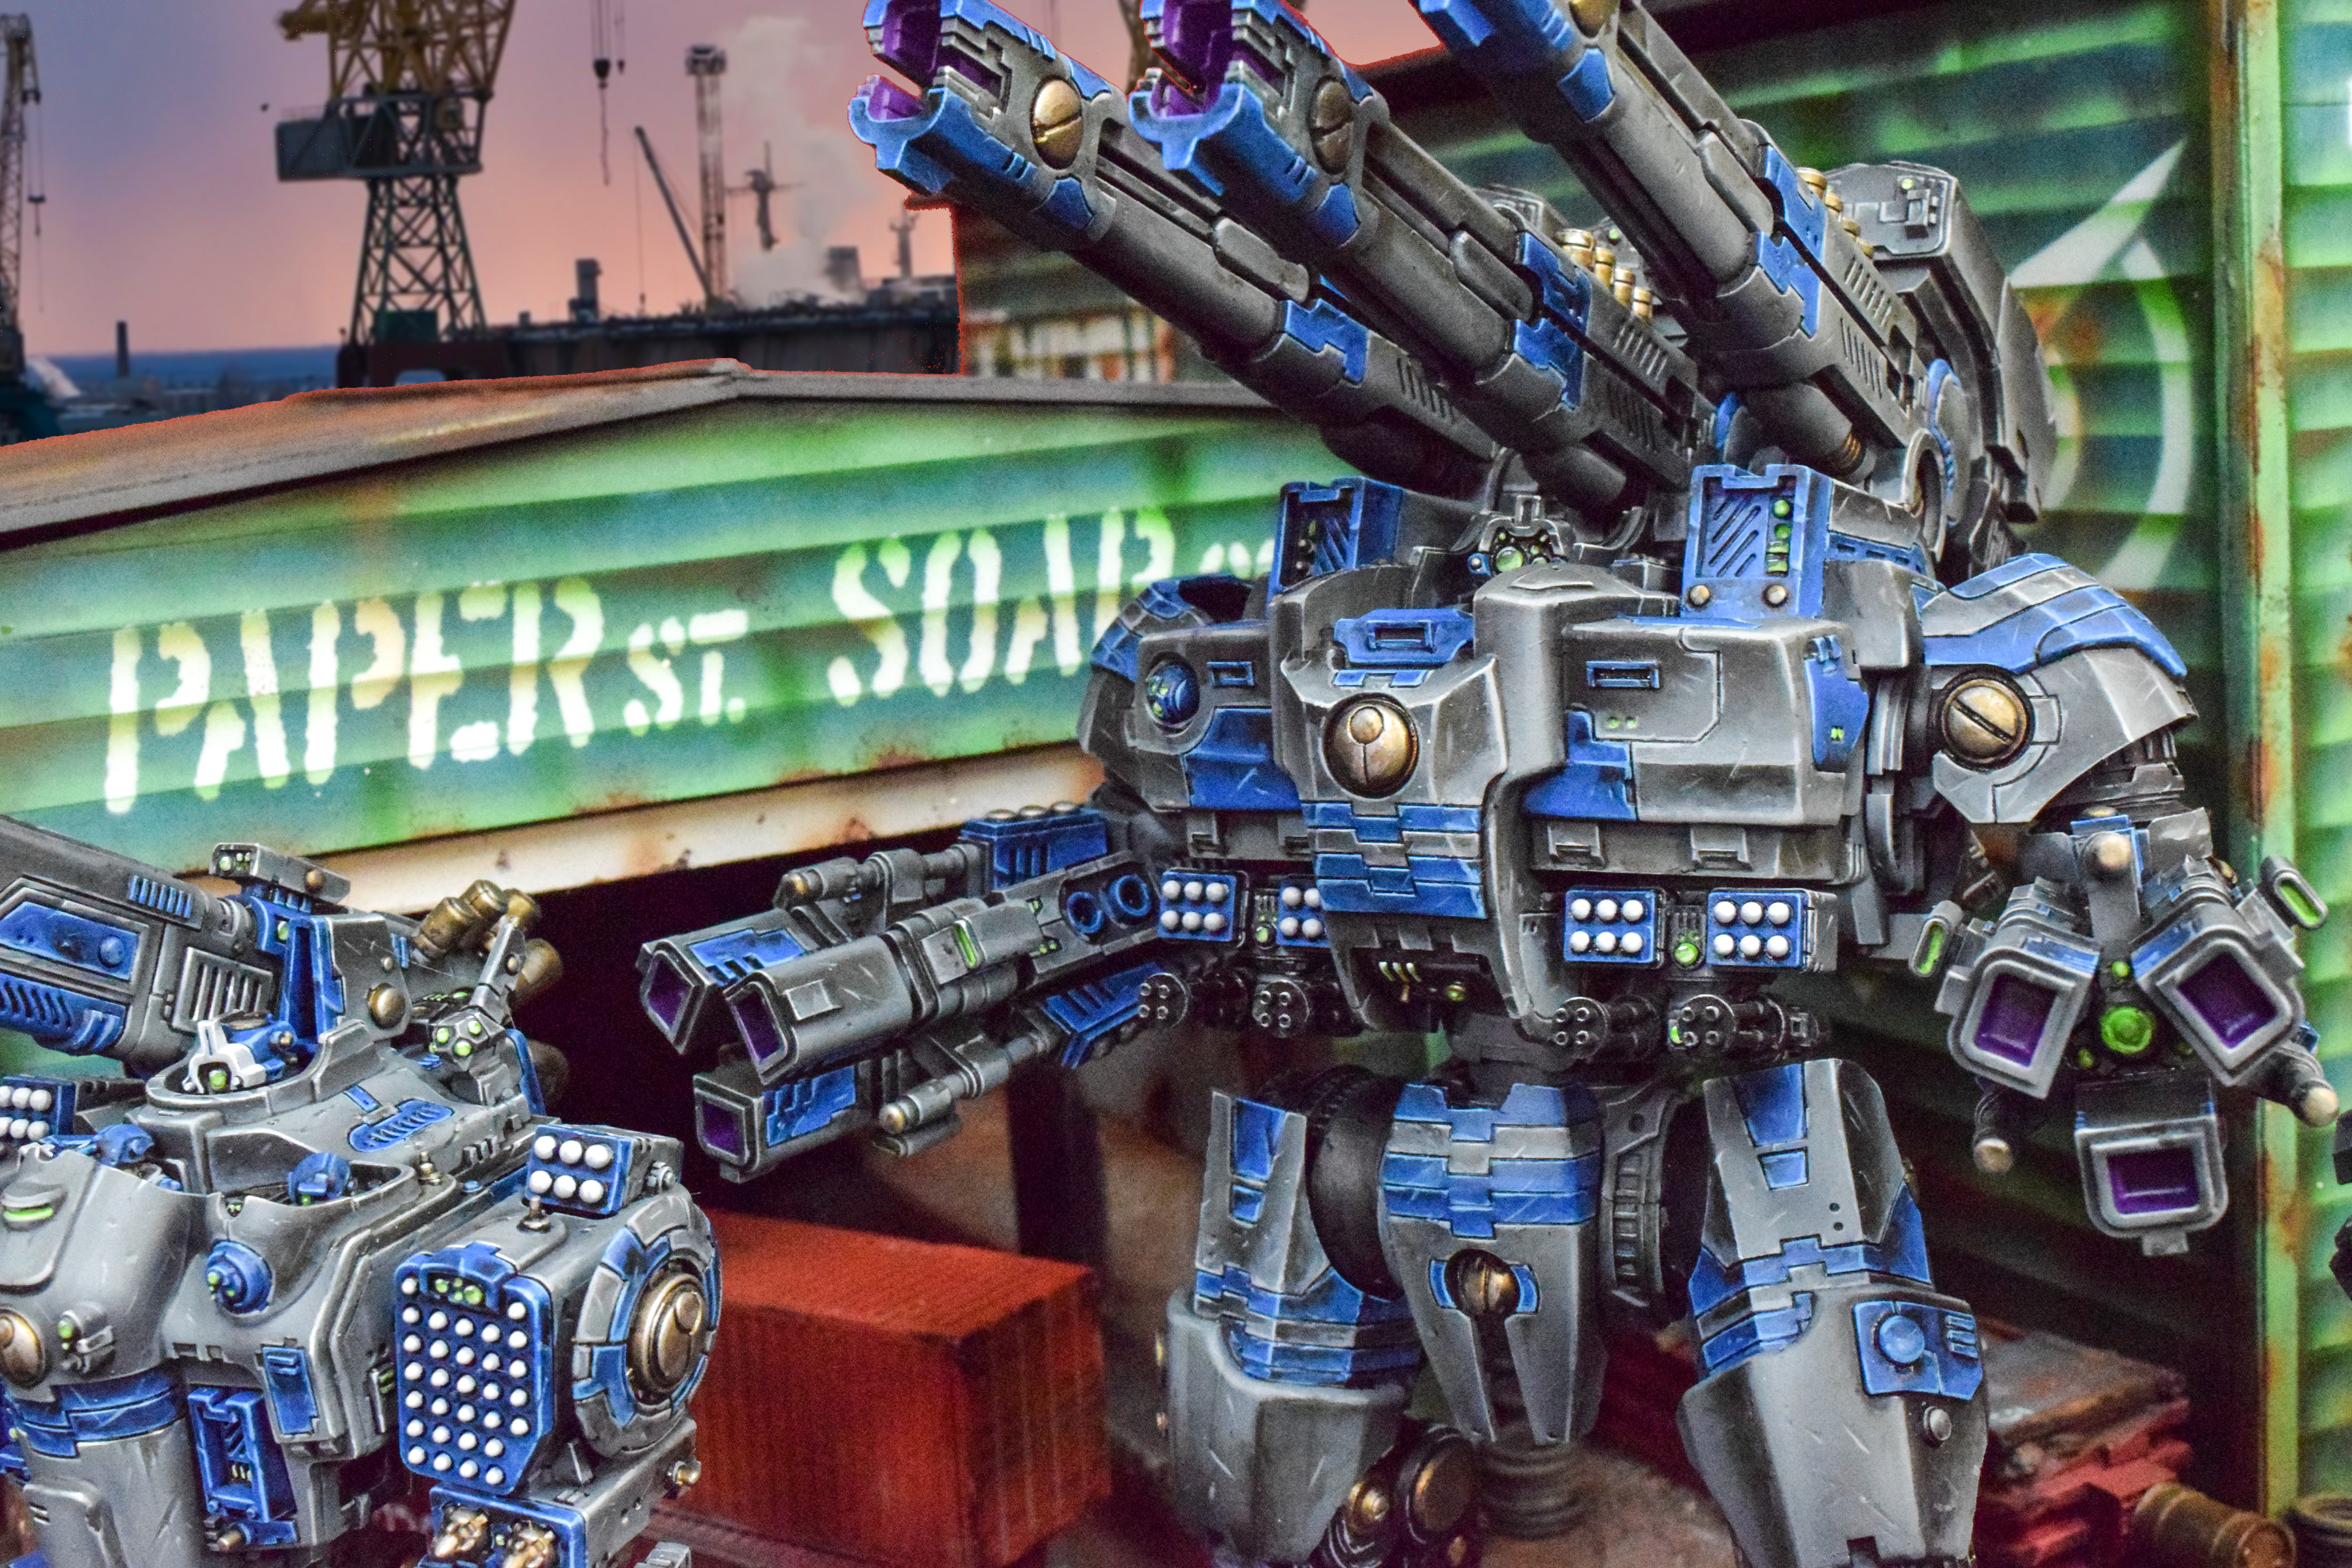
With the army covered I wanted to post a series on building the new backdrop. A shipyard is something I have wanted to do for a while. Still have the Deadpool Army display but I wanted something a little bigger and modular in the sense of being open and lots of surface area to use and able to be filled with accessories. Also will be doing some Infinity commissions in the future and this does double duty for that game in theme. So a shipyard is the perfect mix of modern, straight out of cheesy action movies, and lot’s of open area to work with.
So let’s get started on how it was made.
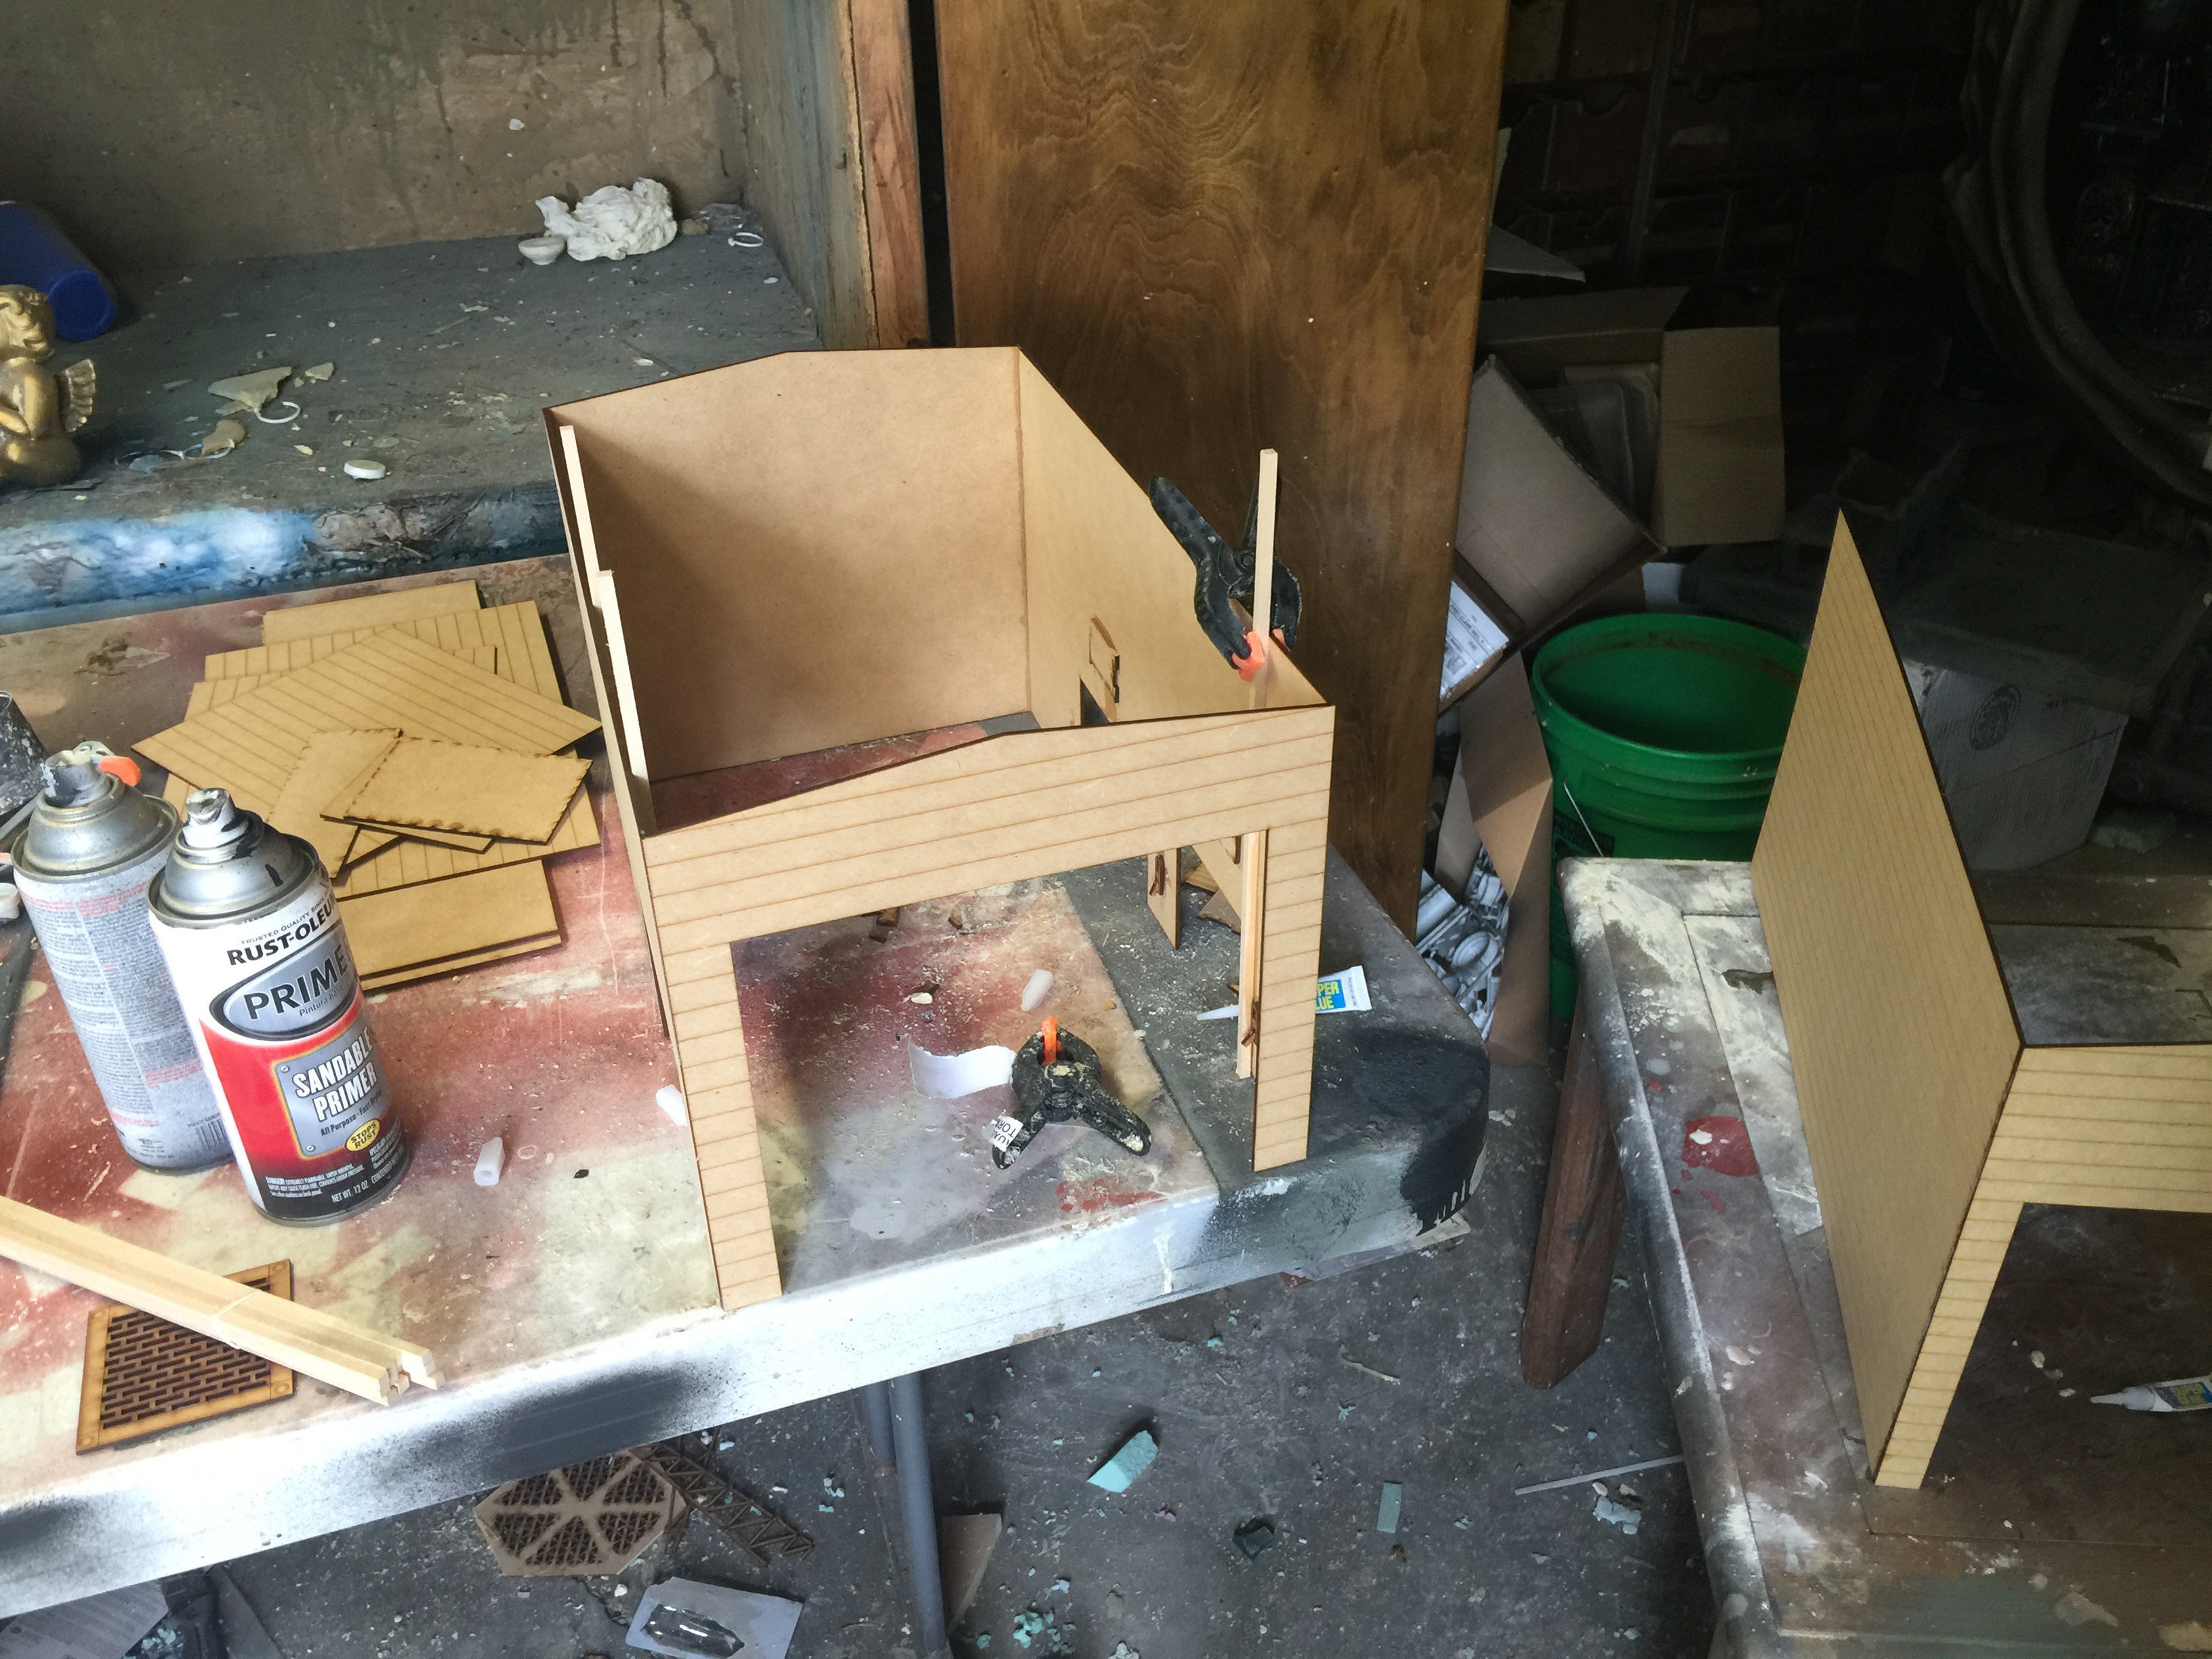
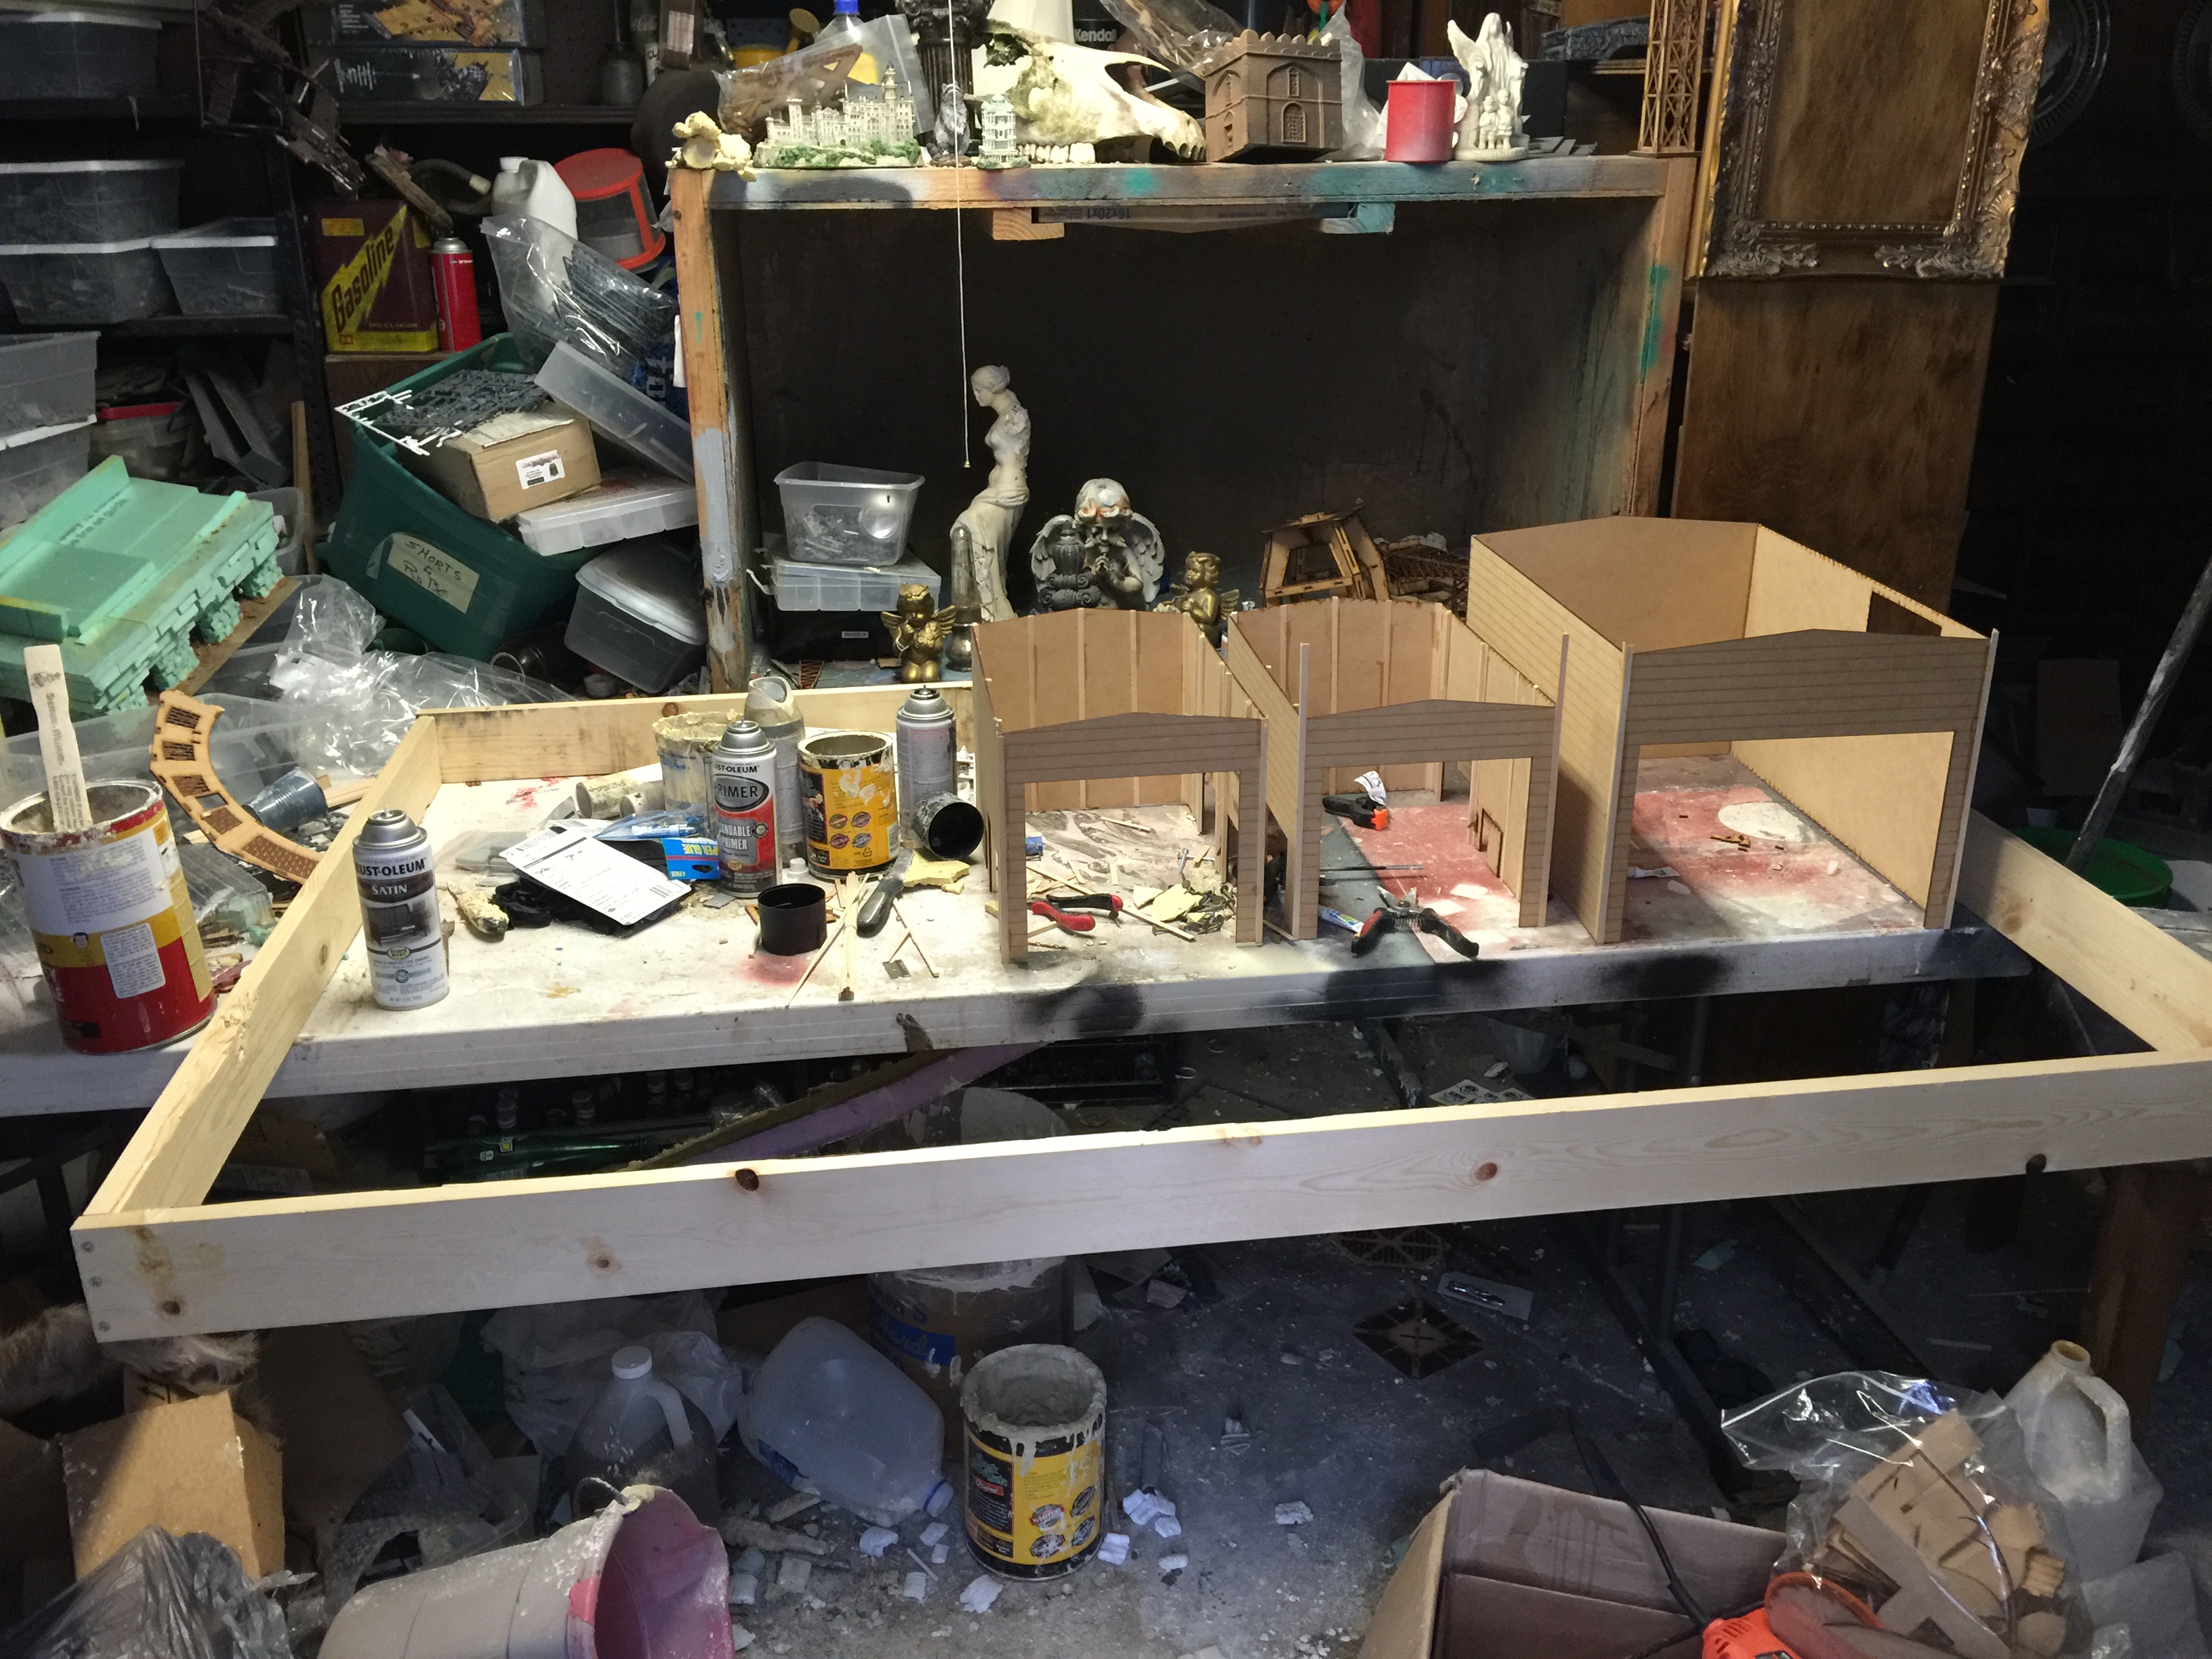
First thing to do was start with the buildings. I have been working with Alex from Ironheart Artisans for a while on different displays and he was kind enough to cut my own designs. Wanted something simple with details added later. I’ve found the best use of laser is the brute work while the last 25% or so of detail is added by hand. So four walls, some lines to help guide masking the siding, and flat roof panels to start. These were assembled with some detail in the corners for strength.
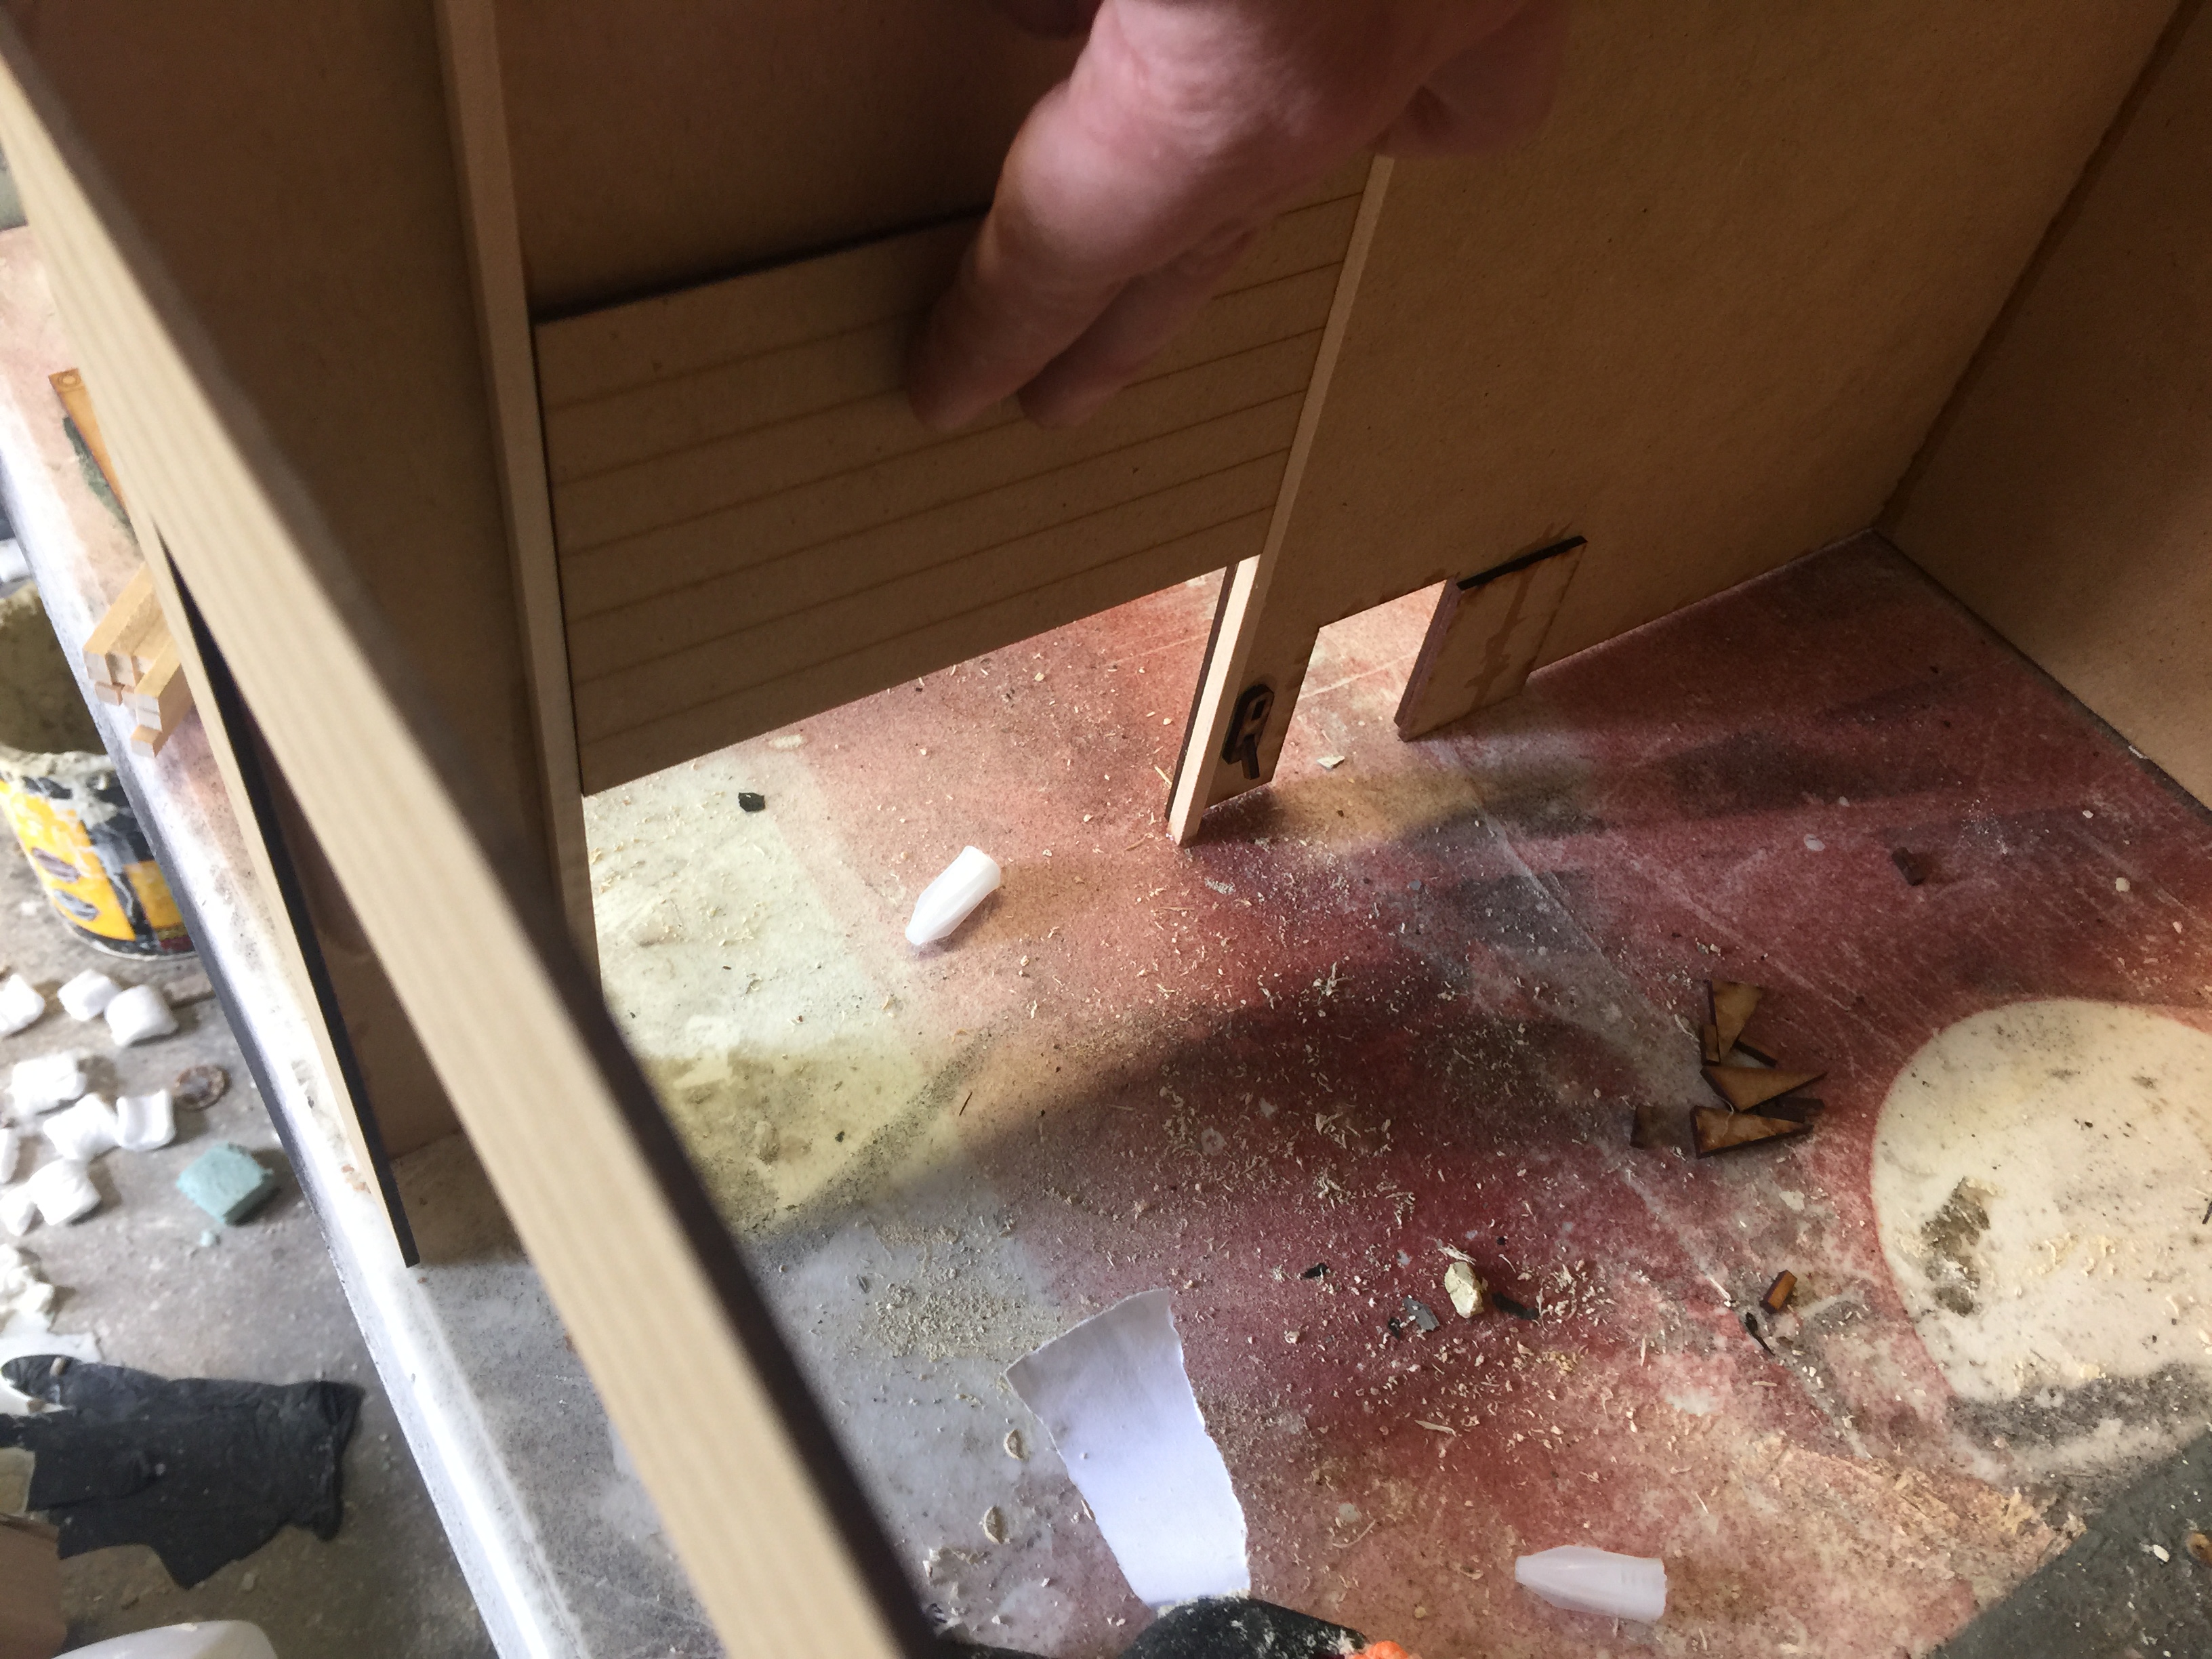
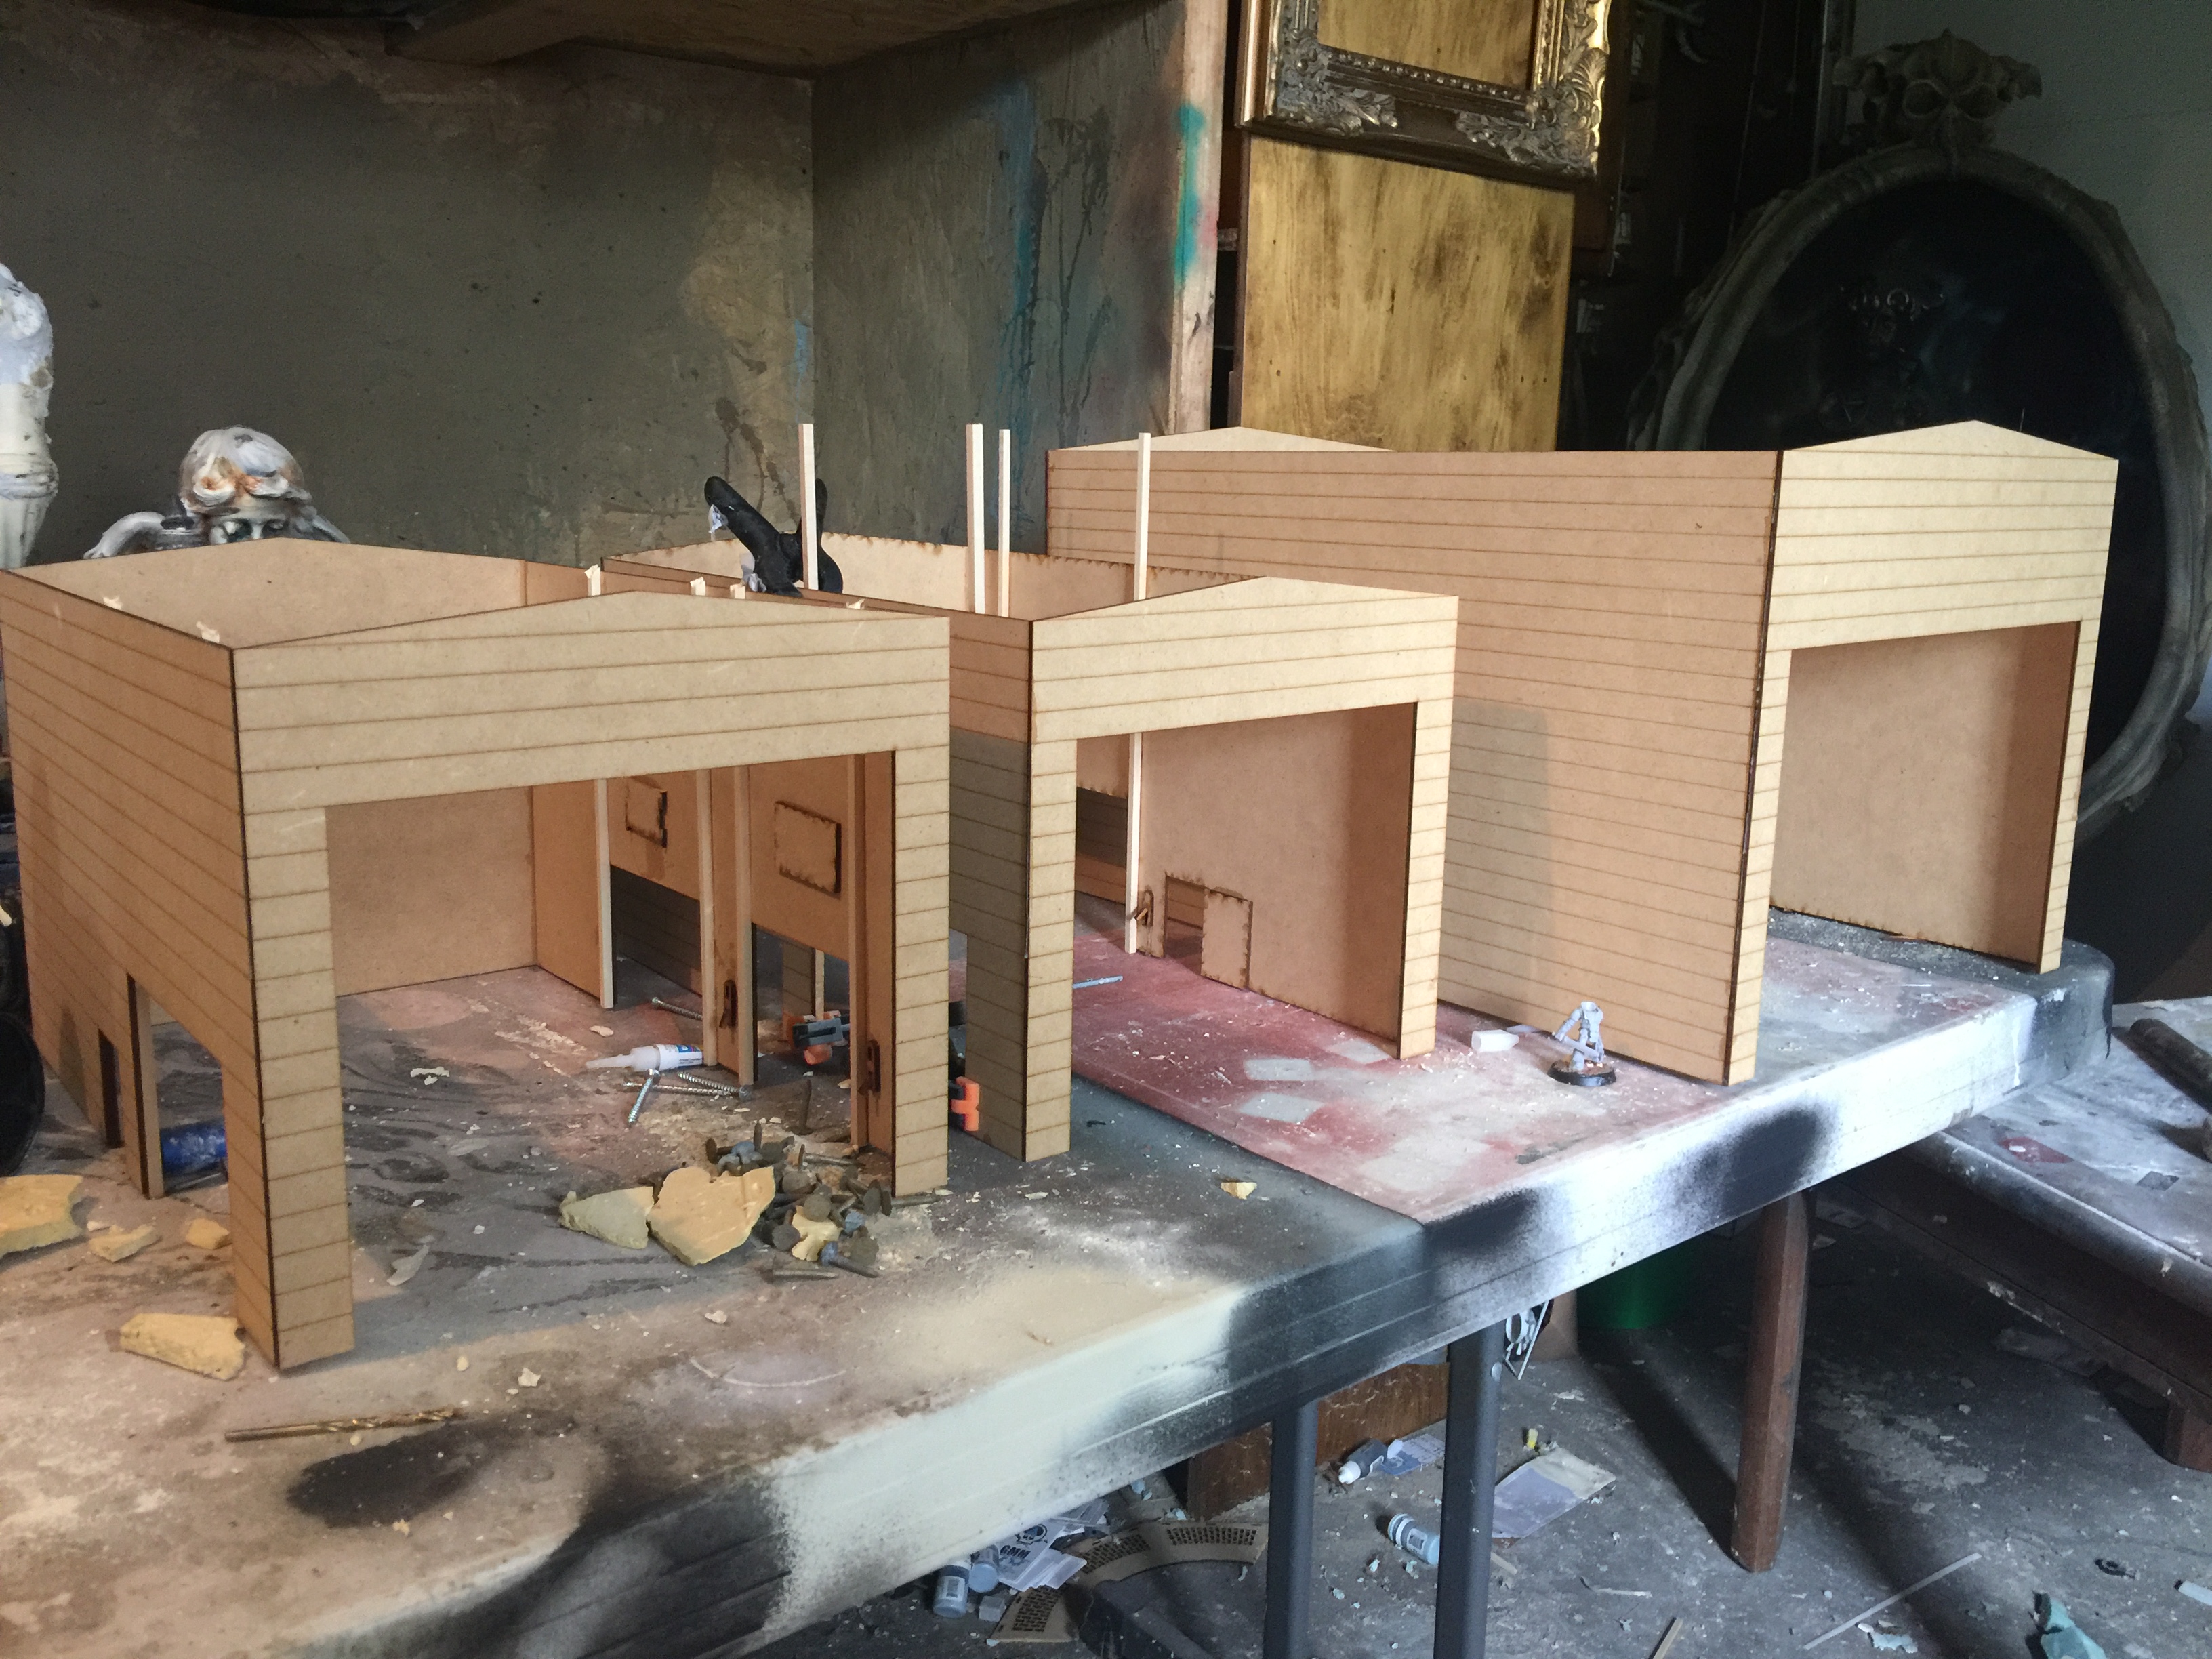
Designing the doors for the laser cutting was simple enough. Simply add a rectangle shape for where they pop out and voila.Later using stock I added side rails and little scrap bits to make them stand off the wall like an actual door would.
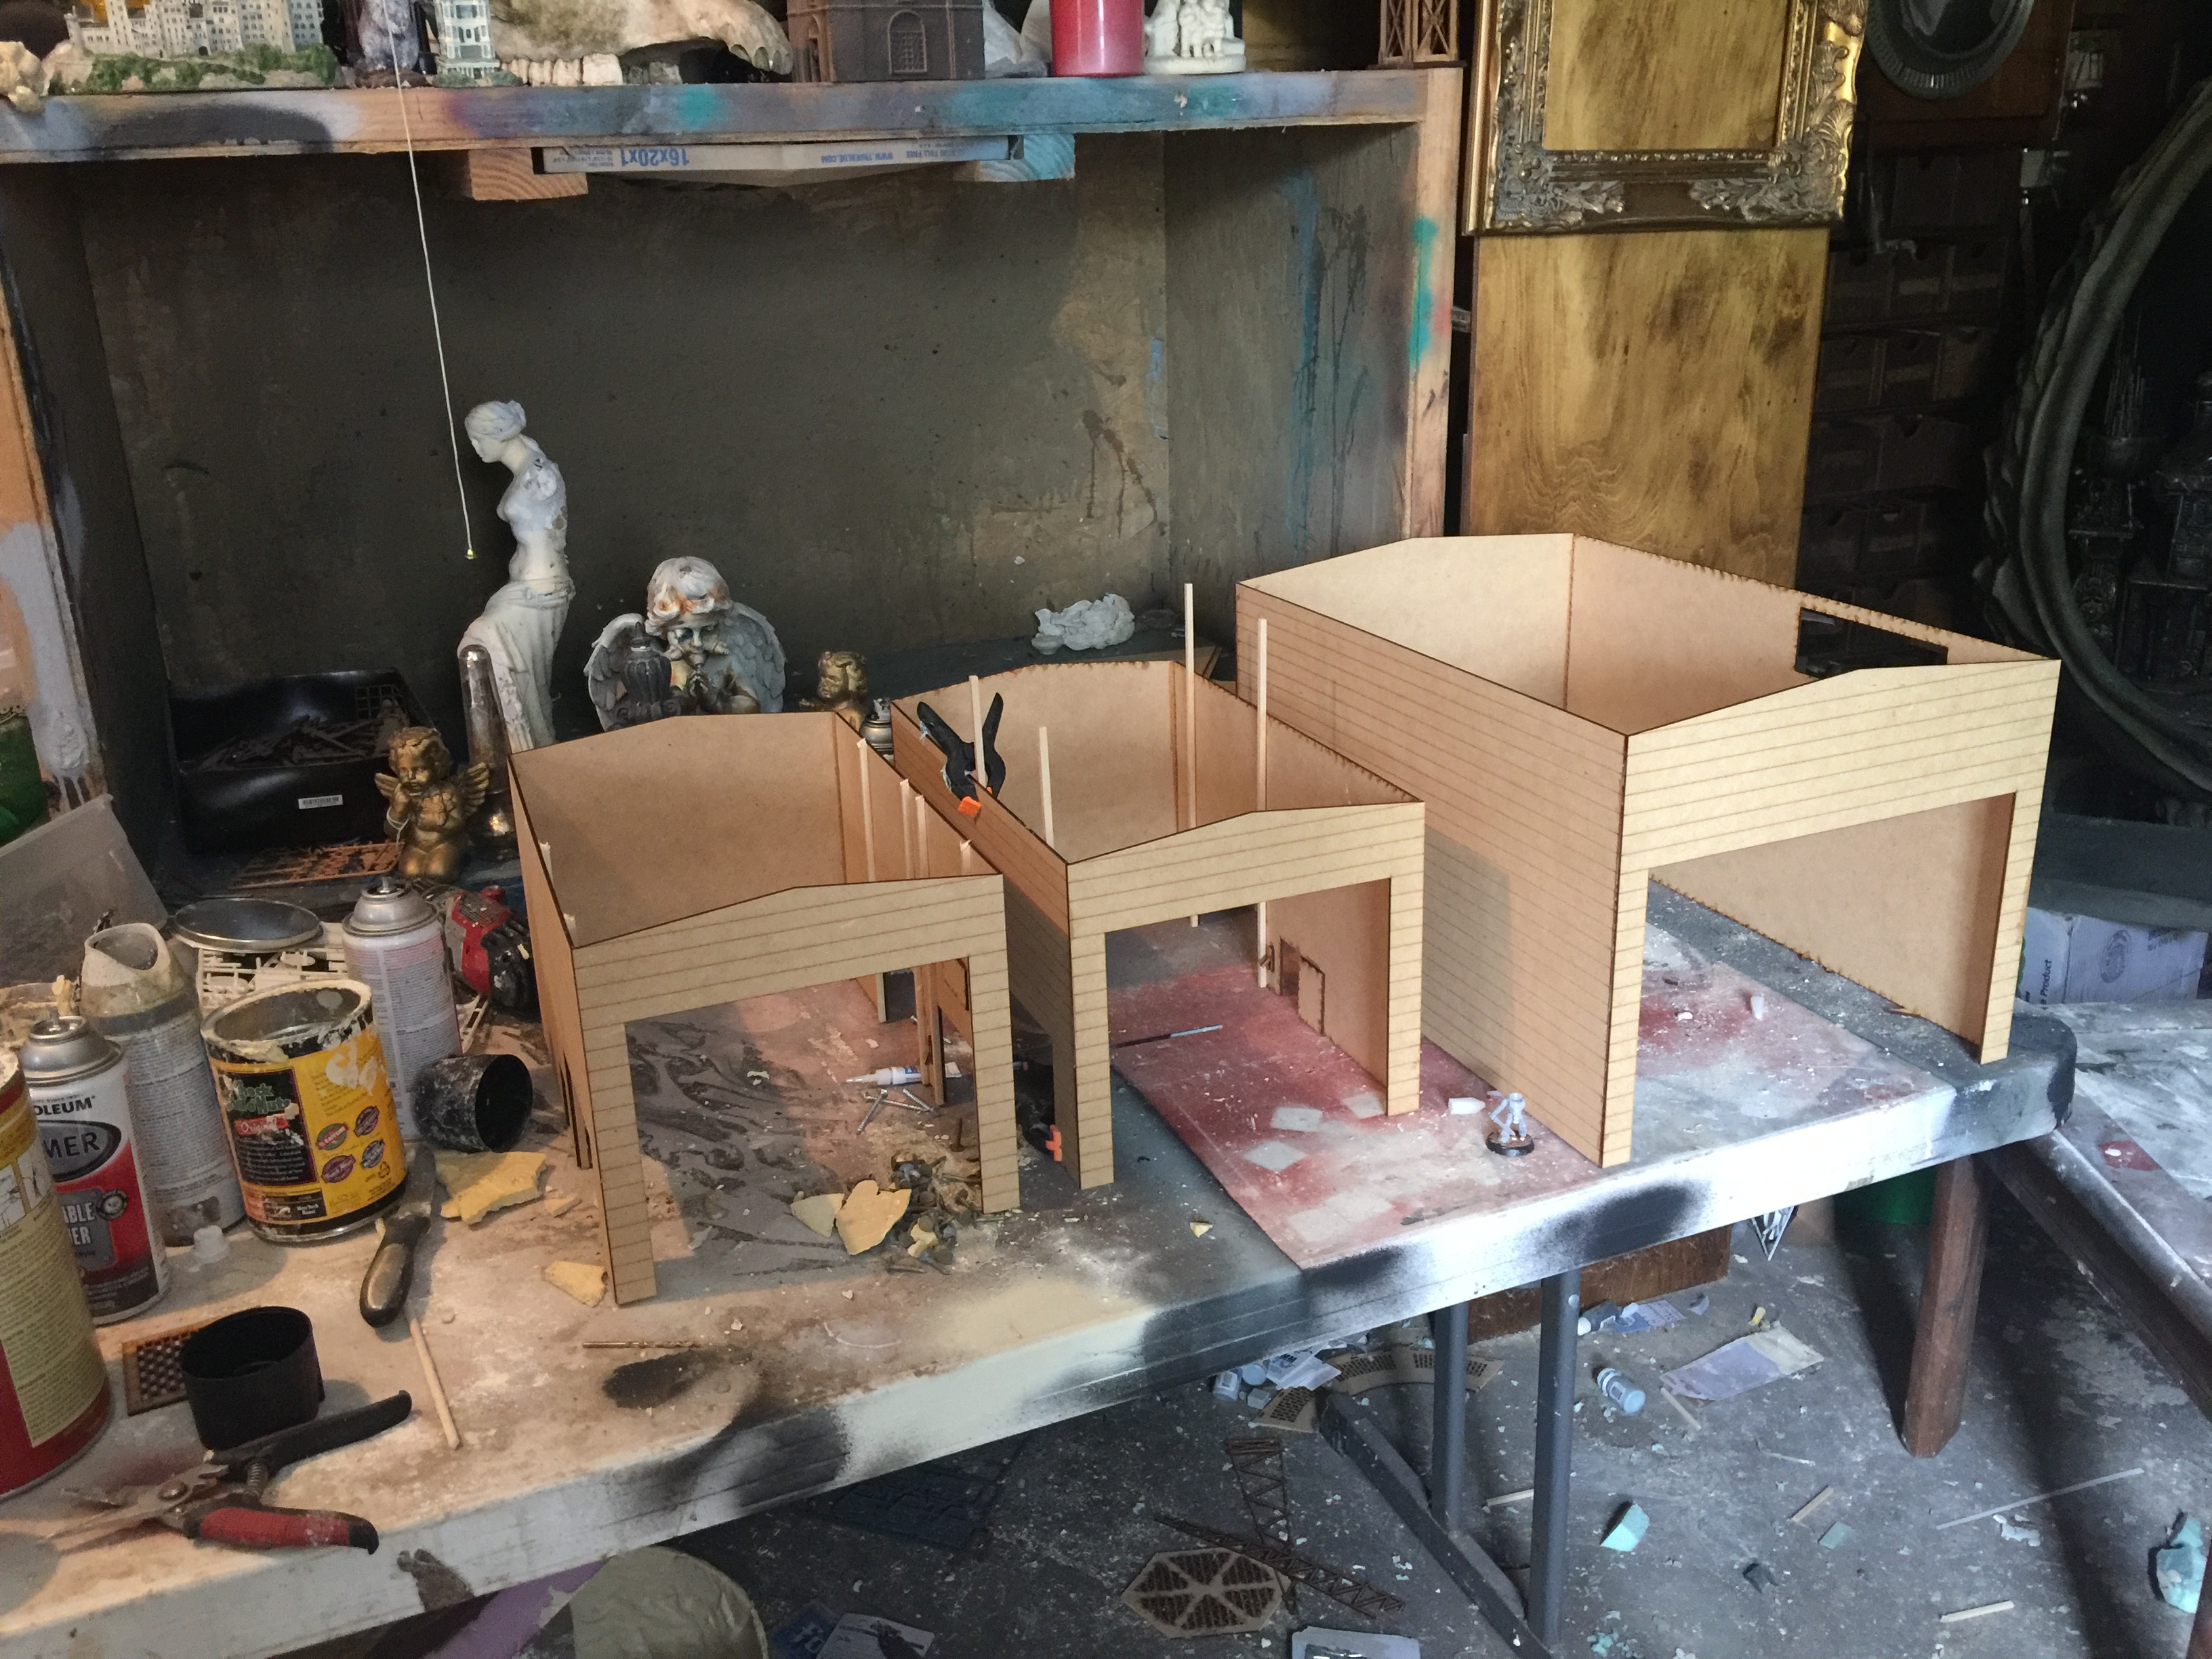
All three buildings assembled and ready for doors to be applied after being painted separately. The limitation of only being able to etch one side was mitigated by having siding on the outside and smooth walls on the inside.
Using some balsa stock I had lying around, lots of ribs were added to break up the walls. Simple but effective.
At this point I went ahead and built the wooden frame. Wanted to do the buildings first to get an idea of size.
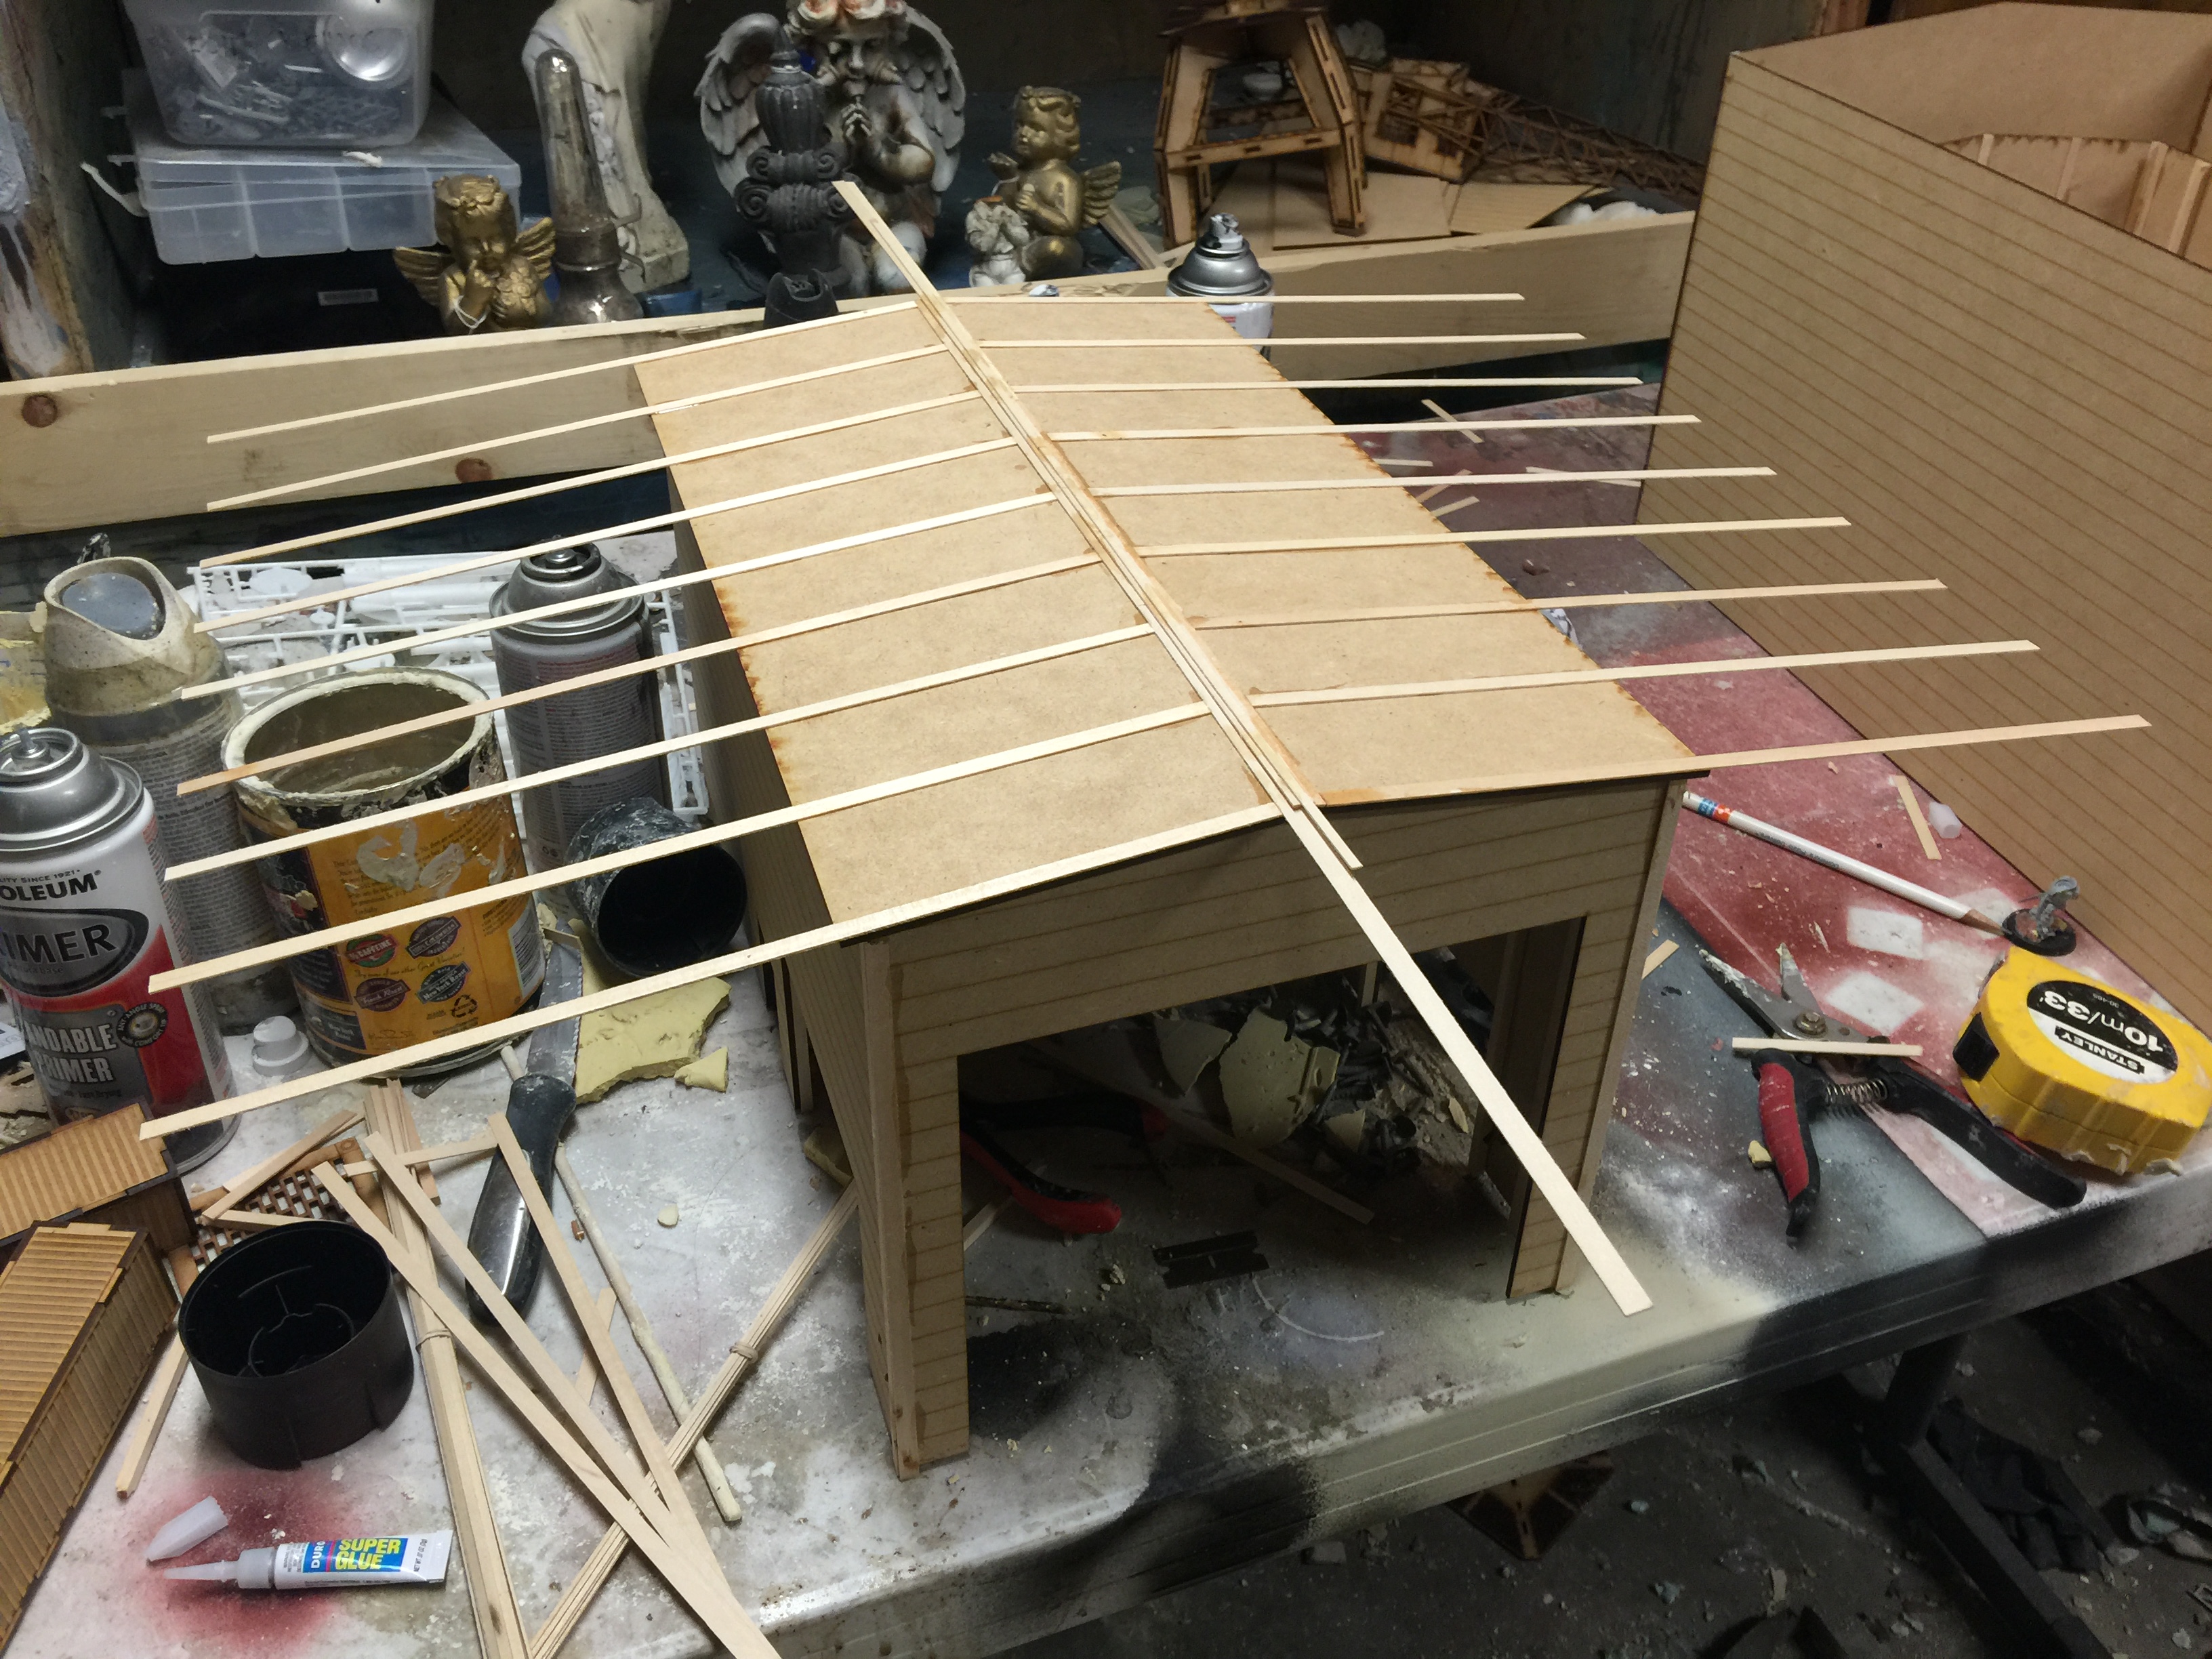
The balance of laser cut and scratch build comes in again with the roofing. These are just mdf panels cut to exact size and then glued together with similar ribbing to break up the surface.
That;s it for this time! See you next article for more.
For more images and information on my services:
Website
Thanks, and until next time!

