Wrath of Kings: Painting Nasier Ashmen


I’m back with another Wrath of Kings painting article. This time for the Nasier faction.
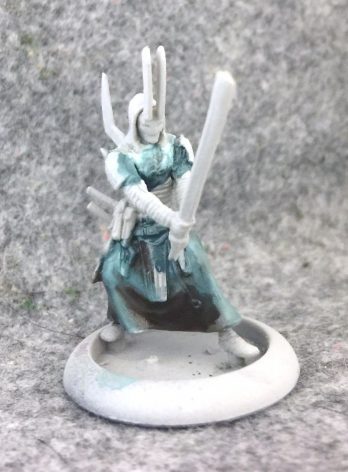
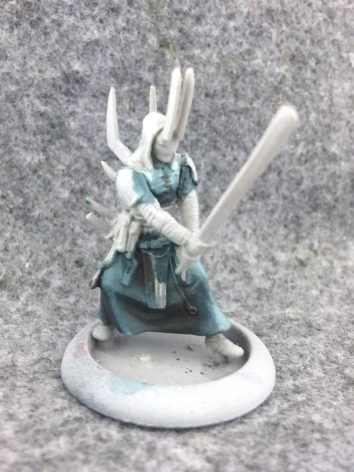
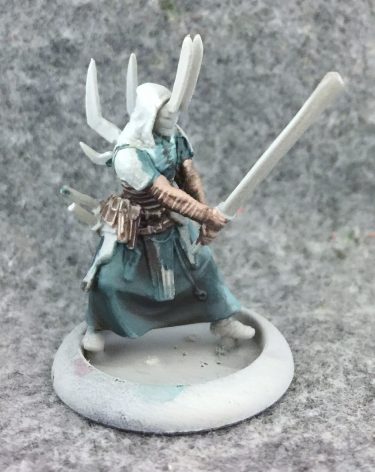
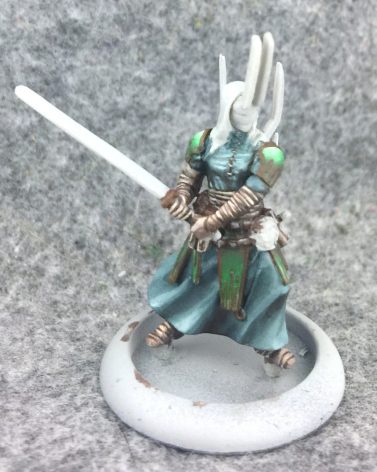
I begin roughing out the dark robes. I have three colors at work here – five I guess if you want to get technical. The base coat is P3 Coal Black which is highlighted with Underbelly Blue. The “third” color is Thamar Black toned with P3 Red Ink and some Bloodstone. I think the adding some warmth to the black adds a nice contrast to the bluish Coal Black. I always keep two pots of toned black handy and pre-mixed for when I need them. This warm black is one of them of course. The other is toned with a little green.
Same colors here. Just cleaning it up now.
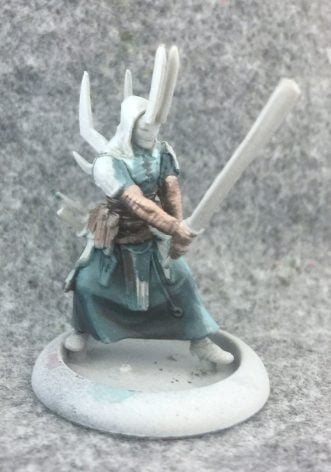
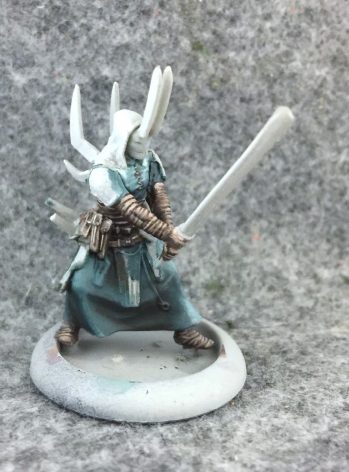
The next step is all the brown leather. The basecoat is Umbral Umber and it is highlighted with Ryn Flesh. The darkest areas that you can only see now as a shadow under his arms use that green toned black I was just mentioning. This is mixed starting again with Thamar Black with some P3 Green Ink and Ordic Olive added. The basic idea here is the inverse of the “warm” black: the small amount og cool green should create contrast with the warm browns and Ryn Flesh to make everything pop just a bit.
Once all the general areas are roughed out, I add thin lines of Ryn Flesh to highlight all the leather bindings on his arm, and along the edges of all his pouches.
Then I line each little crevice with the green black. This certainly may look like the most painstaking part of painting this guy, but like anything else, experience makes it go a lot faster.
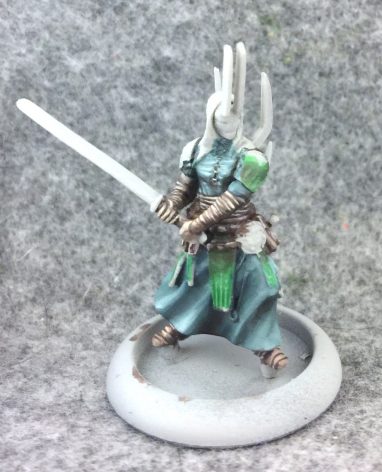
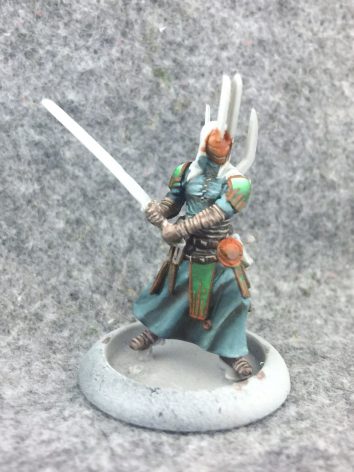
Next I move on to the armor. Here I’m beginning to rough it out using Iosan Green and Umbral Umber.
Now I’ve finished getting it all nice and blended and also added some further highlights on the shoulders with a little bit of Menoth White Highlight.
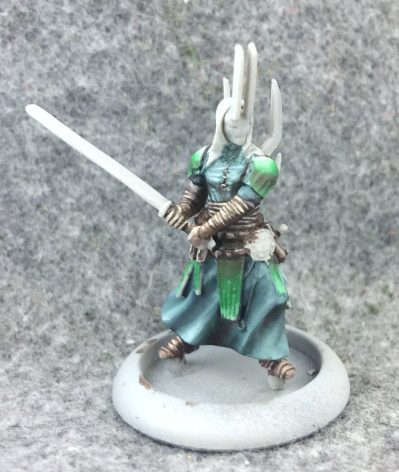
For the actual most painstaking part of this paintjob, I’m giving all the armor plates gold trim. I start with the warm black but with just a little extra Bloodstone added since I don’t want it to be too dark.
I add more Bloodstone on top of my dark basecoat. In some areas I start adding highlights by blending in some Sulfuric Yellow.
And here it is cleaned up a little more.
To finish it off, I create a highlight tone by mixing Menoth White Highlight with some Sulfuric Yellow and Bloodstone. I apply thin lines of this mix along the edges of his little buckler, and beneath the slits in his eyeholes and mouth. I also add some to a few key locations on the the armor trim. Then I define all the different pieces by blacklining them with the black/bloodstone mix from earlier.
The blades are yet another three part process. The central highlight is Menoth White Highlight which is blended into Underbelly Blue then into my warm black mix.
Each one of these guys has seven blades on their body, so don’t expect this step to go much faster than the armor trim.
Once the central gradient on each blade is complete, I add a line of Underbelly Blue down each edge, which helps complete the metal illusion. The belt buckle uses the same colors, as do the little threads that connect to the ring on this dude’s skirt.
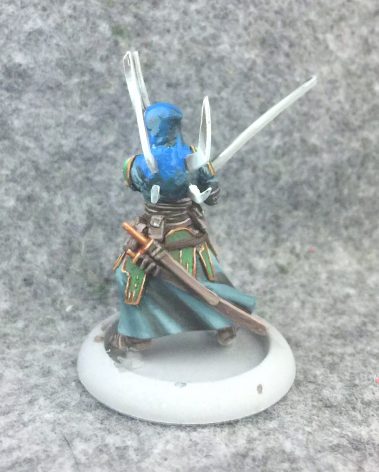
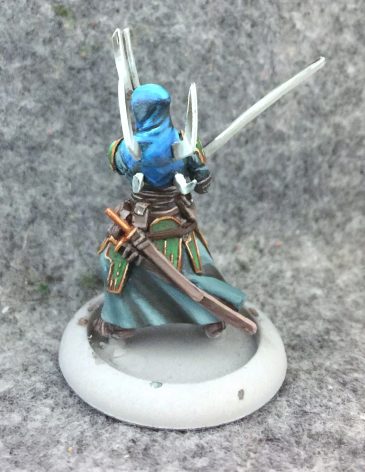
The final step is the hood. I start it off with a basecoat of Cygnar Blue Highlight with still more of my warm black blended in for shading.
I finalize all the blending and add some further highlights with Menoth White Highlight. These hoods had some subtle folds sculpted into them in the back, but I think it was worth it to define all of them.
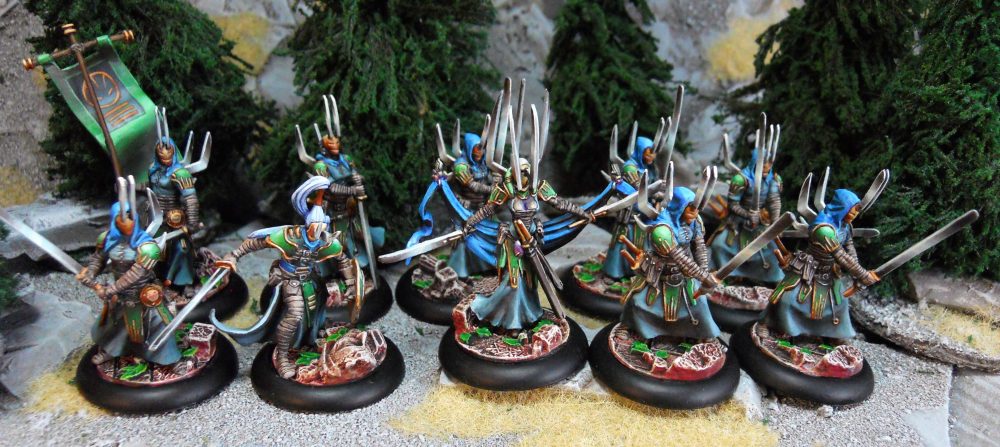
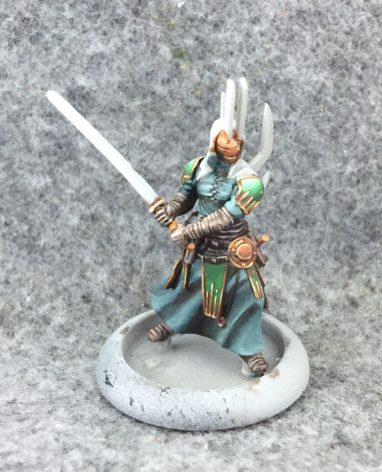
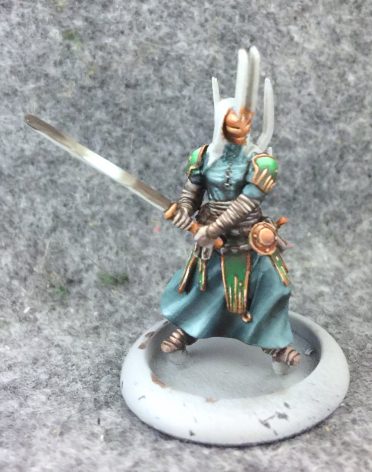
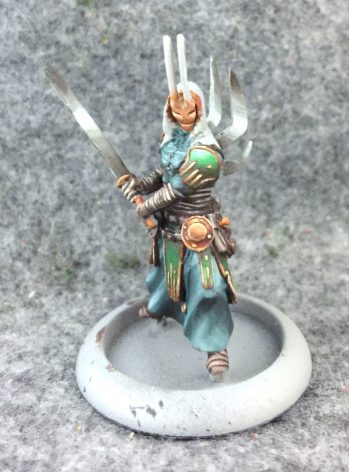
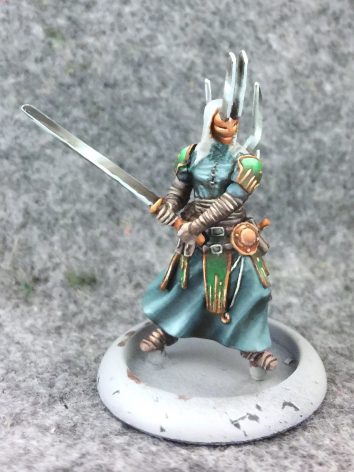
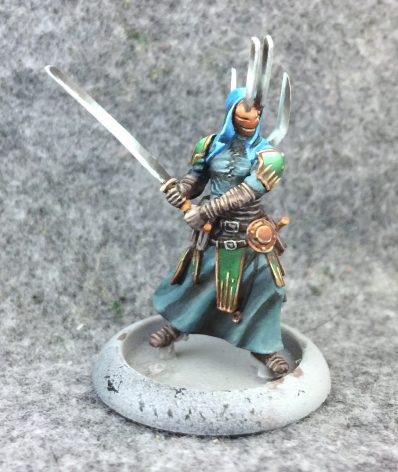
And here is a finished Ashman.
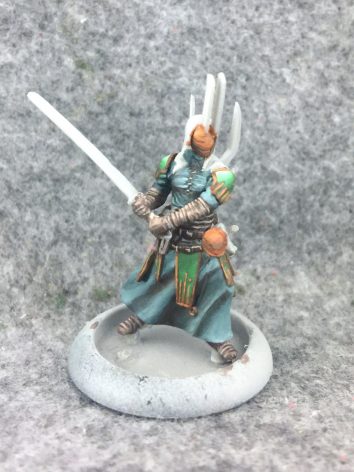
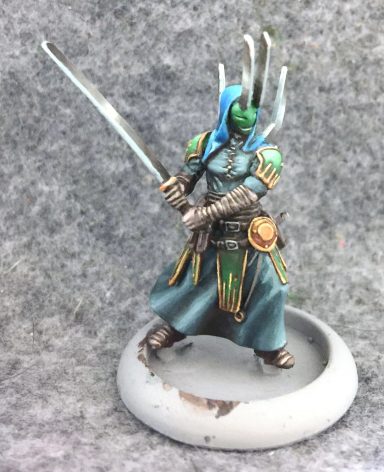
A little bonus: my first test scheme had a green mask. I still like the look, but I think its a good rule of thumb to have bright faces that are easy to spot.
~Hope you enjoyed the article. Do you think I’m wasting my time toning the black? Do you prefer the green mask?

