HOBBY: Dark Age – Painting Isaac from Path to Glory


Gentleben here, and today I’ll go over painting Isaac from the Dark Age Path to Glory starter.
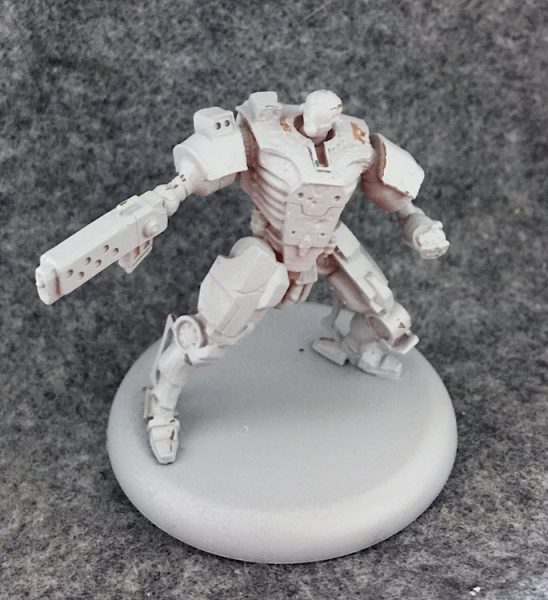
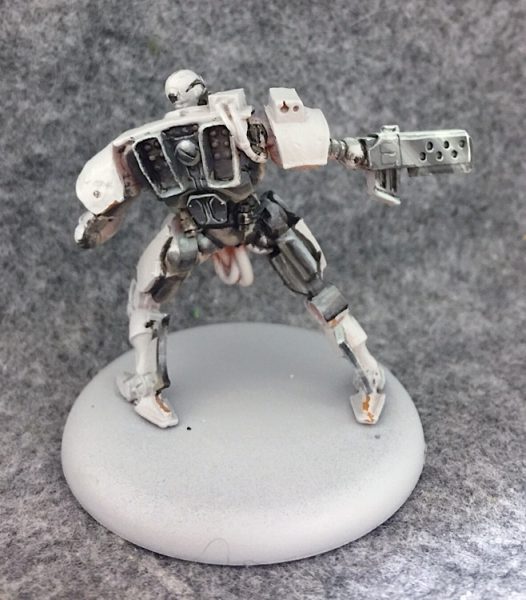
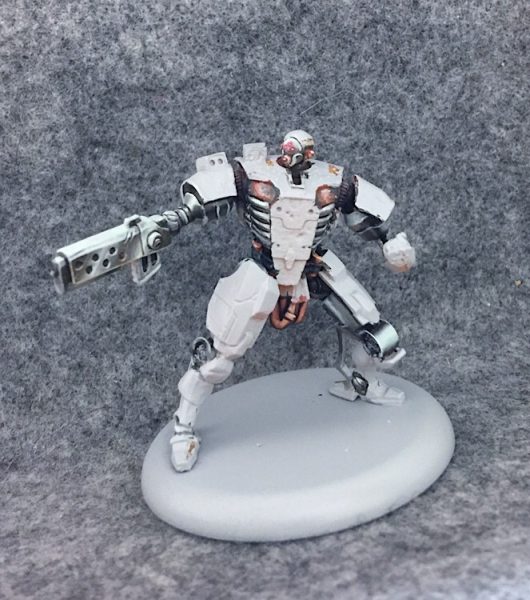
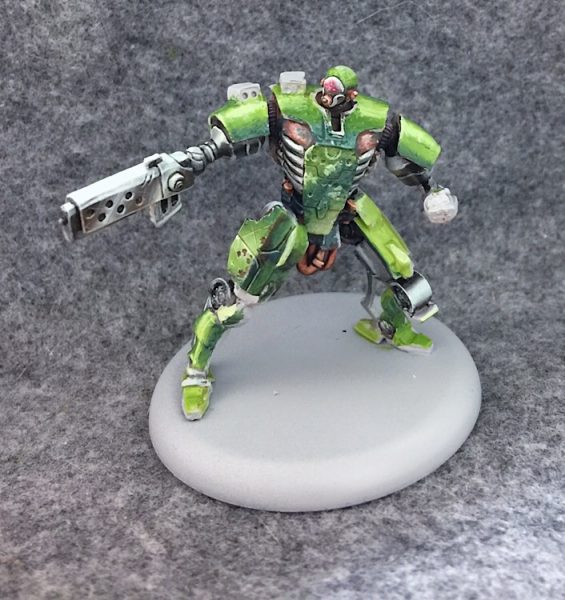
Here he is all primed. You can still see some of the orange showing through. The chipped primer is actually where I removed some mold lines I didn’t notice before spraying.
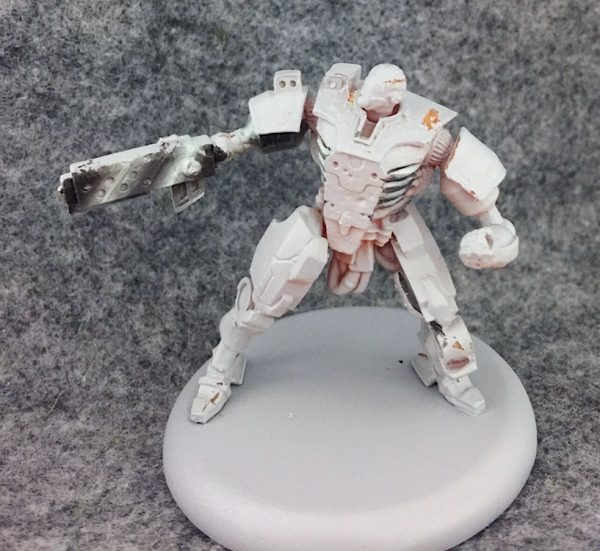
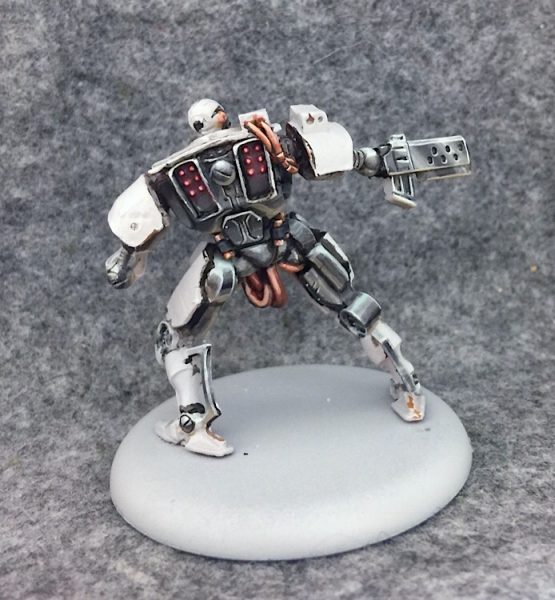
I’m starting off with some NMM steel. I add a repeating light/dark/light/dark gradient to his gun. I start with two light streaks of Menoth White Highlight, blending them outward into Underbelly Blue, then into a warm toned black (Thamar Black mixed with a little Red Ink and Bloodstone).
Here’s a gradient swatch I made in photoshop to show, on a larger scale, just how much those alternating bands of light to dark can make your brain think you’re seeing something metallic.
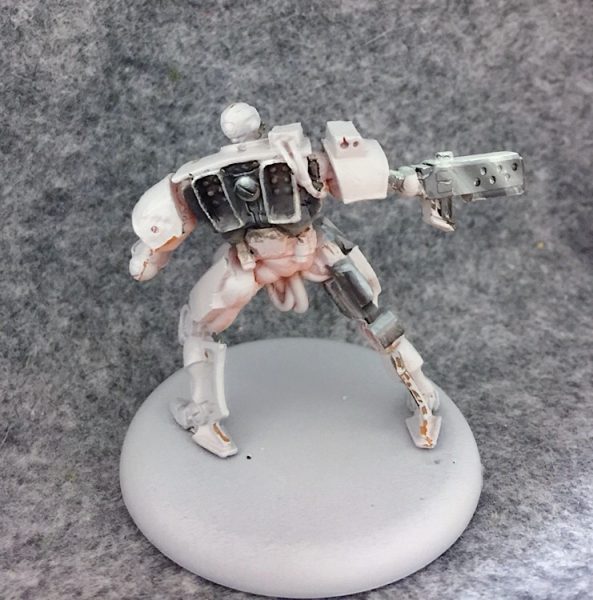
Now I’m turning him around to work on the back – where most of these metallic parts are found.
Another photoshop swatch. I’m painting a similar gradient on to his back. There’s something about a dark to light gradient – especially with a strong line of highlight across the top – that seems to convey metallic.
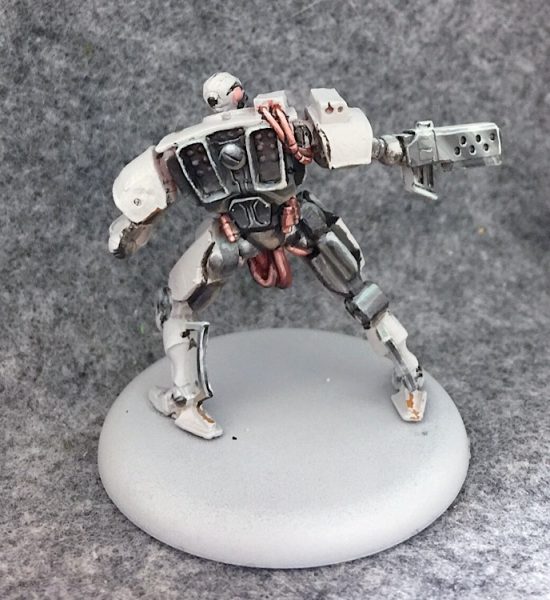
I’m finishing up his back by lining all the recesses with the warm toned black, and adding highlight lines along all the flat edges. I’ve also done some more work to his legs, working on the cylindrical shapes down there.
So here’s a cylindrical gradient. A strong highlight down the middle that blends into darker bands should give the feel of a rounded metallic object. A lighter line along the bottom can be used to represent reflected light: the light of the ground shining up onto the metal surface. Obviously on Isaac’s leg I’ve rotated it nearly 180 degrees.
For the disc in the center of his back I went with a shape like this: a nice sphere. A strong central highlight with reflected light along the bottom should convey the appearance of a sphere.
On the back I’m starting on the cable tubing. I’m going with a copper palette to add some nice contrast to the surrounding colors. I’m still trying to nail down the perfect copper palette. I usually use Bloodstone, highlighted with Menoth White Highlight and shaded with Coal Black. This time I added some Sanguine Base to the Bloodstone to try to make it a bit redder.
Wire is basically just a curvy Cylinder, so the gradient used here is similar to the cylindrical one. You want to make the highlights even stronger wherever it bends though. Unfortunately this looks a bit more like maple syrup than wire. Hey I said copper was tricky didn’t I?
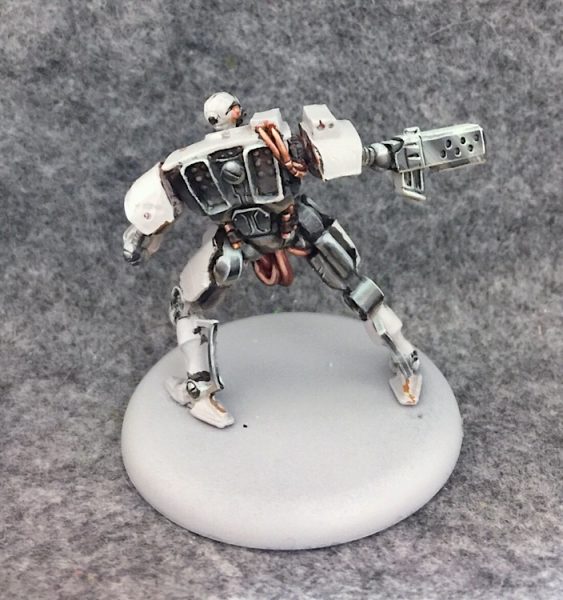
In this step I’ve cleaned up the wire and some of the other metallic areas a bit.
I wanted the 12 little doo-dads on his back to look like they were glowing. I lightly moistened the area with water from a brush, then allowed the water to pull it outwards. This is a neat trick but it doesn’t work perfectly every time. Sometimes you might need to use a clean brush to “pull” some of the paint back up. It’s also nearly impossible to keep paint out of nearby cracks, as you can see. That will have to be cleaned up.
Then each “light” gets a spot of Khador Red Highlight. A little Menoth white and Cygnus yellow is used to lighten the Khador Red as a new dot of this mix is painted over the previous dot. A third dot with almost no Red mixed in is placed in the center of the other two to really make it look like it’s shining.
I’ve used the same glow technique on the eyes.
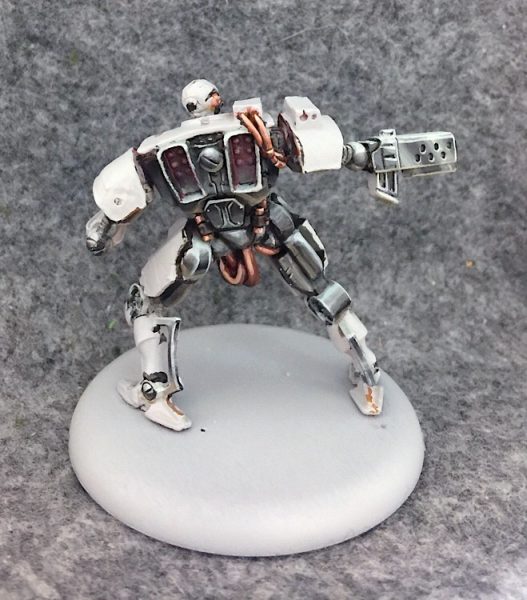
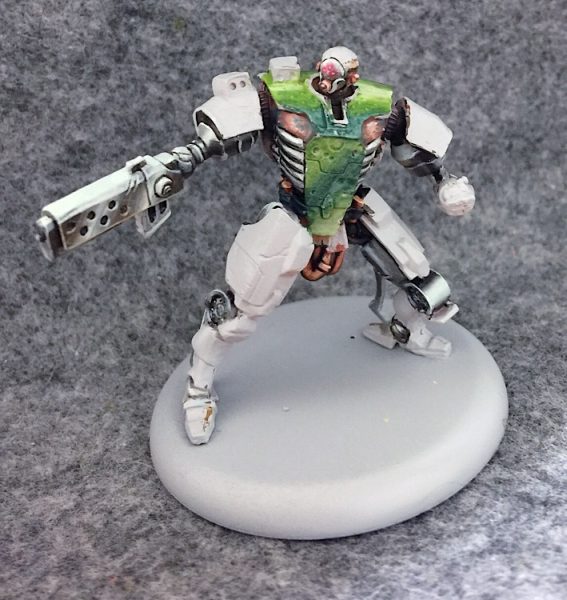
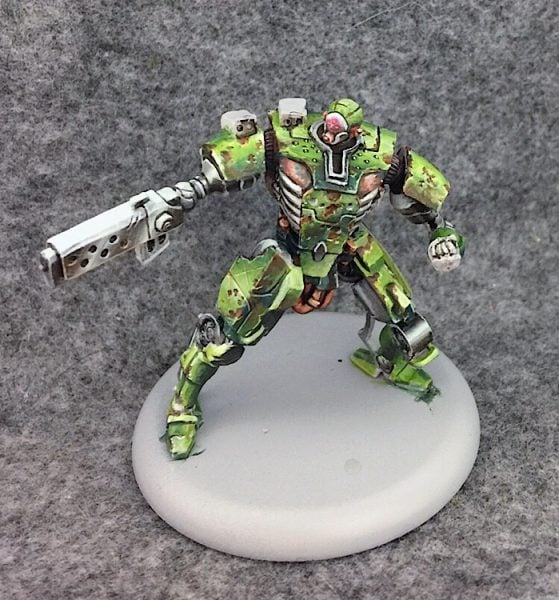
Now with all the lower levels completed, I can begin the armor. I go with alternating gradients of Coal Black to Wurm Green to Menoth White Highlight.
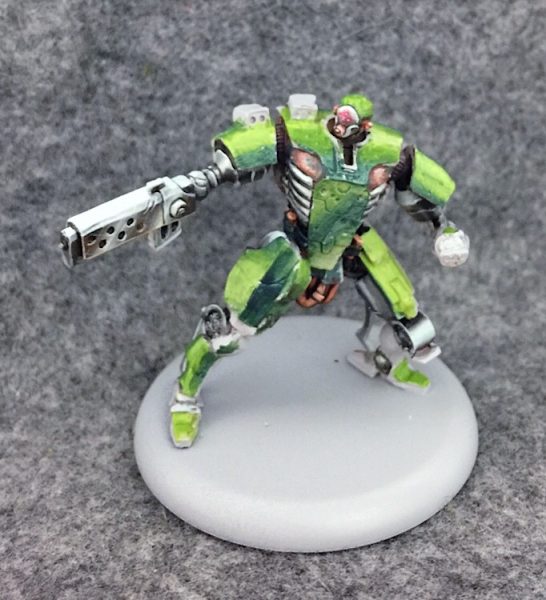
I continue adding more of the same across the rest of the model. The curved shape of the shoulders gets a “cylindrical gradient” similar to the one I was showing yesterday.
Then it’s time to begin distressing the armor. I start by stippling little patches of lighter color all over.
Then a darker patch of Umbral Umber mixed with Bloodstone goes over the lighter patches. Just enough of the light patch is left showing to leave a thin line underneath it to give the illusion of light reflecting off the “chipped” paint. It helps make the effect feel a bit more natural if you focus a lot on the edges. These surfaces would be more exposed to wear and more likely to chip.
Once you have the chipped areas as you like them, moisten the areas around them with a wet brush, and glaze a very small amount of Bloodstone around them. This is the “rust” that has bled out from the exposed metal.
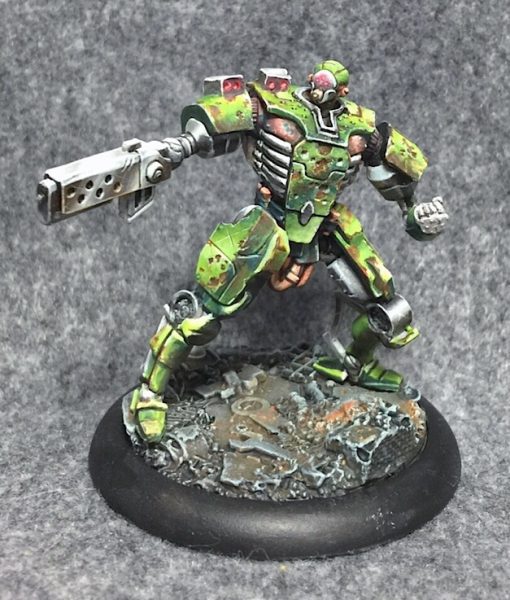
For this last shot I’ve cleaned everything up a bit more. It’s been awhile since I painted anything with this amount of distressing, and I think I might’ve gone a bit overboard. It’s very easy to overdo this sort of thing. Too many dings and you end up with something that looks like a spotted jungle cat. I think the right thigh looks best. Not too much damage and a nice crossed scratch… composition is important people!
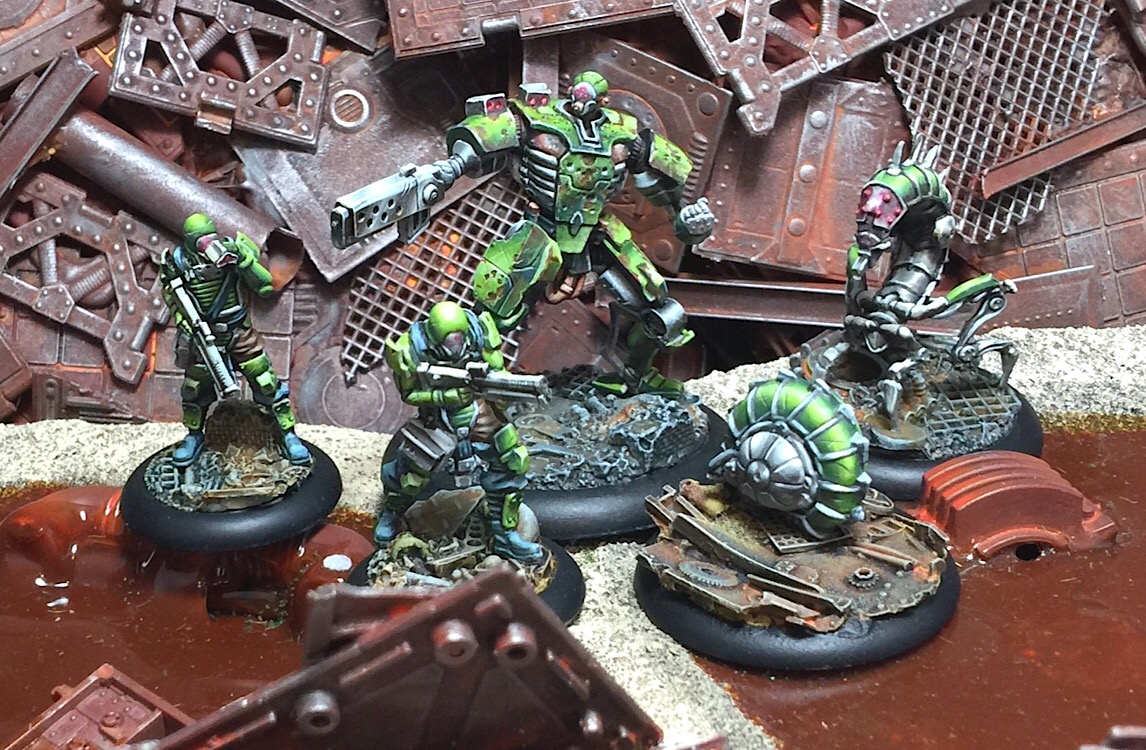
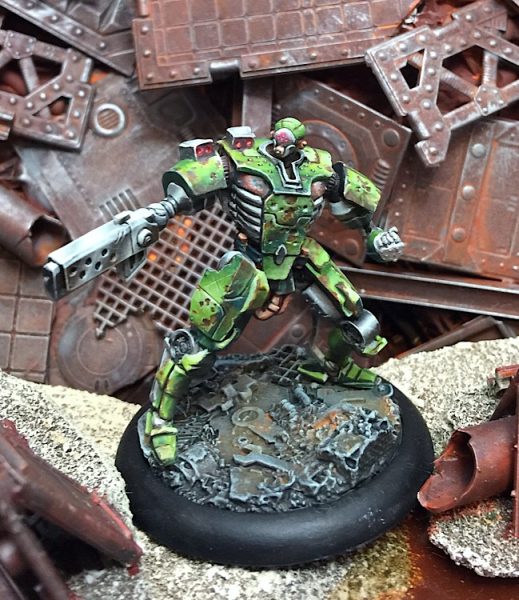
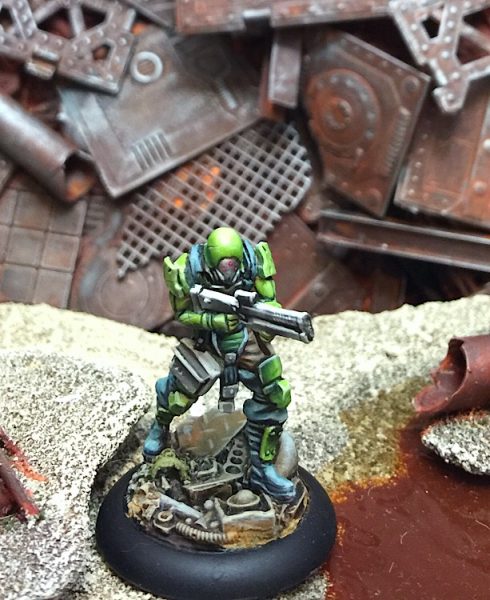
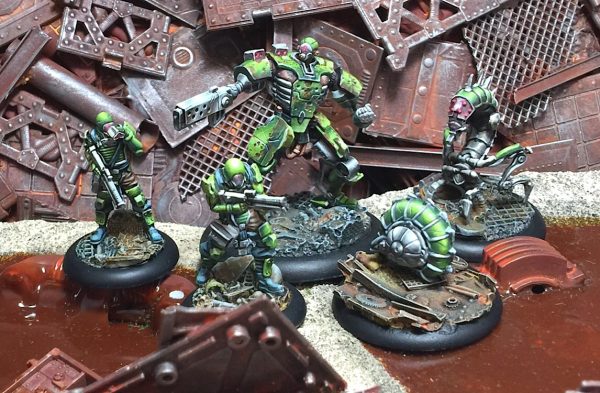
Here’s Isaac on some appropriately bleak terrain.
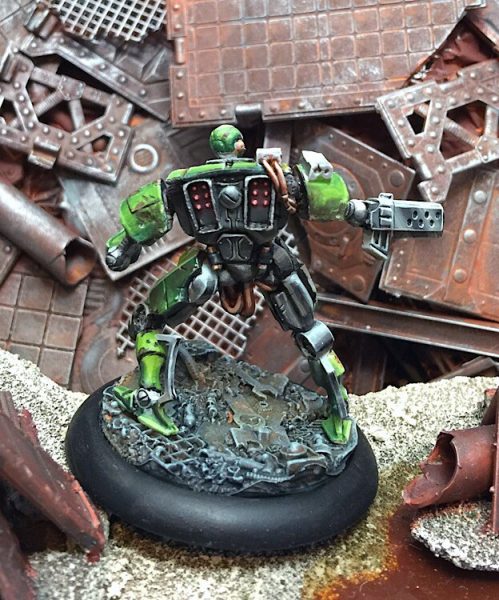
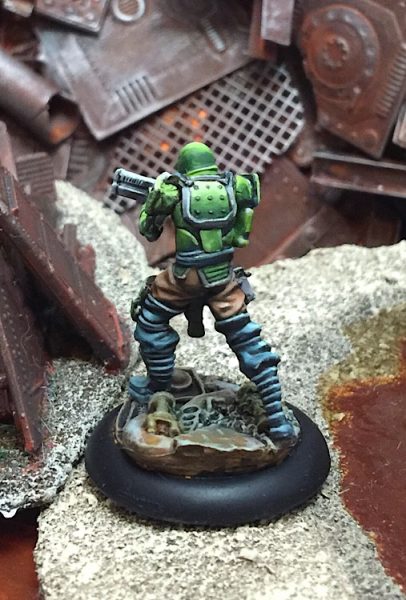
Here’s a look at the other side.
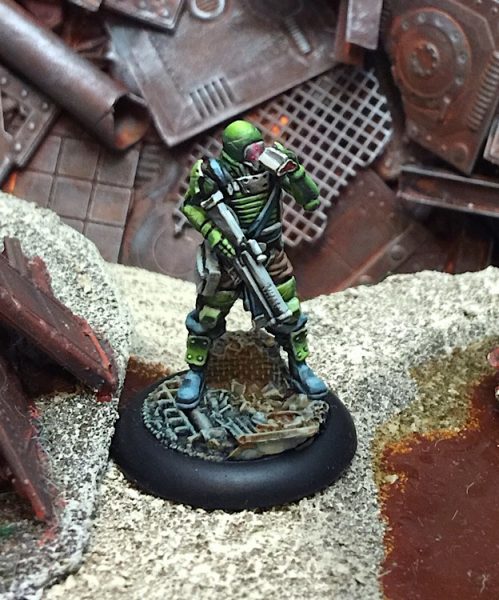
Controller number 1.
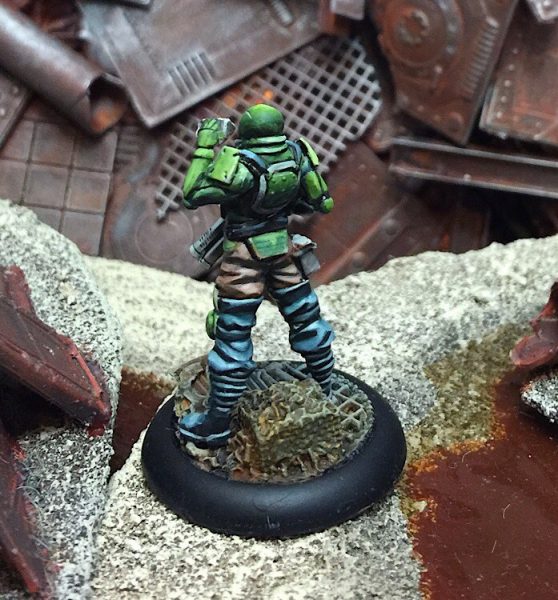
The reverse.
Controller number 2.
Controller number 2 Reverse.
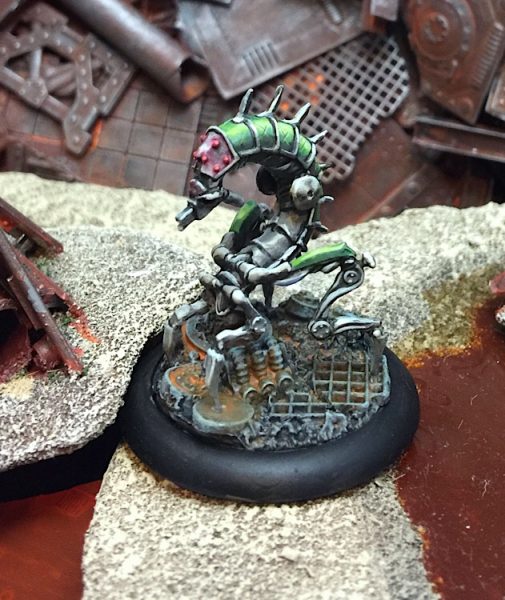
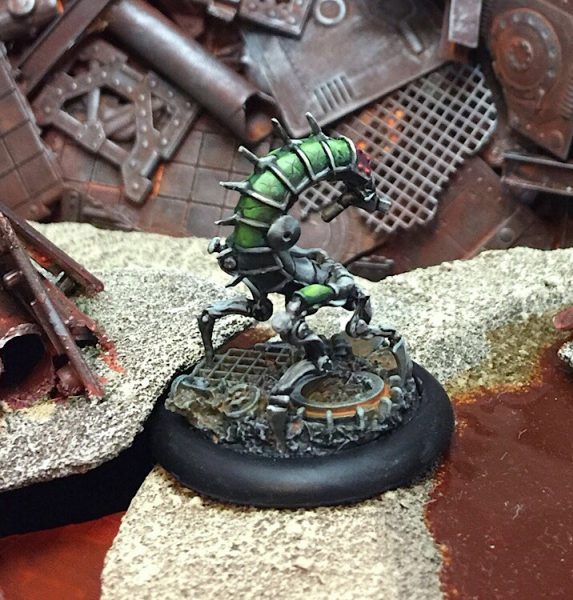
A centipede.
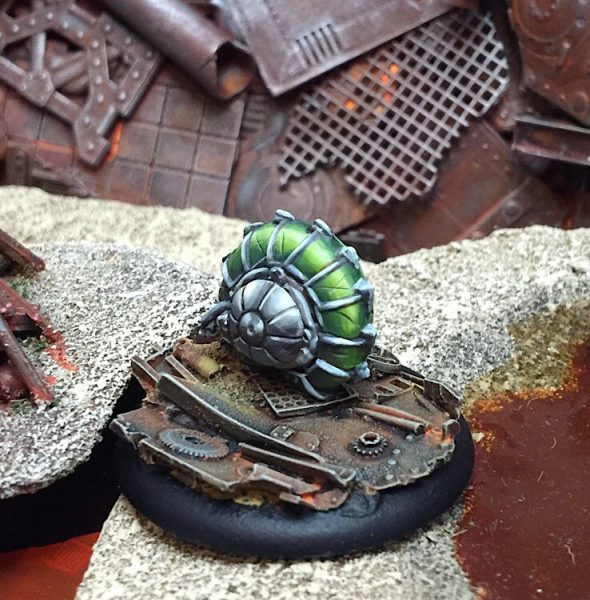
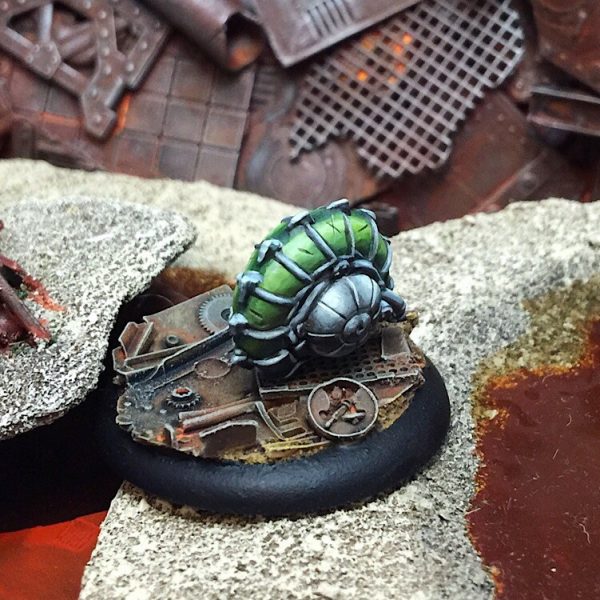
Another centipede, rolled up for a boost of speed.
And why not one more shot of the group.
This article first appeared on my own blog TooMini. If you liked it please follow and you’ll get the chance to see all of my painting articles there before they show up on BoLS.
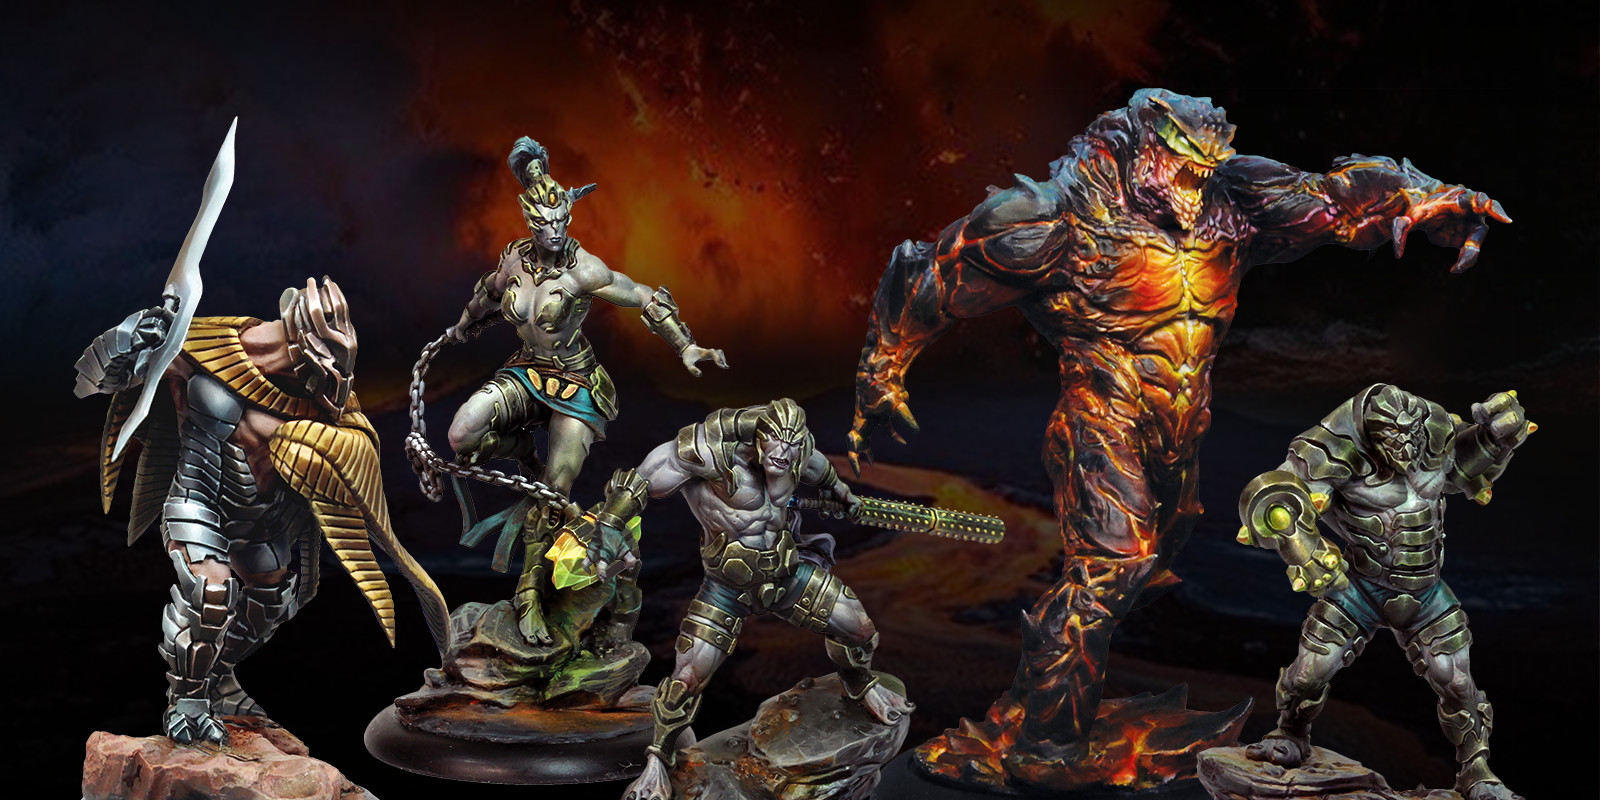
~Hope you enjoyed the article. Did you go Forsaken or Dragyri with the Path to Glory Dark Age Starter?

