GMM Showcase: Building a Tiki Ogre Backdrop


Brandon from GMM here and I’m about to wrap up a cannibal themed square base Ogre Kingdoms army. So time to work on the display!
This one is quite opposite from the last. Tournament display that is going to the customer, full framed, tighter space, so a big difference in the challenges of making it work. More concern with model placement than simply getting them all in frame and letting it sort itself out on picture day.
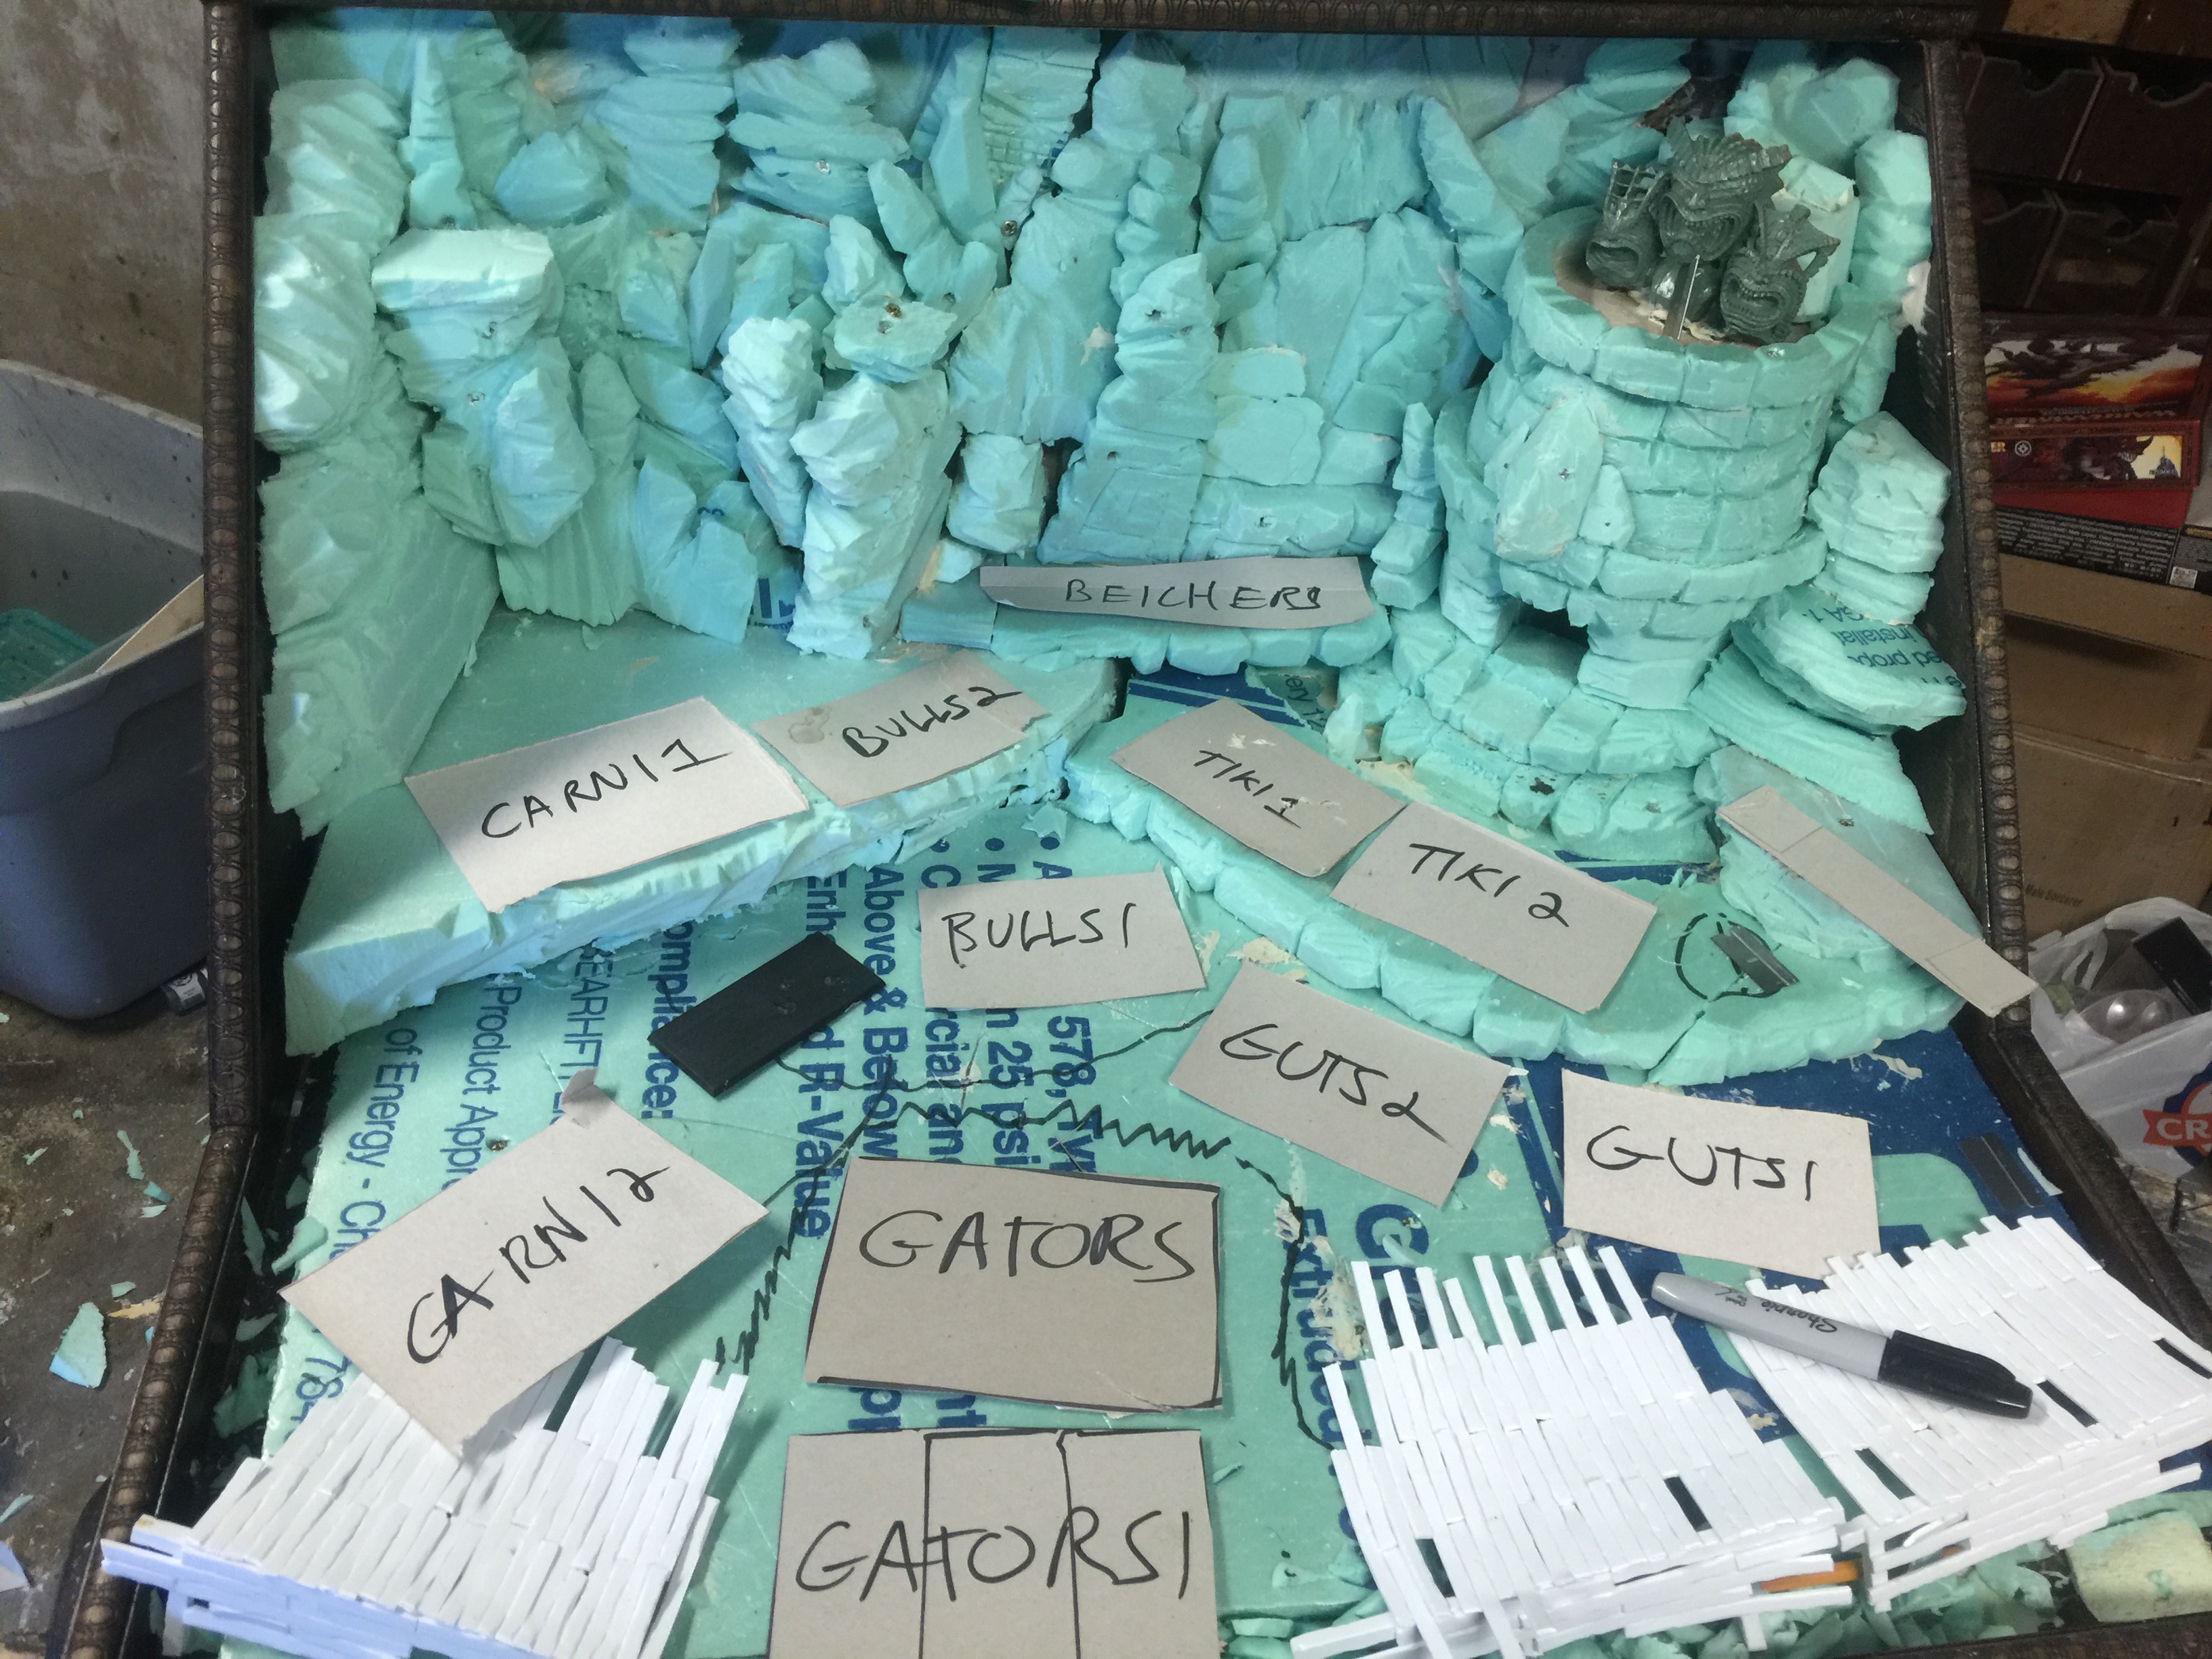
The biggest thing, like when working on some of my Adepticon displays, is sorting out the placement of models. It’s usually a jigsaw puzzle and a whole lot of sitting and staring. But once it all lands in place, good to go.
Another factor with this one is the army itself is about 50% larger as a whole than the customer will use in a standard tournament army, so care had to be taken to maximize space for the whole army together, both for photos and on display in his home, but also make the spaces stand up on their own if the model count is light on the tournament table. For some models even the water surface will be used, and that will make more sense later.
But let’s get to work!
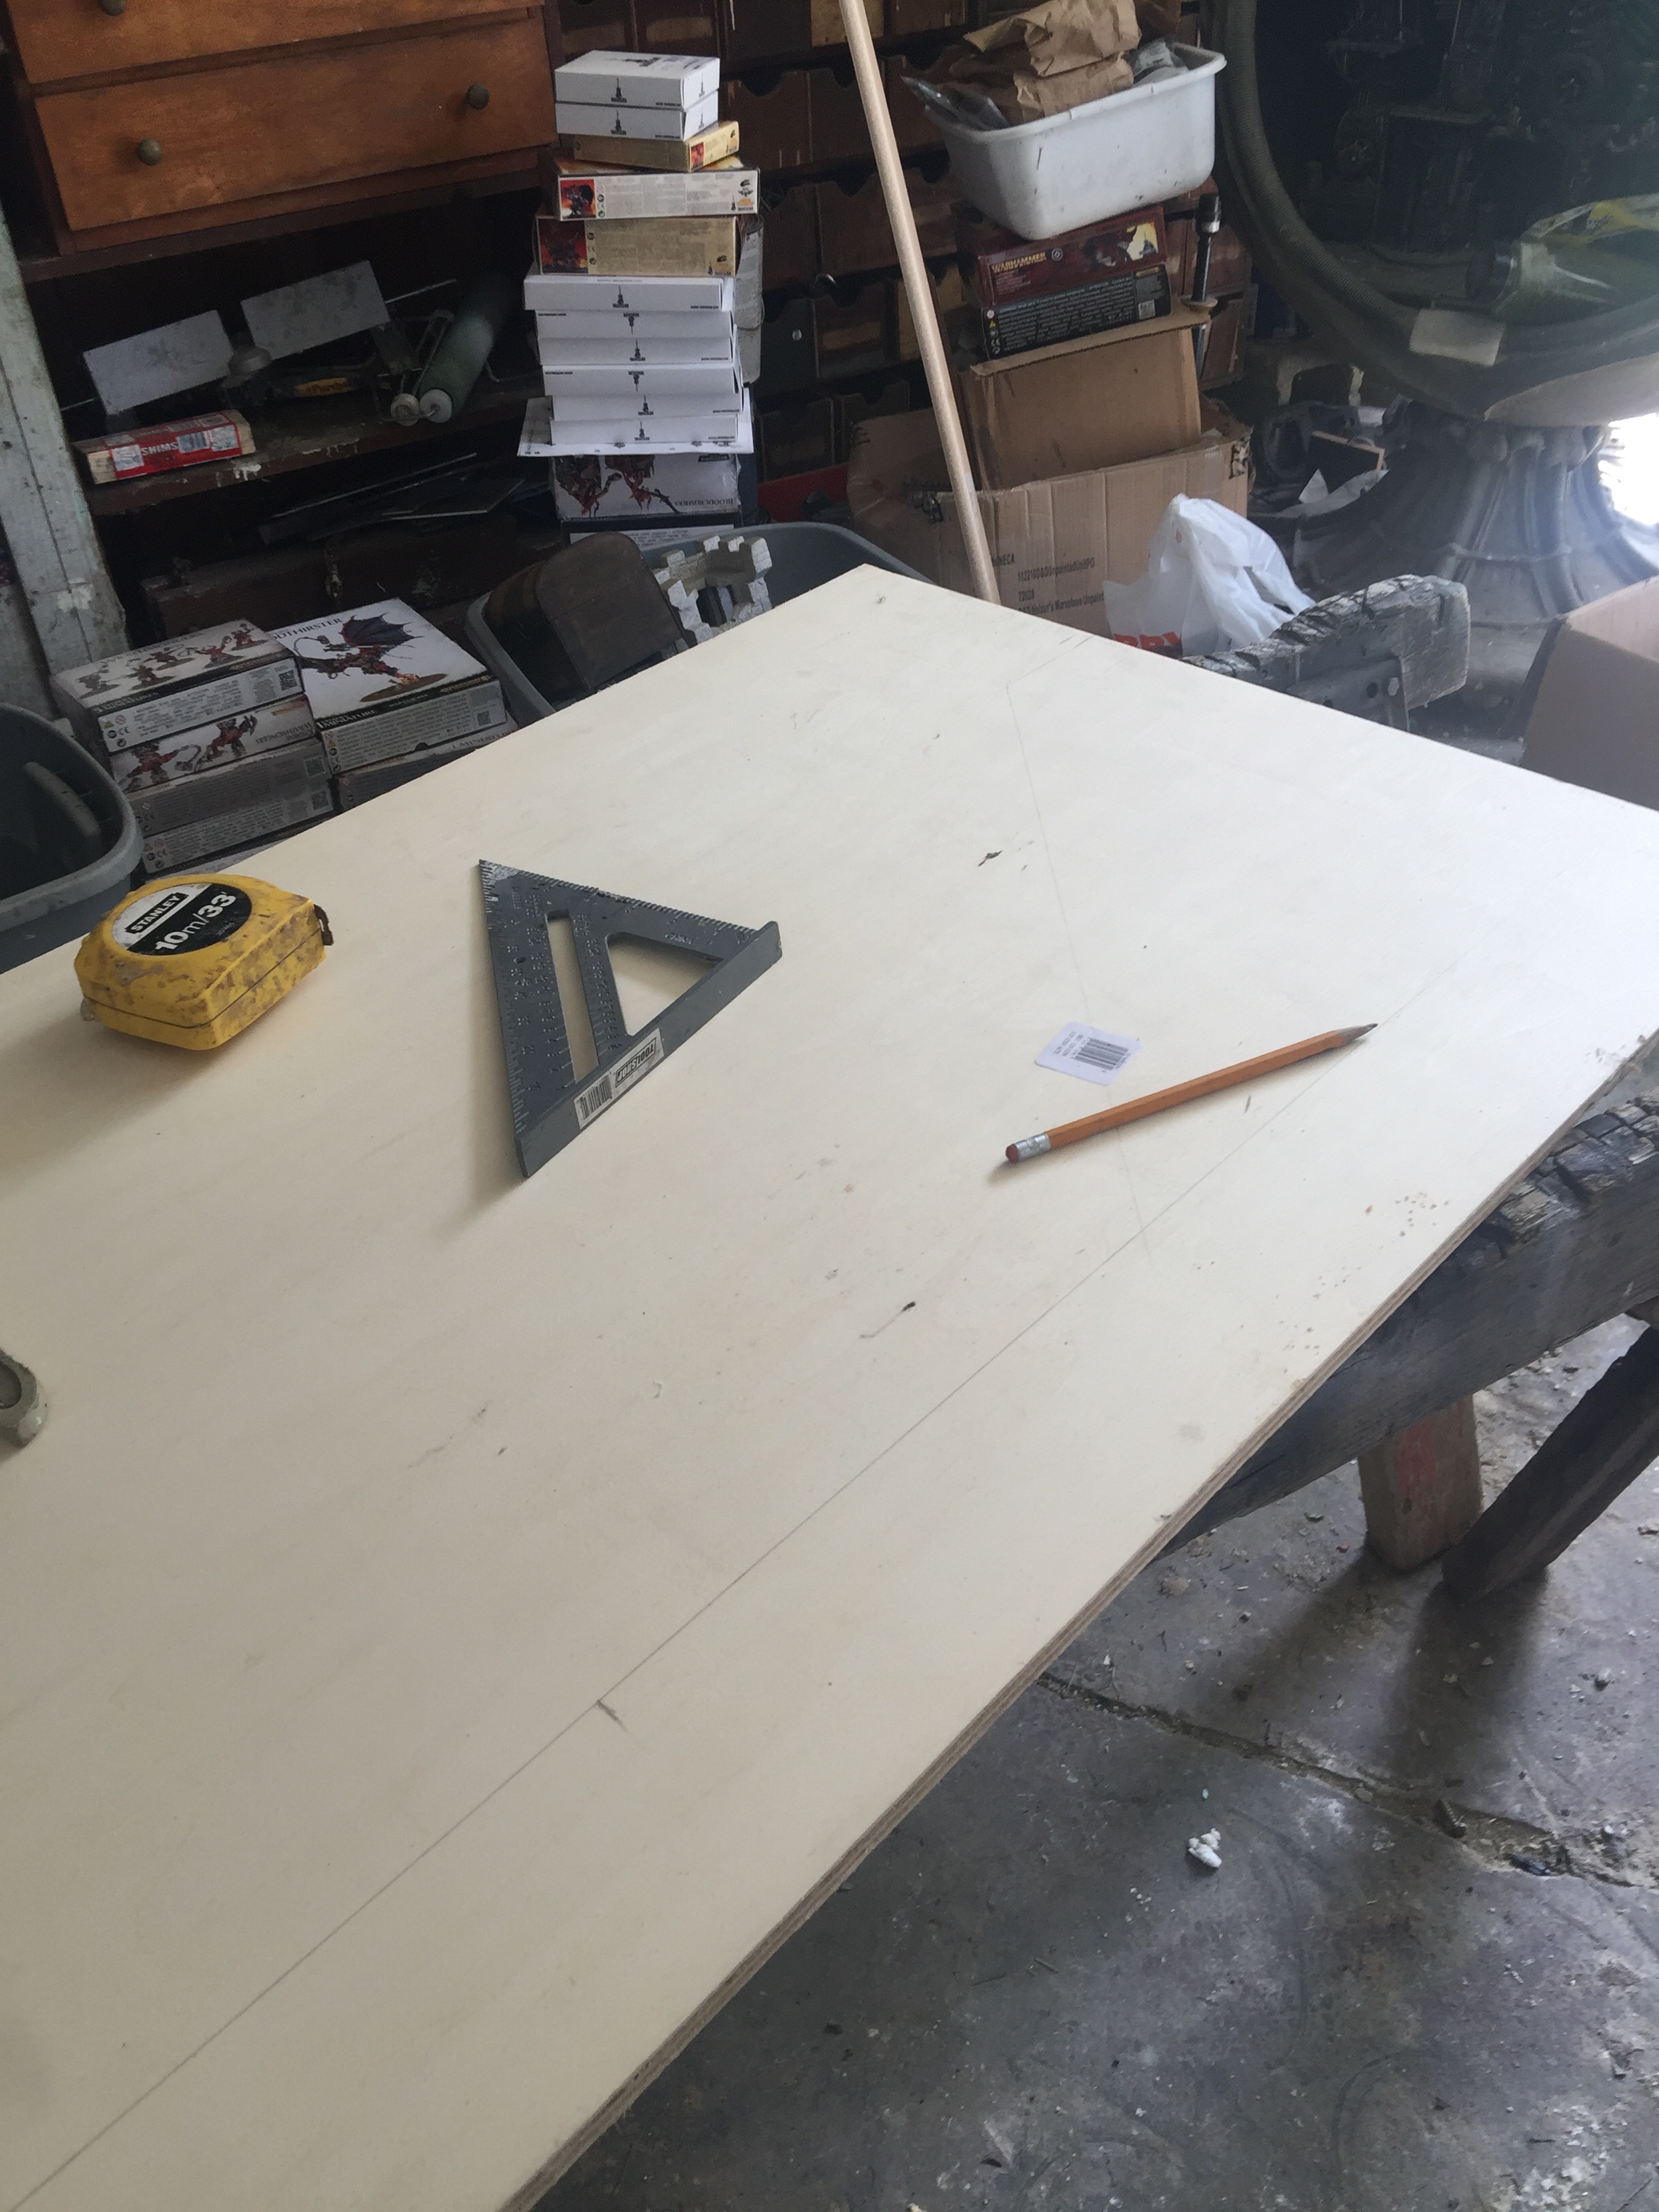
They all start somewhere. Lots of plywood! Mix of 1/2 and 3/4, to maximize structure and minimize weight where possible.
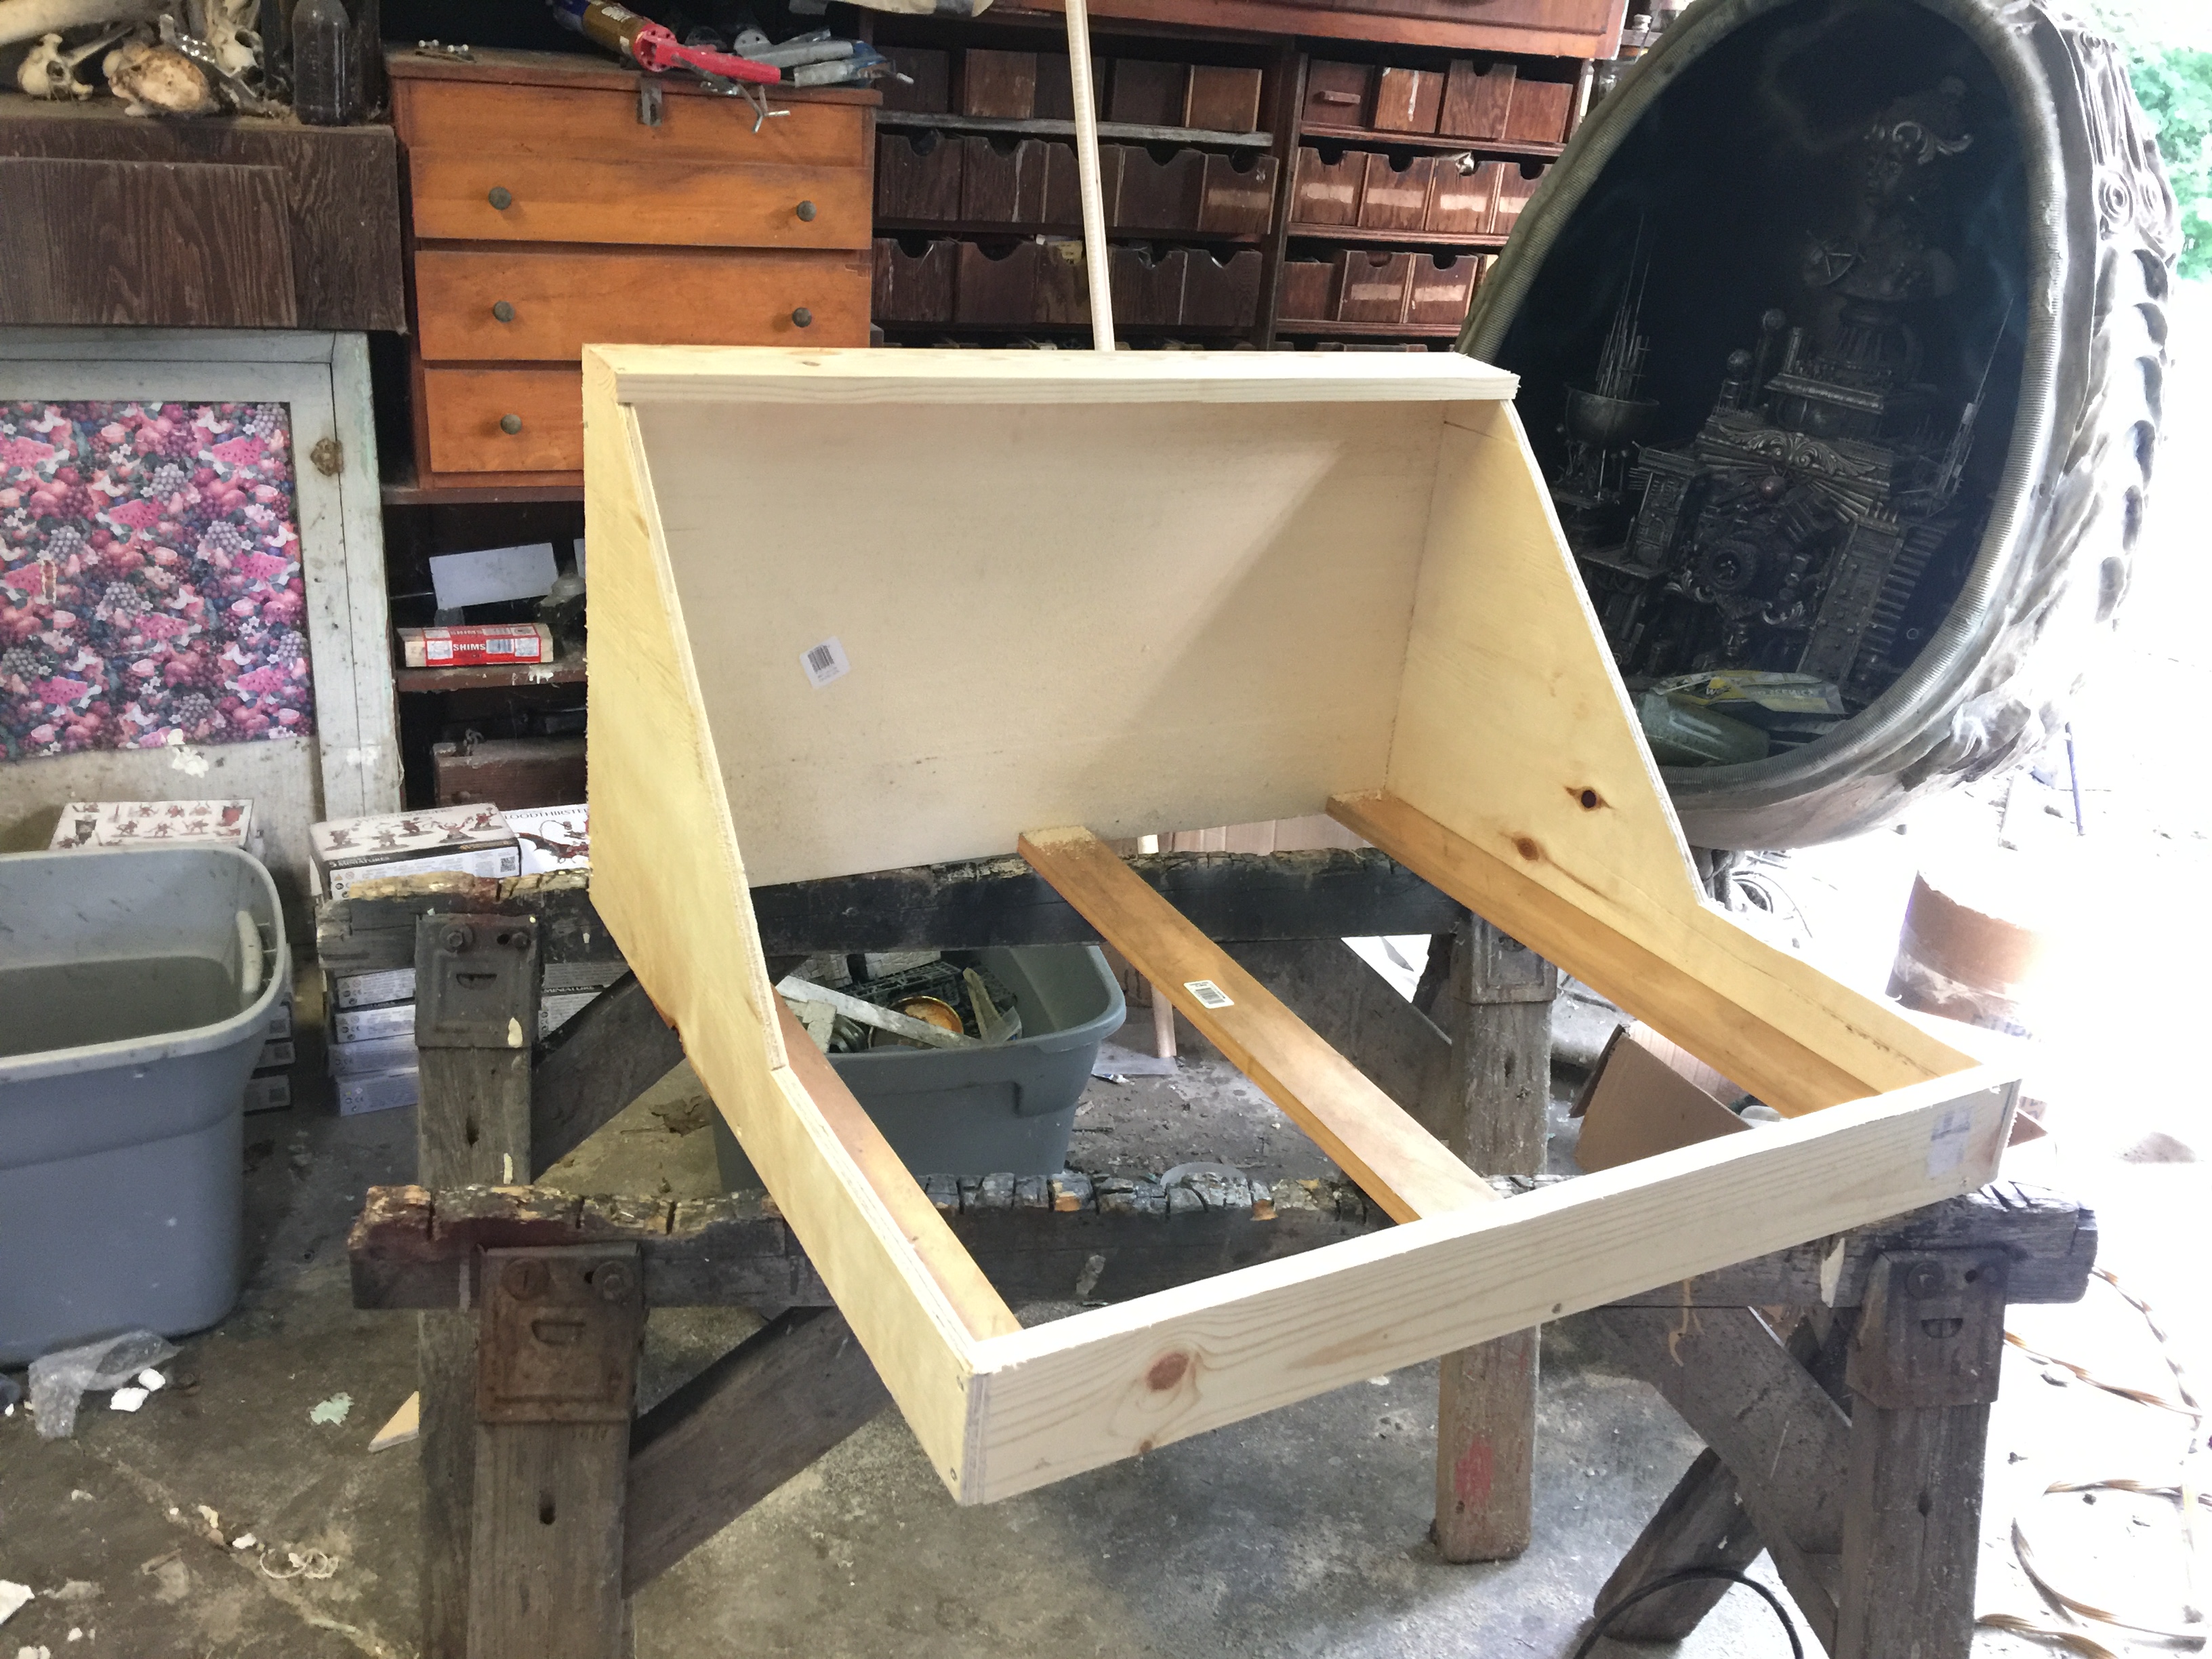
Basic cabinet shape laid out. Supports on the bottom make the foam very solid, but lighter than using solid plywood.
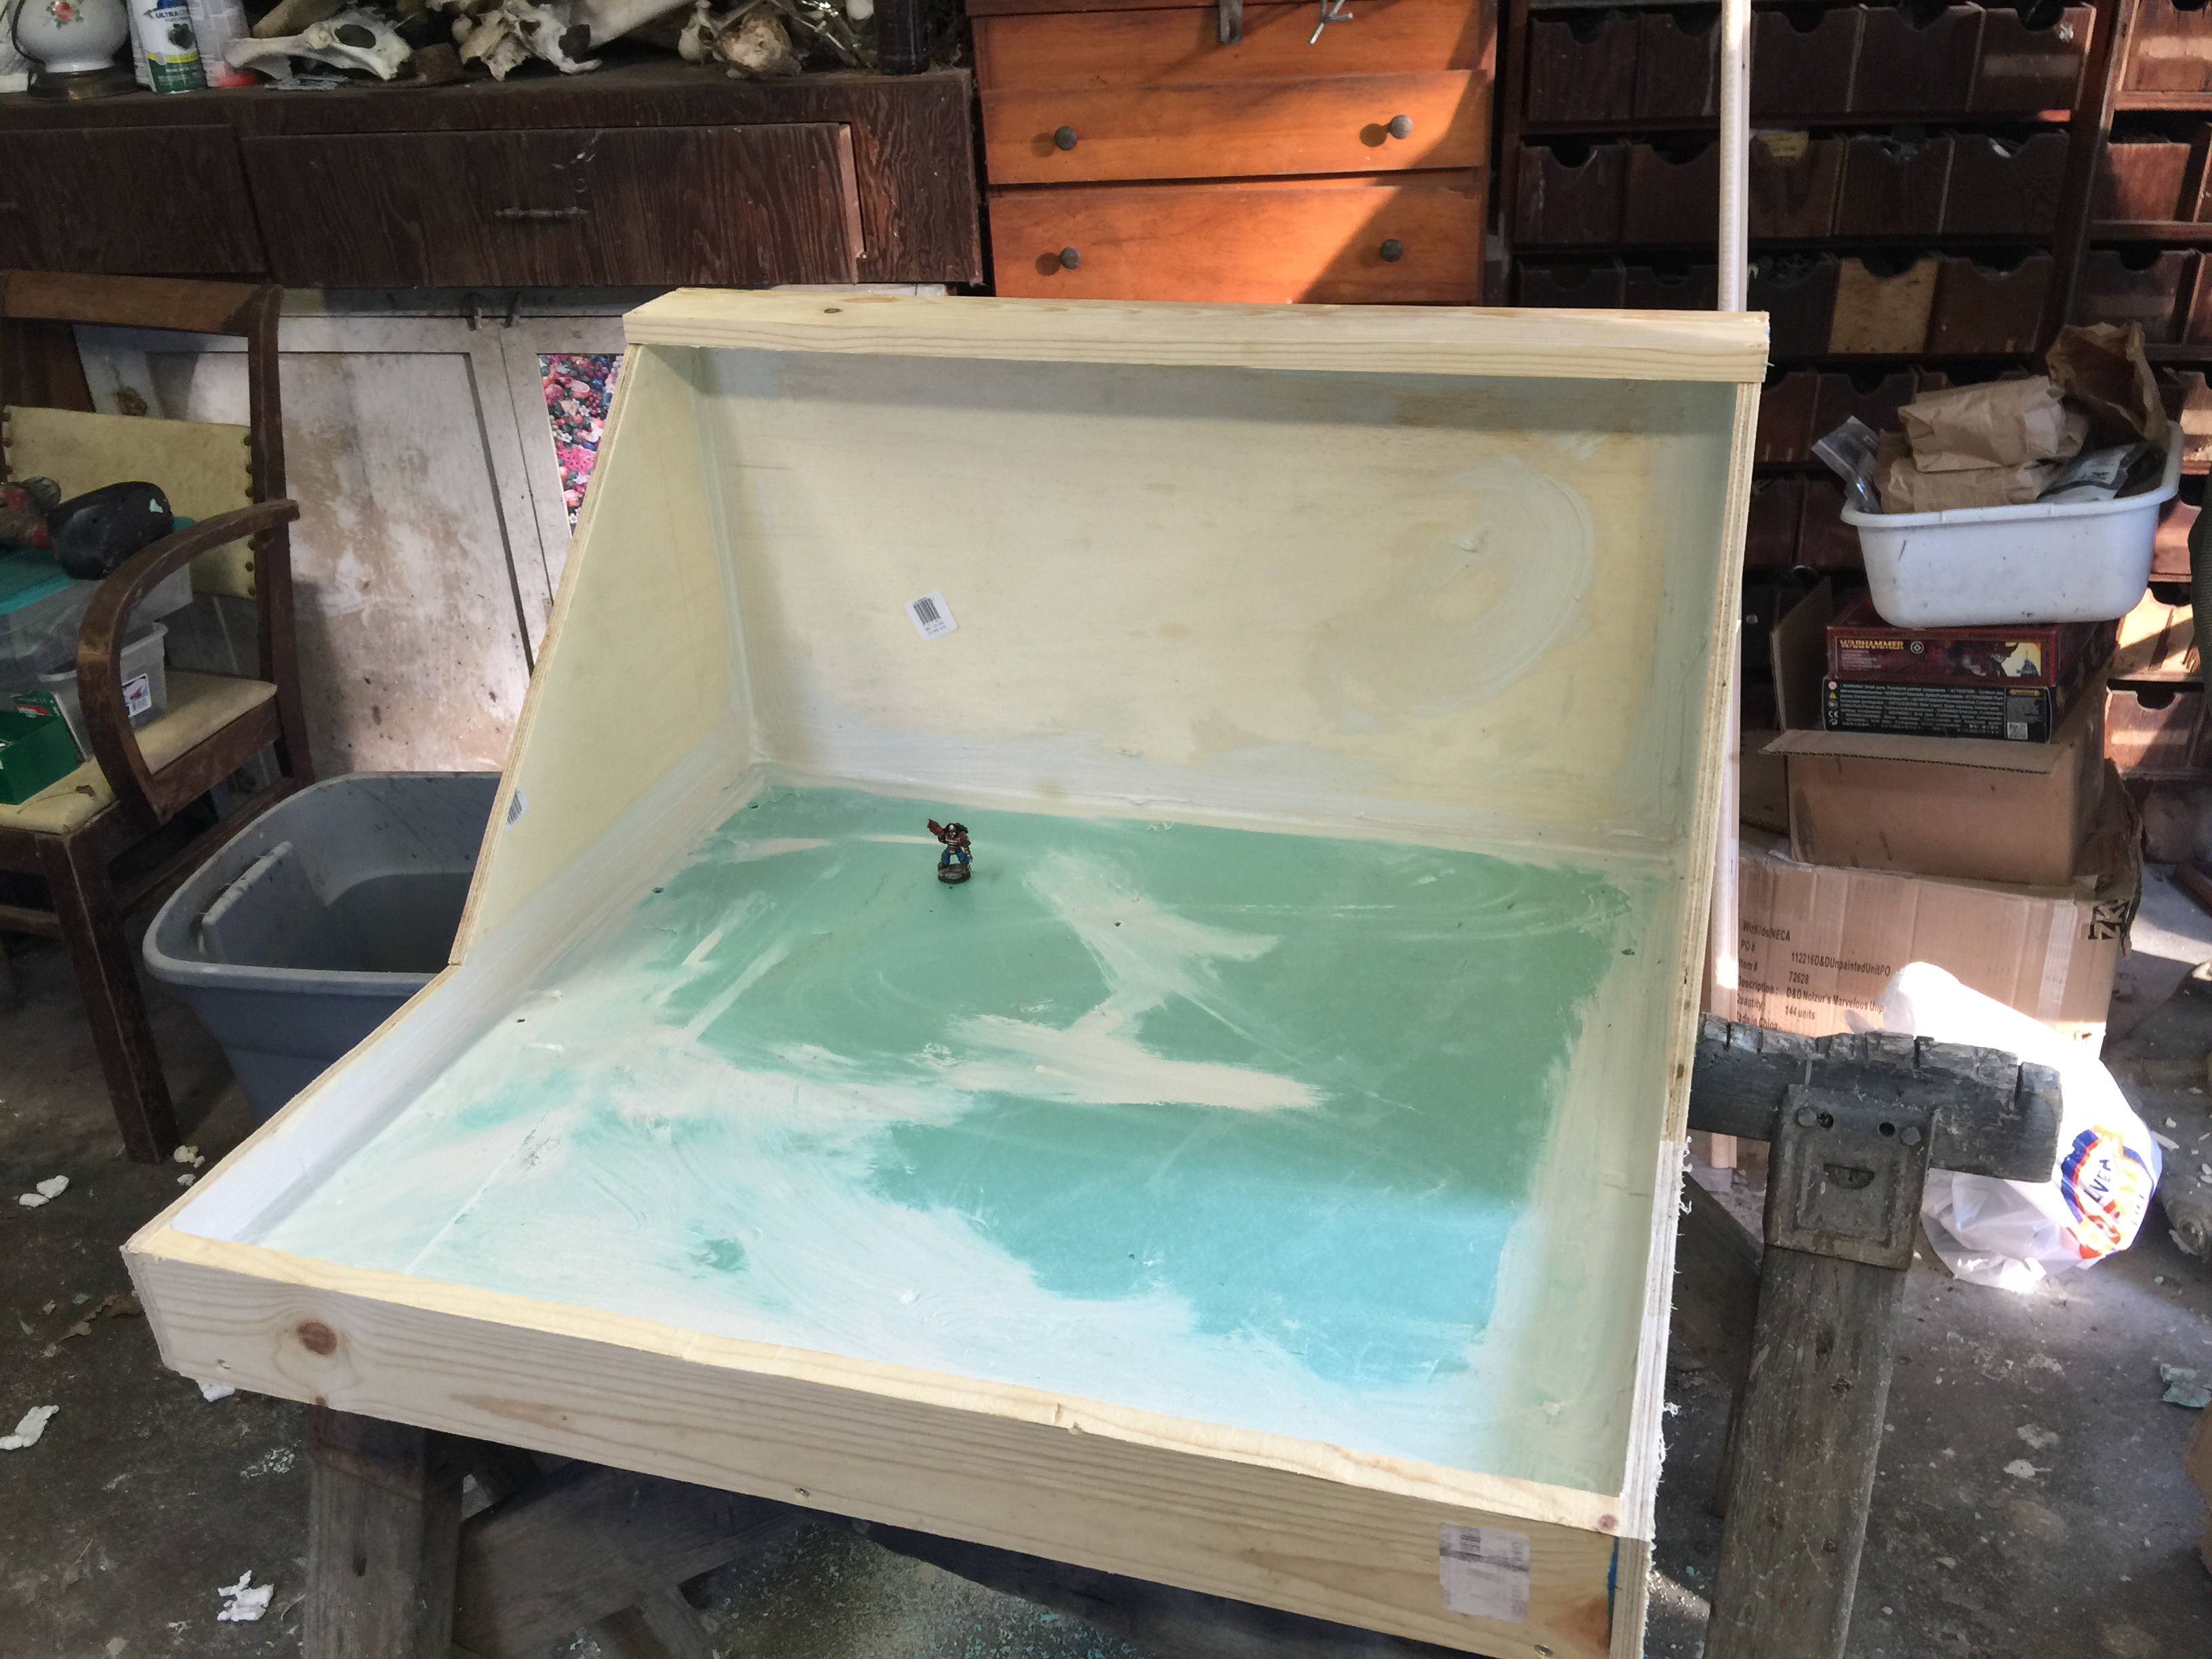 Foam in, and sealed. Not only to make it solid and durable, but to prevent any resin leaks. That is a hard problem to fix if it comes up, so prevention every step of the way.
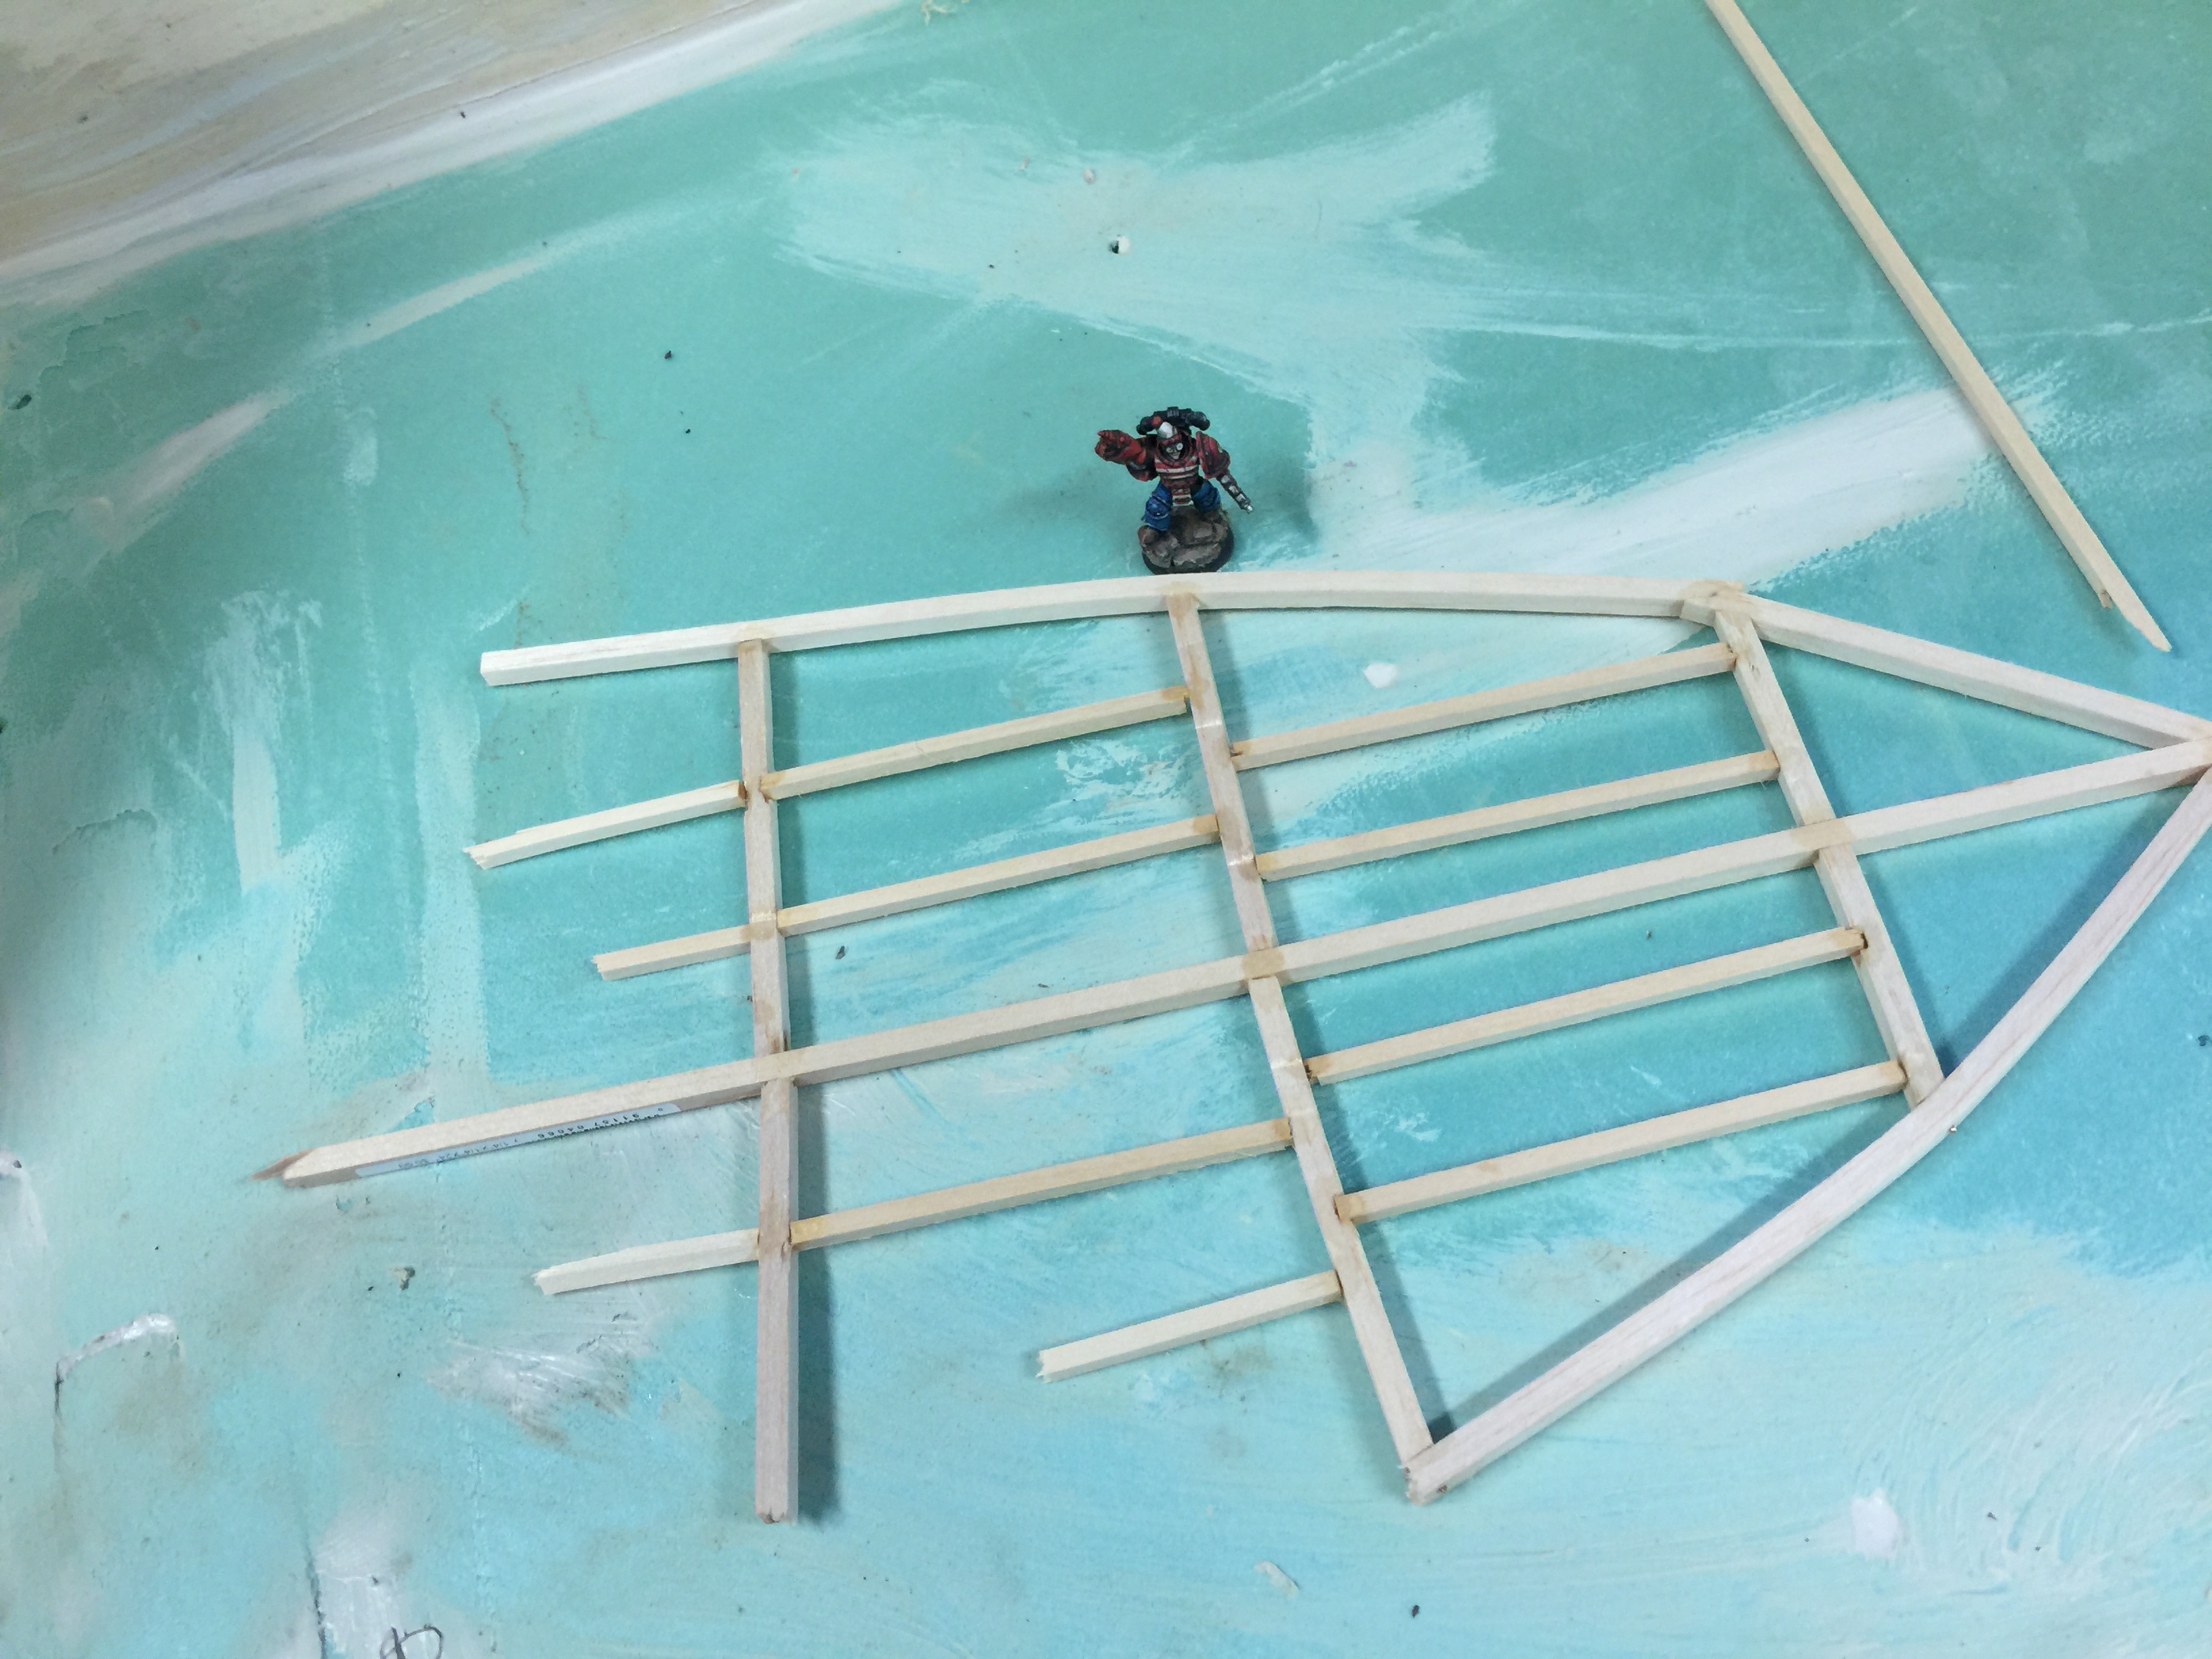
Start of the shipwreck. I prefer plastic for holding detail, but for this basic curved shape balsa is required. A pin in every joint and lots of glue makes bending and attaching easy.
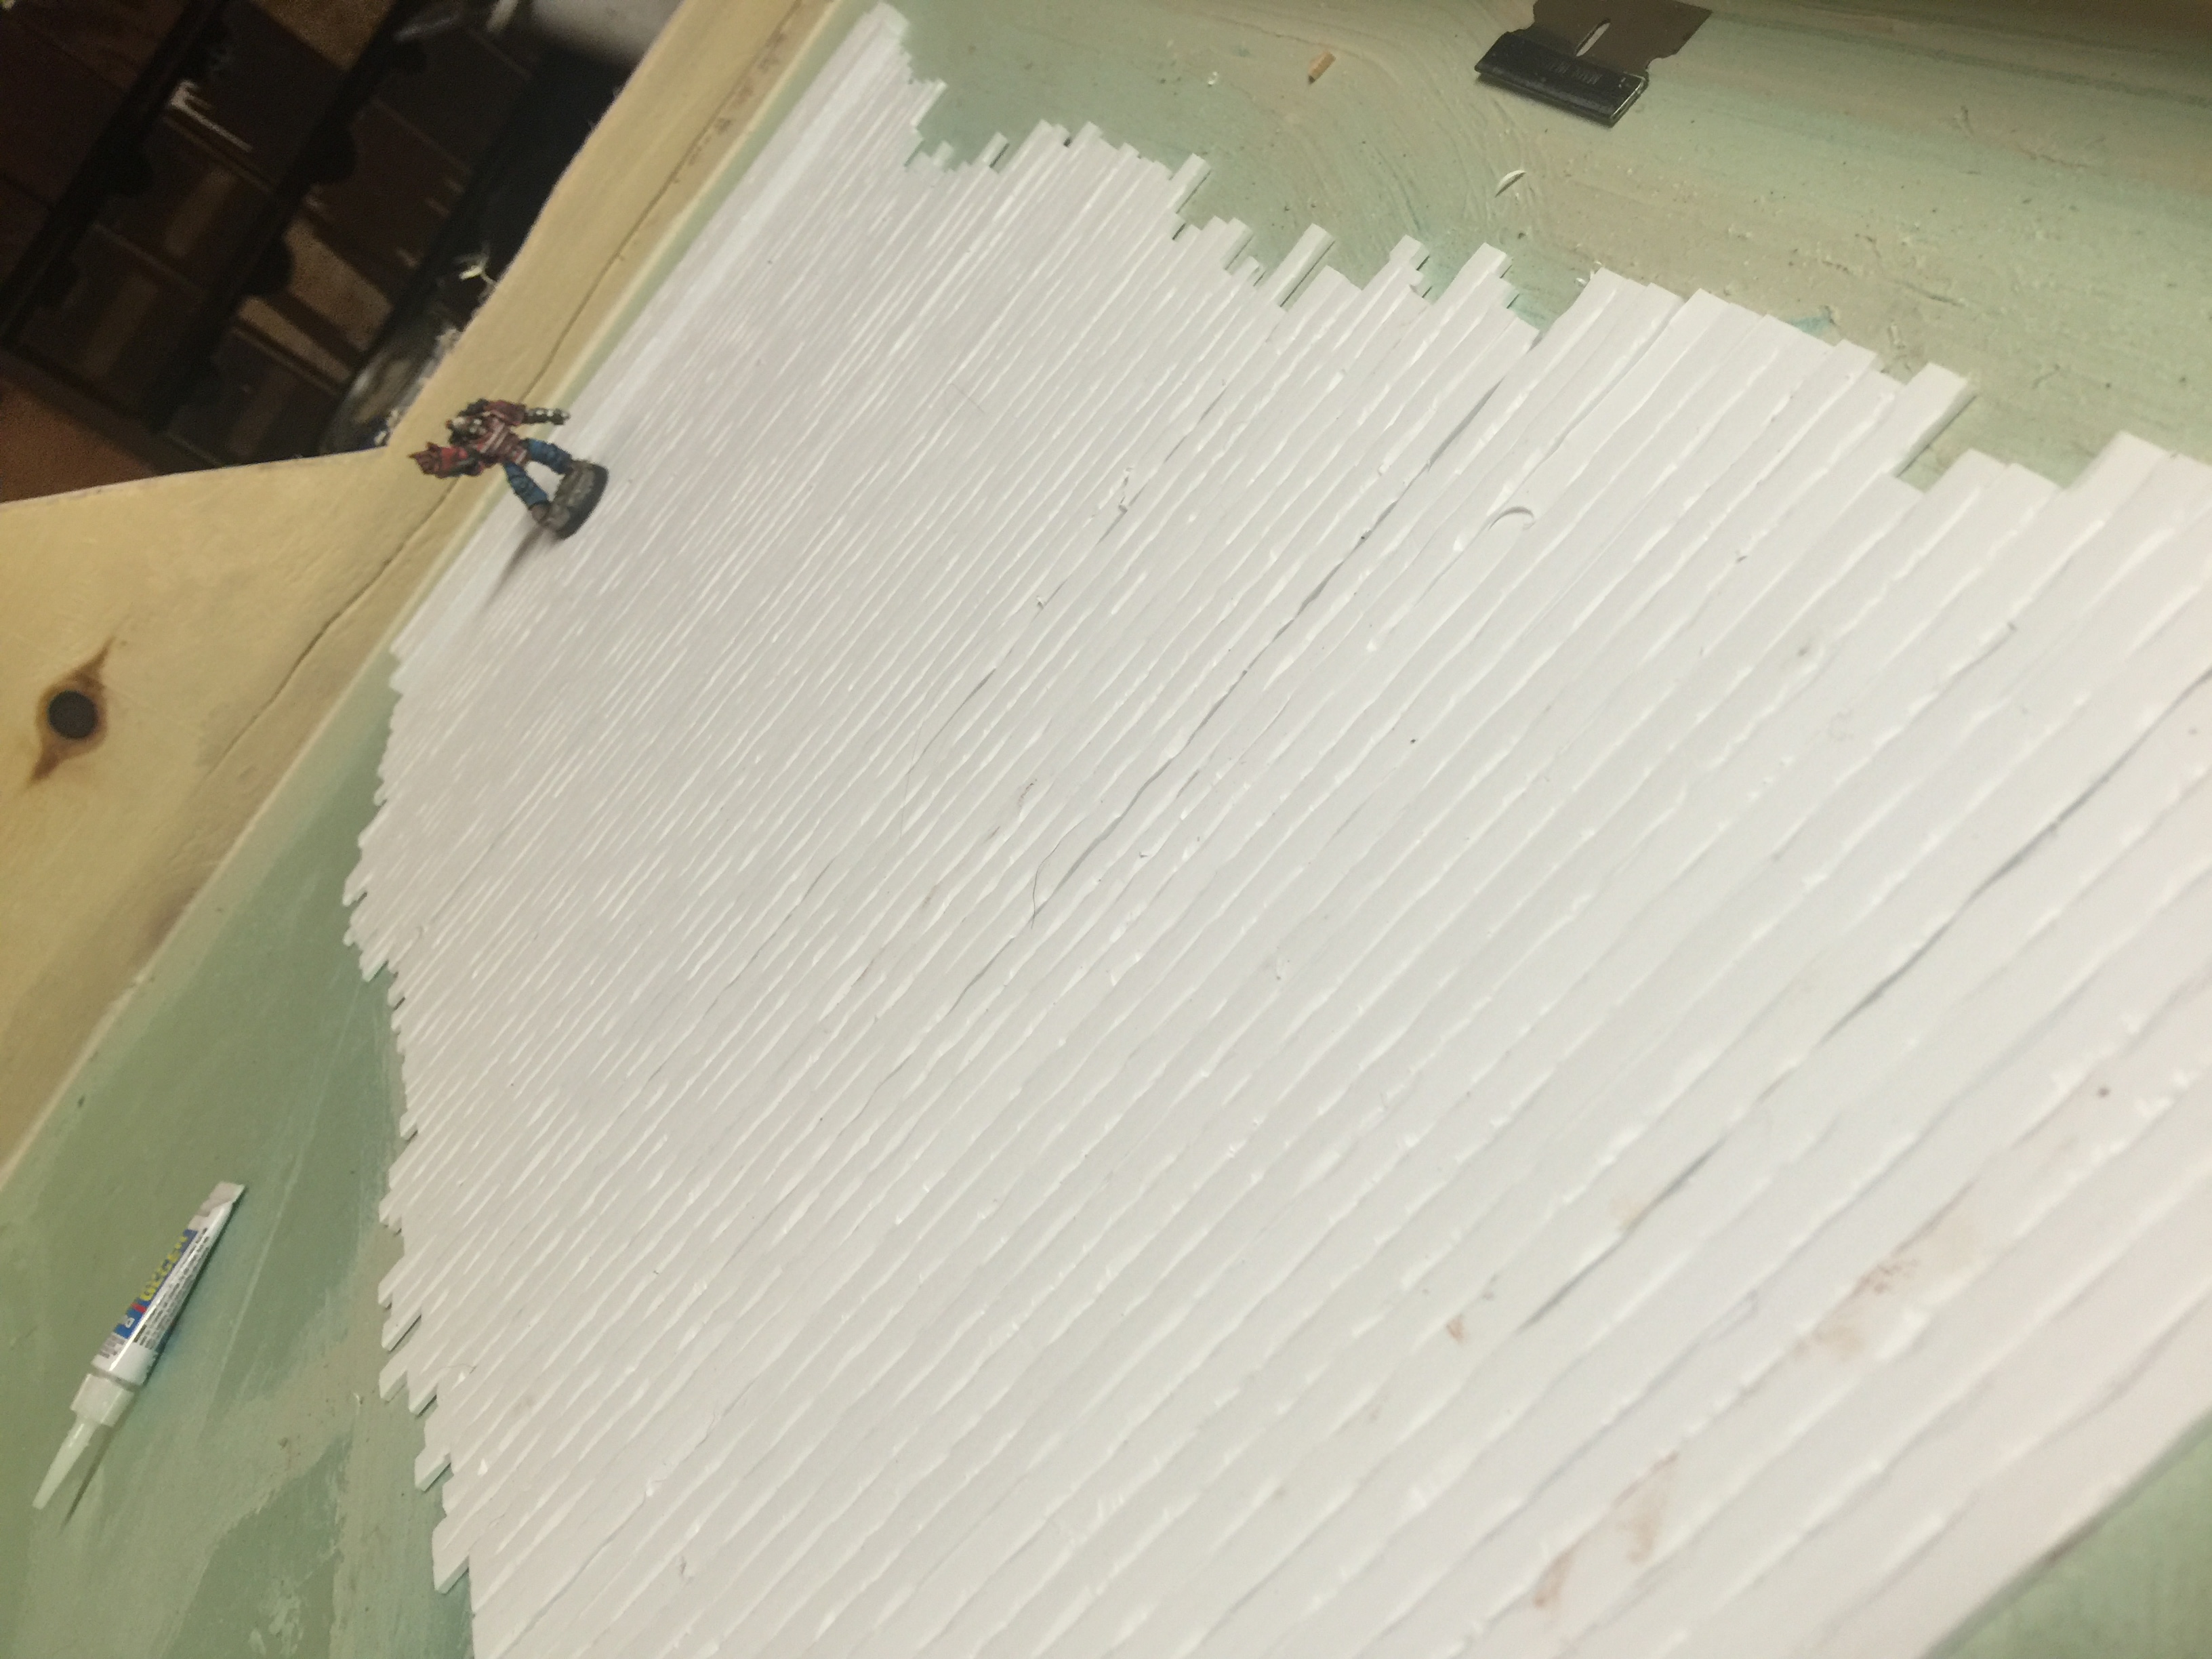
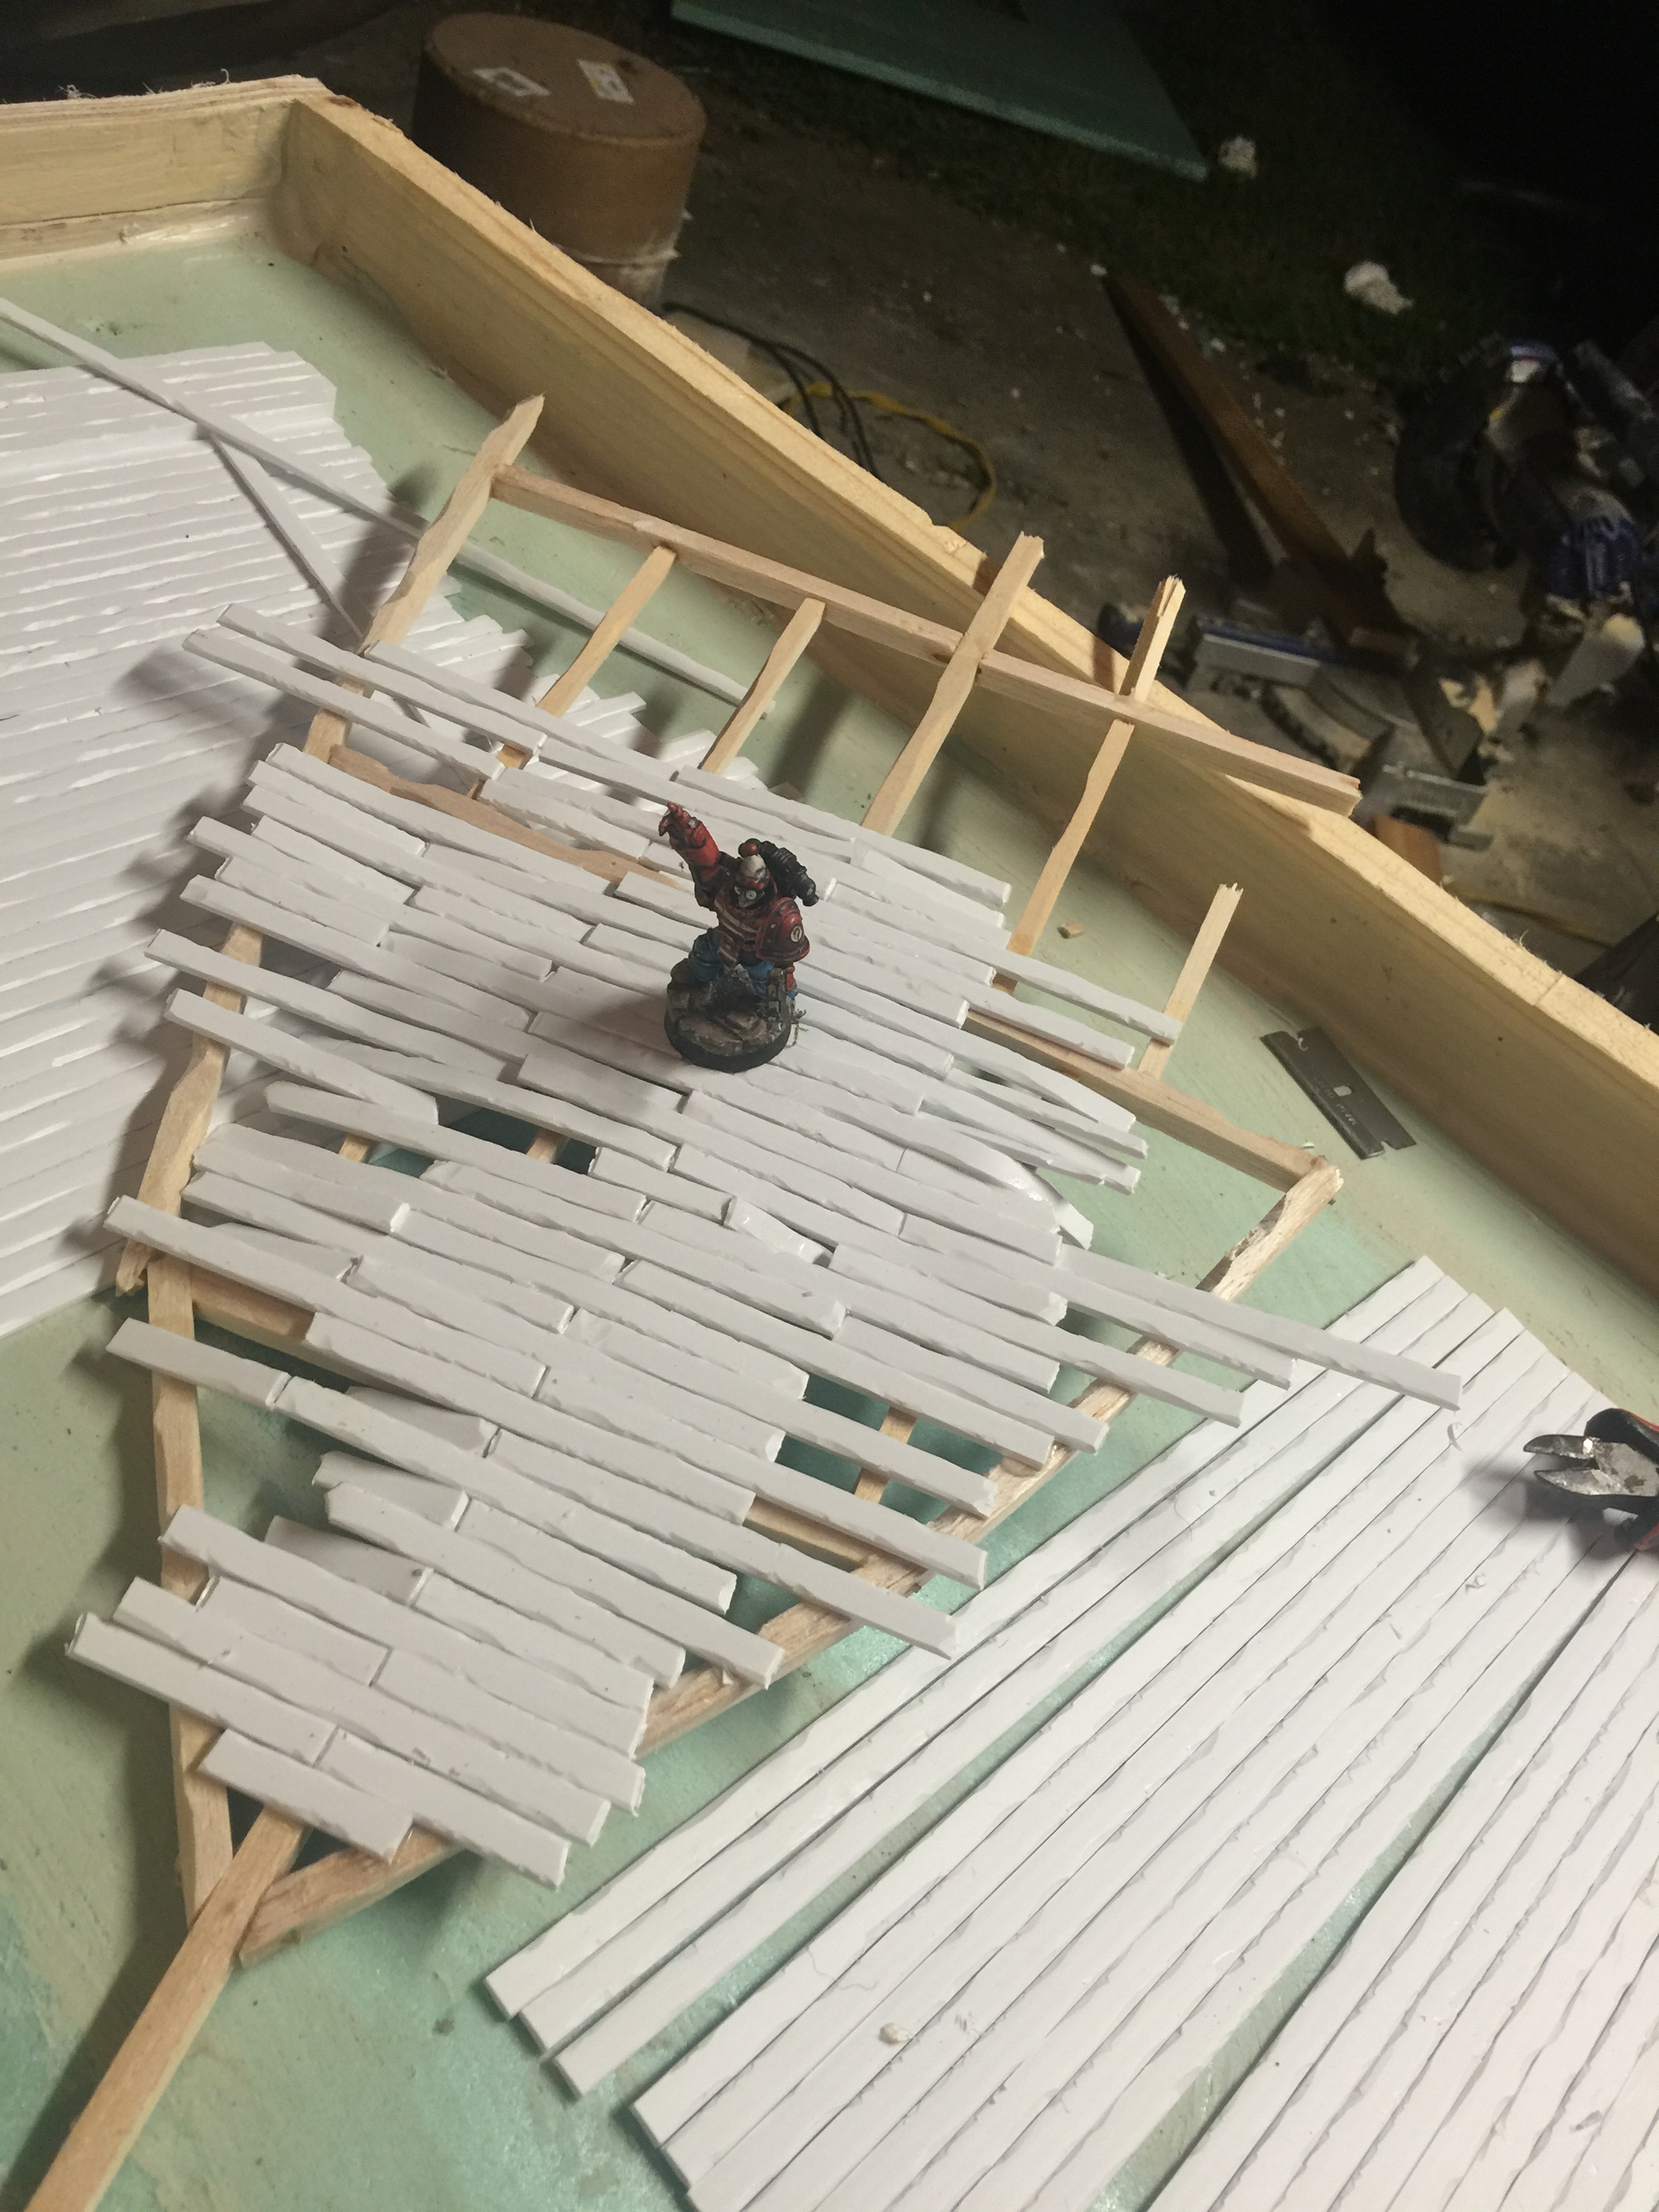
Carving about 100 strips of plastic into worn wood. This brought back memories.
Starting to make the planks and ship surface.
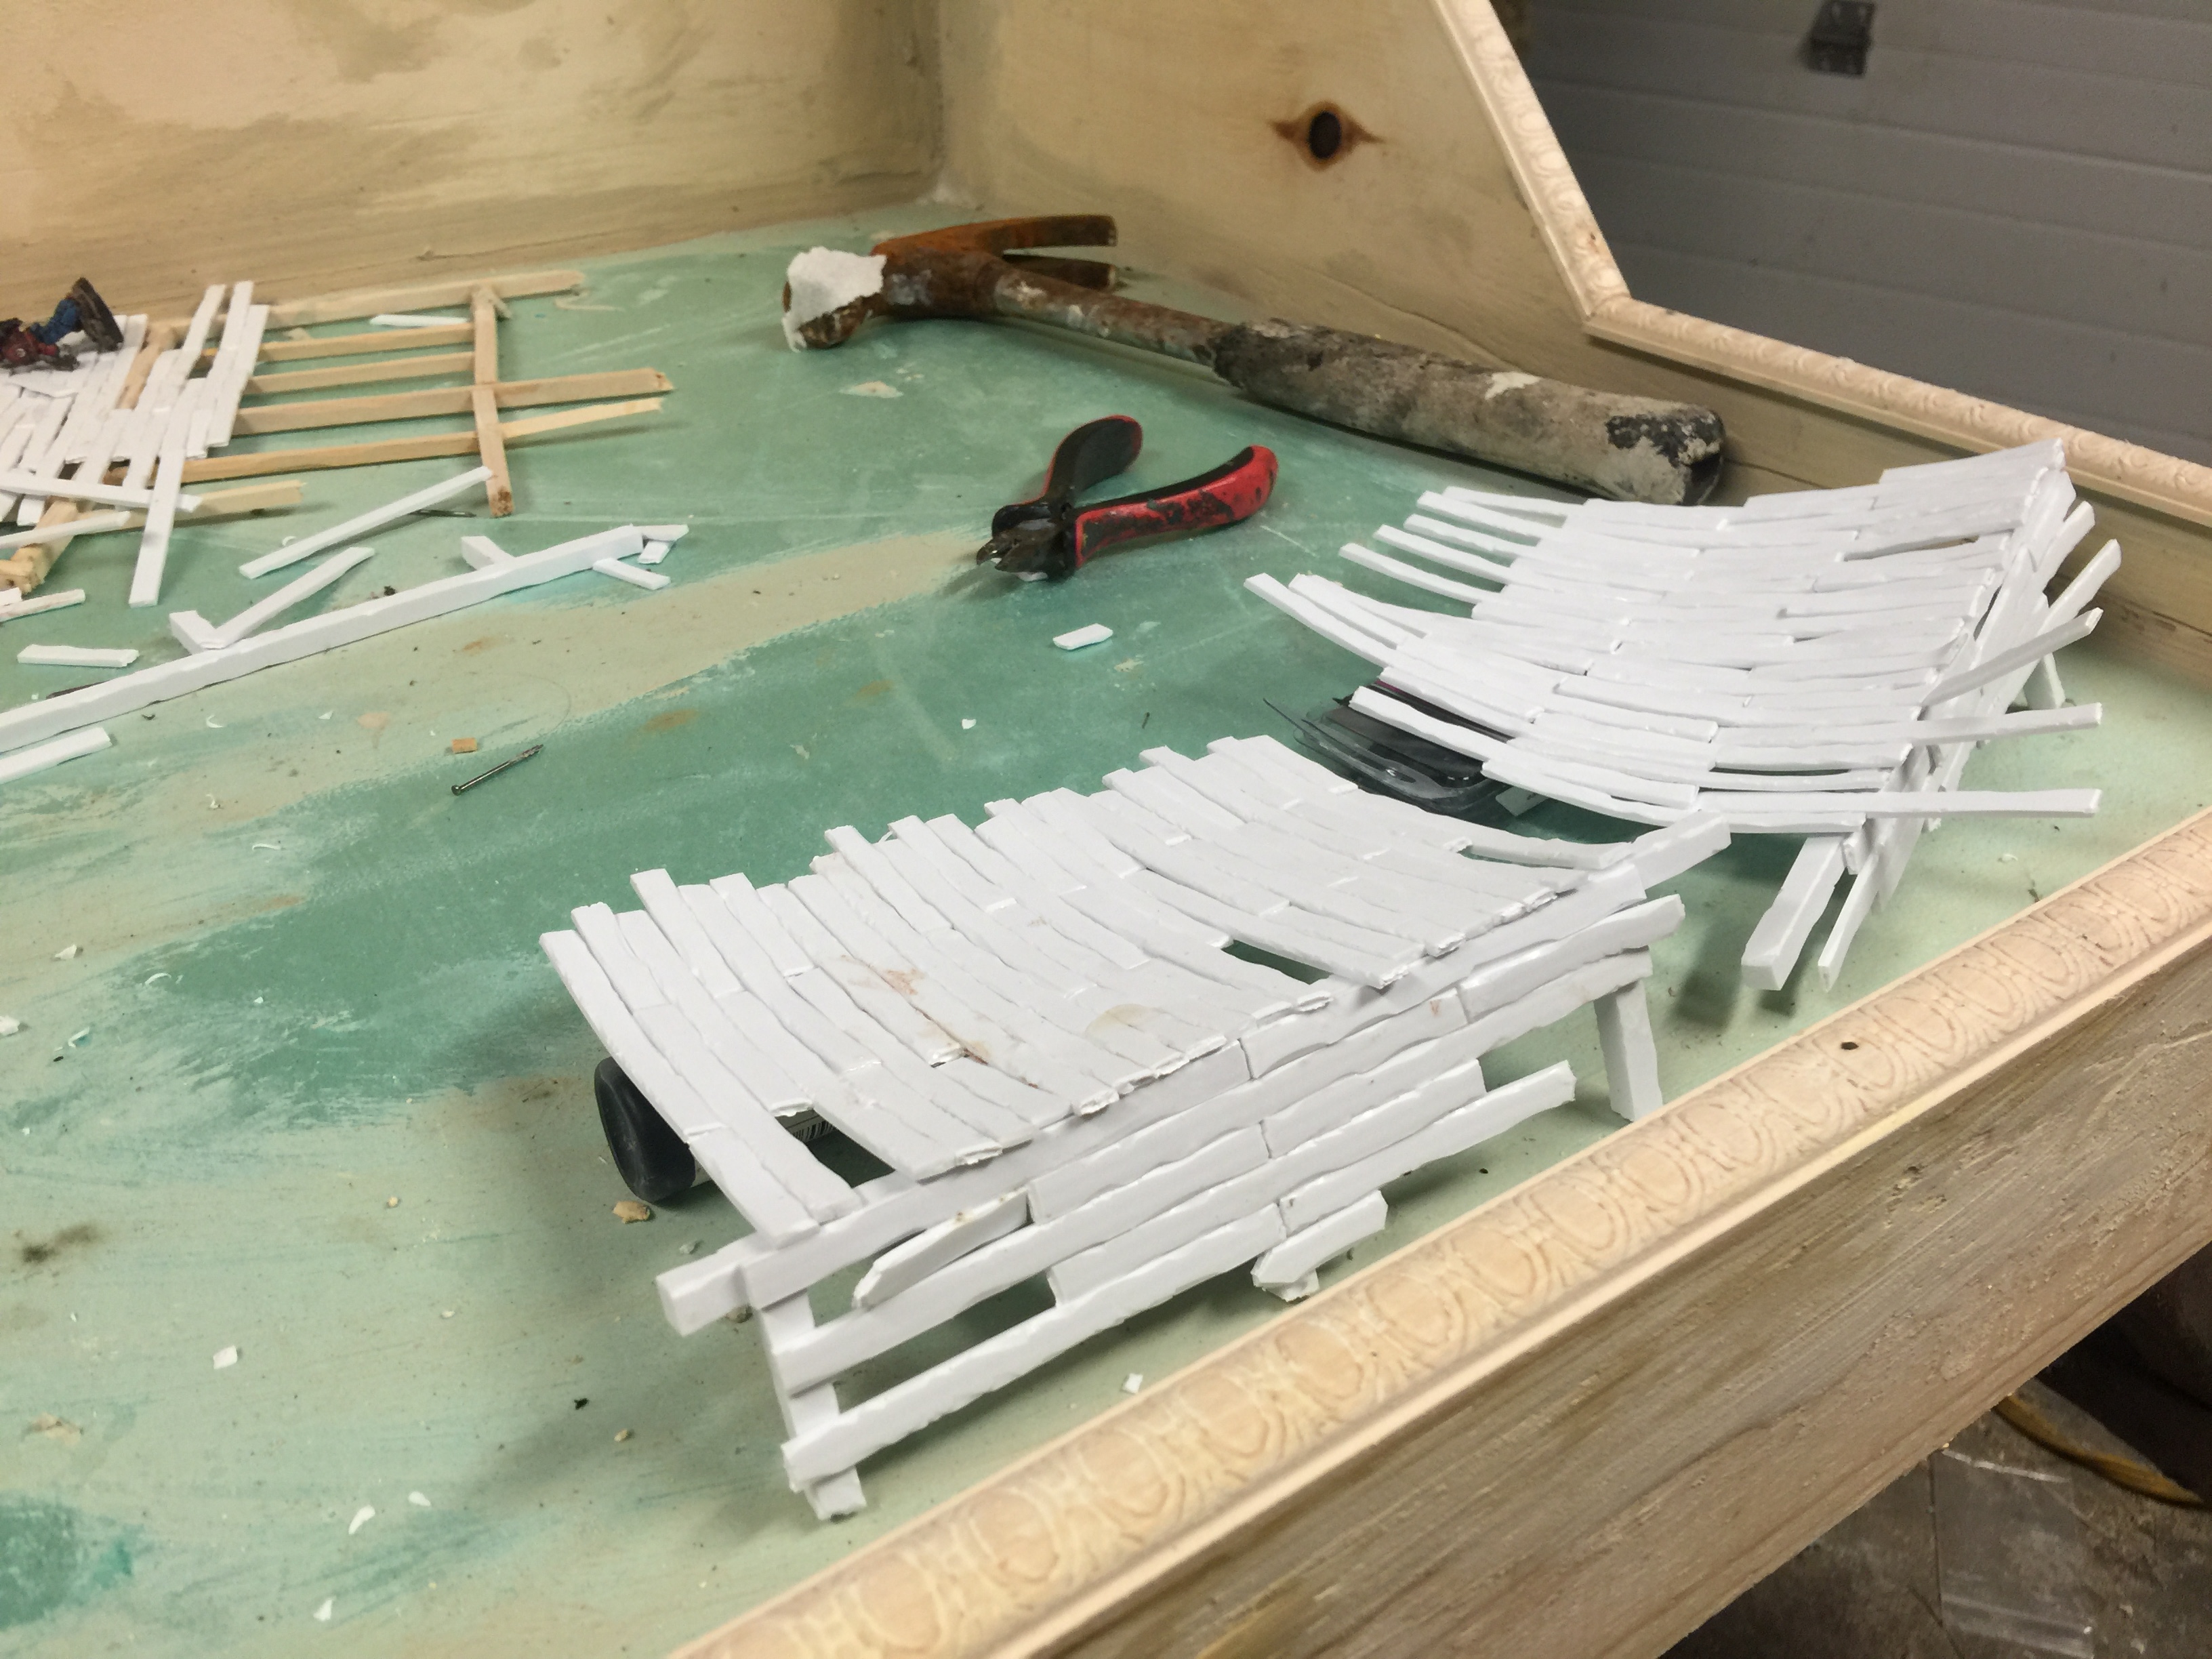 The curvature is easy if you plan ahead and bend the strips as you “sculpt” the surface.
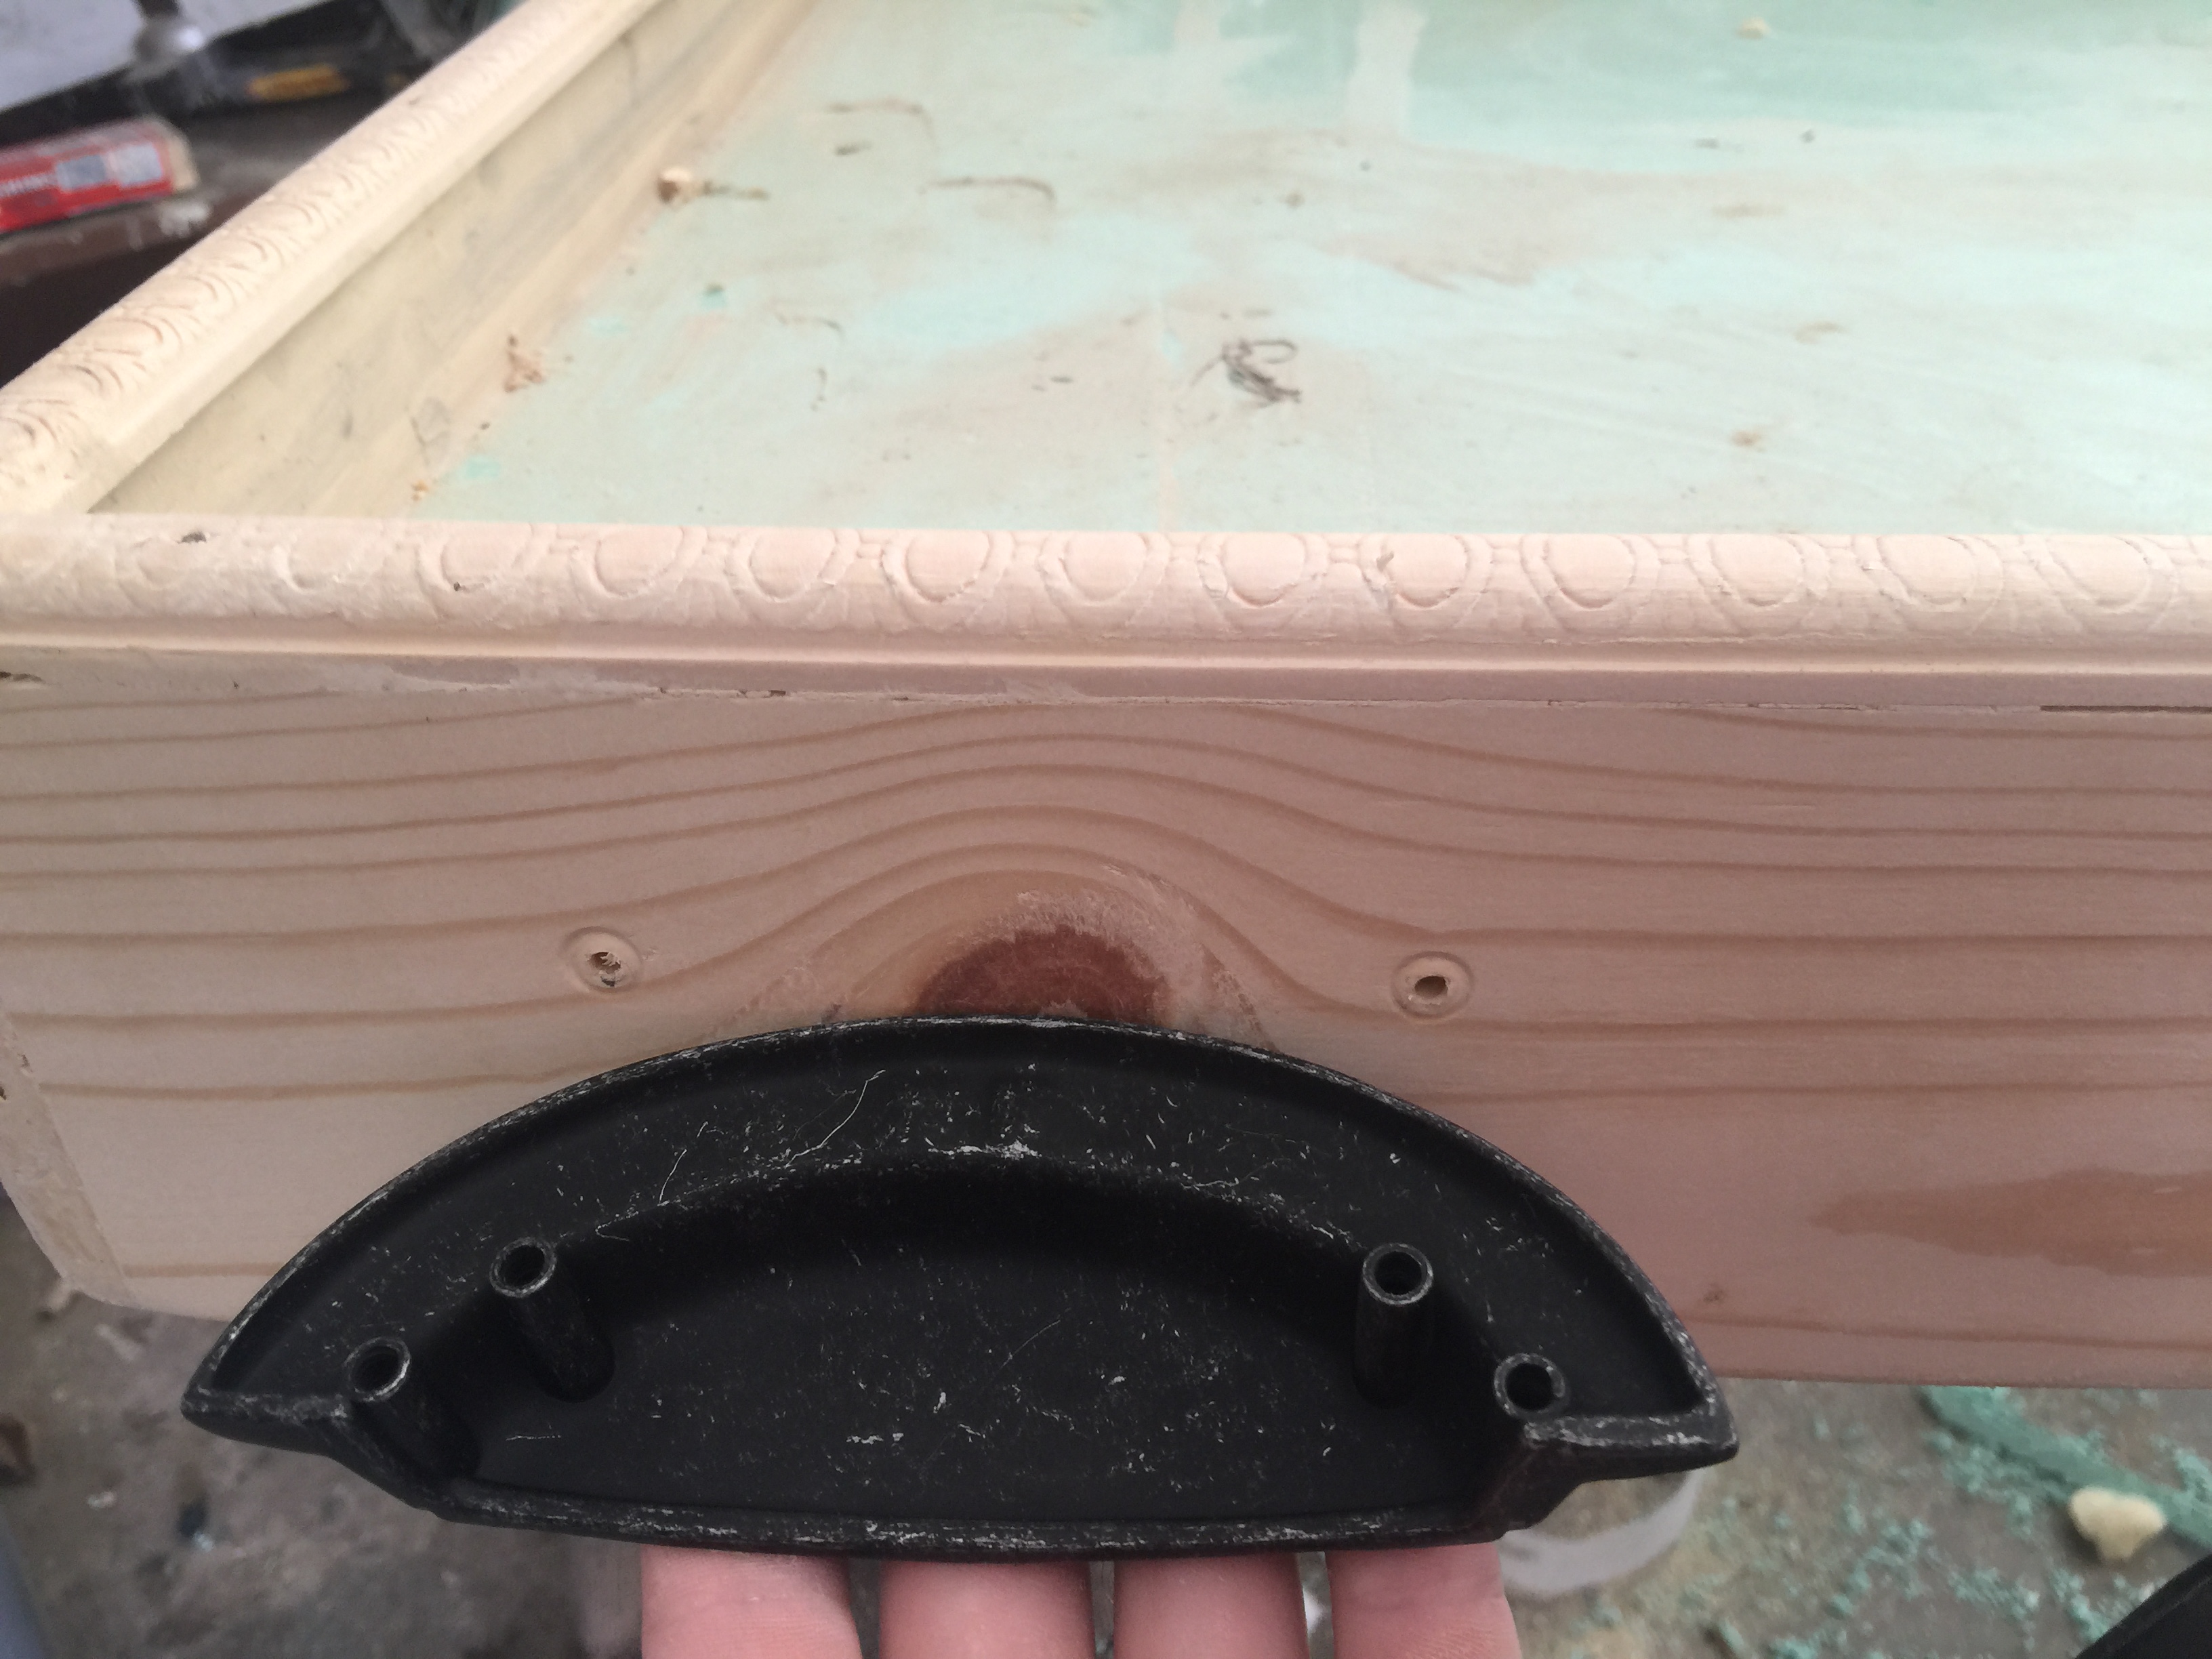
I found the perfect carry handle design, but it is the cabinet door style, which means it has to go on very early, as the screws will be below terrain surface.
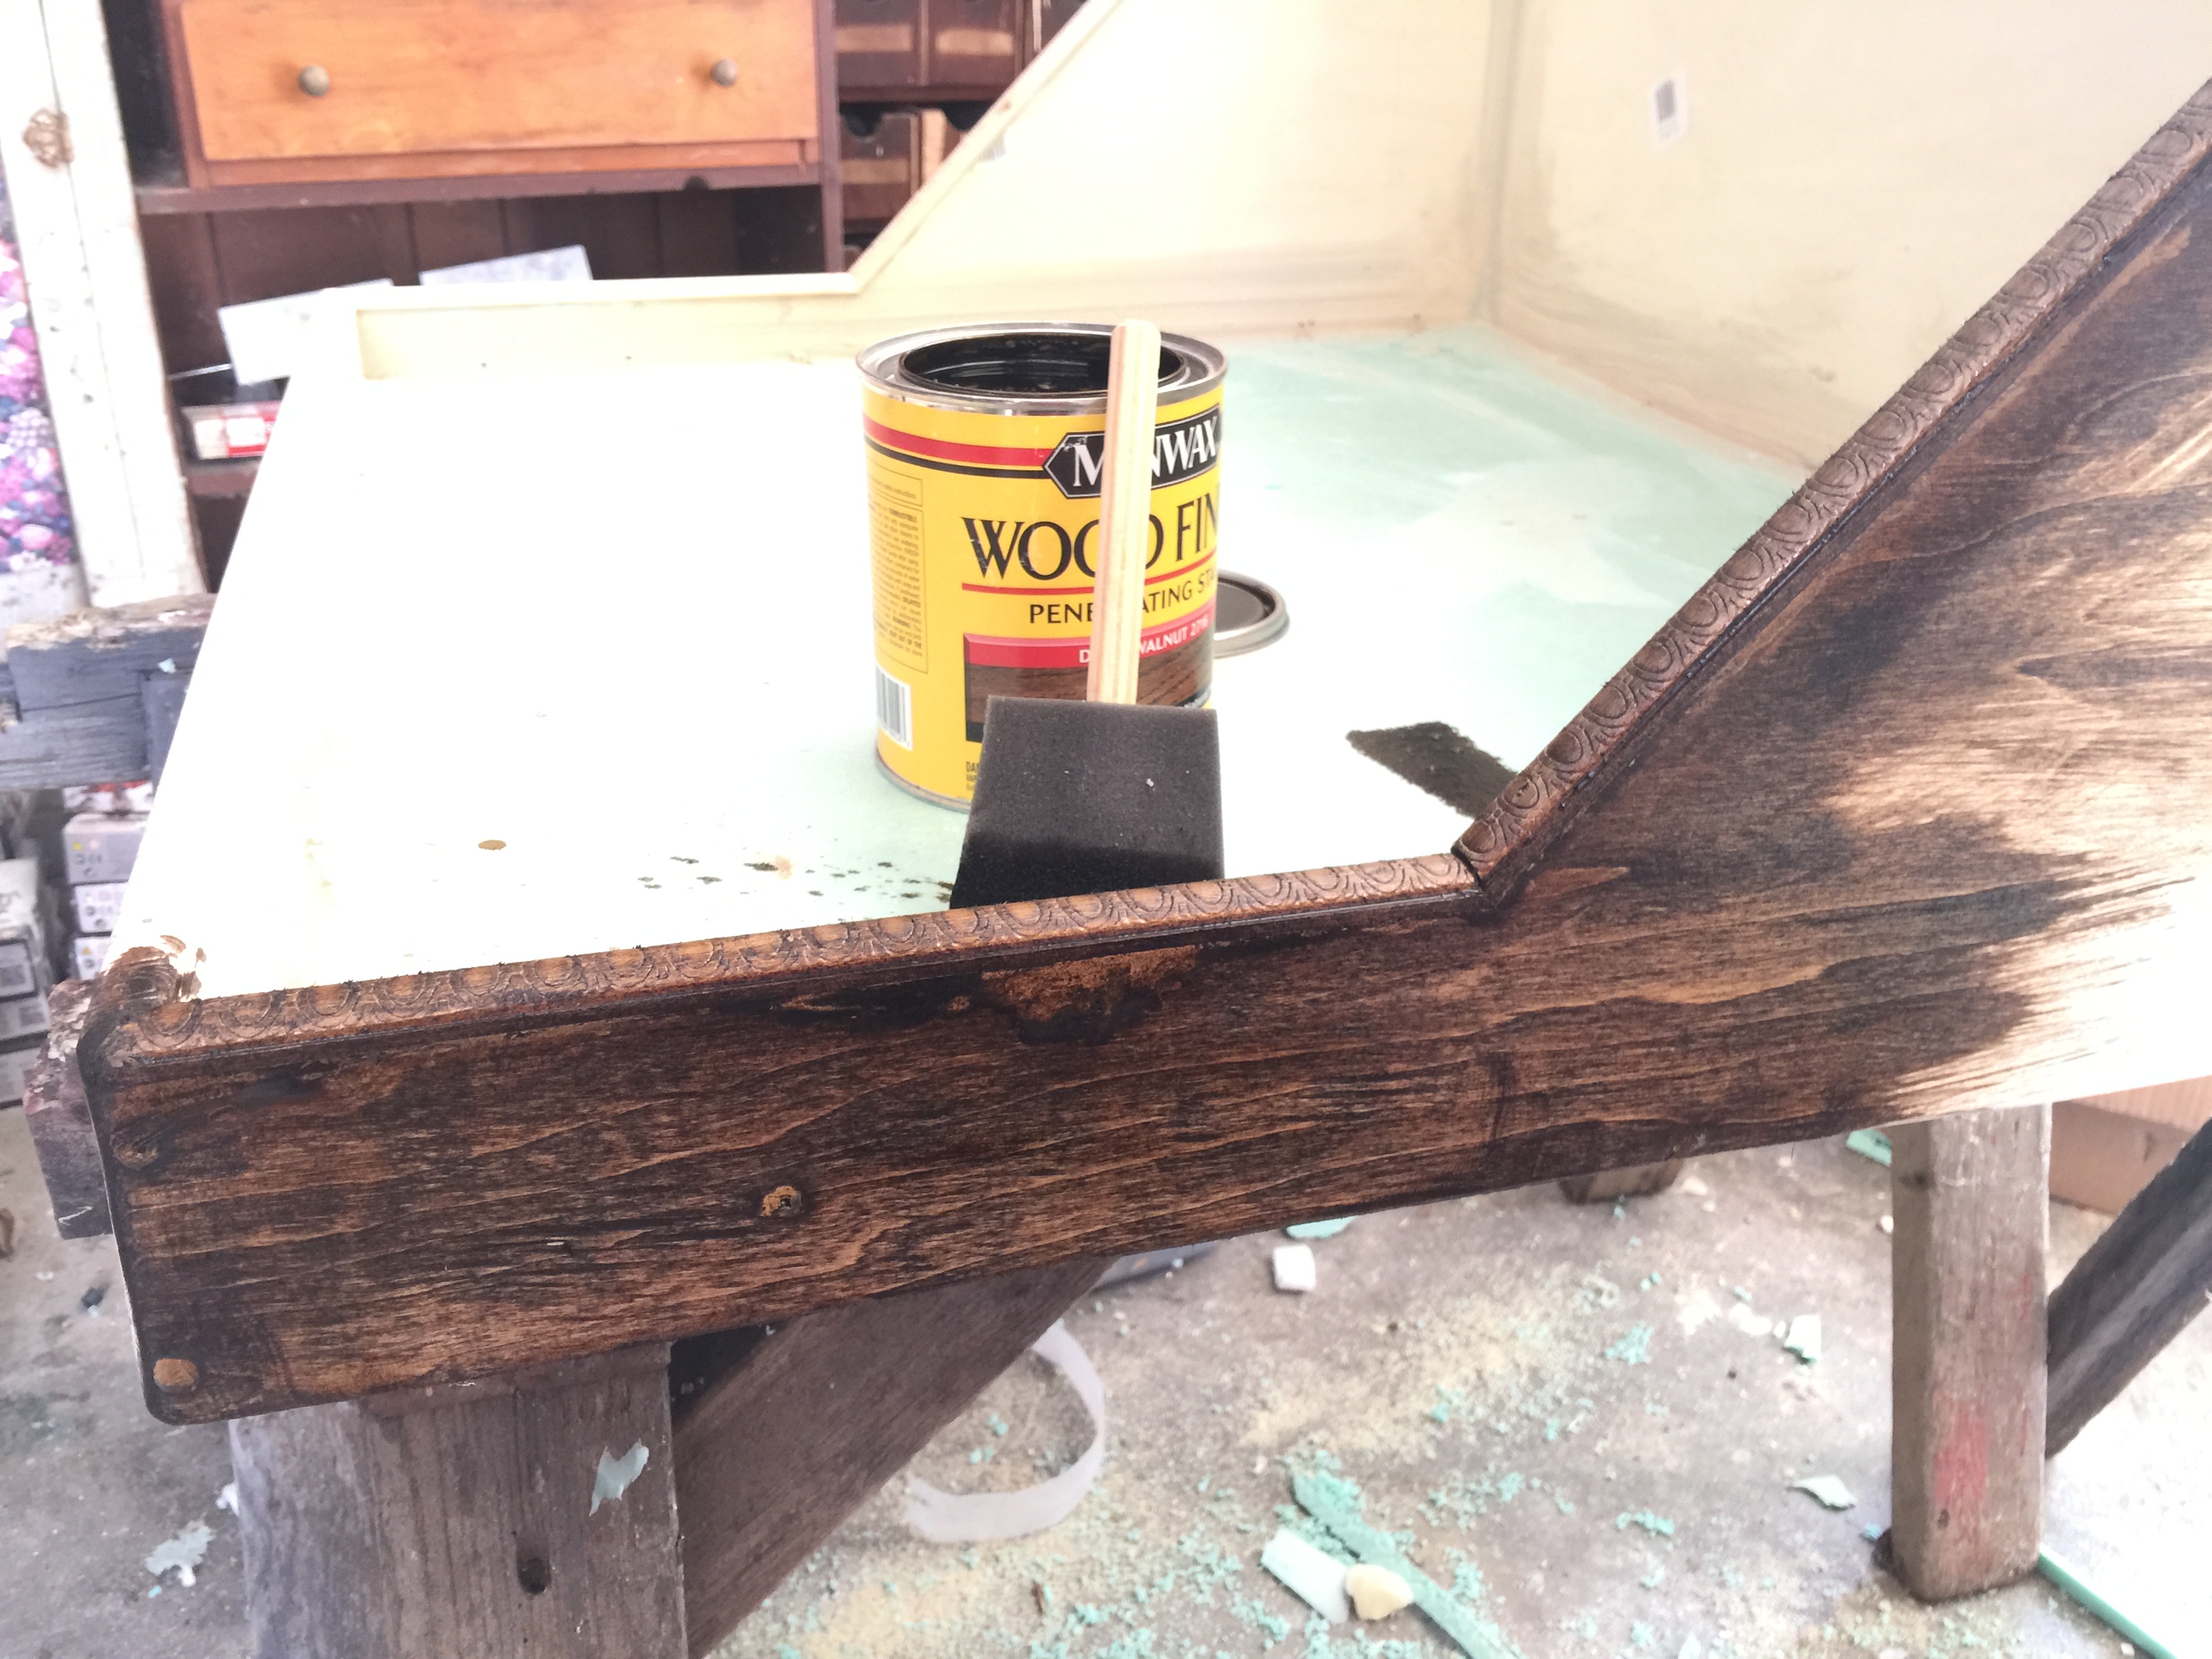
For the same reasons, the wood had to be stained first as well.
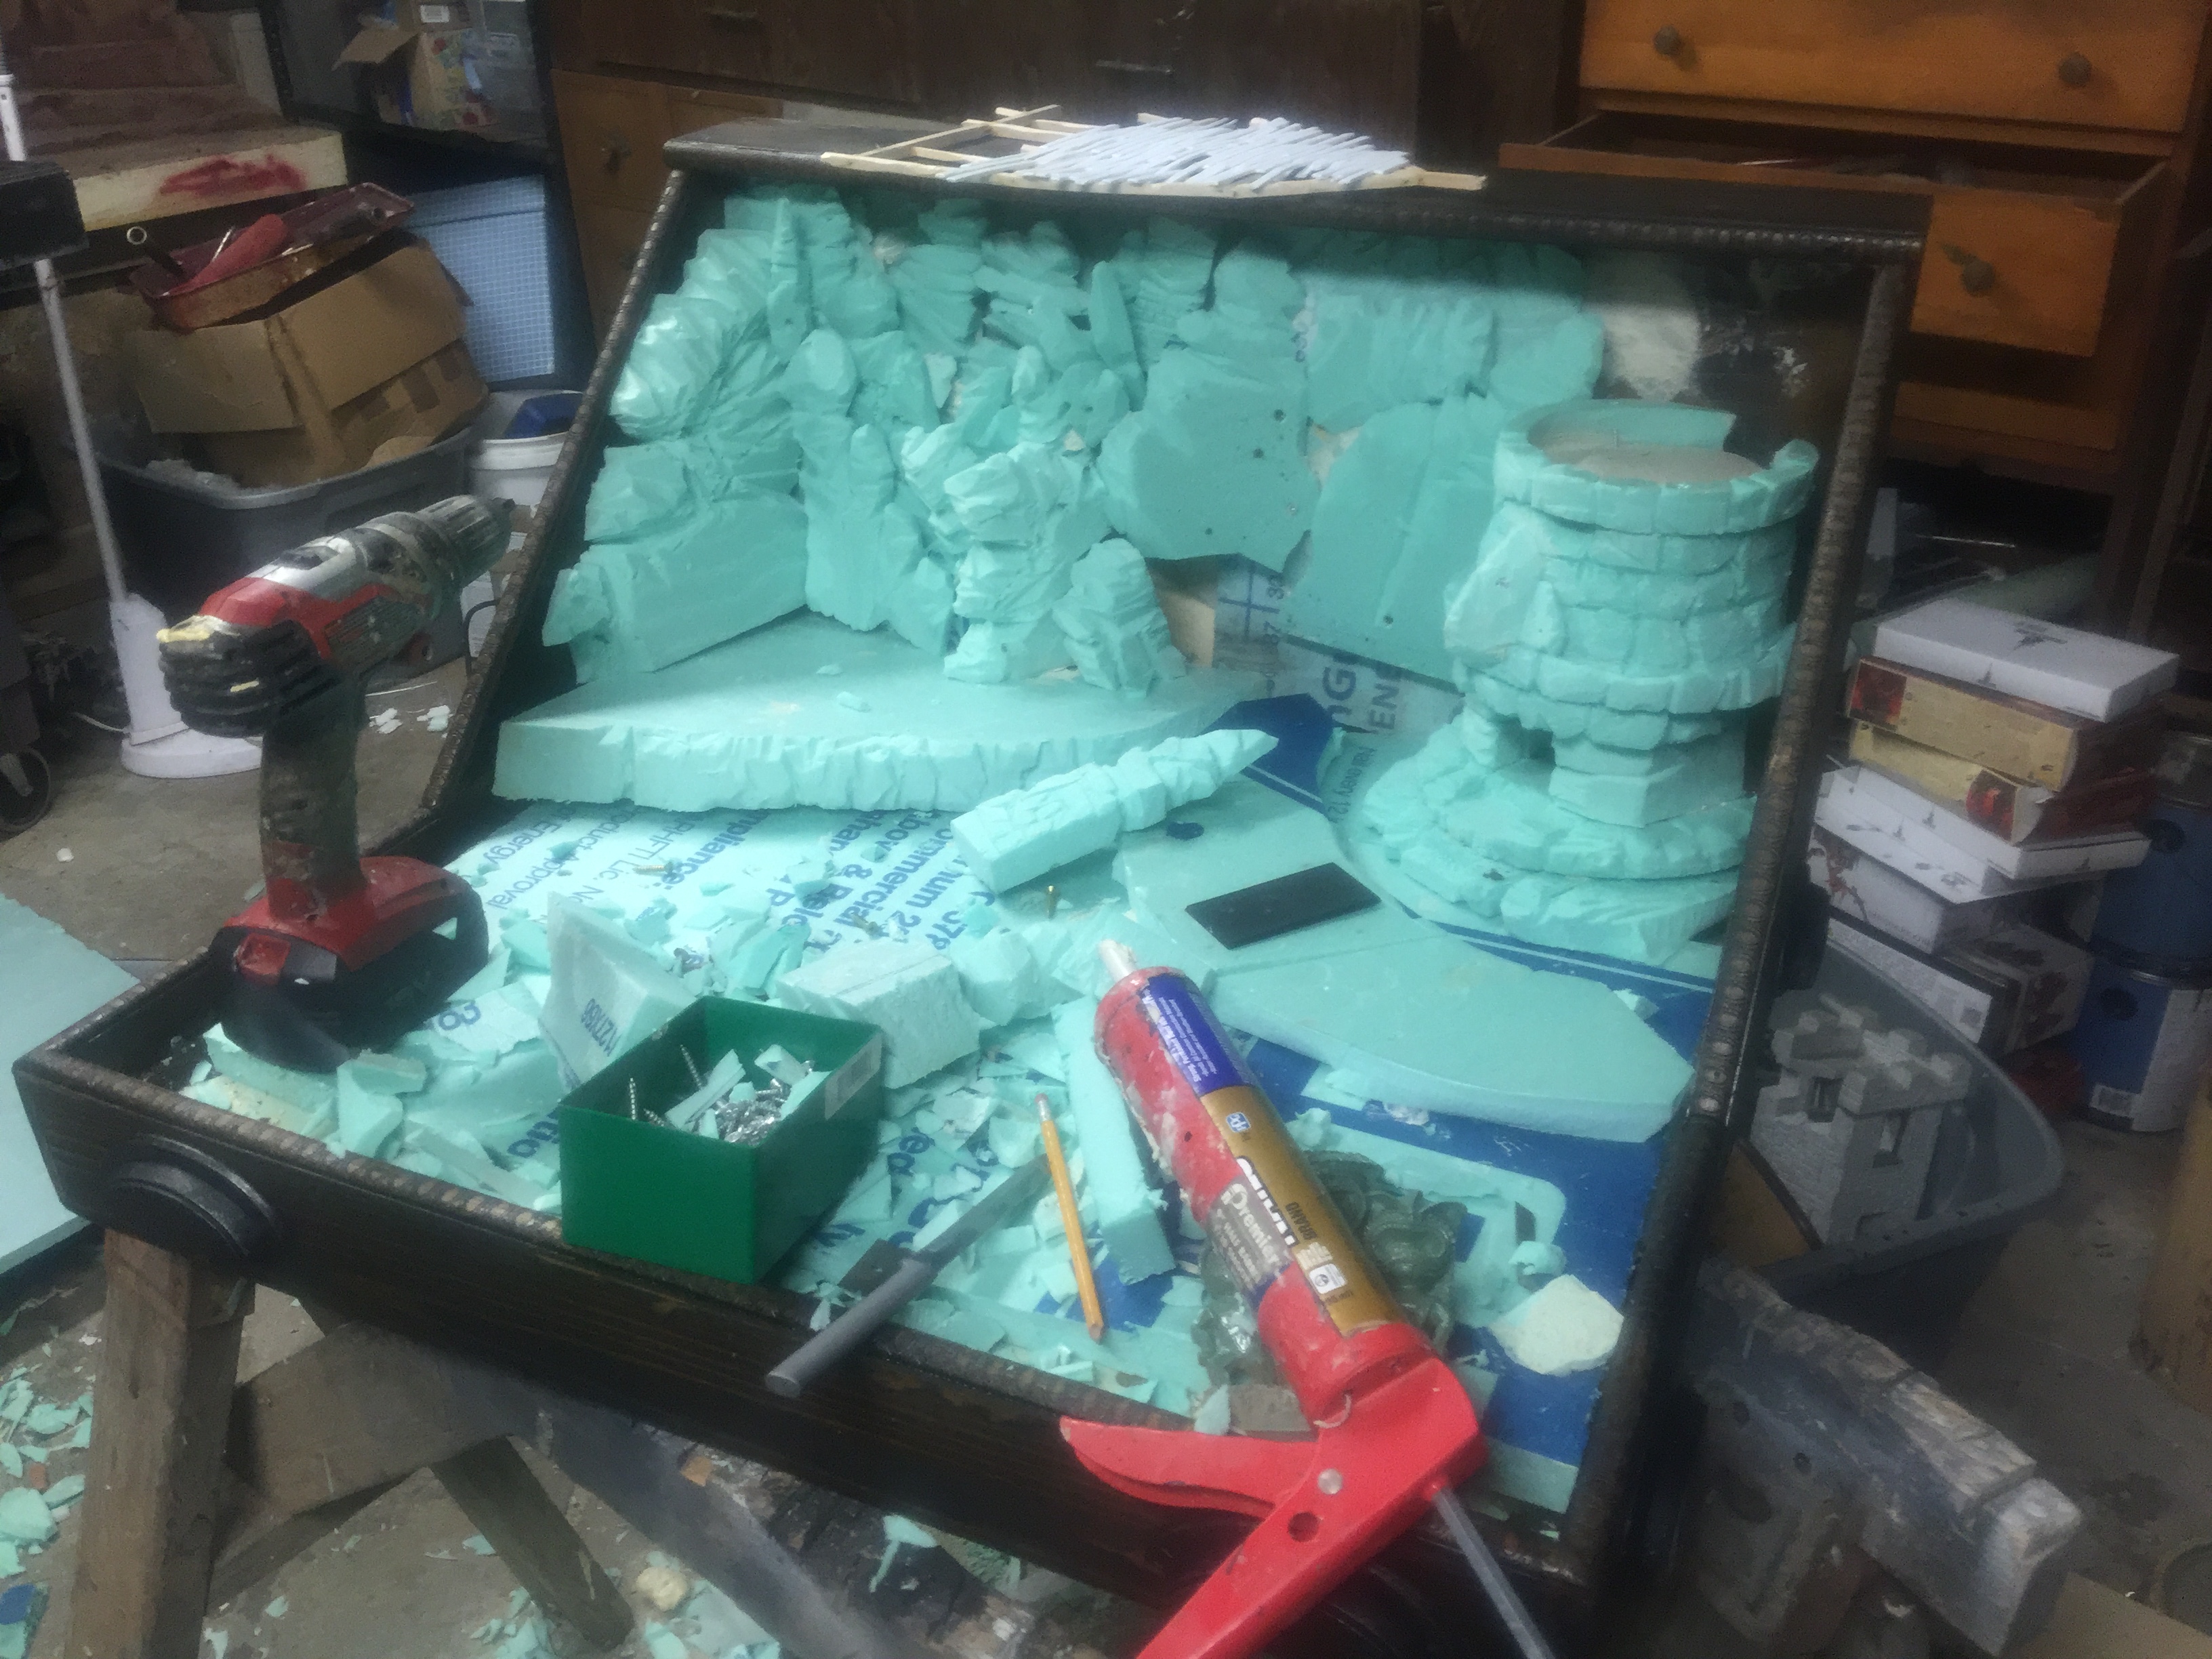
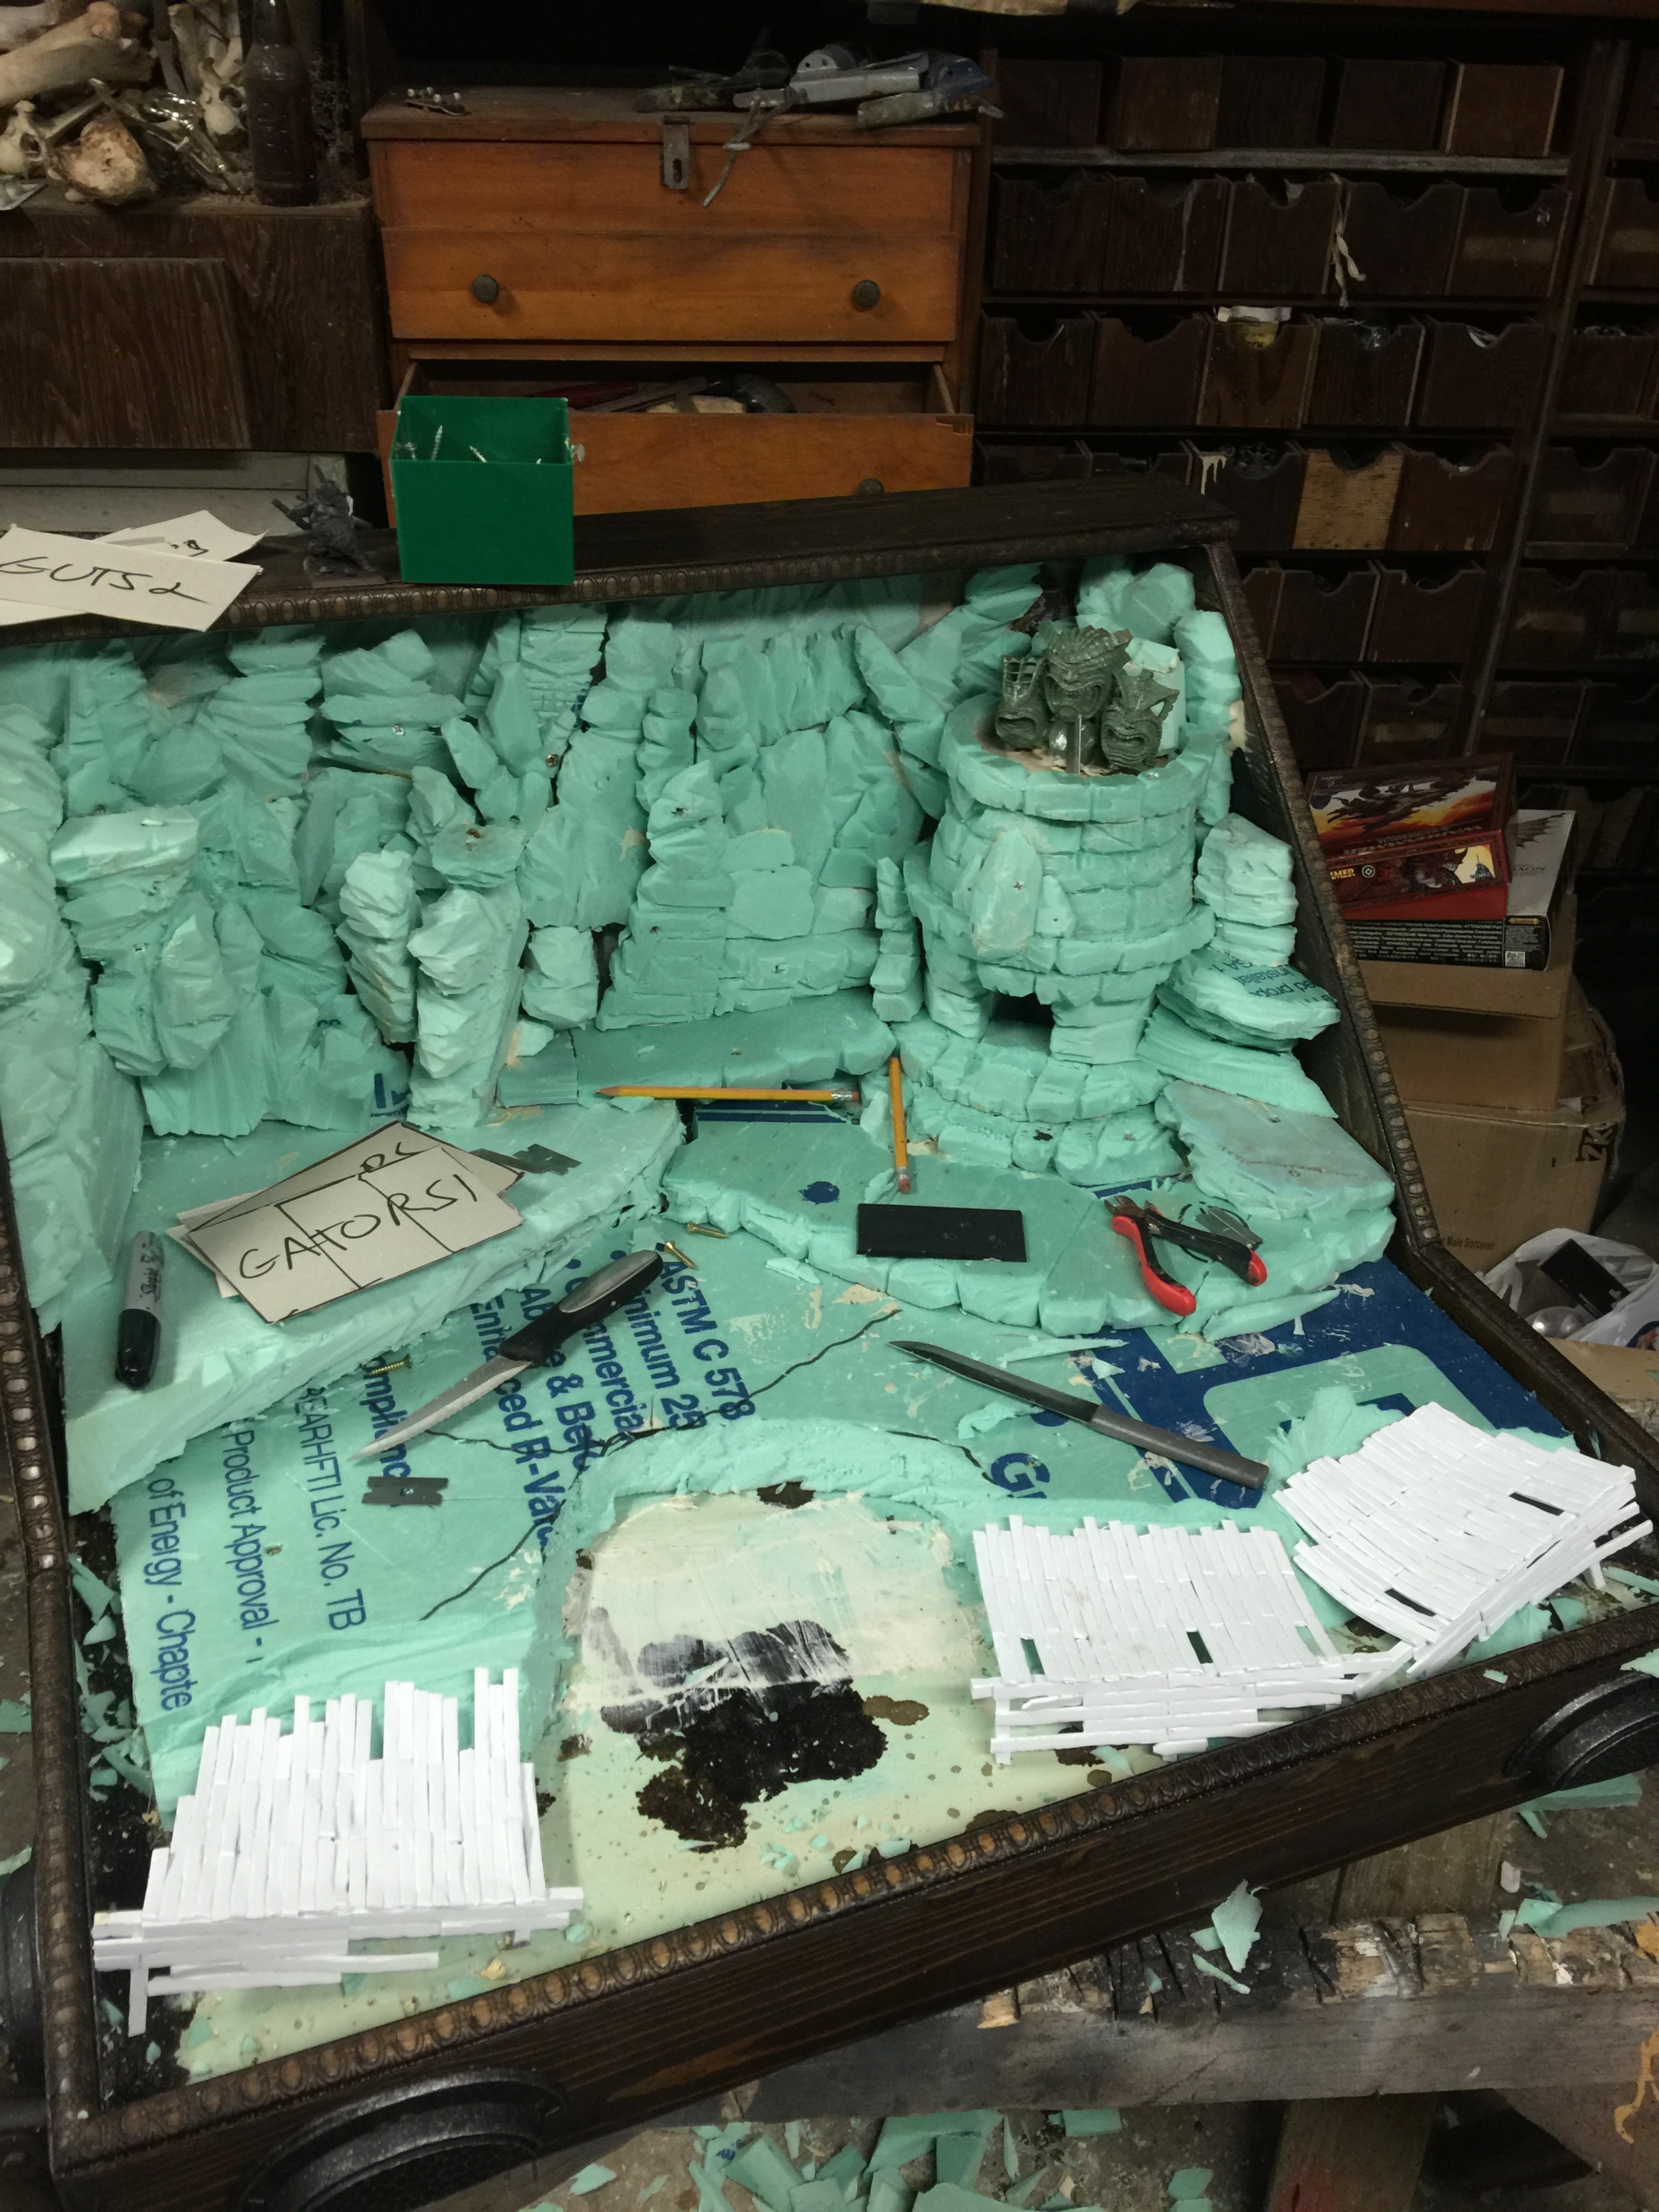
Starting to block in the scenery. Will get this to about 50% and then start looking at unit placement.
Starting to work out where the units will go, and blending that with how the display will look.
Once that is decided, starting to go back in and carve out the beach.
A little sealer and sand detail, and ready for paint! Will cover that in the next one, stay tuned!
~ I can hardly wait to see how it turns out.


