Dark Age: Painting a Skarrd Buzzblade


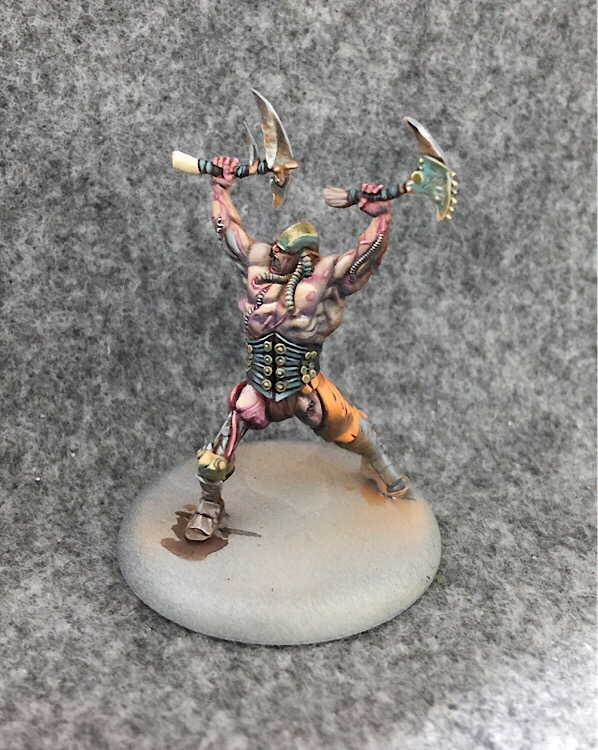
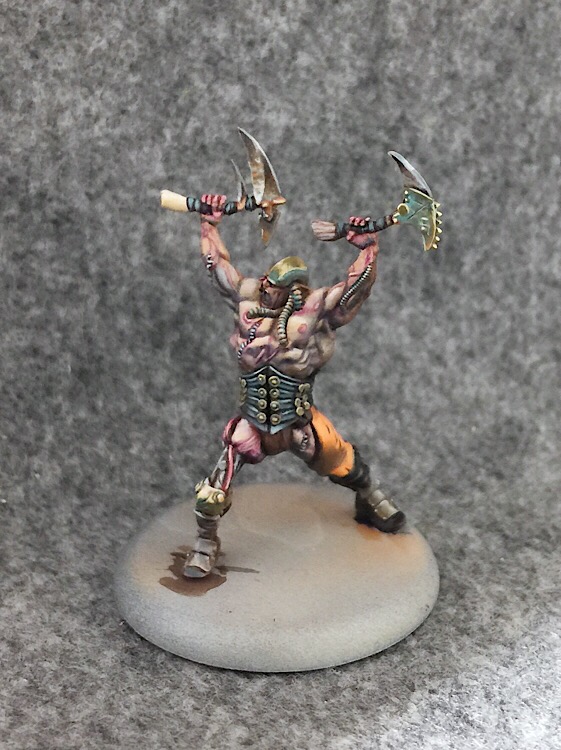
Here’s how I painted my Buzzblades from the new Skarrd Starter
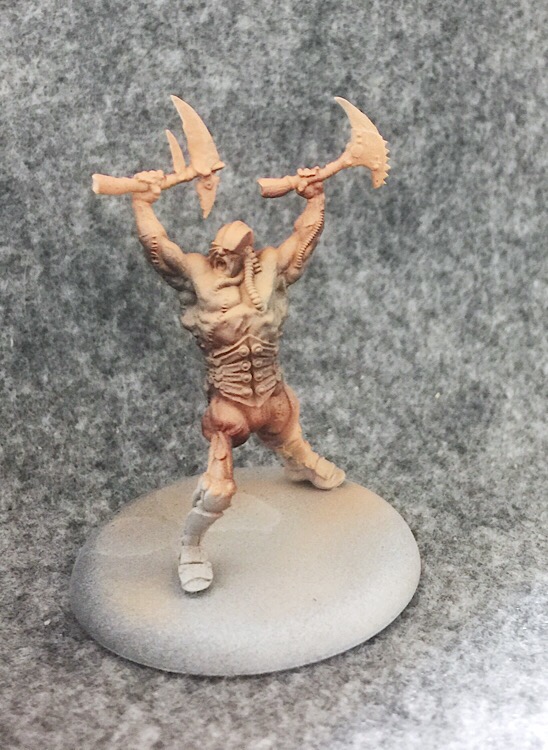
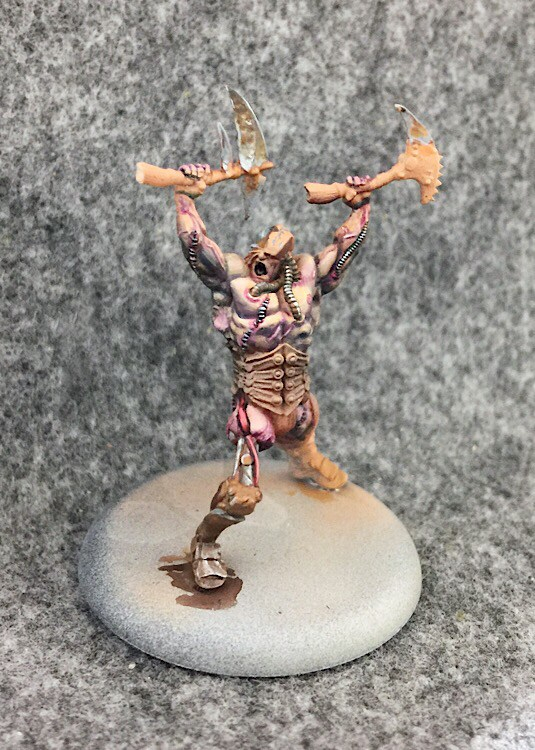
I started this guy off with my airbrush. This is something I’ve been doing a lot more recently as I try to get a feel for this new tool. I’ve been getting better with it but when I was working on this guy about a month ago I was really only familiar enough with it to lay down a basecoat and start the most basic foundations for shading and highlights.
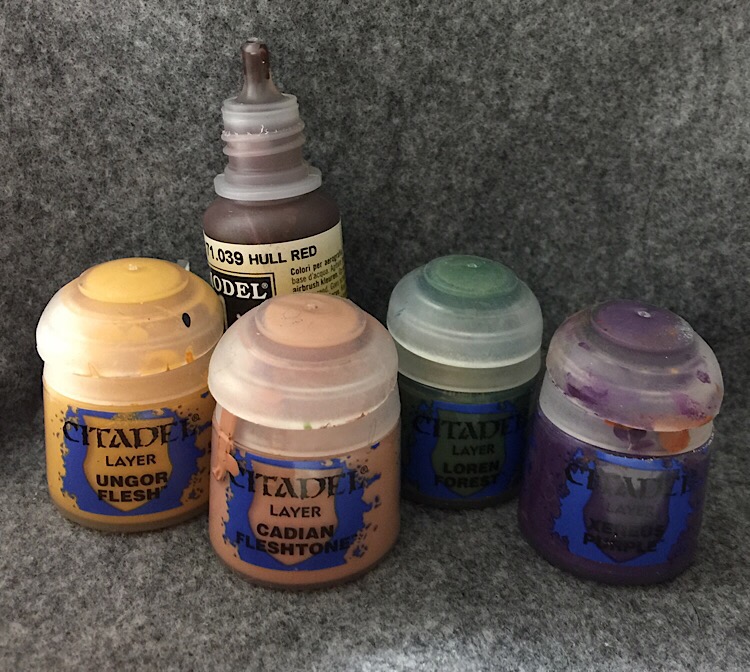
Here’s everything I sprayed on him and the rest of the Skarrd. Only the Vallejo color in the background is an actual airbrush color. The rest did ok in the airbrush with a little bit of reducer.
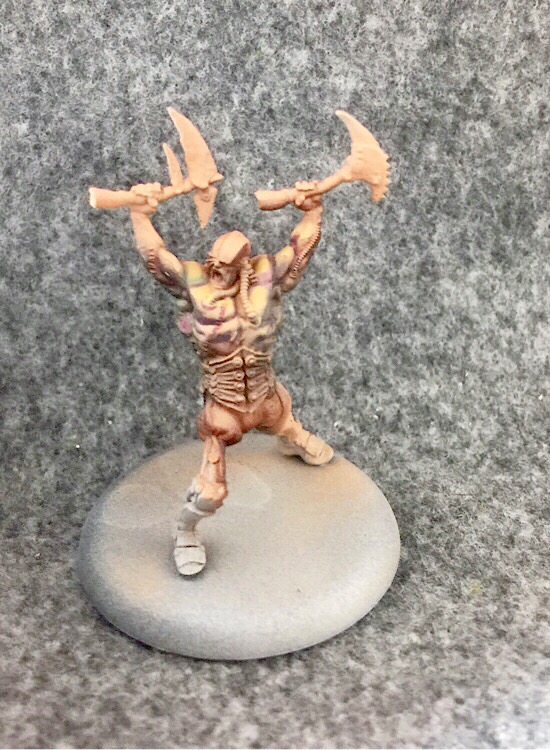
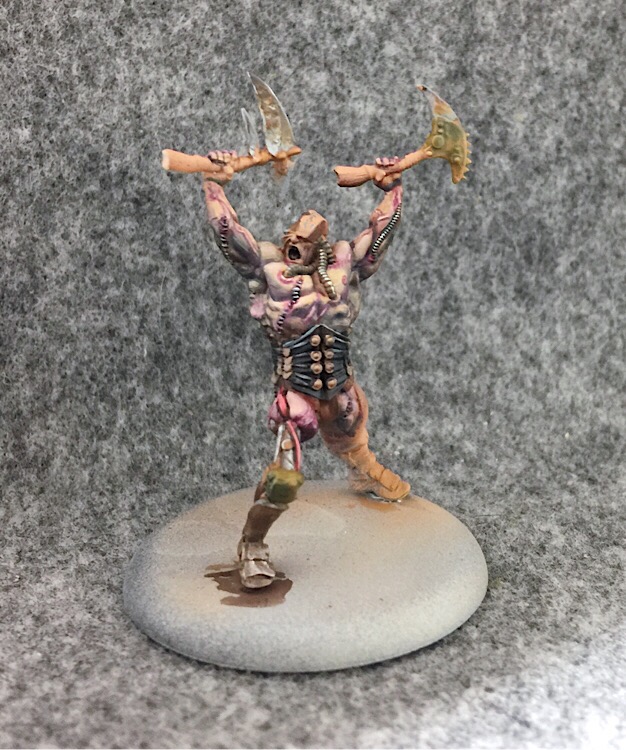
Then I began working to better define the muscles while adding in even more color. I continued blending in the original colors also adding some P3 Murderous Magenta and Coal Black in a few areas. I think distressed flesh looks best with as much color as possible. I talked about this subject at length in this BoLS article last year.
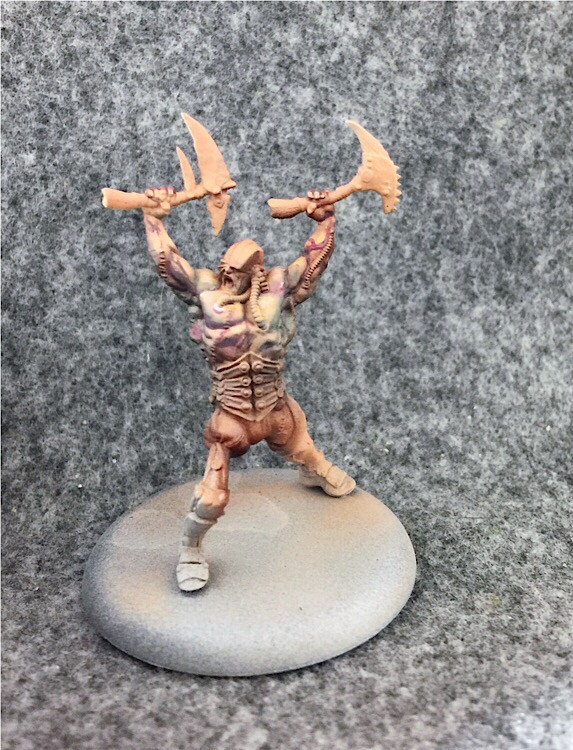
Here I’m continuing to bring in the shadows and highlights. In some places I’ve begun mixing some Abaddon Black in with the Purples and blues to darken things up. I’ve also blended some more greens into everything. Additionally I’ve started on the veins, painting over them with a mix of Xereus Purple and Murderous Magenta.
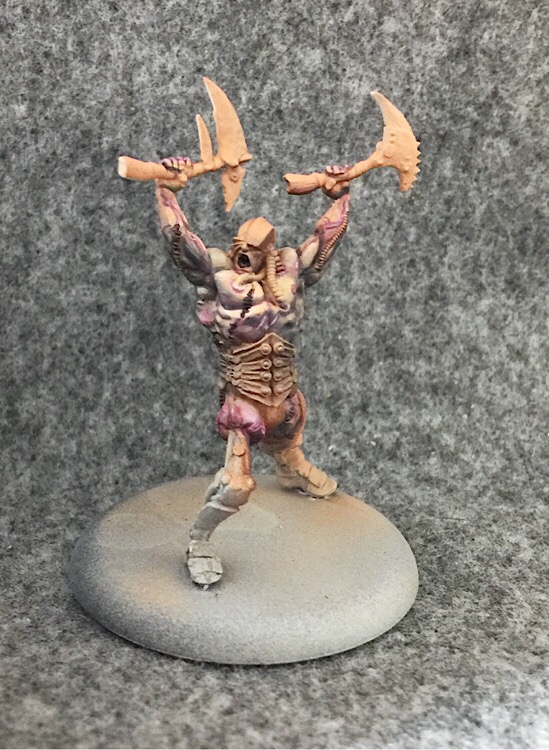
Here I’m using a little more black to get the shadows even darker. While I had the black out I also painted over some of the stitches that this guy is covered with. I also began focusing more on his leg stump making sure to blend a lot of Murderous Magenta into the end to really make it look really… uncomfortable.
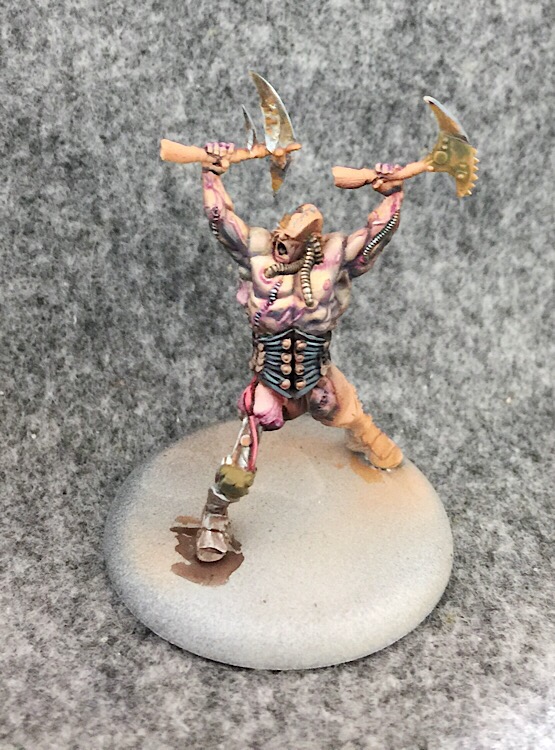
All that’s really happened here is that I have begun picking out the stitches, and added some more Magenta around them to make the flesh look more distressed. I also added some more Magenta around scars and any other areas that looked like they needed it.
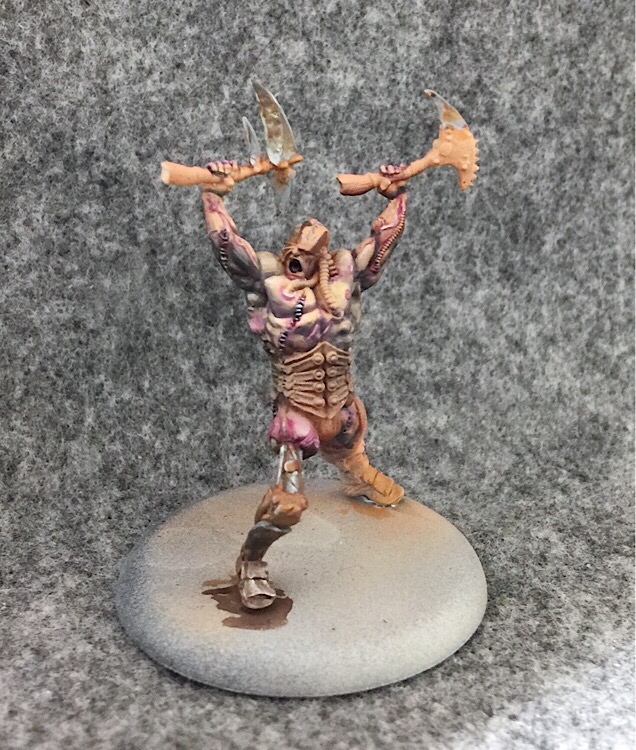
I used some Underbelly Blue to begin defining the individual stitches – or are they staples? Next I began working on the leg graft and the rusty blades.
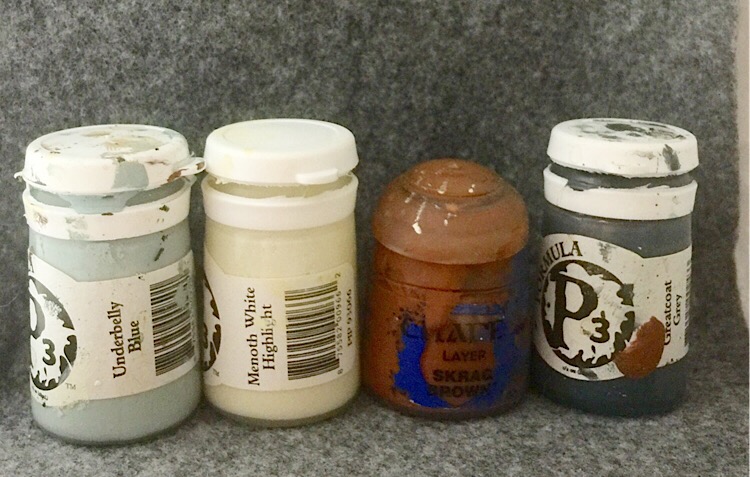
These four colors seem to work pretty well for rusty NMM. I start by mixing some of the Skrag Brown into the Greatcoat Grey. The mix is highlighted first with Underbelly Blue, then with Menoth White Highlight. Check my Isaac painting article for a little more on painting NMM. I used these colors on the graft and his weapons.
I did some more work on the various tubes. The coils coming out of his head get a strong central highlight of Menoth White Highlight that I’ll blend in better later. Additionally I start on some of the other tubes, like the ones on his stump.
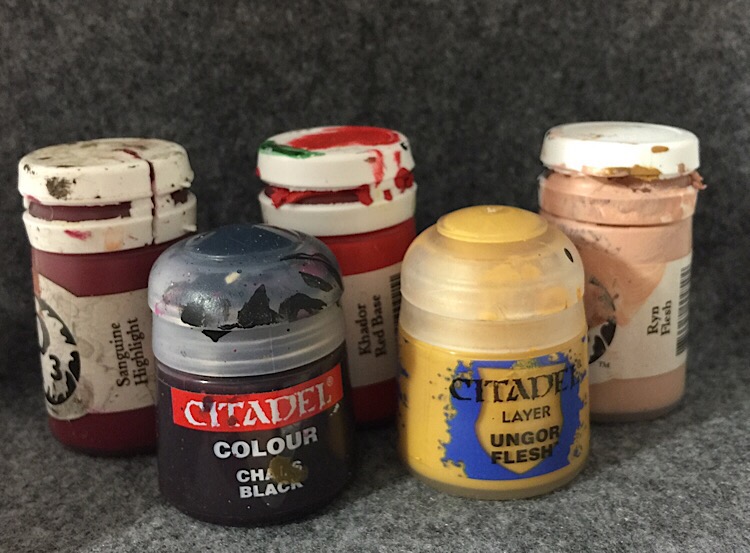
These colors do a good job for the blood tubes. I start with a base of Chaos Black and Sanguine Highlight followed by pure Sanguine Highlight. The Sanguine Highlight is blended up to Khador Red Base which is highlighted with Ryn Flesh with just a little Ungor Flesh Blended in to keep it from looking too pink.
Since I’m still trying to get a feel for everything I start on his girdle just to get a feel for how it affects the look of the rest of the model.

I never use a pure black. I always tone it with some other color – usually green or red. For this black I added a lot of Carroburg Crimson to thin it out and warm it up. This was highlighted with Coal Black followed by increasing amounts of Frostbite.
Next I increase the highlights on the Girdle, and continued painting some other metal areas a bronze color.
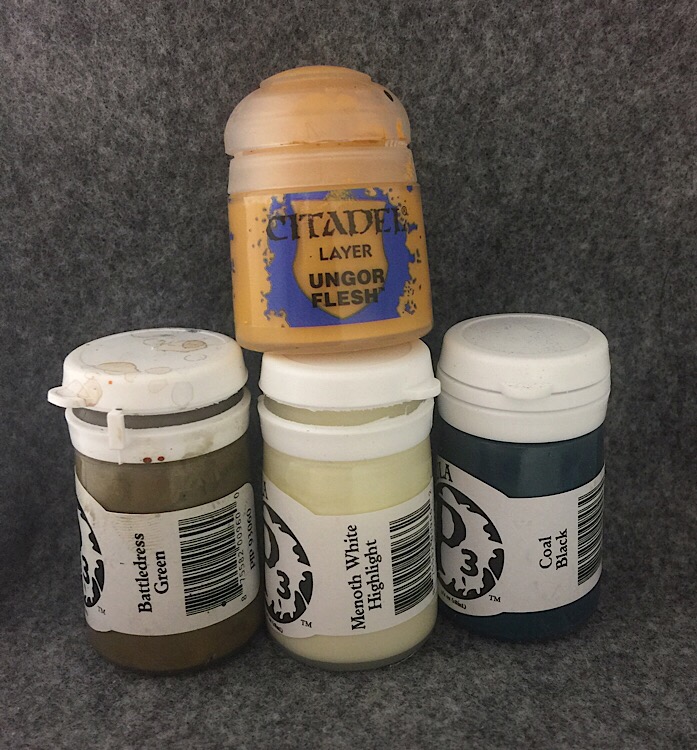
For the bronze areas I start with a base of Battledress Green. Ungor Flesh is blended into the Green for highlights, followed by Menoth White Highlight where I want to really lighten it up. The Coal Black is used for shading.
Here it is once everything has been developed a little more. Adding some patina with P3’s Arcane Blue is optional. Add water to the whole area first, then stipple on a very small amount, concentrating it near any recesses.
A lot happened since that last picture. This tends to happen sometimes as I get close to the end. I get really focused and forget to take pictures as often.
I finished off the bronze areas adding some strong highlights to the skull plate, the graft knee, and along the edges of the weapons. I also used the bronze colors for the girdle buttons.
Then I used some red-toned black to drastically increase the shading on the metallic areas of the weapons, which I really think helped add to the metal illusion. I went ahead and painted the straps on the weapons black as well while I had it out.
I decided to increase the highlights on the blood tubes with a little pure Ryn Flesh. Finally I began working on the pants with P3 Khador Red Highlight shaded with GW Dryad Bark.
I finished off the weapon straps using the same girdle colors from earlier. I also started on the greaves on his left leg using the same rusty metal colors I had been using on the graft and weapons. Then I intensified the highlights on the pants by blending in some Menoth White Highlight.
Moving into the final stretch here… I want the leather boots to match the leather girdle so they get a basecoat of the same red toned black. Other than that the only real change is to paint a thin line of highlight down the edge of the armor plates and on the rivets of the greaves in the background.
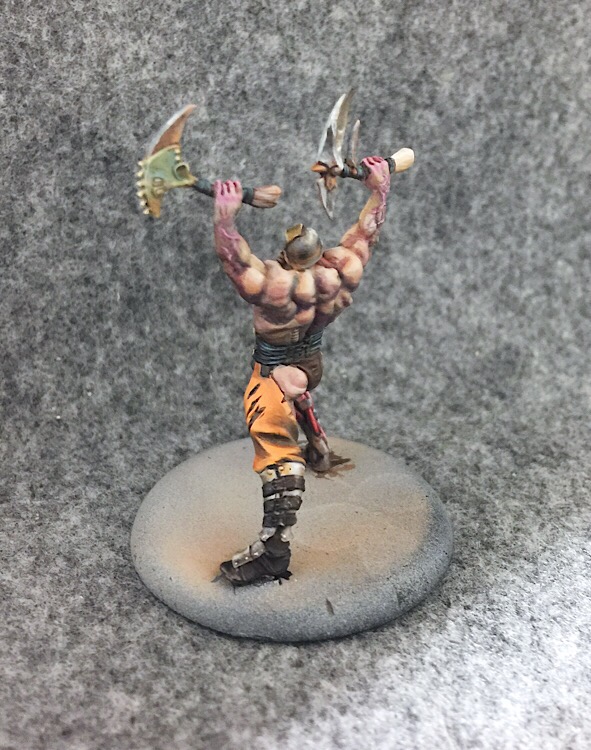
Here’s another angle to show the straps. And also that sweet sweet Buzzblade booty.
Then the leather gets more of the Coal Black/Frostbite highlights. The buckles are based with Battledress Green. They will follow the same color scheme as the other bronze areas.
Here he is after the final corrections on the straps and buckles.
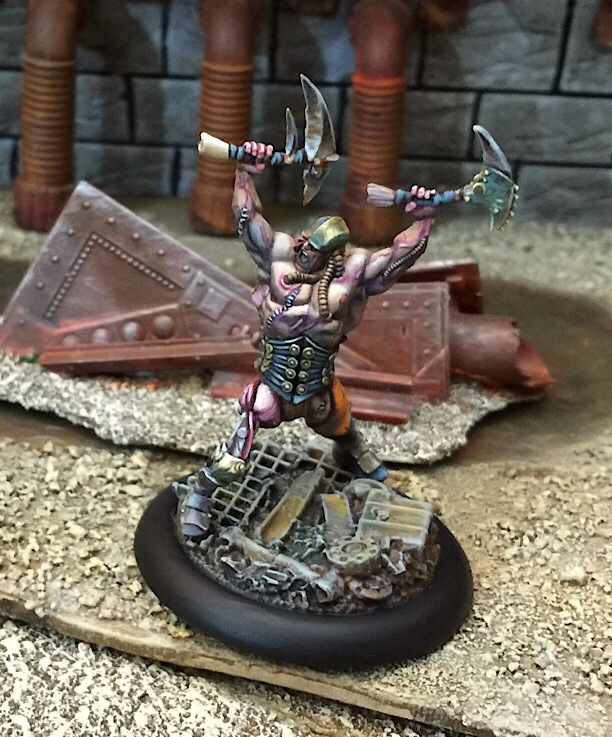
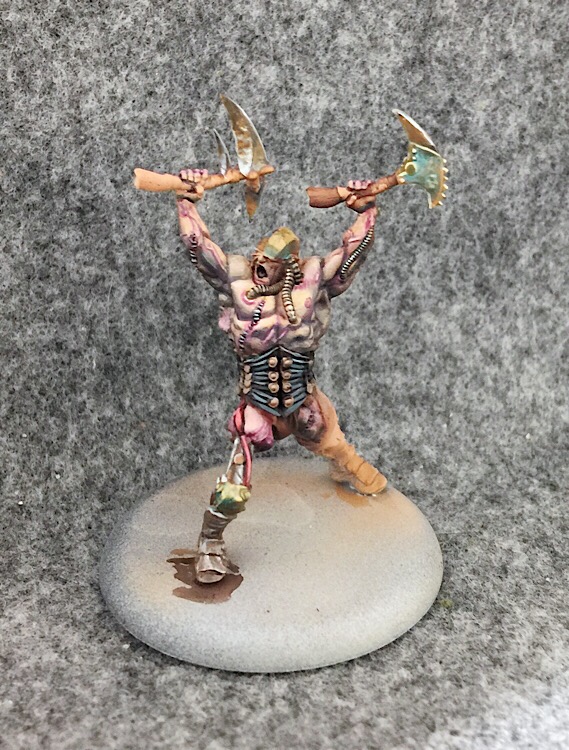
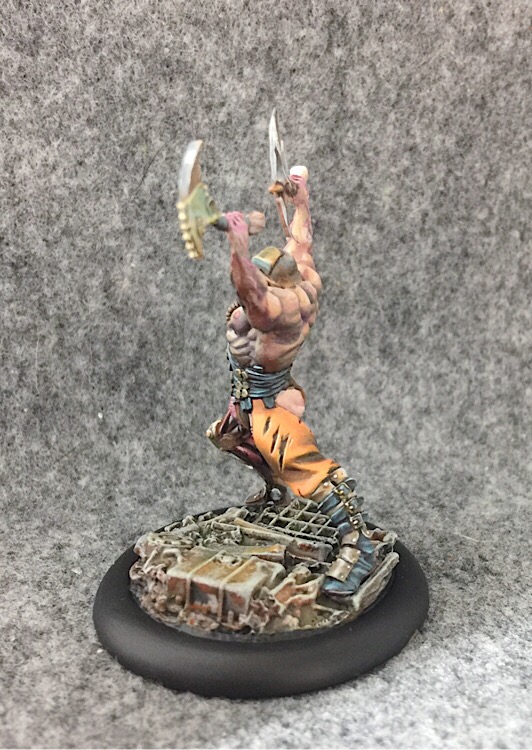
Here’s a final look at him again.
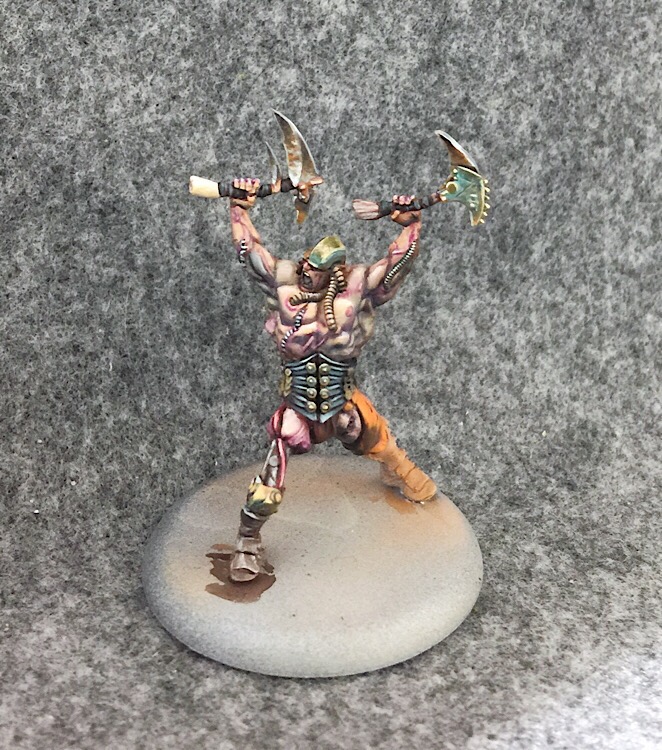
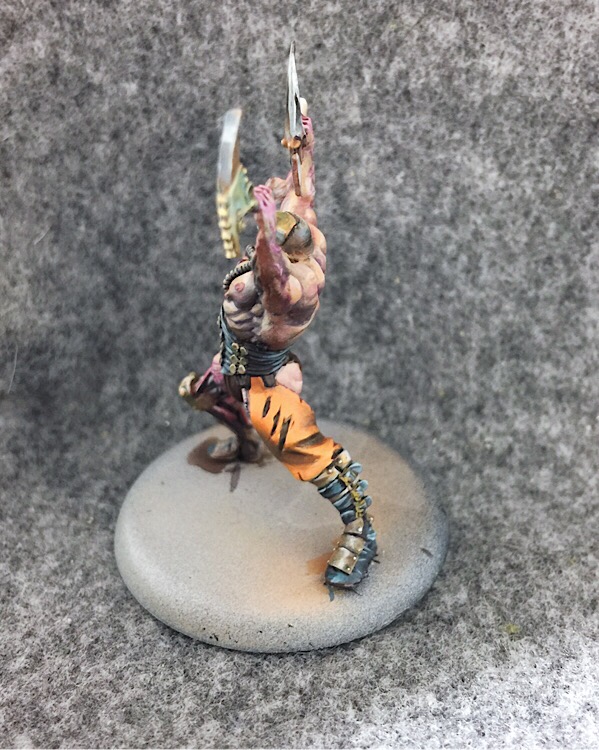
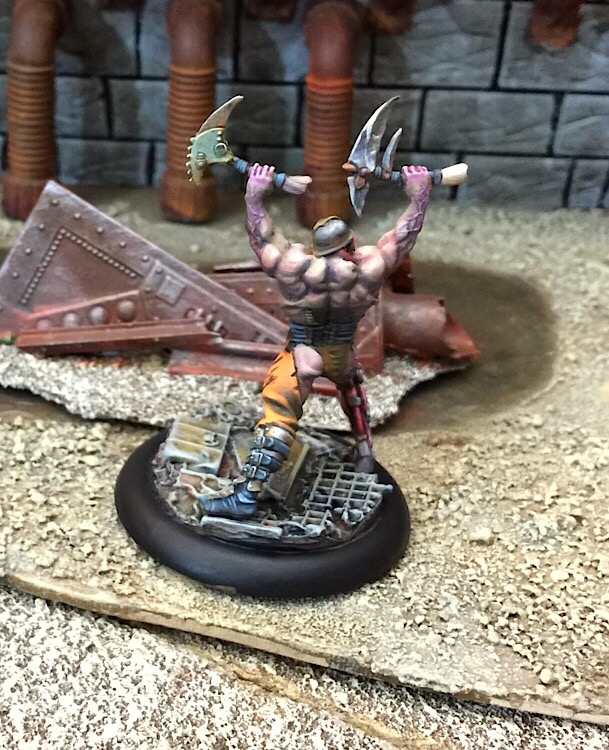
And a shot from the other side.
This article first appeared on my own blog toomini. Follow it to get a look at these articles before they show up on BoLS. There are also a lot of great painting articles there that haven’t made it here yet!
~ What do you guys think of Dark Age? Has anyone else picked up the Skarrd?

