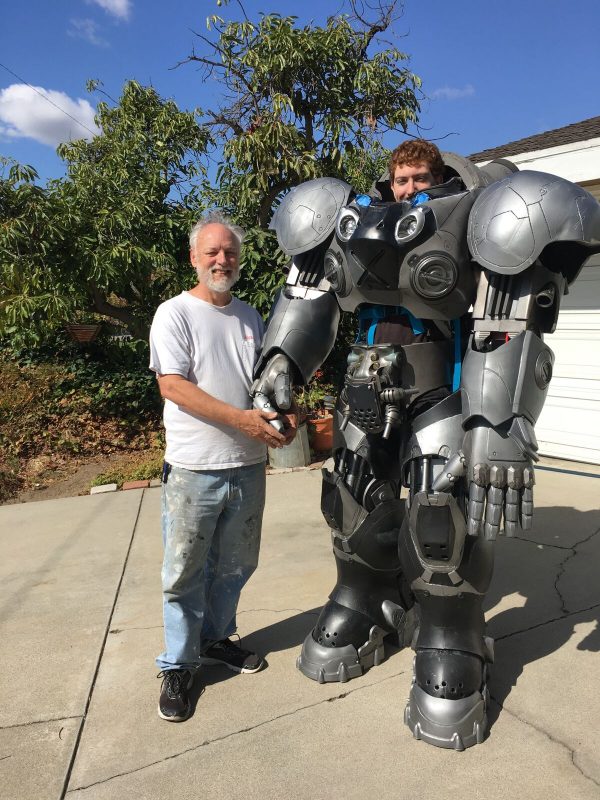
Cosplay Construction Highlight: Hyperion Armory’s Jim Raynor

Today’s Cosplayer Spotlight with Hyperion Armory and their Blizzcon Award-Winning Jim Raynor Cosplay!
Welcome to the Cosplay Artist Construction Spotlight!
This week we showcase the next Cosplay construction and build! We’re continuing our Feature of Hyperion Armory, going in-depth for the extraordinary build that marks their very first foray in to the world of Cosplay!
The Boots
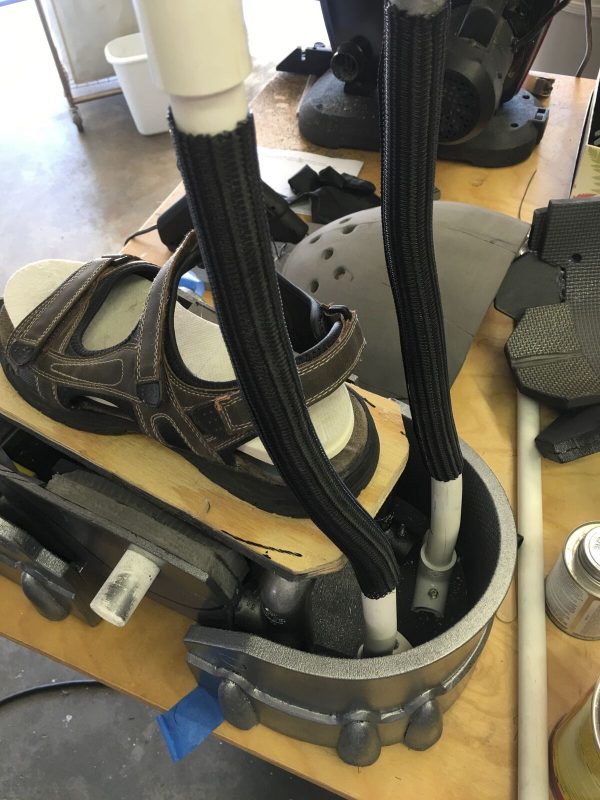
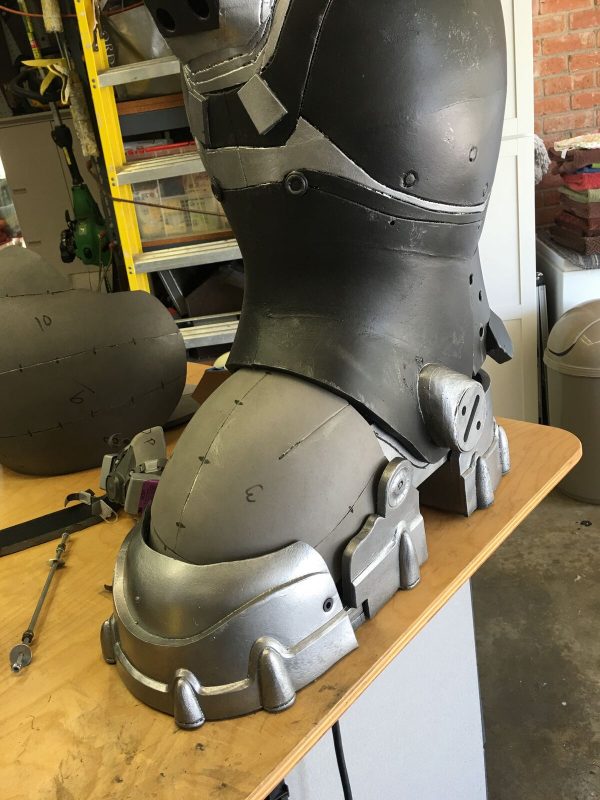
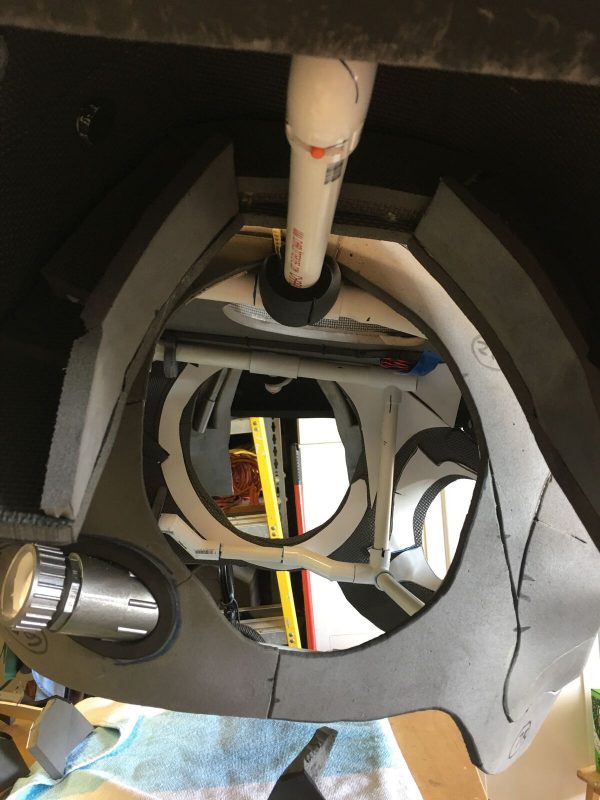
Experimenting a bit, we came up with a platform boot that worked. We used cardboard to make a a skeleton form, then glued foam scraps to them and cut them to shape with a electric carving knife. The parts were covered in foil then wrapped with duct tape. Drawing a pattern on the pieces, we cut out patterns then transferred them to EVA foam. Using a heat gun to bend them, we glued the seams with contact cement (Barge brand is the best).
The Legs
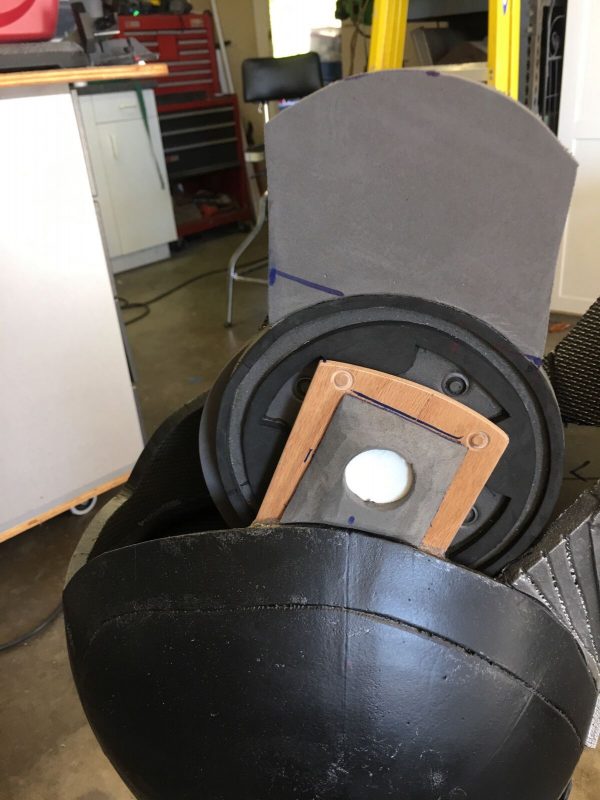
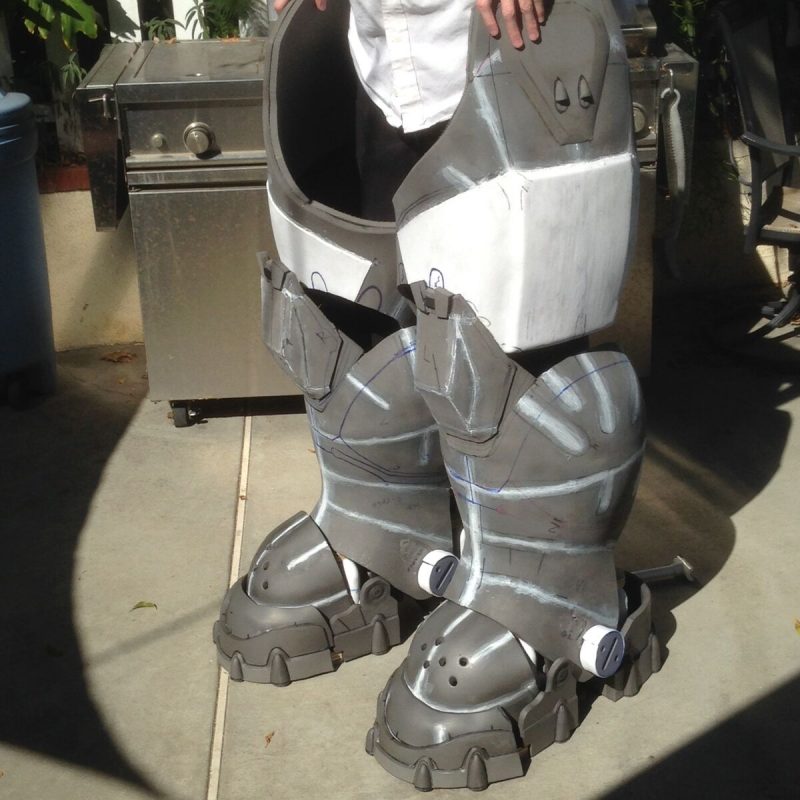
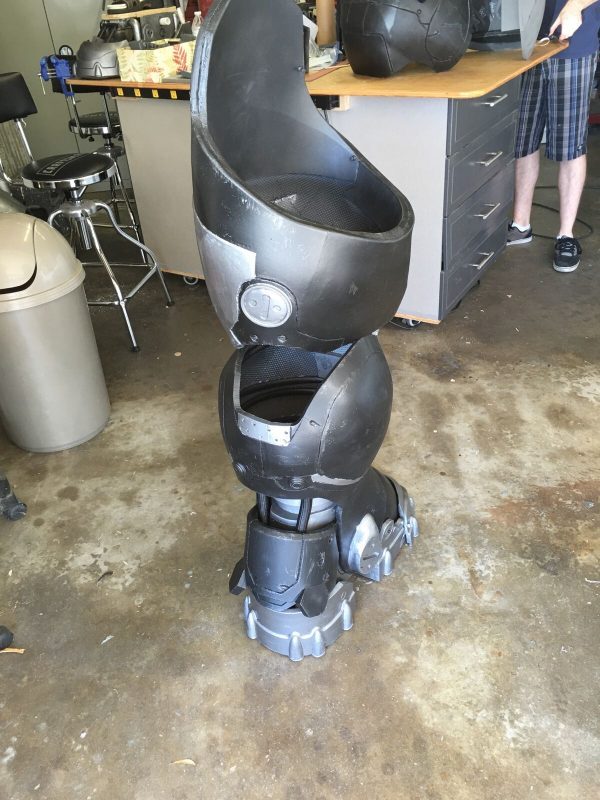
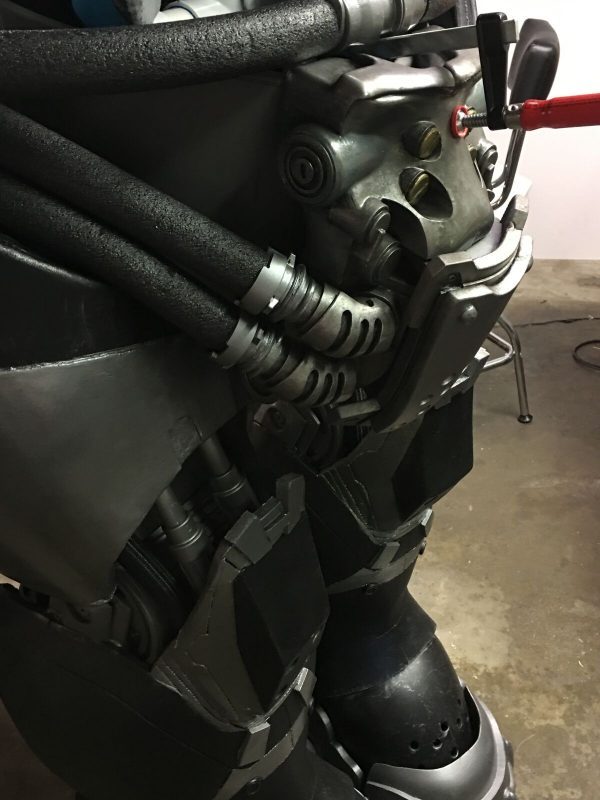
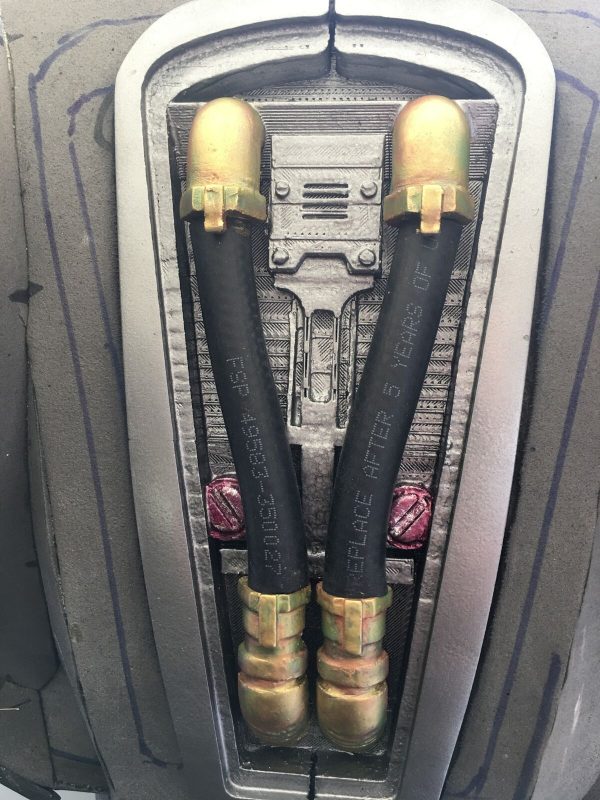
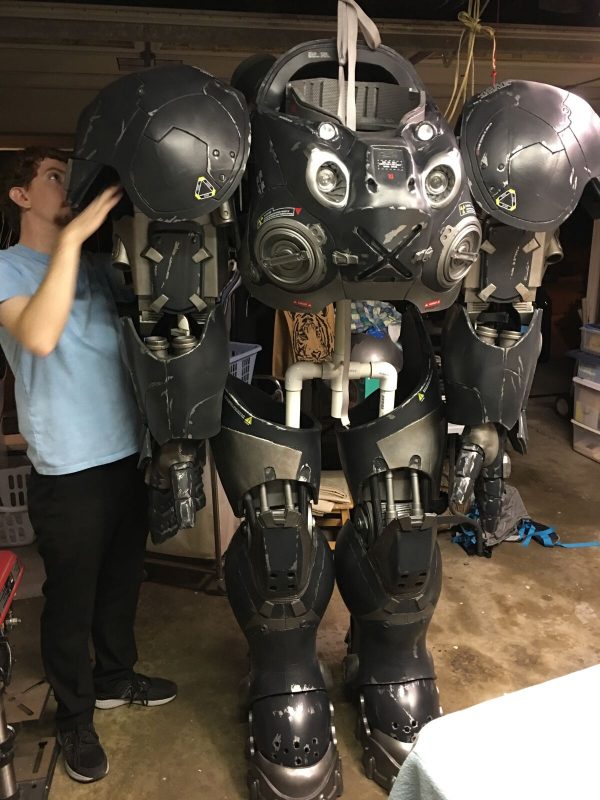
We followed Evil Ted Smith’s technique. Check him out on Youtube and Twitch. The legs weigh about 20 lbs each but they are free standing. The calves are attached at the ankle with PVC pipe, and the thighs are connected to the lower leg with homemade bushings so they swivel at the knee. We attached some extra part to the legs like the hoses and pistons. We used velcro to make all the parts breakdown for quick repair and transportation.
The Arms
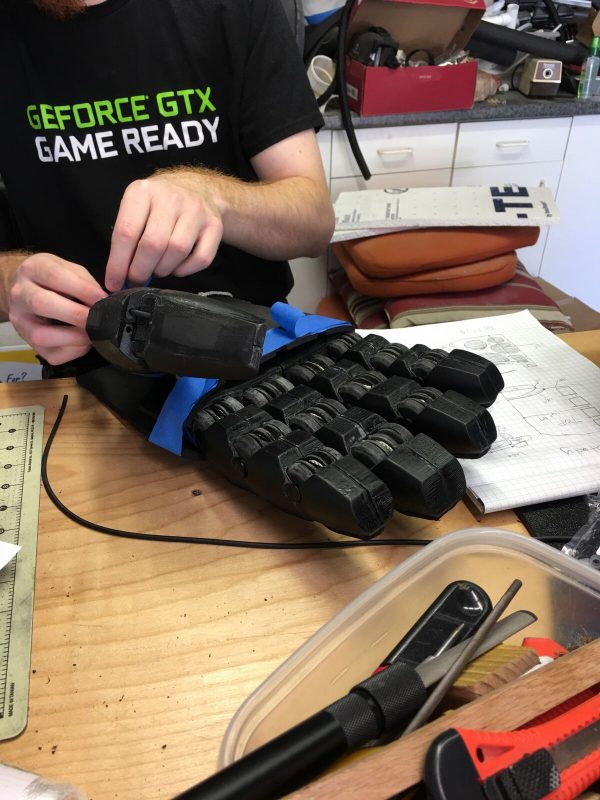
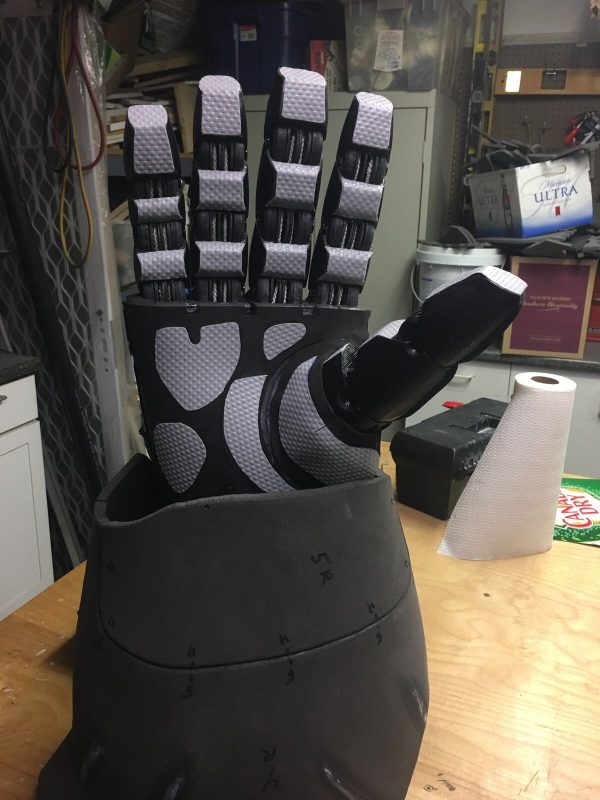
We had trouble with the first version of hands because we couldn’t get the thumbs to work properly. We scrapped them and by that time MWiggs had posted his hand and finger designs in Thingiverse. This last year, we made our own palm and hand design with the same cardboard and foam method. We missed the deadline for Blizzcon 2015, however. At that point we kind of gave up. The following year we started crafting again and were in the full swing of things hoping to make it for Blizzcon 2016.
The Chest
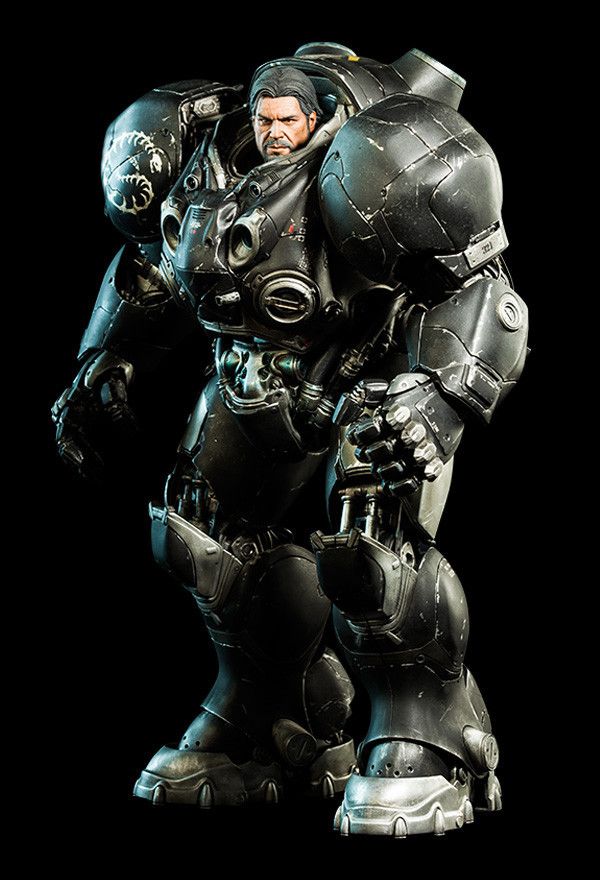
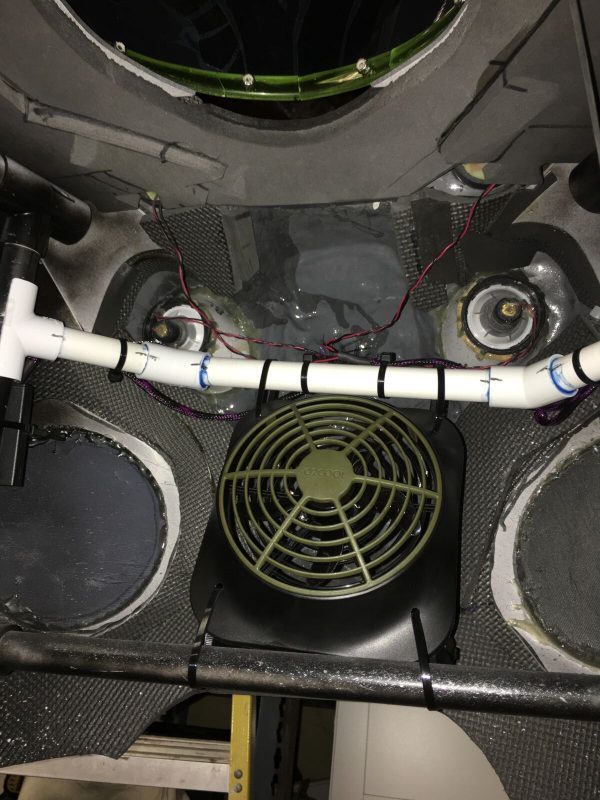
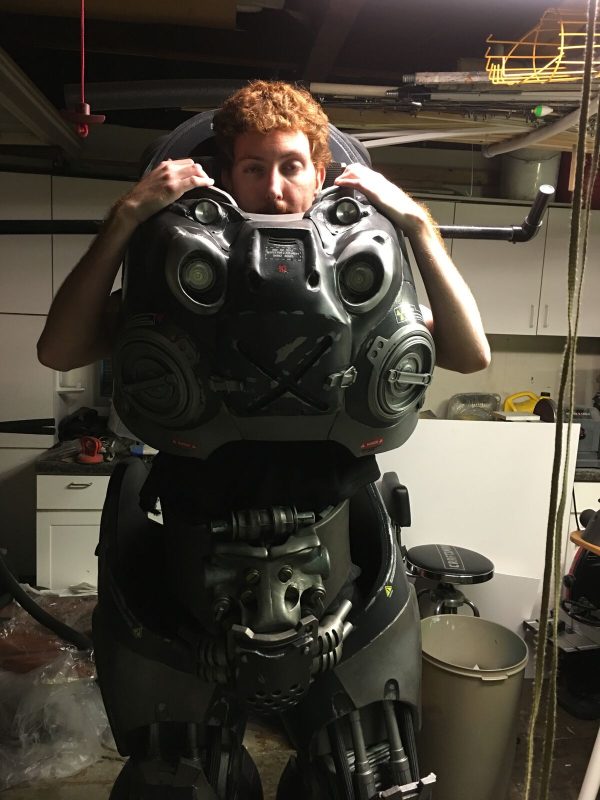
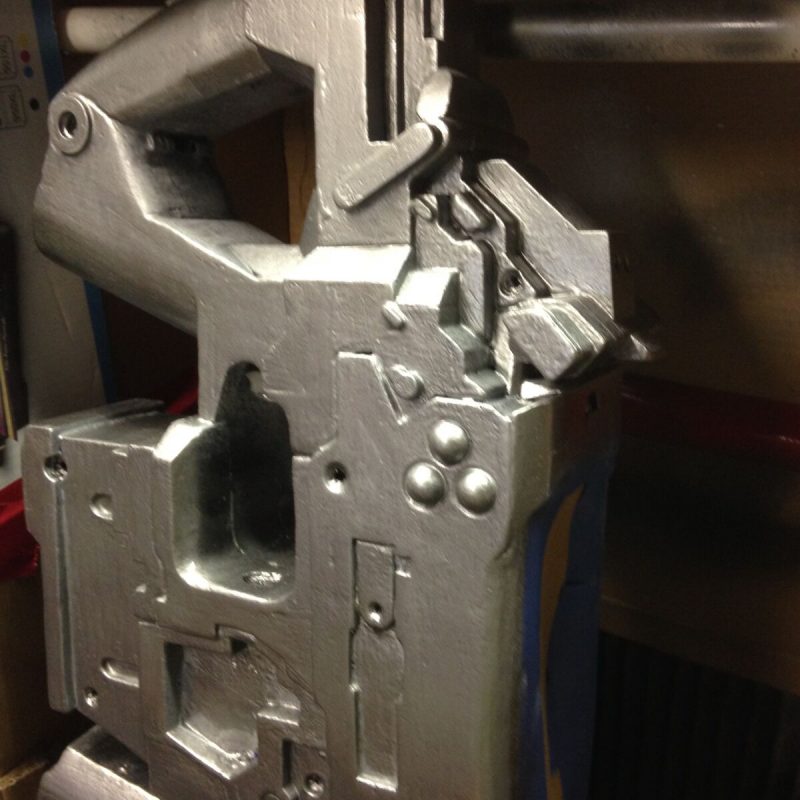
Our first design for the chest was not working out and was very heavy. Our cosplay foam crafting techniques were not up to par and we could not seem to get it to look right. We decide to scrap it and start over on the chest. By this time we took some classes in casting and CAD design. Sideshow Collectables came out with a Jim Raynor figurine so we bought one to use for reference. We stared casting the drag chain that goes behind the elbow area. We used our knowledge of CAD design to create a 3D print, that was then cast out of a silicone mold.
The Gun
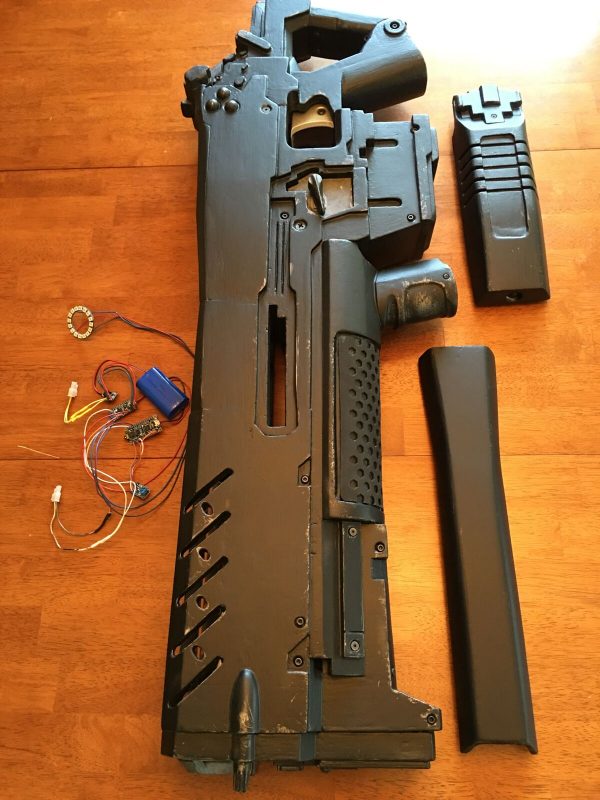
There are a total of 4 Arduinos to control the gun, lights and face shield. The face shield was a bit of a challenge. You can’t use your hands while they are in the gloves so we used a voice recognition addon shield (Audeme MOVI), with a Arduino Uno.
The Painting
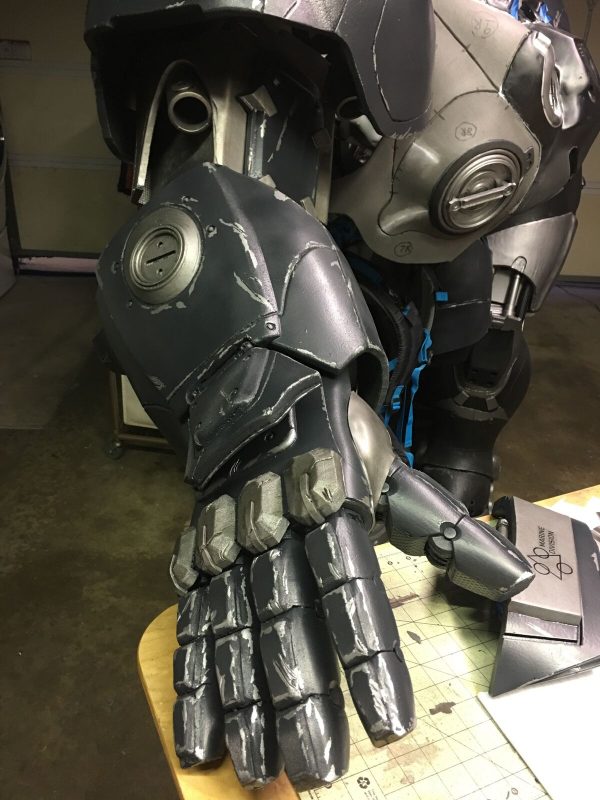
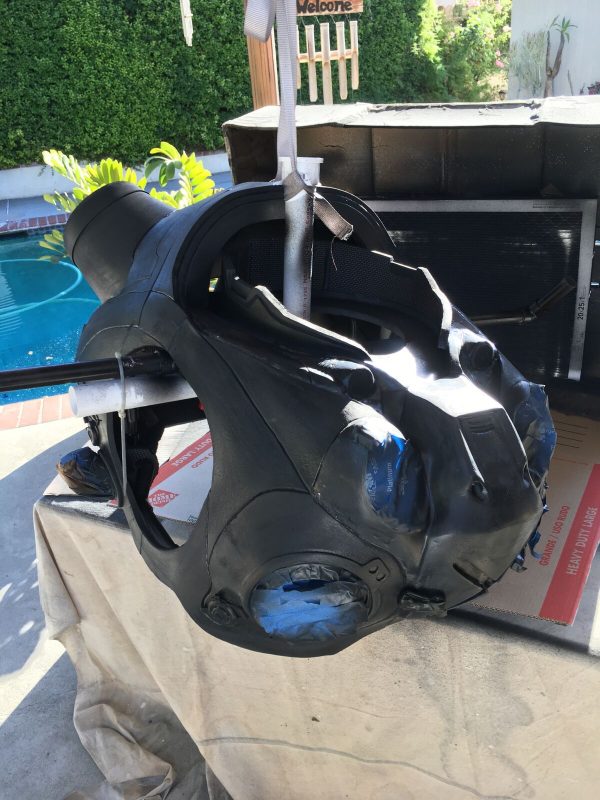
As for our process for painting, first we coated the parts with neoprene rubber (Creature Cast), then they were sprayed with silver and clear coated with a satin finish. After it was dried, we dabbed the edges with masking liquid also called “liquid fisker” at art stores. Once that was dried we applied the finish coat of dark gray paint. When the part was just dry enough, we rubbed the area we applied the liquid to, to expose the silver undercoat. The last step was applying a final satin clear coat.
The End Result
We learned a lot in three years and our skills got better. We made mistakes and learned from them. Here are some tips: use sharp blade and get a cheap sharpener (look to Evil Ted for advice on that). EVA foam cuts easy but dulls blades fast, so keep them sharp. Use a metal ruler for cutting straight lines and keep your blade straight. The straighter the cut, the better the seam. Use a good quality contact cement. We suggest Barge brand but it may not be available in all areas. We usually apply a thin coat on the seam, let it dry, then apply a second coat of contact cement. When the glue is just tacky to the touch it’s time to put the seam together.
Take your time; once it sticks it’s hard to move. After parts are together we seal it with a heat gun. This closes the pores of the foam. We use Kwikseal kitchen and bath adhesive to cover any remaining gaps. Now it’s ready to coat. When we first started, we used to put multiple thin coats of white glue and water mix, then sand and apply Plasti Dip paint. We now use neoprene rubber, Creature Cast, another spray latex. After the rubber coat has dried, we lightly sand it and sometimes repeat the process as needed to get a smooth finish. The rest is painting the whole thing using whatever your preferred method is.
What are the links to your social media profiles? Where can our readers find you?
https://www.facebook.com/Jimmy.Hyperion.Armory/ is our main source of updates, but if you want to make a quicker, more personal connection, you can email us at [email protected].
Hyperion Armory (@hyperionarmory) • Instagram photos and videos
Hyperion_Armory on Twitch.Tv Coming soon, just started but don’t have any content yet.
~Join us next week for more Cosplay! Coverage~
Have a Cosplay question you would like Mayhem’s Muse to answer? Send email here!
Learn more about Mayhem’s Muse
