Cosplay Construction Spotlight: Raven Guard Assault Marine Pt.2


We’re diving in to the covert corps of the Raven Guard in this weeks Construction Feature!
“If men had wings and bore black feathers, few of them would be clever enough to be crows.”
- – Henry Ward Beecher.
Welcome to the Cosplay Artist Spotlight!
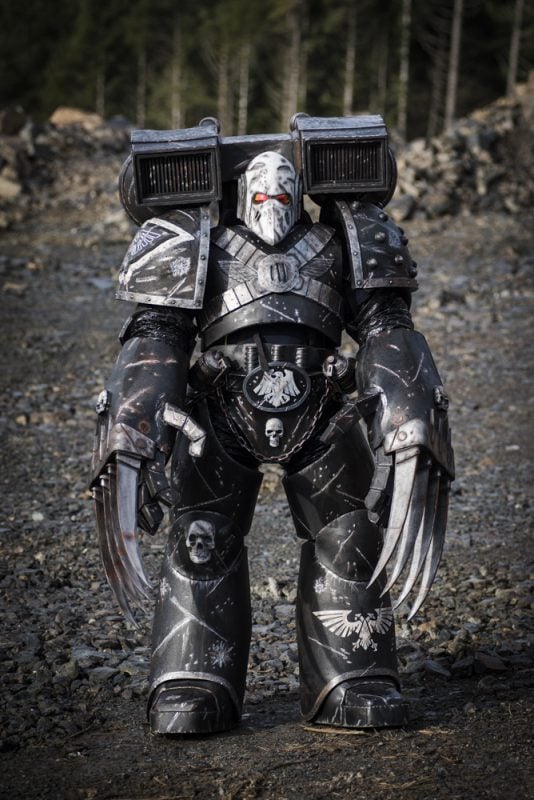
This week we’re featuring a member of that exclusive corps of Covert operatives, the Raven Guard. Bernard Creations has created a fearsome Assault Marine Cosplay, and we have the details on how he build his Marine. Enjoy!
Inspiration
“A battle can be won with brute force, or random luck. But a war? A war is won with cunning and waged without mercy. For the noblest of goals one must sometimes commit ignoble acts. So ask me not to justify the Raven Guard’s ways. The carrion worlds in our wake should make a statement eloquent enough”
- – Corax, speaking at the Eurydicus Hearing.
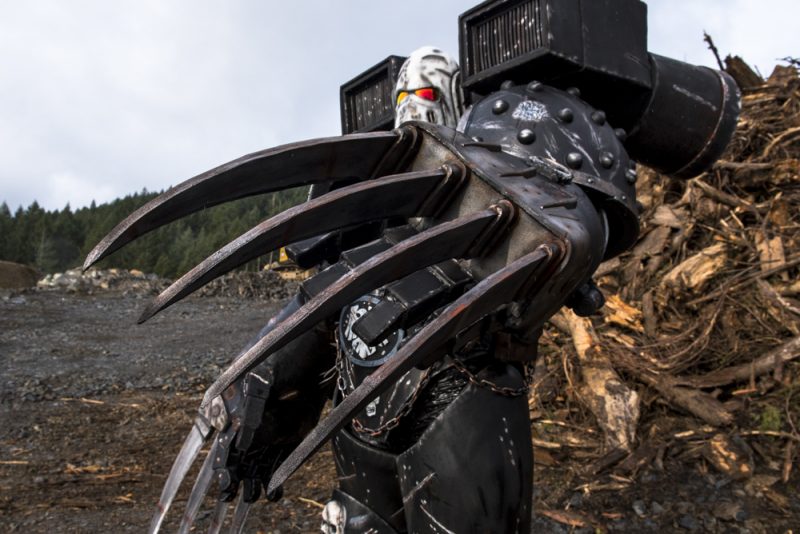
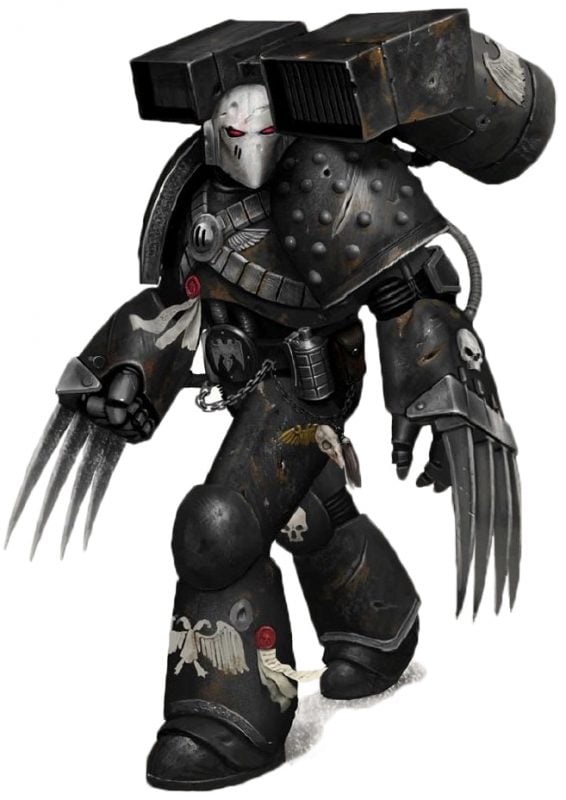
I chose a Space Marine as I wanted to challenge myself and my skills. I loved the idea of being in stilts and looking above all the other Cosplayers. I found a picture on the internet and just fell hard for it. I was drawn to the claws its a total wow factor and don’t f#$k with this guy look. I hadn’t seen a lot of Cosplayers doing this style of Space Marine and thought it would be a good way to stand out from every other Space Marine that has been Cosplayed.
The Boots
I built stilts from Gary Sterley’s templates, and then built the EVA foam shoe. I had to strap and screw a slip on shoe, so all I had to do is slip my foot in and then buckle shins in. I made templates first then traced them onto EVA foam.
Legs and Armor
The legs and armor diaper I made templates for, and tested the templates over the shoes until I got the right fit and shape. I used dollar store sheets of paper for templates, which were 2×4 and very cheap. I glued six 2×4 EVA tiles with contact cement; its Canada’s Barge cement equal in order to make one leg. Halloween was the same time so I found some cheap skulls that I converted and added to the build.
Inside Details
I picked up 1/2 inch pvc piping garden variety and used it to keep the shape of all the large areas, I sanded the back of the EVA foam then hot glue pieces of foam to secure the piping in place.
Leg Details
I completed all the details with 6mm foam and 2mm foam glues with contact cement then did battle damage with a soldering iron and dremel. All edges had to be dremeled and then sanded down with sand paper then heat gunned to heat seal the foam. Once heat sealed I plasti dipped sprayed everything so it was ready for paint.
Chest Plate
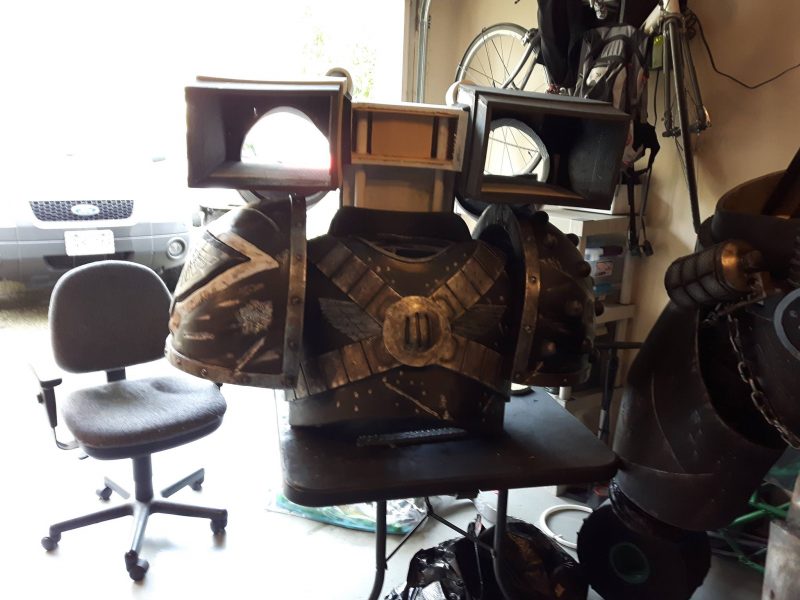
I made more stencils and created the chest armor. Once again took about six 2×4 EVA floor tiles glued together to make, one I had to fit to my body and to the lower half that’s already made I started detail. All pieces were also made with floor tile and 6mm foam.
Shoulder Pieces
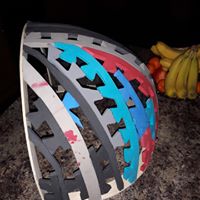
The shoulder pads took me some time to figure out. I took some 38 plywood and cut a C like pattern that took me two patterns to get right. Once I had the top boards secure to make the skeleton I used eva floor tile off cuts and edges to make my shape. Then took saran wrap and duct tape to make my pattern and that created my pattern for the EVA foam.
Shoulder Details
For detailing the foam shoulder pads, I bought dollar store ping pong balls to make the round mound detail cut the balls in half and glued it to the shoulder pad.
Gauntlets and Claws
The gauntlet claws and finger. It took 7 EVA floor tiles to make two hands and about 12 11x14inch 6mm foam to make the fingers. All glue with contact cement.
The Helmet
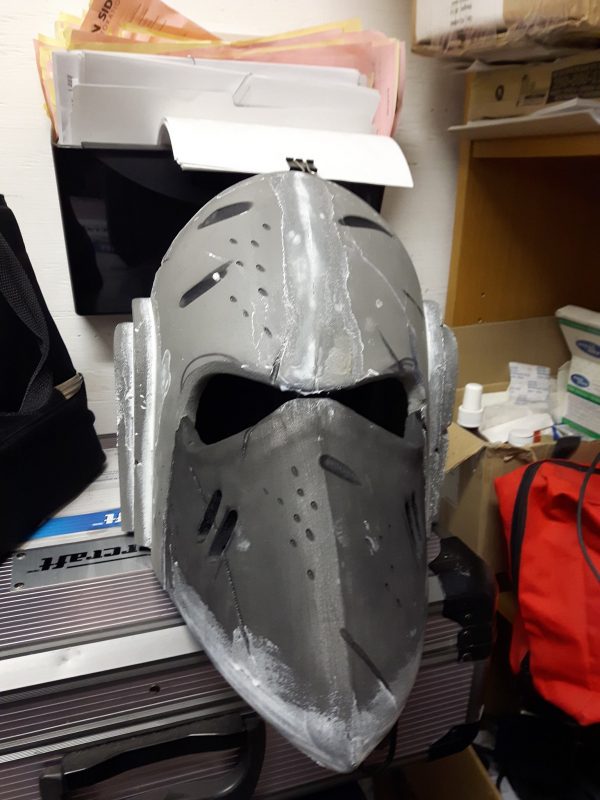
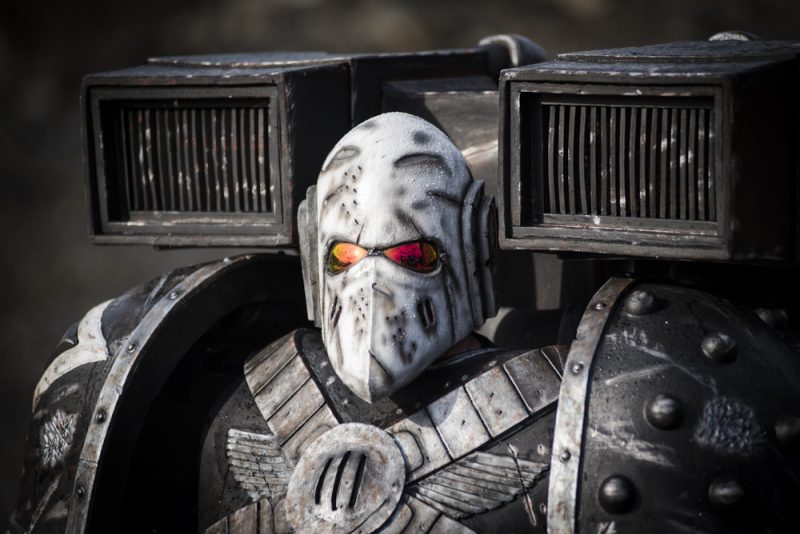
I Used Evil Teds hermit design and created a beak out of the floor tile foam then sculpted the foam with a dremel sanding drum and then did detail with solder iron. I Used kwick seal to seal the edge and seams then plasti dipped spray, paint and detail. The sunglasses I cut to fit the eyes. I used an rc fan and lipo battery for fogging up.
Rocket Booster Jet Pack
I used the same idea templates measure for size, all EVA foam tiles and 6mm foam i added dollar store led’s for affect. Then used pvc pipe to attached. I added a 1/8 plastic sheet to the inside back of the chest so there was support for the rockets size. the rockets have 2 3/8s plywood with pvc pipe going through them and glued for support 3/4 flange drops onto 3/4 inch none flange on the back. Only gravity holds it all on.
Finishing Touches
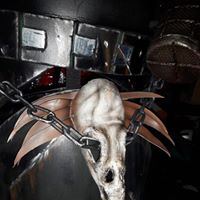
I painted details with air brush fades and high lights, acrylic hand paints for rust affects and battle damage and silver rub and buff for metal wear look. I used a small amount of warbla to make a bird skull that I ran some dollar store chains that I picked up on Halloween.
Have a Cosplay question you would like Mayhem’s Muse to answer? Send email here!

