MaxMini – The Making of The Desert Dwellers

MaxMini.eu pulls back the design curtain and takes us through the creation of the new Desert Dwellers Unit. Come take a look at the process that brought these miniatures to the tabletop!
It’s rare that we get a behind-the-scenes look from a miniatures company about what it takes to create their product. But MaxMini.eu has done just that and is diving into the story behind the creation of the Desert Dwellers unit.
Last week saw the release of our desert dwellers unit. Damn, it was quite a journey – designing a coherent unit poses much more challenges than working on a single character.
THE IDEA
The whole concept started thanks to one of our past conversion kits – desert dwellers heads namely. Konrad did a stunning job on those, they definitely rank among my favourites in the offer. So a thought of having a full blown squad featuring those was pretty tempting. Even more so considering “Lawrence of Arabia” and post apocalytpic themes have a very warm place in my heart.
STARTING OFF
The idea had to wait in limbo though – there were projects we really needed to tackle first. But a couple of months ago, Justyna, one of our new sculptors had a bit of free time. I’ve wanted to present her with a challenge, something she could use to boost her skills and take them to the next level. A project that would not only test aesthetic skills, but construction, technical related ones as well.
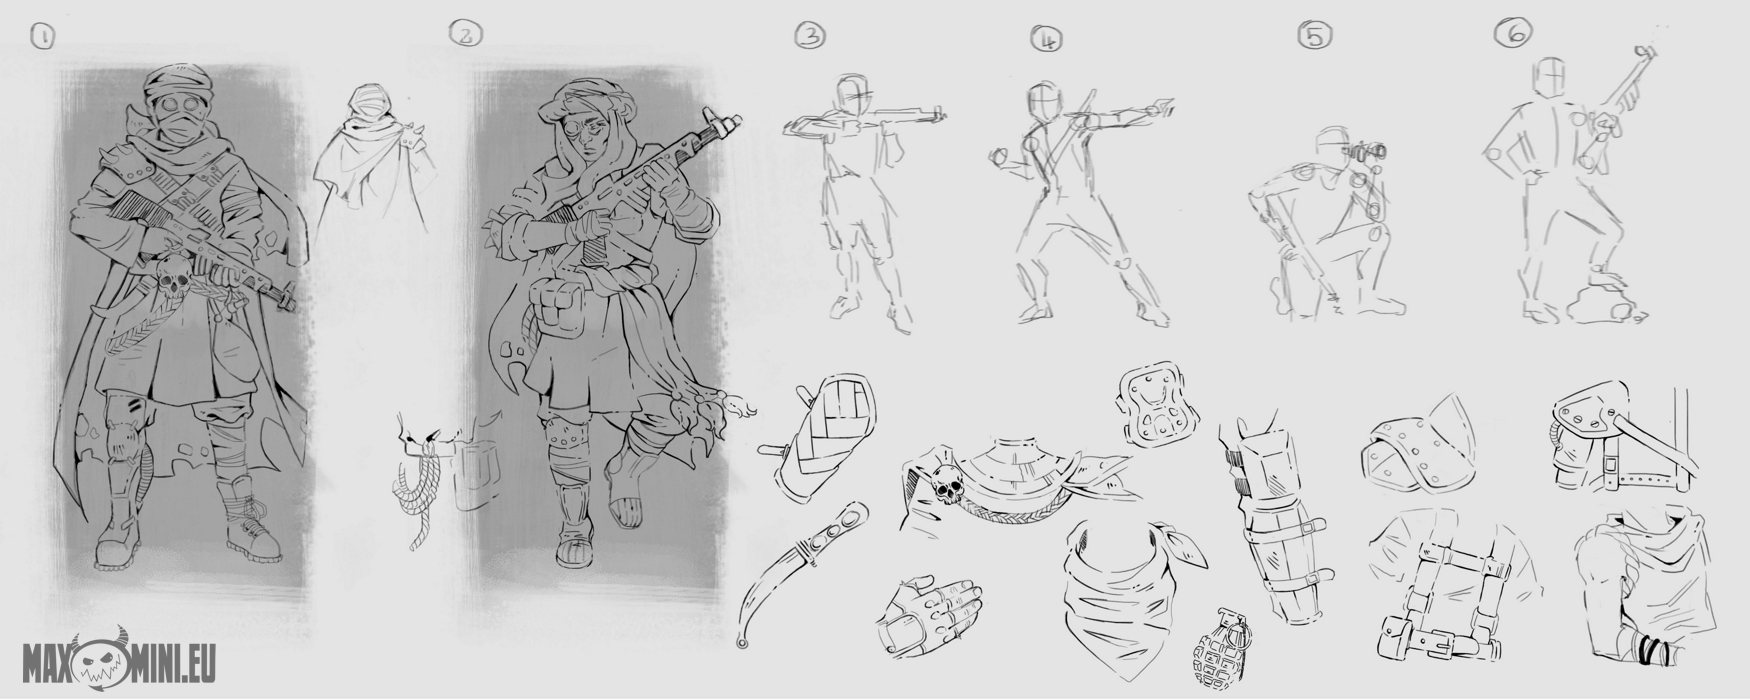
Initially she worked on a couple of loose concept sketches, just to make sure she gets the “right” feel for those. And she surely did:
INITIAL SCULPTS
The very first models appeared suspiciously fast. The concepts were laid out pretty clearly and we had bits like weapons alredy made, thus this phase went at quite nice pace. The models also looked faboulous.
But that’s when I started to realize that I might have issued a tad too big of a challenge.
CHALLENGE
You see, my initial plan was the in the best case scenario models should have interchangeabe arms as well. But having those on such varied models is a bit too much for a junior sculptor. It simply wouldn’t work. It needs quite a bit of planning – but that’s only part of the story. You need quite a trained eye to spot potential problems in such scenario. It does not work like in reality where you can try attaching the part and you imediately know whether the joint is correct. Computer models are completely virtual, witout any physics for the most part and you can push one “shell” into another without any penalty. While it could look good on the screen such intersecting geometry would prevent successfull assembly in real life.
Another troublesome bit is that even with such decreased amount of parts you still need to ensure models fit each other and their shared equipment is scaled uniformly. It sounds easy – and is in reality. But when using sculpting apps it can turn out to quite a pain. Most of those do not handle real world units well, you create in a sort of empty void, where you don’t have clear relations to other objects and where measuring is notoriously difficult.
That’s one of the reasons it is not good idea to be a “Zbrush cowboy” (person who forcibly tries to use Zbrush when there’s a better tool for a given task at hand) and I highly recommend using complementary app that’s better suited for model evaluation and planning. Humbly admit it was part of the excercise – and proved to be important one as after initial check I’ve noticed that sculpts were indeed a bit all over the place.
SOLUTION
Making sure another app is being used in the pipeline solved the problem as expected. The “rough” models were rescaled. I’ve also poked into the project a bit – removed all of the guns and reattached a new one that was consistently scaled throughout the unit. Such reworked models went back to Justyna.
A BOOST
As it was passing the desired timeframe I had in mind for the project I’ve added our 2nd junior sculptor, Krystian to the mix. He was tasked with creating adddtional 5 head variants and working on a special weapon guy.
The heads turned out awesome. Special weapon fella required a rework, but I’ve used some of the assets he created for him to create initial mockup model which again has been forwarded to Justyna.
I’ve kept my eye on the way the sculpts were coming together making sure they’ll be castable and could be taken apart.
This way when the final models reached me I had no serious problems cutting and breaking up models into individual components. That’s important part of design – when you manage to hide split lines into crevices and make sure everything fits and is easy to assembe it takes the result to another level.
Having this done I’ve also worked on the sprues.
3D PRINTING
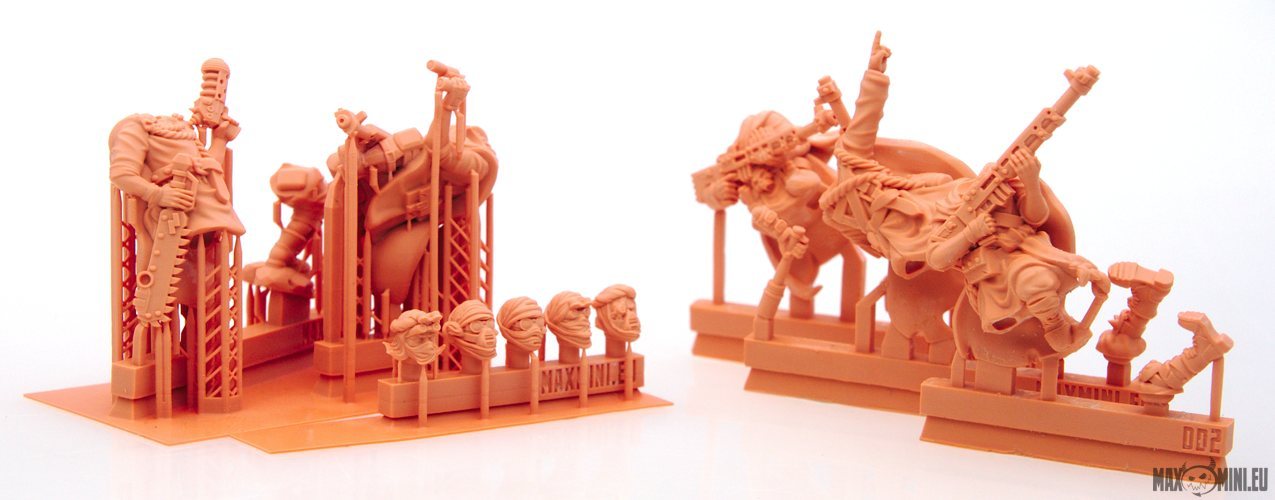
During the whole process we did a couple of test, low res 3d prints to check how it goes and have another layer of assurance that everything is coming together nicely. It really helps to spot issues.
When the time came to do the final high resolution prints we’ve relied onour trusty Envisiontec machine. Got to admit I totally love it – it is super reliable and the results are stunning.
MOLDING AND RESIN CASTING
This was icing on the cake. With well thought sprues it was easy to mould the models and the casts turned out great on the first pour. No problems whatsoever.
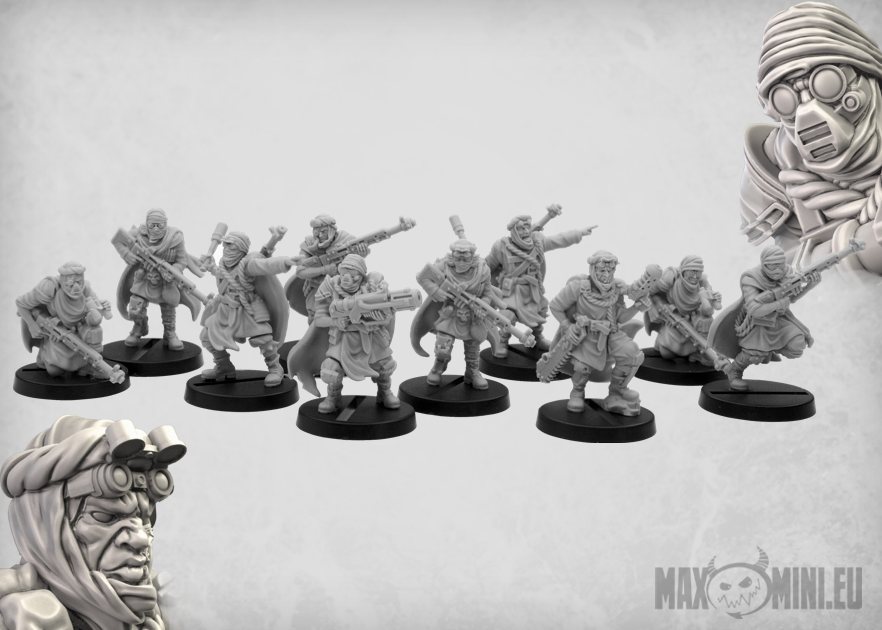
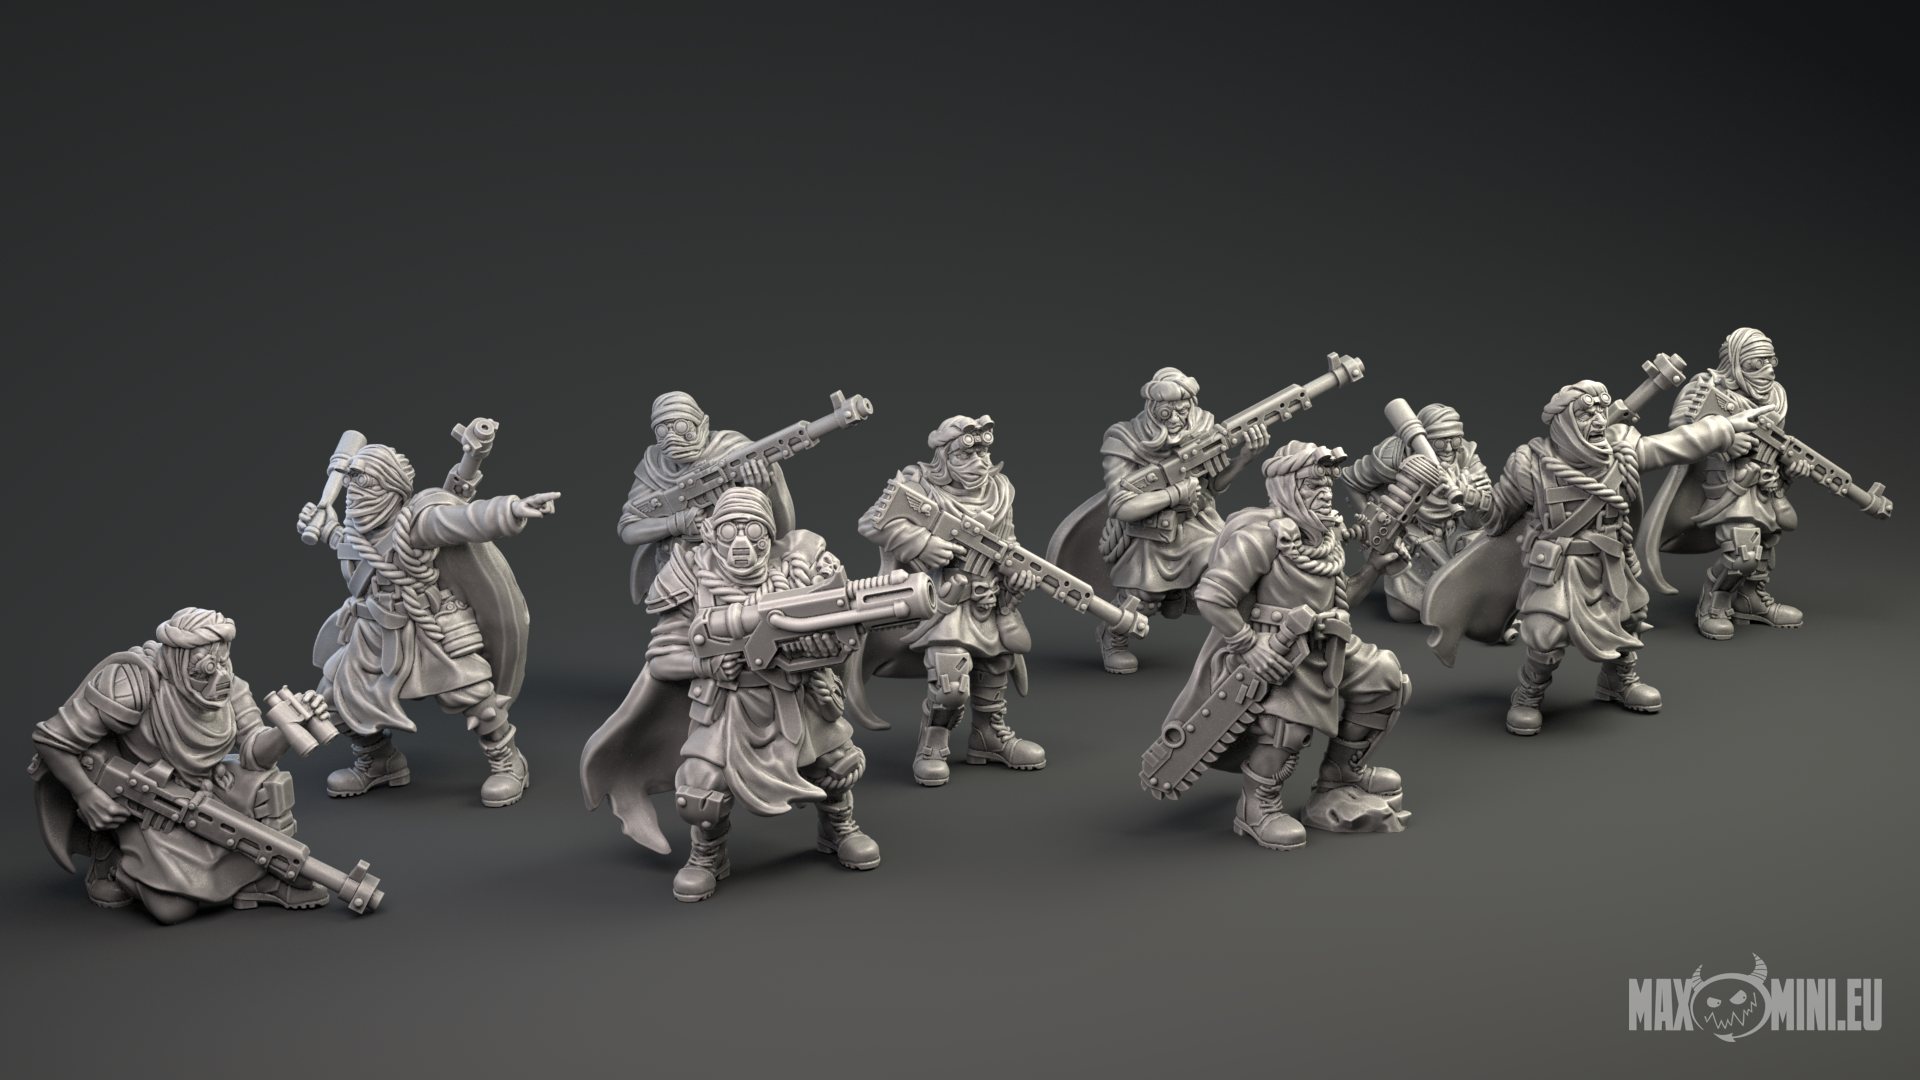
So there you have it – that’s how we worked on the Desert Dwellers. Hope you enjoy them as much as we do :).
Desert Dwellers Unit
Thanks to MaxMini.eu for the story of this amazing looking unit!


